
X3S SHROUD_MK1D-4.stl
Hey all, I’ve designed a new fan shroud for the hotend I want to share on here. I still consider this a prototype, so if anyone wants to print it out for themselves please give me any feedback or ideas for improvement (I already have a few ideas I’m considering) let me know and I’ll post the stl for download. Also no judgement on the finish looking pretty dusty. Be nice! I have another print ready that I’ll be post processing properly and giving a nice gloss coat that should look better (And I’ll probably make a clear one when I get the resin for it). Let me go through the improvements it has to offer. Heatsink Cooler/Heat Creep Issue: This addresses what I feel is the biggest flaw of the stock design and provides actual airflow over the heat sink. I was having problems due to heat creep with the stock, and it is really no surprise when the cooling fan is blowing into an enclosed box, with the heat block on the opposite side and only exhaust point a small gap at the bottom. Solution: This shroud intakes air from the left, pushes it through the heat sink, and exhausts it out+up on the right for much more effective cooling and sharper heat transition. Part Cooling Issue: The stock setup just redirects the part cool fan in the general direction of the nozzle. It is pretty far away and not concentrated at the deposition point. Solution: This shroud repositions the fan mount and directs airflow through a nozzle that gets much closer to the nozzle and directs it right where you want it. Visibility Issue: The stock cube made it hard to see the nozzle and check on how the filament is laying down. Solution: By rearranging the fans and keeping lines of sight open, it is a lot easier to watch the print now. Access Issue: For any maintenance or troubleshooting/changes to any of the hotend components (Fans/Heatsink/Heatblock) the whole metal cube has to come off. Solution: This keeps things more open and it is easier to access everything (especially the fans). I’ve compared print tests and it indicates that this is making a huge difference in bridging/overhang capabilities. I printed a test print with stock and this new shroud, and the improvements are really encouraging (I couldn’t find the exact same Gcode, but I tried to keep the settings the same from what I could remember). The stock setup started failing at around just 45 Degrees, but with this cooler I’m getting acceptable results up to 70 Degrees. 📷 (if you want links to these print test files let me know) Parts list: 2xM310 Cap screws (Mounting @ top of heat block) The Same screws used on the stock setup will work Be careful not to overtighten these to prevent cracking 2xM320 Cap screws (Heatsink cooler fan mount) 2xM26 Cap screws ((Part cool fan mount) 2xM3 Threaded Inserts 2xM2 Threaded Inserts (I suggest inserting these before curing, as the shrinkage tightens it up a bit and makes it easier to get in) Some things to note: I have this designed for an SLA printer, and used Siraya Sculpt because it has a high temperature tolerance (similar to PETG). I had some concern about it failing at the part cool nozzle as it brushes against the rubber insulator, but I’ve printed for 12+hours with 205-210 Print temp and it has held up perfectly so far. I still need to test with PETG print temps. I can modify this design to print on an FDM printer with no support if there is interest in it, so let me know if anyone wants it. I can also make a version that uses hex bolts instead of threaded inserts if that would help people. I put in a place to zip tie the wiring, but it makes it a bit harder to get it out of the way if you need to get at. I actually prefer to keep it loose, but if you aren’t changing things up very often it does keep things a bit tidier. That’s about it. Let me know if there are any questions/comments
X3S SHROUD_MK1D-4.stl
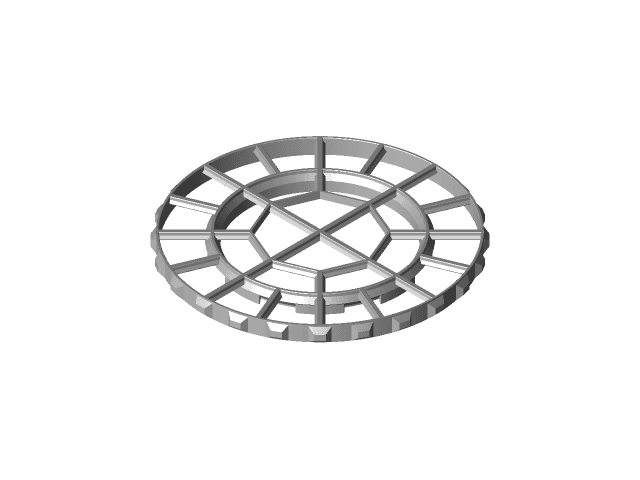
Guide wheel.stl
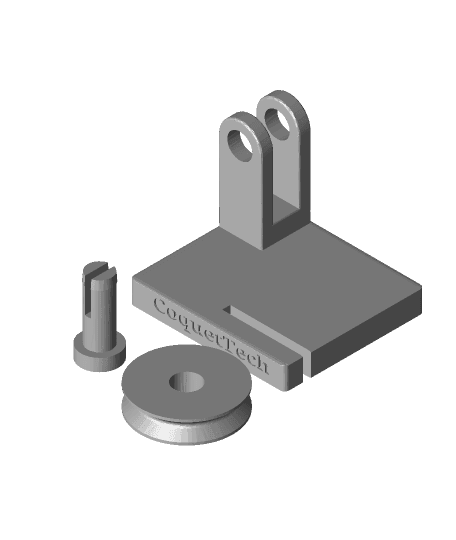
Rotating_Modular_Desk_Organizer
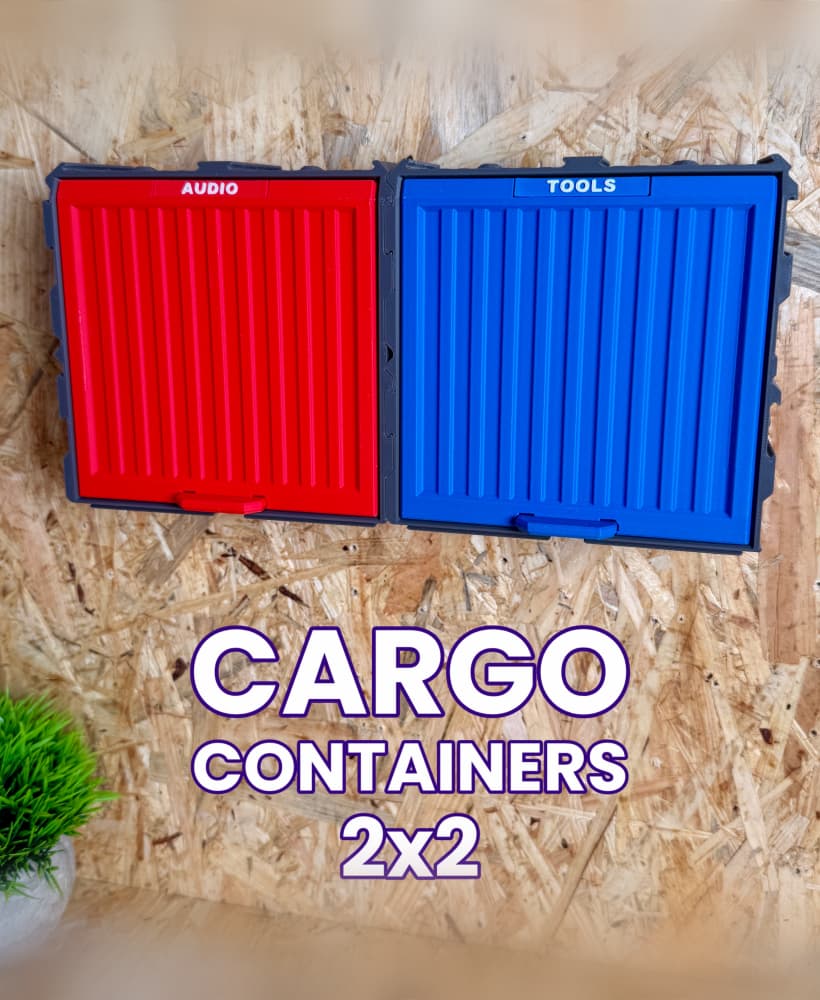
Cargo Containers - 2x2 (Medium Modular Storage)

Classic Dragon - Hatchling

FLOPPY CLICK | THE RETRO-TECH COASTER HOLDER

Apple Pie Turtle

Kitsune - Hatchling
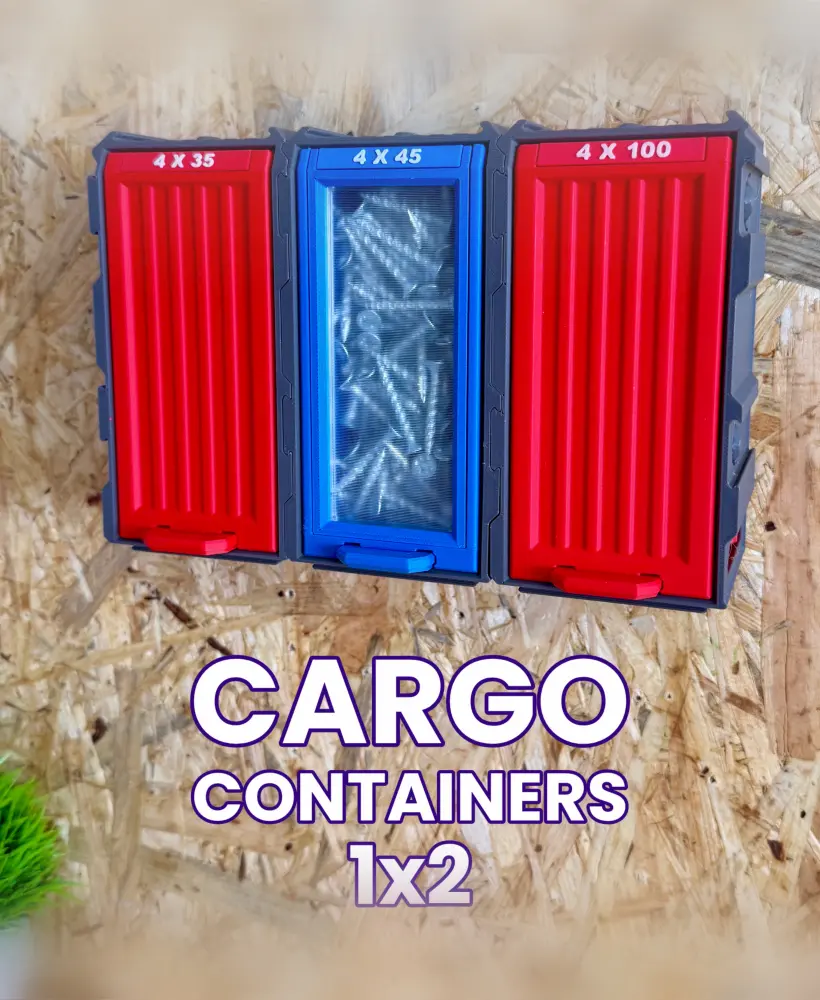
Cargo Containers - 1x2 (Medium Modular Storage)
Tiny Spider Dessert

MEMORY BOOK | PHOTO ALBUM

Gaming Tower - 2nd Generation

Baby Rose Heart Dragon

Tiny Moose

Baby Cow Dragon
Tiny Cardinal
Tiny Spider Pinecone

The Rail - Storage Bins

Boston Ivy Fridge Magnet

E-11 Blaster - Star Wars Cosplay Prop Kit | No Supports, No AMS, No Glue
