


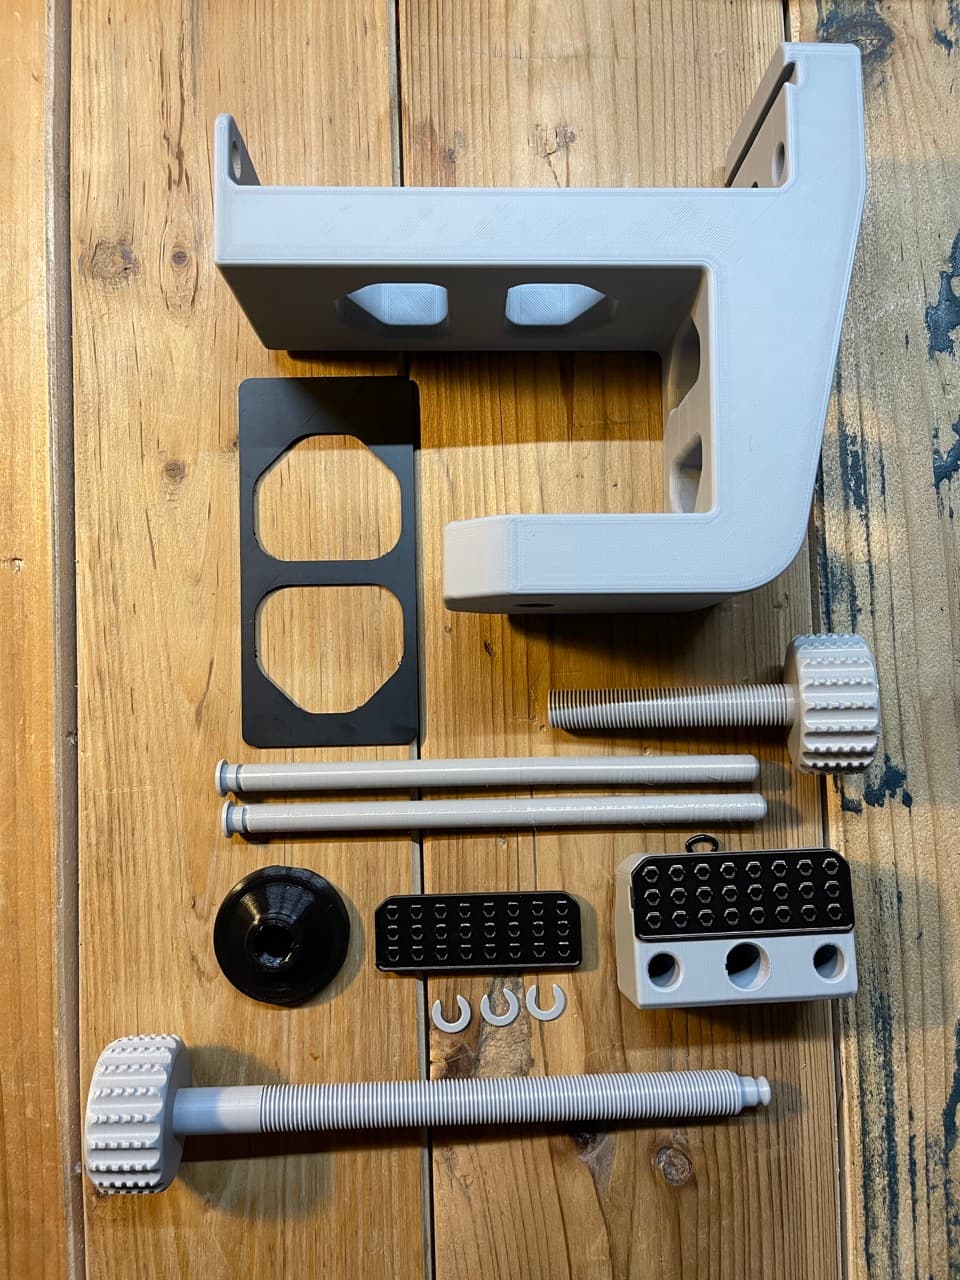
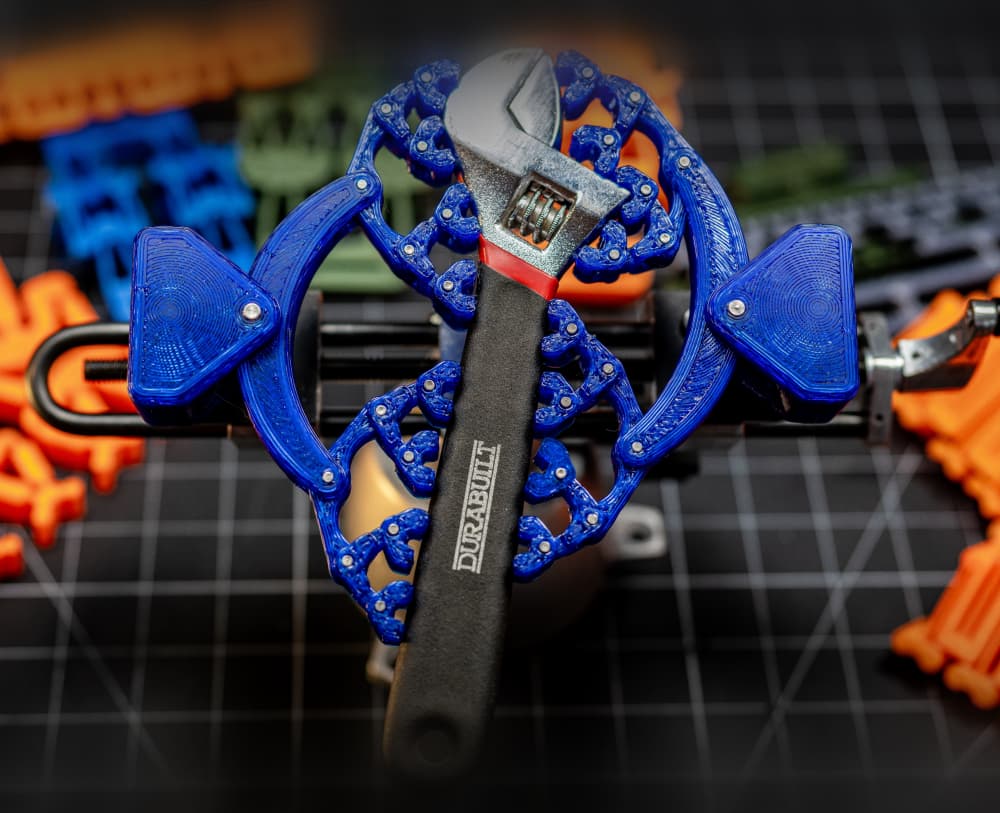
Fully 3D Printed Fractal Vise (Small)
After watching Hand Tool Rescue and Chris Borge's video on an antique fractal vise, I also can't resist making one of my own. My aim is to design one that is fully 3D printable without using any fasteners or metal lead screws and at the same time to be printed without any supports. It's not going to be as robust as Chris or Teaching Tech's design simply because plastic is not going to be as strong as metal. So why do it? Because I don't have those parts and I'm lazy to source for them. Just kidding ok. I just want to challenge myself to what extend 3D printing can achieve and also to brush up on my CAD skills. I'm not an engineer so I made an unnecessarily complicated design but it is fun and I definitely learned new things along the process.
I use Fusion 360 to design the model. While trying to maintain a supportless design I tried many different options but I still end up with the dovetail design. I do not want to use any external fasteners so this limits the design options further. In order to print the dovetail without support, I split them into 2 parts. The lead screws are another weak point so I made them to be printed horizontally on the bed instead of vertically. I also took the idea of the folding handle from Teaching Tech's design.
The smallest clamps are a pain to work with. You may need to scale them bigger by 3-4% if you find them too tight to fit, although all the clamps have 0.3mm clearance between them. Do a test print for fit testing. I do not have an idea how to fully retain the smallest clamp in place so feel free to suggest or remix them.
Printing the parts: -All parts should be printed as per uploaded orientation without any supports. -Refer to the name of the STL for how many units to print for each part. -All parts were printed with 20% infill except for the Mainbed at only 10%. Not necessarily need to follow this. -The Clamp holder A/B was printed with adaptive layer heights in prusaslicer for a smoother surface on the curve part. (higher resolution on the curve area, lower resolution on the not so curve area) -Watch out for elephant foot when printing the lead screws -The C-clamp is included but I do not suggest using them unless you are able to print it in very strong material. -Some glues are recommended for the handle and large clamp clip if they are too loose.
You can watch the assembly video here: https://youtu.be/nqj4Pu4hsq8
Fully 3D Printed Fractal Vise (Small)
Clamp-On Vise - Fully 3D Printable

Small Mechanical Counter - Fully 3d printable
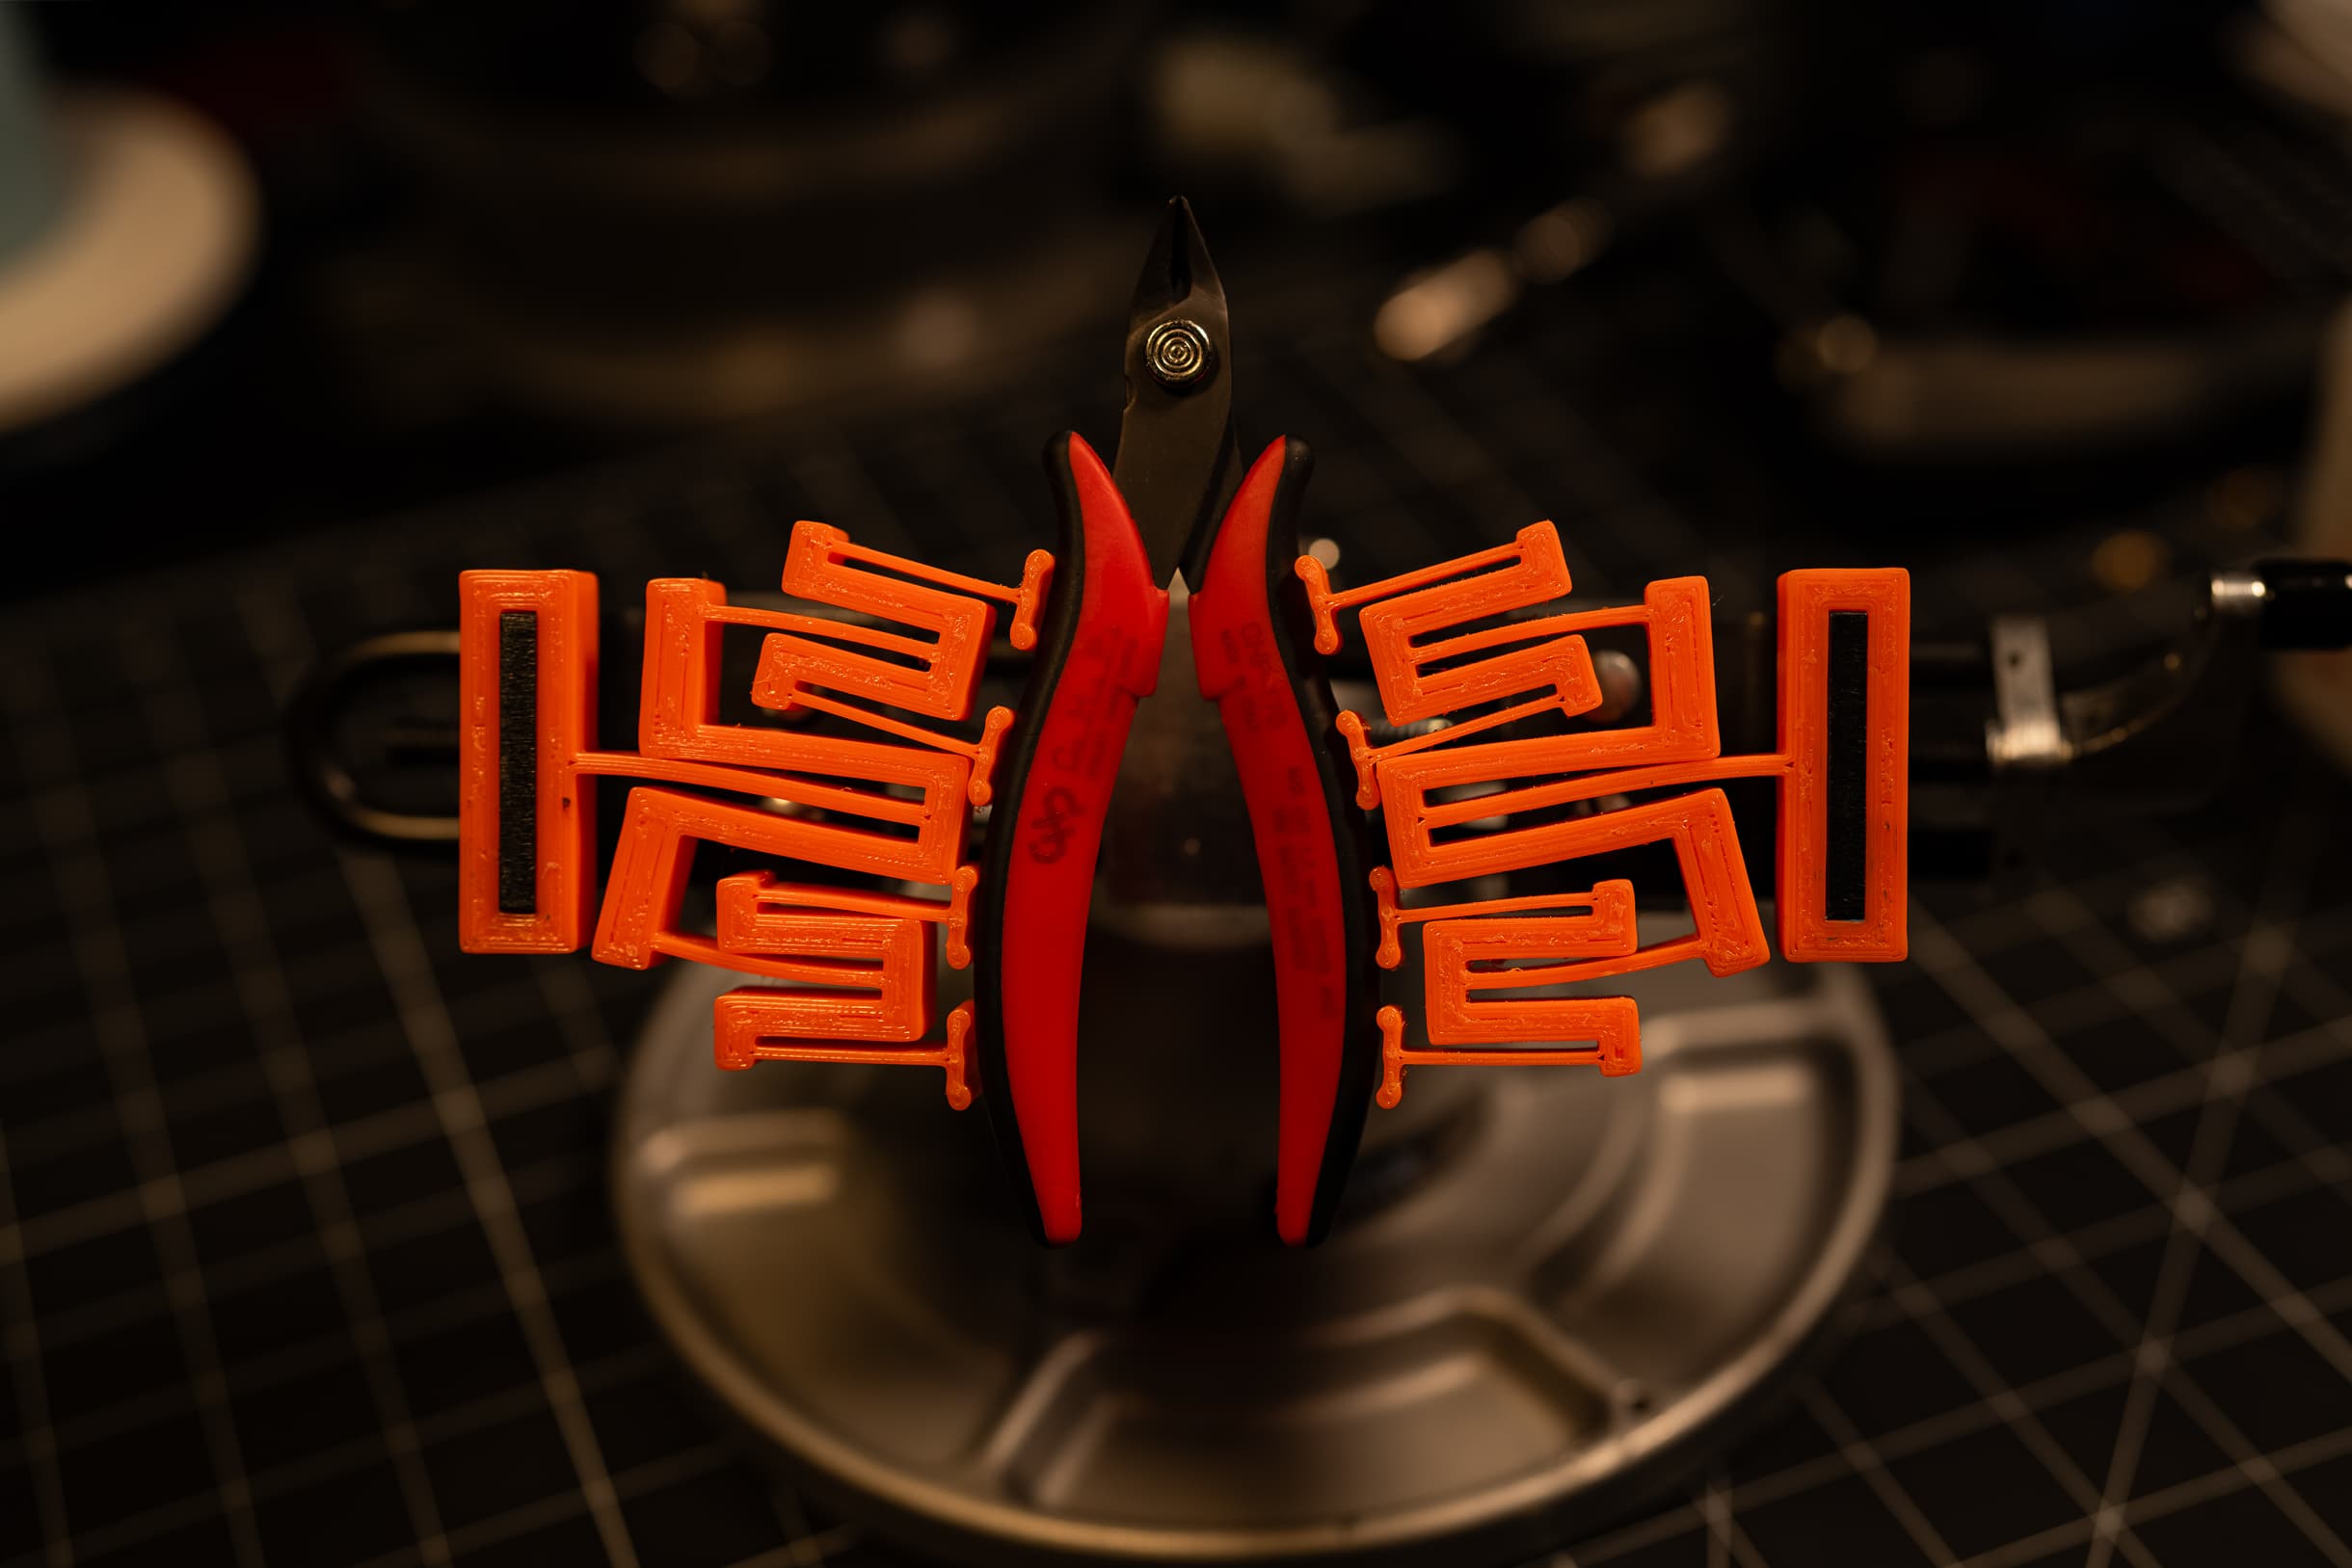
Flexure Fractal Vise Jaws
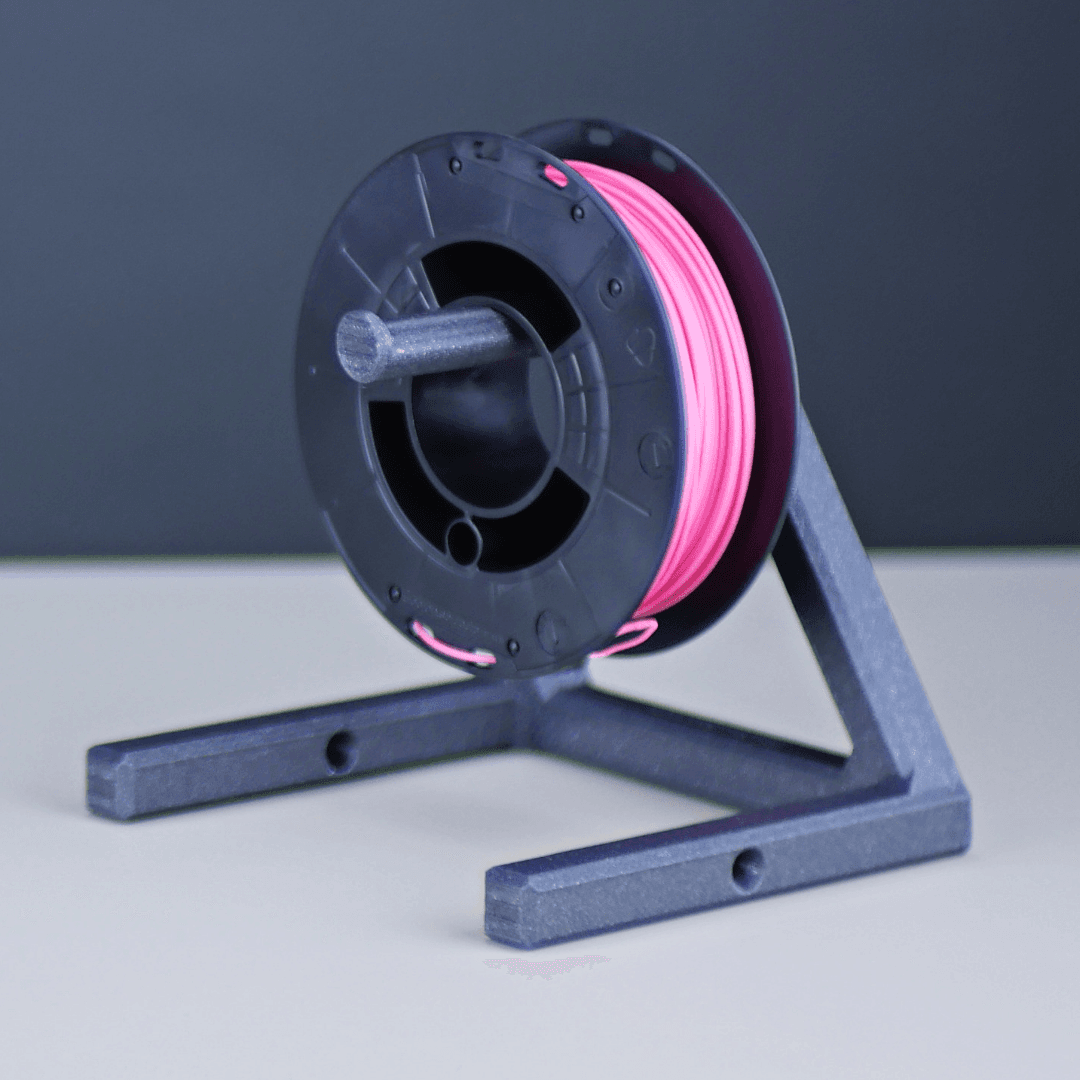
Universal Spool Holder, Fully 3D Printed
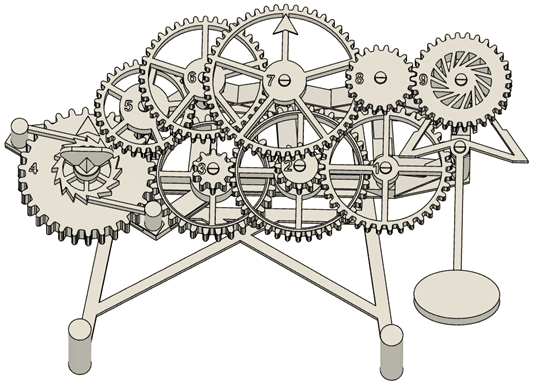
Fully 3D Printed Mechanical Clock

Maker Wallet - Fully 3D Printable

Rock Syringe - Fully 3d printable
Fractal Vise - Mechanical Bearing V1
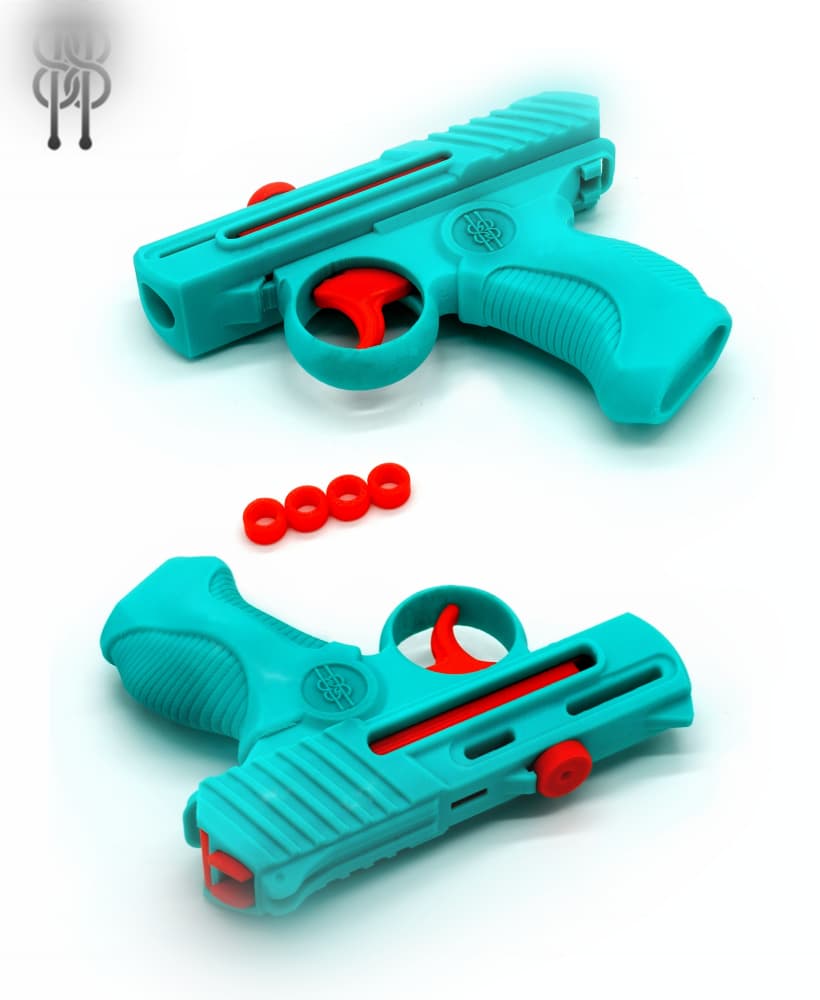
Fully 3D Printable Tiny Toy Gun - (x4 Round - semiauto) - v2

Fully 3D Printable Tiny Toy Gun - (x6 Round - semiauto) - v2 EXTENDED

Fully 3D Printable Tiny Toy Gun - (x4 Round - semiauto) - COMPACT VERSION
%252013.16.52_1adc1d52.jpg&w=3840&q=75)
fully 3d printed mouth guard box
Flexure Fractal Vise Jaws - V6
.gif&w=3840&q=75)
Italian mechanical gesture – fully 3D printable fidget toy

Go Away - Mechanical Italian Gesture - Fully 3d printable

Lampe - Fully 3D Printed Designer Lamp
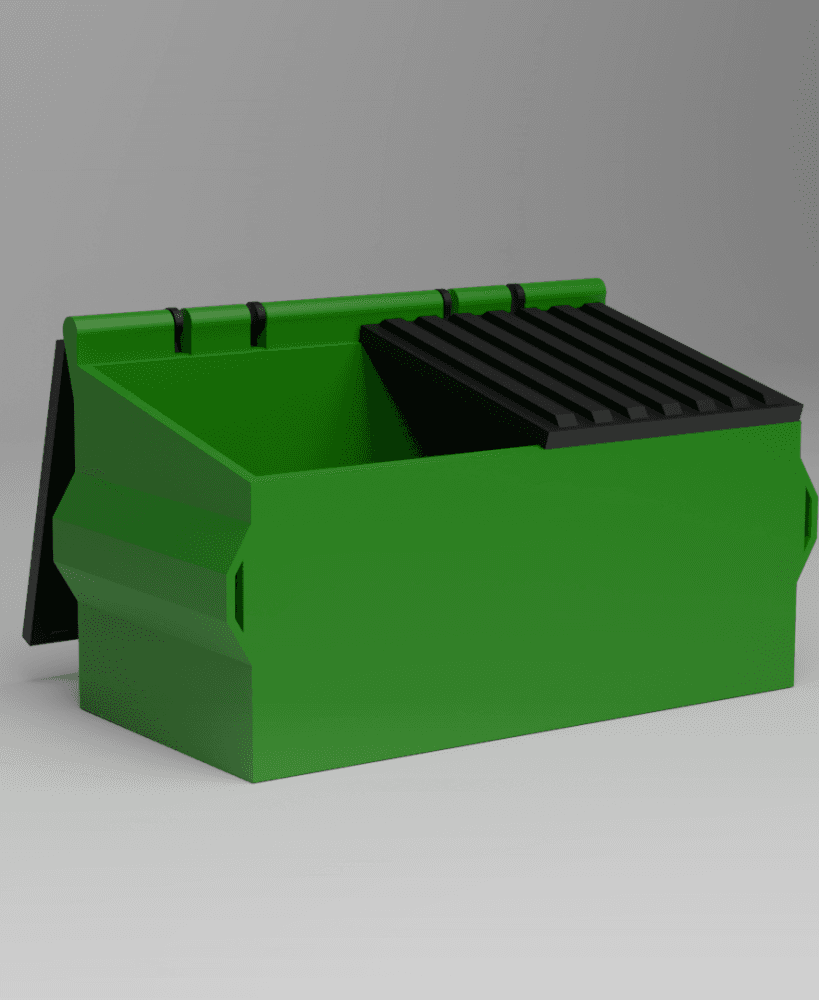
Mini Dumpster (Fully 3D Printed Version)

TSX04 - Fully Printed Small Table / Plant Riser

Fully 3D Printable Flipper Tile

Nicely done. I do wish it was a little bigger. I could try scaling up but I'm afraid the increased tolerances would be a problem.
yes i think scaling will mess up the tolerances. you can download the fusion files and play around with it. it's uploaded into my thingiverse account. you can find the links in my video description.
gmlewis, yes they are different, the maingear connects to the handle while the screw gears are to connect the leadscrews only
Thank you! Are the "MainGear.stl" and "ScrewGear_x2.stl" different? After printing, I'm having troubles telling them apart.
well done, thank you!