Question Box Planter (Mario Themed) | 2 Versions - Single Color and Dual Color Print
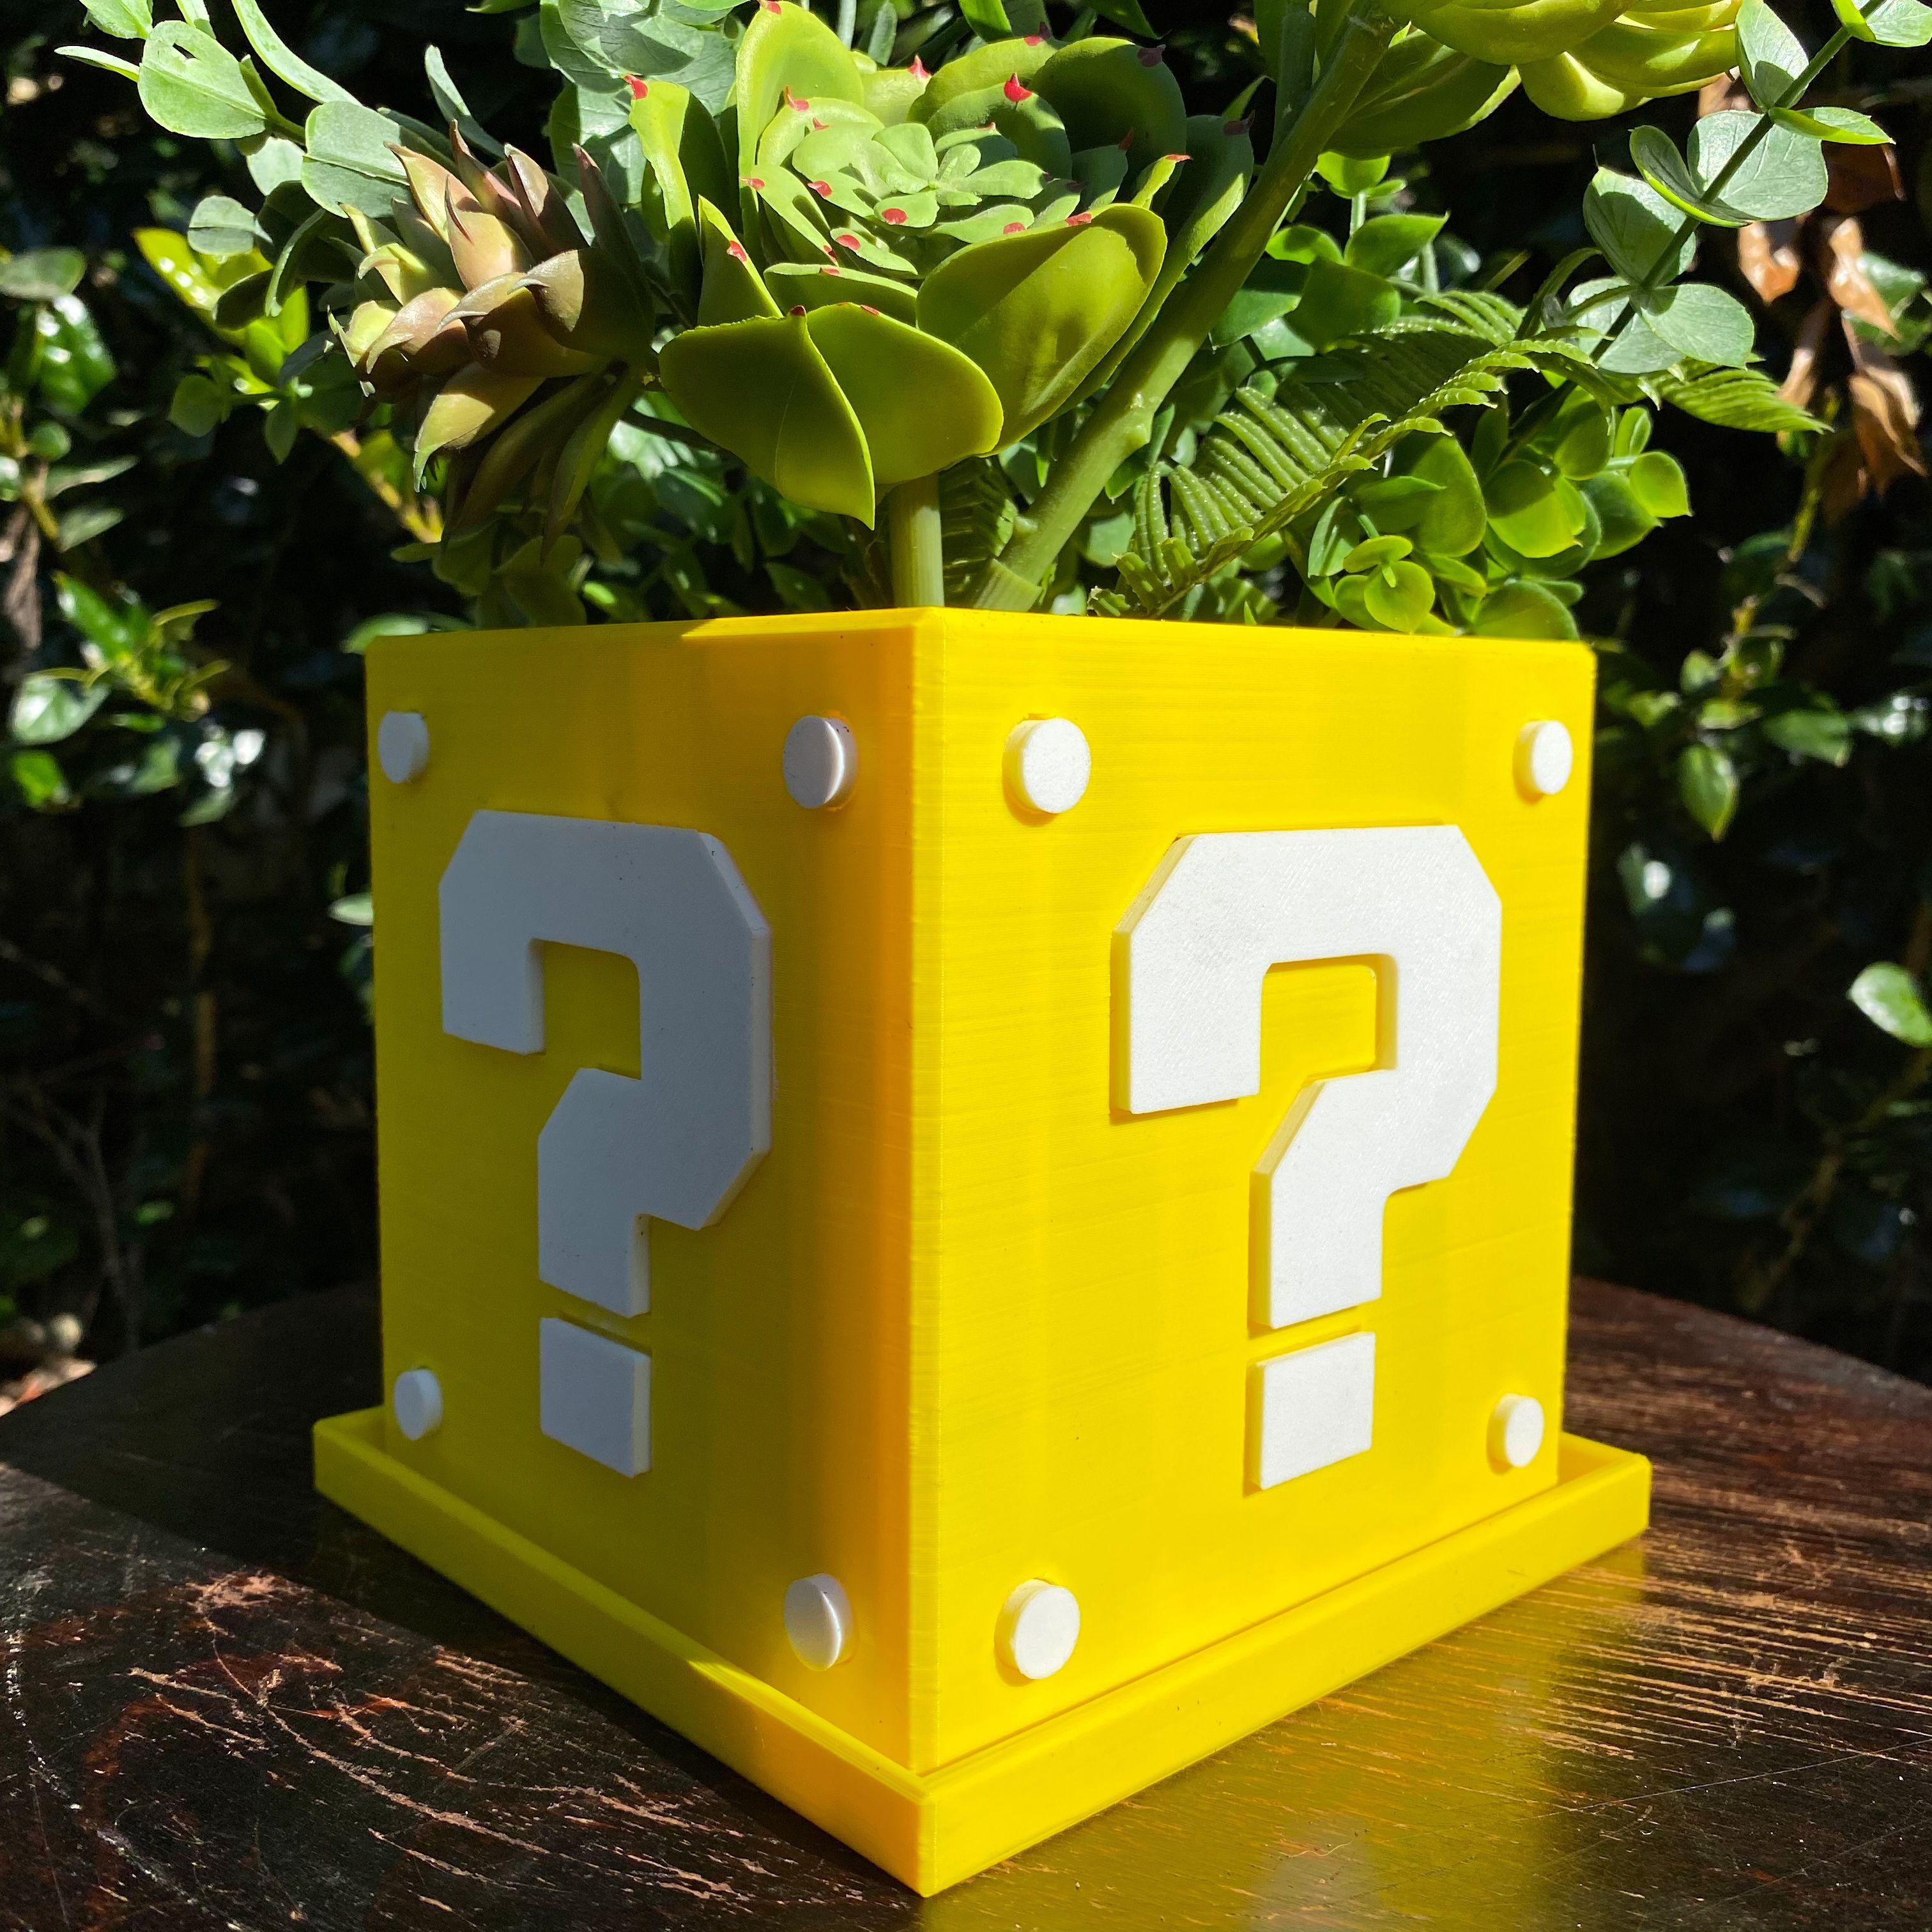
byThinAir3DSuper Mario Themed Question Box Planter (2 Versions)! The inner dimensions of this planter are approximately 4" x 4" with a 4" depth (Wall Thickness of 7mm). There are 2 holes built in the bottom for drainage, and I have included an STL for the matching drip tray.
Version 1: (Single Color Printers) - Pictured
This version comes with an STL for the main box, then individual STL's for all of the accent pieces (the questions marks and the dots) and is meant to be put together with adhesive after printing.
The accent pieces are designed with 0.25mm of clearance, so as long as your printer is dialed in they should fit snug in the slots on the box. Everything is designed to print easily with zero supports.
Version 2: (Dual Color Printers) - Not Pictured
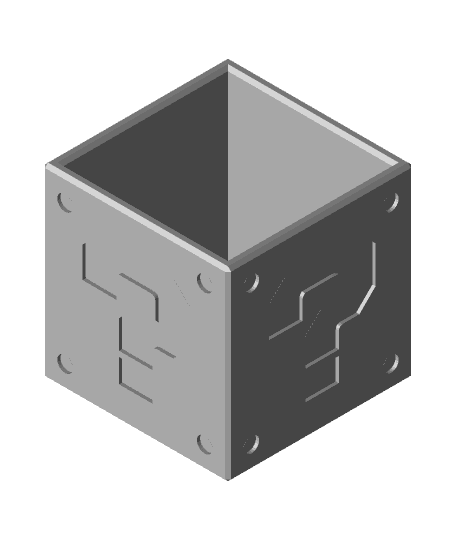
This version has all of the files you need to print this box with a dual-color printer setup. The primary difference between this one and Version 1 is that there is zero clearance between the accent pieces and the box, and that the accent pieces are flush with the box surface.
**These files are uploaded with a non-commercial license. If you are interested I have a Patreon that gives my subscribers access to all of my files and the permission to with what they please with what comes off their printer.
https://www.patreon.com/thinair3D
3D PRINTING SETTINGS USED Both Versions: -No supports needed -Infill: 5-10% (or 0% with additional walls)
Version 1:
Files:
- Planter v1
- Question Mark v1 (0.25 clearance) (need 4)
- Question Mark Point v1 (0.25 clearance) (need 4)
- Dot v1 (0.25 clearance) (need 16)
Print all pieces separately, then assemble afterward with your adhesive of choice.
You will notice the upper edges on the box have 45-degree angles (to allow zero support printing). This means the Question Marks and Question Mark Points also have corresponding 45-degree chamfered edges. Print these pieces with the 45-degree edges faced upwards for a better finish.
You may not be able to scale it up and down easily without messing up the clearances for the accent pieces.
Version 2:
Files:
- Planter v2 (Dual Color Print)
- Dots (zip file)
- Question Marks (zip file)
These pieces are all designed with zero clearance for dual-color printing. There are a lot of different slicing programs out there, but I use Cura for slicing, and here are the steps I take:
Drag and drop all models into Cura Assign all accent pieces to one extruder, assign the planter to another extruder. Select Edit -> Select All Models -> Merge Models -> Reset All Model Positions -> Ungroup Models.

