

.png&w=256&q=75)
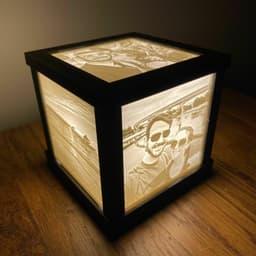
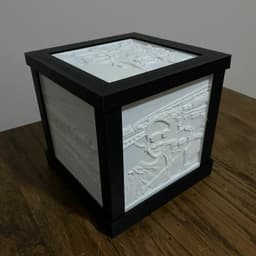
Lithophane Box (Holds 5 Litho Panels)
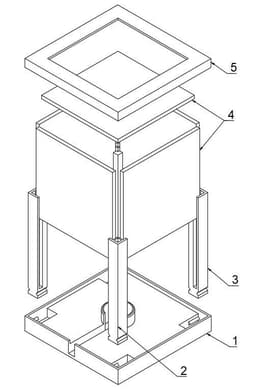
This box is designed to hold 100mm X 100mm X 4mm flat litho panels, and prints in 6 pieces that slide together with no fasteners needed!
Video on how the box comes together can be found here: https://youtu.be/d0FUTcLKtq0
In order to print the litho panels, you will need to create the STL files for the litho panels yourself following the instructions below.
Creating the Litho STL’s To create the STL Files for the Litho Panels: -Go to https://lithophanemaker.com and select the flat lithophane maker. -Select ‘Choose File’ to upload the photo you want to use. -Scroll down and adjust the X-Shift and Y-Shift to get the photo cropped how you want. -Most of the stock settings are fine how they are, but these are the settings that will fit the boxes: Resolution: 0.2 Width: 100 mm Height: 100 mm Depth: 4.0 mm Base Height: 4.0 mm Overhang Angle: 45 (I just choose 45 so it will be nice and clean) Maximum Thickness: 3.0 mm Minimum Thickness: 0.6 mm -Enter your email address and hit ‘Create .stl’
Printing the Litho Panels Now that you have the STL’s created, you are ready to print. I personally like Hatchbox White PLA for the litho panels, but any white PLA should do fine. Note: Some brands of PLA will produce a ‘cooler’ or ‘warmer’ lithos, so experiment and find the right PLA for you.
The Finished Product The boxes are designed to fit a snap in bulb/cable approx 1" in diameter. The specific socket and bulb it is designed for can be found here: https://docs.google.com/spreadsheets/d/1HAVsbFkyg5ZgqkpSjrUa1Ednhy237luUzPjomvYOd9k/edit?usp=sharing
Assembly Instructions here: https://drive.google.com/drive/folders/1SipZ0Roa2qleXwKSSKPgSeNMXFZ7Jooi?usp=sharing
If you purchase this STL, you are free to print and sell the design.
Printing the Box Pieces: -The pieces have all been designed with plenty of clearance so you shouldn’t have an issue printing the pieces at 0.2 Layer Height and standard settings. If you are over extruding you may see some resistance while assembling.
Printing the Litho Panels: Here are some of the important slicer settings: -Layer Height: I personally use 0.12 to get better detail. Just like any other print, the smaller the layer height the better detail you will get. -Speed: Slow is always better, I use 40 mm/s for lithos. -Infill %: Some people use 0% infill, some people use 100% infill. I use 0% infill while making sure my wall thickness > the maximum thickness I specified on the litho stl generator (3.0 mm) -Wall Thickness: 2.0 mm (5 Walls with a 0.4mm Nozzle) -Build Plate Adhesion: Brim
Lithophane Box (Holds 5 Litho Panels)
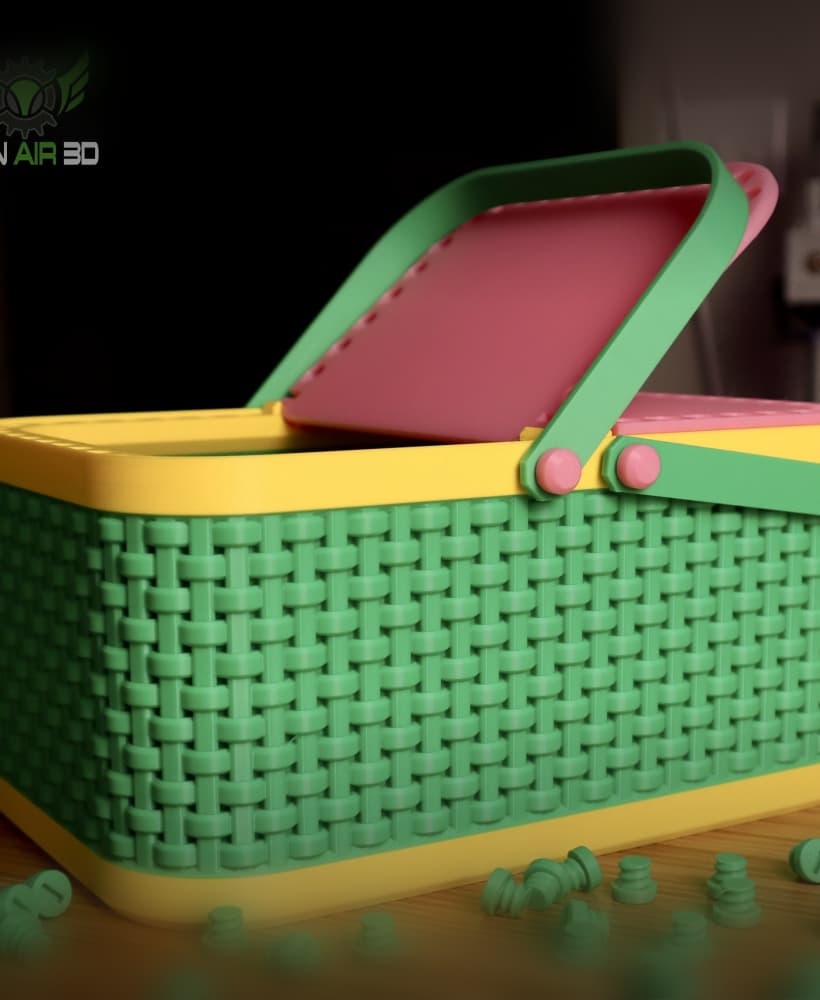
Annoying Easter Basket

Annoying Easter Egg

Modular Golf Ball Holder
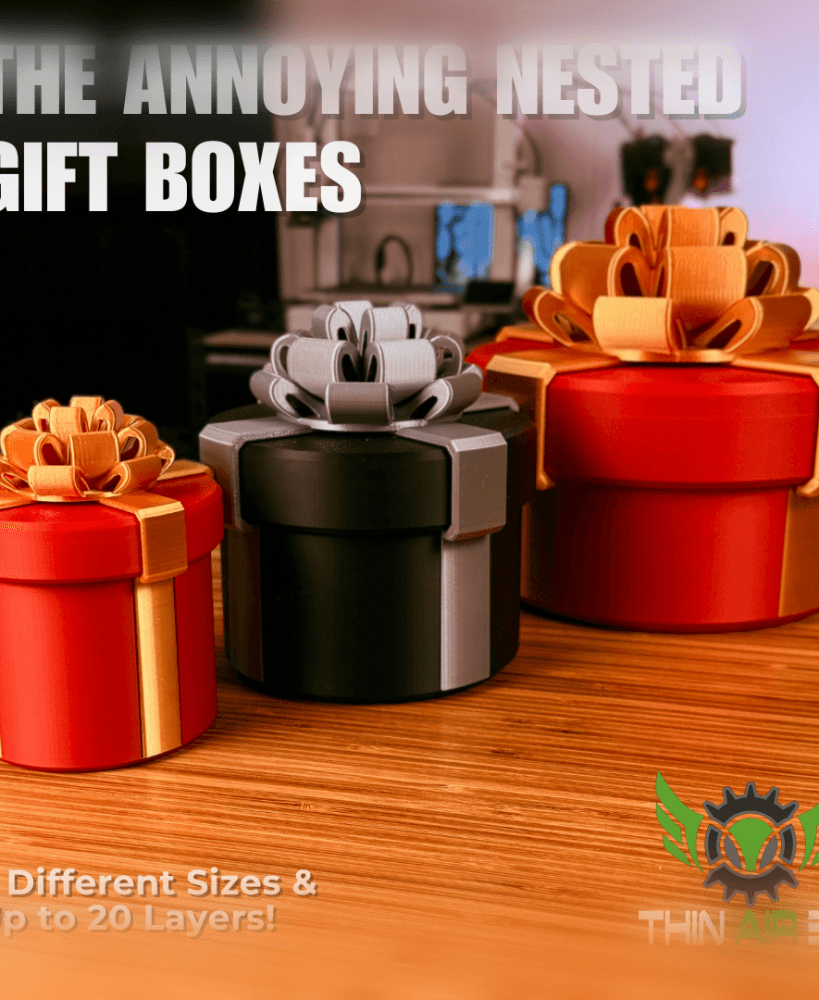
Annoying Nested Gift Box
%2520snowball%2520mold.gif&w=3840&q=75)
Print-In-Place Snowball Mold
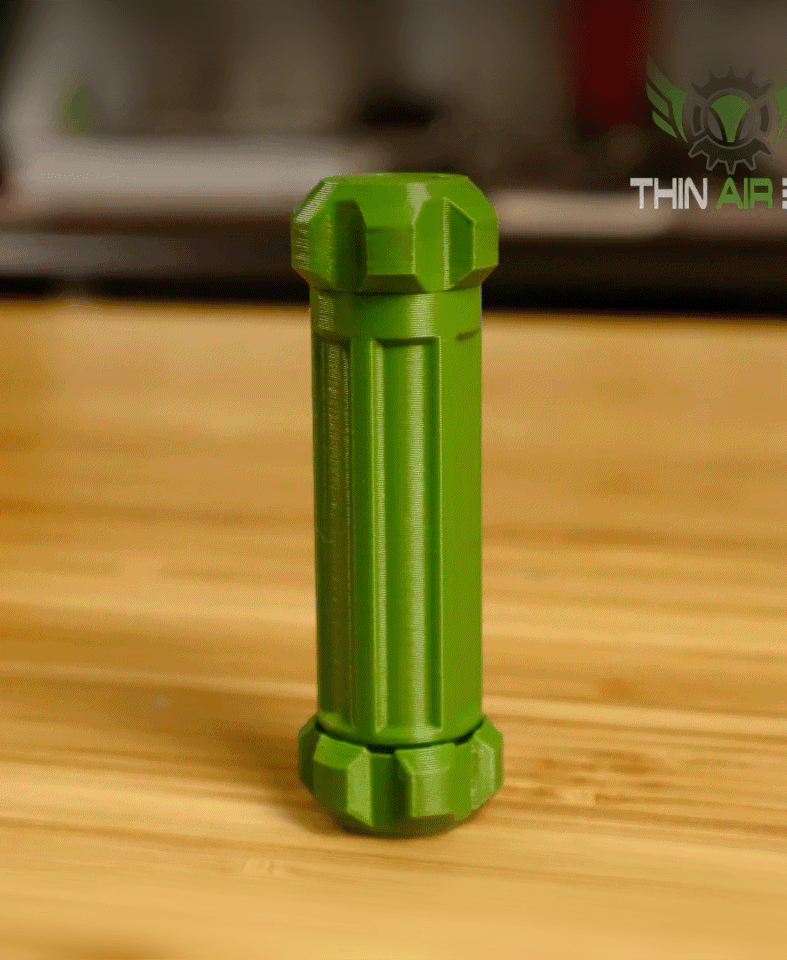
Click Screw Fidget

Santa's Sleigh Phone Stand

Hot Cocoa Container
.JPG&w=3840&q=75)
Halloween Gravestones

Desktop Dumpster Fire

Droid Planter #2
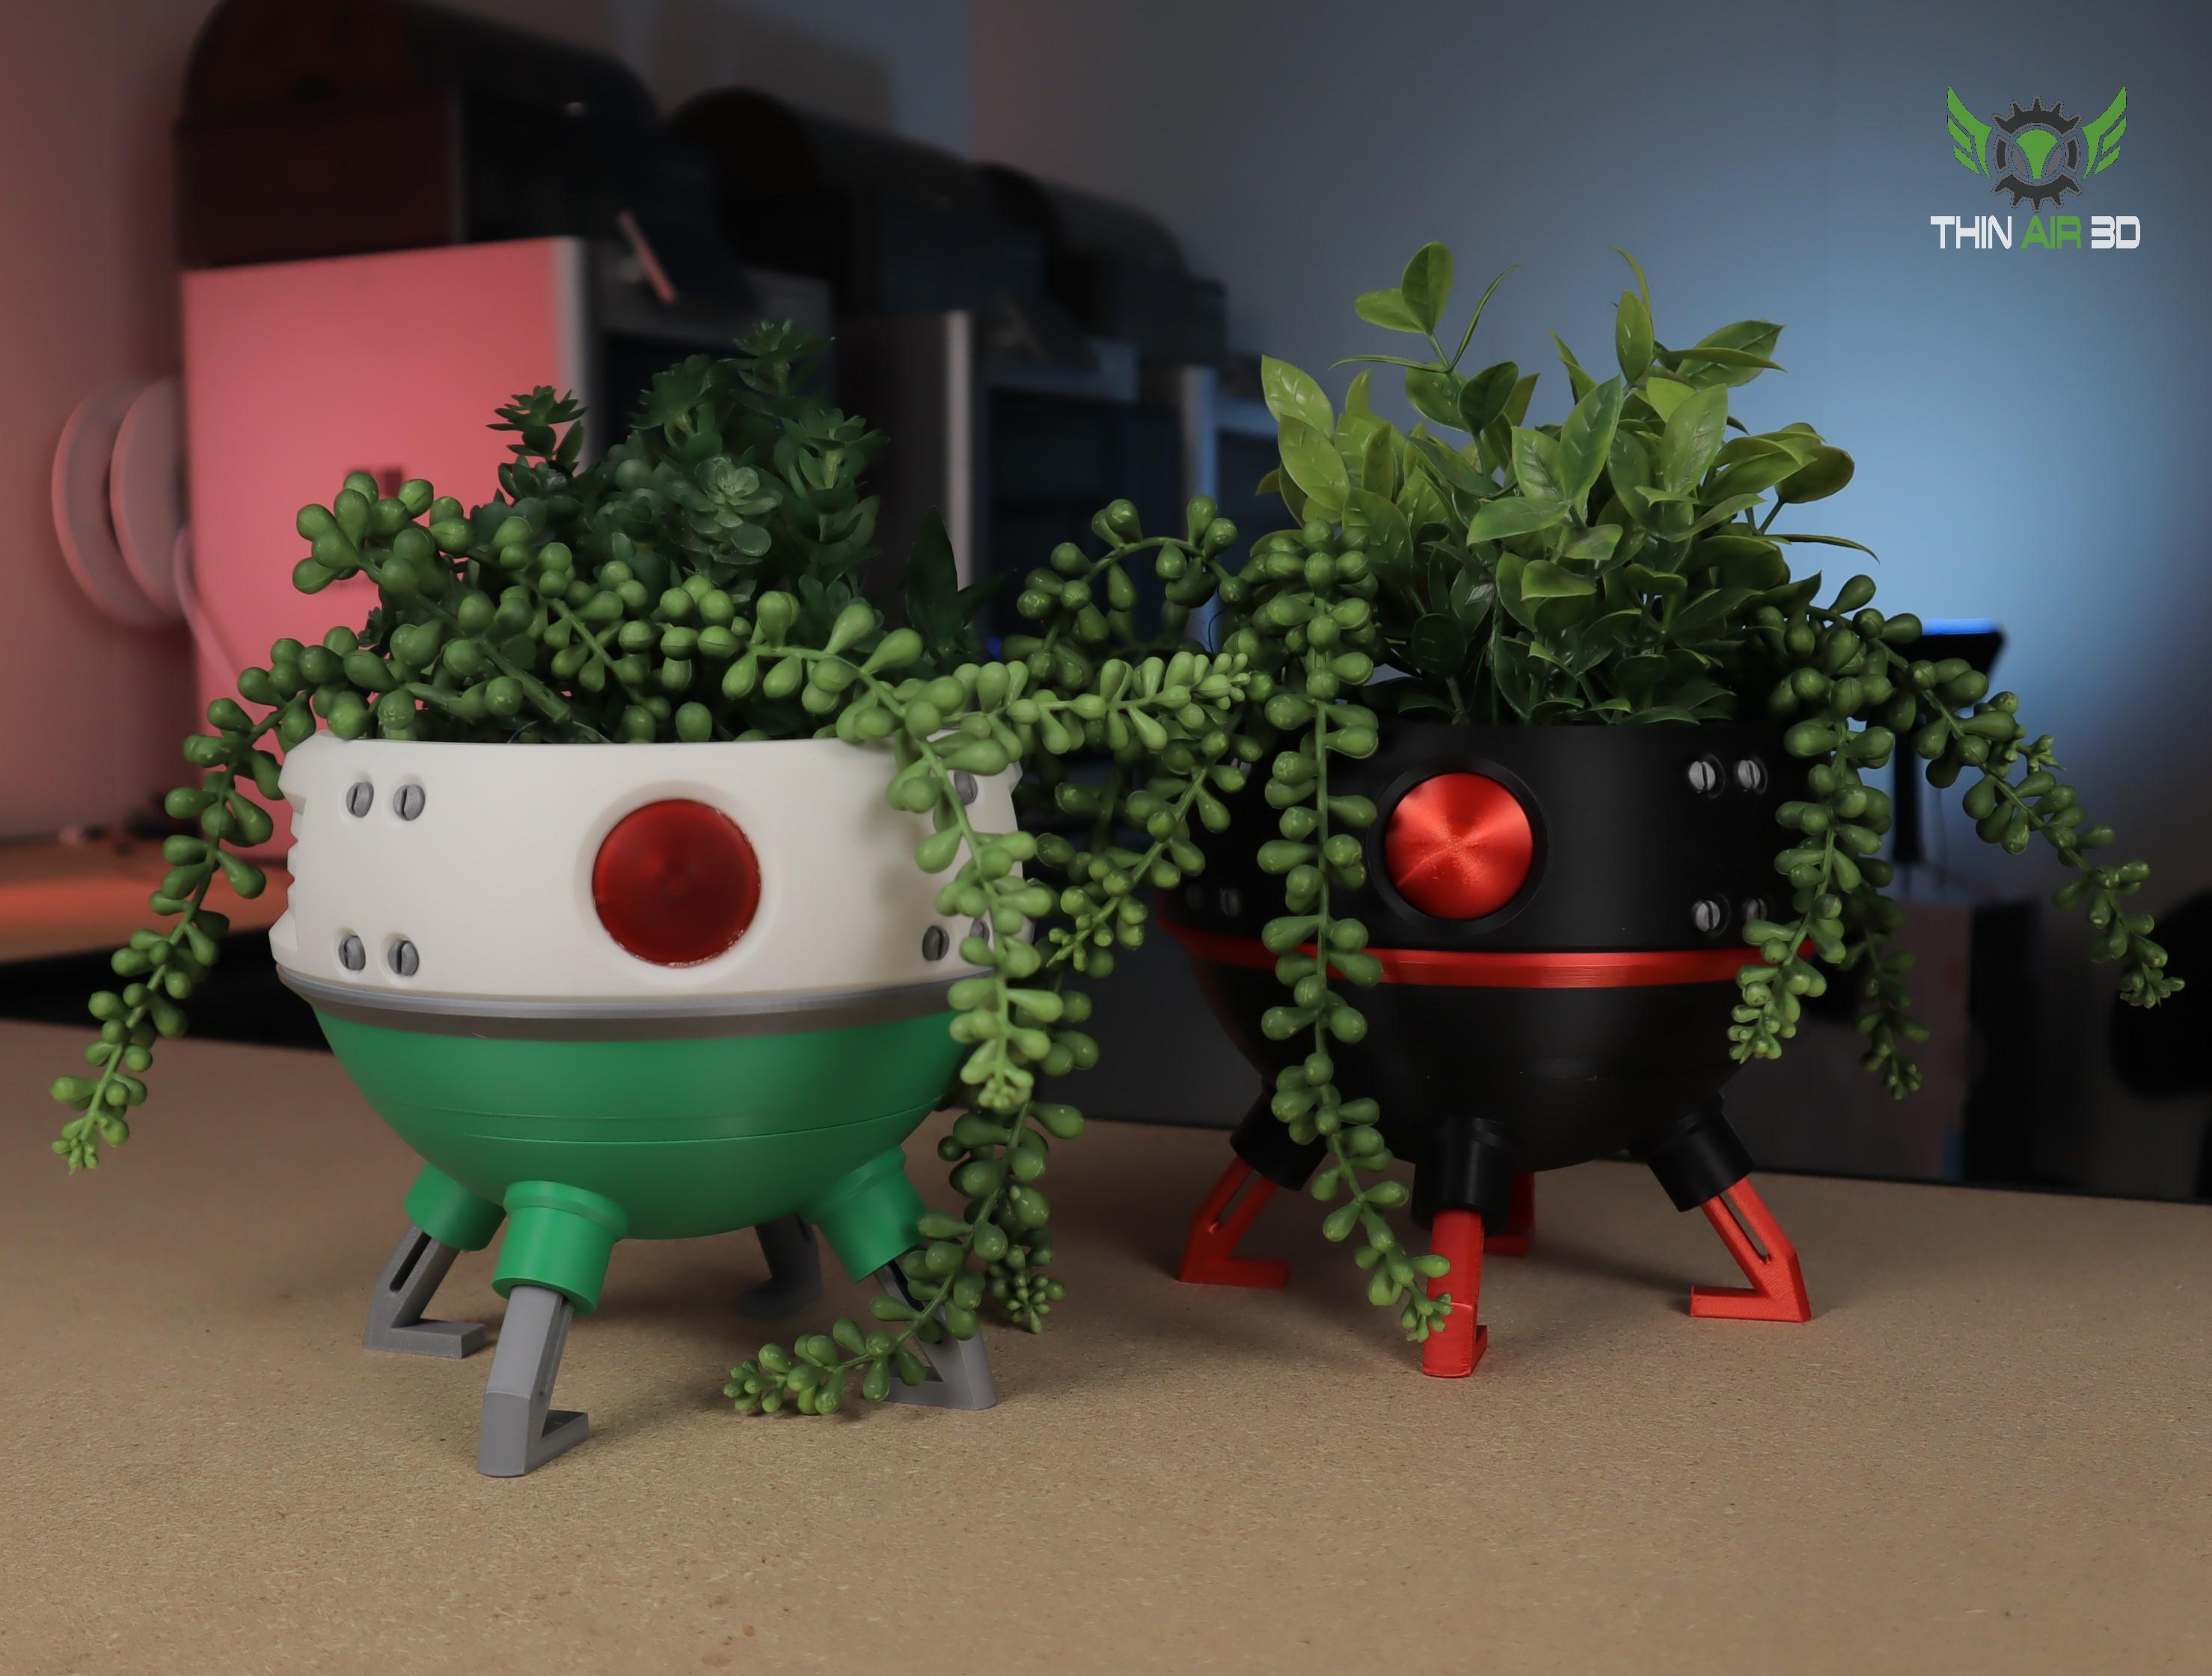
Droid Planters #1
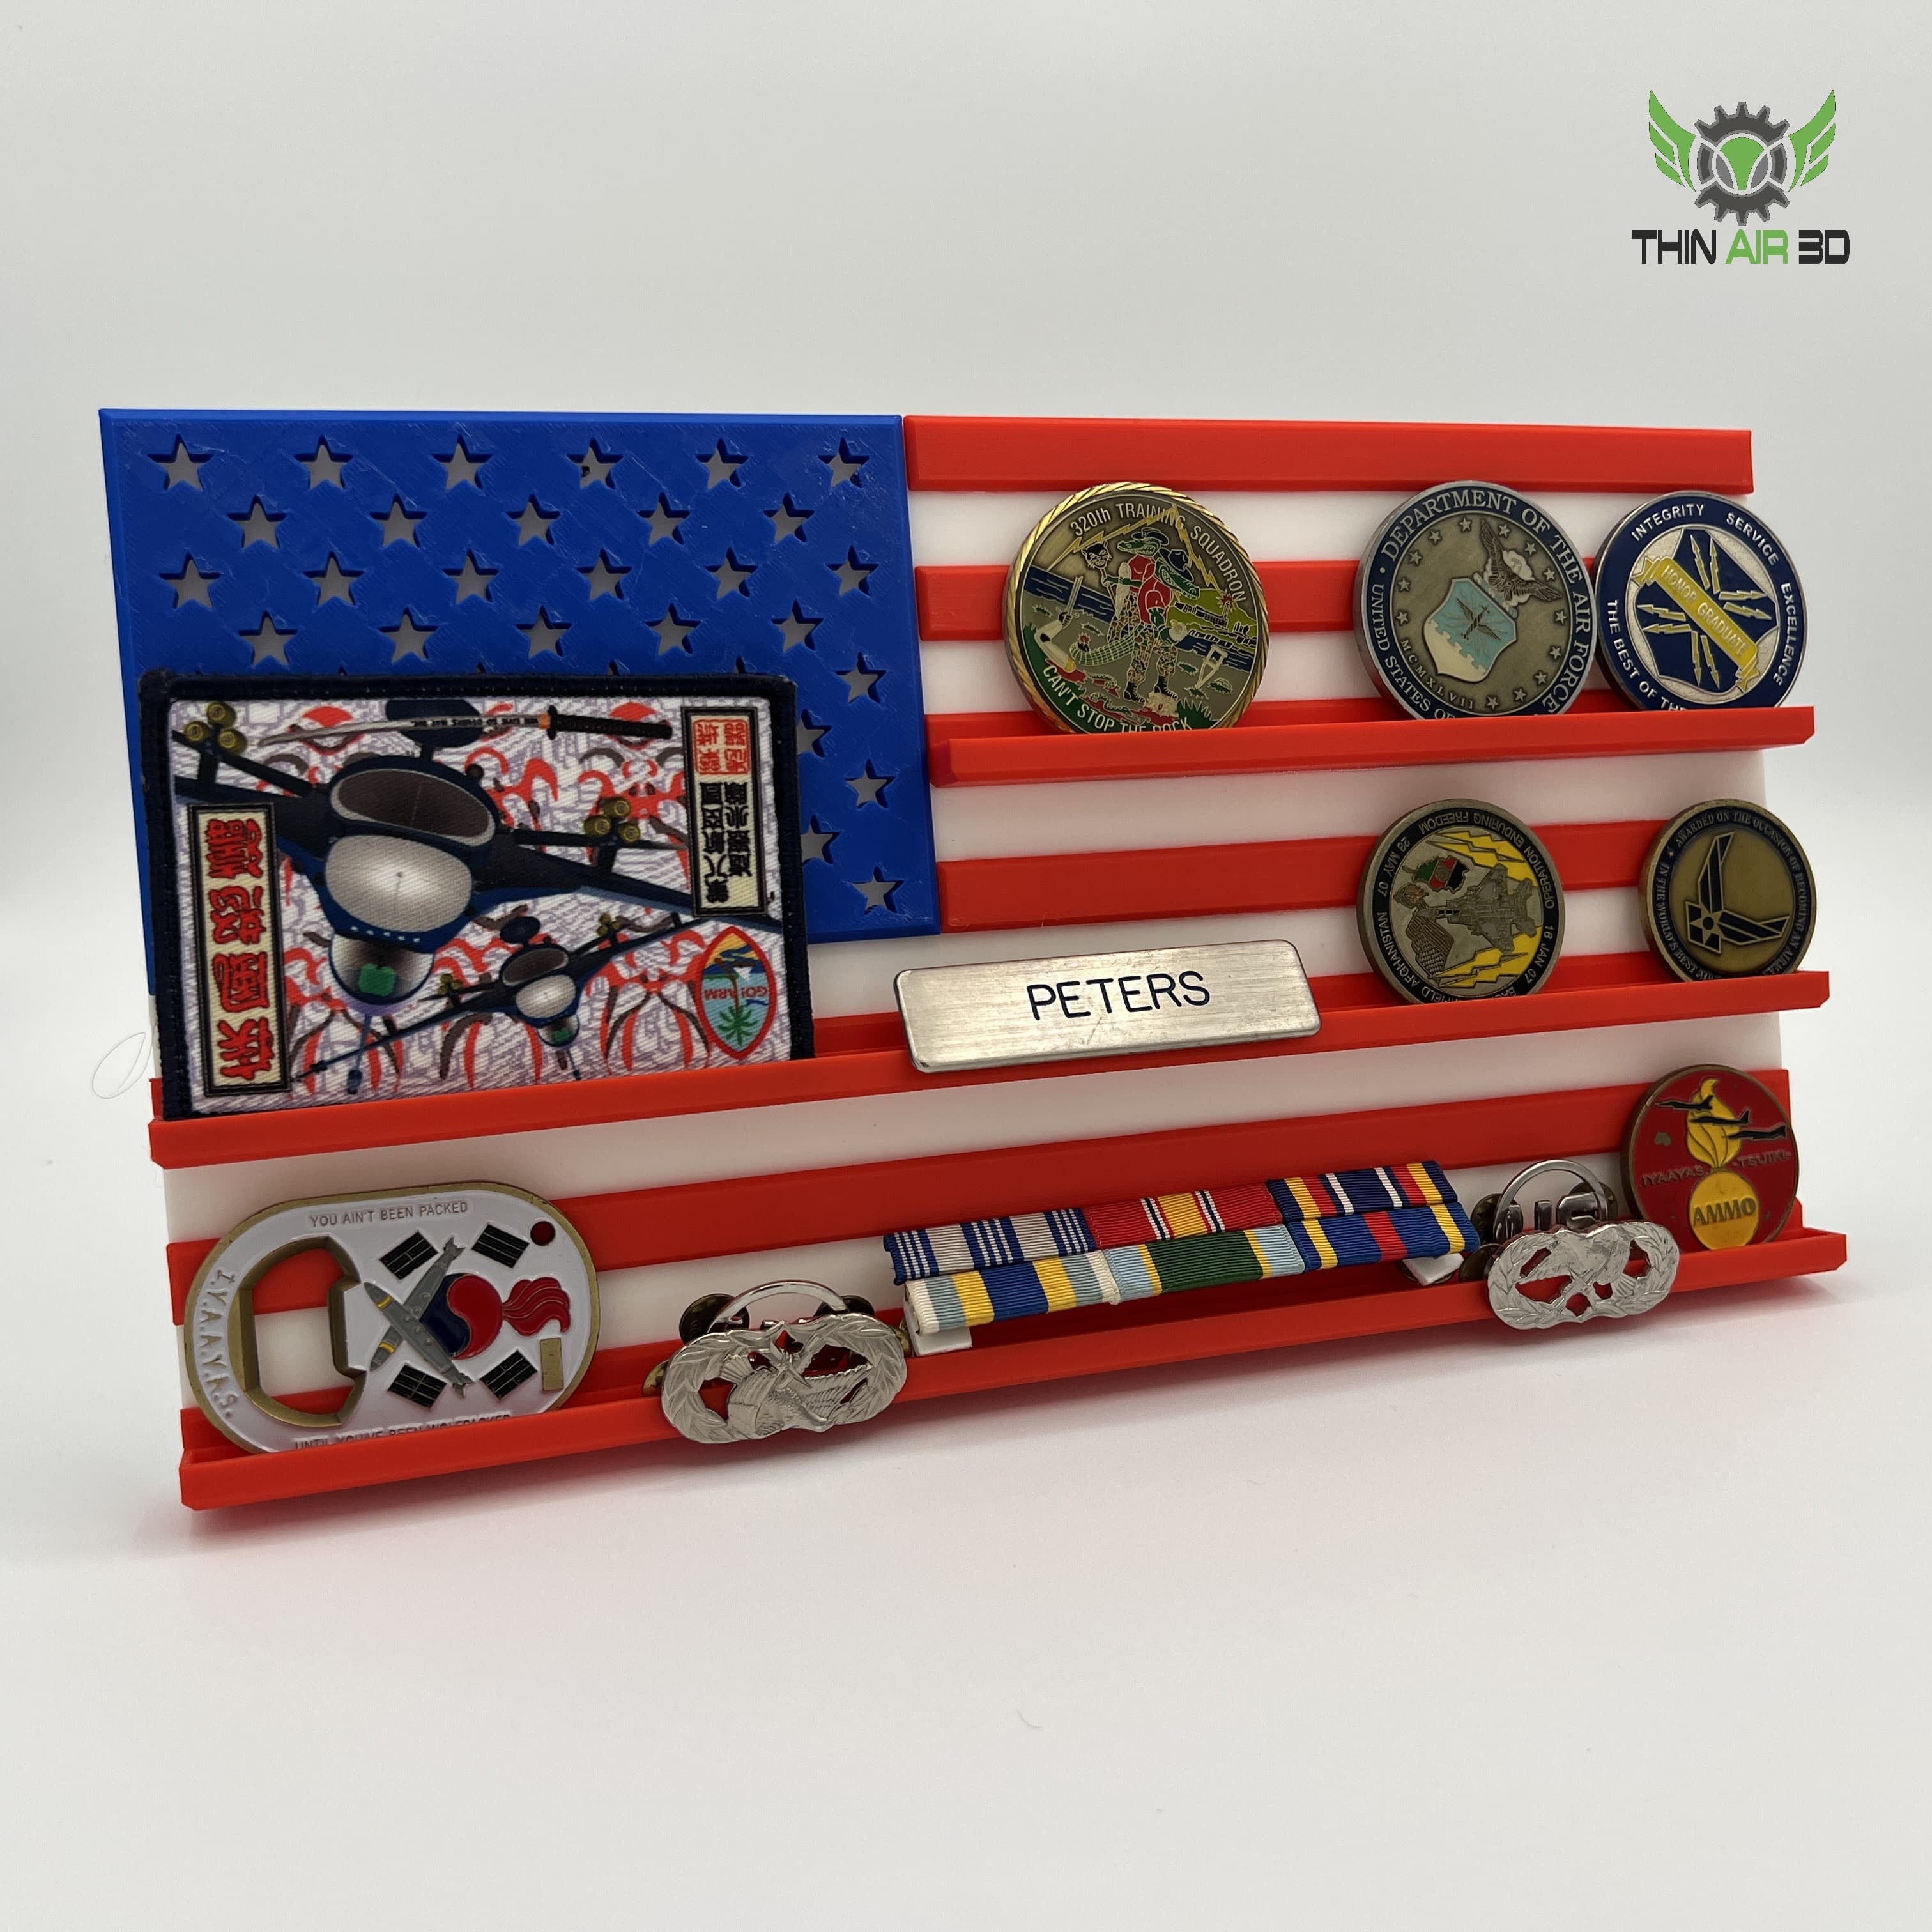
American Flag Challenge Coin Display
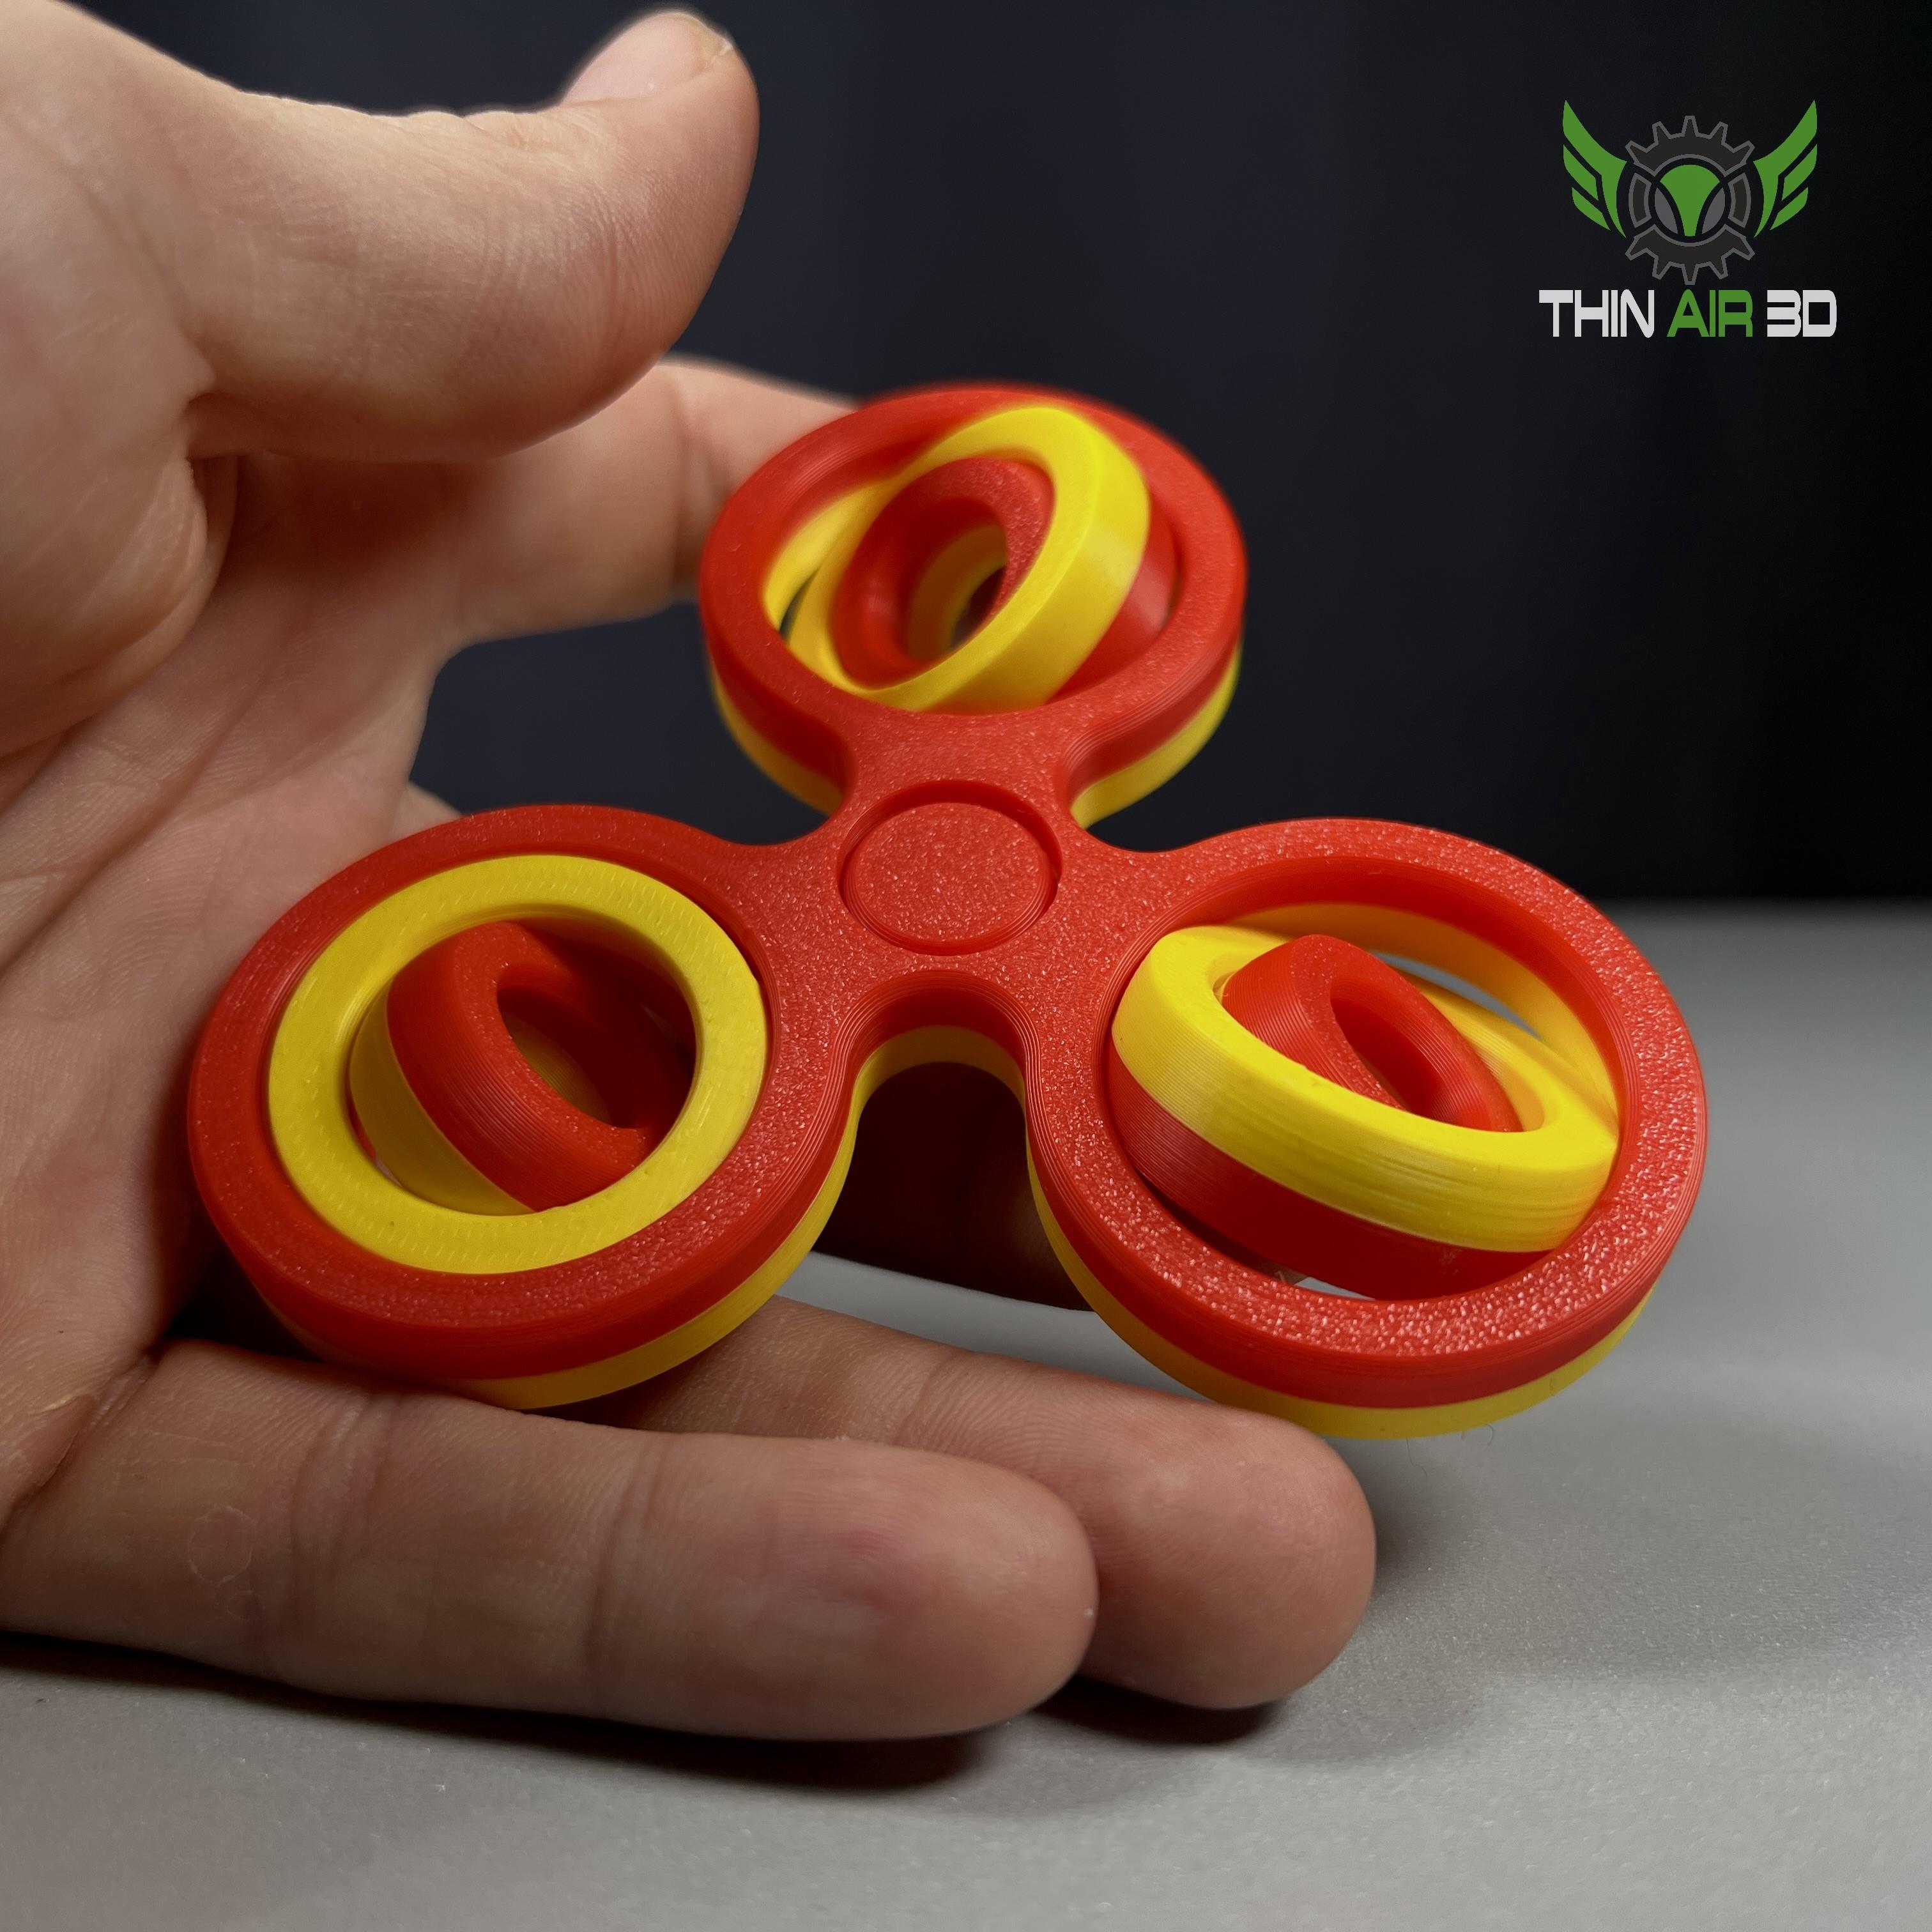
Gyro Fidgets (4 Variations, 7 Models)
Annoying PIggy Bank
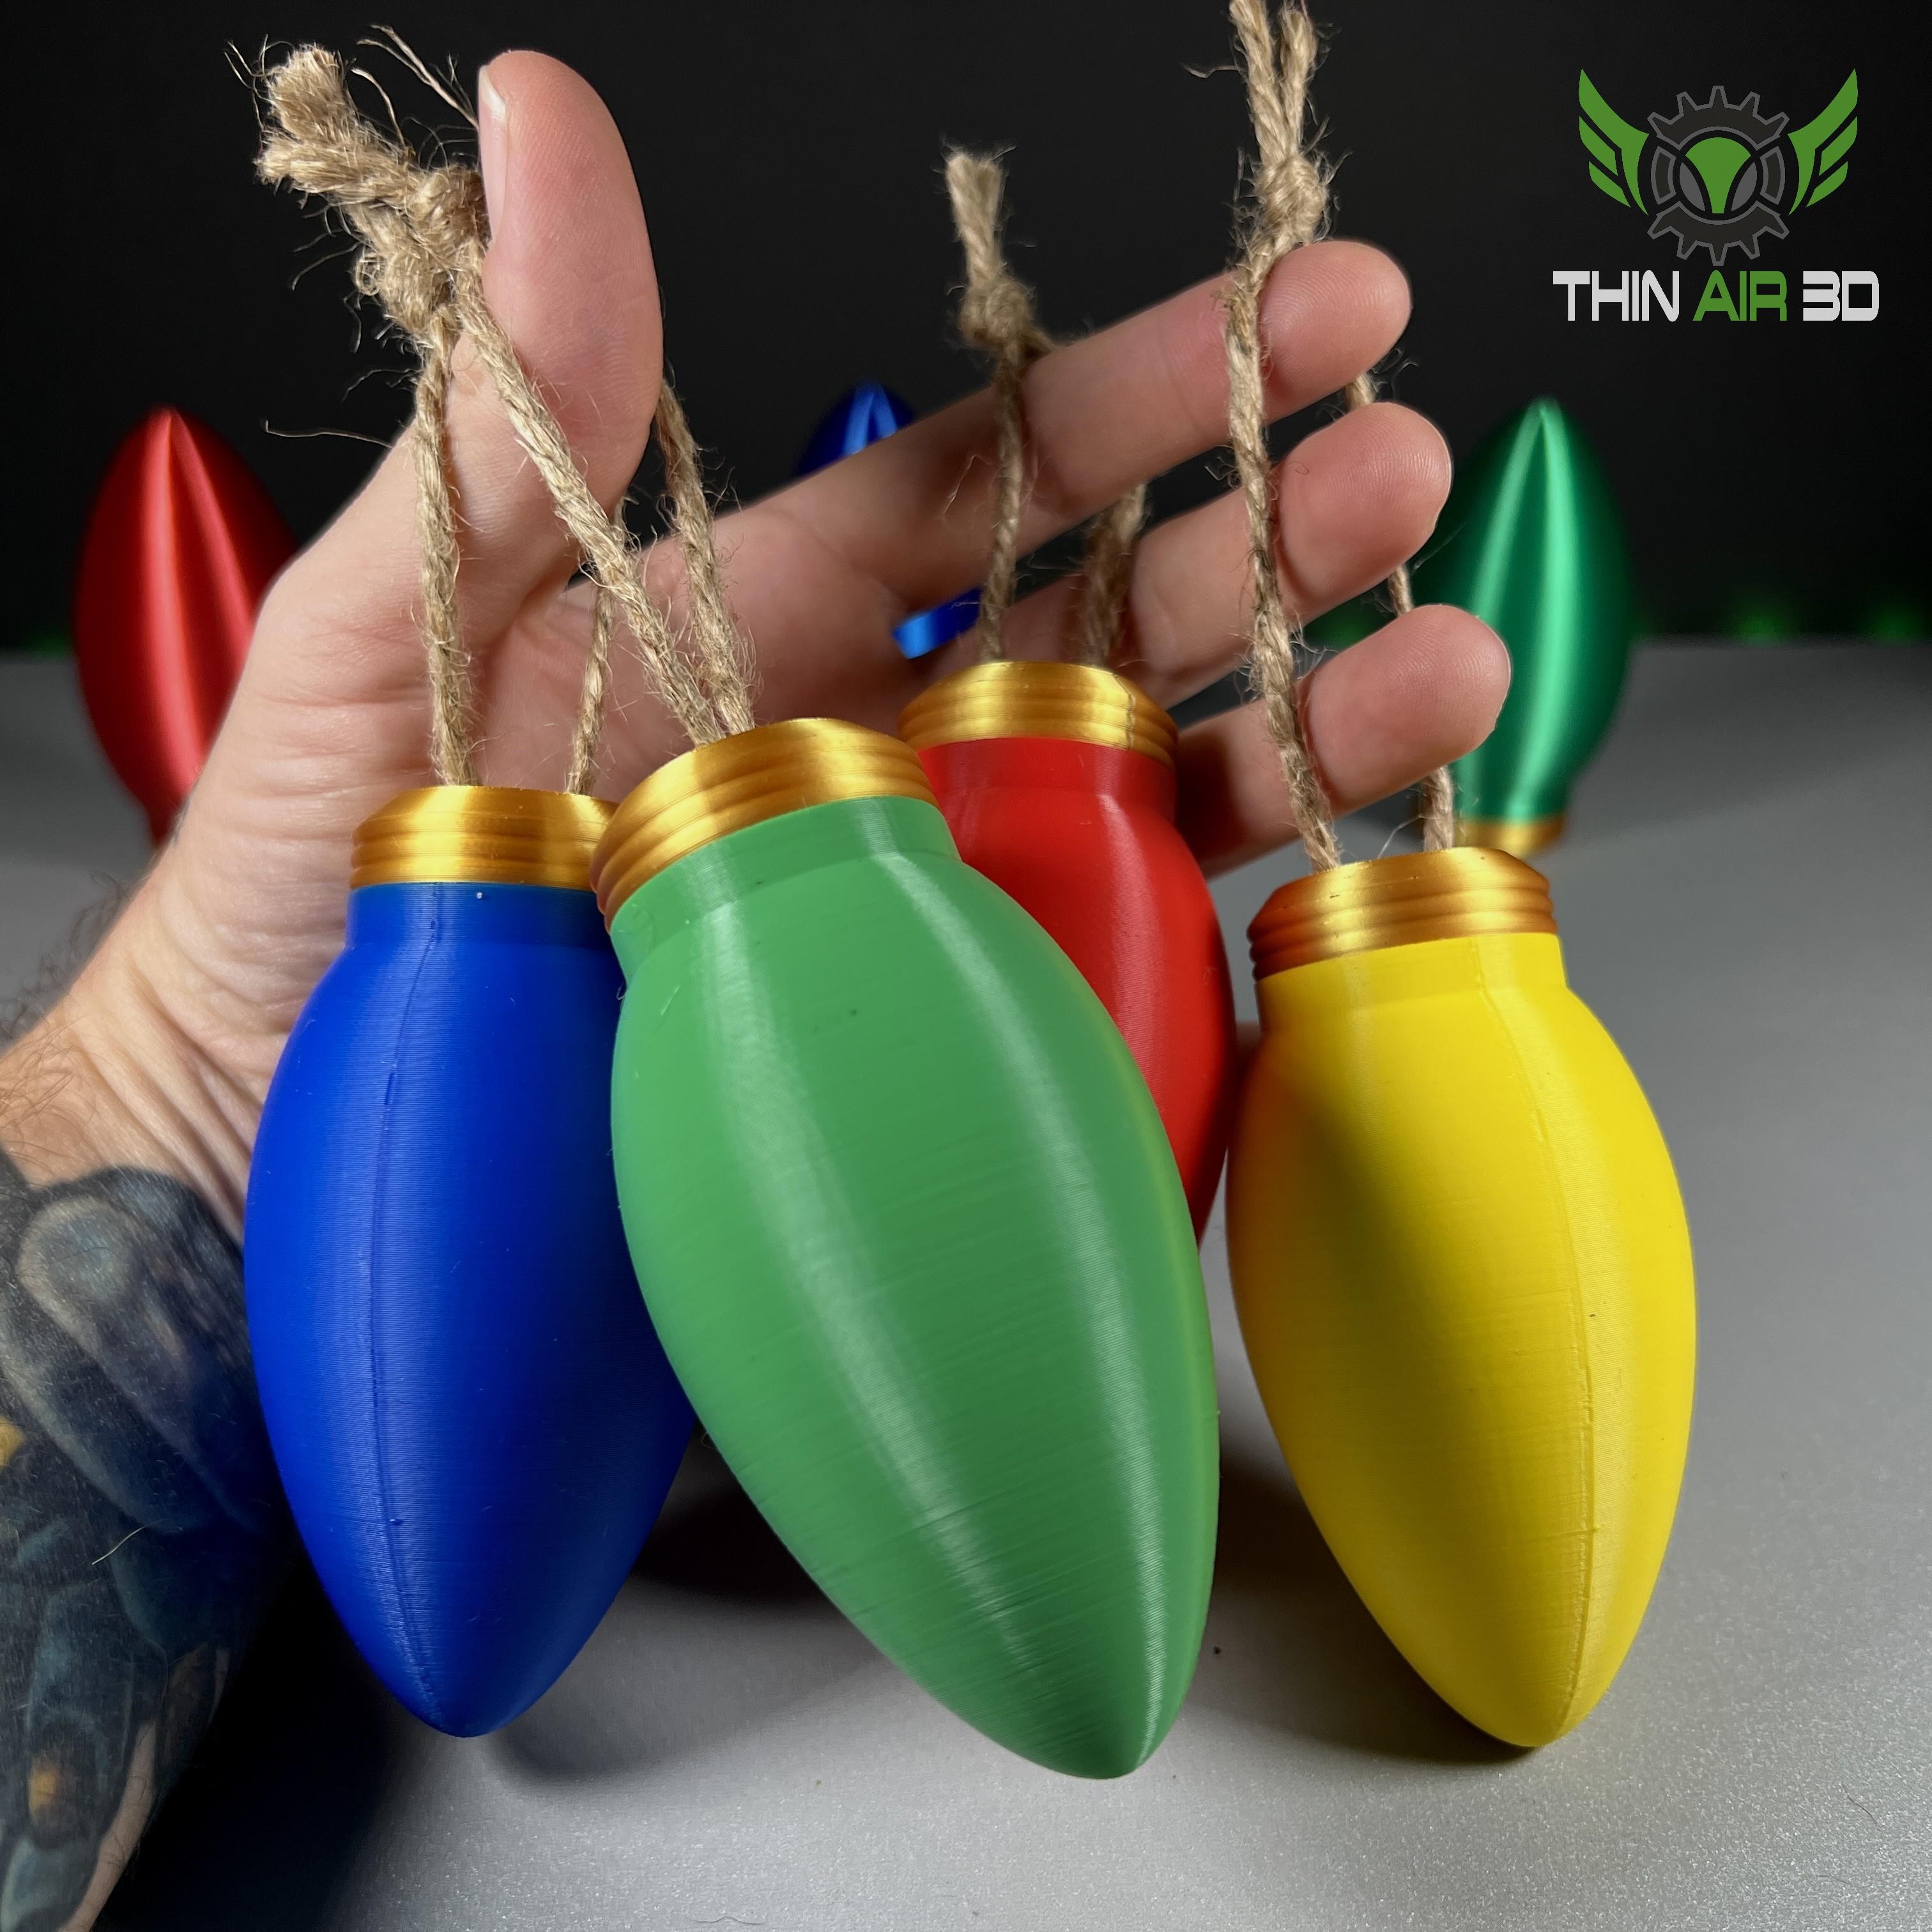
Christmas Lightbulb Ornament/Container
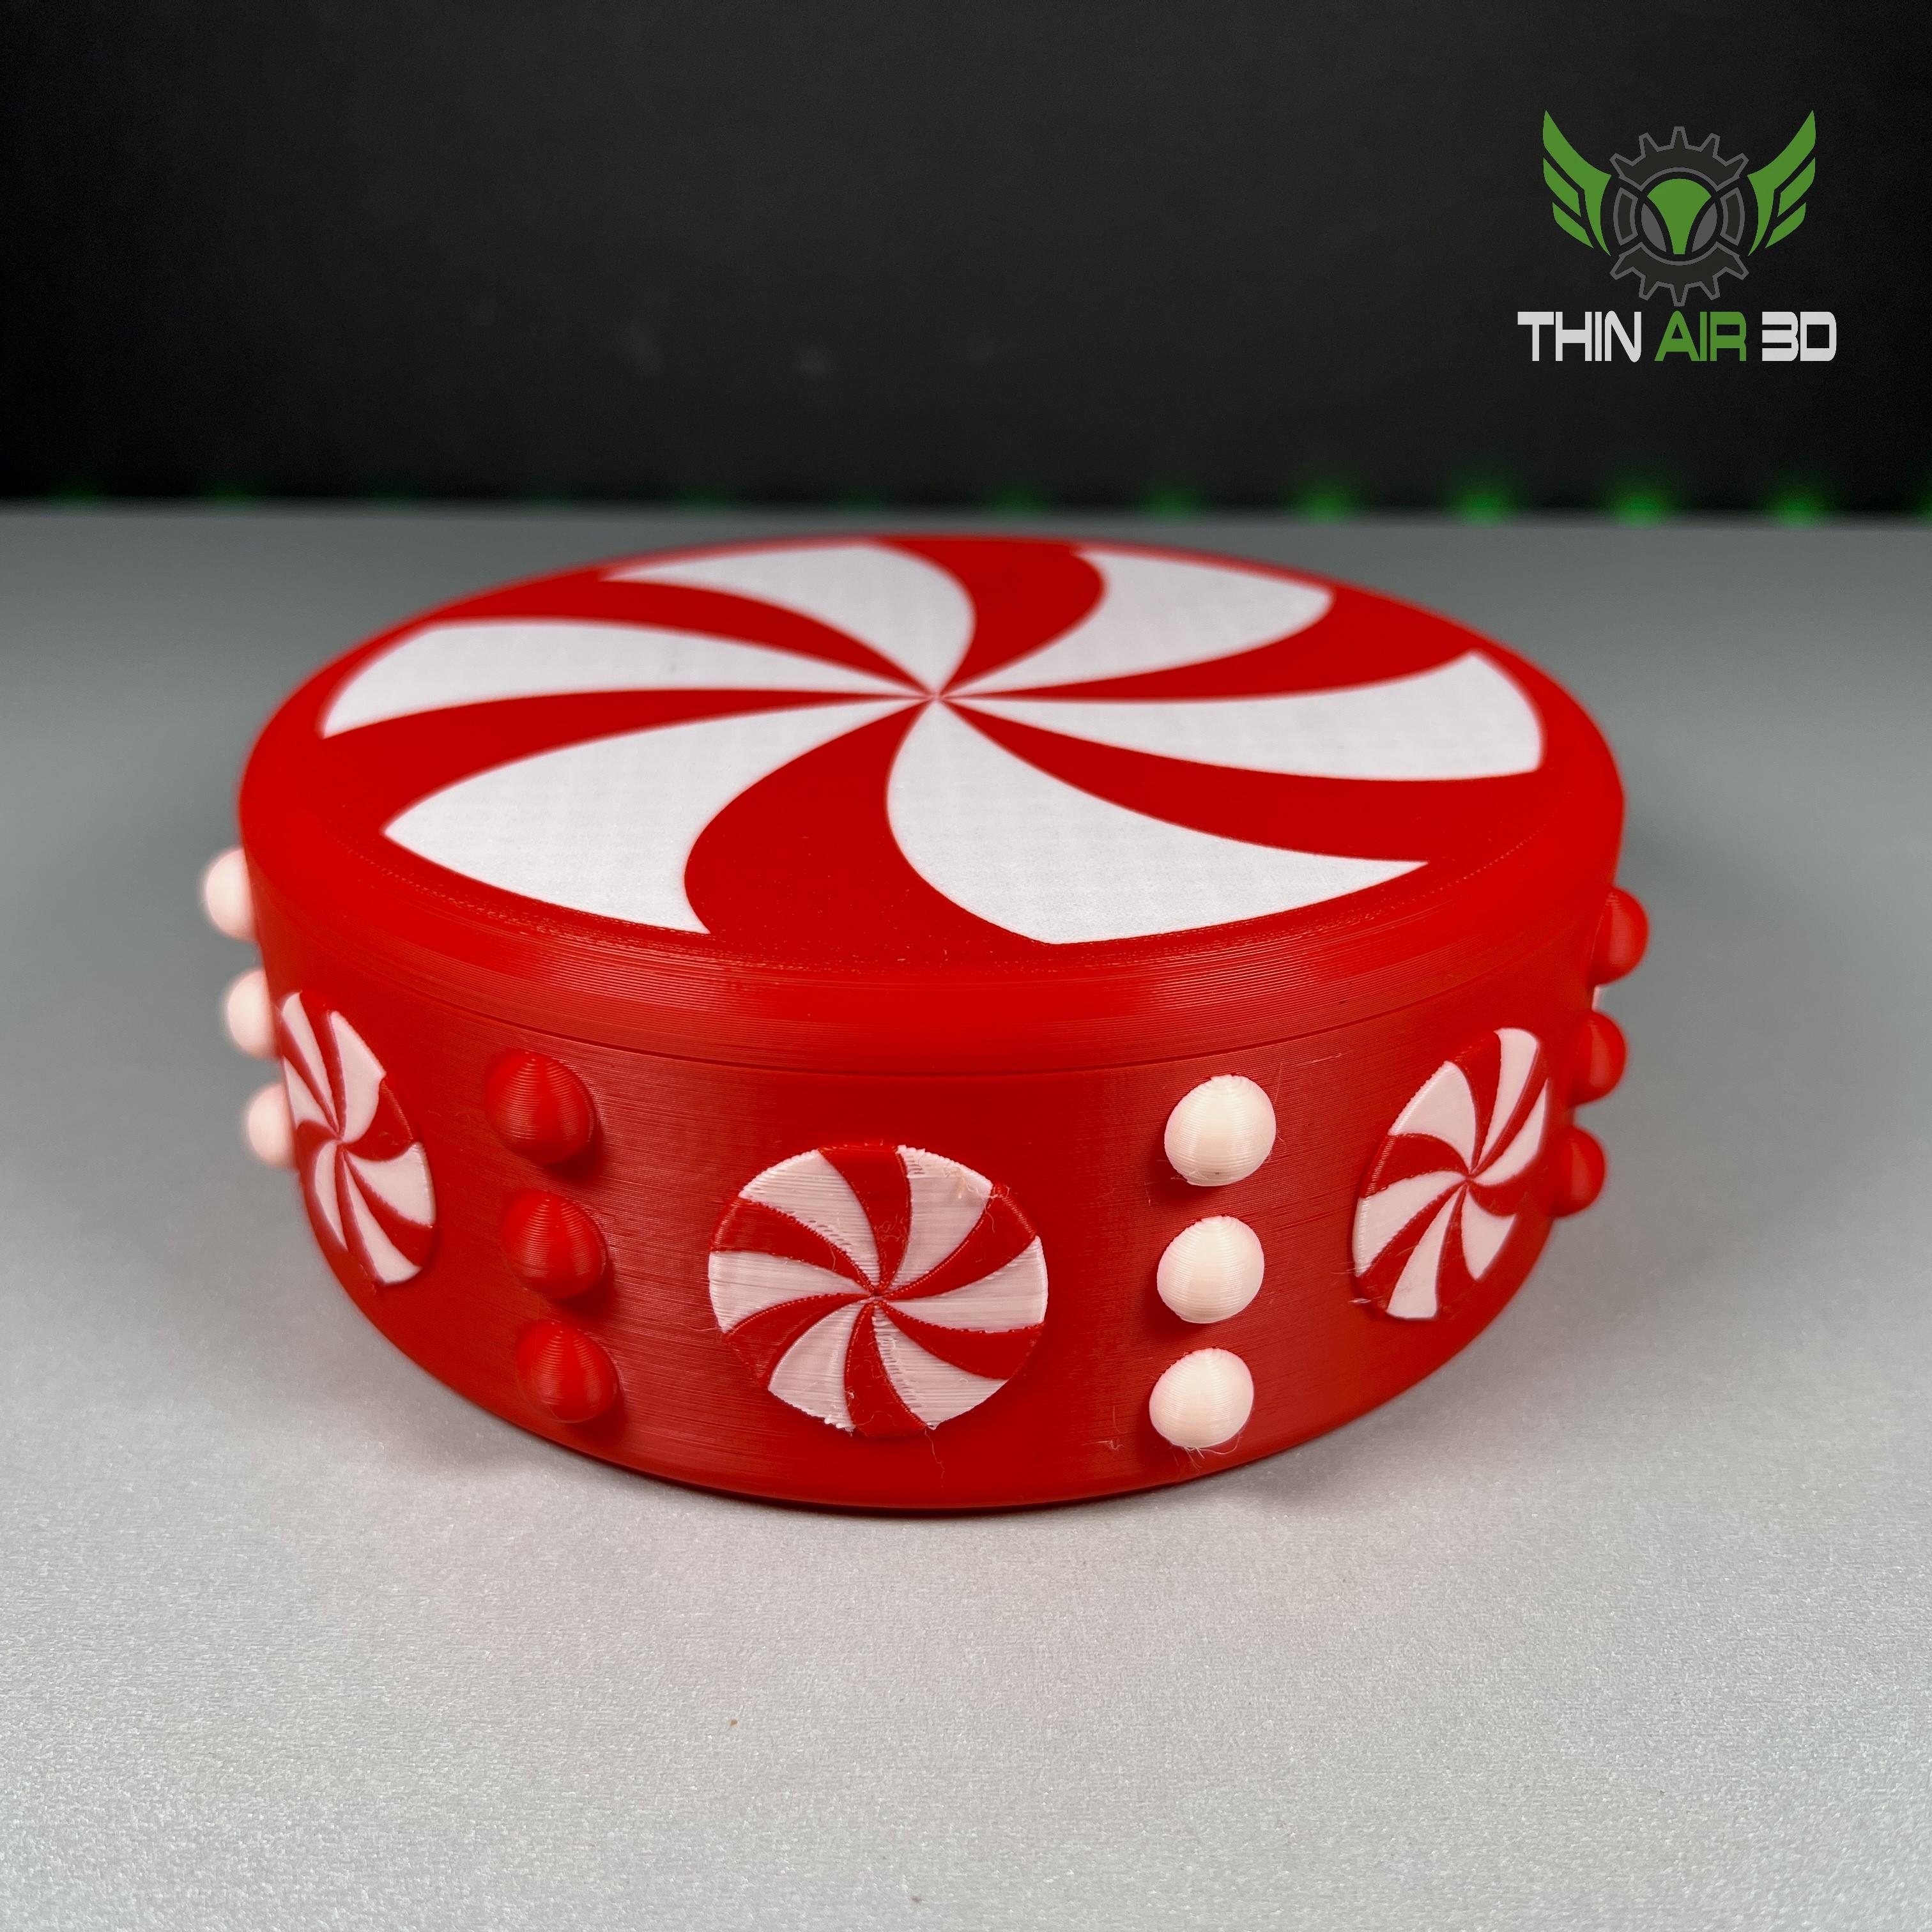
Peppermint Candy Bowl
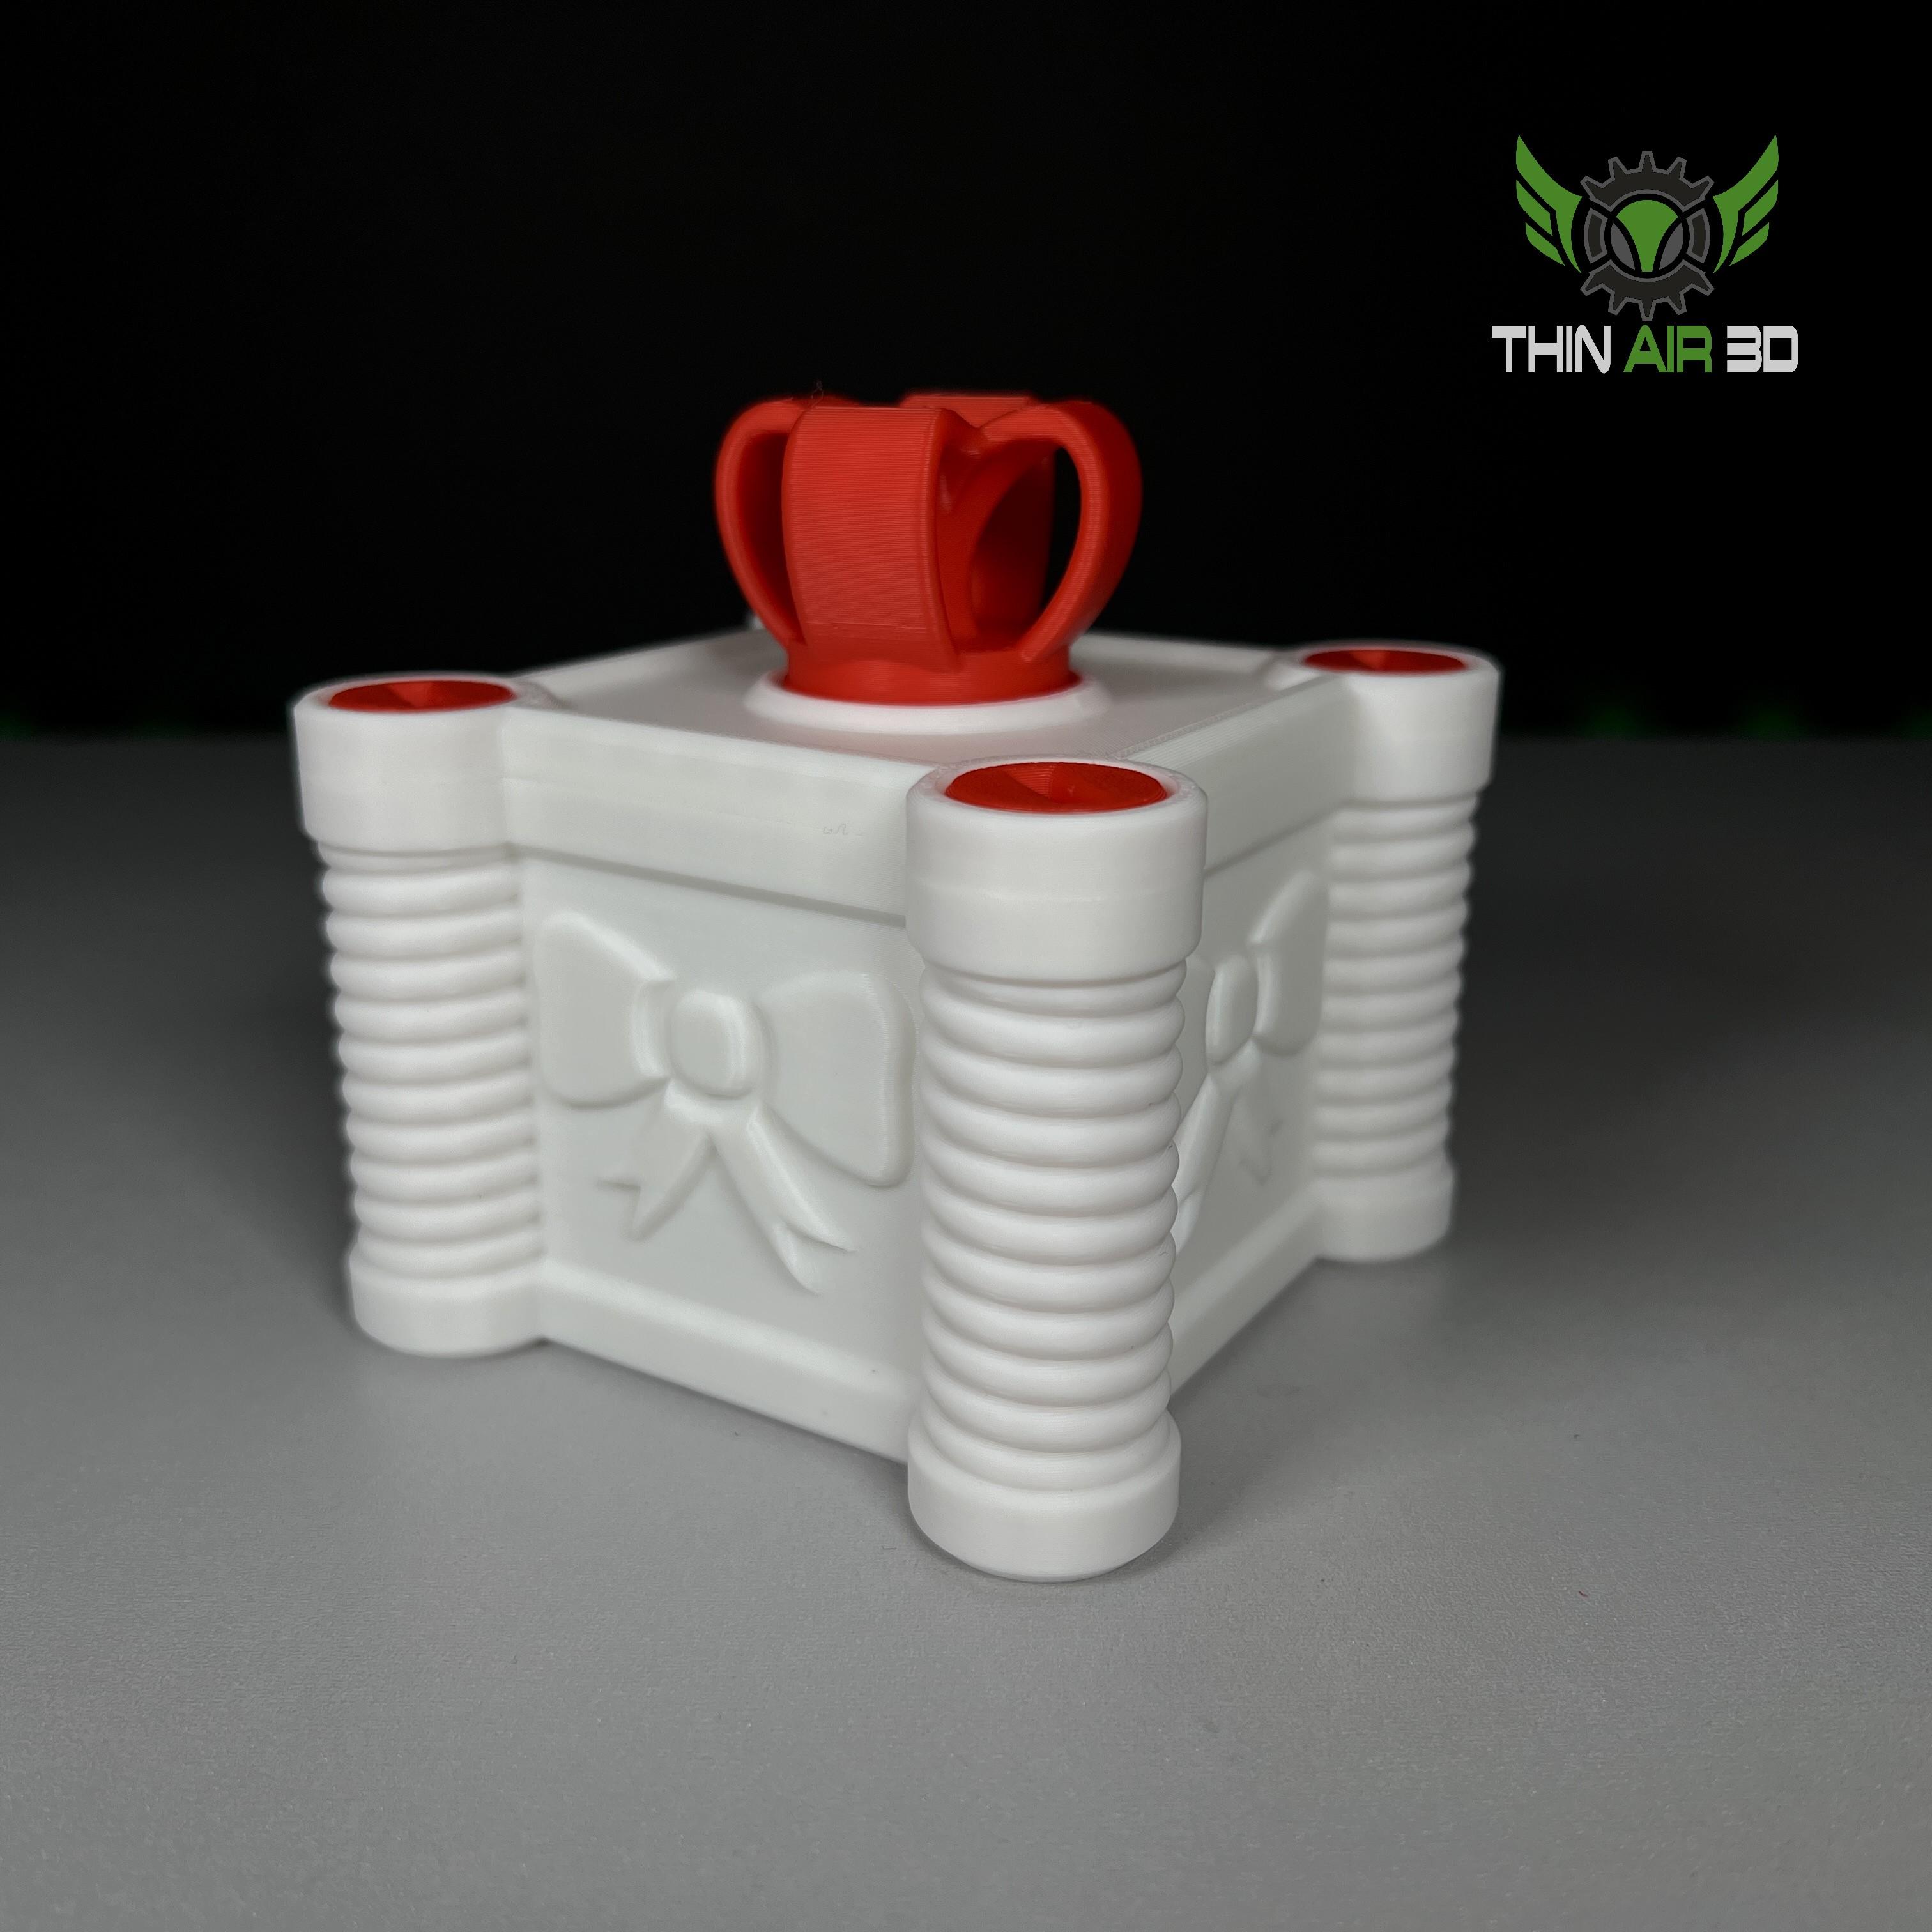
Annoying Gift Box Mini
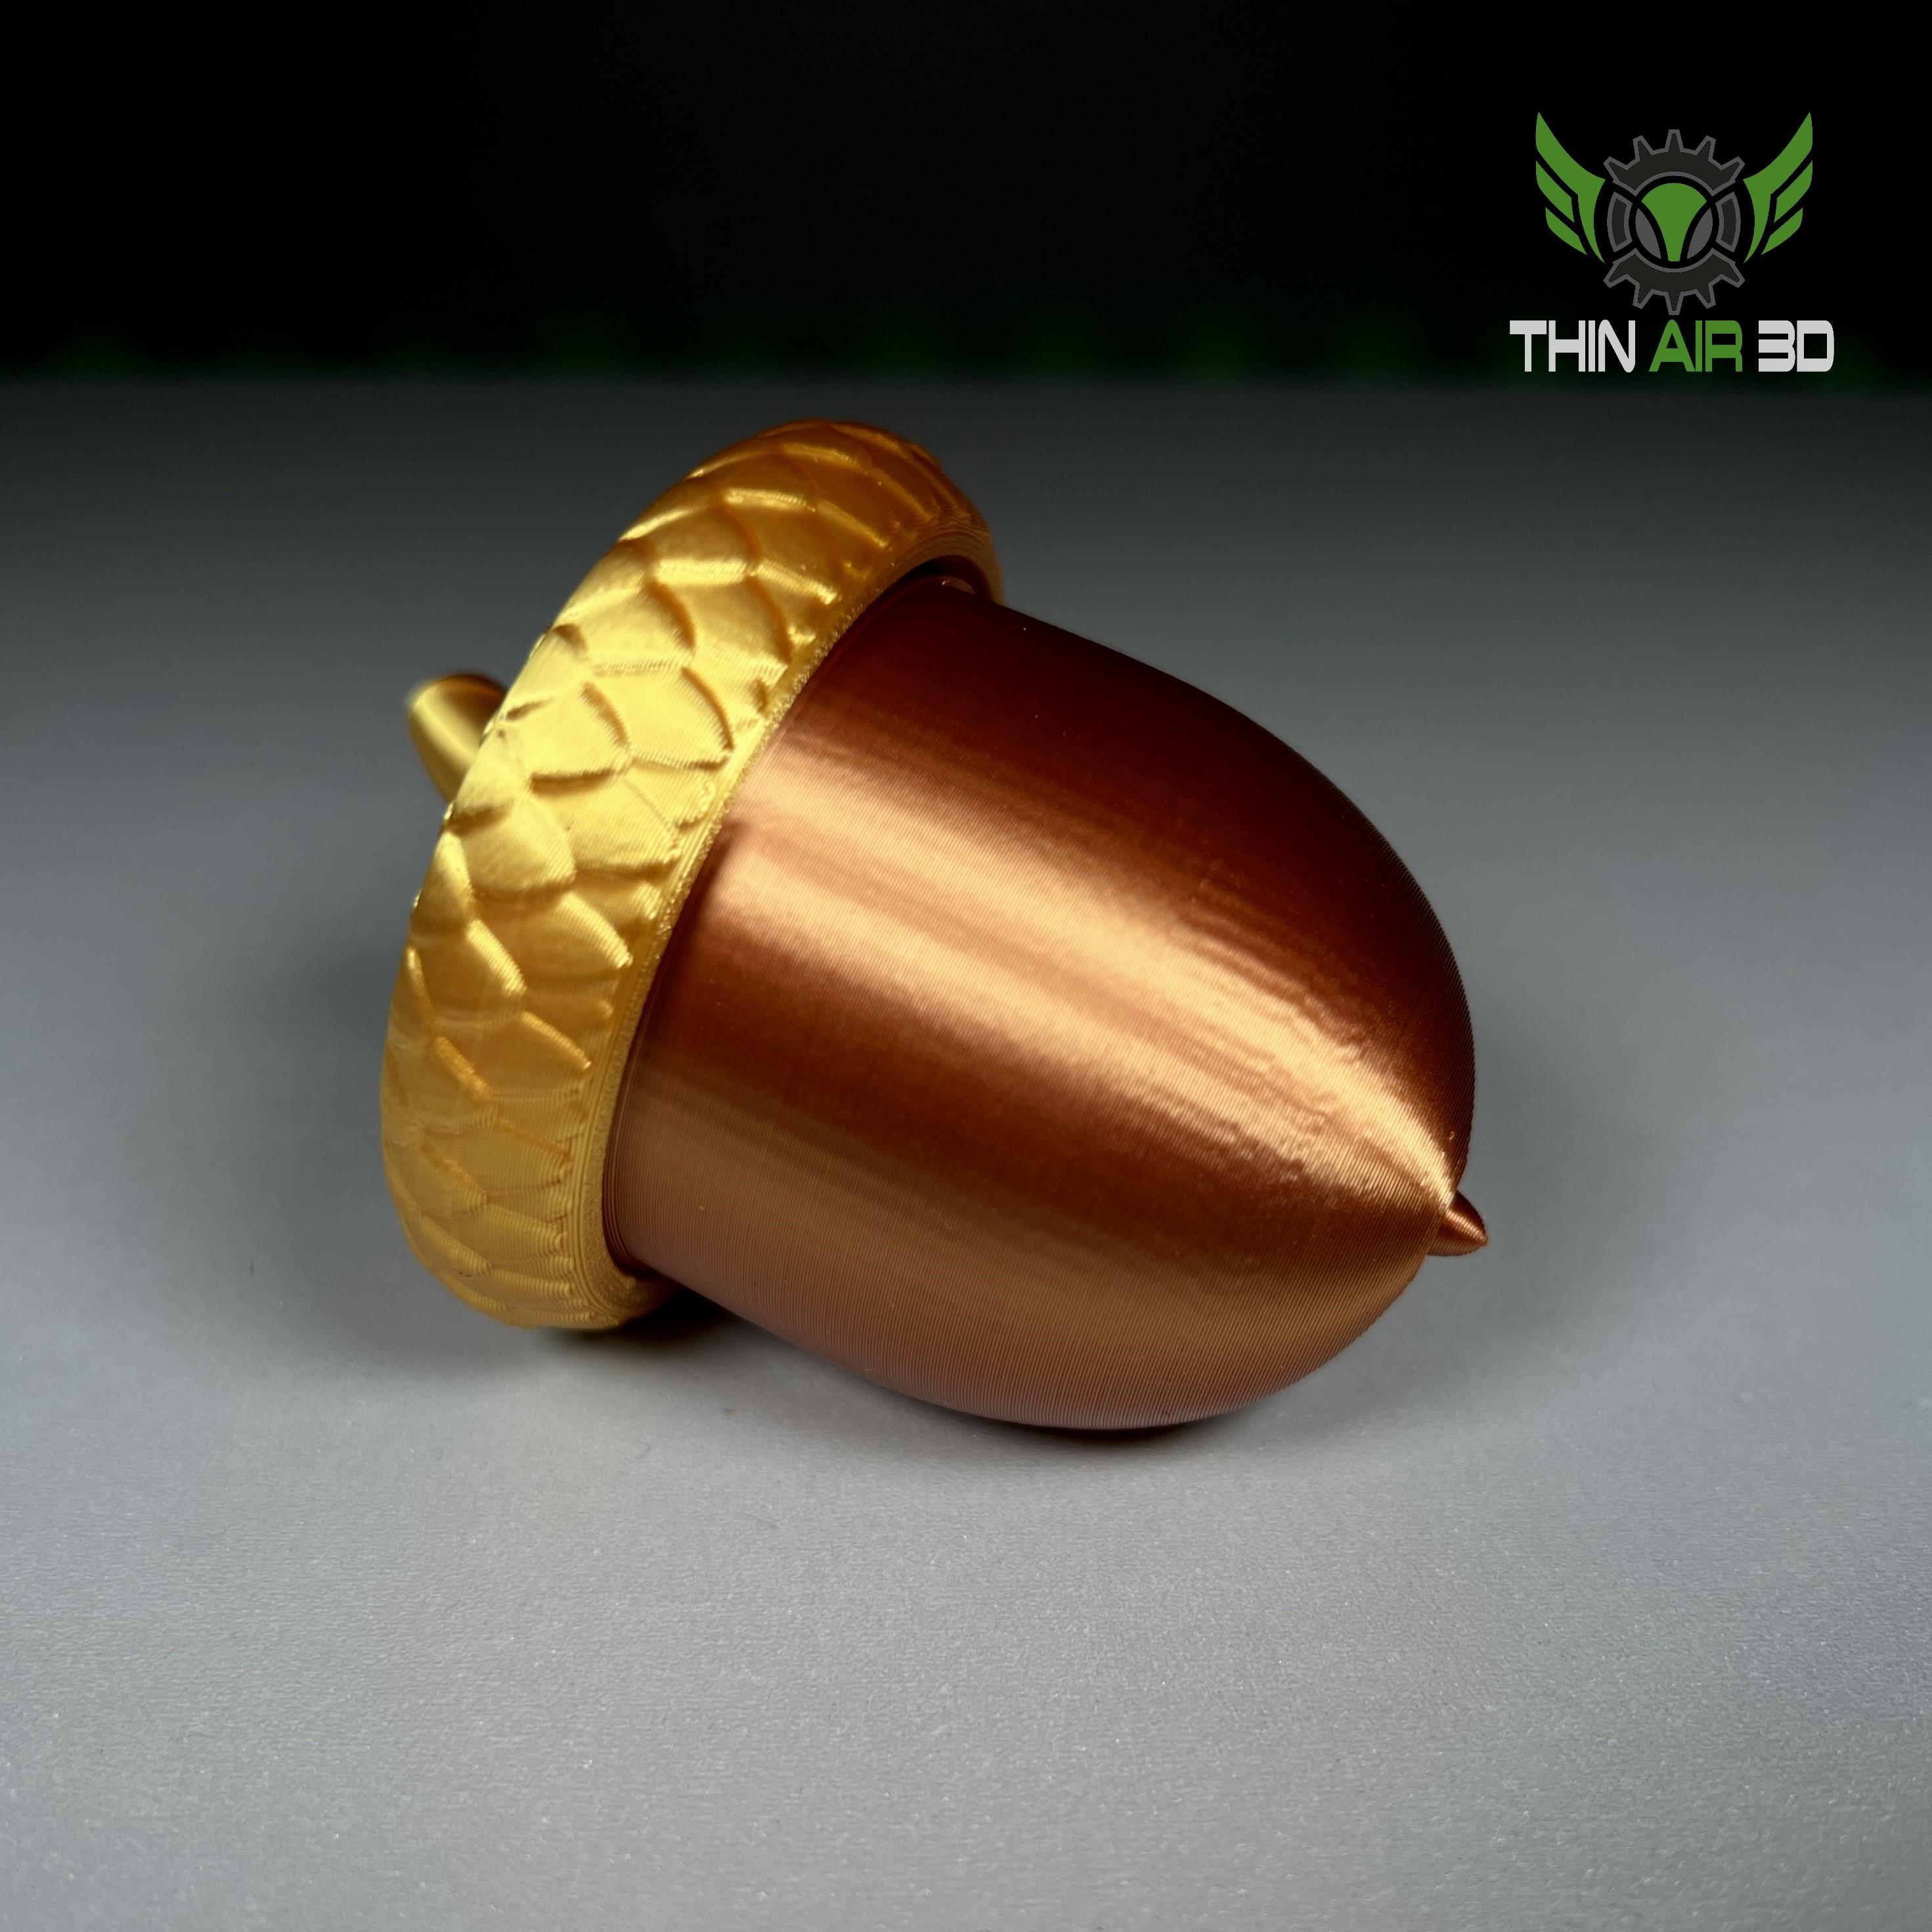
Acorn Stash Jar / Geocache