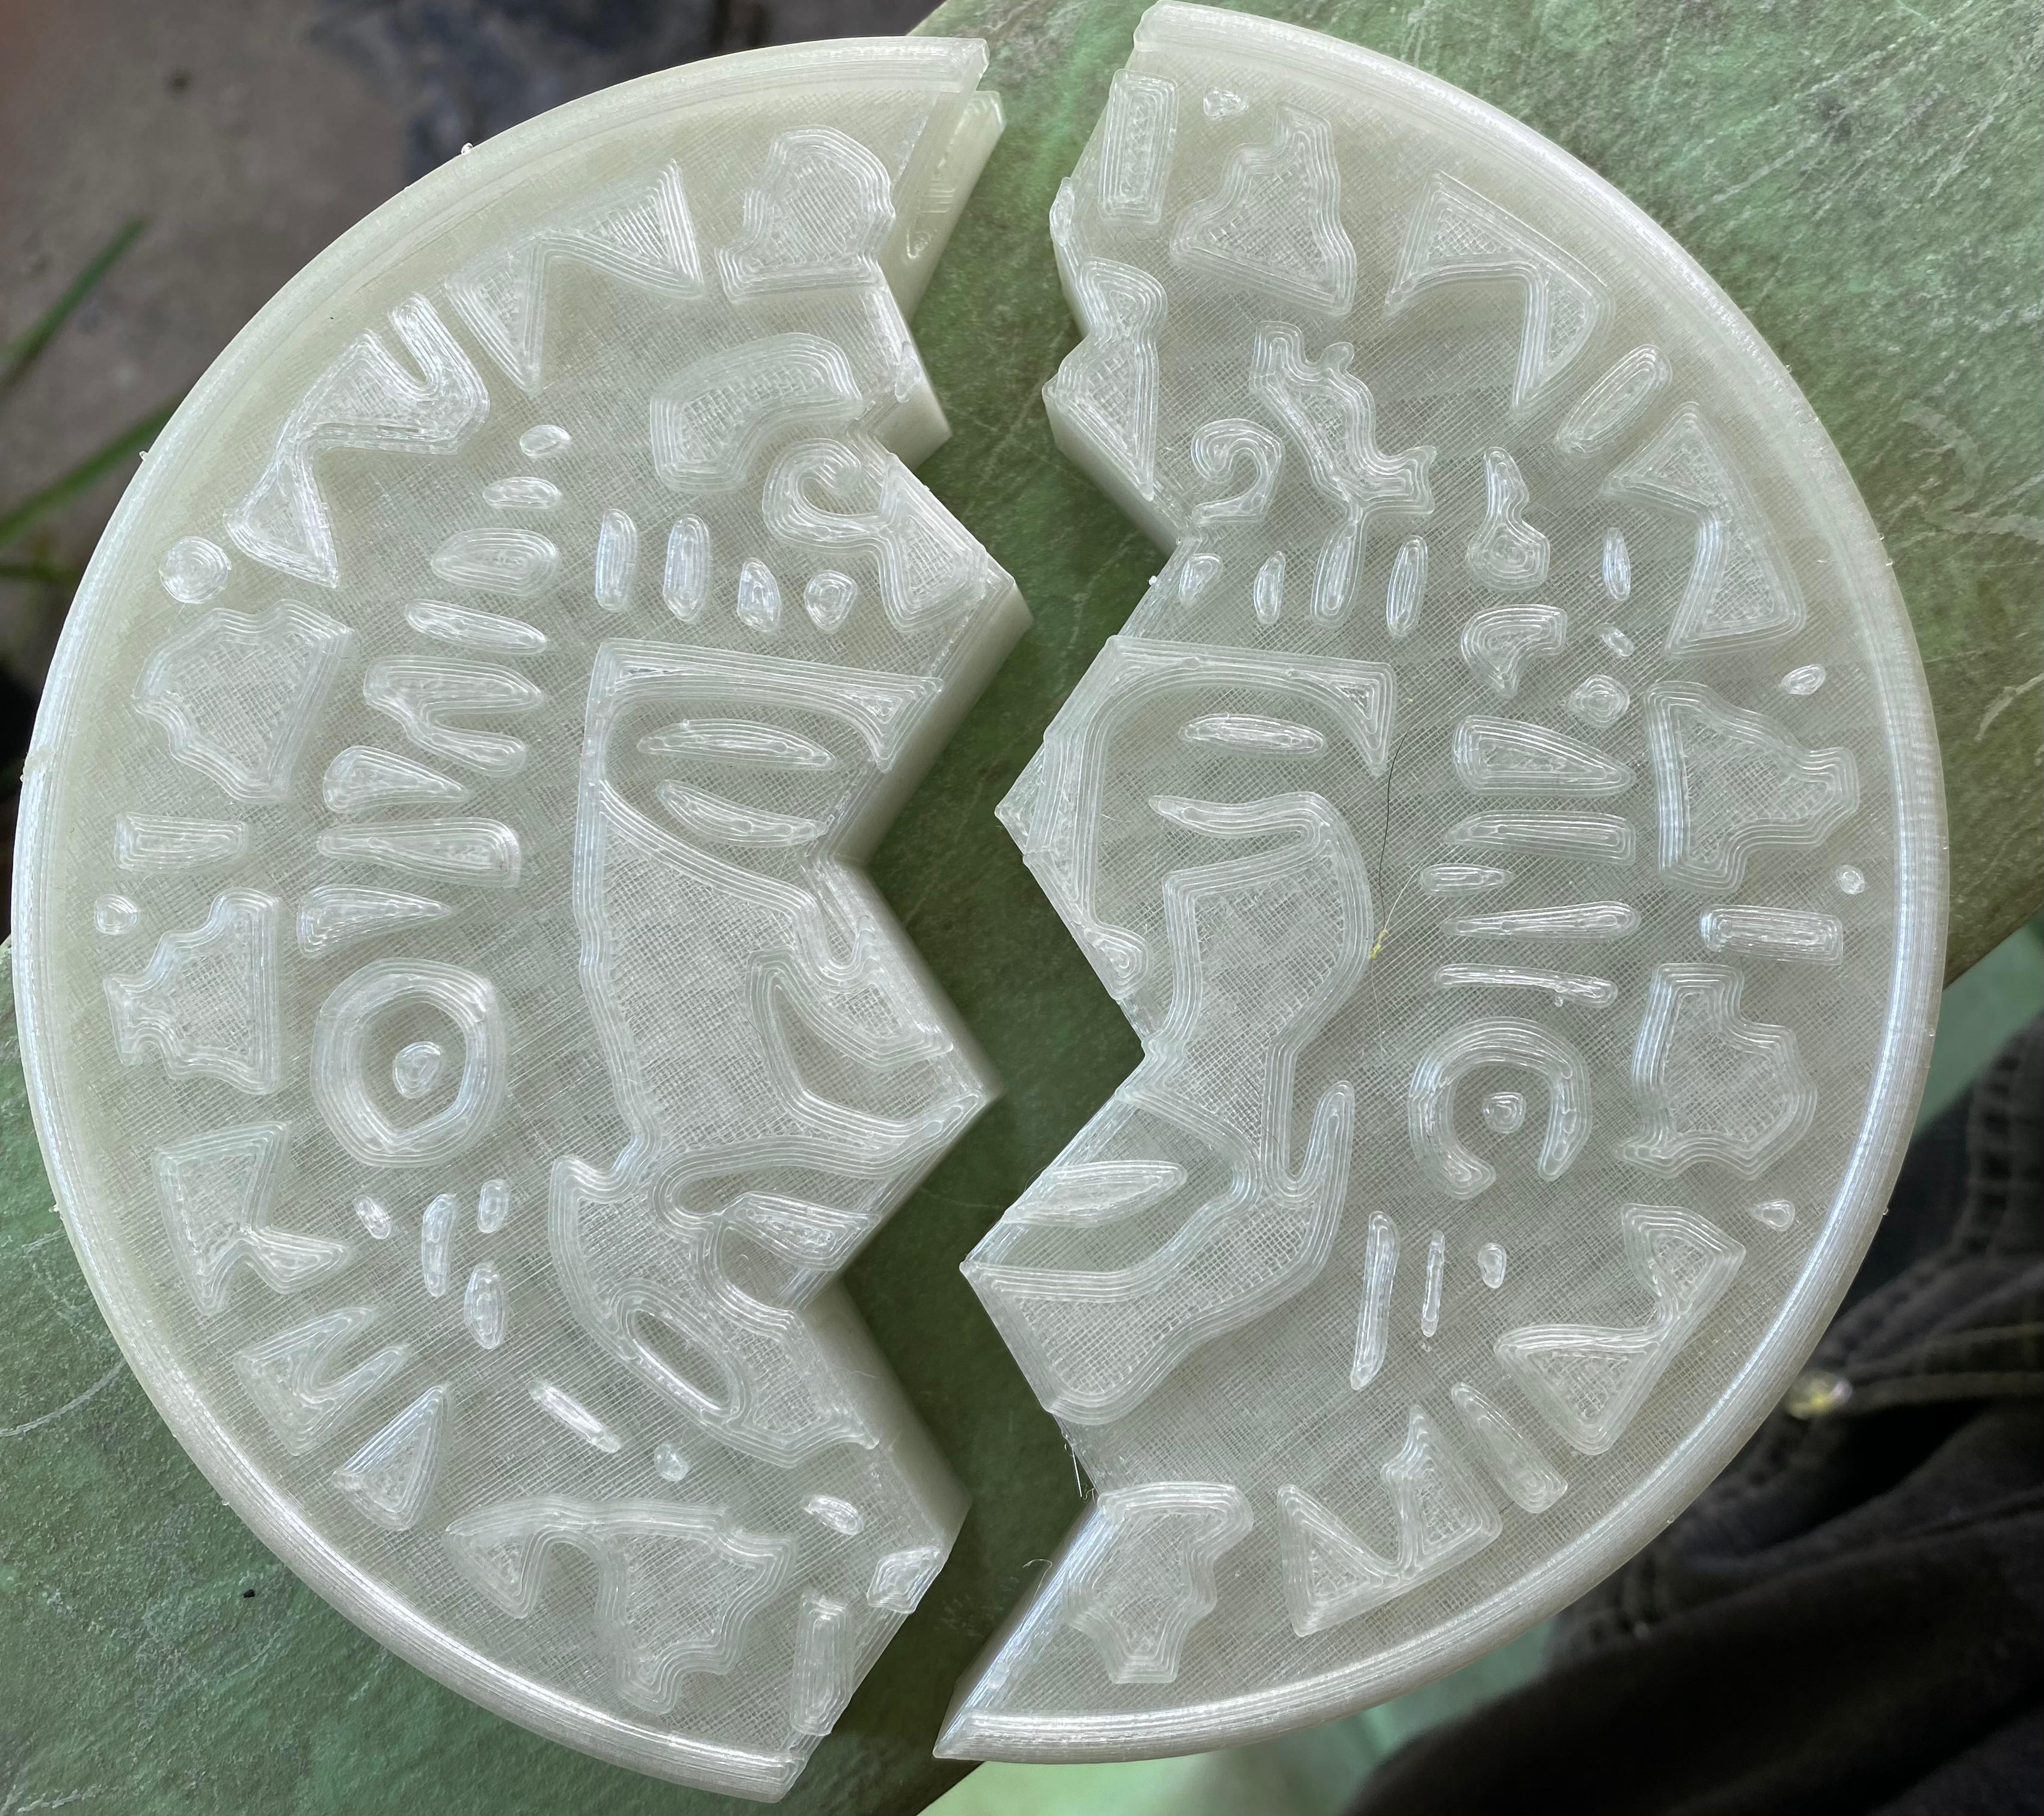
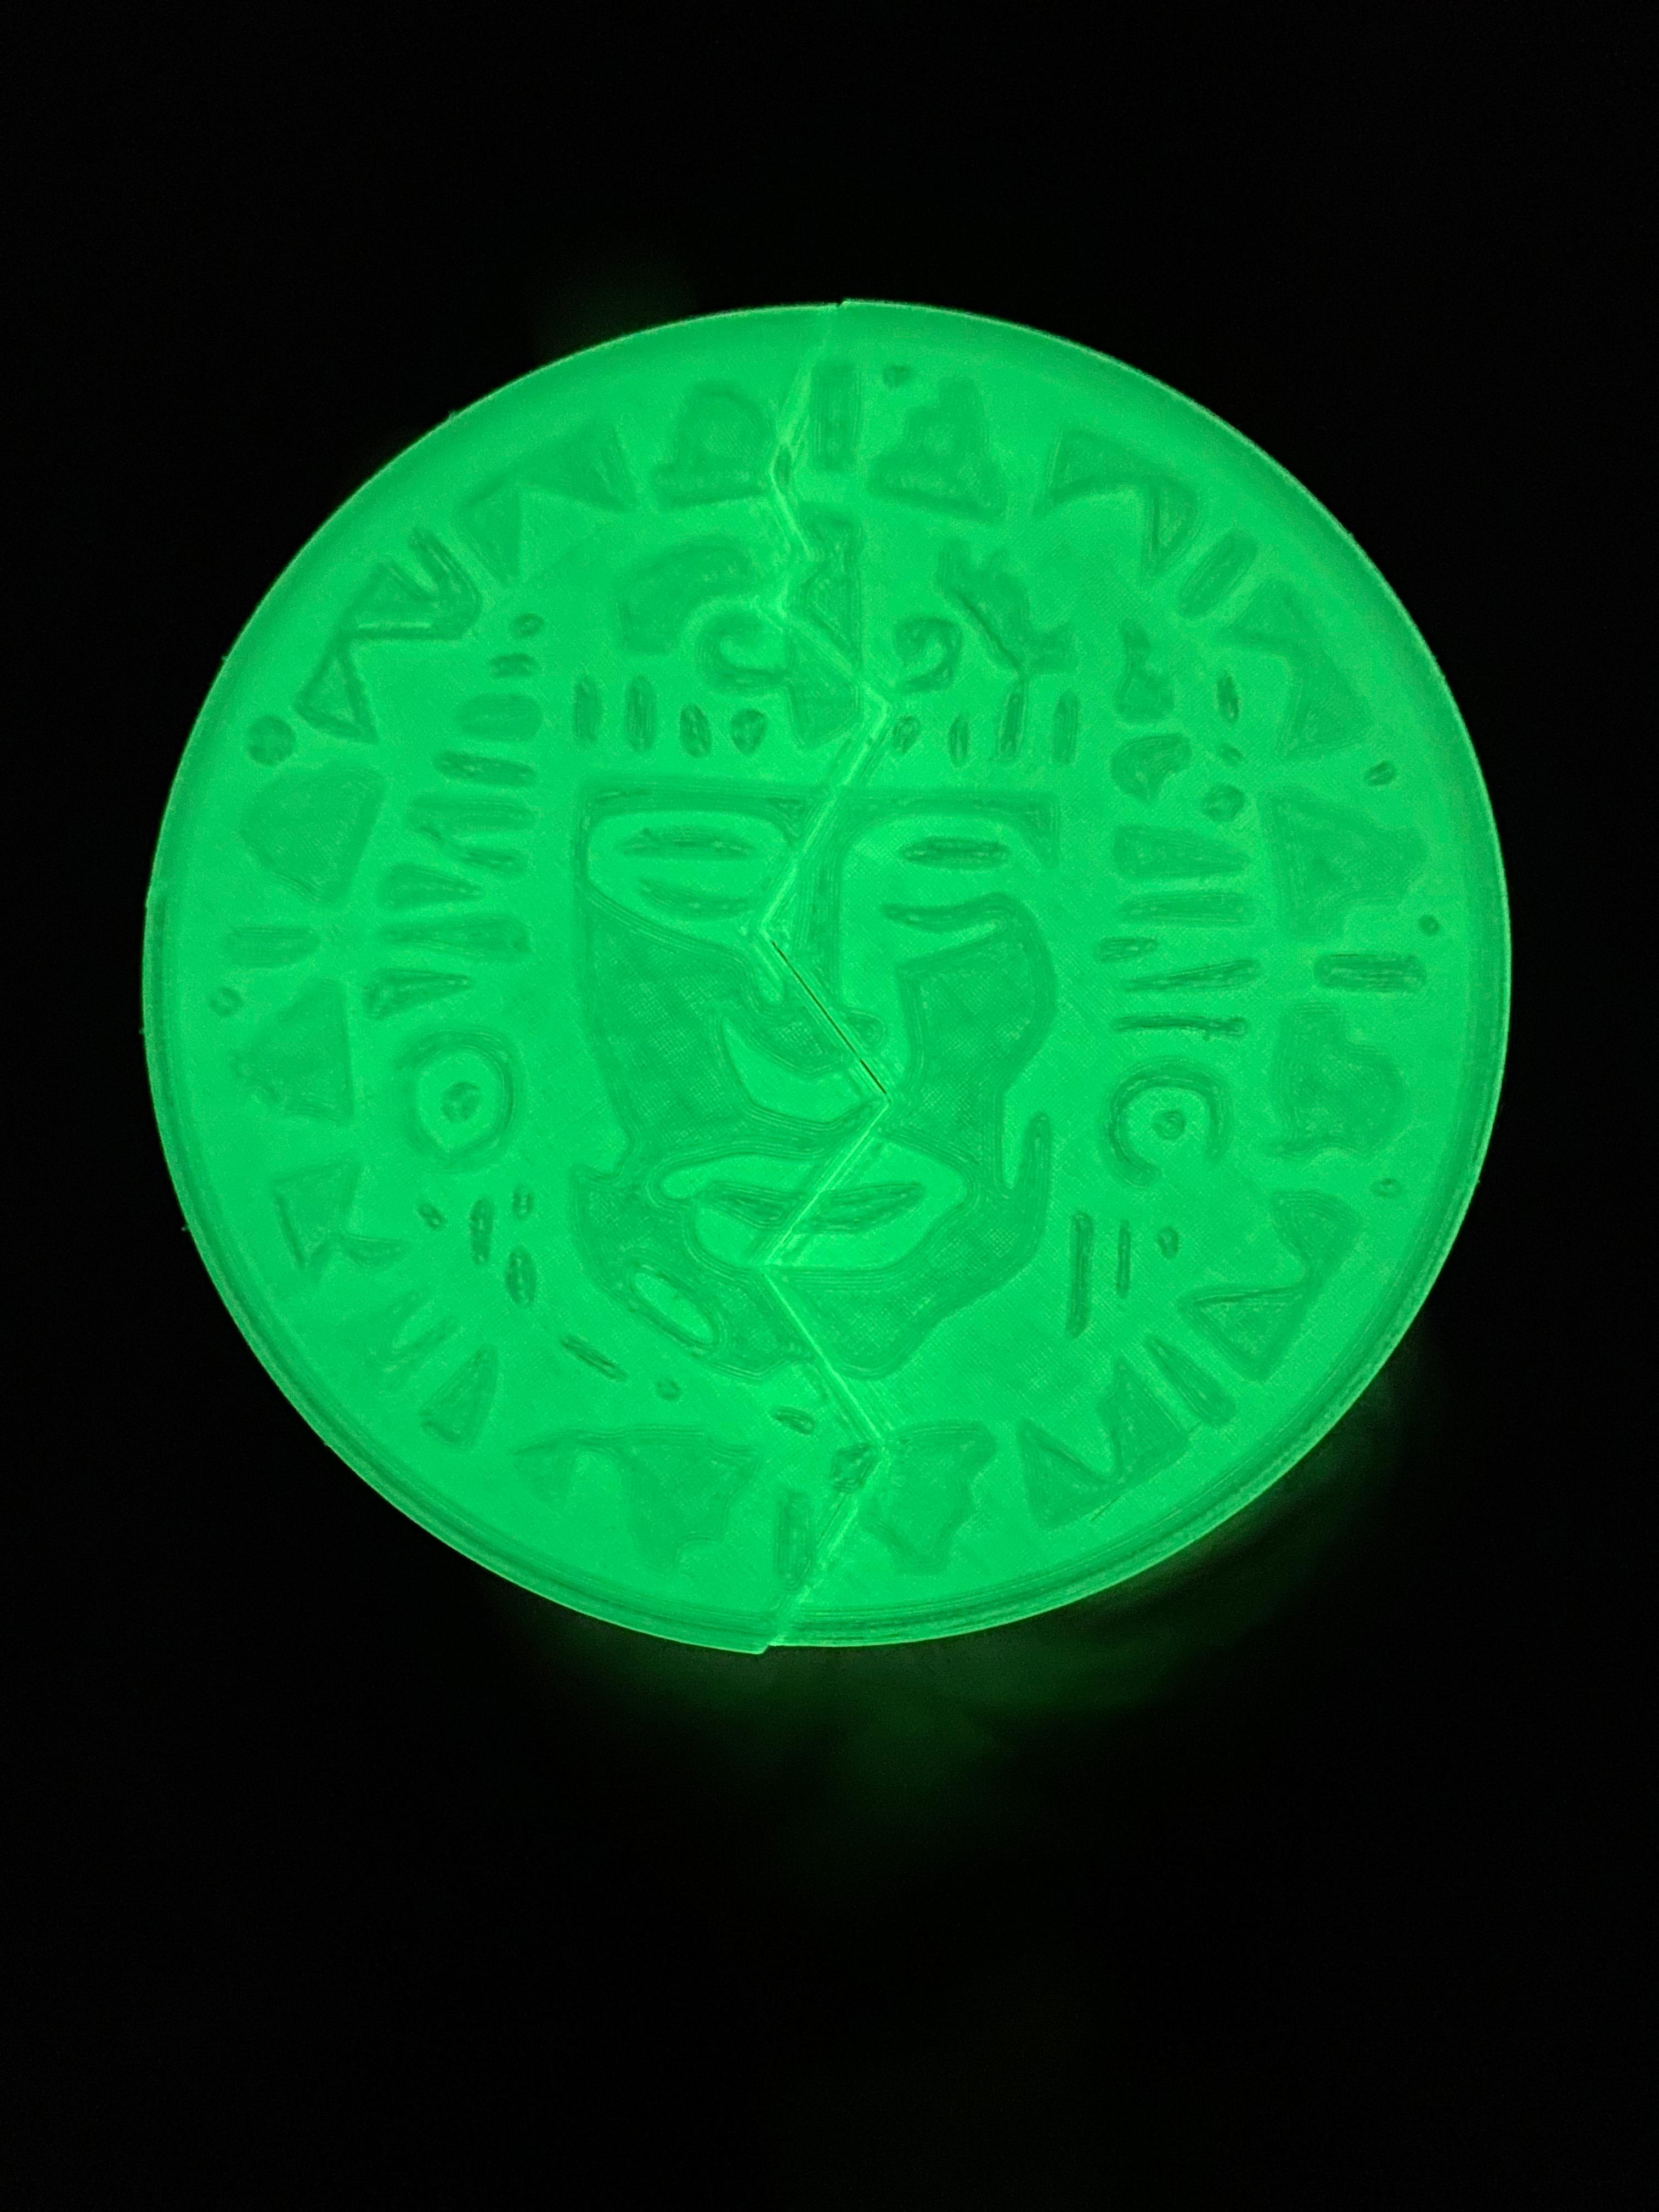
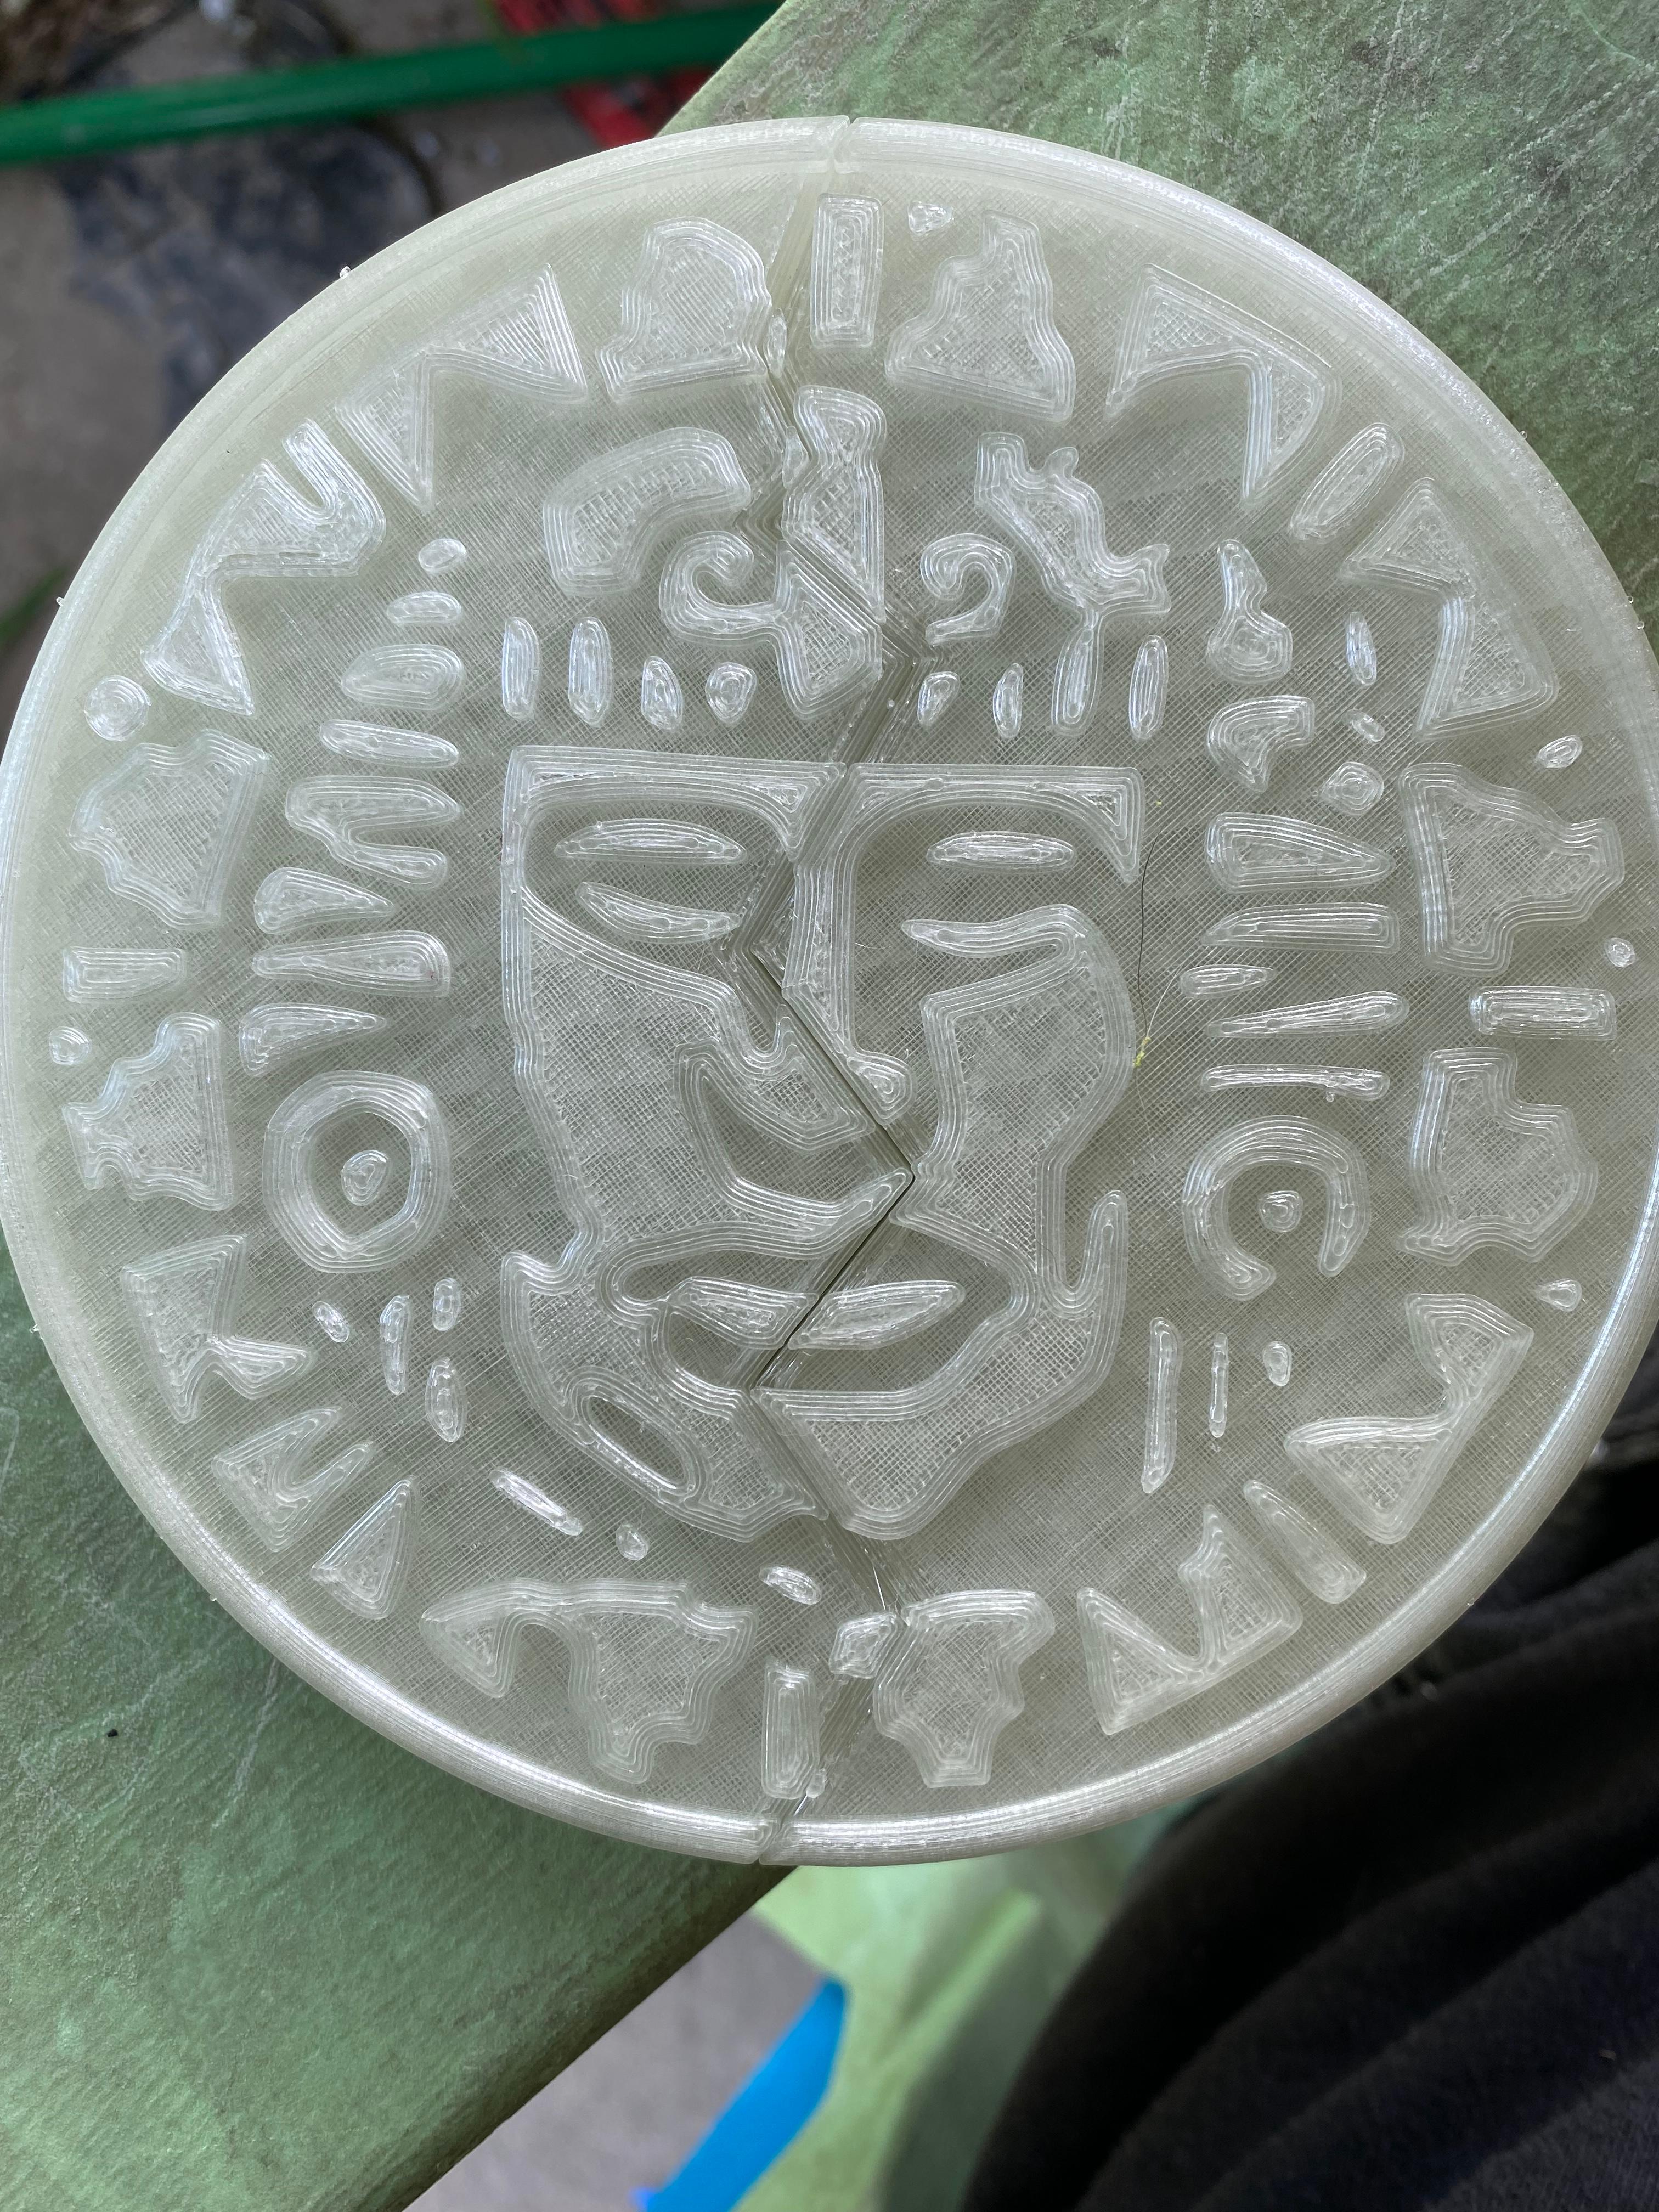
Legends of the Hidden Temple Pendant of Life (2 Versions)
byThinAir3DPendant of Life 2 Versions:
- Single Piece Version
- 2-Piece version with cutouts for magnet inserts.
A. Single Piece Version
I have printed this one on FDM with a 0.4 nozzle with no issues, but have not tried a larger nozzle size yet. You don’t need supports, and there is a cutout for a piece of twine to route through to make it a necklace.
B. 2-Piece Version
This version was cut in half similar to how you see in the show and I included cutouts within the model for you to embed 6mm magnets into the half mid-print.
- The model uses four magnets, 6 mm diameter with 3mm thickness. You may also want to use some super glue when embedding the magnets so they don’t rattle around. No, you don’t have to worry about your nozzle picking up the magnet.
- To embed the magnets, you need to insert a pause command in your slicing software to take place at 9mm (the 45th layer if you’re using a 0.2mm layer height) right before it bridges over the holes.
- After your printer pauses, insert your magnets making sure to face them the correct way. As I mentioned before, you may want to use a little bit of super glue on the magnet to make sure it doesn’t rattle after it's done printing.
Post Processing:
For these pendants, I follow a 5 step process to “finish them”:
- Sanding: I start off with some 80 grit sandpaper on all surfaces and work up to some 220 grit. I’m not worried about it ooking perfect because they need to end up looking old and weathered.
- Priming: After washing them off well, I’ll hit them with a couple of coats of some Grey Rustoleum Filler Primer.
- Paint - I use Rustoleum Bright Coat Metallic Gold Spray paint, 2-3 coats is more than enough for these.
- Weather - Some watered down acrylic black paint directly into the cracks and crevices, then wiped off with a paper towel until I like the level of weathering.
- Clearcoat- I use Rustoleum 2X Matte Clear Coat to finish, although I’m currently looking for something that dries a little “harder.”
Then you can feel free to route some twine through the holes to be worn as necklaces or hung on display!
**This design is uploaded with a non-commercial license. Purchasing this file does not grant you the rights to sell commercially.
If you would like to consider gaining access to ALL of the models and the rights to print and sell, you can check out my Patreon at https://www.patreon.com/thinair3D
.png&w=3840&q=75)


