This model is restricted by licensing terms.
View license.
Model originally uploaded to Thingiverse at https://www.thingiverse.com/thing:4857627.
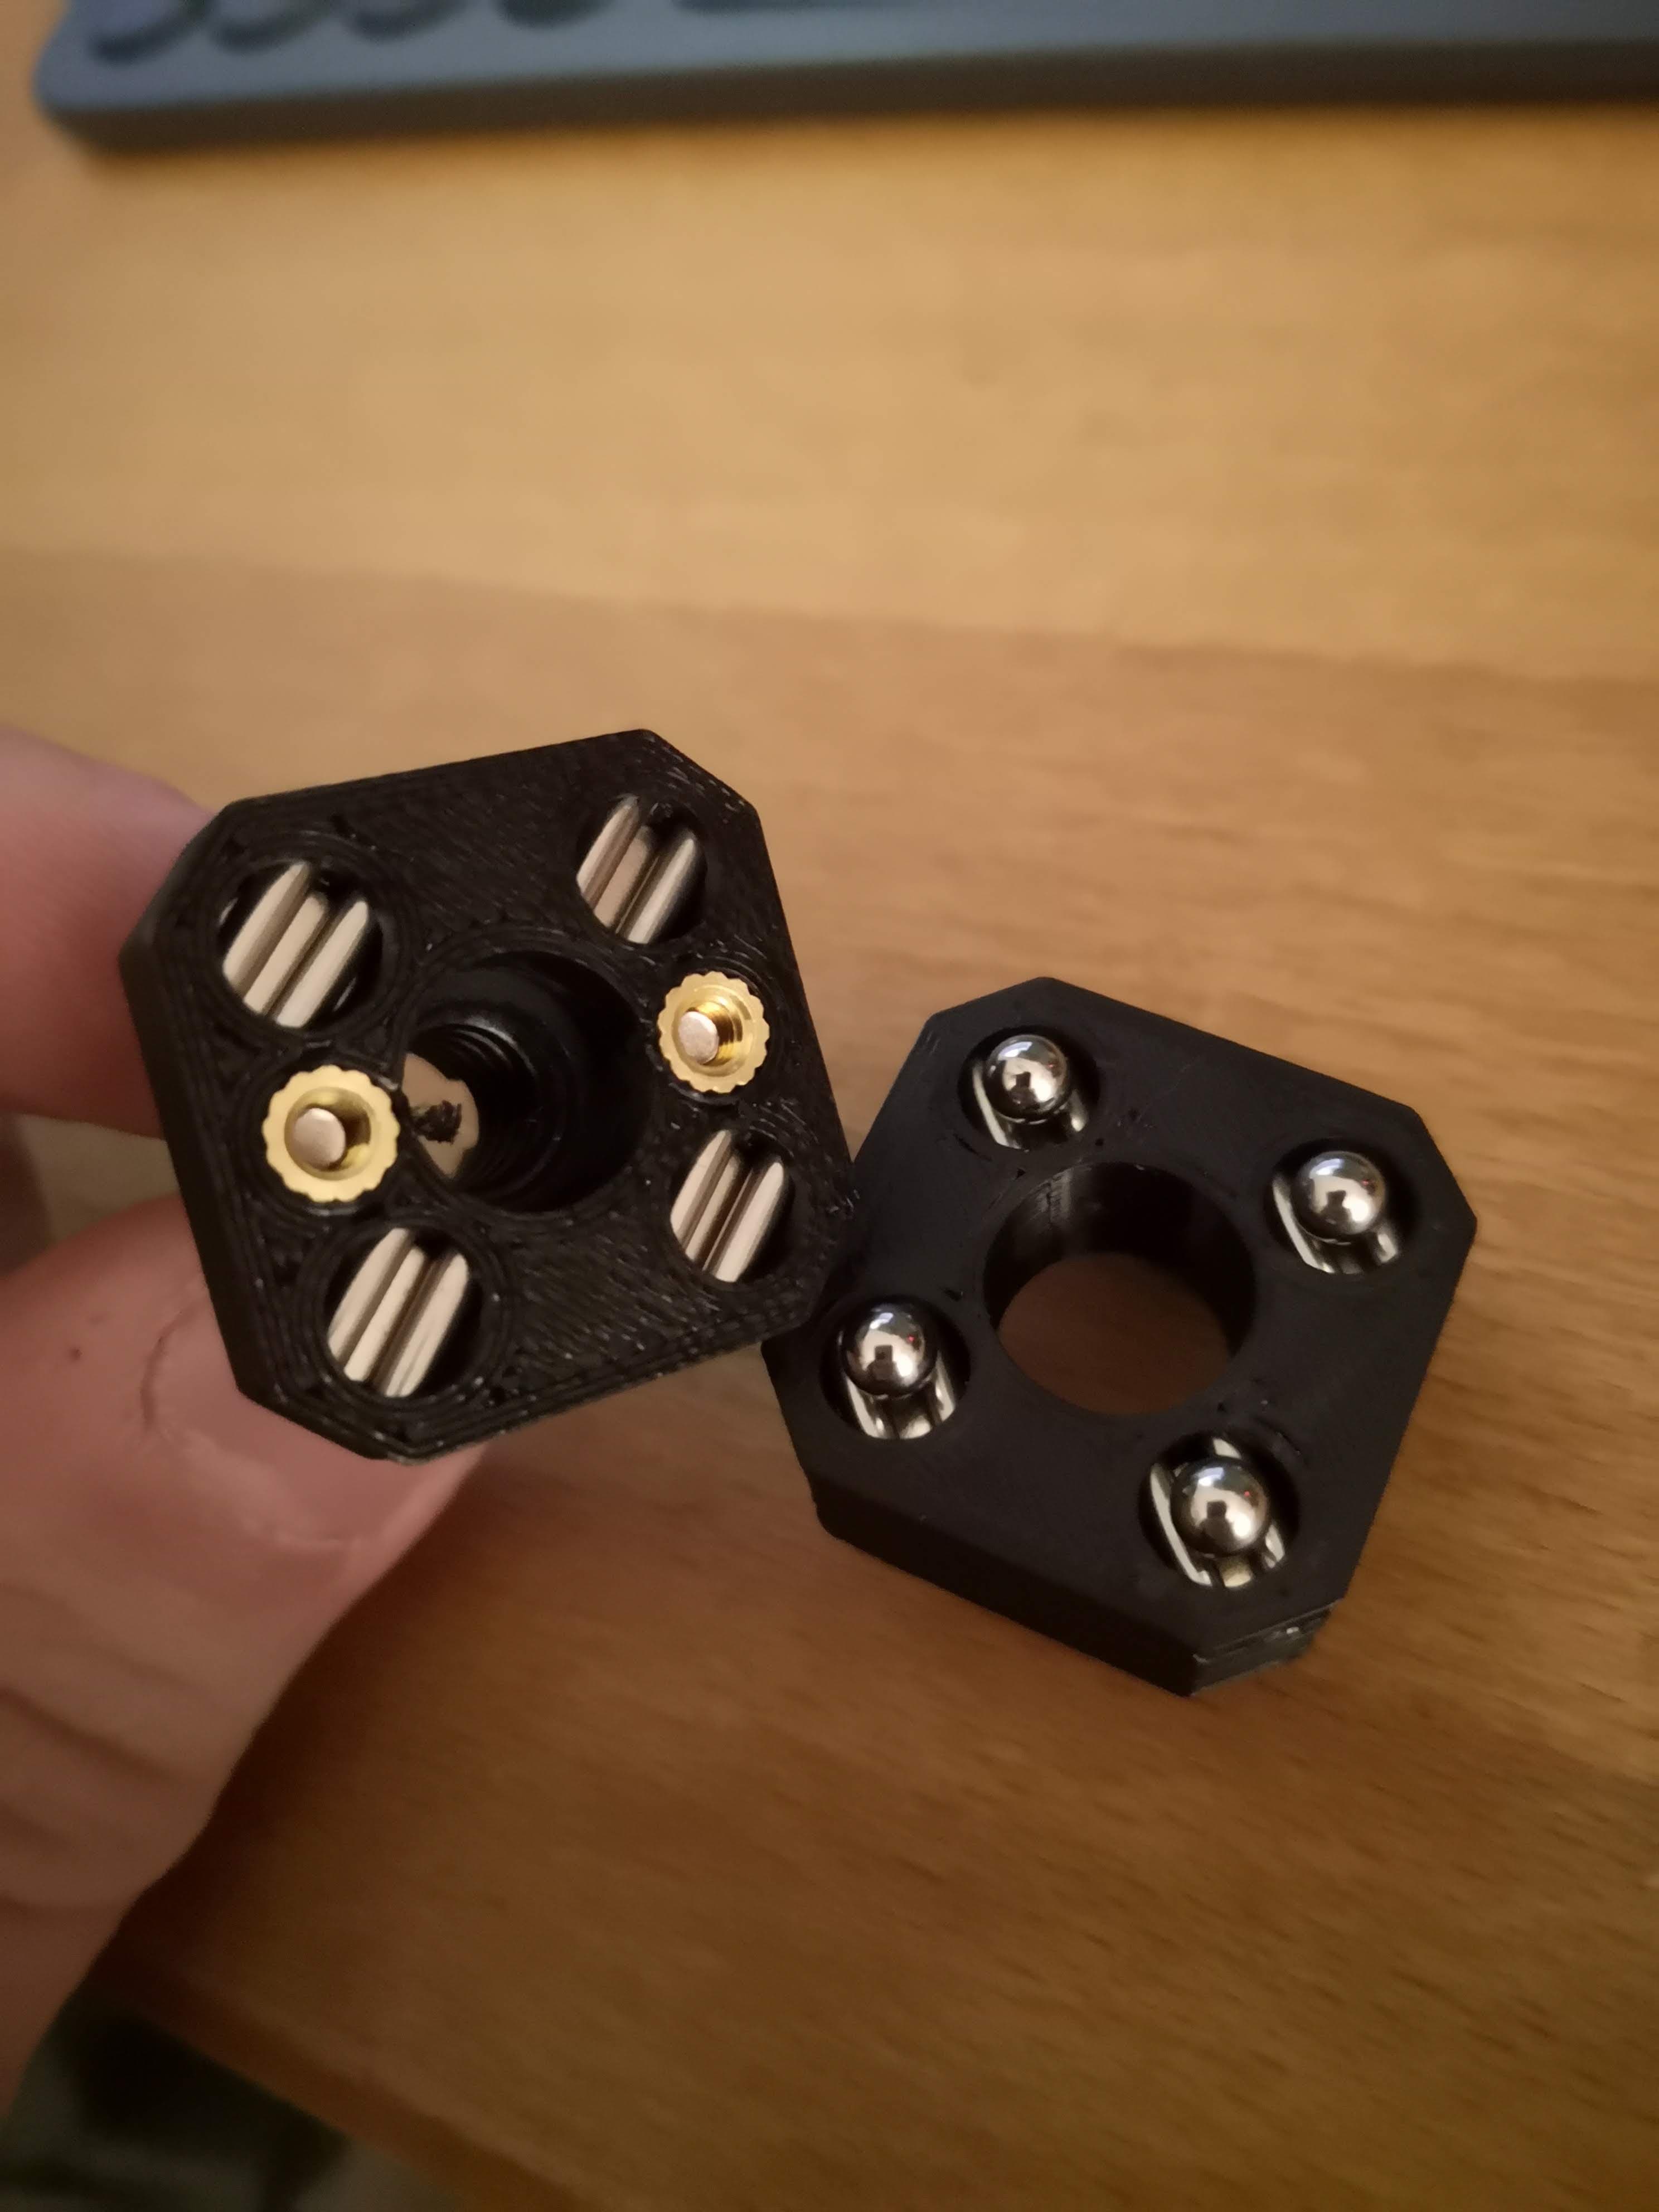
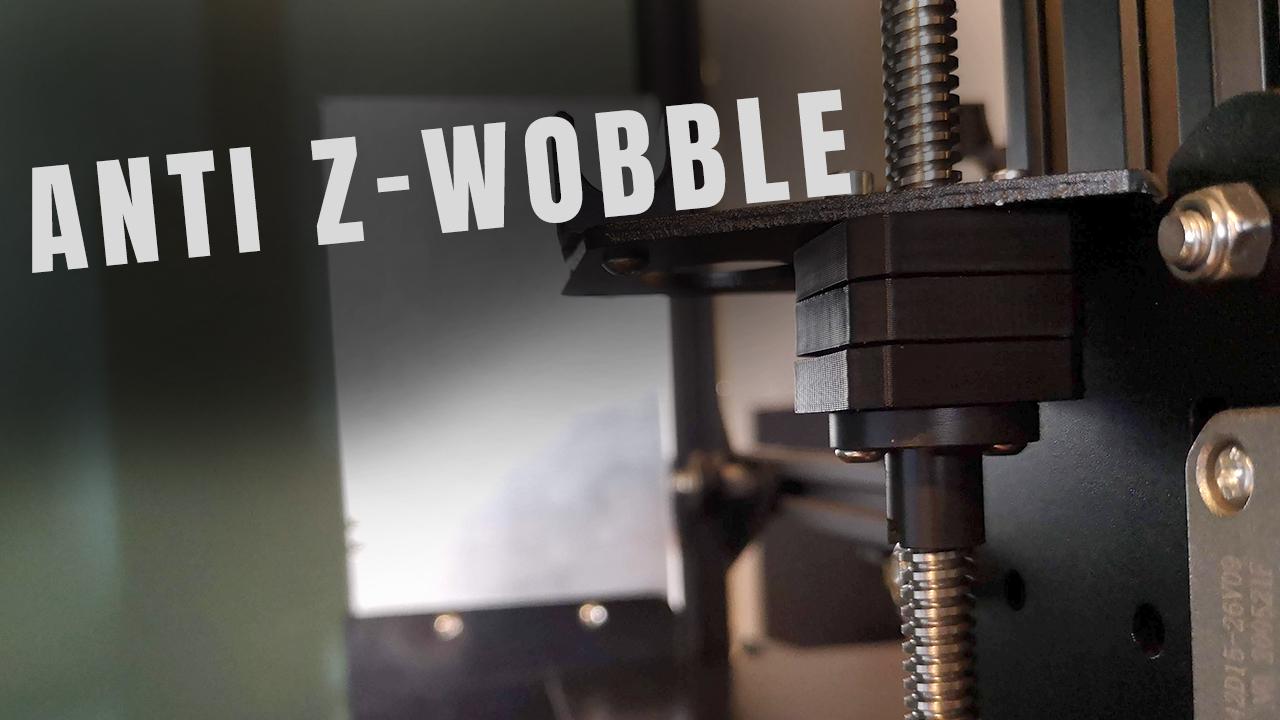
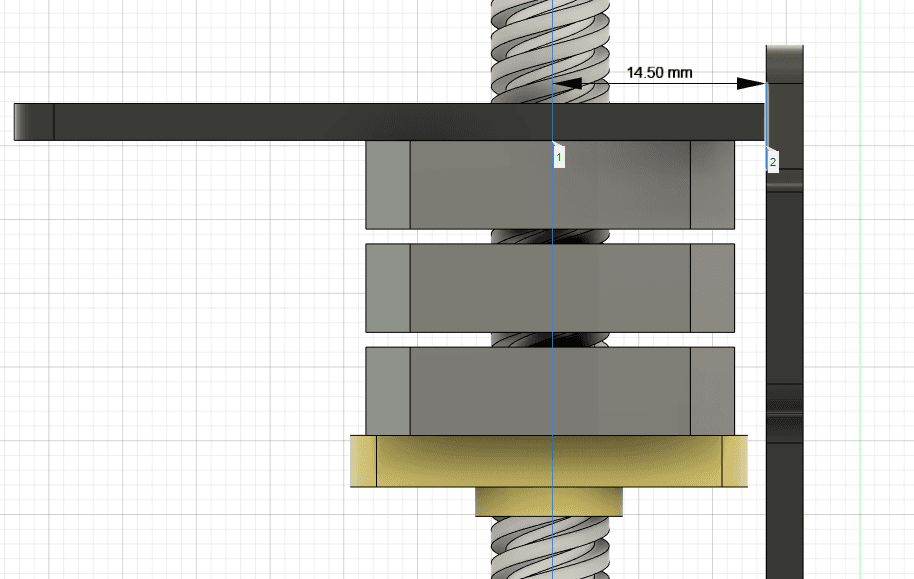
Anti-wobble z Axis nut for Ender 3, Ender 3 pro and similiar This design should work on any 3D printer where distance between bracket/stepper motor and middle of the screw is greater than 14mm. Please refer to the second picture.Glueing of the magnets is not necessary. All magnets needs to be inserted so they attract each other.
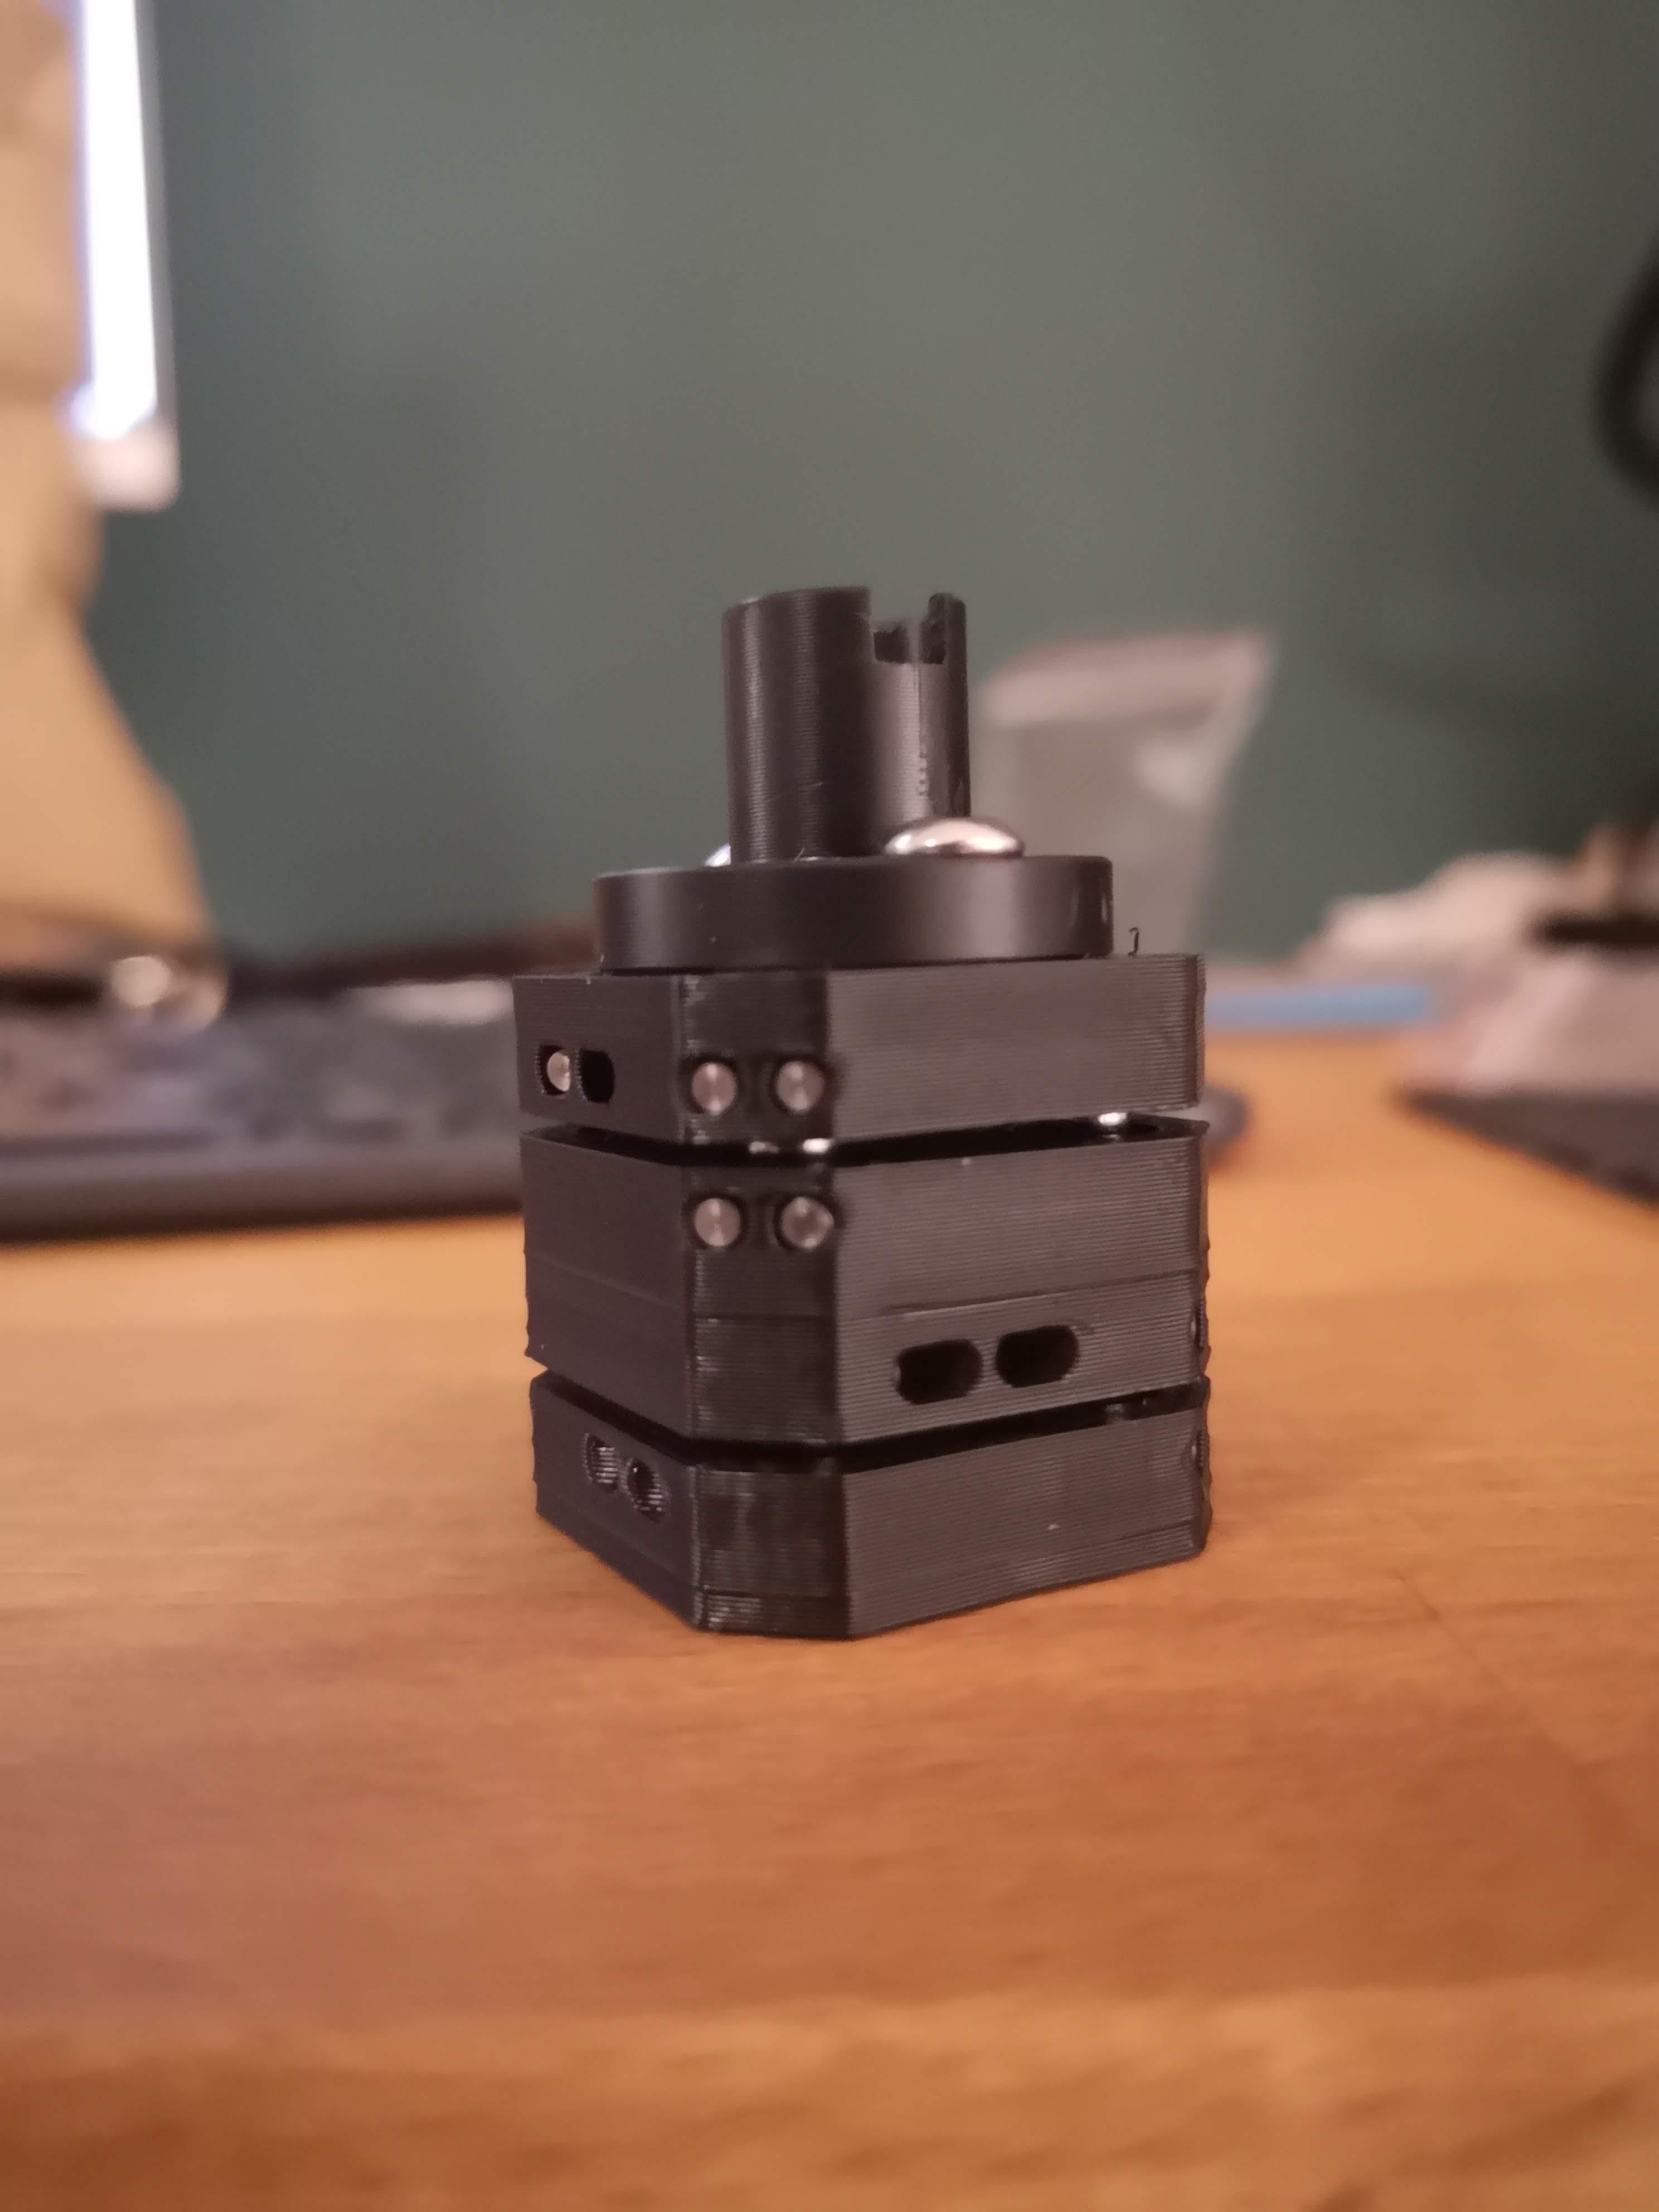
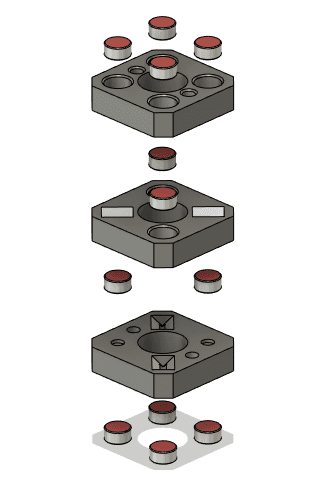
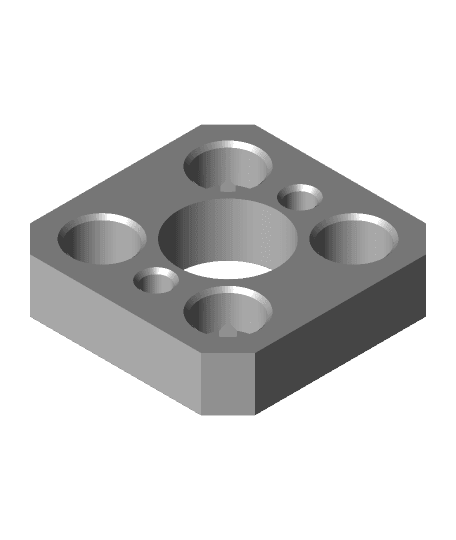
Direct drive mountDescription of the files:
- <i>Square_16mm.stl</i> - used for TR8x2/4/8 nut (16 mm between mounting holes)
- <i>Square_18mm.stl</i> - used for mounting device to the bracket
- <i>Square_18mm_StockNut.stl</i> - Bottom Part, screwed together with the original creality z axis nut.
- <i>Square_Middle.stl</i> - middle part
Additional parts:
- M3 8mm screws - 2x
- 6x3mm magnets - 12x (full stabilization), 8x (enough for working)
- 4mm steel balls (I took mine from 628 bearing) - 4x
Description of the files:
- <i>Square_16mm_Bowden_45deg.stl</i> - used for TR8x2/4/8 nut (16 mm between mounting holes)
- <i>Square_18mm_Bowden_45deg.stl</i> - used for mounting device to the bracket
- <i>Square_18mm_Bowden_StockNut_45deg.stl</i> - used for mounting TR8x8 nut to the device(original from creality, 18mm between mounting holes)
- <i>Square_Middle_Bowden_45deg.stl</i> - middle part
Additional parts:
- M3 8mm screws - 4x
- 4x4mm magnets - 12x (full stabilization), 8x (enough for working)
- 4mm steel balls (I took mine from 628 bearing) - 4x
- <i>Square_18mm_Bowden_45deg.stl</i> - Top part, should be screwed to the bottom of the bracket (steel balls aiming bottom)
- <i>Square_18mm_Bowden_StockNut_45deg.stl</i> - Bottom Part, screwed together with the original creality z axis nut.
- <i>Square_Middle_Bowden_45deg.stl</i> - middle part
Design was made based on idea from HevOrt community and EvoMotors execution: https://www.thingiverse.com/thing:4785945
Category:
4 Likes21 DownloadsDecember 9, 2021
4 Likes21 DownloadsDecember 9, 2021
This model is restricted by licensing terms.
View license.