Follow
Feeler gauge case
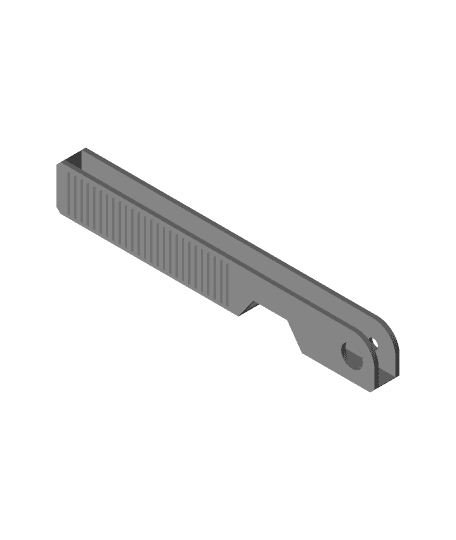
8 downloads · 2 years ago · Case for 1x10cm feeler gauges. I printed it in PLA with a 0.6mm nozzle.
A parametric Fusion 360 fil
Case for 1x10cm feeler gauges. I printed it in PLA with a 0.6mm nozzle.
A parametric Fusion 360 file is provided, so it can be tweaked for different feeler gauges.
You will need:
- M4x16mm pan head bolt.
- M4 washer.
- An M4 tap.
- Pliers.
Instructions:
- Print the case and knob (no supports needed).
- Use an M4 tap on the knob hole, in the side of the bigger face. Because of its size, you will need pliers to do this. The cutout in the barrel is meant to help holding it with pliers.
- Use an M4 tap on the small hole in the case, going through the bigger hole for the knob barrel.
- Screw an M4x16mm pan head bolt in the knob with an M4 washer.
- Before putting the knob in the case, use an Allen key to tighten the bolt very hard on the knob. The goal is for the knob to not unscrew itself from the bolt during later use.
- Place the feeler gauges inside the case and screw the bolt until the gauges are secure.
Usage:
Turning the knob you can release or hold the gauges. The cutout in the bottom is meant to help push any gauges inside before use. The knob can be removed and reinstalled if it's desired to take them out.
Categories:
6 Likes8 DownloadsMay 14, 2023
This model is restricted by licensing terms.
View license.
