


Loot Crate Storage Container
Drawing inspiration from my favorite sci-fi games like Cyberpunk 2077 and Starfield, I designed a watch display box, designed to house timepieces and rings. (it holds my important bits n bops)
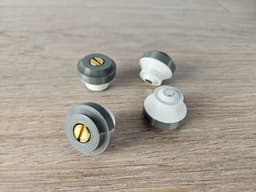
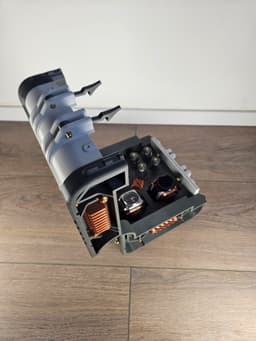
Personal project, sharing the project was a idea that came later so that might reflect in the files, dont be afraid to ask for help! Tools Needed: Superglue (magnets) & Flathead screwdriver (when using bolts like mine, hex also possible) Bolts, Nuts and magnets (Quantities and Types): Cylinder Head Bolts (4x40): 14 pieces Cylinder Head Bolts (5x10): 10 pieces Counter Sink Bolts (4x20): 8 pieces Cylinder Head Bolts (5x30): 6 pieces M5 Nut End Caps: 6 pieces 5x2 Magnet cells: 20 pieces (when making the config. as shown Additional notes: Tolerances: The tolerances are tailored to my specific 3D printer and settings, so your results may vary depending on your equipment and configurations. Assembly Options: While the design incorporates numerous bolts, many components can alternatively be secured with adhesive, offering flexibility in assembly. Bolt Insertion Tips: If you encounter difficulty when inserting bolts, consider using a soldering iron to gently heat the bolt if it's too tight or use a drill to widen the hole slightly for a smoother fit. When the holes are to big, you can insert glue-and-push-the-bolt-in. Magnet insertion tips: if not snug enough, use more glue. If too snug, heat with lighter and gently press inwards. If it protrudes, heat and gently press aswell. Non-Commercial Use: Please note that this design is intended for personal and non-commercial use only. Nut and Bolt Compatibility: The design is optimized based on the nuts and bolts available to me; for best results, use similar hardware when assembling. The inserts: only work in 1 or 2 position. Make sure you print the right one for the right corner. On both sides of Clam files: There is room to Snap in a single line of filament. Bolts screw directly into components: See last picture as example (needs a bit of force)
Would you like to see more of my projects? i invite you to check out my Instagram (@SMACKMAX_). I try to post all of my prints, renders, and animations to build a portfolio of my projects, often in advance of publishing the models. This way, you can get a sneak peek of what's coming next! https://www.instagram.com/smackmax_/
Loot Crate Storage Container

NODESTACK // COLLECTOR TOP

NODESTACK // STABILIZER RINGS
.png&w=3840&q=75)
TSX15 // Light Weight Side Table

NODESTACK // GEN1 BUCKET STACK
.png&w=3840&q=75)
NODESTACK // STACK PACK ORGANIZERS

VTR-01 // Ballistic Missile Wall Art
.png&w=3840&q=75)
CBN01 – Modular Media Cabinet System (no hardware - no support)

NODESTACK - BASE PACK

CRATE // stackable · adaptive front · support-free

NODESTACK - DARK DRAW PACK

NODESTACK - FRAME PACK 001

SX09 – Sci-Fi Storage Tube (240×120×106 mm)

TSX14 // Lightweight Table — No Supports, No Hardware

XPS04 Hammer-Action Wallet – Mechanical Card Lift EDC
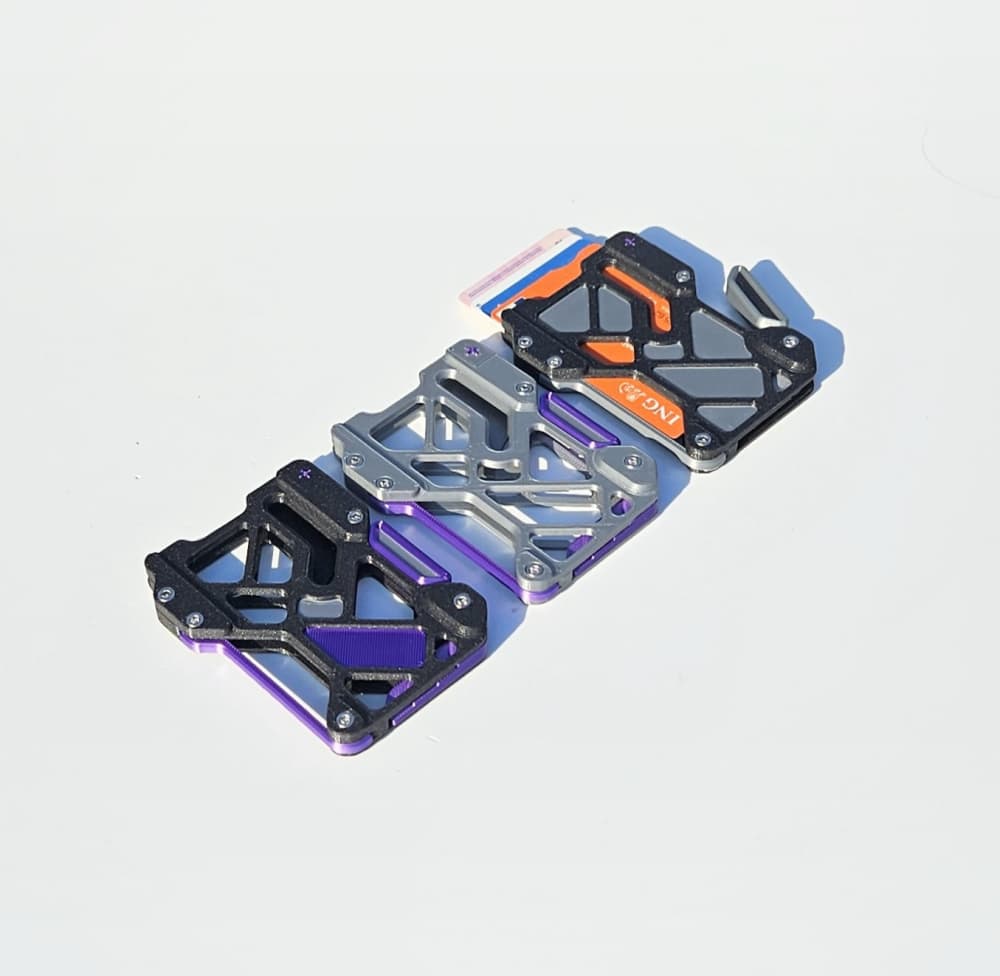
Wallie(var) - Advanced Lever Action Wallet
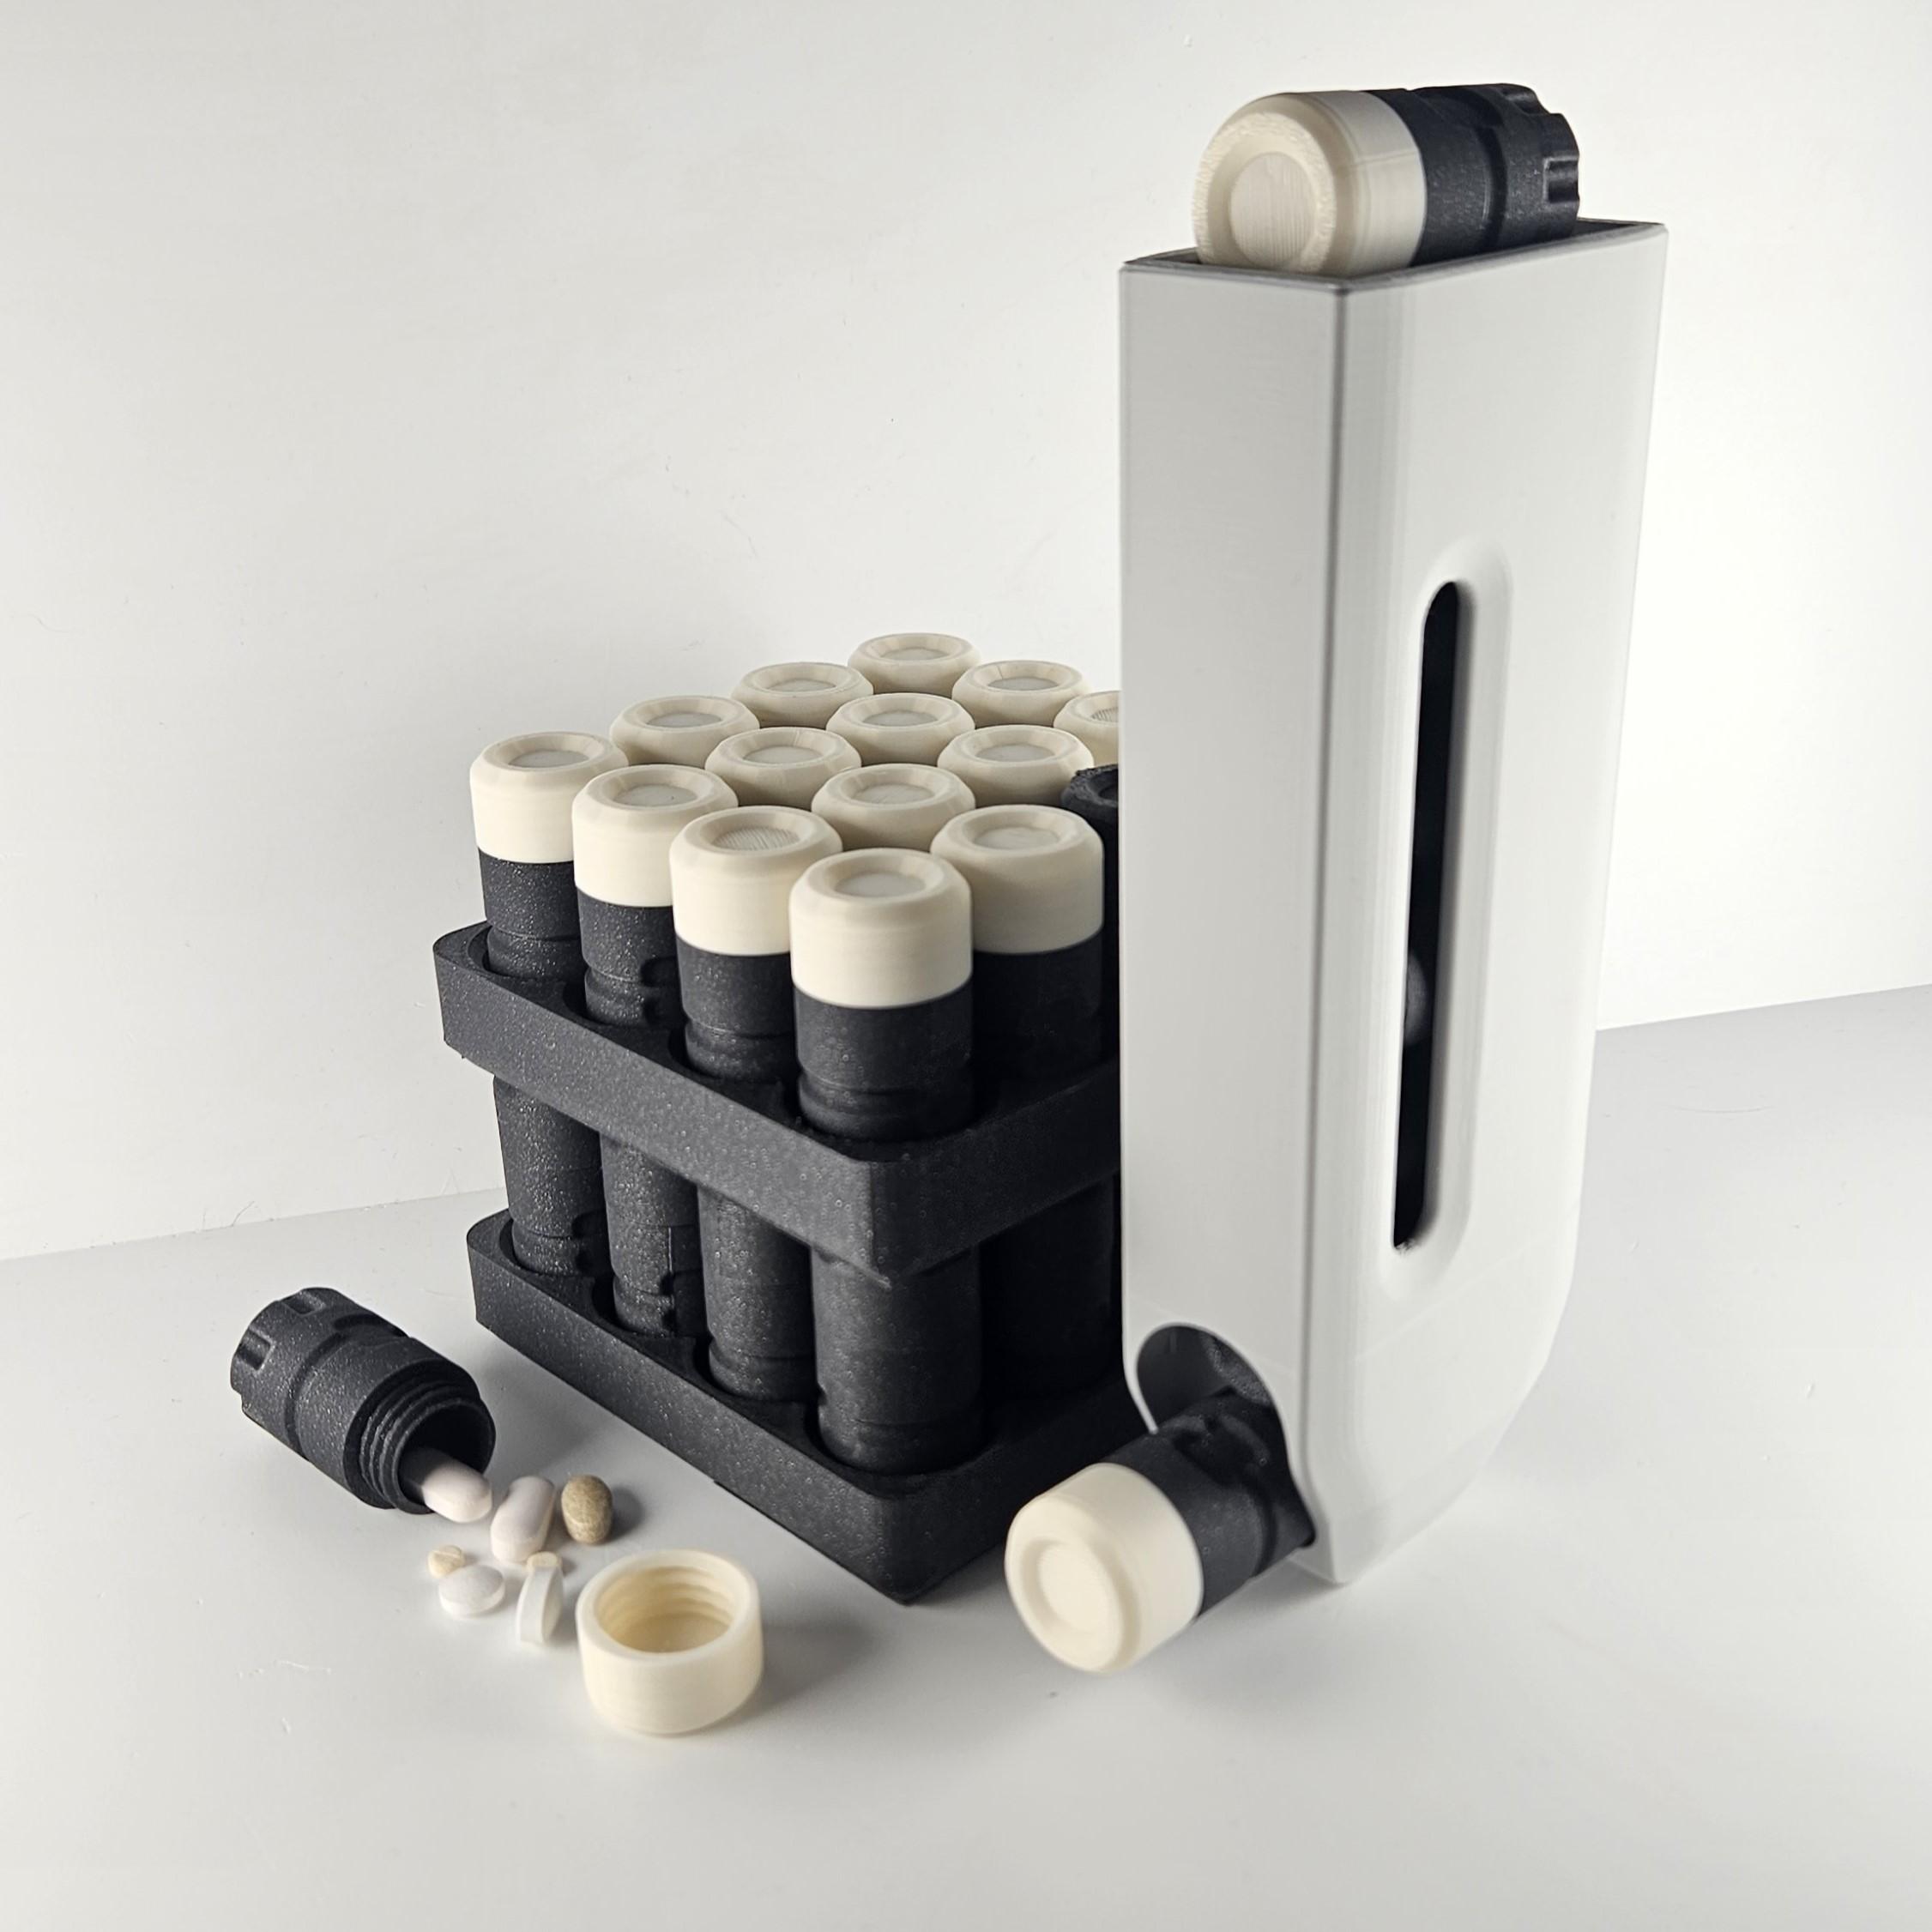
Pill Pods (Pillbox / Supplement dispenser)

SX07 - Sci-fi Storage Box (decorational)

Hexable Coffee / Side Table

WalliEX

what orientation are you printing the clam top and bottom? what support settings?
OVERALL DIMENSIONS?
This is so cool. Any chance you would be able to design the flathead spiderbot carry case?