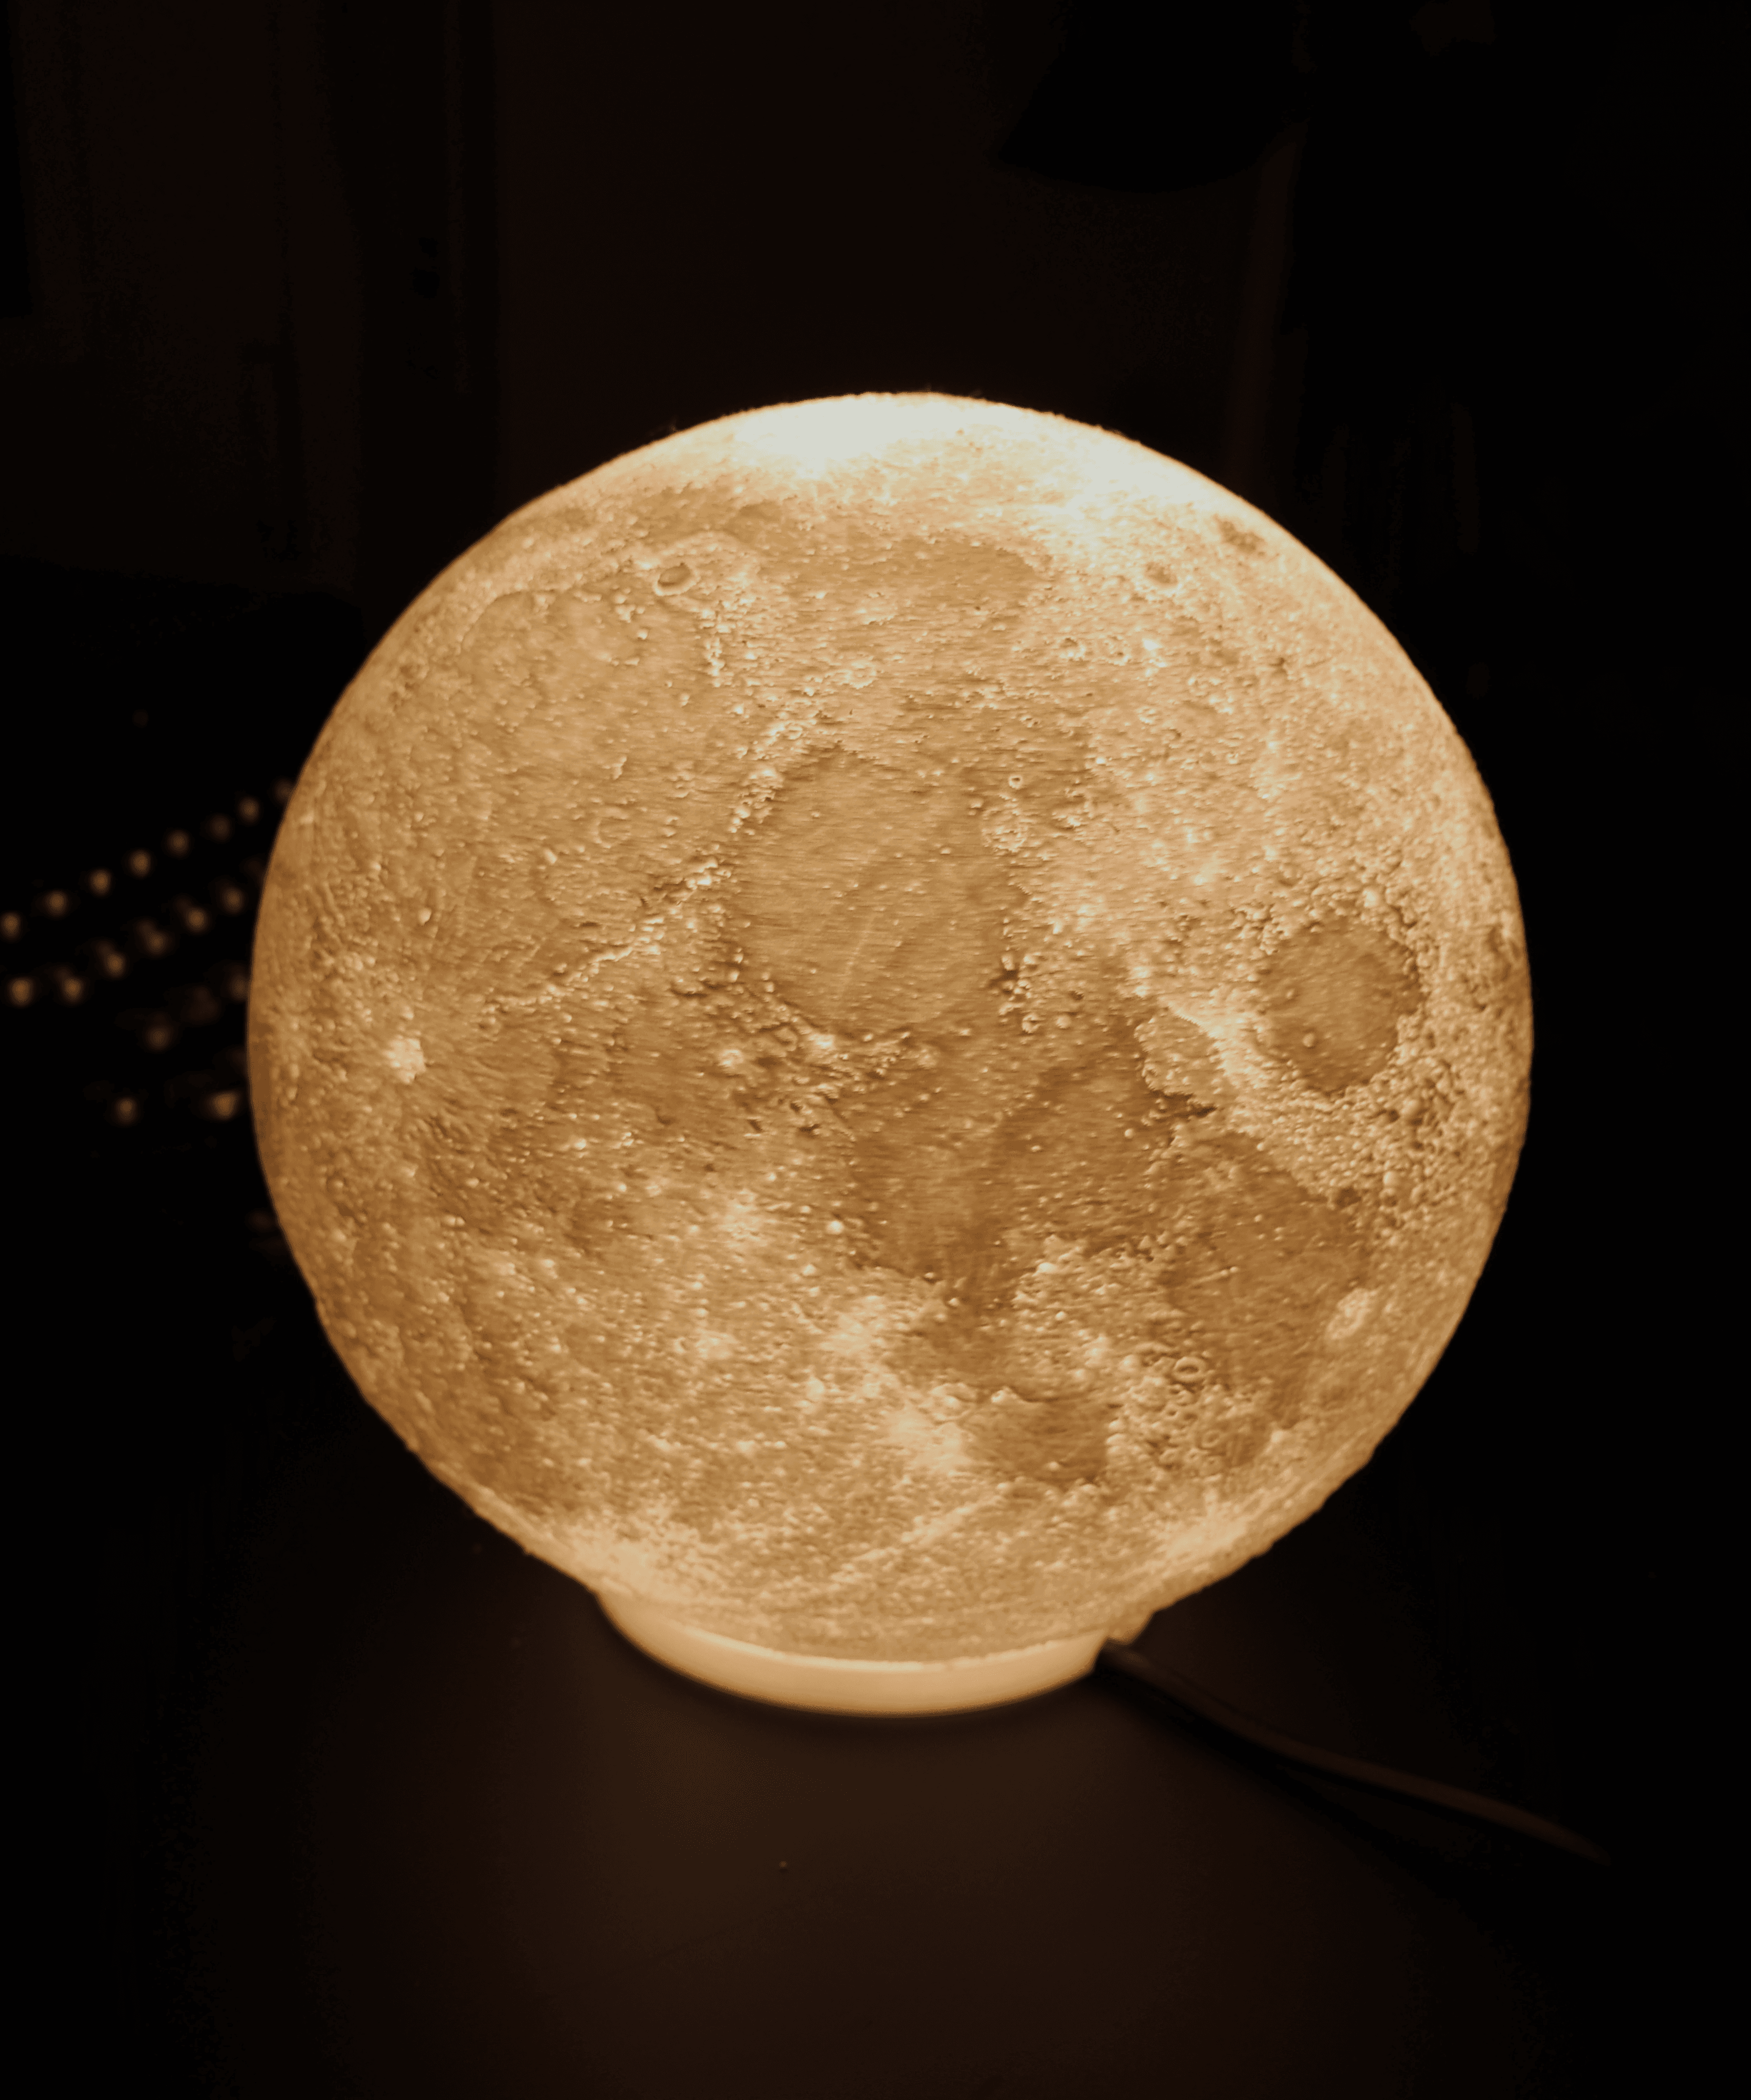
Moon night Light
Hey,
Discover my Moon Night Light, crafted with attention to detail for a serene and realistic moonlit ambiance!
Here's your guide to printing it, but remember, you'll need to buy a lamp socket and a bulb separately.
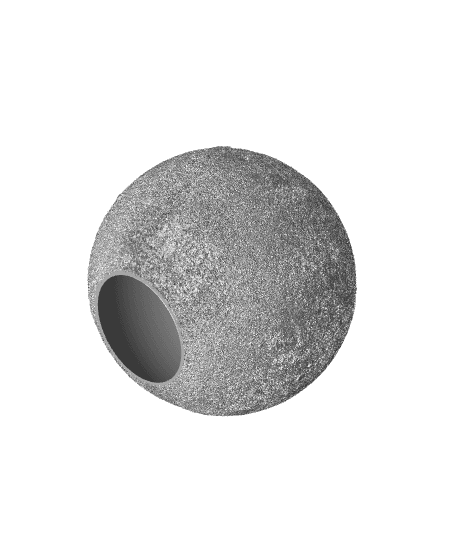
Moon (the shade): Print it solid with no supports to maintain the delicate lunar surface details. Set the layer height at 0.2mm and the width at 0.4mm. Use concentric infill at 100%, or alternatively, set the wall thickness to about 100mm, which I find gives the best representation of the moon's surface. I'll upload the Cura Profile I used for printing. Feel free to import it, but ensure the layer width and height match, as they sometimes import inaccurately.
Plate and Cylinder: These components are straightforward to print with any preferred profile and do not need supports.
Assembly: Refer to the last image for the internal arrangement. The cylinder can be gently compressed to fit into the plate's hole.
Parts for Assembly:
EU Socket: https://ebay.us/PRcPvm
US Socket: https://ebay.us/hBRN1i
Support my work by purchasing through these links!
Bulb:
Enjoy illuminating your space with this moon lamp!
You can scale up the lamp size as you like. The shades showcased here are compatible with this lamp's socket. In fact, this moon shade can be easily mounted on both the lamps I've mentioned (more information to follow).
Common Problems and Solutions: Issue with Slicing the Moon Model: If you encounter a slicing error, slightly scale the model up, say to 100.1%, and try slicing again. Plate Doesn't Fit: If the plate isn't fitting properly, adjust its scale in the X and Y directions until it fits your needs.
Get ready to experience the tranquil beauty of moonlight in your own home!


