


Jupiter Ceiling Lamp
Hey, congrats on discovering my Jupiter Ceiling Lamp, designed using genuine NASA data!
Here's how to print it, but you'll also need to acquire a few additional items: a lamp socket, a bulb, screws with a diameter of 6-8mm, suitable wall plugs ("dübel" in German), or ceiling-appropriate glue.
Jupiter (the shade):
Print it solid with no supports to maintain the lithophane effect. Set the layer height at 0.2mm and width at 0.4mm. I recommend using concentric infill at 100%, or set the wall thickness to about 100mm for a similar outcome, which is my preferred method. I'll provide the Cura Profile I used for printing. Import it, but verify that the layer width and height are correctly set, as they sometimes do not import accurately.Plate and Cylinder:
Print these components using your preferred profile; they do not require supports.Assembly:
Refer to the last image for a guide on the internal assembly. You can slightly compress the cylinder to fit into the plate's hole.For mounting the lamp to the ceiling, you will need:
3 screws: Choose screws with a diameter of 6-8mm, along with the corresponding wall plugs ("dübel"). Alternative Method: If you prefer not to drill, you can also opt to securely glue the plate to the ceiling.Parts for Assembly:
Bulb I use:
EU:
Enjoy illuminating your space with your new ceiling lamp!
Scaling the Lamp: Feel free to adjust the size of the lamp as needed. The shades in this post are designed to fit onto the socket provided. Indeed, the Jupiter shade is also interchangeable with the other lamp designs that will be introduced soon.
Why is Jupiter labeled Incorrect?: Please note that I've positioned Jupiter's 'Great Red Spot' at the top for aesthetic reasons, though it's traditionally on the southern hemisphere, rendering this depiction astronomically inaccurate.
Common Problems and Solutions:
Slicing Jupiter Model Error: Problem: An error message appears when attempting to slice the Jupiter model. Solution: Slightly scale the model, for instance to 100.1%, and try slicing it again. Plate Doesn't Fit: Problem: The plate does not fit properly. Solution: Incrementally scale the plate in the X and Y directions until it fits perfectly.Make sure to use the appropriate screws and wall plugs for secure ceiling mounting, or alternatively, use a strong adhesive for a drill-free installation. Always test the fit after each adjustment for optimal assembly.
Jupiter Ceiling Lamp

Slime Egg Fidget toy
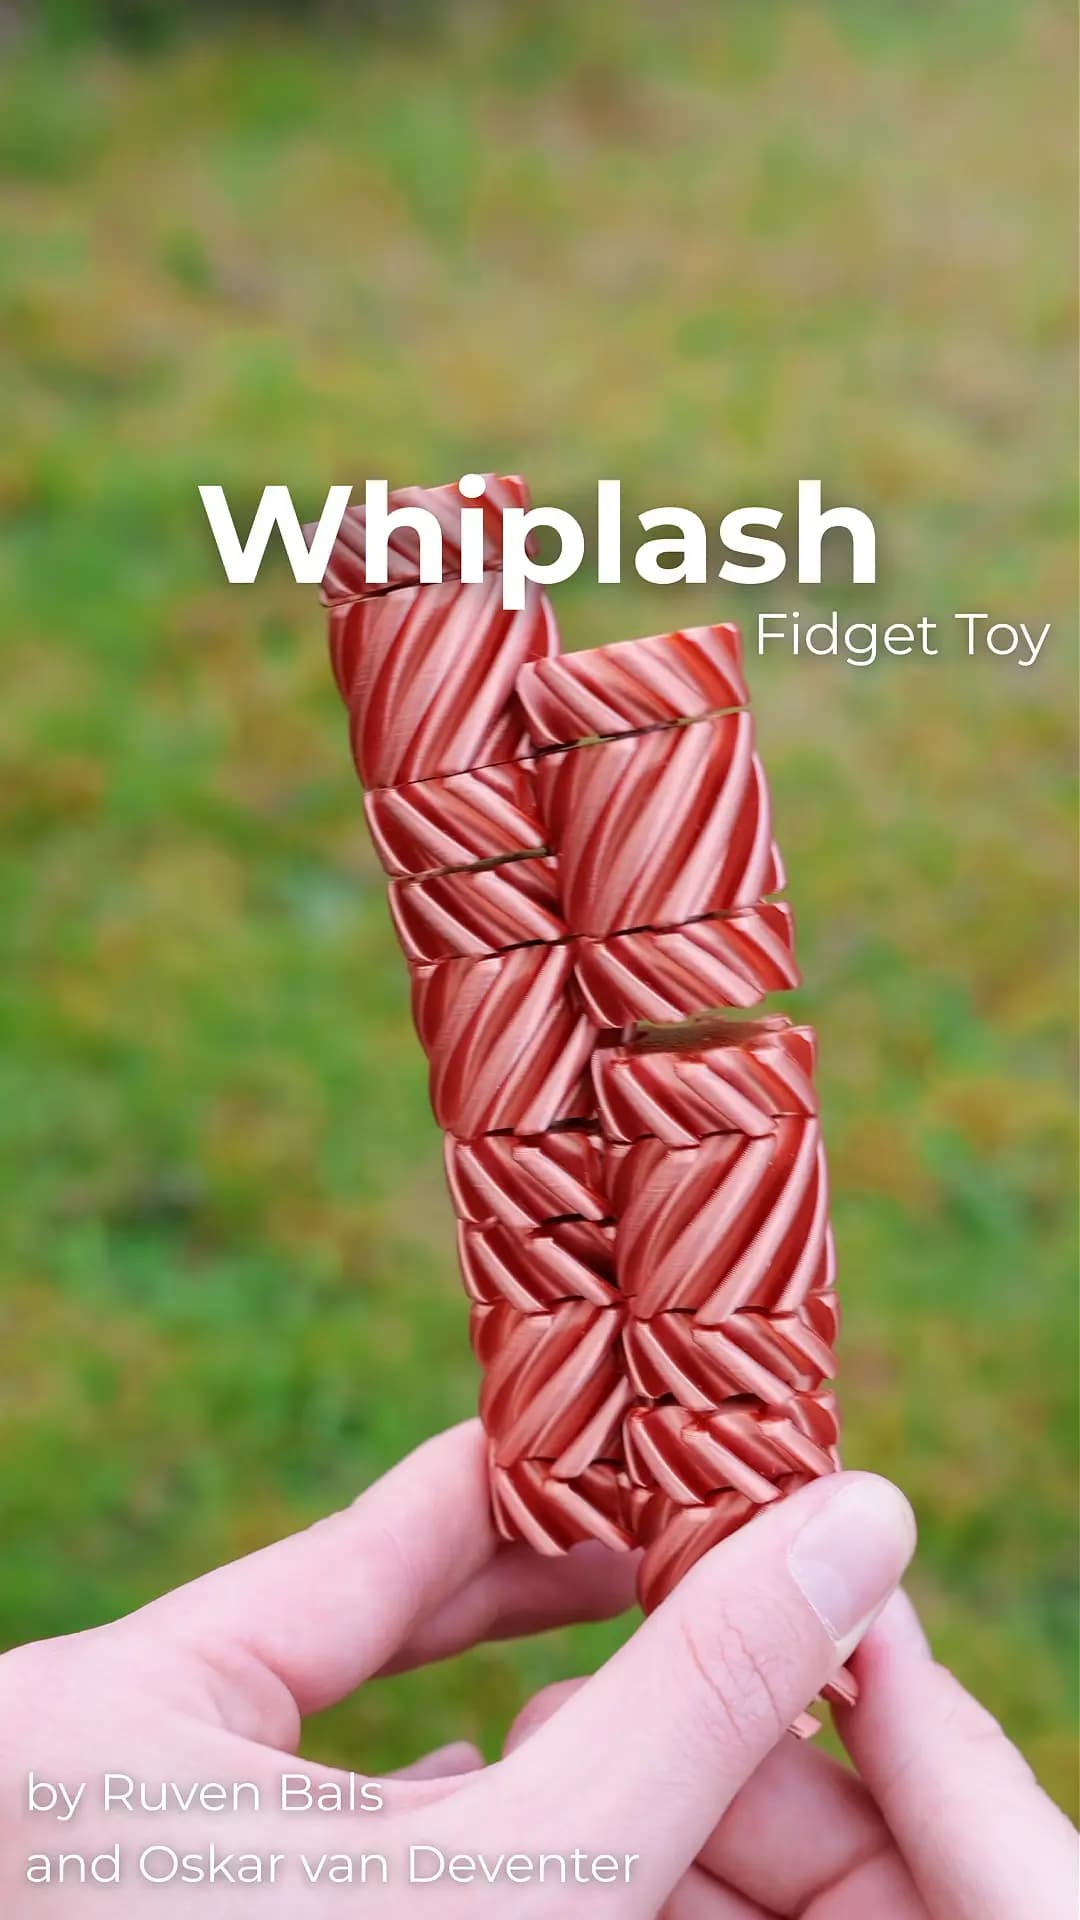
Whiplash Fidget Toy by Ruven Bals and Oskar van Deventer

Slime Ball Fidget Toy by Ruven Bals Print in Place
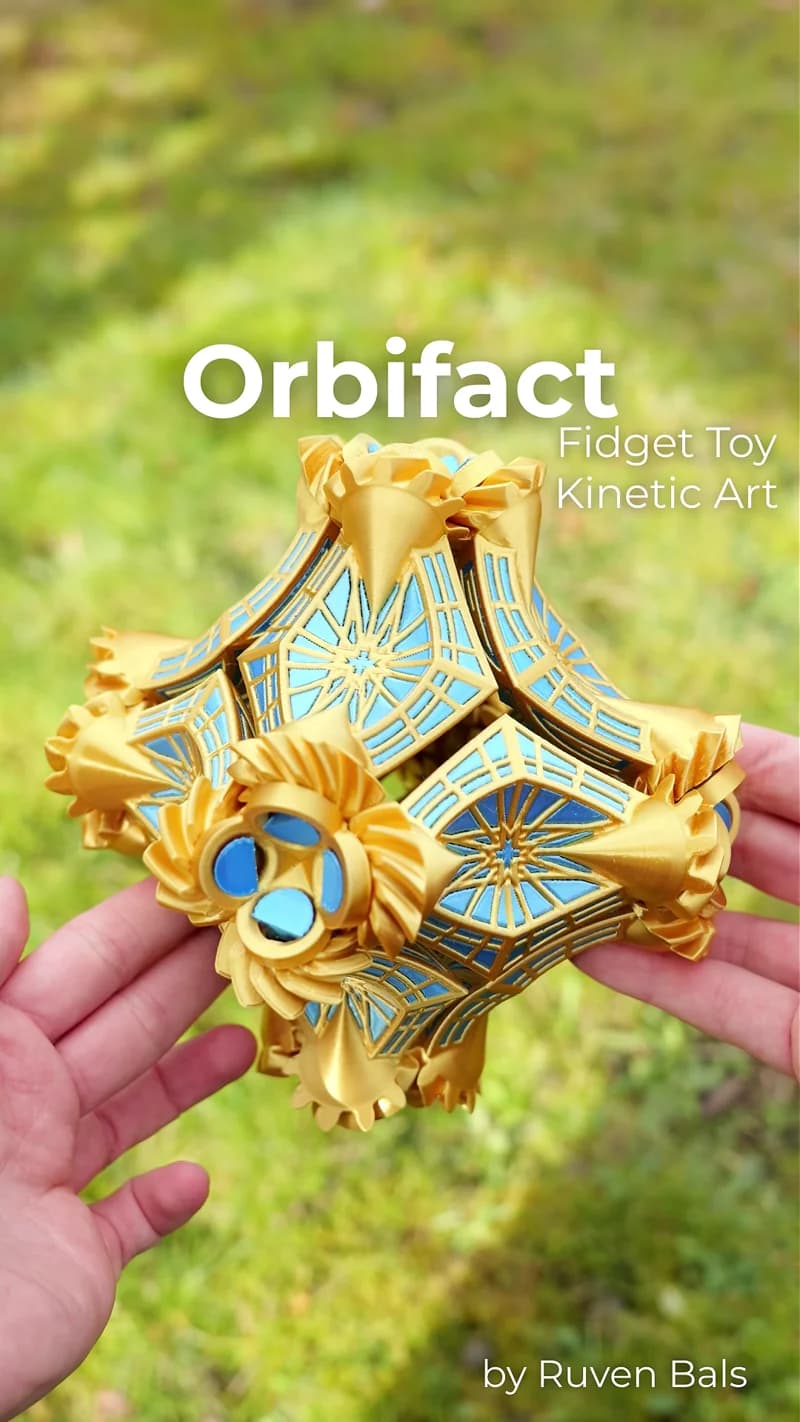
Orbifact Fidget Toy by Ruven Bals
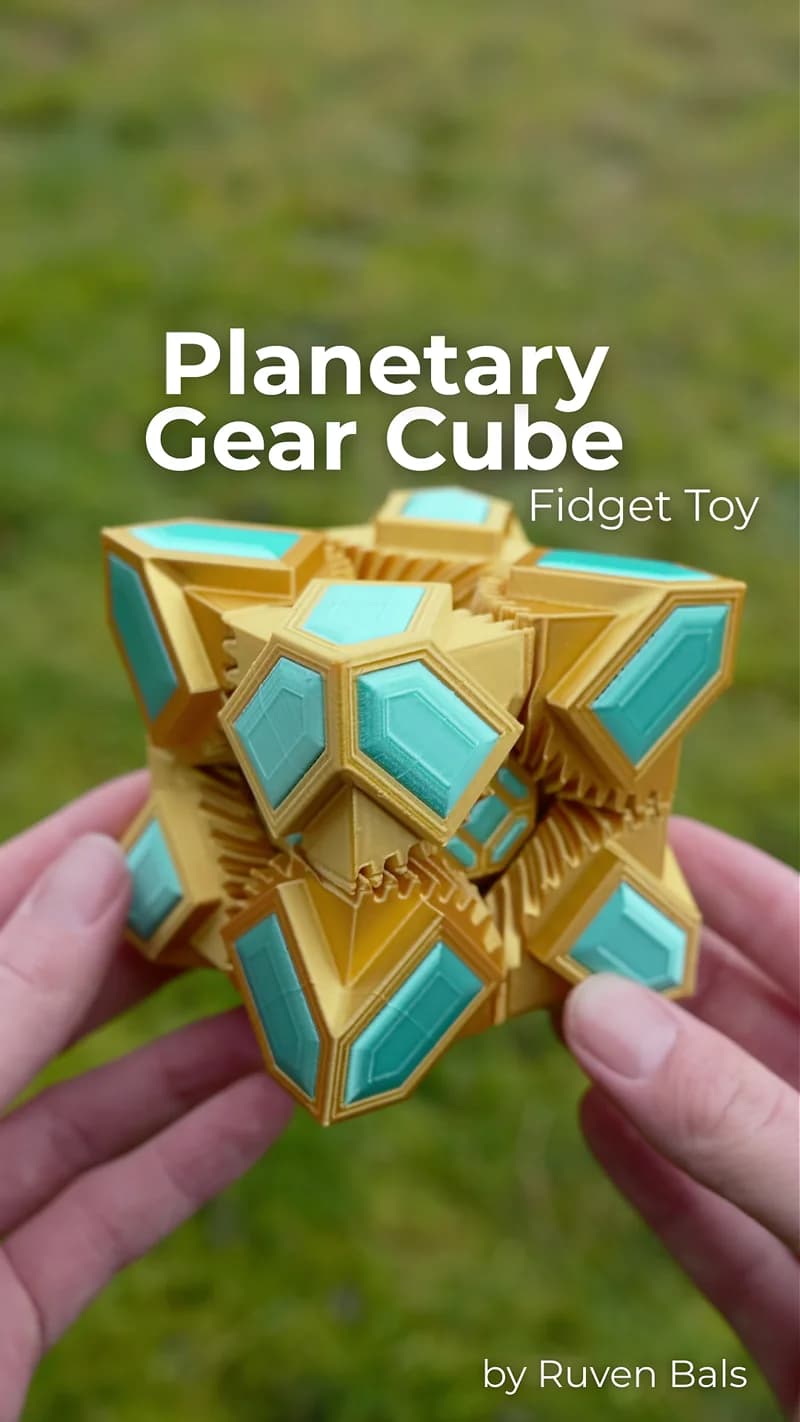
Planetary Gear Cube Fidget Toy by Ruven Bals

Gear Ball Fidget Toy

Slime Ball 2.0 Fidget Toy Print in Place by Ruven Bals
Slime Egg Fidget Toy Print in Place by Ruven Bals
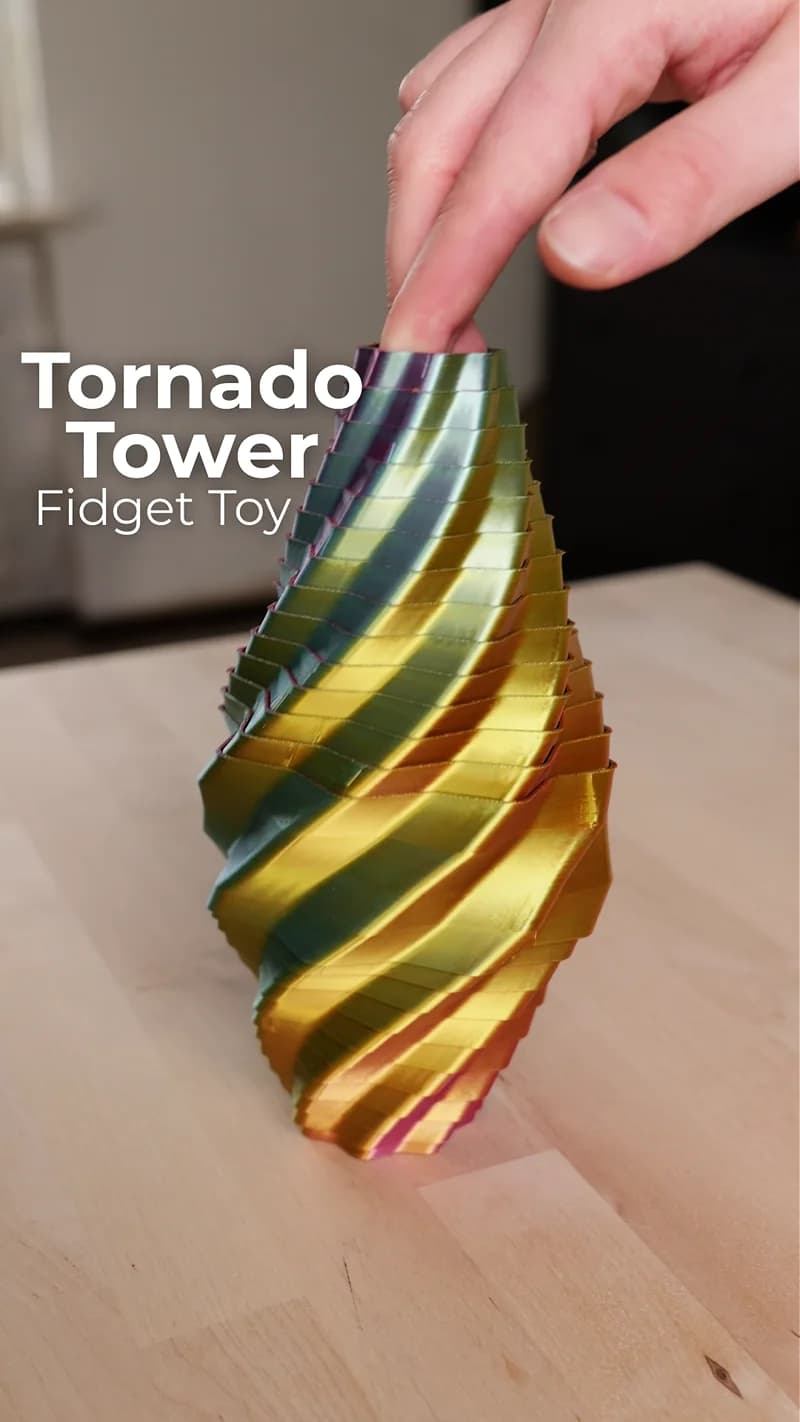
Tornado Tower Fidget Toy

Kinetic Vase
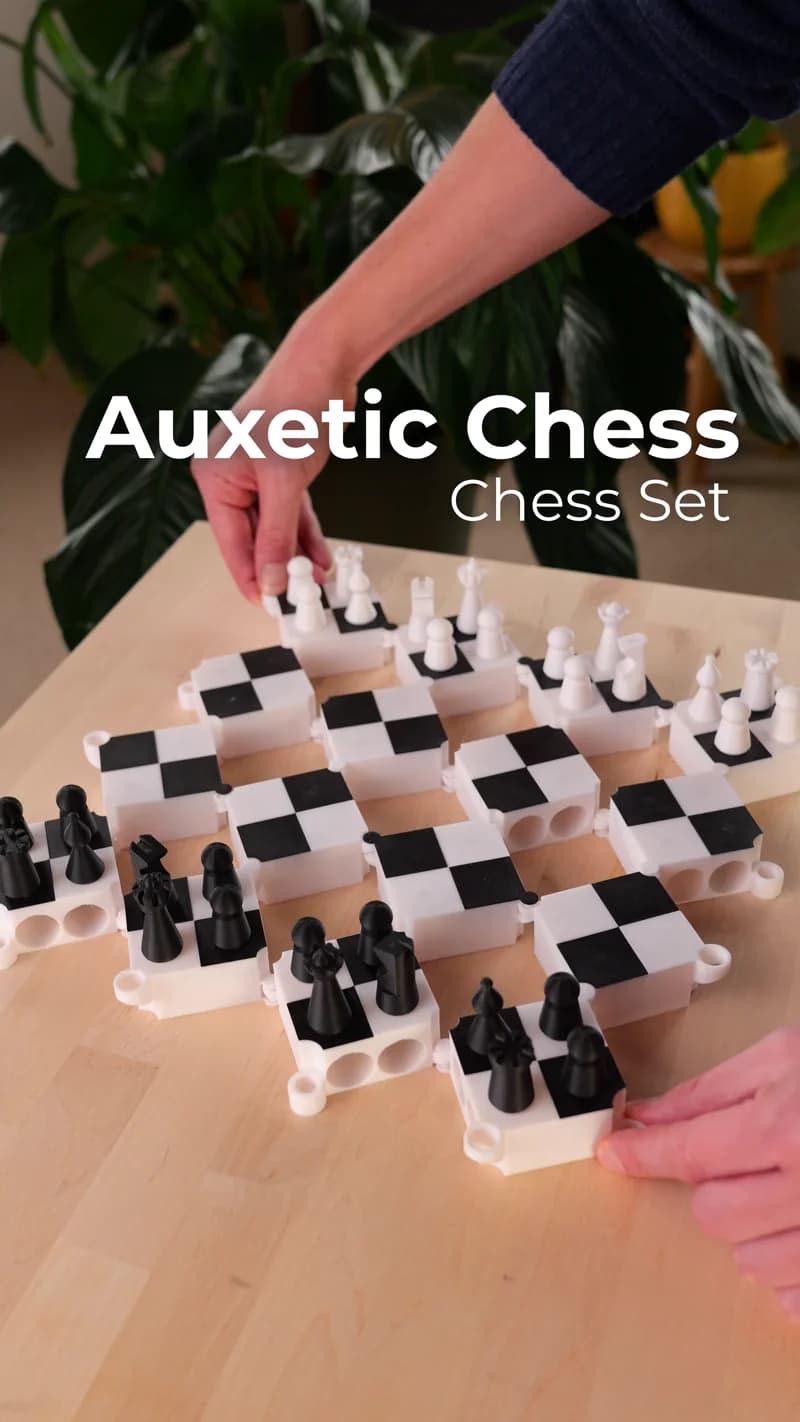
Auxetic Chess Print in Place by Ruven Bals

Jacobs Ladder Fidget Toy

Gear Fractal Fidget Toy

Twisty Chess Board by Ruven Bals

Sliced Pumpkin Box

Hinge Ball transforming Fidget Toy

Gear Tentacle Fidget Toy

Brain Gear Fidget Toy

Crystal Bloom Lamp for the Ceiling
