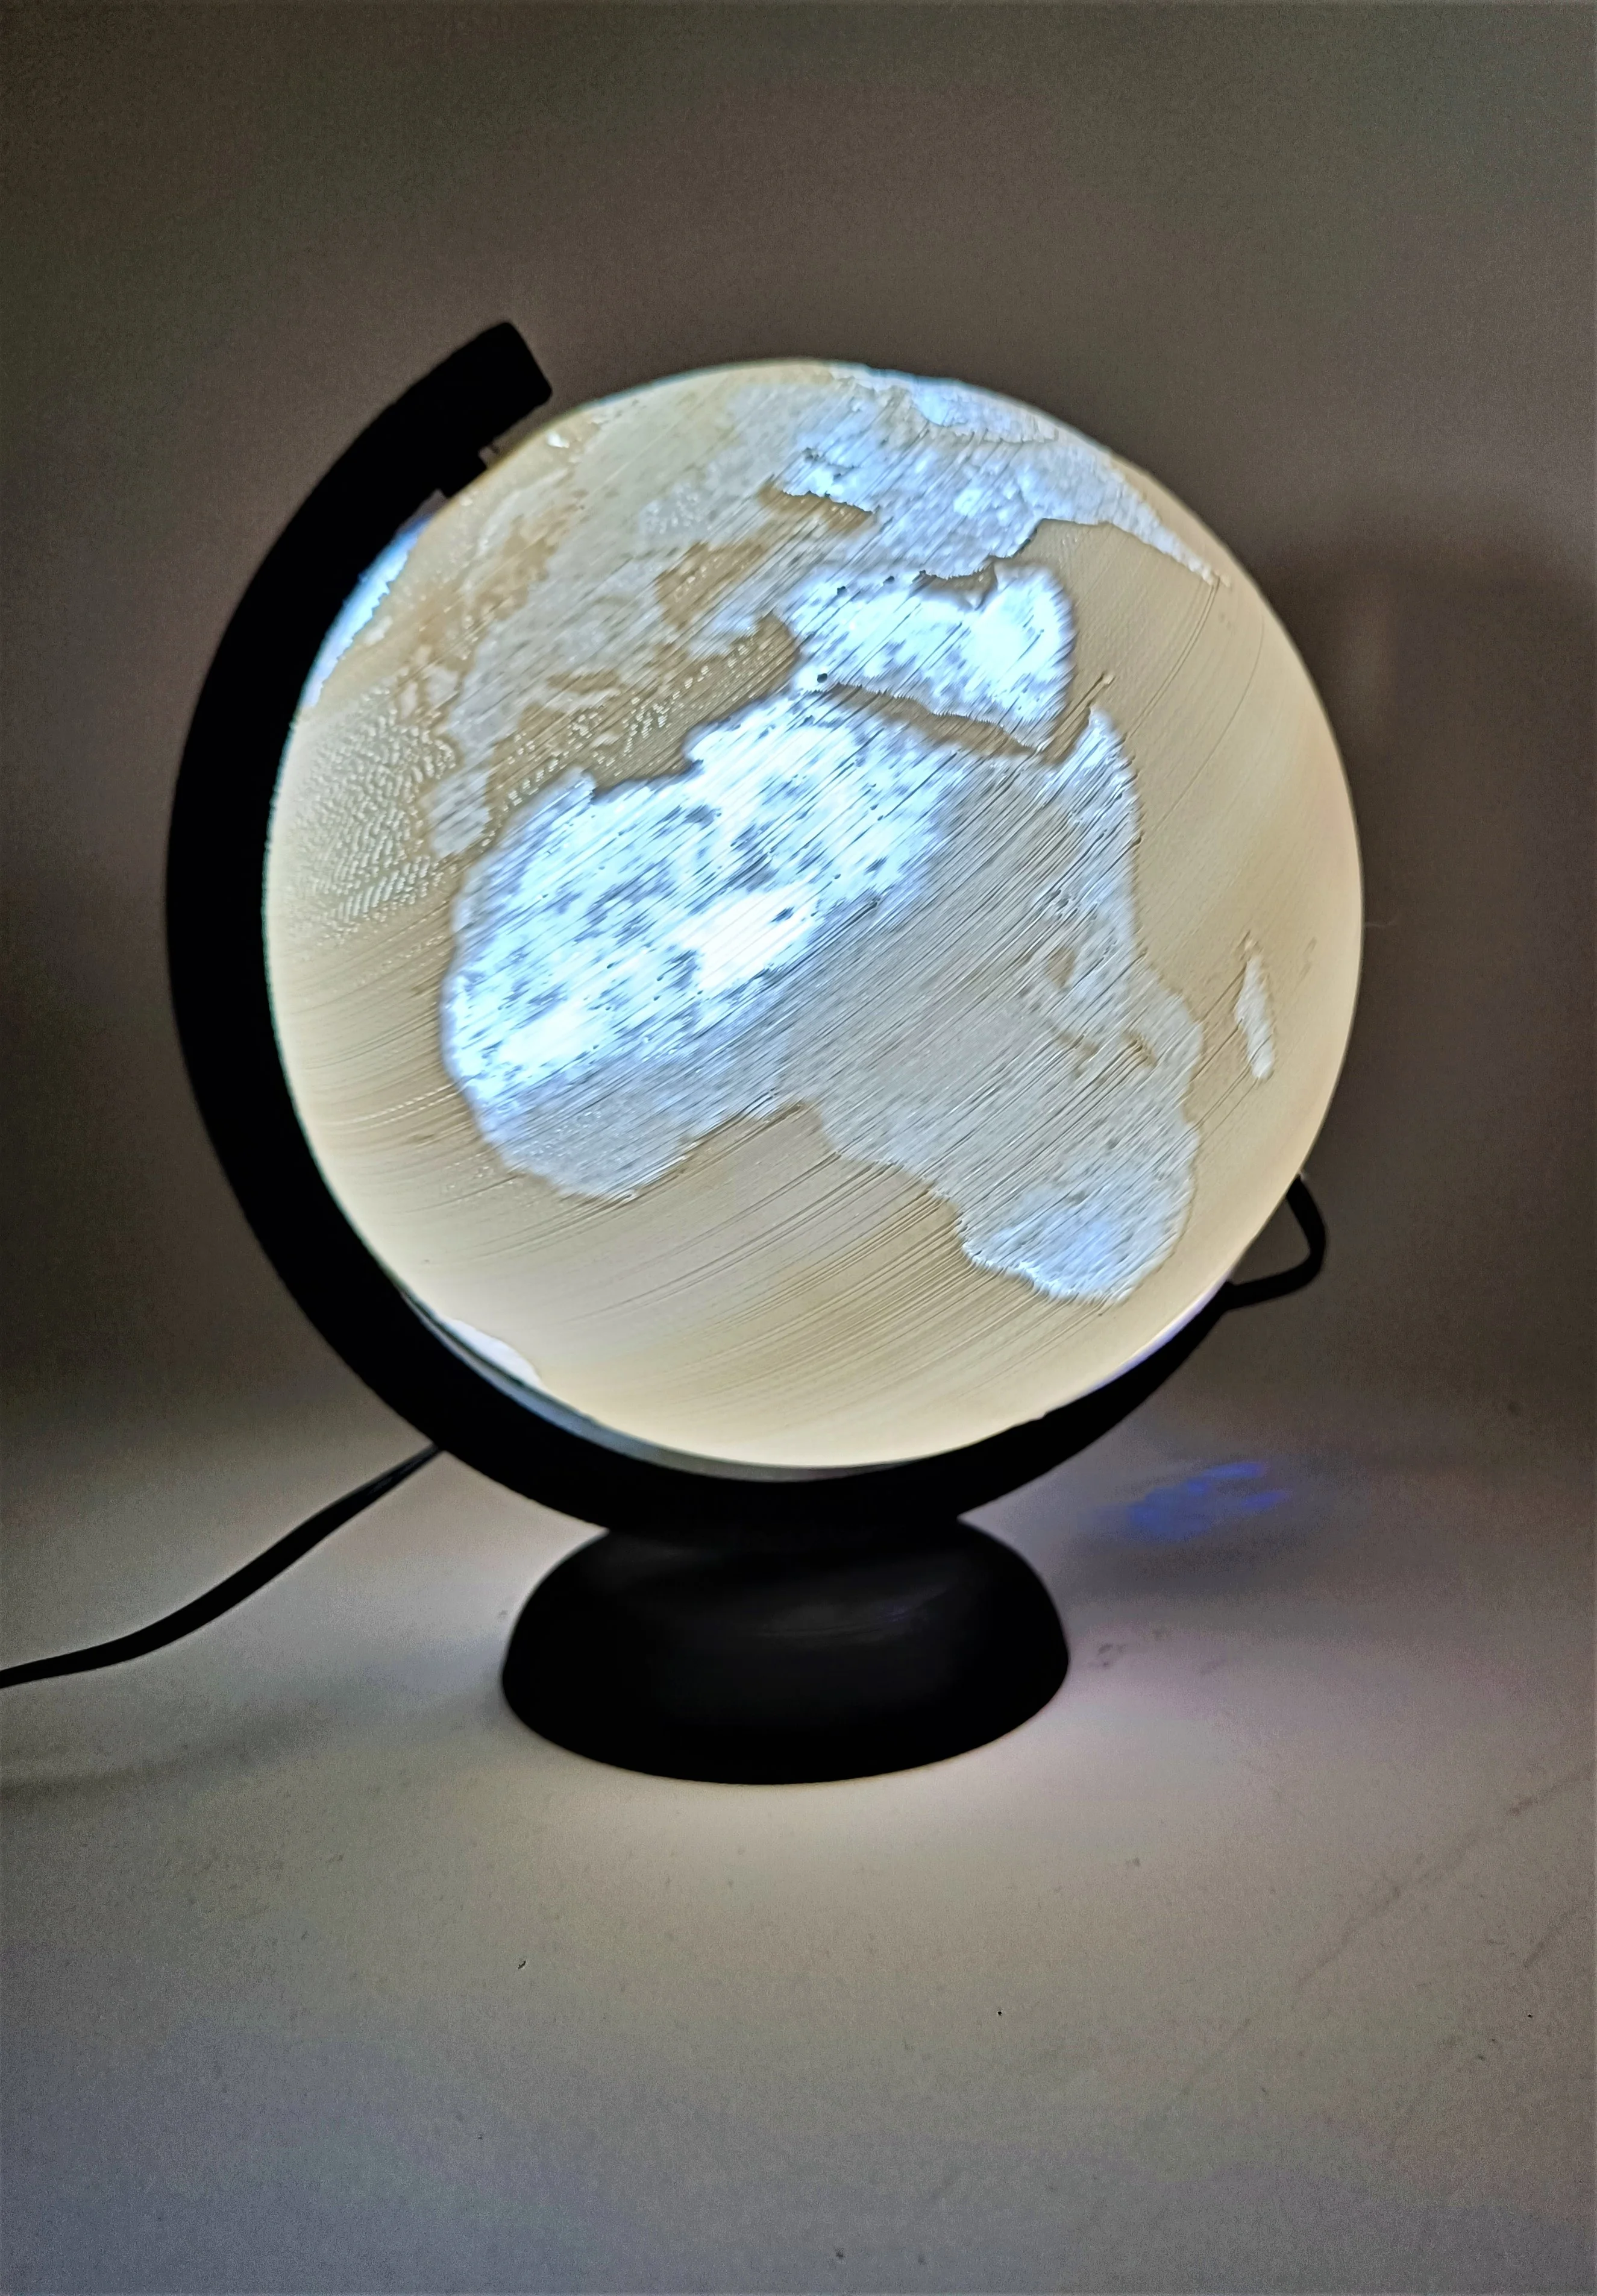


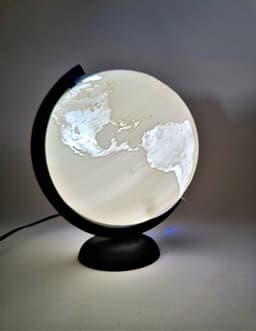


Globe Bearing Version
Hey this is a Globe that actually spins. There is s a little video of it here: https://twitter.com/3dRi0m0 You will need to buy some external parts to assemble this.
LED Stripe: You can use any led stripe you can find online, but I would prefer one that can be cut in length.
You will need one regular skateboard bearing.
And you will need one bearing like this: https://www.amazon.de/dp/B0834QW1SW?psc=1&ref=ppx_yo2ov_dt_b_product_details Be sure to buy one that fits exactly the dimensions this bearing has, otherwise you won't be able to assemble this. I will also make a version of this that descent need a bearing, so if you c ant get one, maybe just wait for that version.
Print settings. This is really important. Move the model 1.4 mm into the build plate. That will cut away some geometry that won't be printed. I sadly wasn't able to cut that away, my Laptop is not strong enough to make that operation. Globe File. This one is the heart of the globe, so be sure to get it right. Print with a .4 mm Nozzle or a layer height of 0.2 and a width. Turn on supports, but put the threshold to 89C. You don't want to support the sphere but only the insert for the bearing on the top of the inside of the globe. All other parts don't need special treatment. Print the cap with normal supports and everything else without. If something doesn't fit, maybe scale the parts just a little bit.
Assembly: 1 Put the skateboard bearing on the Rod. 2 Put the big Bearing in the Globe. 3 Wrap the LED strip around the rod. 4 make sure the Cable is in the little hole in the cap. 5 Put the rod inside the Globe with the bearing side up. Push it through the small hole at the North Pole. 6 Now put the cap in place. Be sure the cable is in the right spot. 7 Push the C onto the stand. 8 Put the globe into the C. It will be a little elastic because of the shape.
That's it, enjoy your Globe!
Update: I added an empty step file of the globe so that you can make your own version. Just apply a Texture. I updated the C It's now a little bigger to make the globe spin better. I also updated the stand, it should now fit better into the C. I completely updated the rod. It now fits way better into the cap and is more stable. There is also more room to attack the LED. This is now done from my side. If someone hast some suggestions, leave them in the comments, I might update the model once more.
#functionalart
Globe Bearing Version
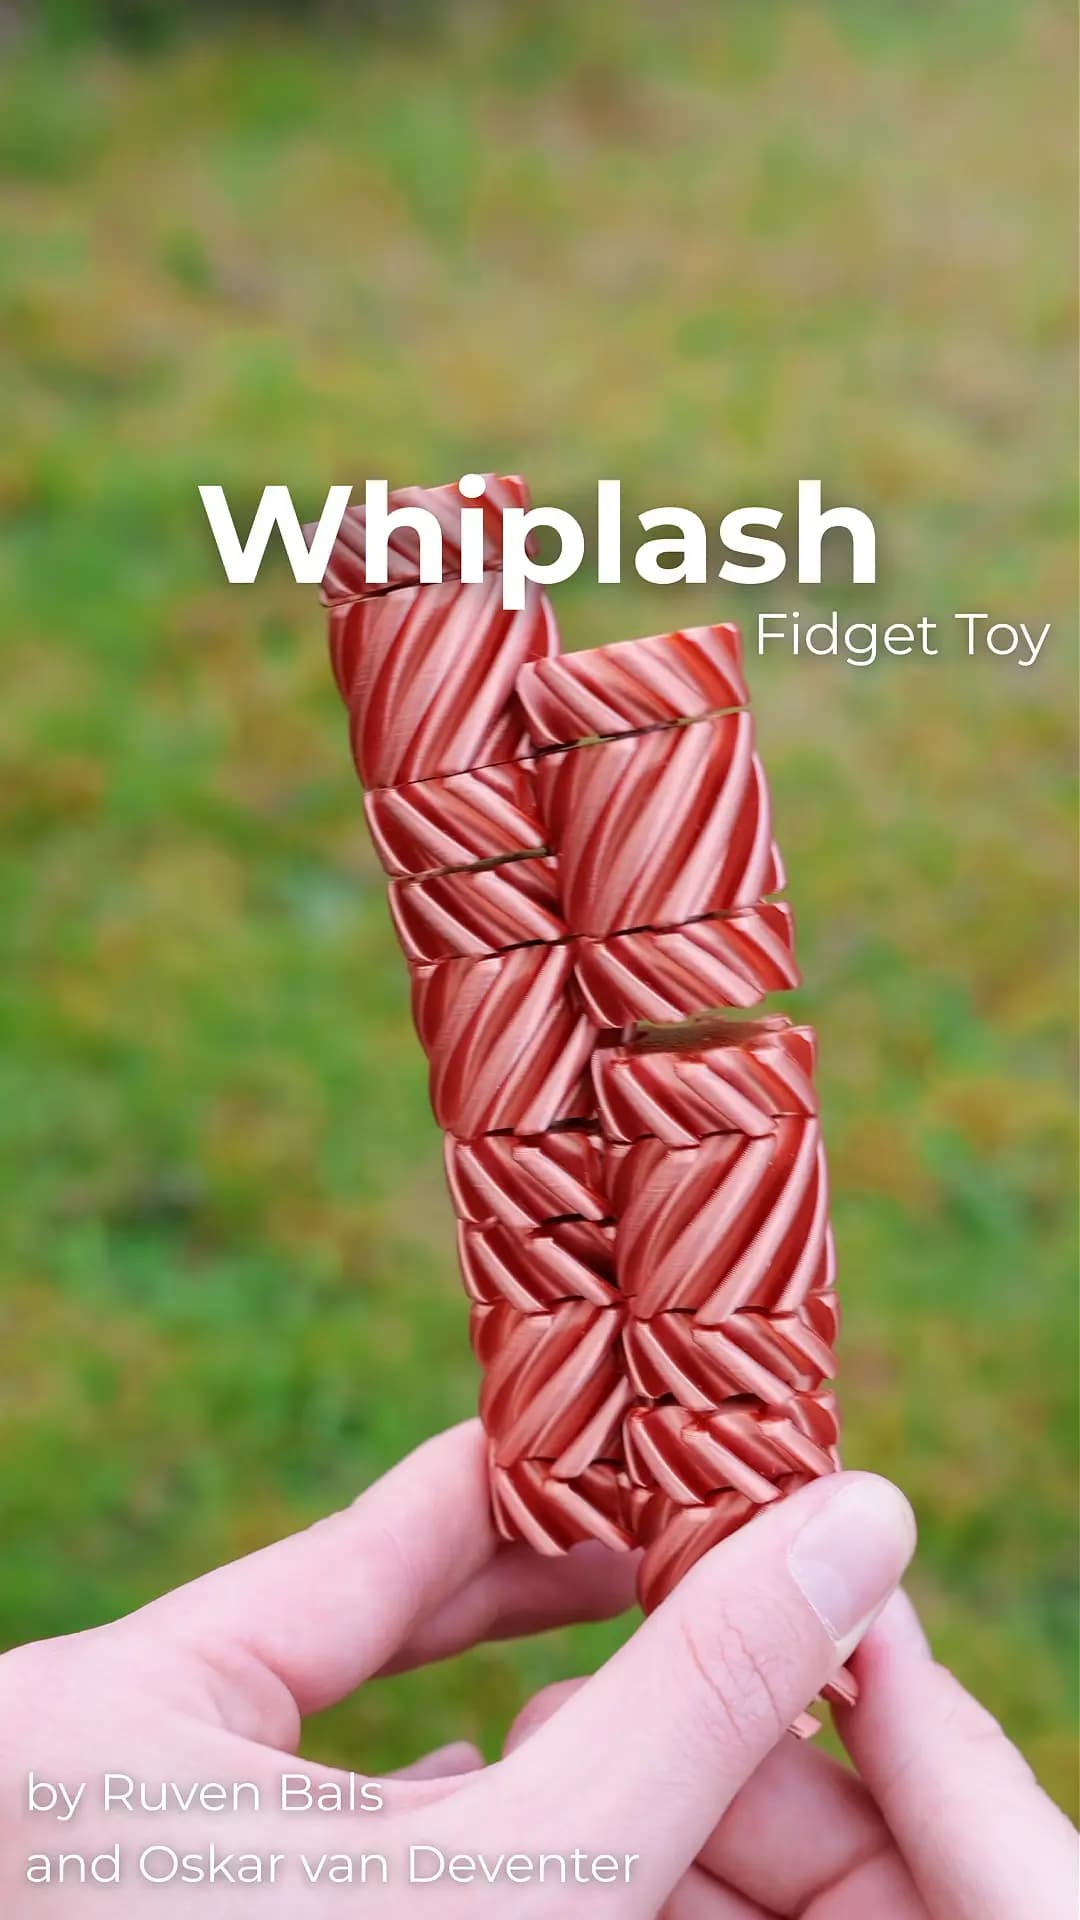
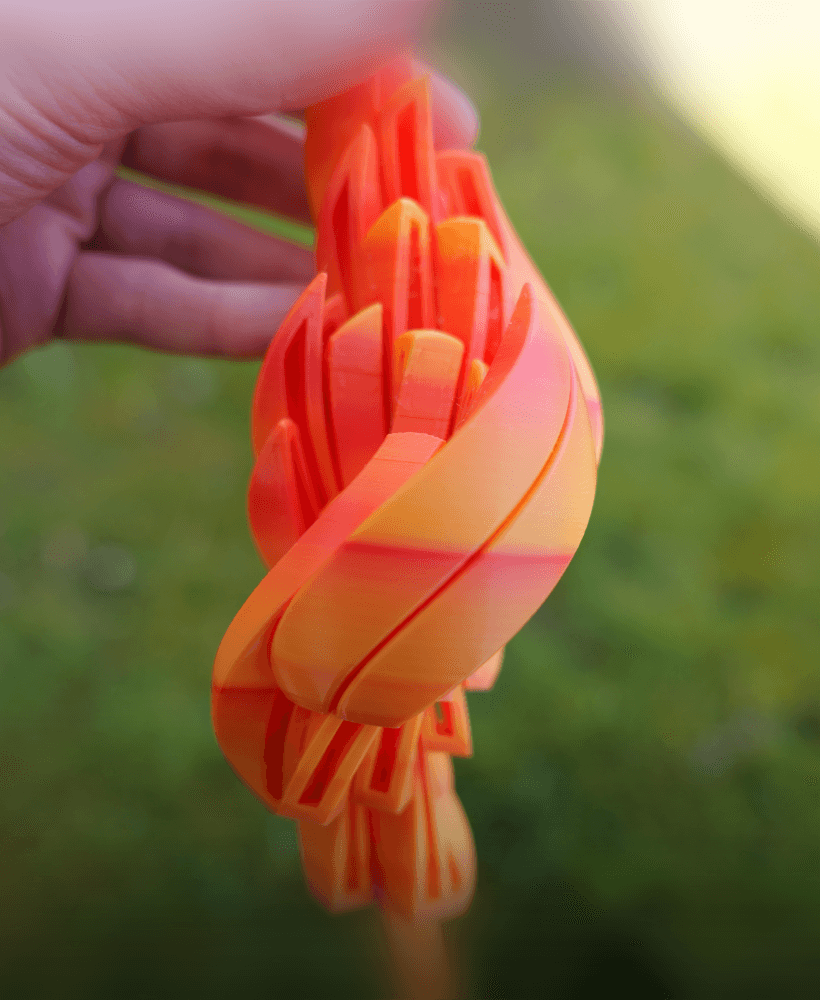
Whiplash Fidget Toy by Ruven Bals and Oskar van Deventer

Slime Ball Fidget Toy by Ruven Bals Print in Place
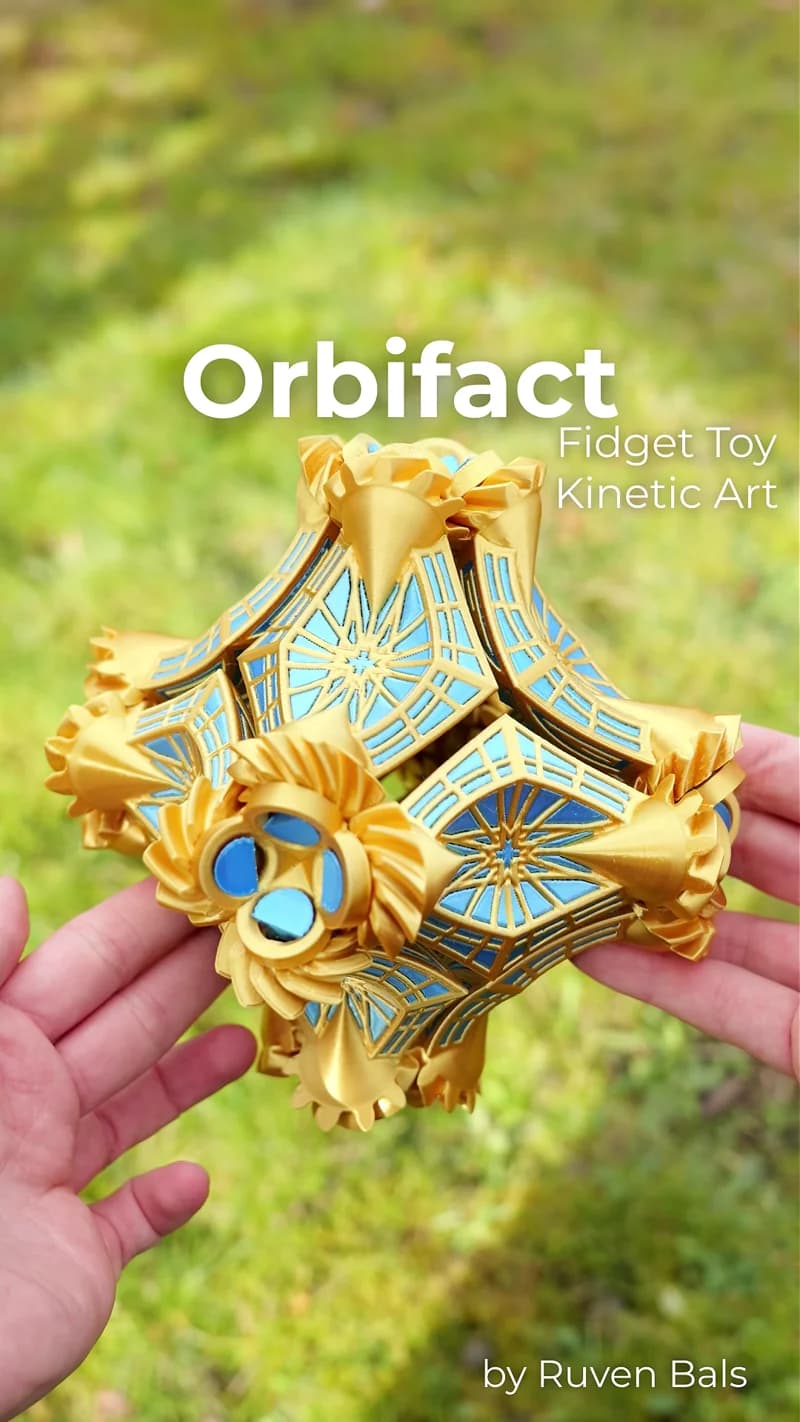
Orbifact Fidget Toy by Ruven Bals
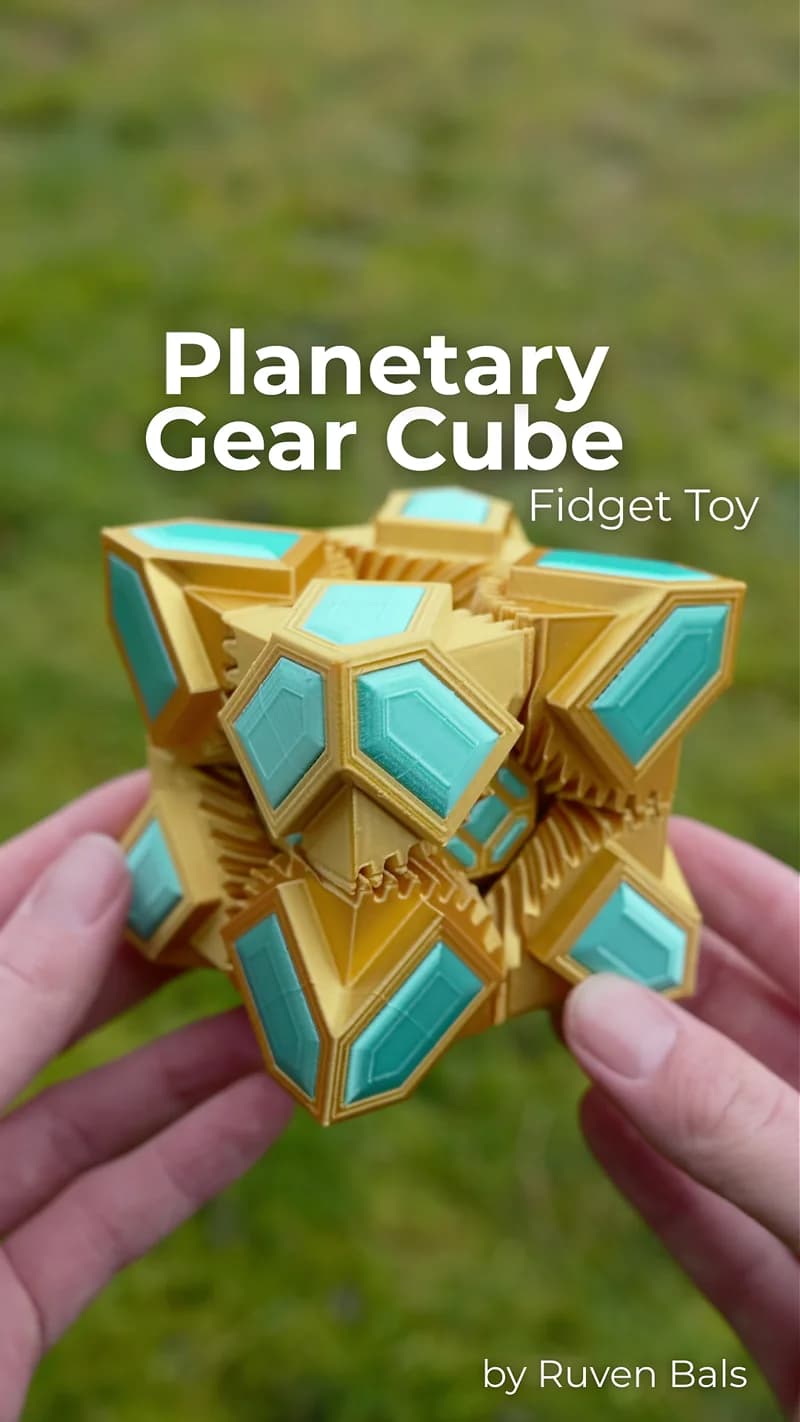
Planetary Gear Cube Fidget Toy by Ruven Bals

Gear Ball Fidget Toy

Slime Ball 2.0 Fidget Toy Print in Place by Ruven Bals
Slime Egg Fidget Toy Print in Place by Ruven Bals
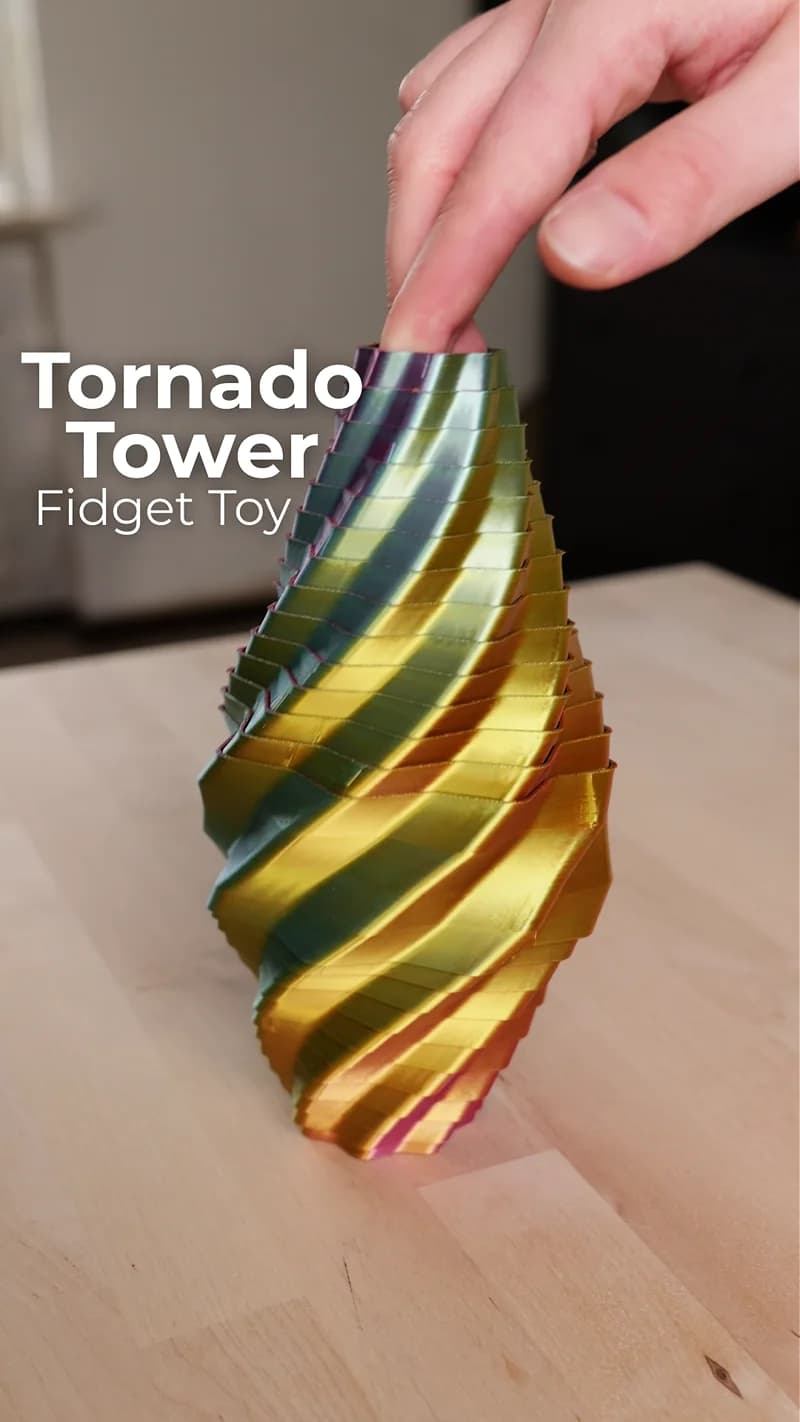
Tornado Tower Fidget Toy

Kinetic Vase
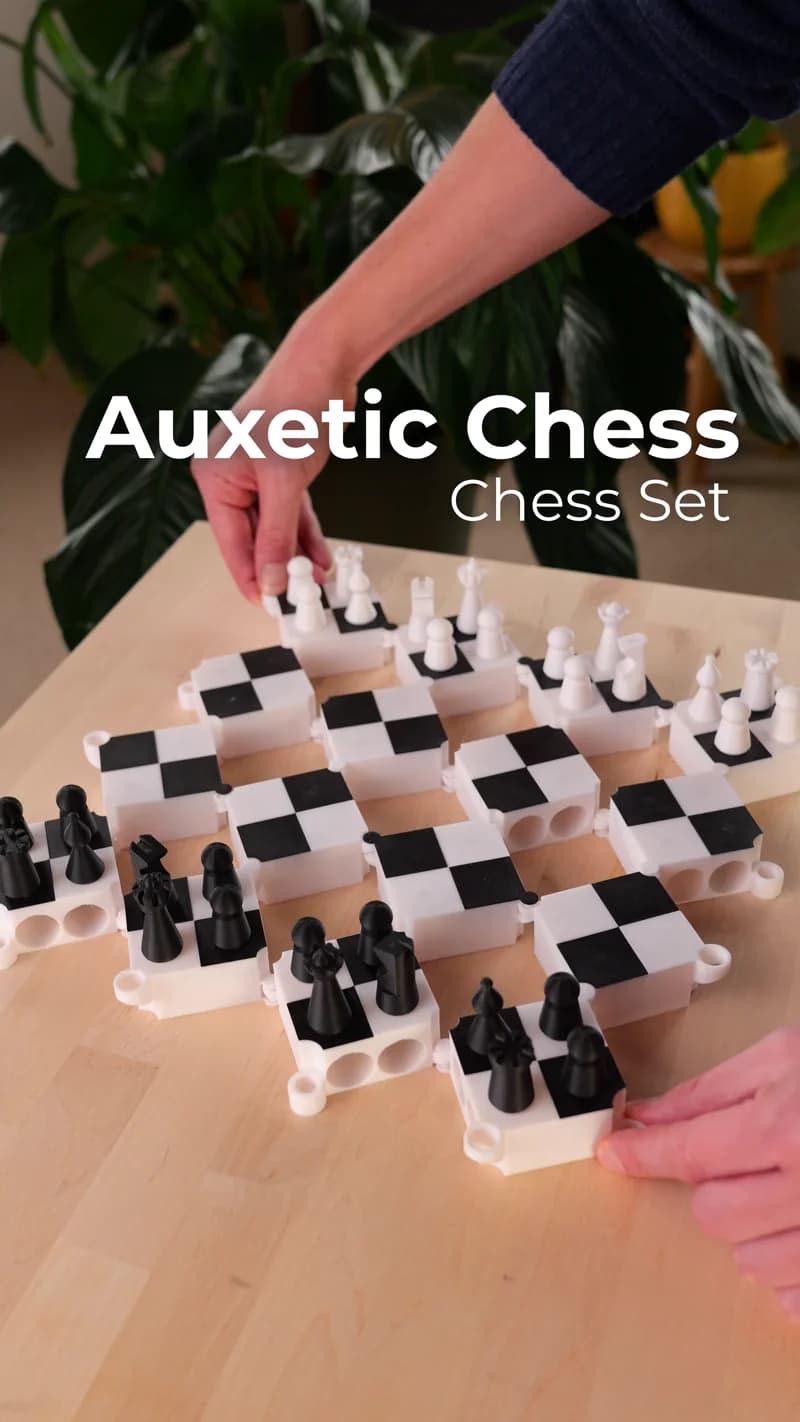
Auxetic Chess Print in Place by Ruven Bals

Jacobs Ladder Fidget Toy

Gear Fractal Fidget Toy

Twisty Chess Board by Ruven Bals

Sliced Pumpkin Box

Hinge Ball transforming Fidget Toy

Gear Tentacle Fidget Toy

Brain Gear Fidget Toy

Crystal Bloom Lamp for the Ceiling

Liquid Cat Fidget Toy Print in Place
