Wizard Dice Box and Hex Cushions now available here!
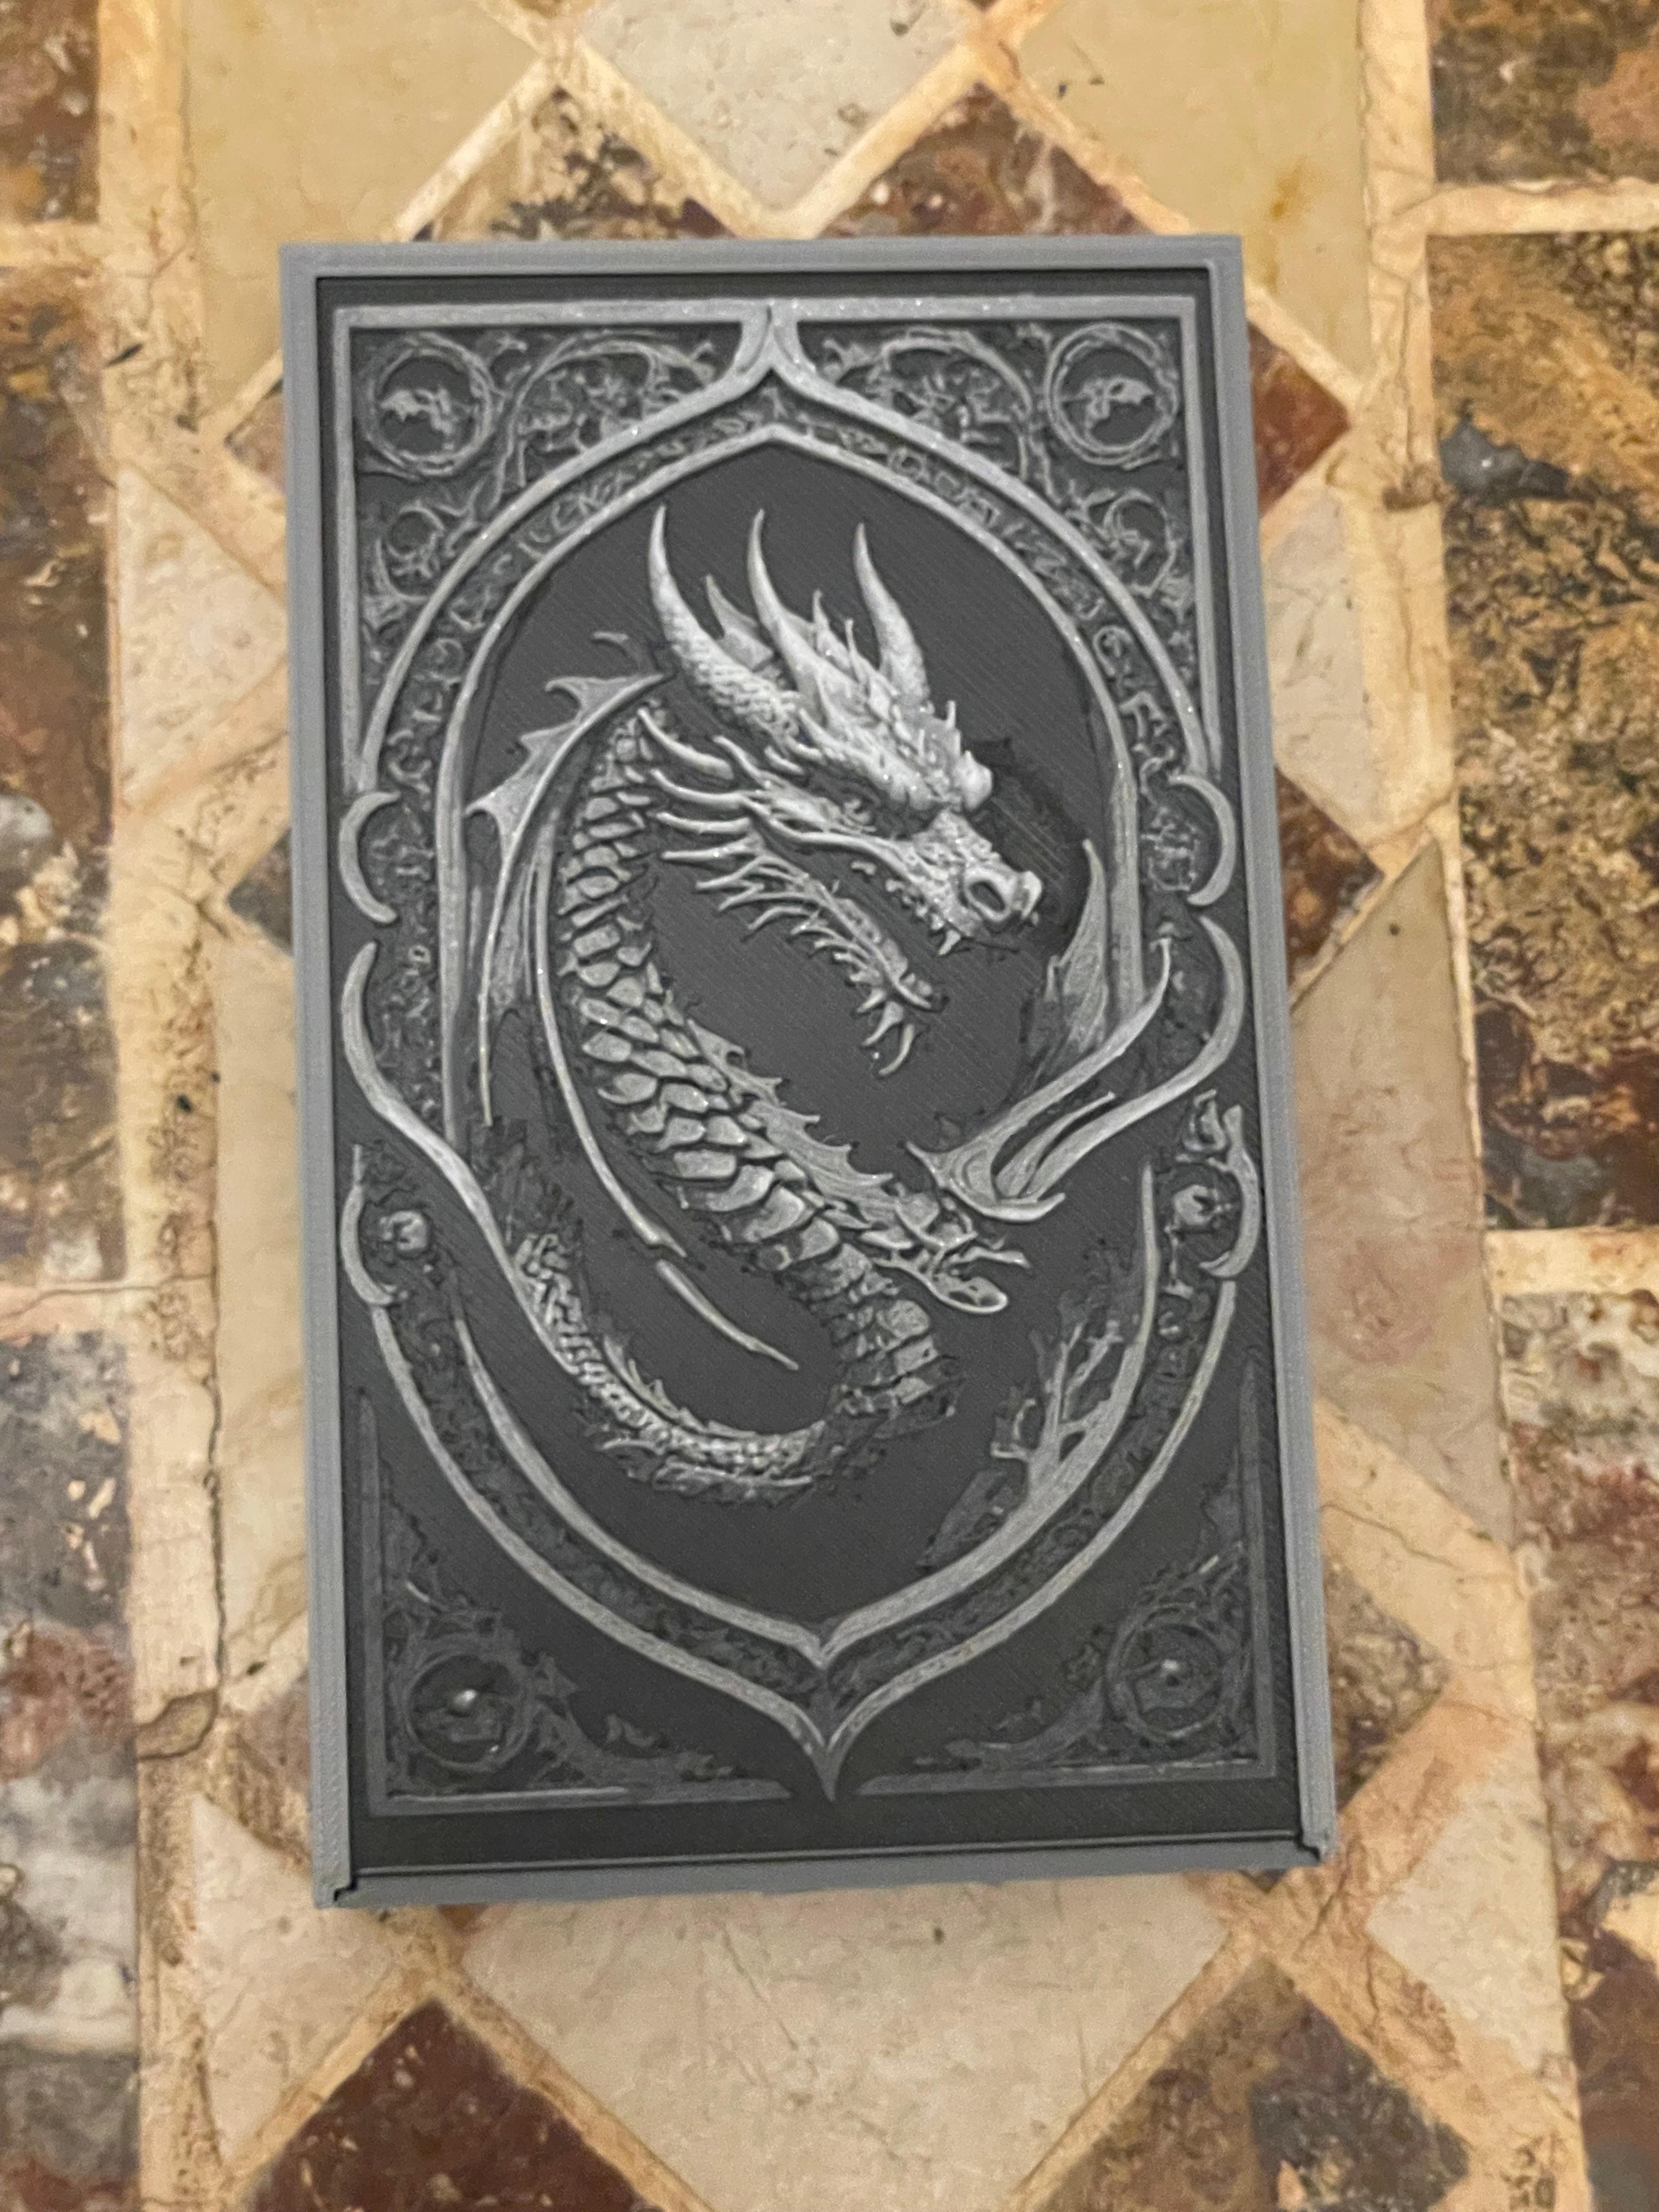
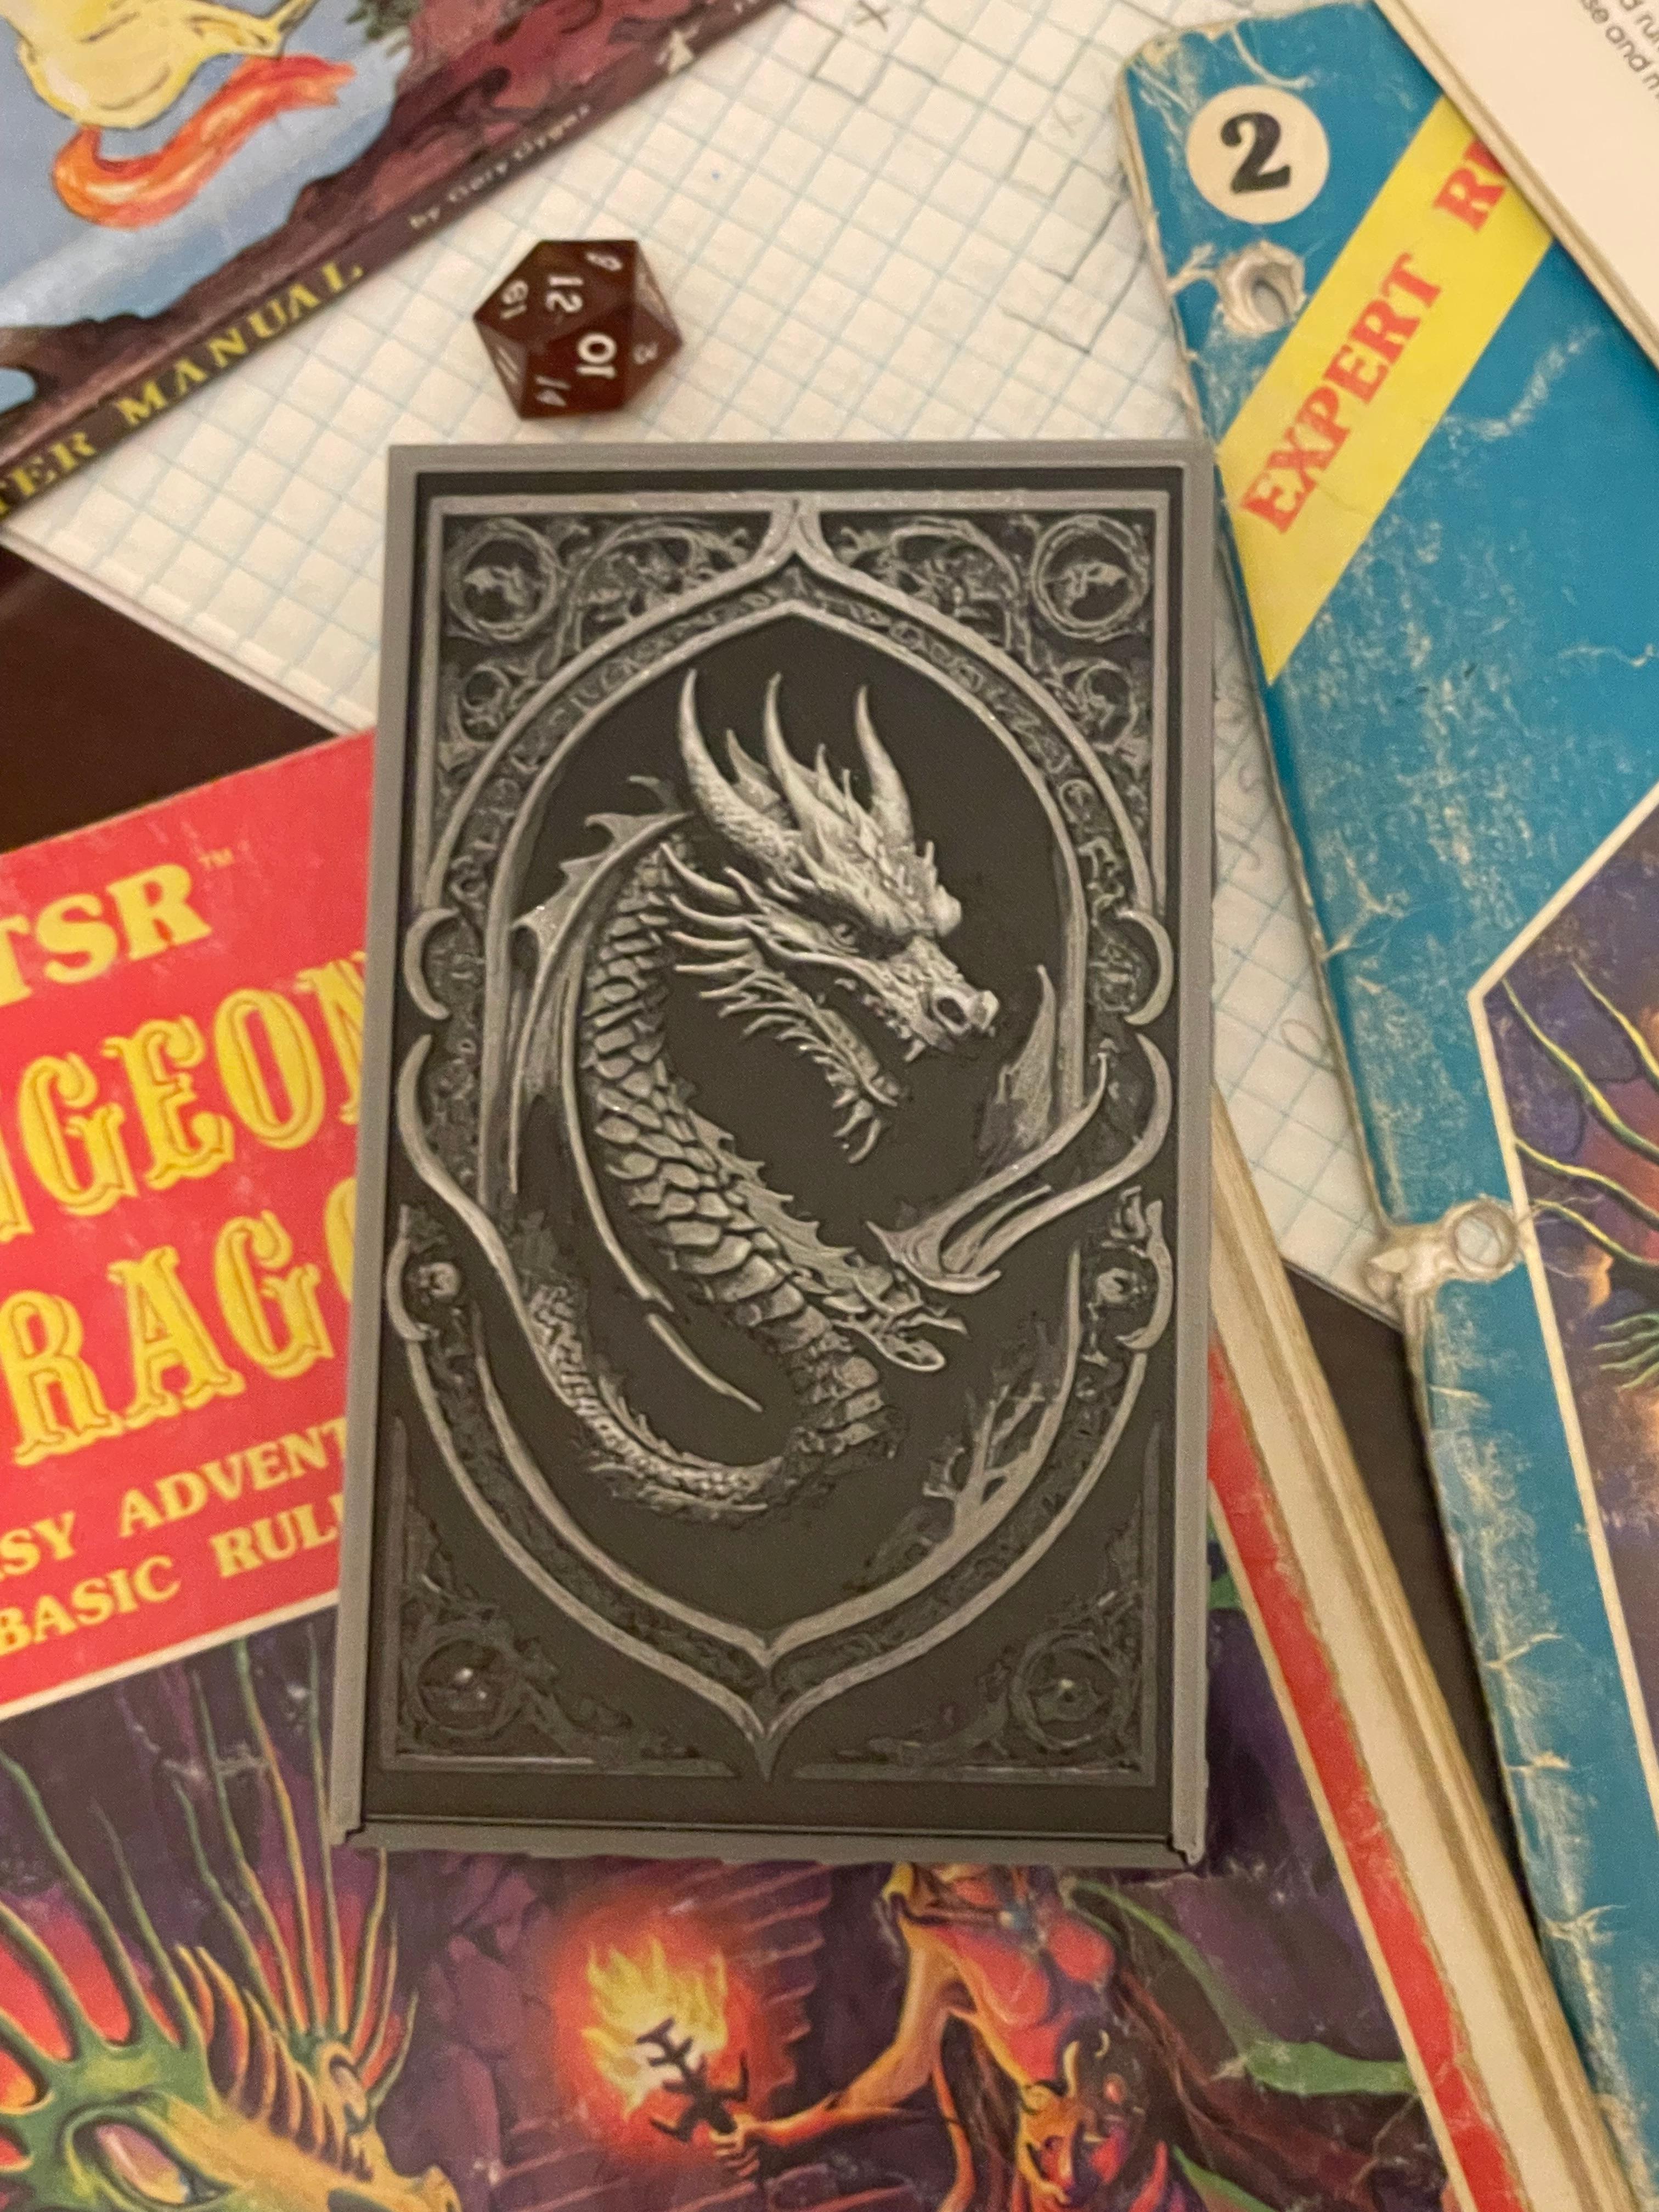
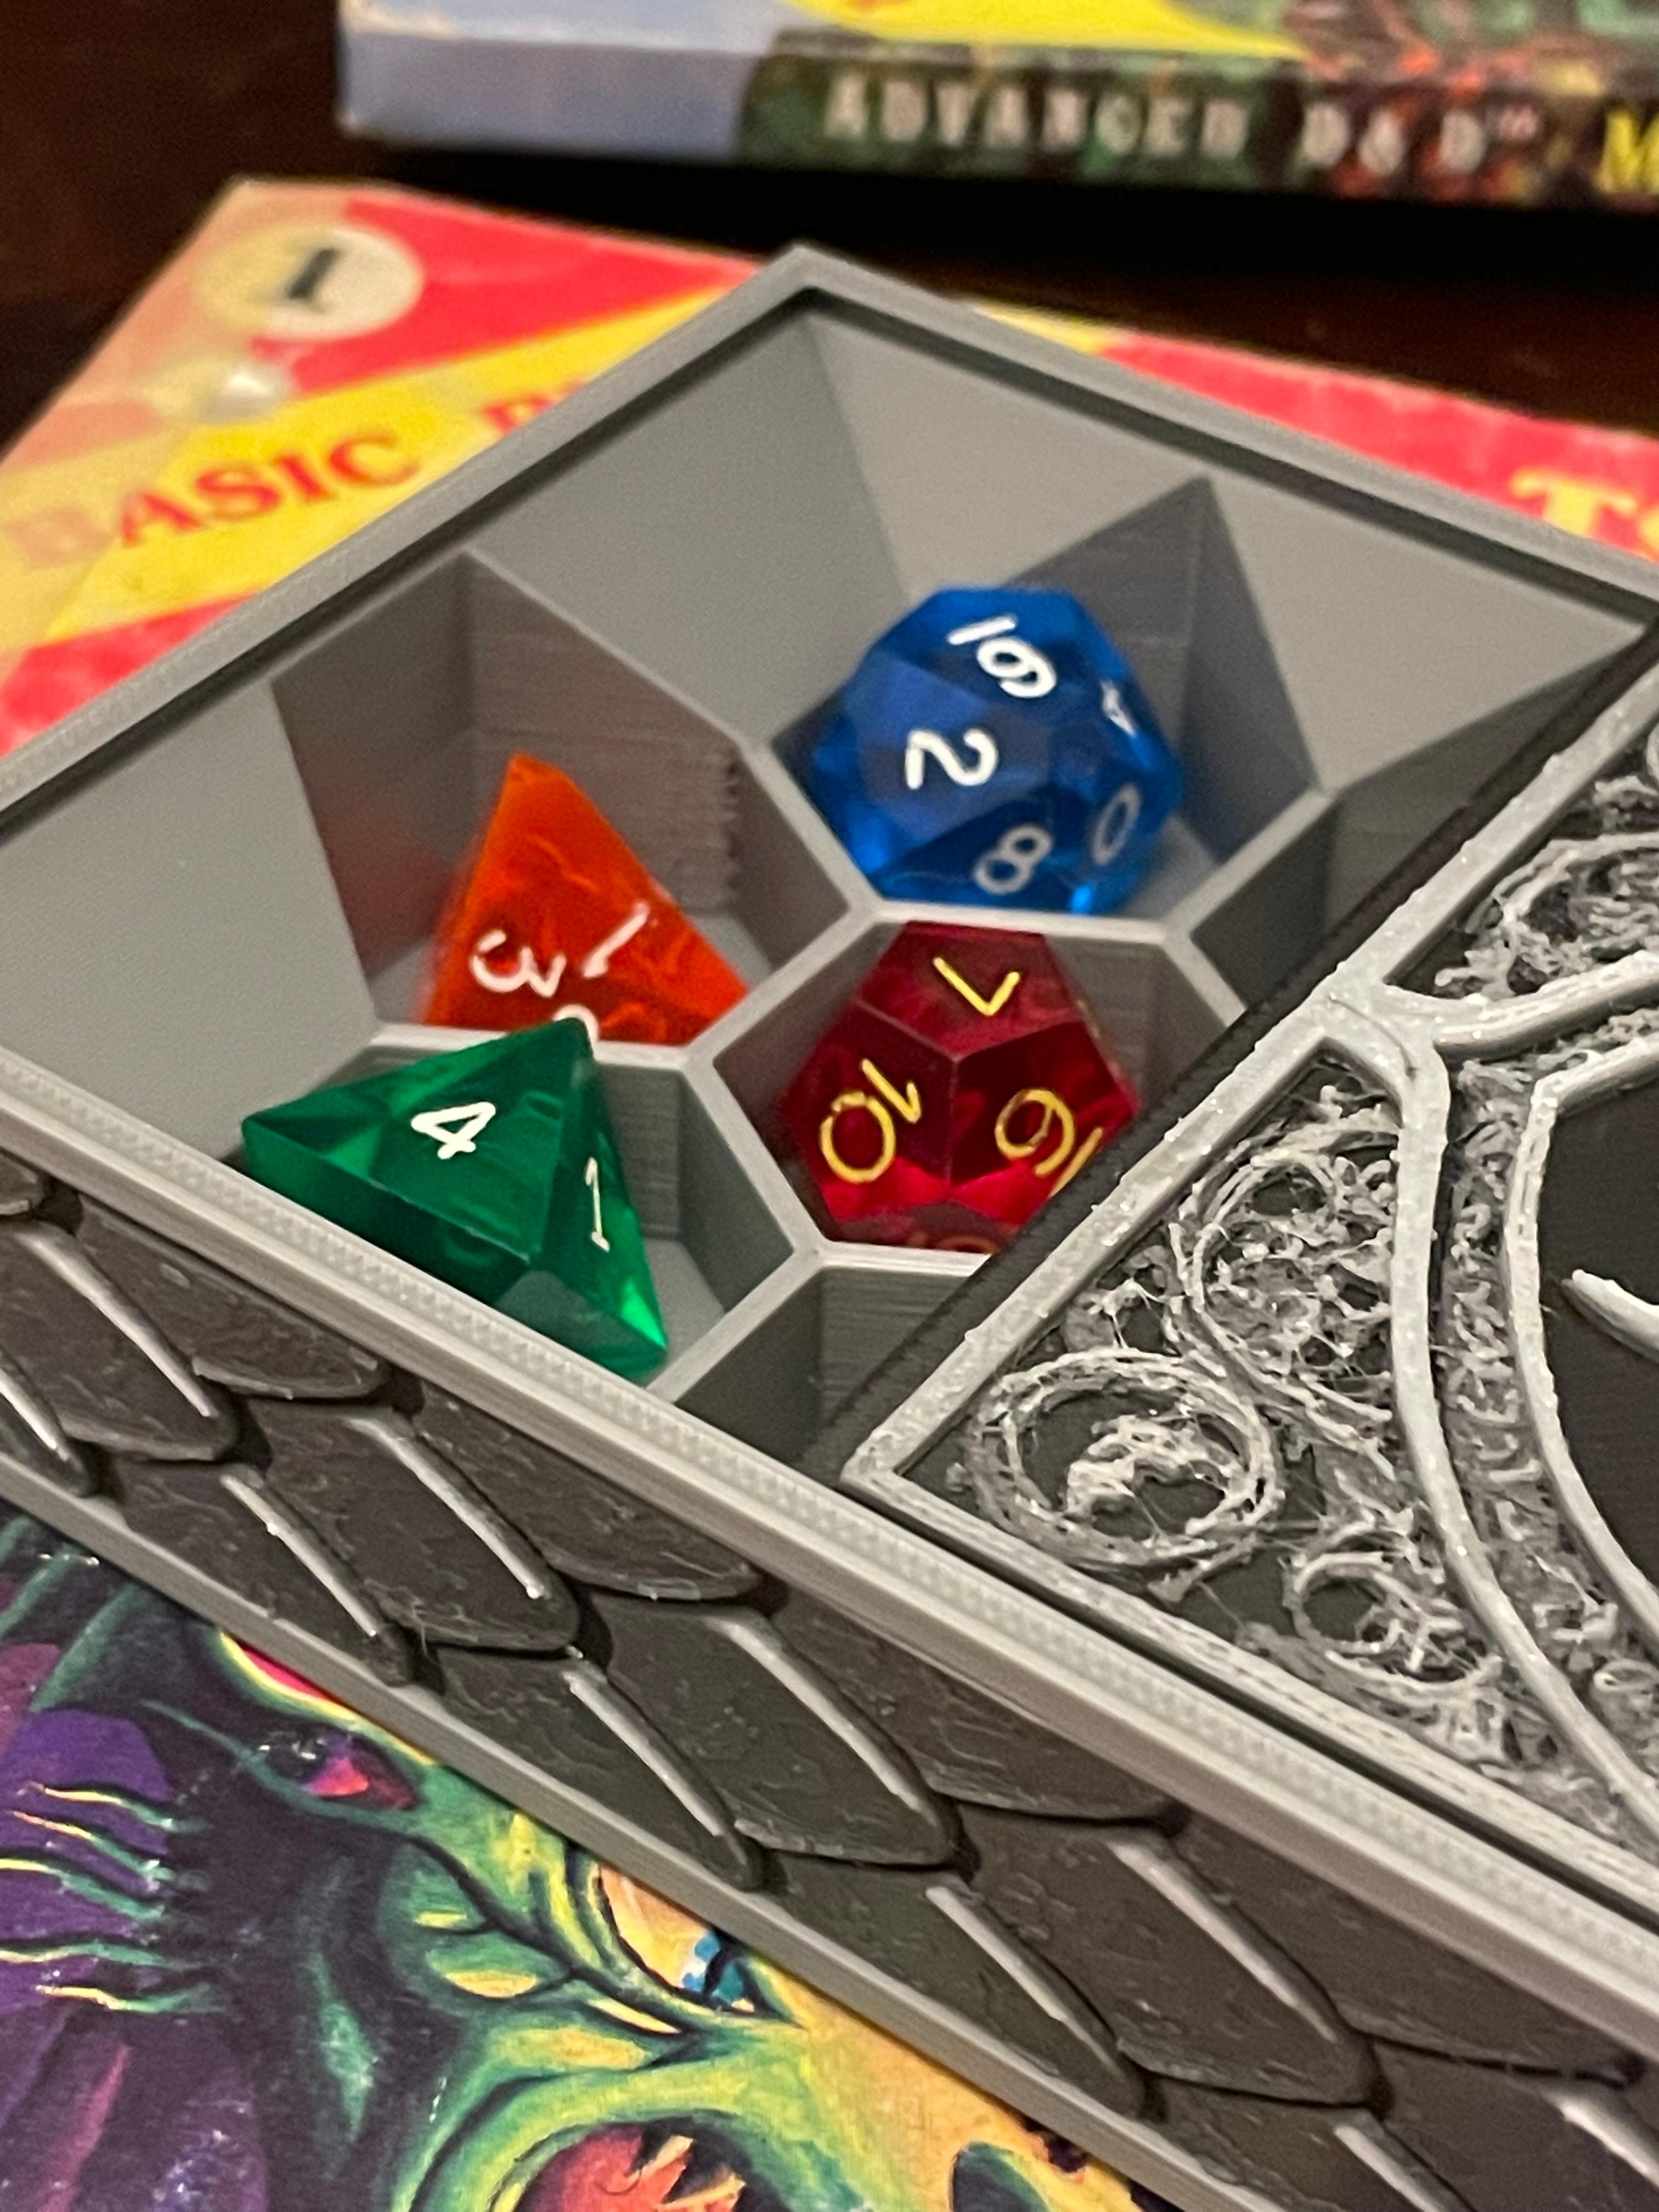
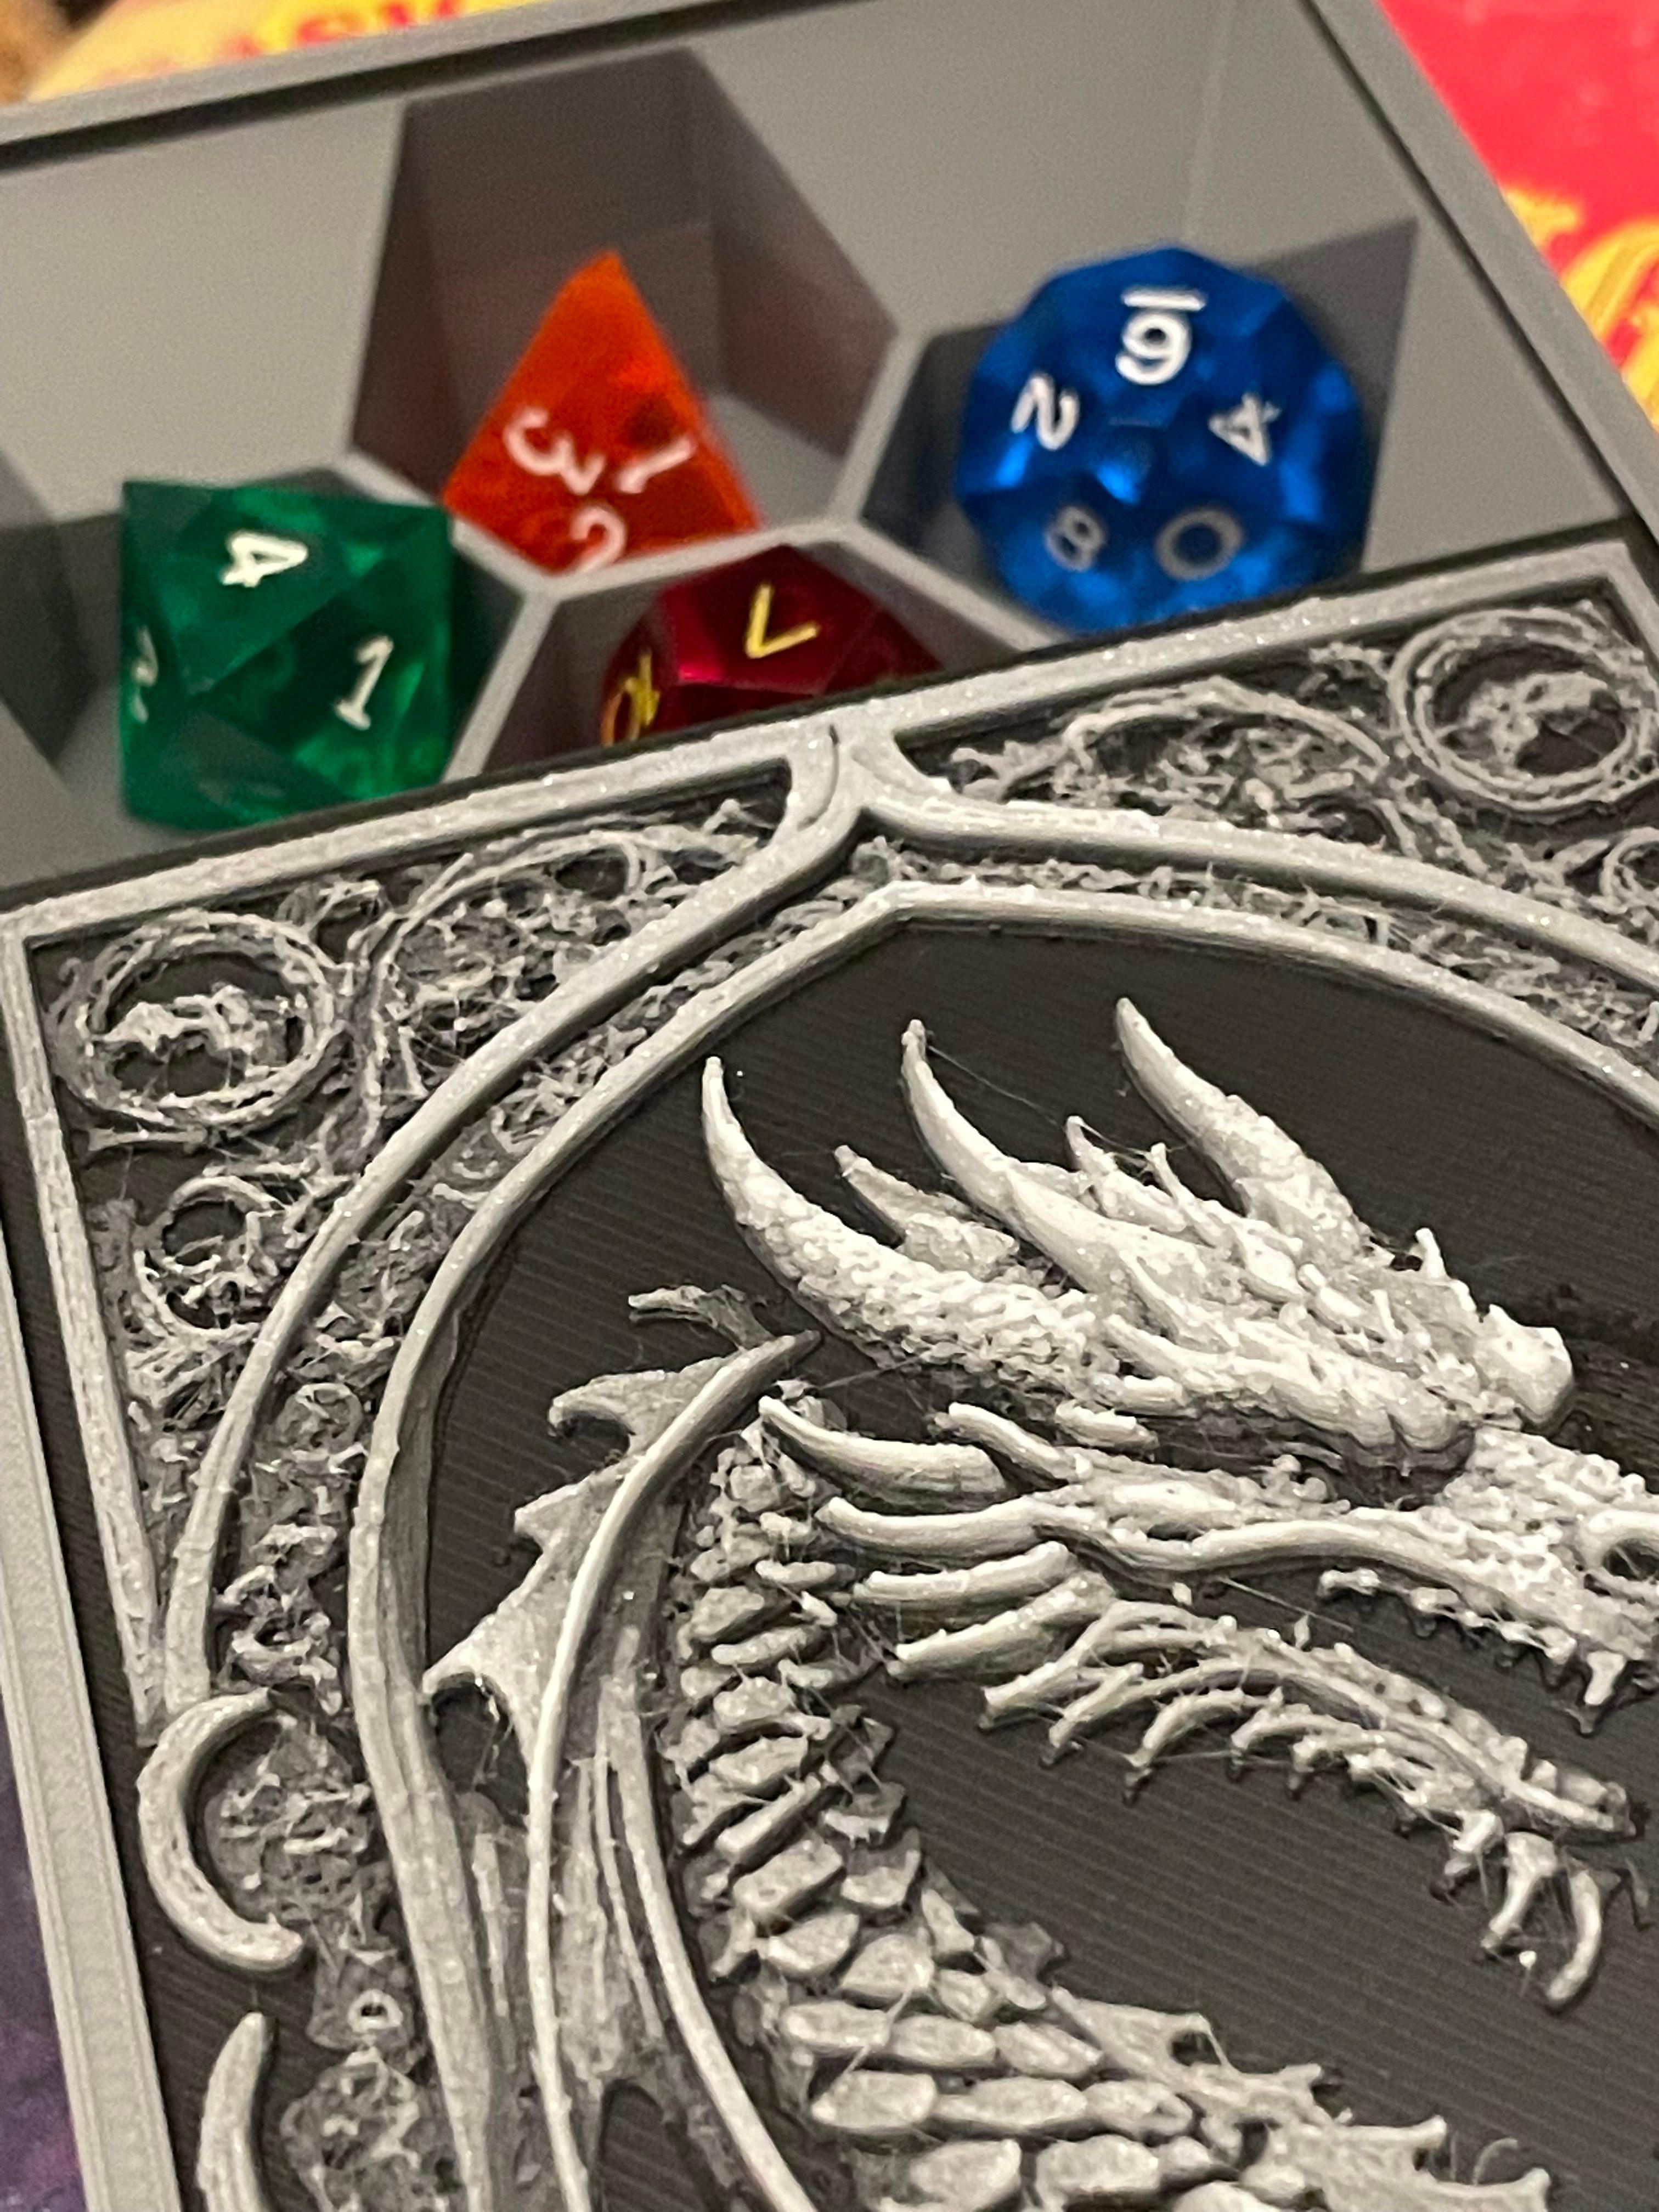
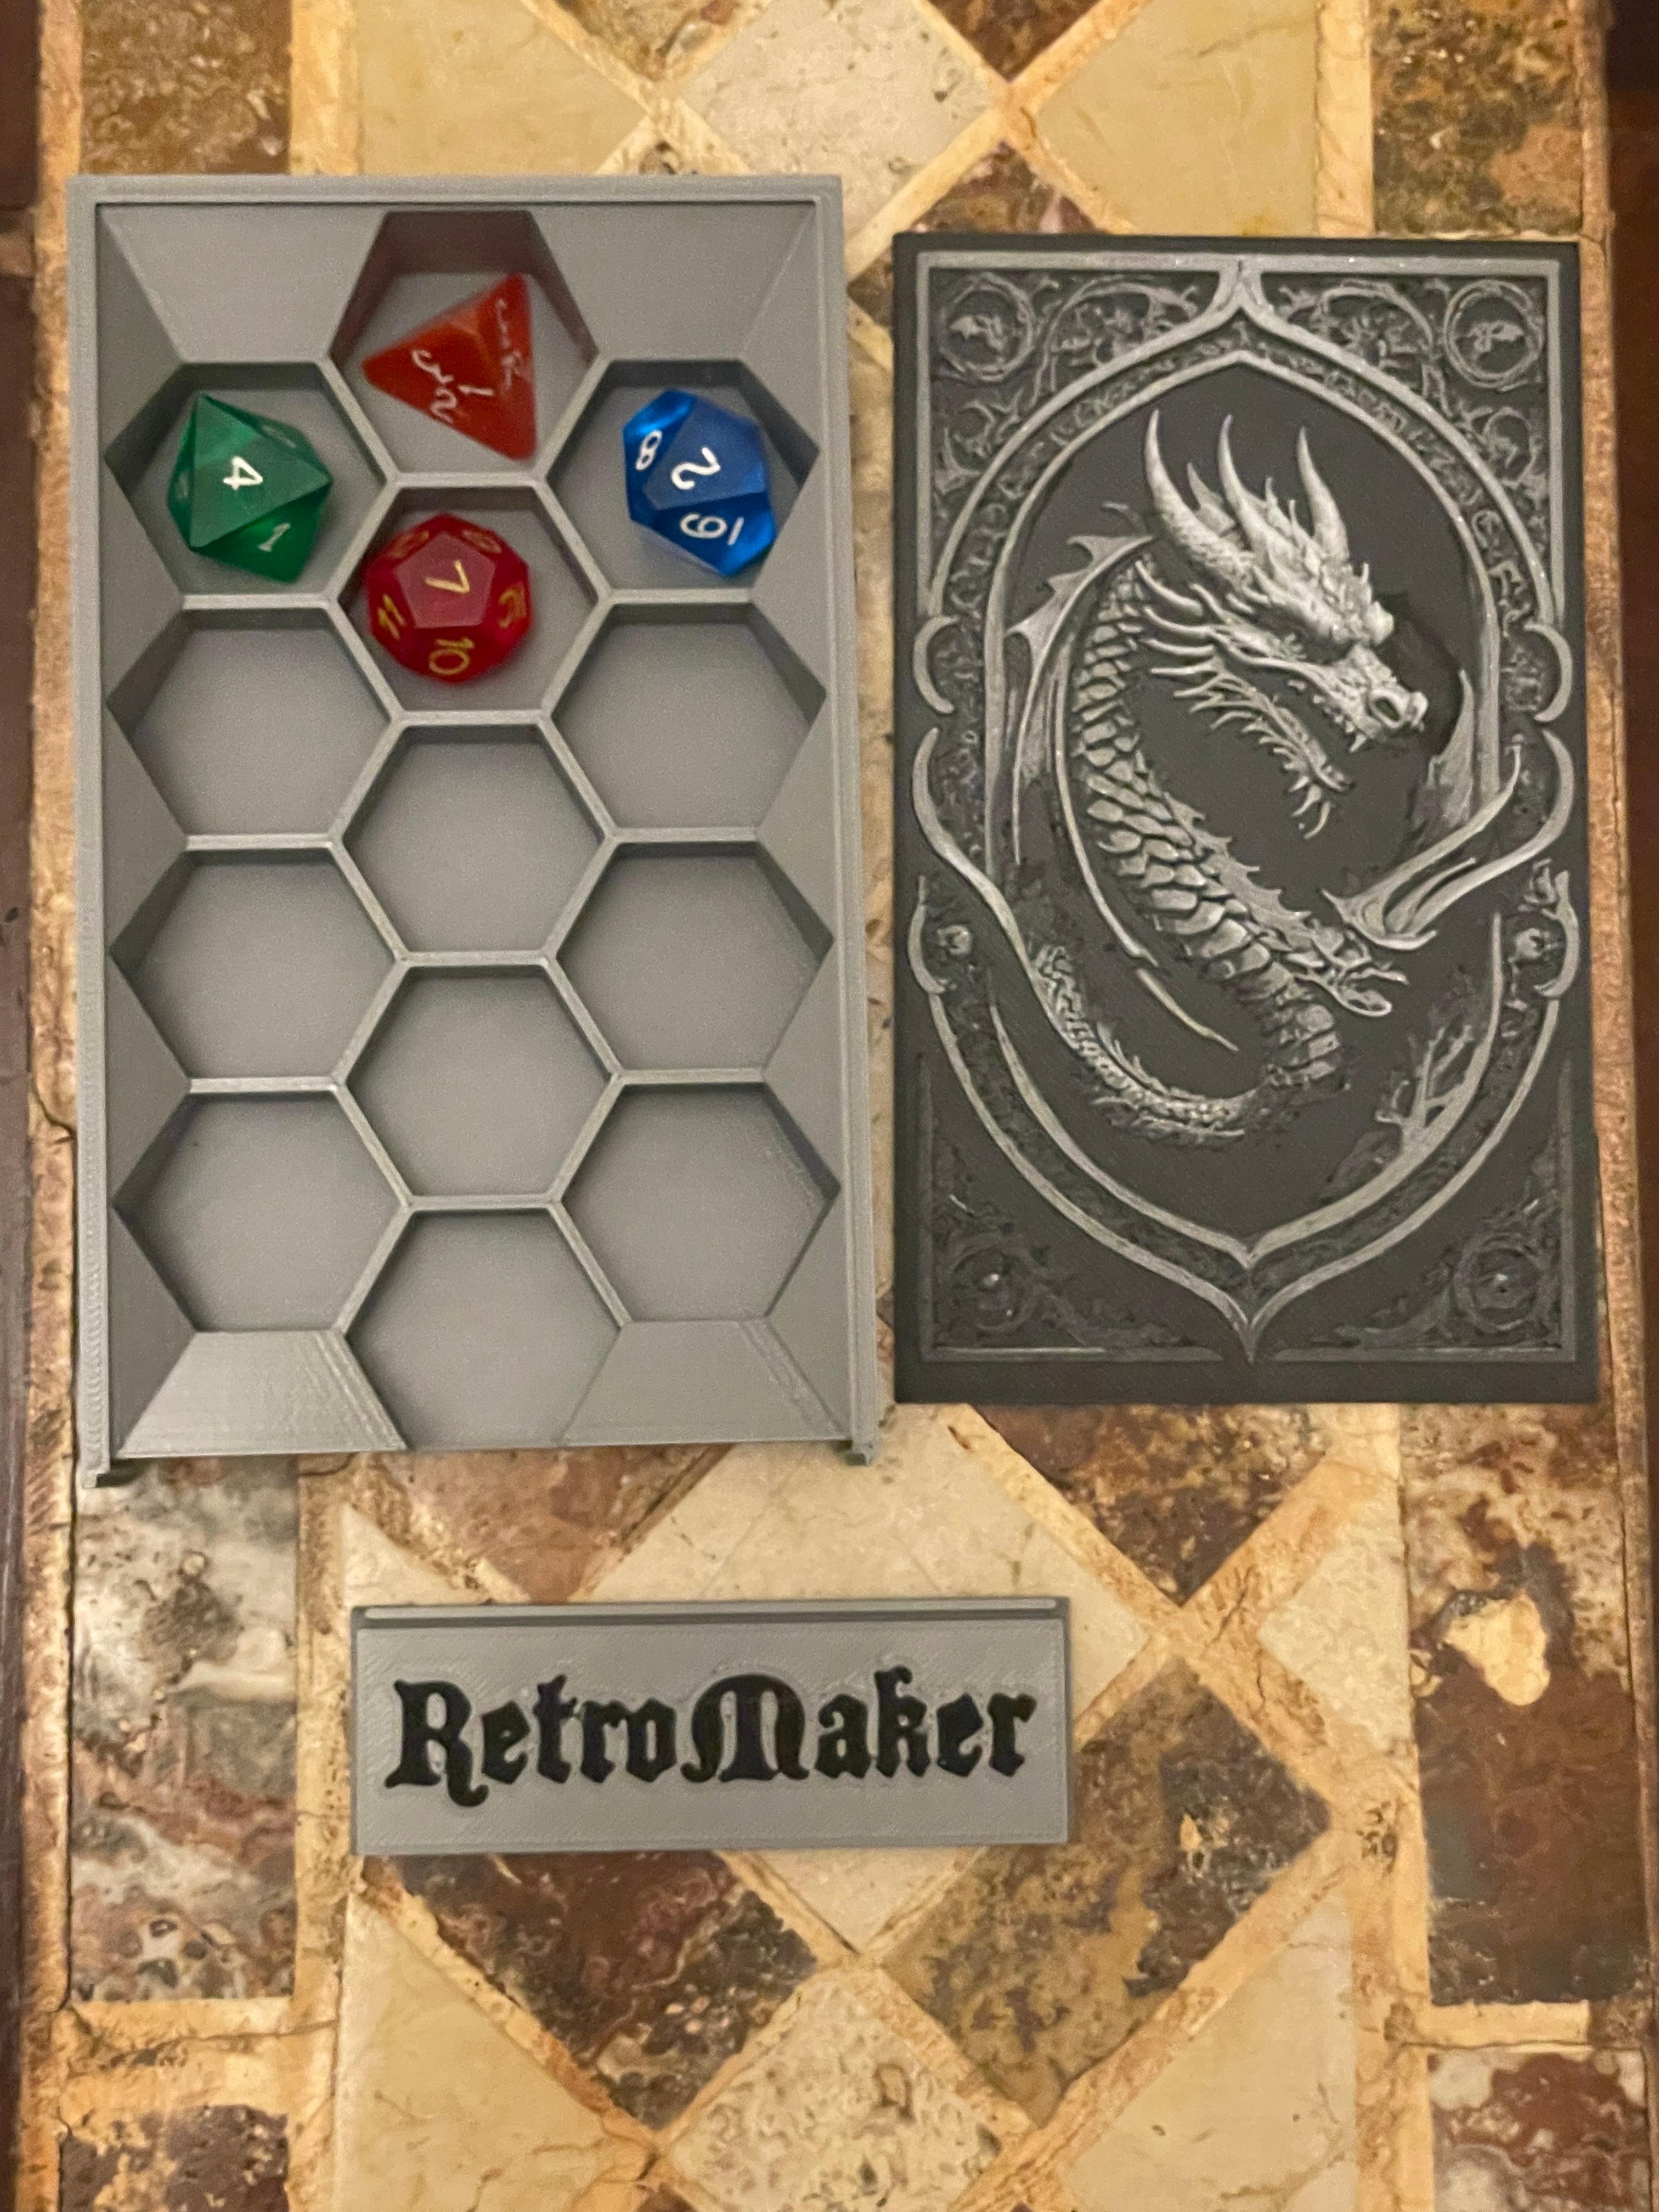
Get ready to blow some fire onto your RPG dice with this dragon themed dice storage box. Sliding sections make this puzzle box a trick to open, but once you know the secret it's easy. This dice storage will hold up to 15 seperate dice up to size 22mm. (30mm wide x 24mm tall hexagon compartments)
Inspired by the 50th anniversary of the creation of the Dungeons & Dragons role playing game, this dice box contains the dragon details from the main dragon on the lid to the dragon scale sides. Store your gaming dice in style with this wicked Dragon Dice Box!
This box as pictured uses Hueforge generated .stl files that can be color filament swapped in layers using a slicer software. NON-HUEFORGE OPTION - The box and sides can also be printed in one color to acheive a more subtle, textural sculptural relief.
Creative Commons License 4.0 BY-NC-ND A commercial license to sell these prints any many others is available by subscribing to my Thangs Commercial Partner membership plan.
Folder consists of the following .stl files:
Dragondicebox - This is the main body of the box, prints without supports. 10% or greater infil. One solid color
Dragondicebox_end - This file prints without supports and can be color swapped from 0.6mm-0.8mm to color in the RetroMaker logo. Can also be printed in one solid color.
Dragondicebox_lid - This is a HueForge generated file and can be color swapped. 0.08mm layer height 100% Infill First Layer 0.2mm 0.0mm - 0.92mm Black 1.00mm - 1.48mm Dark Grey (I used Eryone Metallic Wolfram) 1.56mm - 1.96mm SIlver or Grey 2.04mm - 2.44mm Light Grey/Dark White (I used ProtoPasta White Unicorn Tears Glitter) You can end the swaps here to make it a 4 color print instead of 5. 2.52mm - end White
The sidescales and endscales have all the same color swapping directions and can be printed together in pairs: 0.08mm layer height 100% Infill 0.0mm - 0.48mm Black 0.56mm - 0.96mm Dark Grey (I used Eryone Metallic Wolfram) 1.04mm - 1.44mm SIlver or Grey 1.52mm - 1.68mm Light Grey/Dark White (I used ProtoPasta White Unicorn Tears Glitter) You can end the swaps here to make it a 4 color print instead of 5. 1.76mm - end White
Dragondicebox_endscales1 - Dragon scales face one direction with light source highlights on top. Dragondicebox_endscales2 - Dragon scales face the other direction with light source highlights on top.
Dragondicebox_sidescales1 - Dragon scales face one direction with light source highlights on top. **Dragondicebox_sidescales2 **- Dragon scales face the other direction with light source highlights on top.
Assembly Instructions: Sidescales and endscales can be postioned to have the white highlighted portion facing the top lid of the box. They can be postioned in a continous circle around the outside edge or the the sides can both face the same direction. Once you have determined the orientation of the end and side scales, insert them into the recessed rectangular spaces on the dicebox, they should snap in place however, depending on filament and print quaility you may have to glue them in place.
Slide the end piece onto the end of the dice box with the RetroMaker logo hidden on the back side. Slide it up from the bottom as it is designed that way.
Before you slide it all the way up, insert the lid (with the Dragon facing up) from that end into the small slots on the side and slide it all the way in place.
Continue by sliding the end piece all the way until it is flush with the top of the box edges.
The lid can be slightly slid into the small groove on the end to keep the end in place.
To open the box:
- Slide the lid slightly to the top of the picture.
- Slide the end piece down enough to allow for the lid to slide out.
- Slide the lid all the way out or as far as you need to get your dice.
- Reverse procedure to close.
