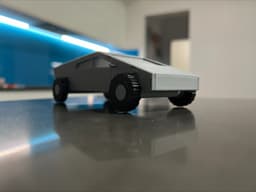


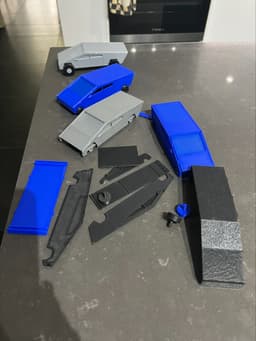

Cybertruck Kit Card
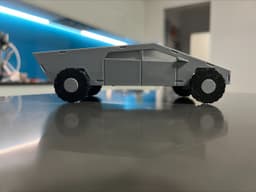
I am new to 3D Printing and trying to learn how to create my own models. I thought the MakerWorld kit card contest would give me a nice project to learn and practice. I decided to go with the Tesla Cybertruck for its unique look while still only having fairly basic shapes.
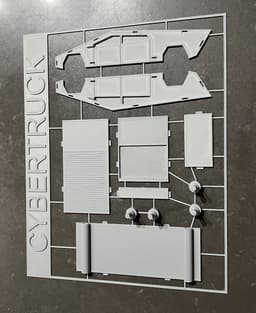
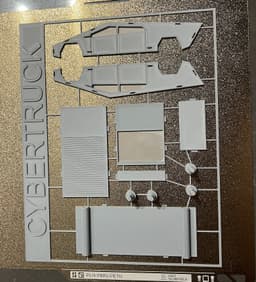
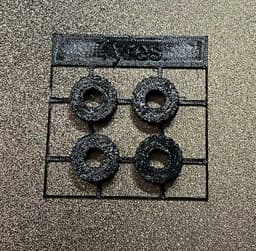
I have supplied the tyres as a separate card incase you want to print it in another colour or material. I printed the tyres using TPU.
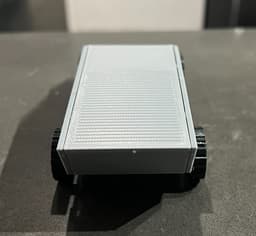
When printing the main Cybertruck card use an initial layer height of 0.1mm so the windscreen and side windows print correctly.
If you try this let me know what you think and if there are any changes you would like to see.
If you like this model you can buy me a coffee if you feel like it :-)
Print Settings Initial layer height of 0.1mm so the windscreen and side windows print correctly.
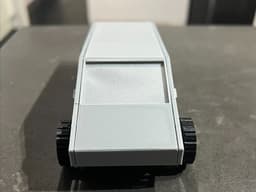
Post-Printing You will need flush cutters/hobby knife to detach the parts. The parts slot together with pressure but a fair bit of pressure is needed. I recommend using pliers for attaching the bonnet/windscreen section. On the parts that need orientation there is an arrow on the underside that points to the top of the truck. I have found the following order the easiest for putting the truck together.
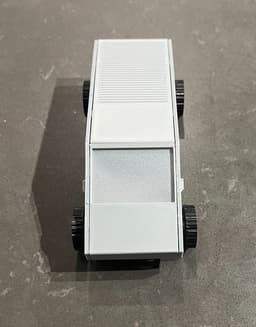
- Attach the tonneau cover to one of the sides.
- Attach the bonnet/windscreen section to the same side. Use pliers on the edge to carefully squeeze the windscreen section into place. Due to the thickness of the windscreen trying to do it other ways cause it to bend out of shape.
- Attach the second side.
- Attach the front bumper and tailgate.
- Attach the floor.
- Attach the Hub/Axles - these are a tight fit.
- Attach the Tyres.
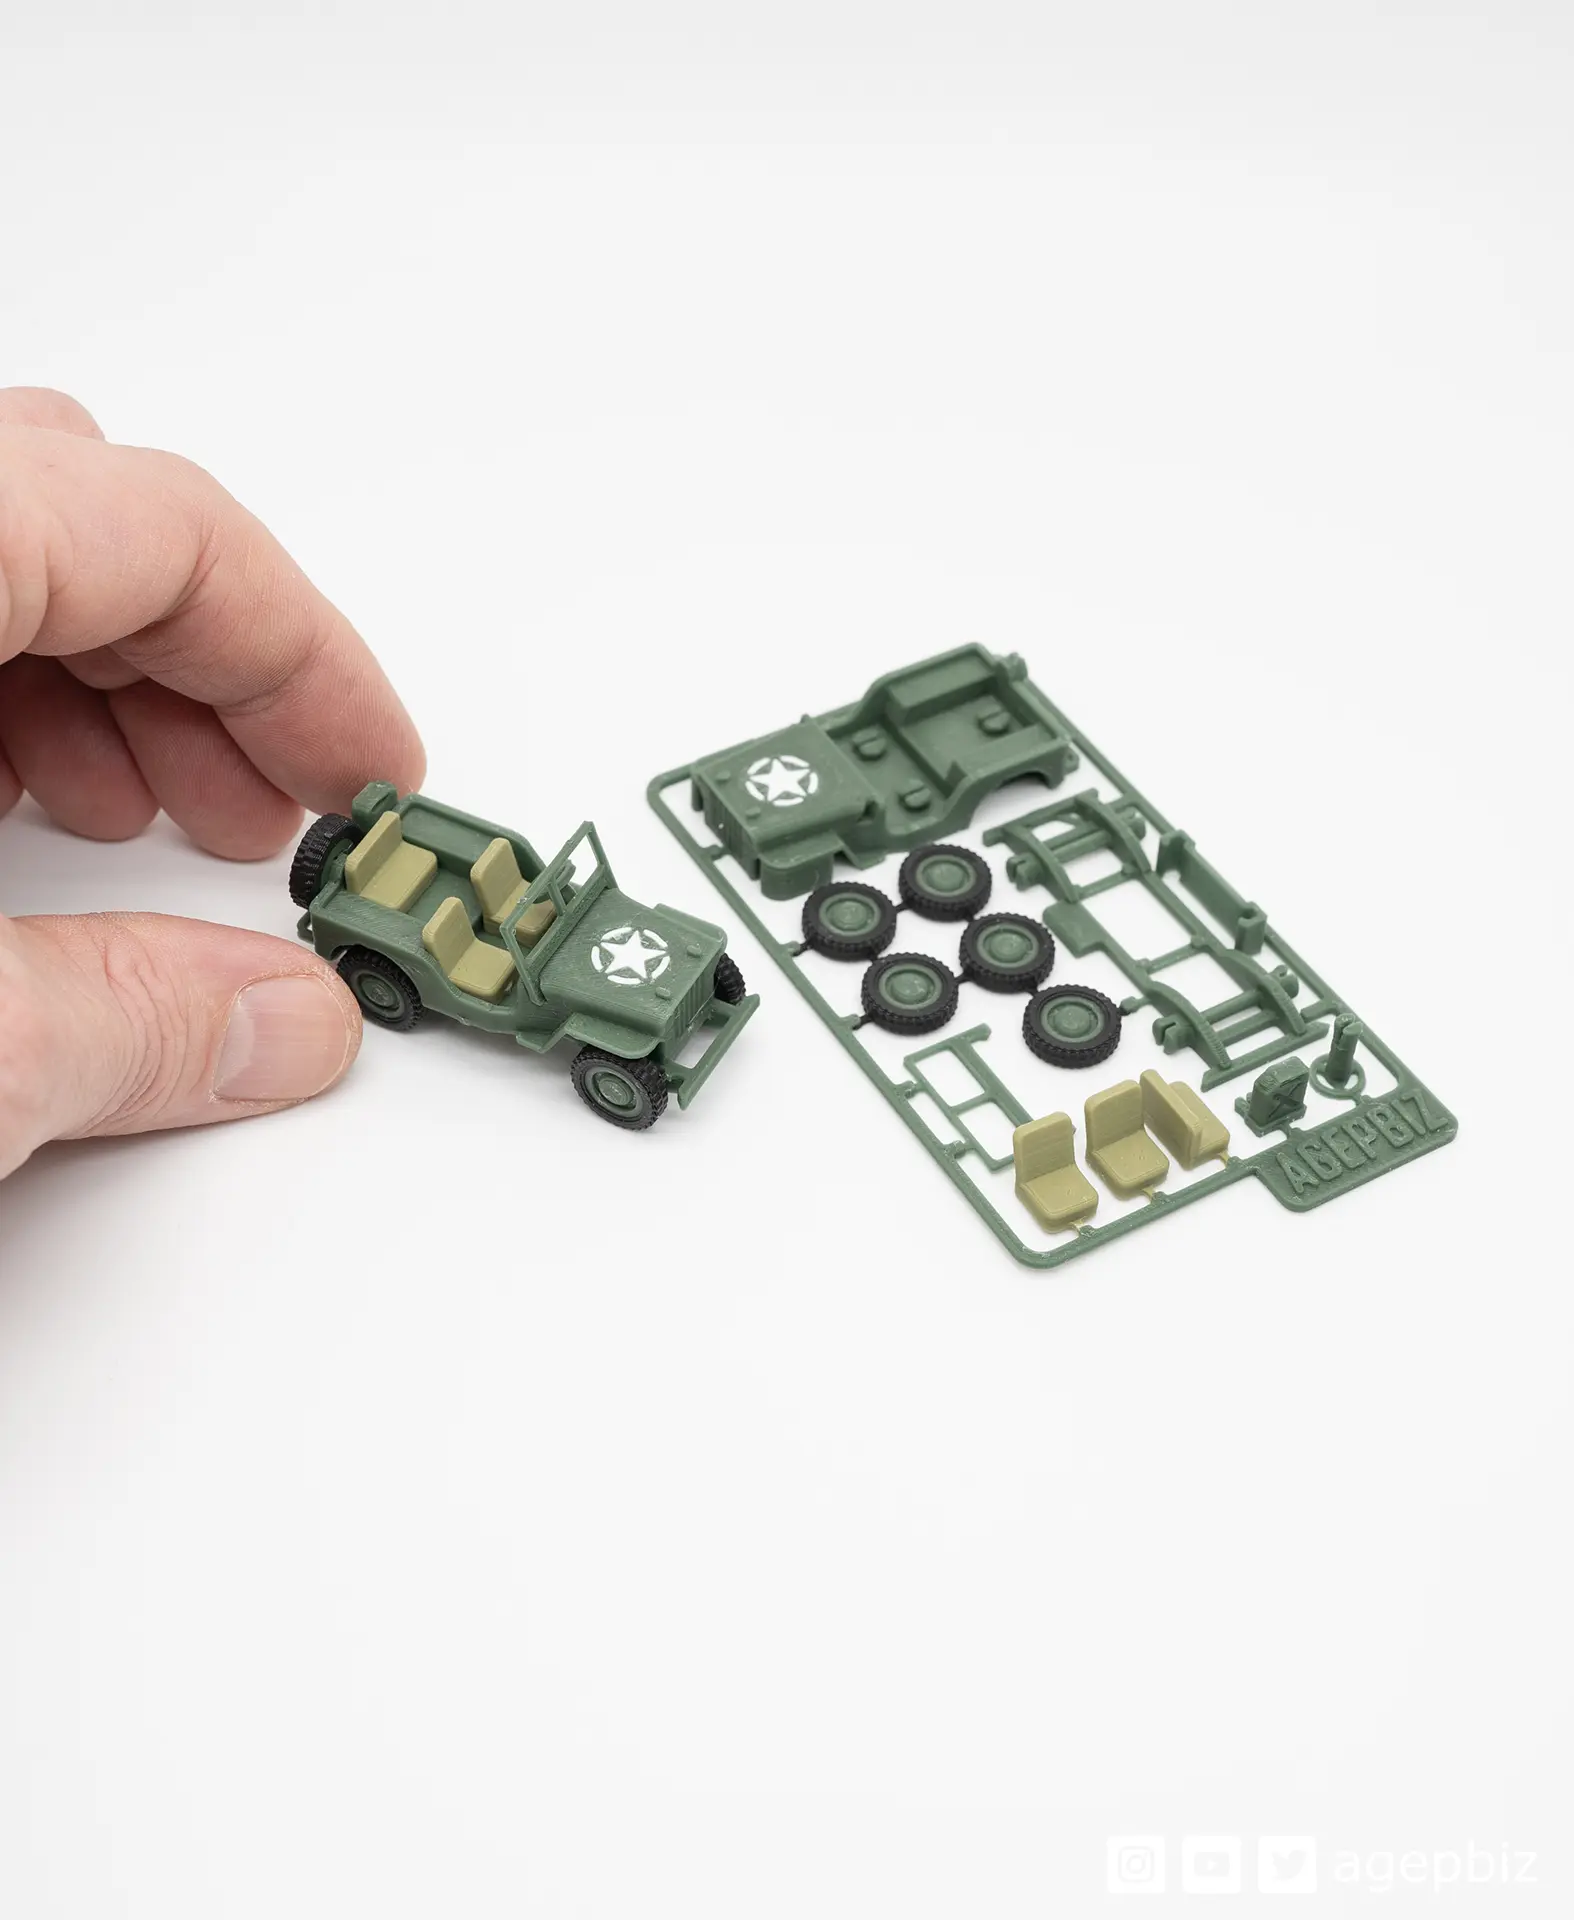
Jeep Kit Card
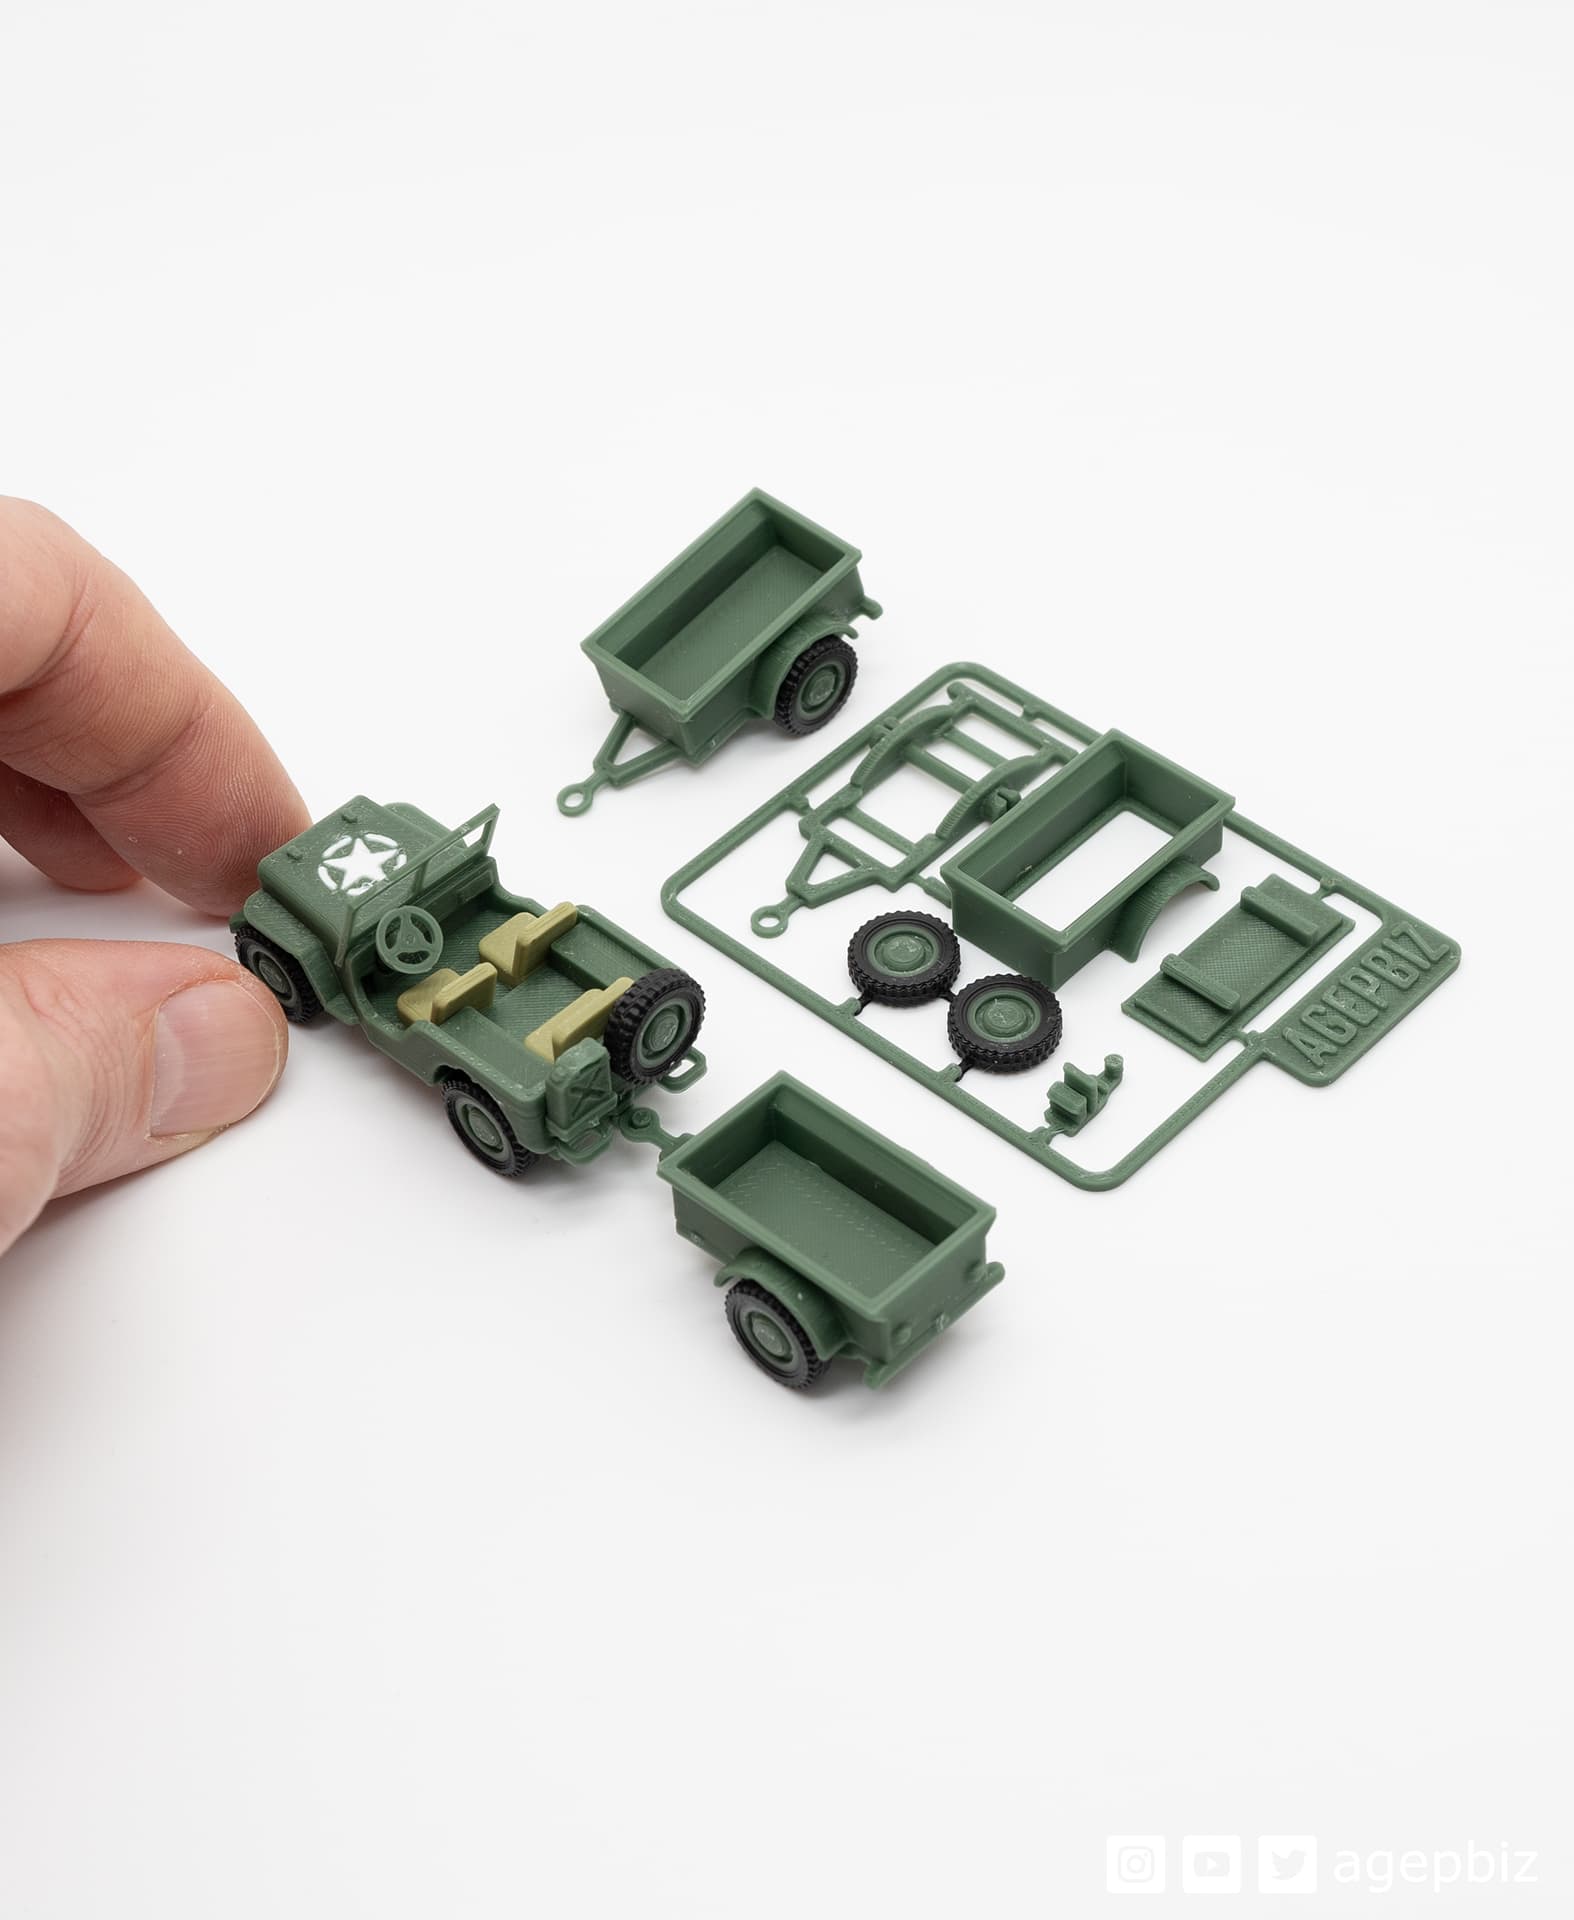
Trailer for the Jeep Kit Card
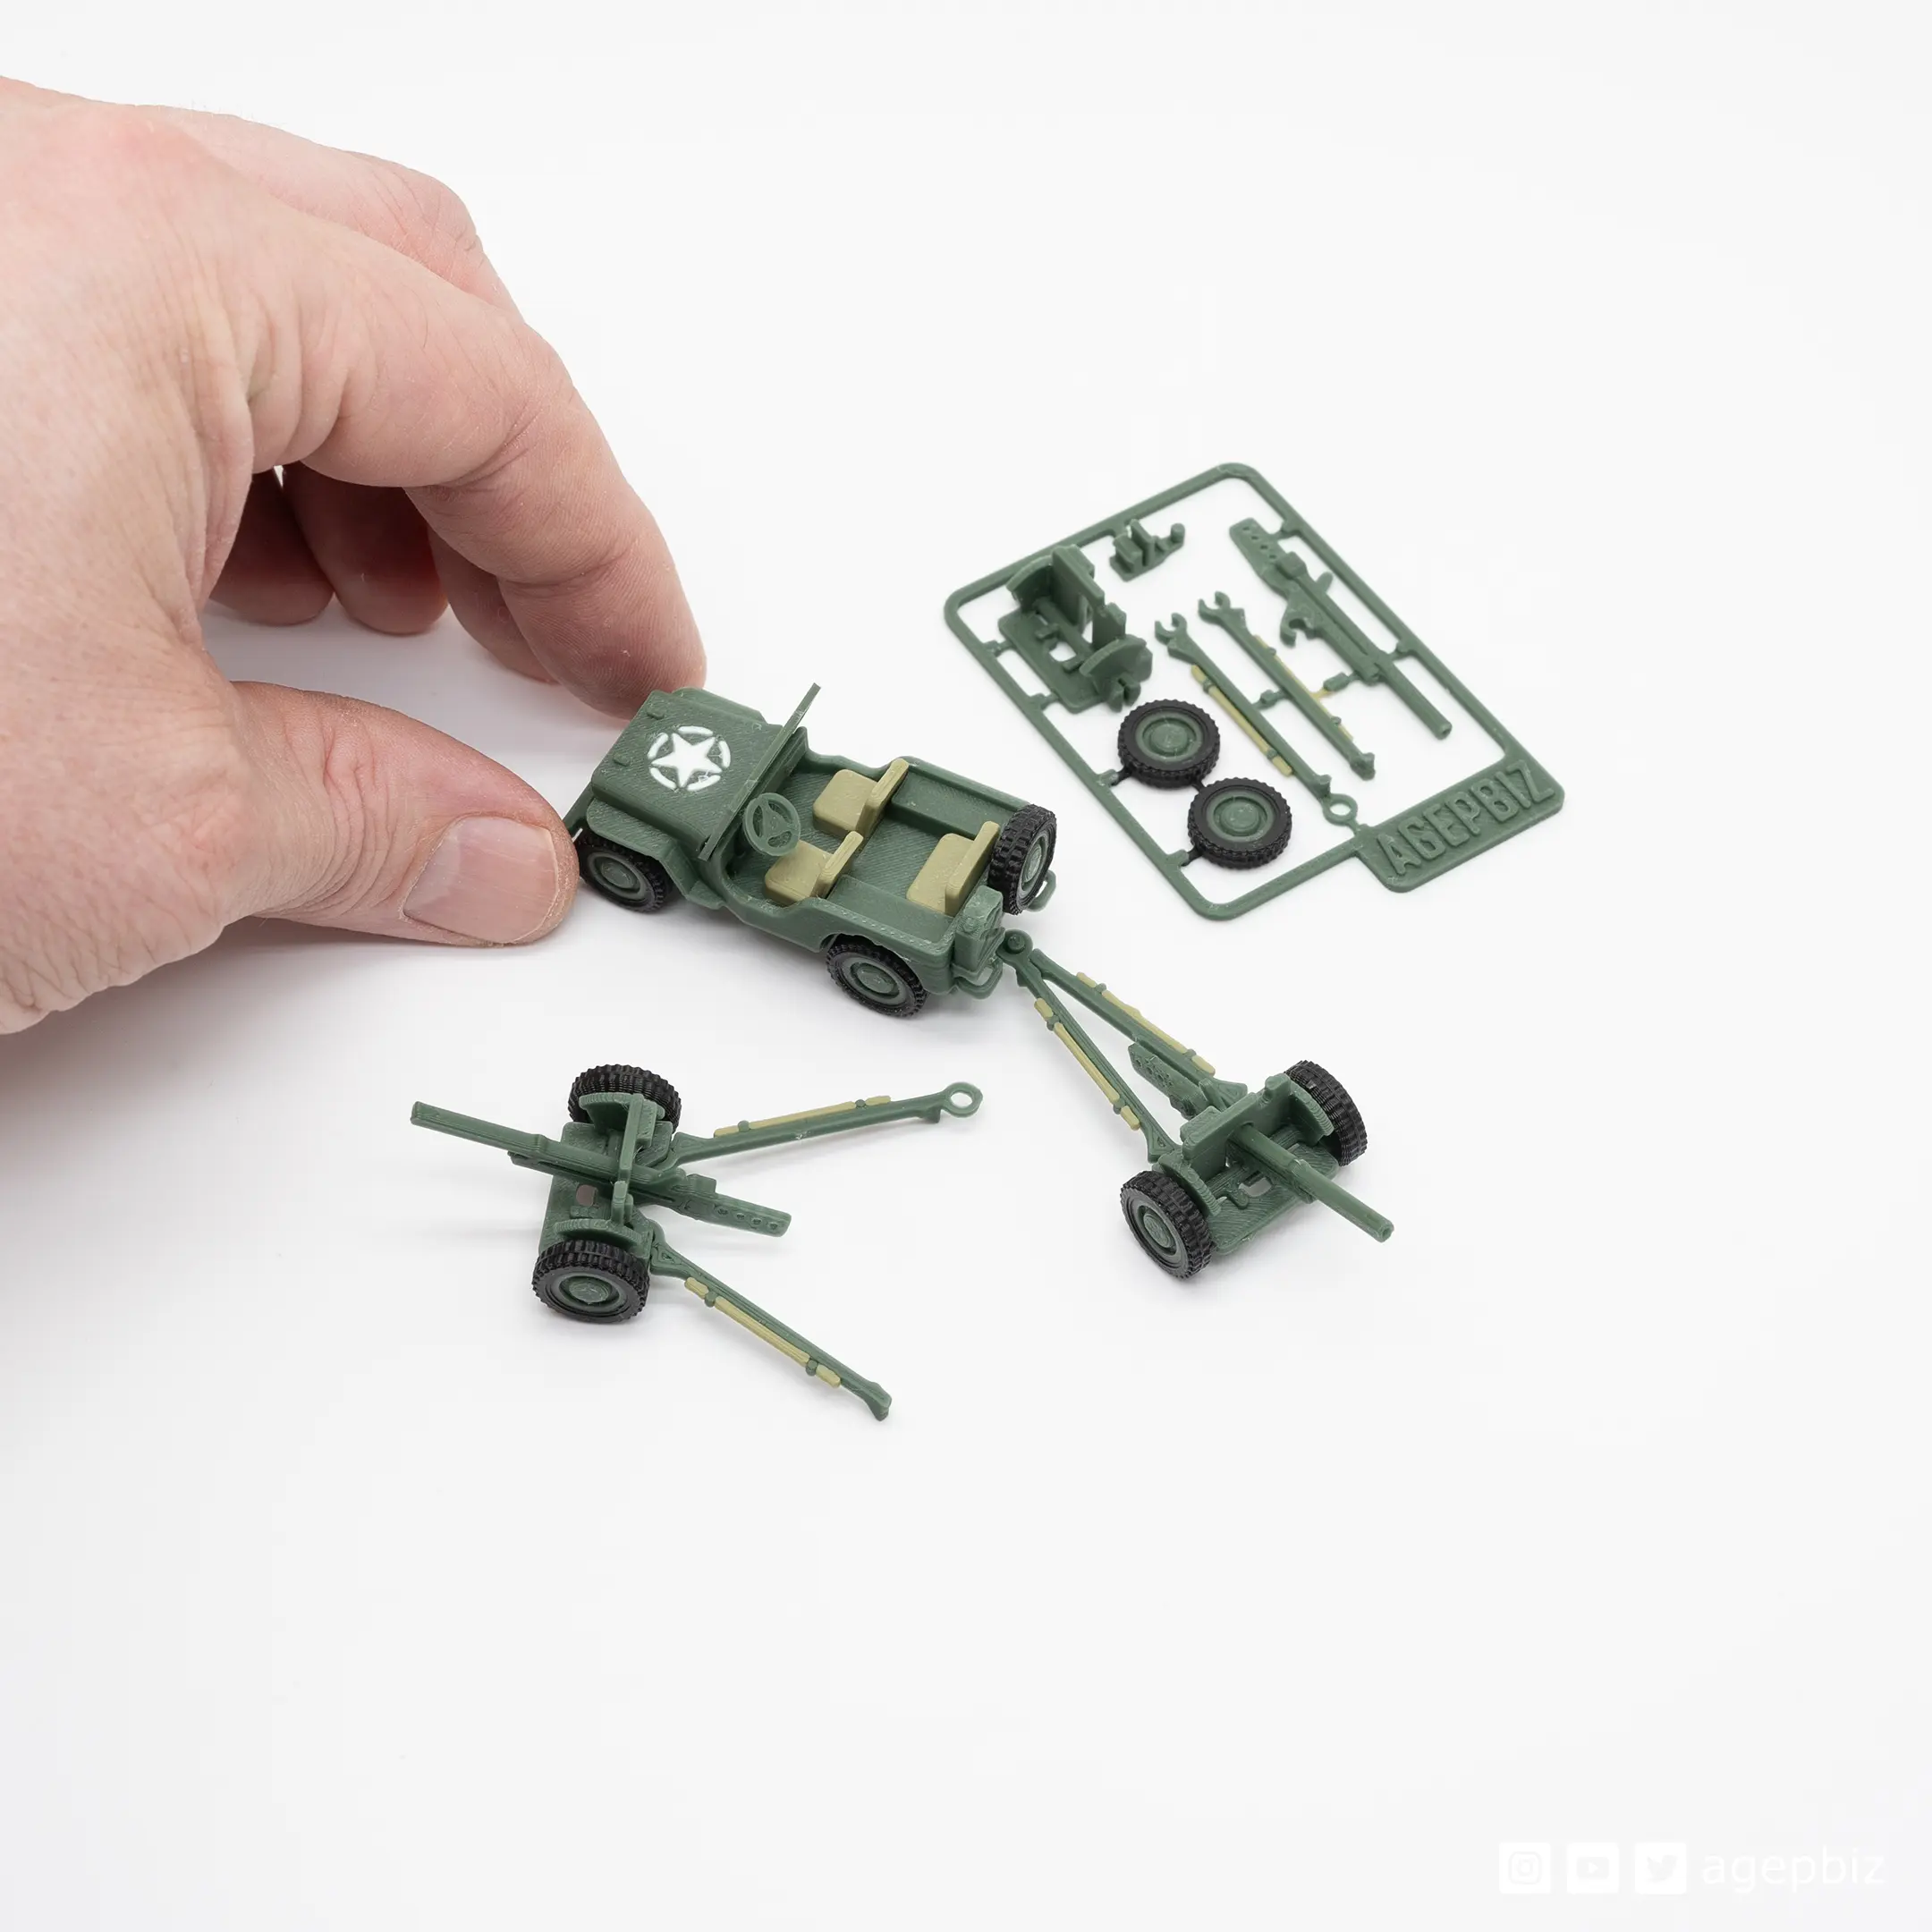
37mm Gun M3 for the Jeep Kit Card
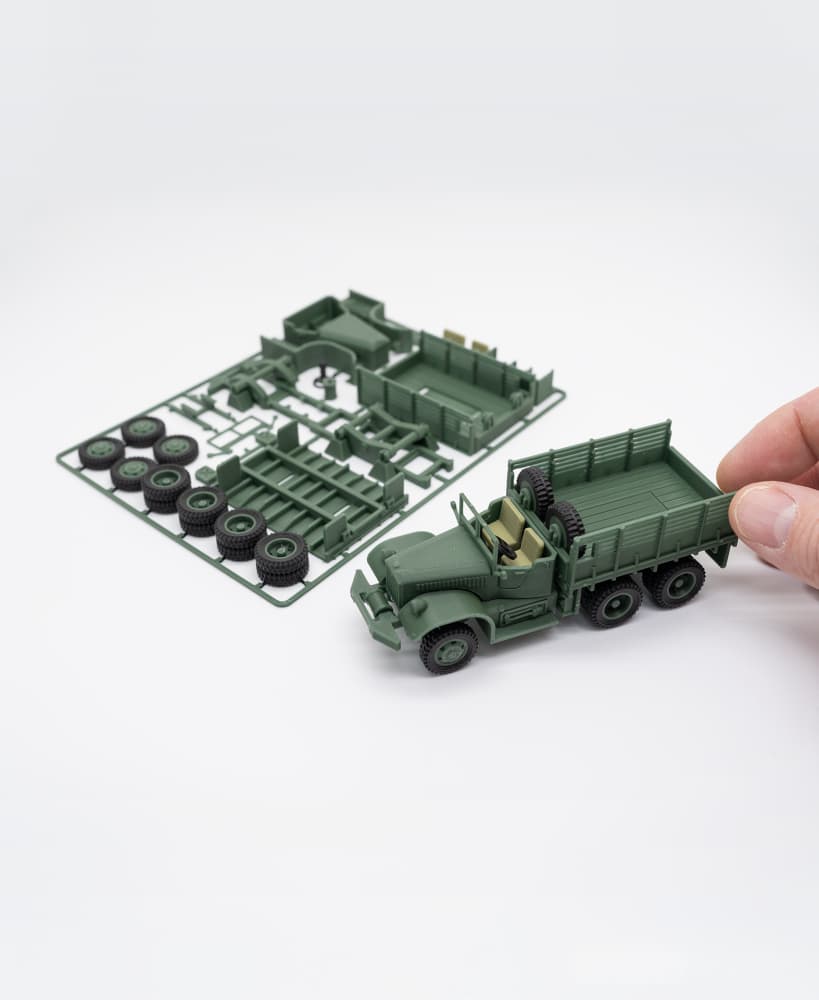
Army Truck Kit Card

Kit Card - Christmas Bauble

Christmas Present Ornament Kit Card

DT Sentry Droid kit card starwars

Tiny Chess Kit-Card (compact and modern 3D puzzle set)

Tie Fighter Defender Kit Card

Tulip Kit Card
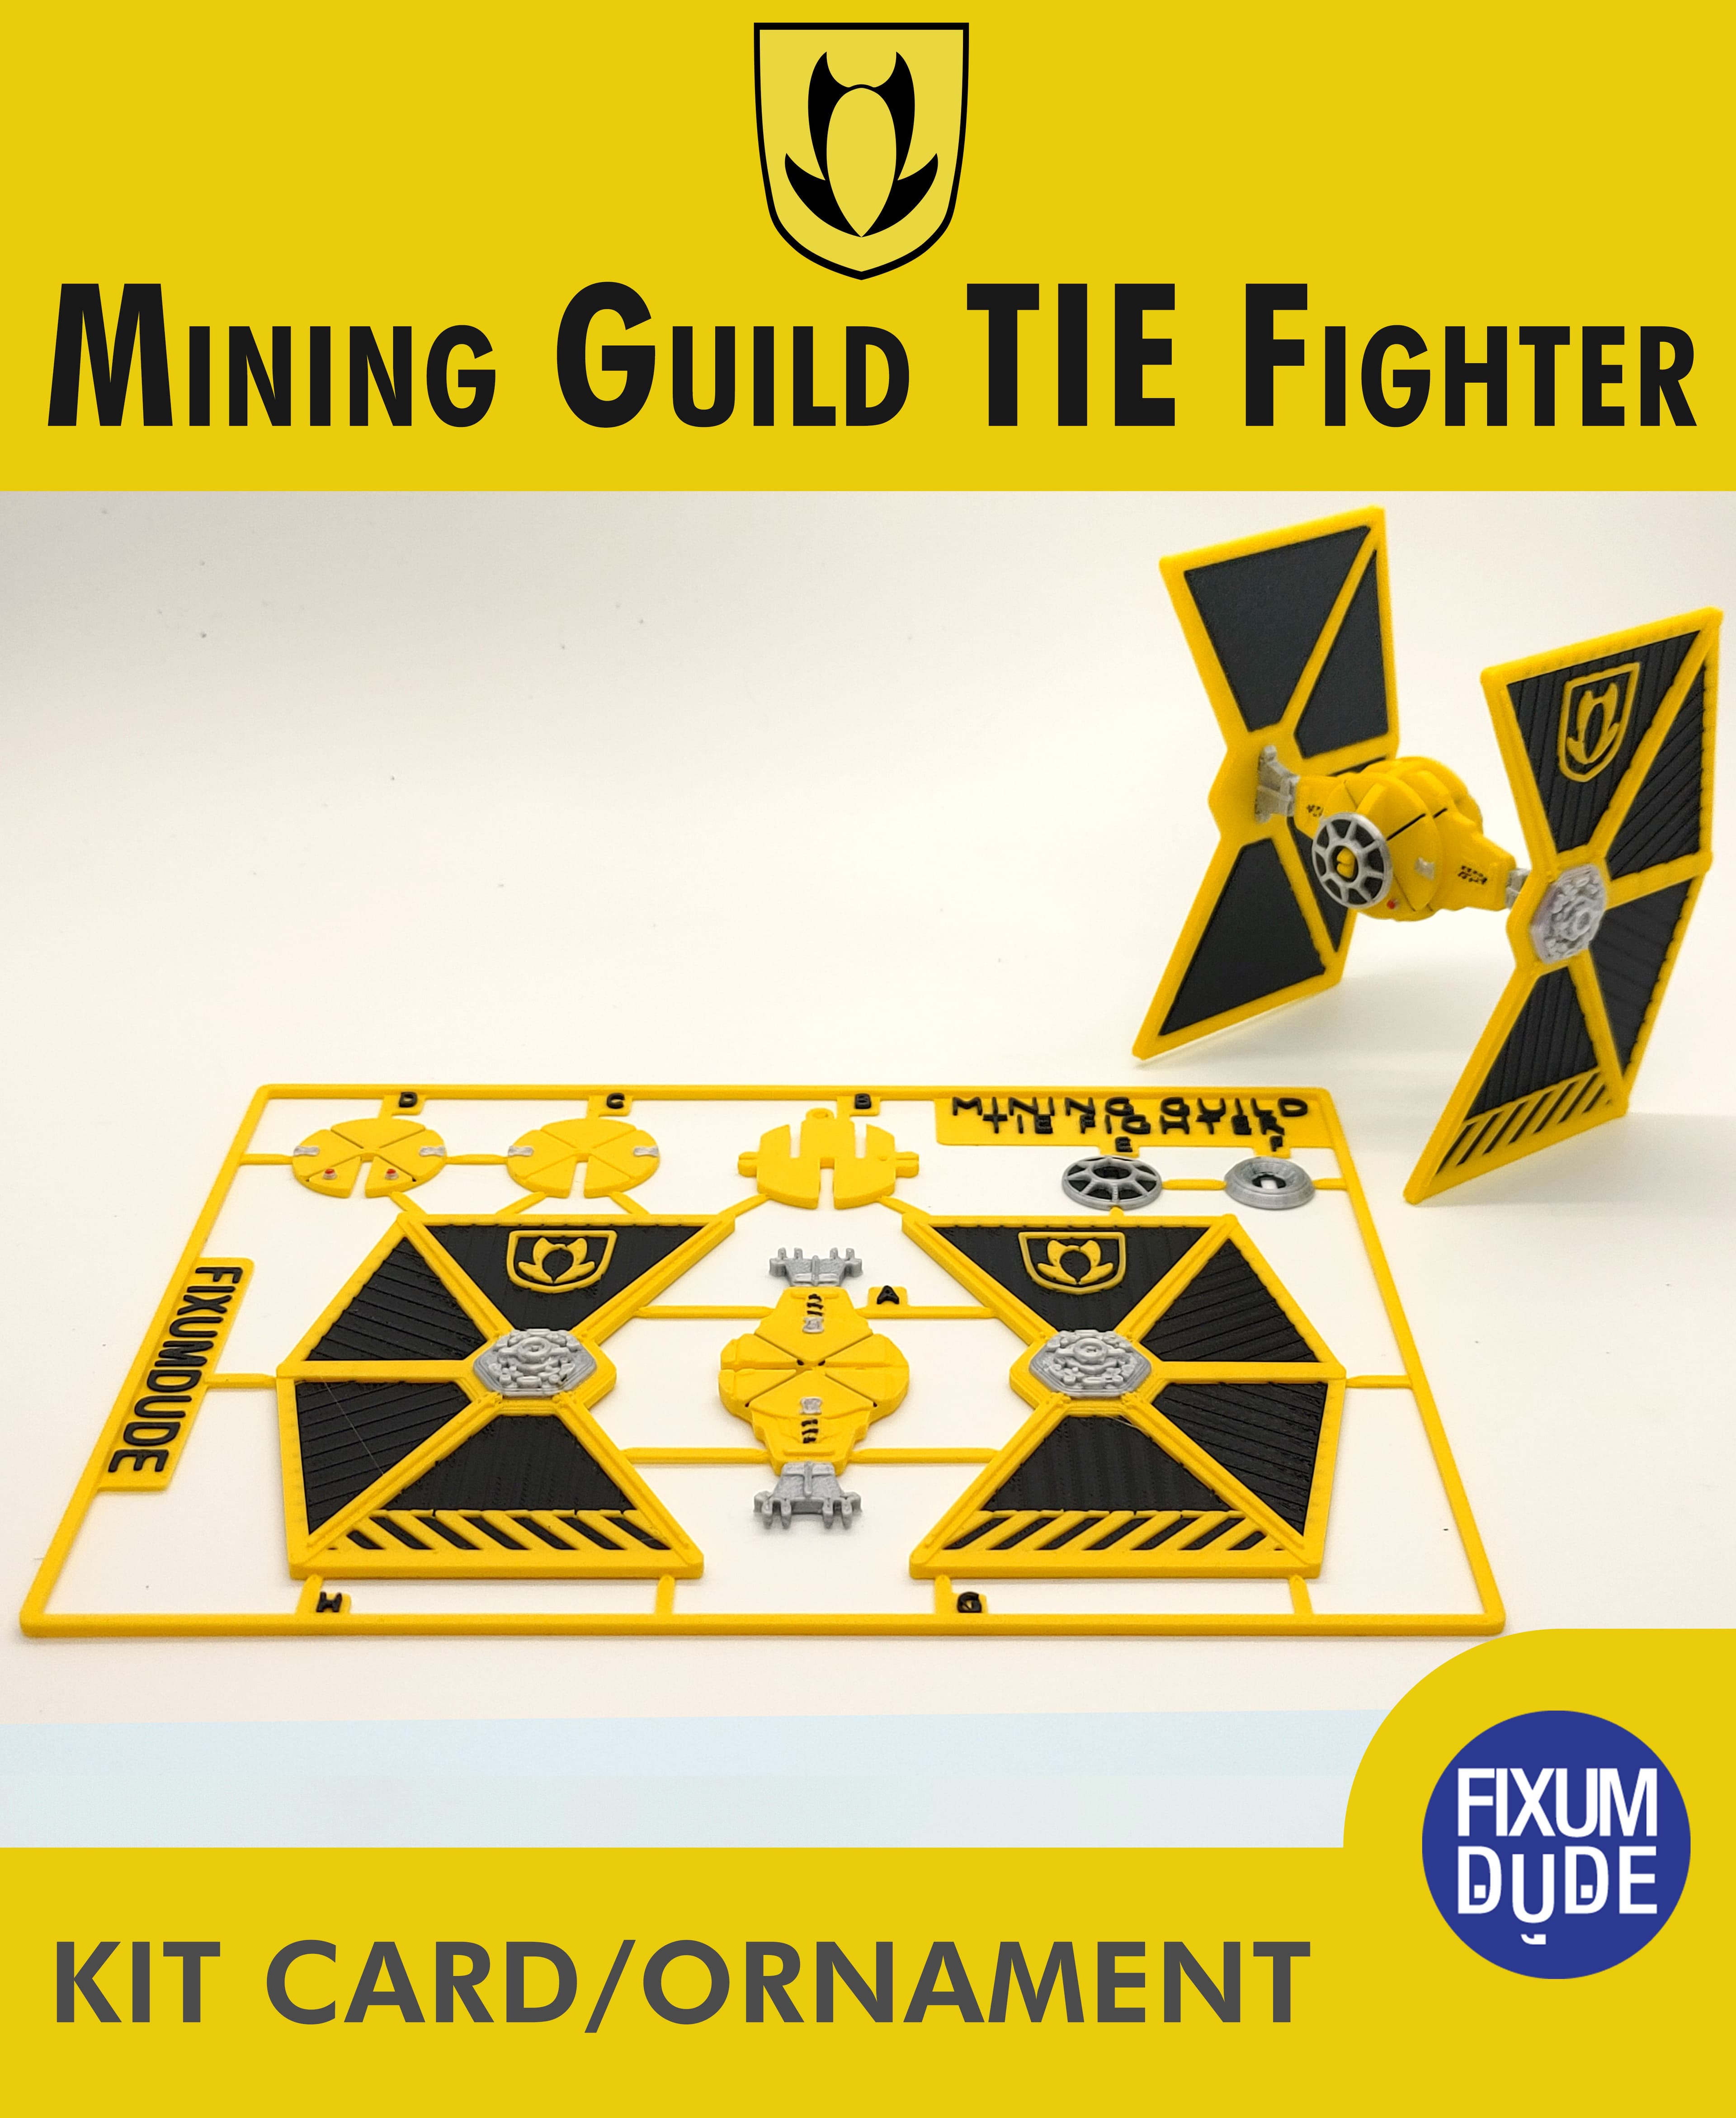
Mining Guild TIE Fighter Kit Card

JU 88 P Kit Card

Hot Rod Kit-Card | Flat-Pack Mini Car (No Glue, No Supports, Single-Color Friendly)
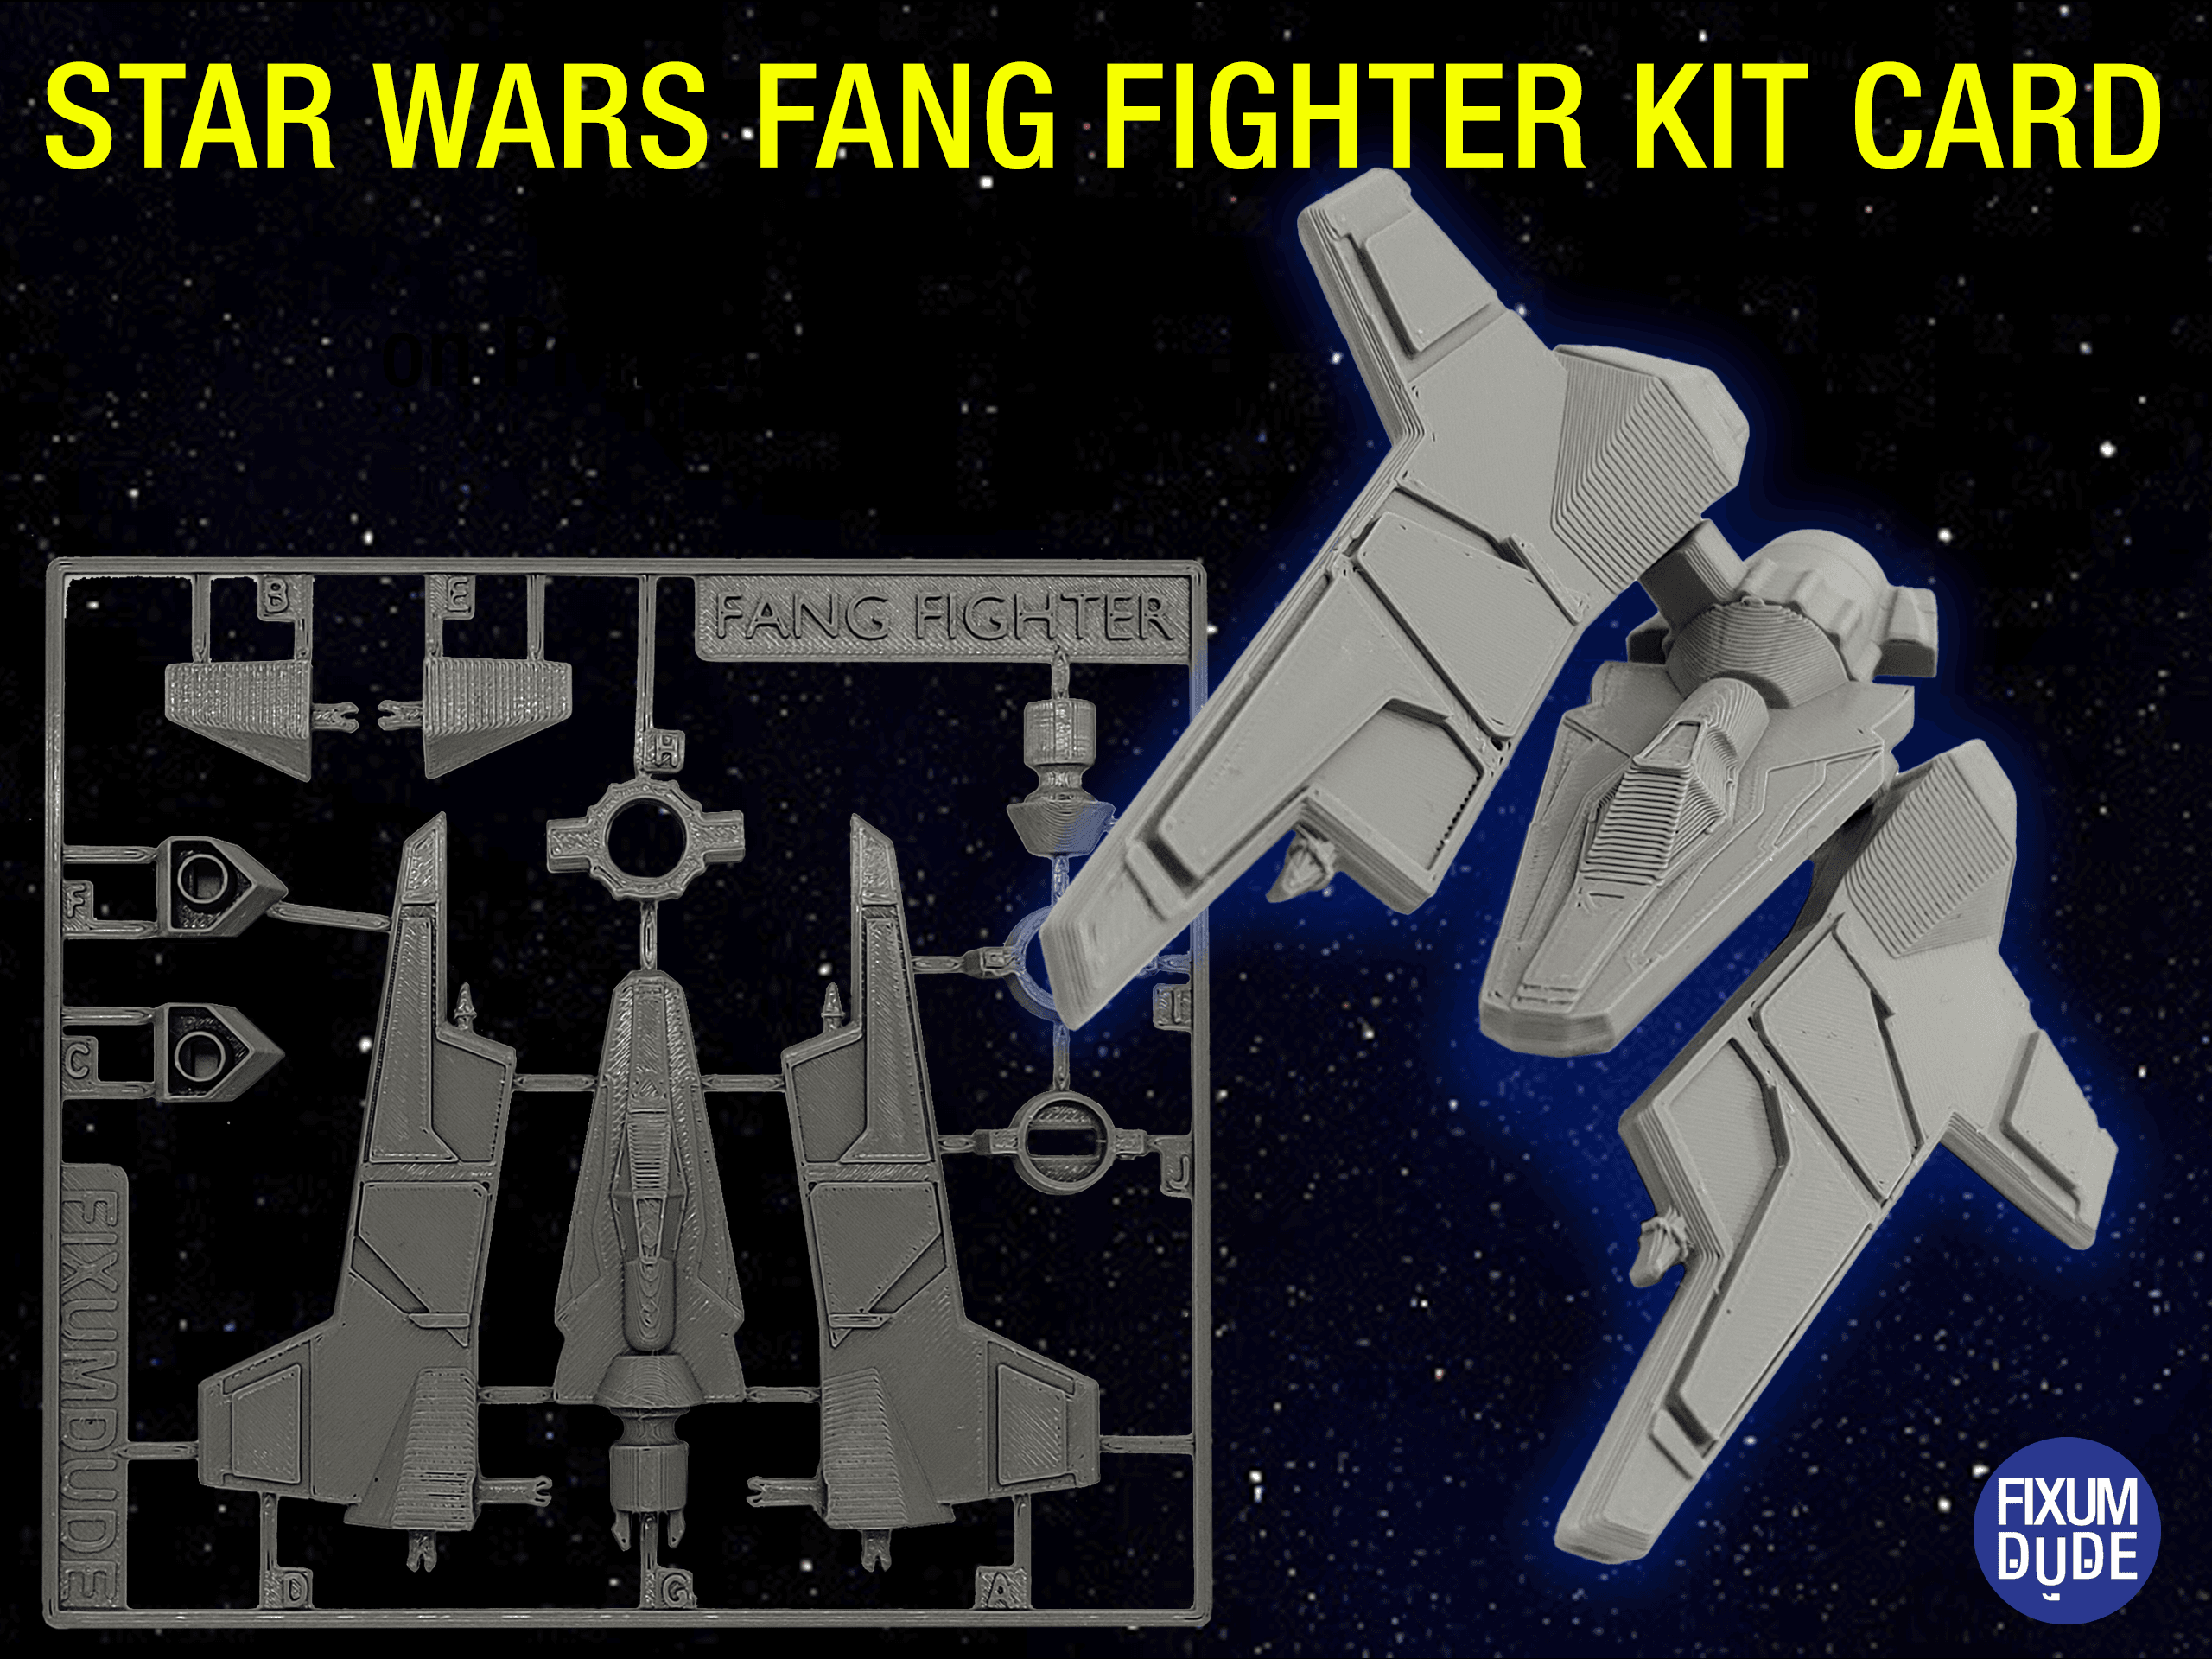
Star Wars Fang Fighter Kit Card

TIE Interceptor Vehicle Kit Card - 3D Print Files

TIE Bomber Vehicle Kit Card - 3D Print Files

Spirit of the Forest - Kit Card
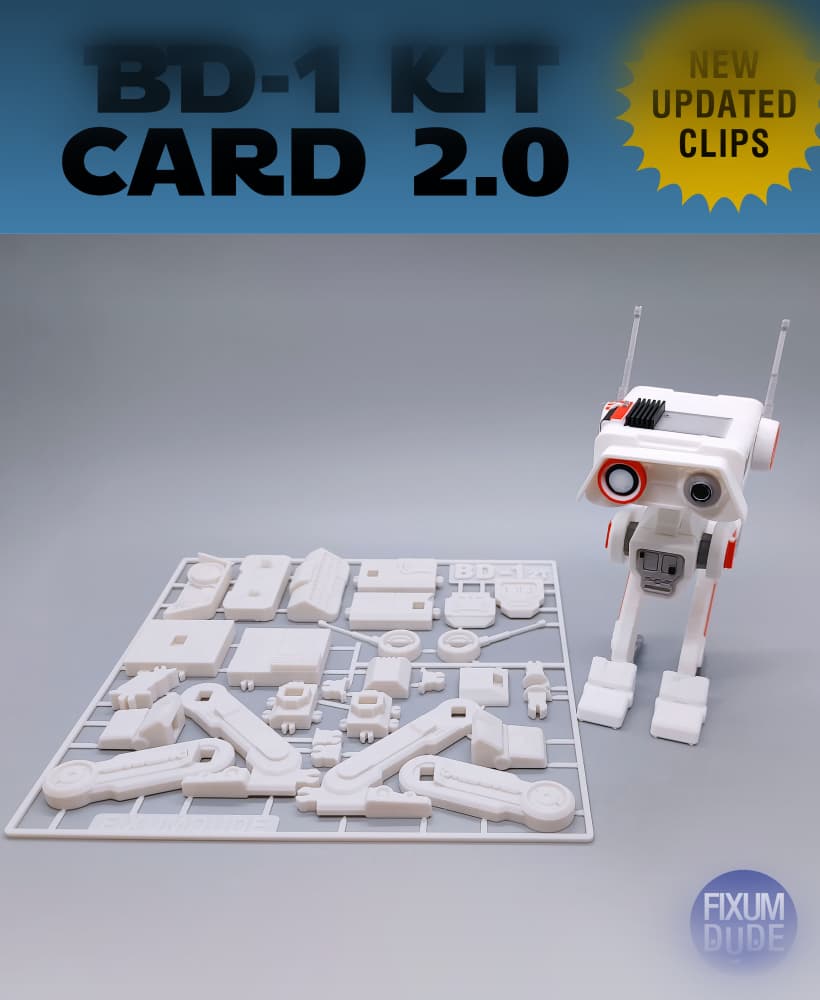
BD-1 Droid Kit Card 2.0

Lambda Shuttle Vehicle Kit Card - 3D Print Files