Filament sensor switch for direct drive Aluminium Dual Gear Extruder PTFE coupling
Model originally uploaded to Thingiverse at https://www.thingiverse.com/thing:4657456.
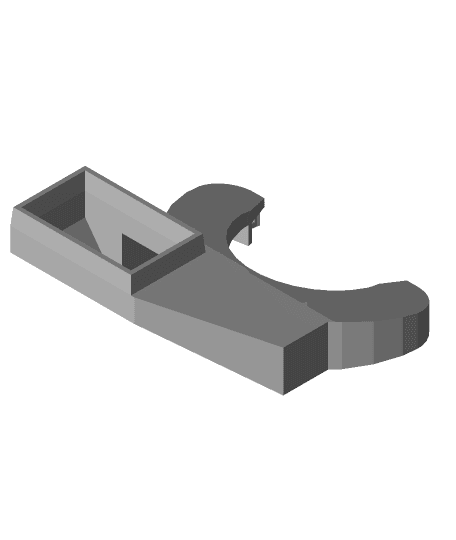
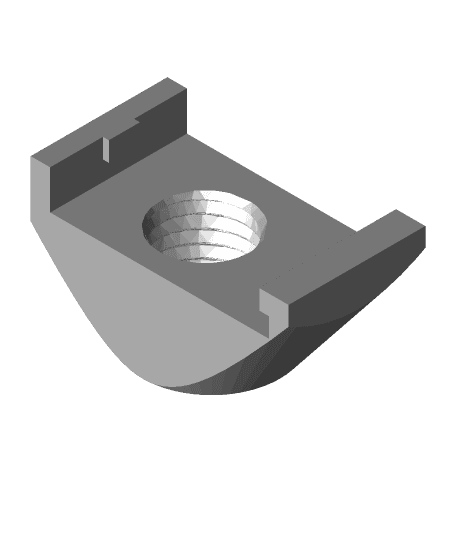
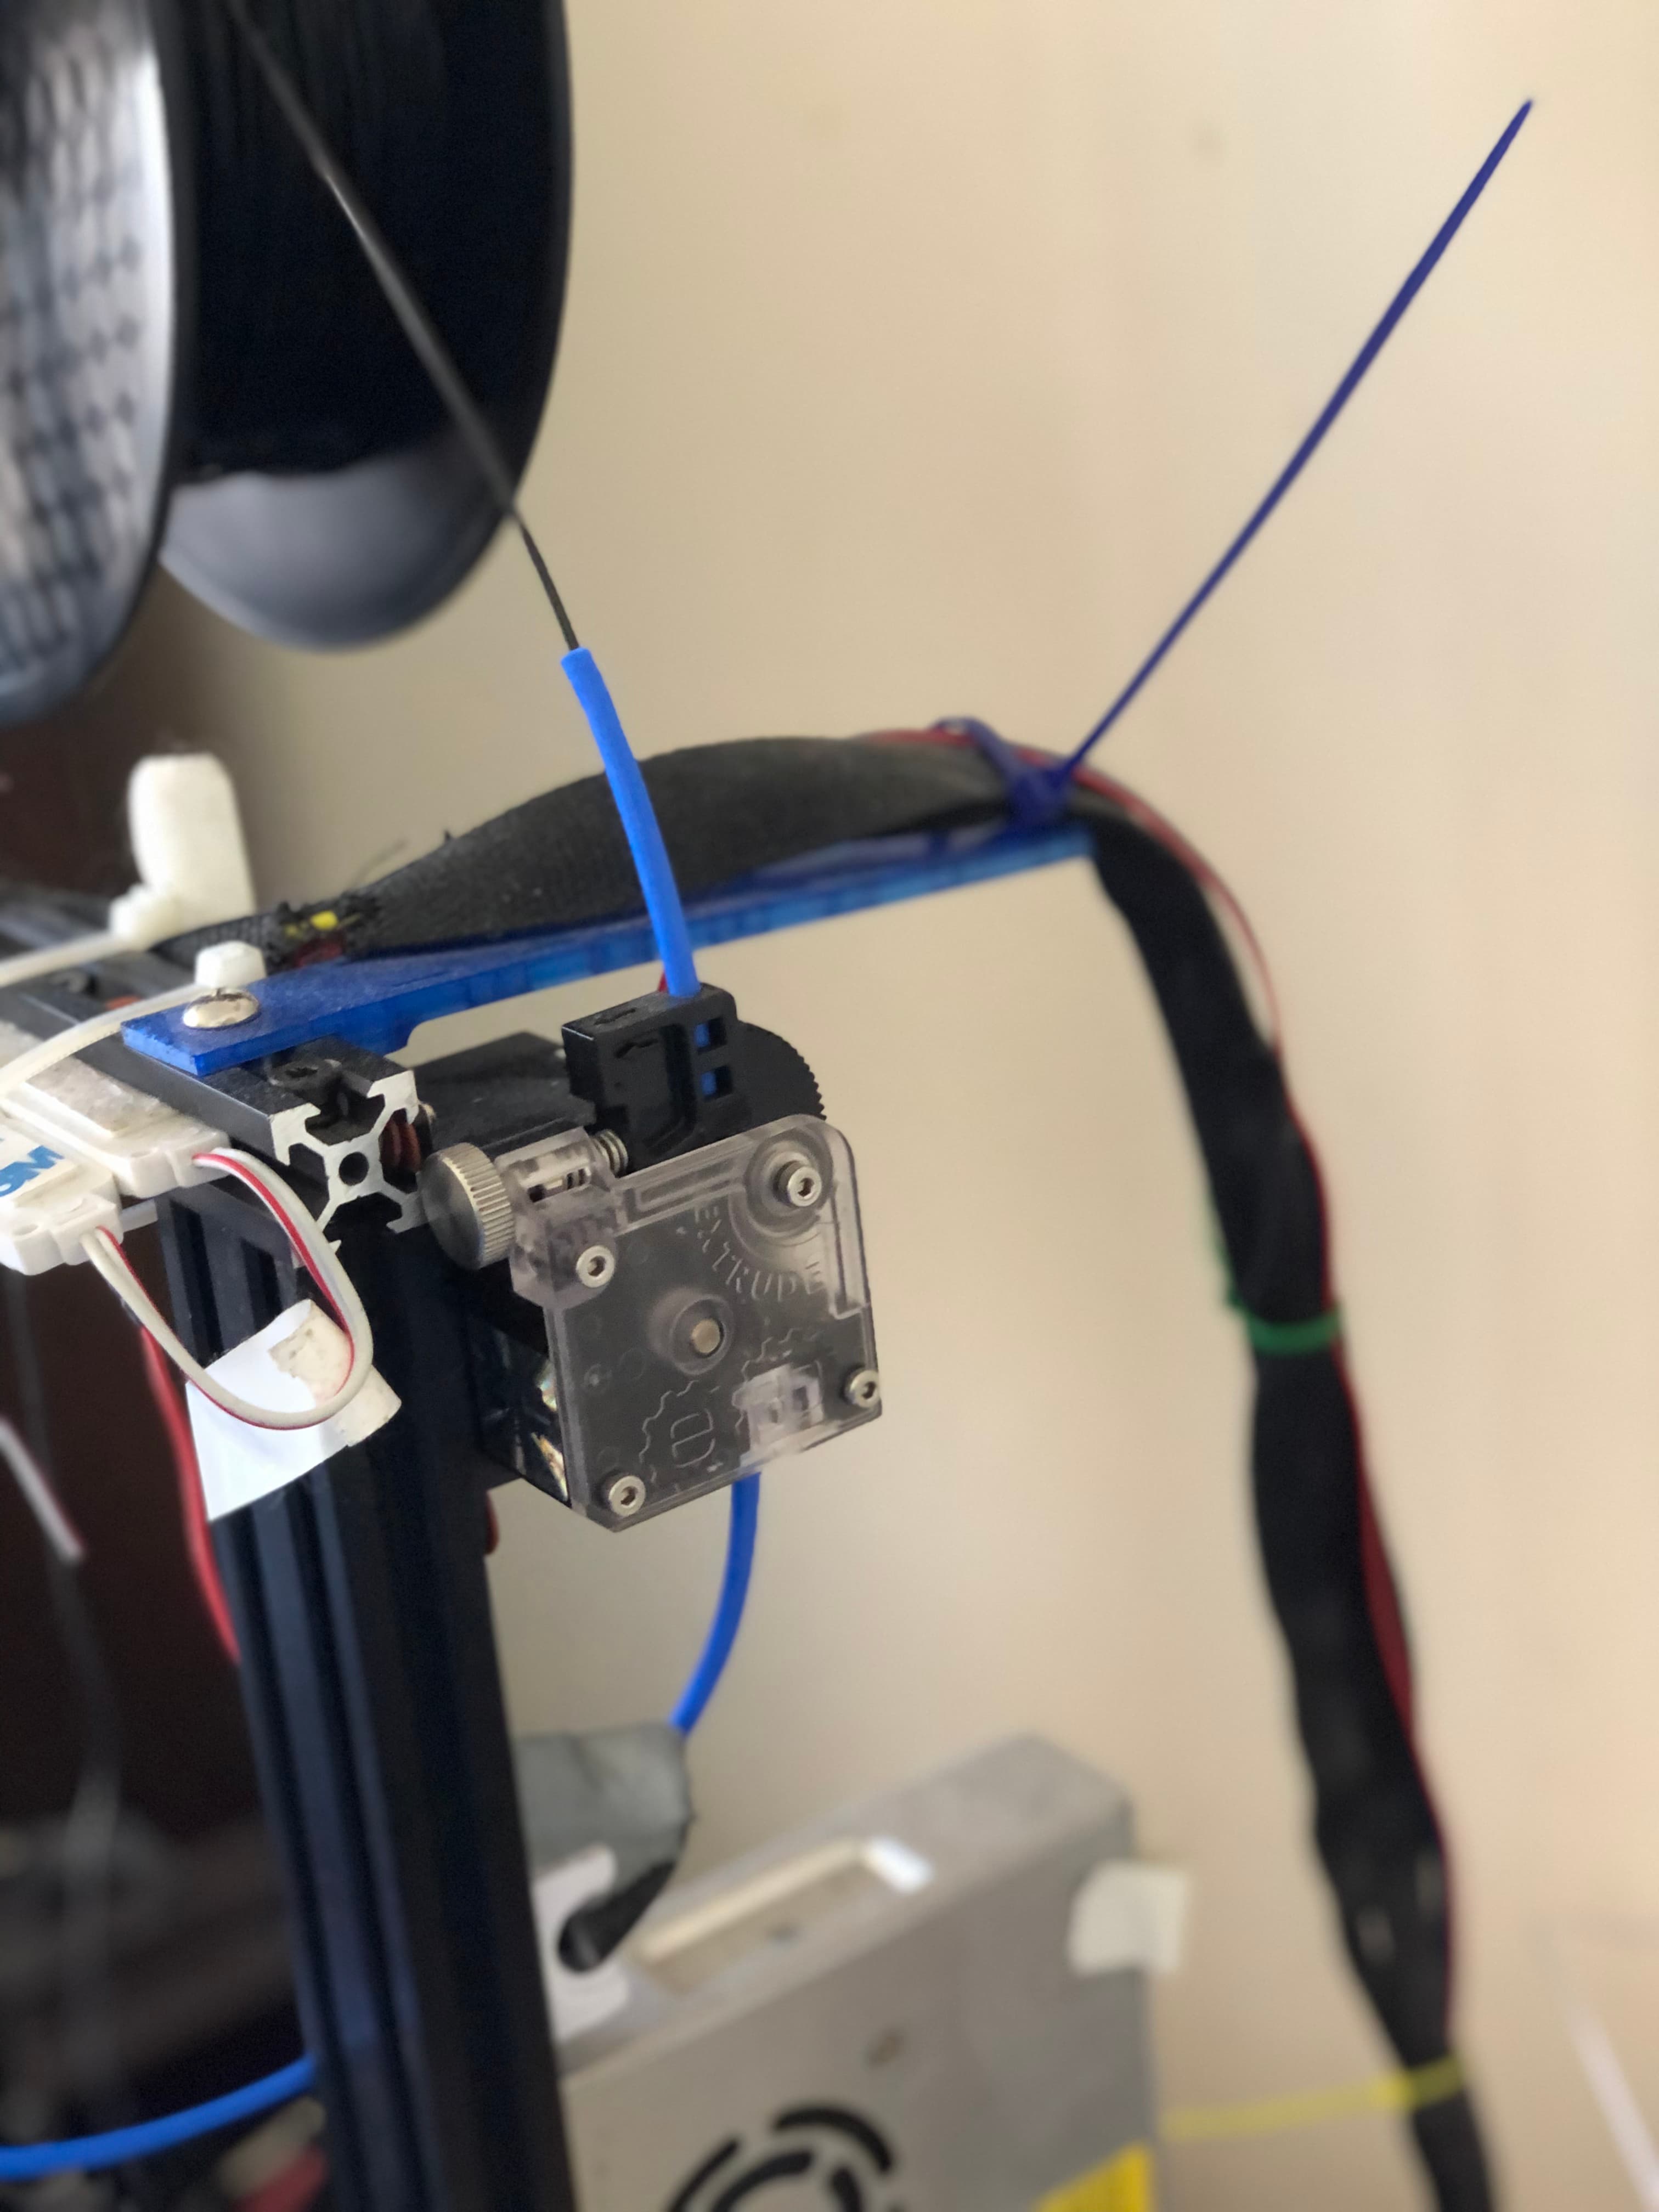
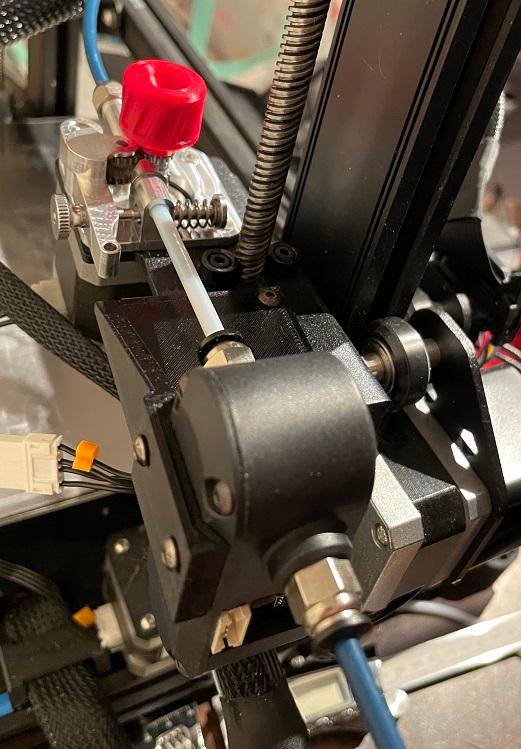
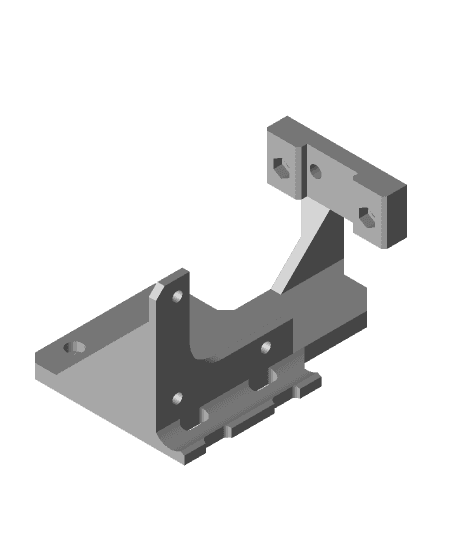
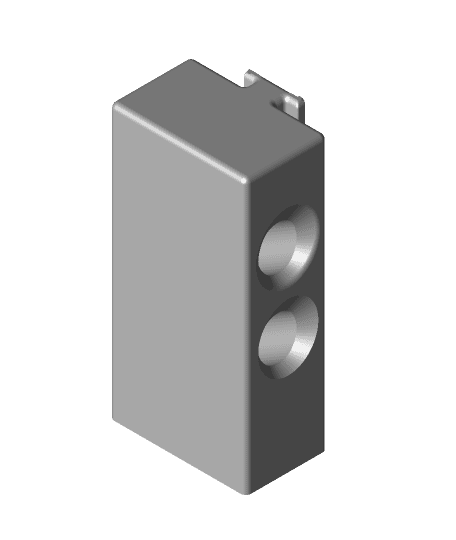
This is a filament runout sensor housing that attaches to a PTFE tube coupling and screws into the aluminium dual gear extruder (for CR-10 and Ender 3) tensioner arm. But since the couplers work with all sorts of printers and parts I don't see why this couldn't be placed anywhere else as well. I'm using the smallest microswitches I could find on eBay and made it as compact as I could.
Instructions:
-
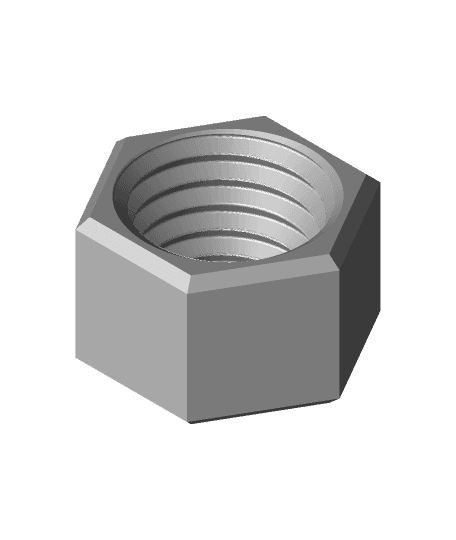
Insert a PTFE coupling into the housing and make sure it clips into place in the small cylindrical part between the coupling threads and nut. Also shown on one of the pictures.
-
Then screw the assembly into the coupling hole on the aluminium dual gear extruder.
-
Push a piece of PTFE tube from the top of the housing all the way down through the coupling until it reaches the bottom of the coupling hole.
-
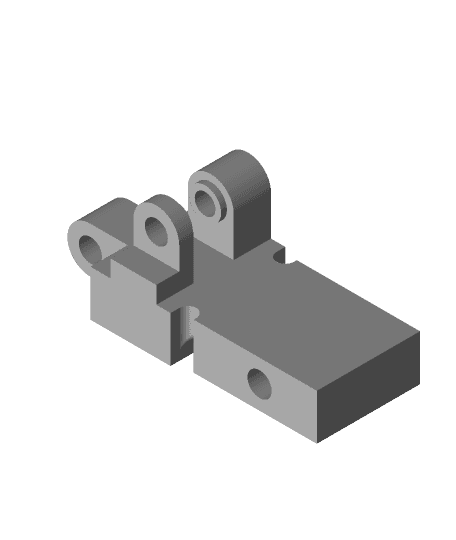
Place a coupling clip to lock in the coupling (that orange piece in the pictures)
-
Unscrew the whole thing from the extruder and use something sharp to groove out the PTFE tube part where the limit switch is supposed to touch the filament. Also, cut the PTFE tube flush with the top part.
-
Install the microswitch with a couple of M2.5 bolts. The holes are designed as large as the holes on the microswitch but my printer prints them just a bit smaller so the bolts self tap. Alternatively, just use a couple of nuts on the other side.
-
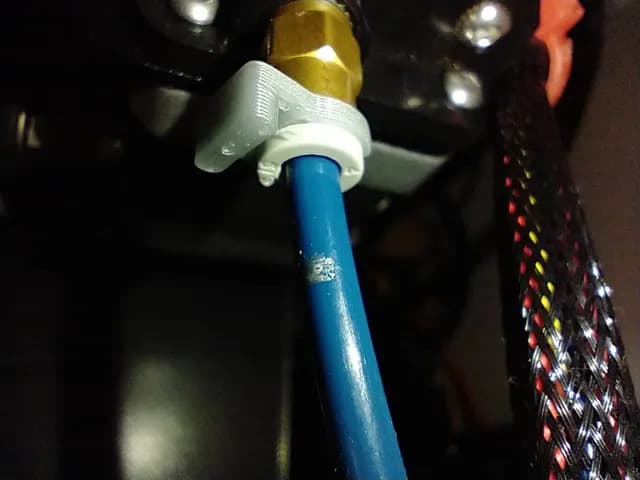
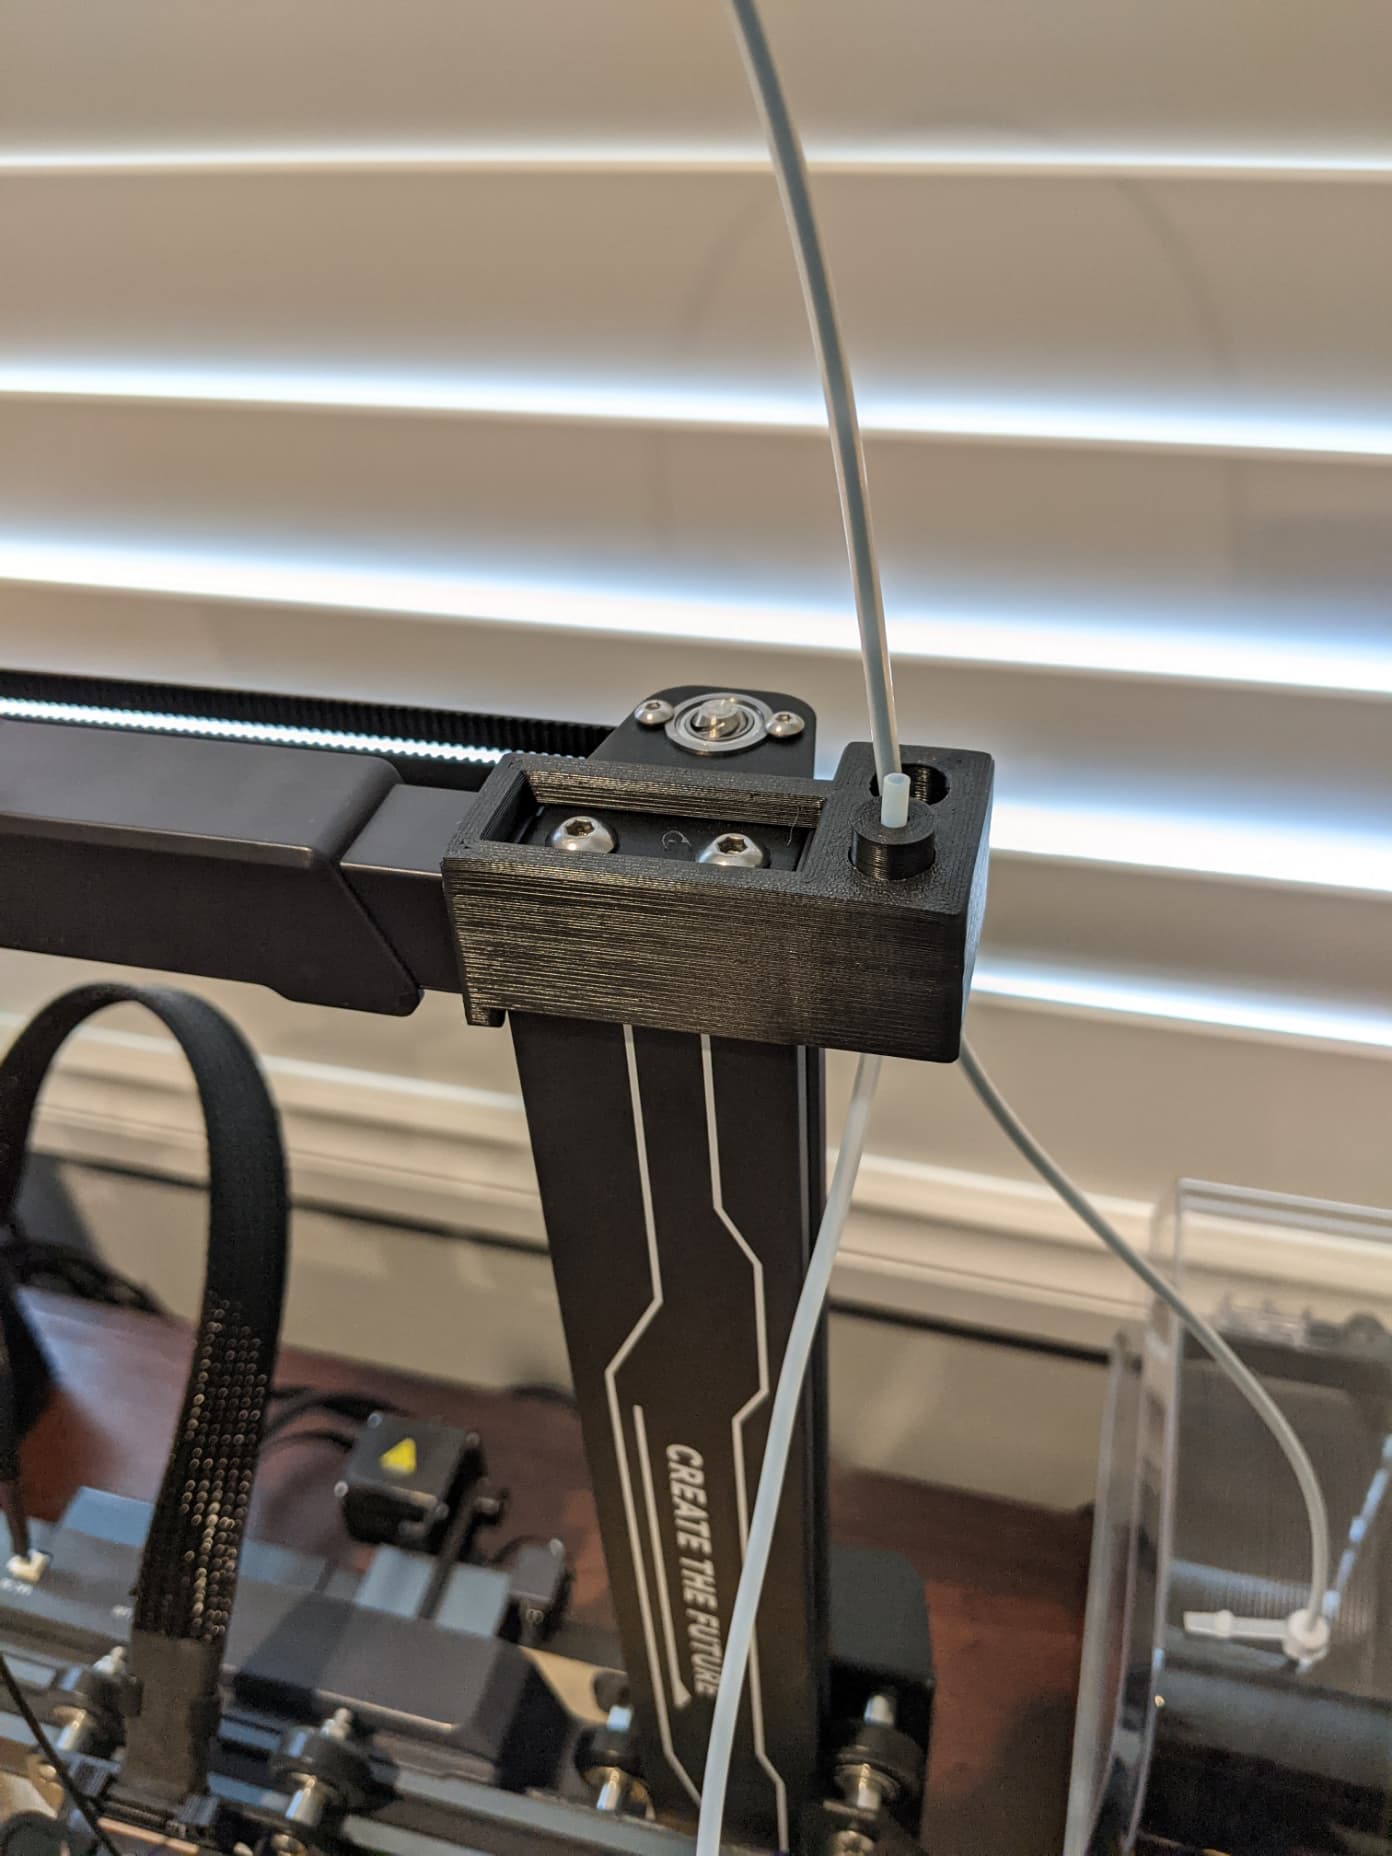
Screw the whole thing onto the aluminium dual gear extruder or any other place that can hold a PTFE tube coupler, push some filament through and you're all set.
The code I added in the Duet 2 Wifi config file: M591 D0 P2 C"e0stop" S1
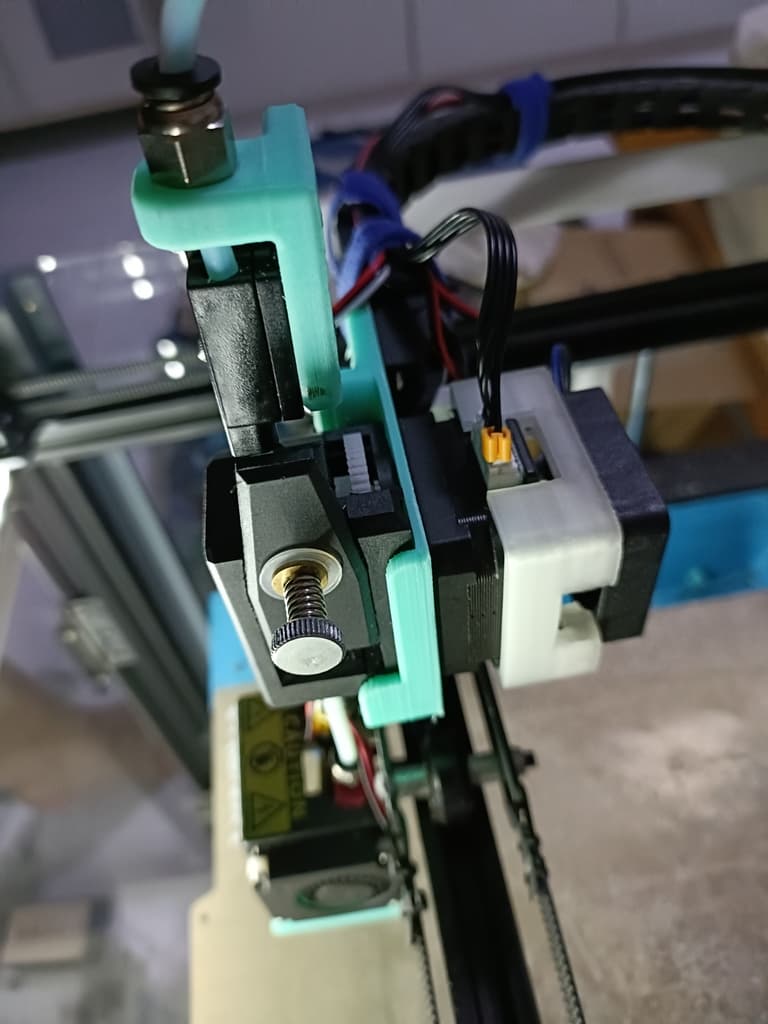
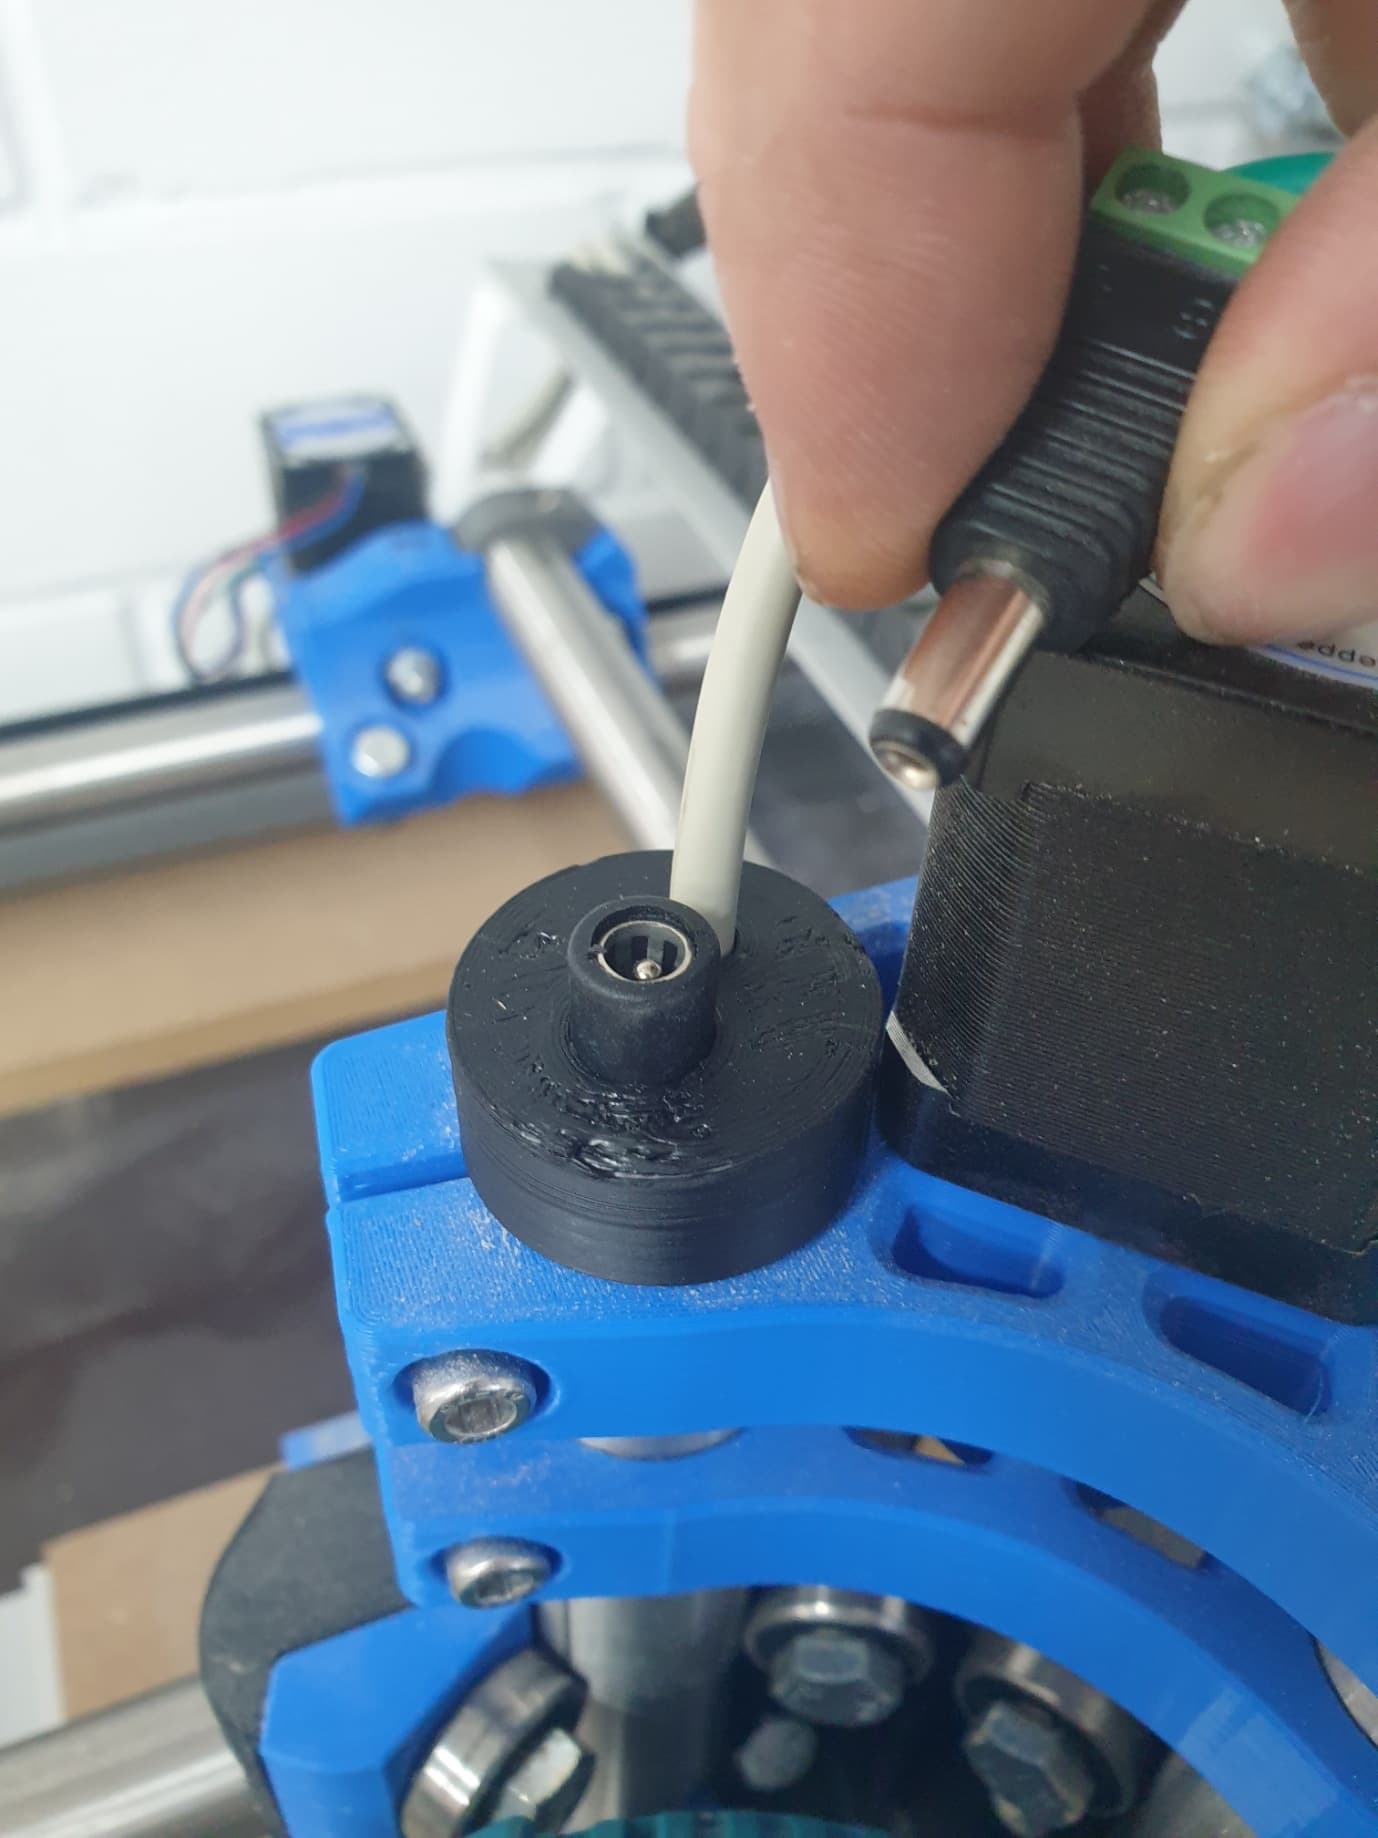
And check one of the images to see how the switch is wired when done.
Print orientation: The largest flat side of the part should be touching the build plate.
Filament sensor switch for direct drive Aluminium Dual Gear Extruder PTFE coupling
Ender 3, CR-10 HotEnd Coupling PTFE Fix
CR10-S Filament Sensor Teflon PTFE Bowden Tube Guide
PTFE Bowden Coupling Fix Clip
Ender 3 cable management overhaul
S!MPLE Filament Dry Box
Neptune 3 Pro/Plus/Max Filament Runout Gantry Mount with PTFE Fittings
FHW Voidfang Shadowstreak Lancer APC Kit
BTT Smart Filament Sensor Mount for CR6 with Micro Swiss dual gear extruder
Tronxy X5SA dual gear direct drive
PTFE Tube Holder for External Dry Boxes - Elegoo Neptune 4/4Pro
JGAurora A5X Bondtech and Runout Sensor Mount
Kingroon KP5L runnout sensor connector

Hall Effect Filament Runout Sensor
MPCNC cap with plug

Hall Effect Filament Runout Sensor
Polybox Cube Coupler

Hall Effect Filament Runout Sensor
Hall Effect Filament Runout Sensor

Hall Effect Filament Runout Sensor