


30mm.stl
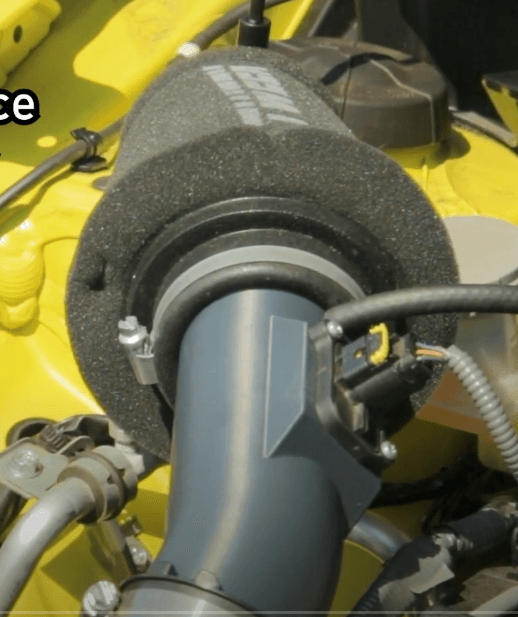
Short Intake for Suzuki Swift Sport ZC33S 1.4T (K14C - NON-Hybrid) RHD 2019
This will give you insanely loud intake noises and some turbo flutter noises. Find a review here: https://www.youtube.com/watch?v=A87oCPJ2C0U
You'll need a 63mm air filter of your preference with an appropriate hose clamp and some basic hand tools.
Print:- 1x Intake housing - I highly recommend using the .3mf file for slicing
- 1x Vacuum hose adaptor/limiter. I use the 18mm variant, I've seen engine error codes with the 30mm, but it's worth experimenting with.
Remove the brim and any other sprew. If you're using ABS/ASA there's a chance you could vapor smooth it, but I've never done this.
2. Relocate MAF SensorUnplug the wire from the back of the factory MAF connector (You'll need to remove the engine cover)
Unclip the MAF Wire from the base intake housing.
Remove the MAF Sensor from the stock intake and fit to the new intake using the standard screws. These should fit snugly as they're cutting their own thread!
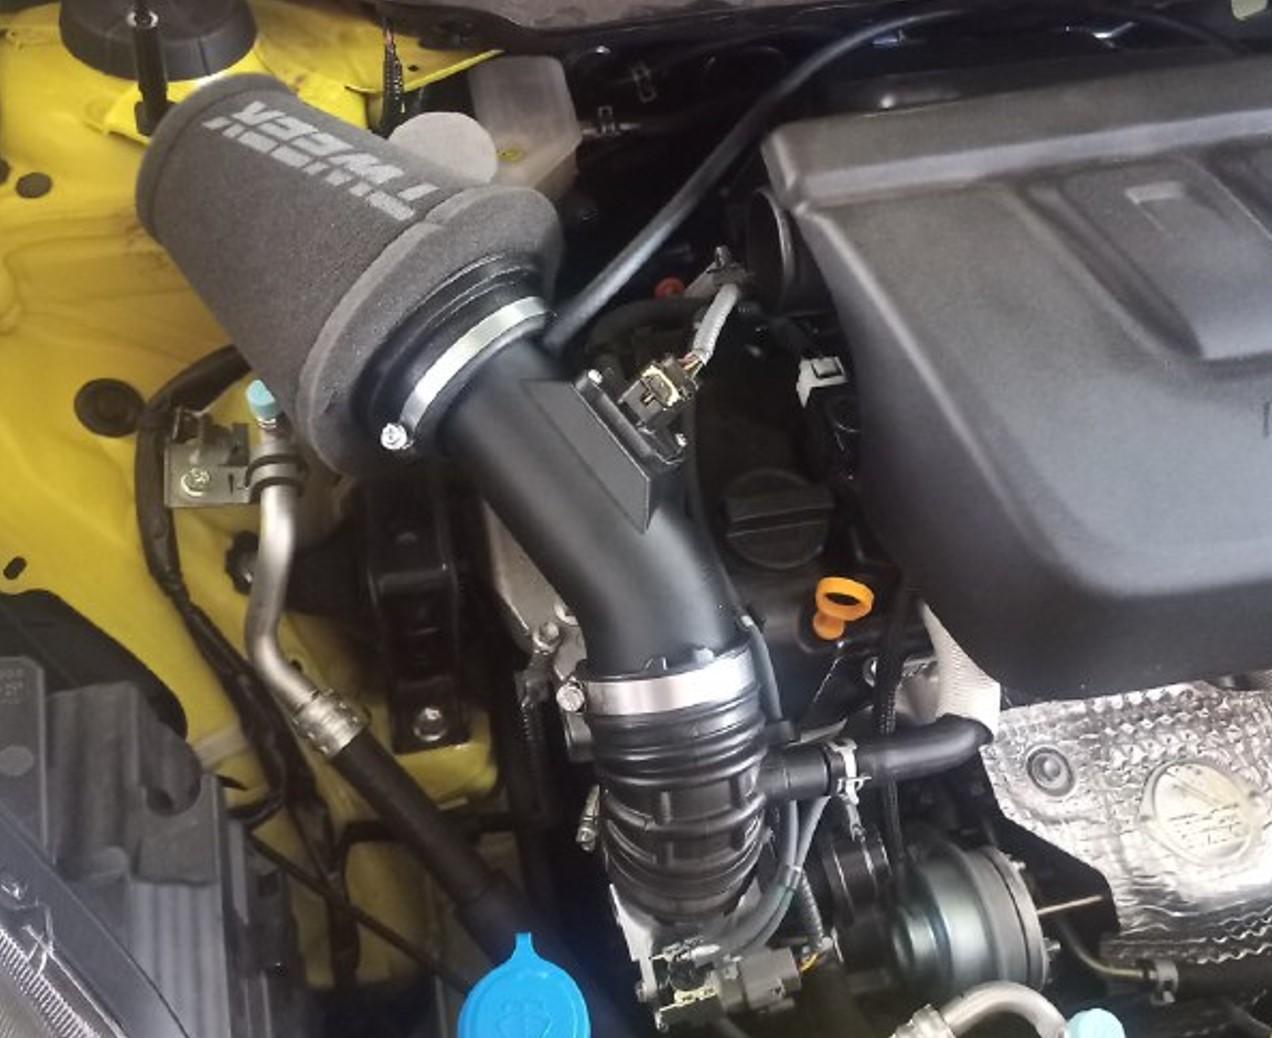
3. InstallationFit your air cleaner to the new intake on the longer side of the elbow. Ensure this intake is secure by tightening the hose clamp.
Remove the factory 90' damper pipe that connects the standard intake to the rubber turbo intake pipe.
Insert the short side of the elbow into the factory rubber pipe. Pro-tip: Some dish-wash liquid can help with the tight fit.
Rotate until the air cleaner will fit under the hood. Tighten clamp on the factory rubber pipe to secure.
4. The SuckUnplug the factory grey vacuum line from the right hand side of the air cleaner - use one of the joiners you printed earlier to connect to your hose extension. Firmly plug the hose extension into the intake. Cable tie interface points for peace of mind.
5. Wiring & TestPlug factory MAF Harness in.
Start the car, ensure it Rev's cleanly and is not stumbling.
If there is any strange behavior, immediately revert back to the standard specification.
I highly recommend using an ASA or ESun's ABS+ for this part. It needs to be stable at temps > 70'C.
Print with the long end of the elbow on the build plate, add a large brim for stability. The vacuum port will require support but no other parts should require support, so tune accordingly.
Adjust perimeters and extrusion width to ensure that there is no infill happening on the main pipe body. This is very important for structural rigidity.
30mm.stl

MultibaordRemix - Plate click hook 30mm.stl

Sonoff M5 120 Shroud
Suzuki Swift Sport (ZC33S 2019 1.4T K14C) Intake
18mm.stl
25mm.stl

Suzuki Swift Sport (ZC33S 2019 1.4T K14C) Intake

Fire Dragon - Hatchling

GAMES BOOK V2 | SWITCH, DS, 3DS, SD CARD & MICRO SD
.gif&w=3840&q=75)
Owlfonso the Owl – Ice Pint Holder
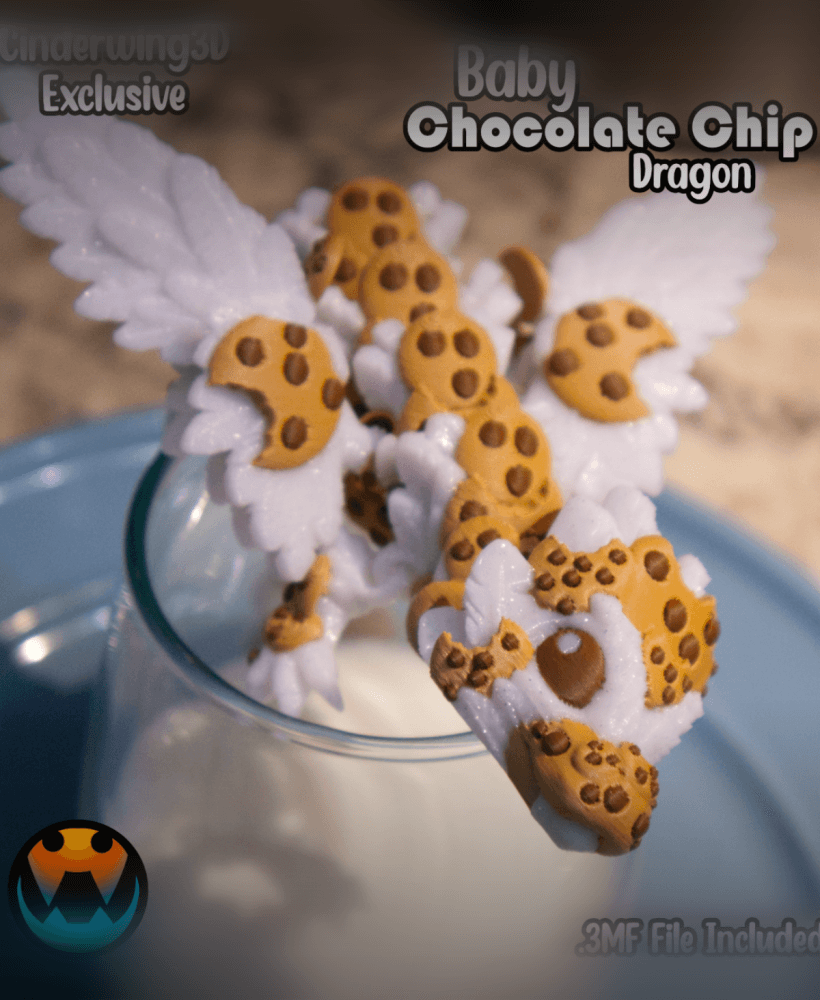
Baby Chocolate Chip Cookie Dragon

Pawblo , the Icepint Holding Polar Bear

Crystal Dragon - Hatchling

Cable Organiser USBC 1x1 - Cargo Attachment

Bramble , the Bat Ice Pint Holder
.png&w=3840&q=75)
Night Light Lilies - The Lily of the Valley Night Light
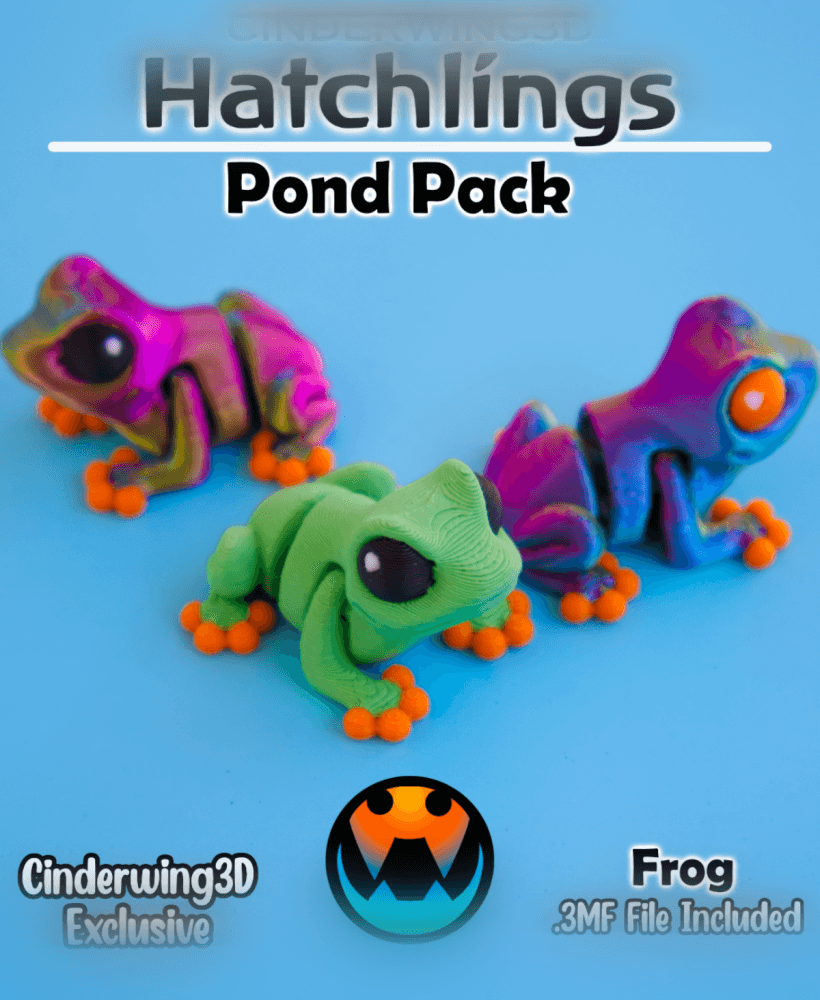
Frog - Hatchling
Axolotl - Hatchling

Leaf Dragon - Hatchling

Heart Cookie Tadling
