
Quick Change Sample Spool Holder
Model originally uploaded to Thingiverse at https://www.thingiverse.com/thing:4062823.
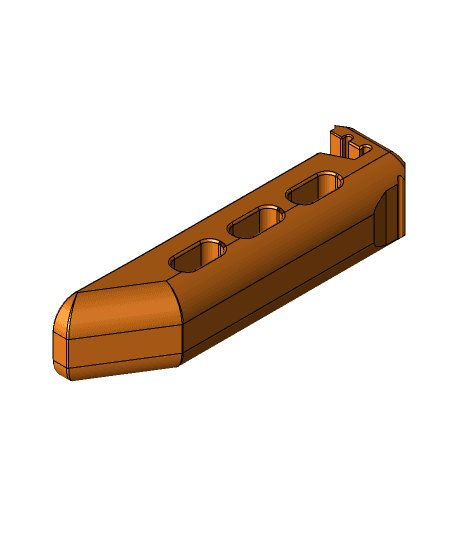
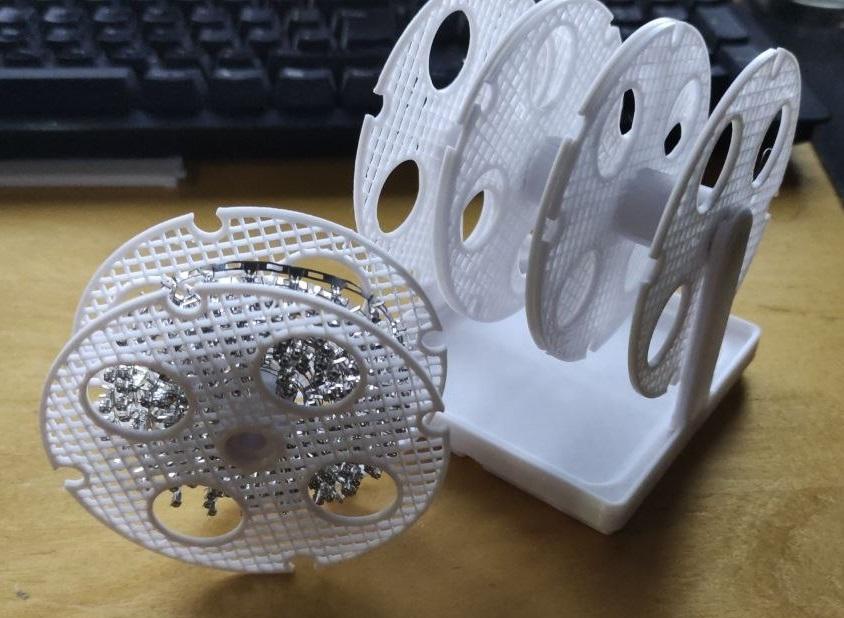
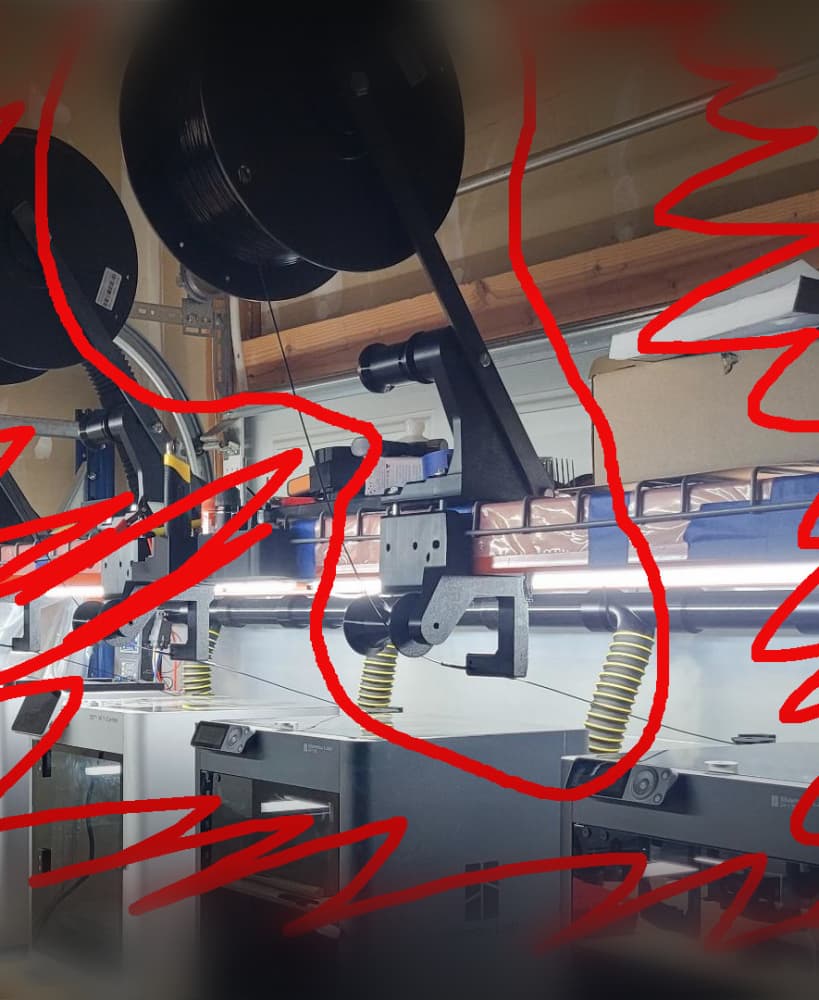
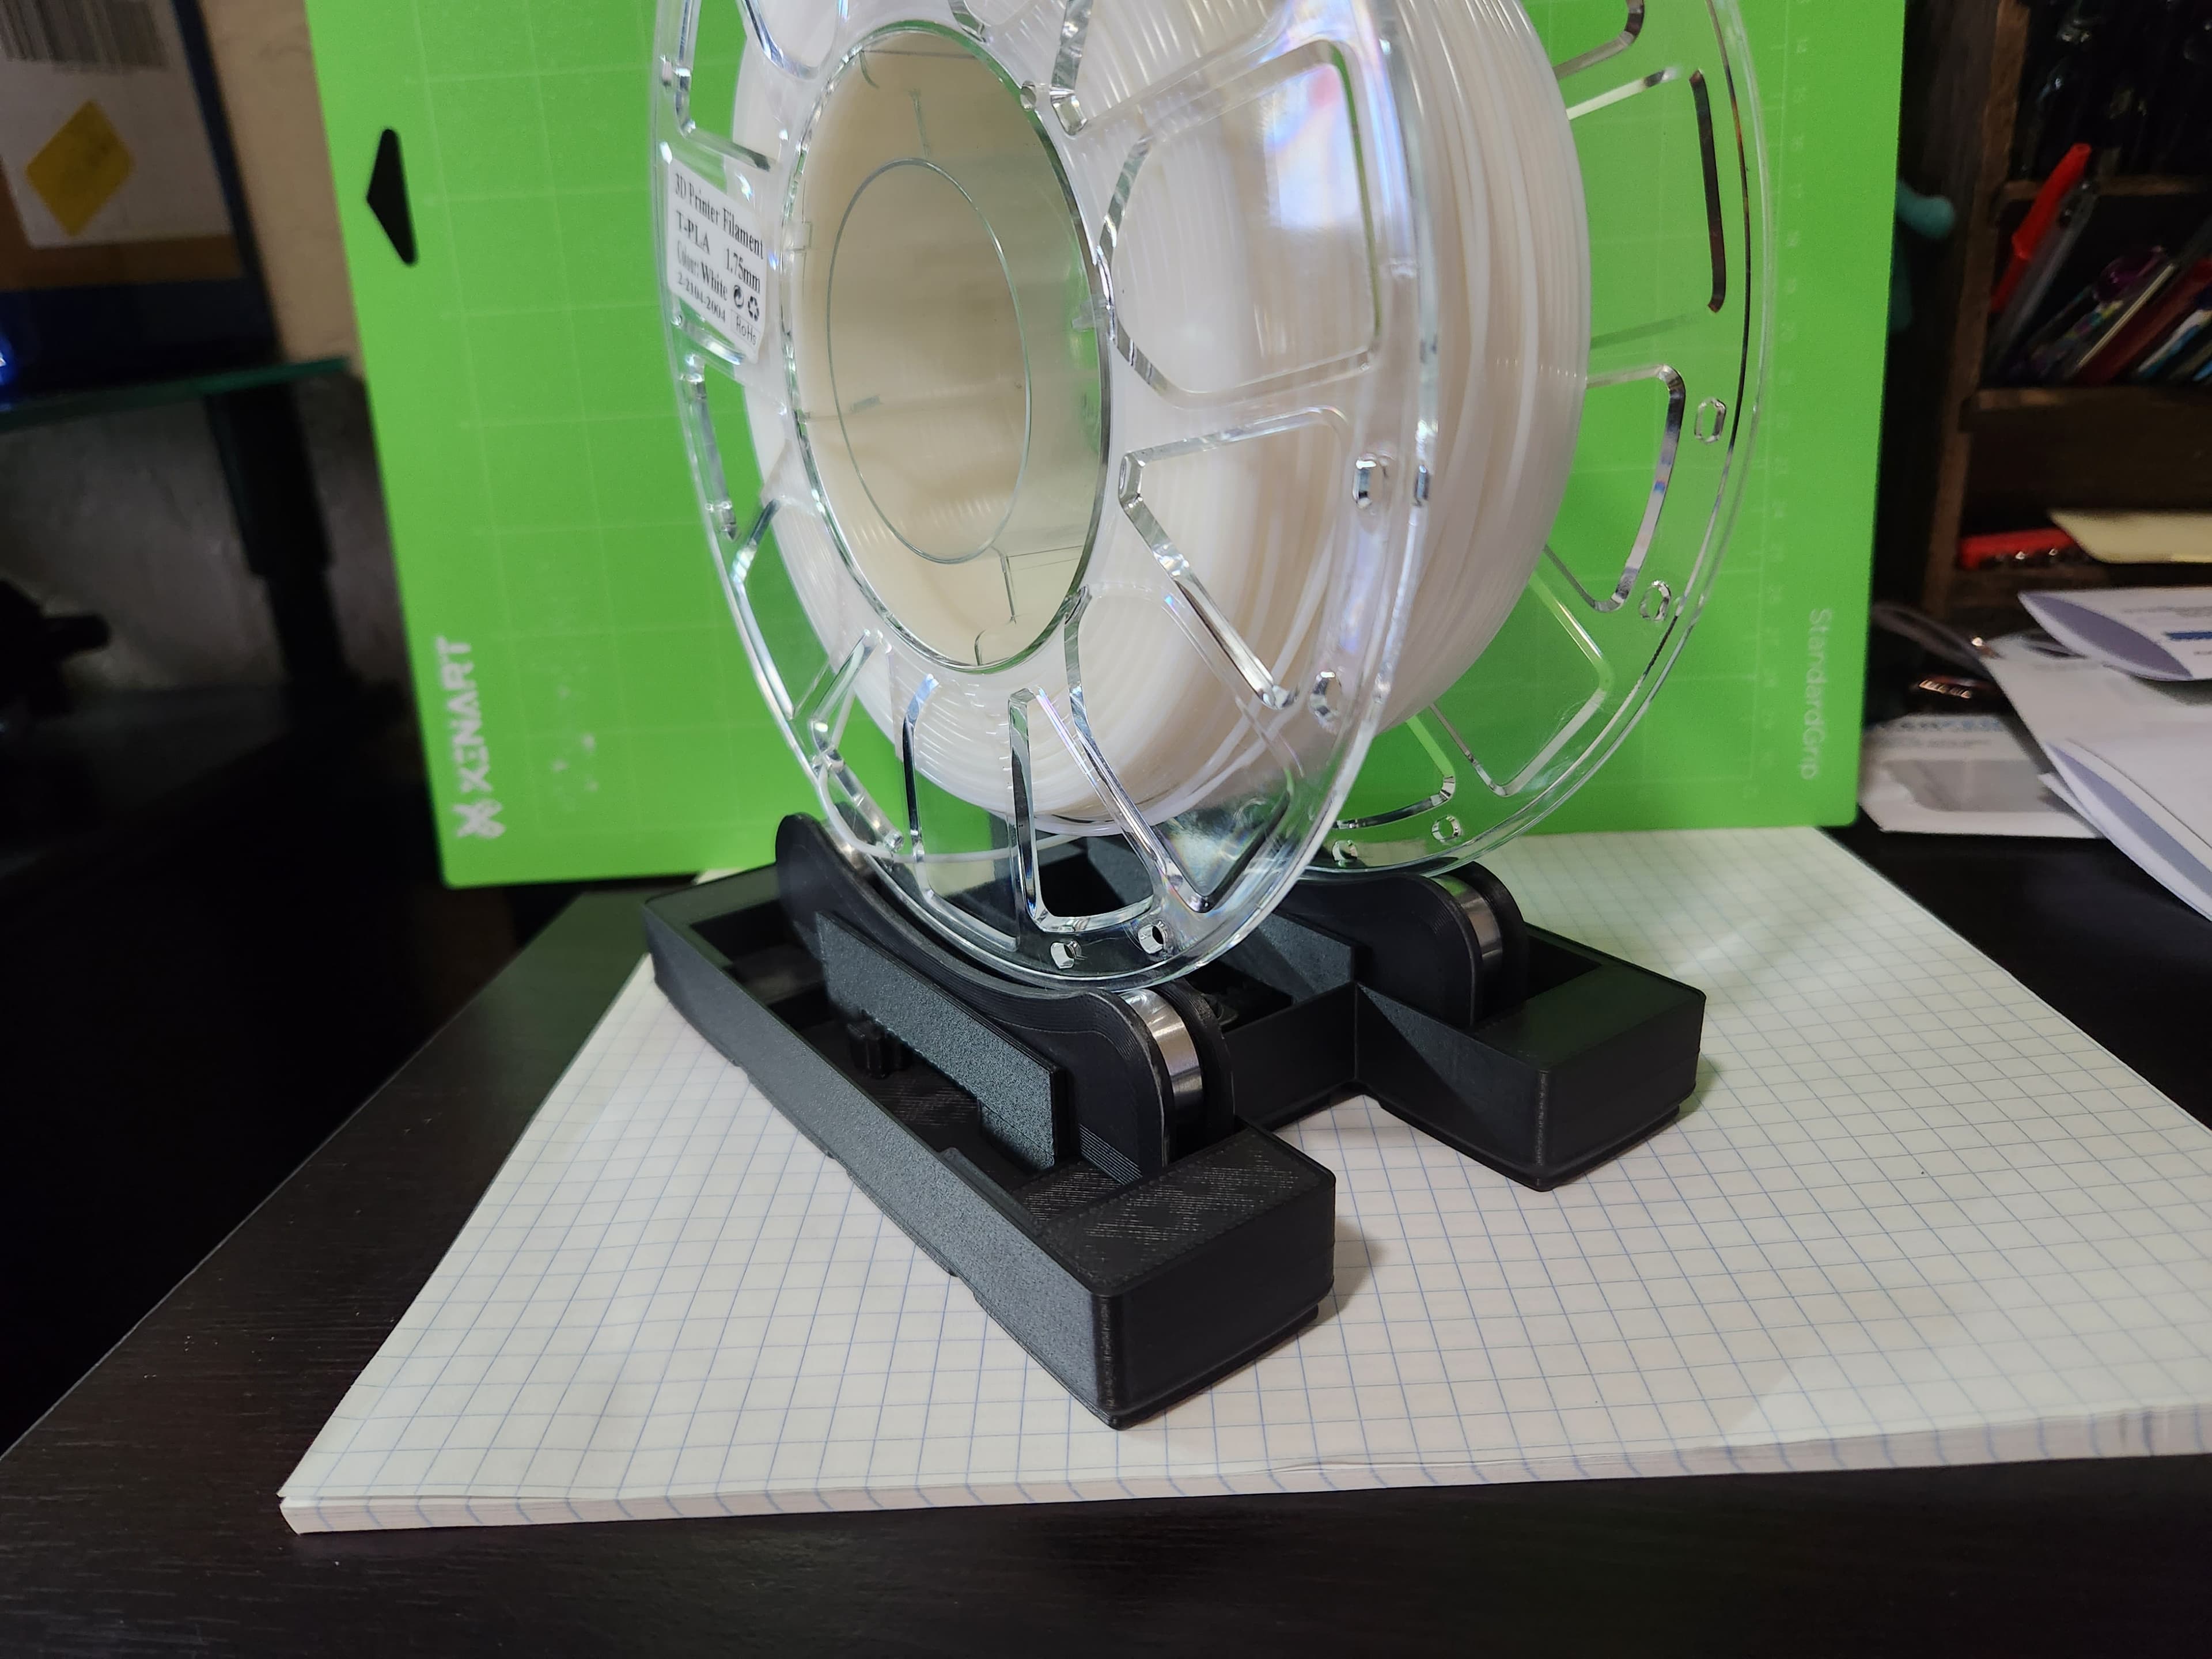
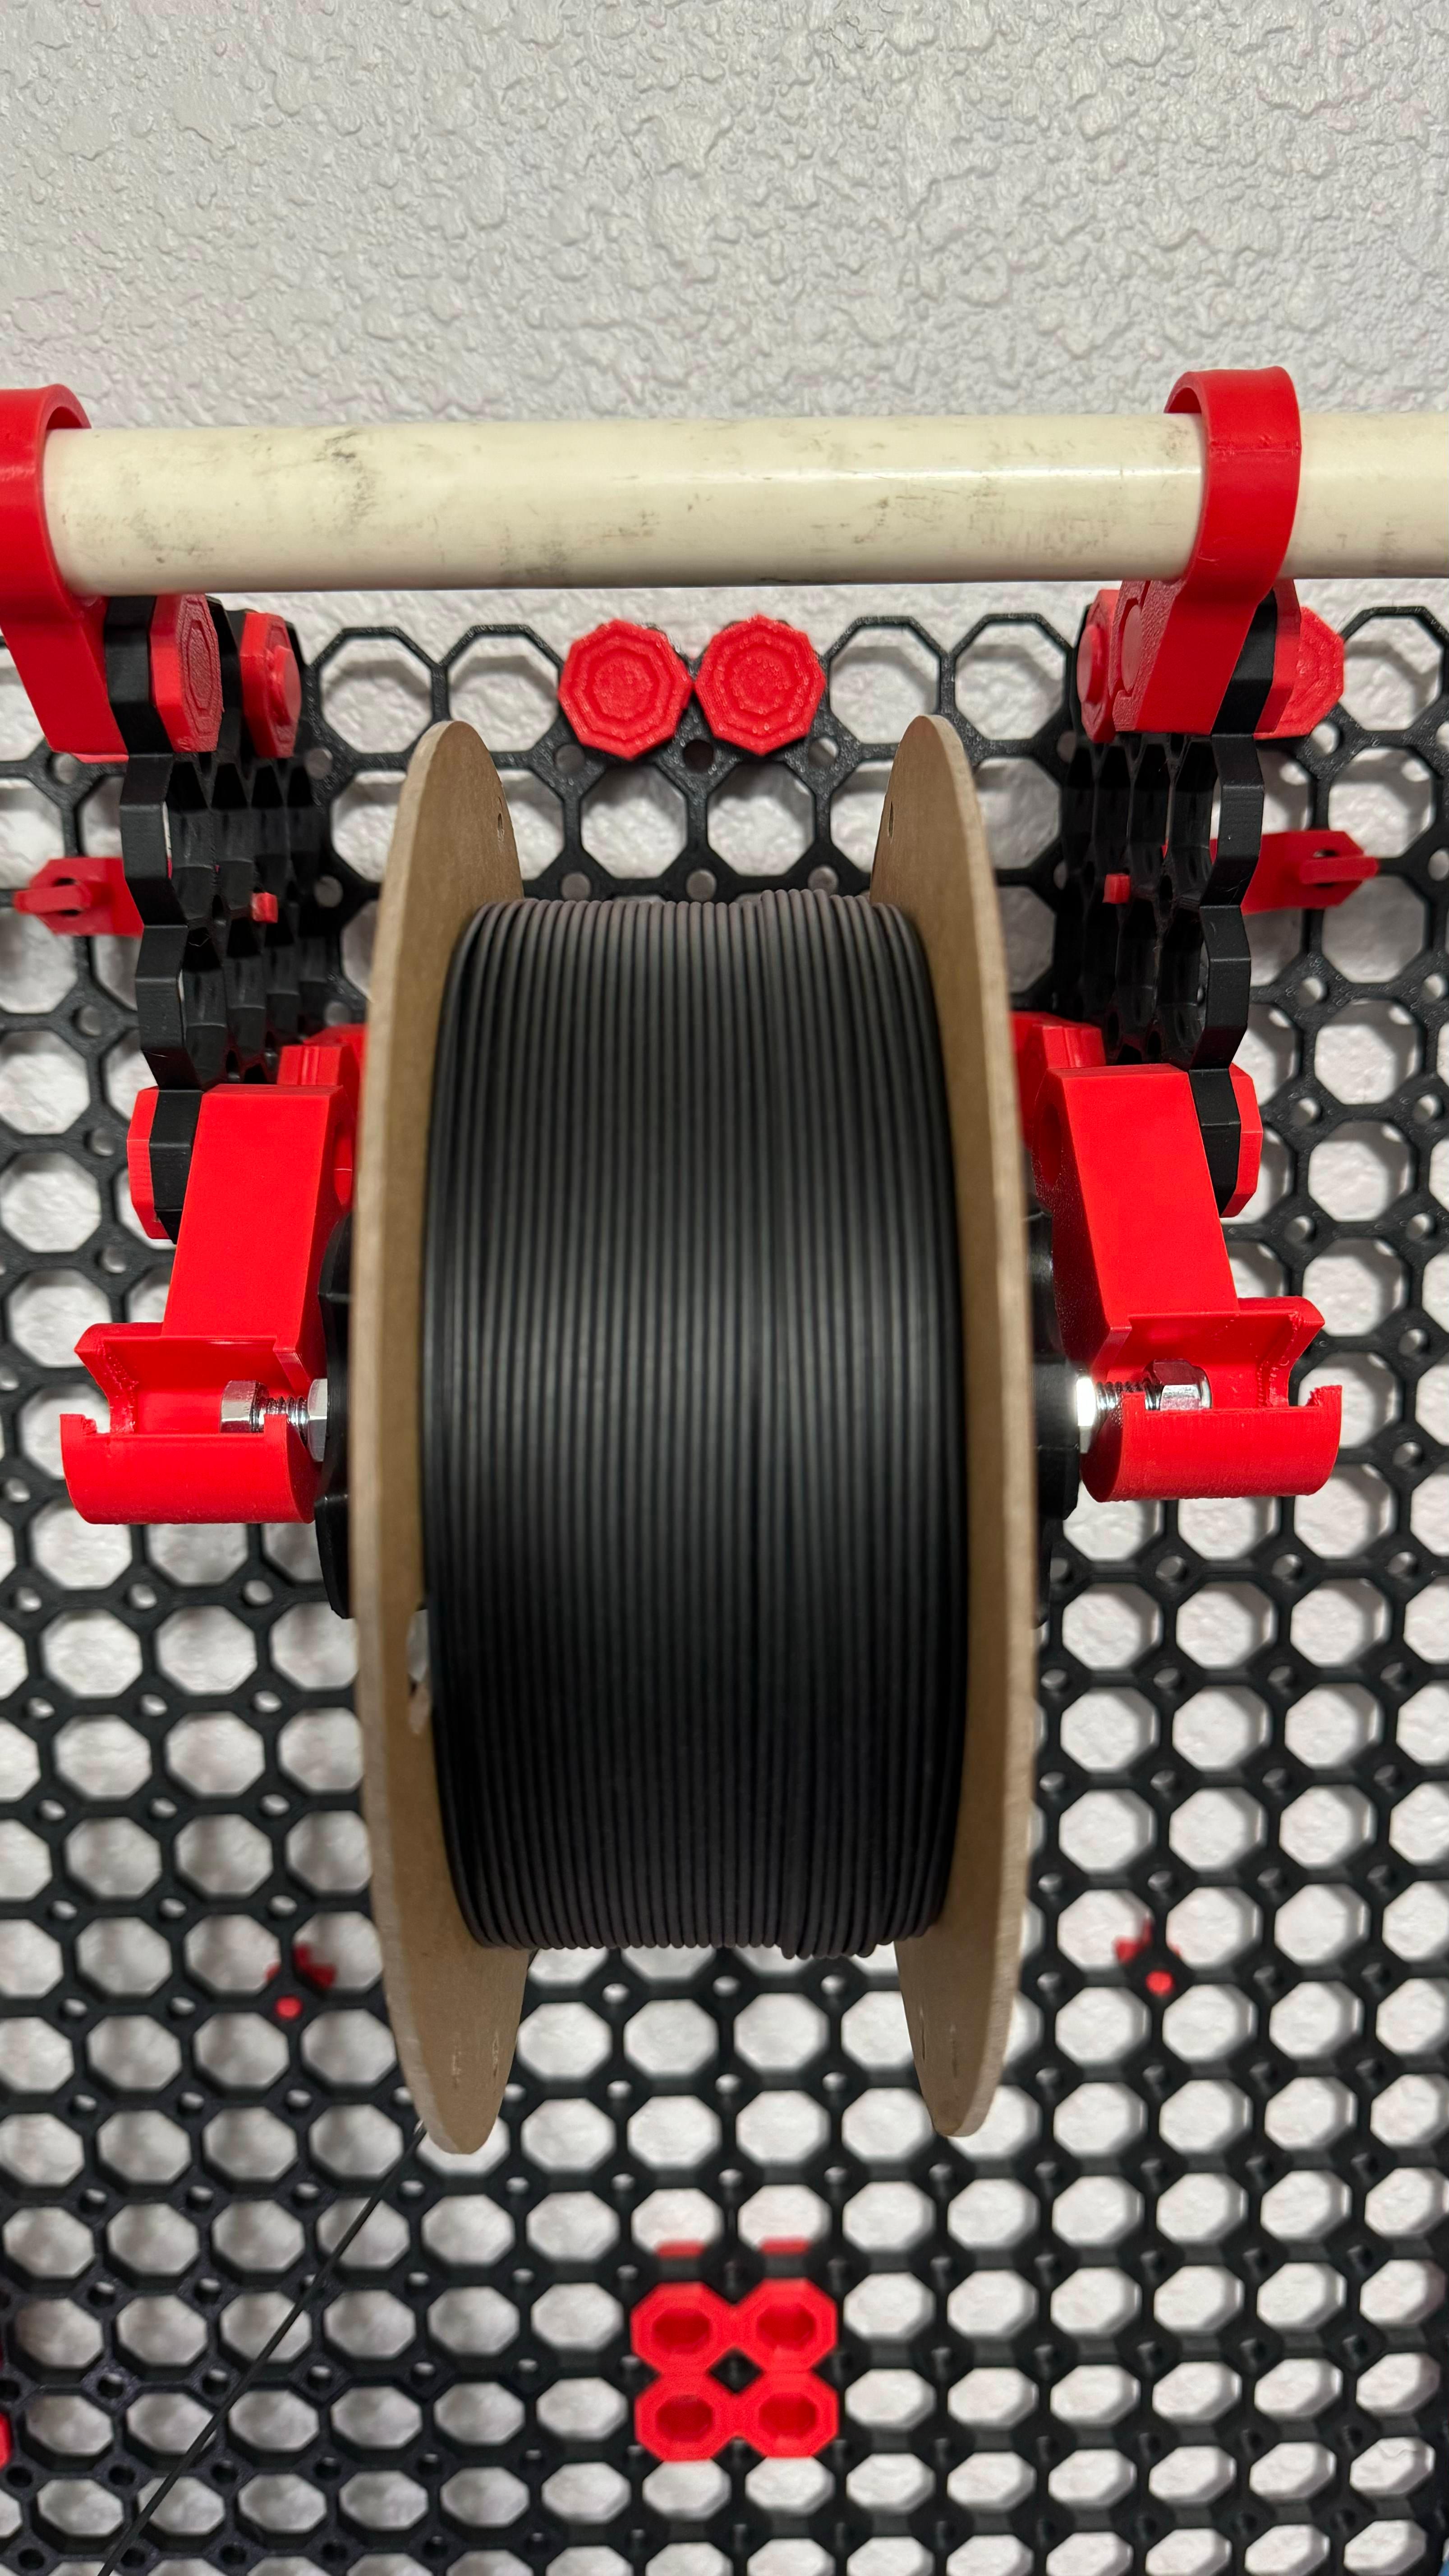
This is a "Quick Change" sample spool holder, designed to hold Alien3d samples that are approximately 90mm inner diameter, 145mm outer diameter and about 20M in length. You can buy Alien3d samples here, which come in the Monthly UFO box: https://www.alien3d.us/product-category/ufo-box/ (Side note: printing a single spool holder side with 10% infill will use about 14M or 48g of filament, which will allow you to print using a filament sample. You will need to print two of these).
This spool holder is held together with 4 neodymium magnets on each spool half (so 8 total are needed). This will keep the spool holder firmly in place while you are printing, and it makes it super easy to change filament. Simply pull it apart and swap your sample roll. You can get a pack of Neodymium disc magnets for very cheap, under $10 for 100.
PLEASE USE CAUTION! Neodymium magnets can easily break and keep away from children (you don't want them swallowing them).
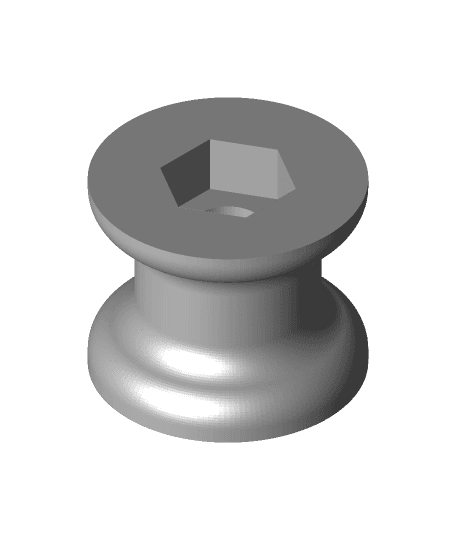
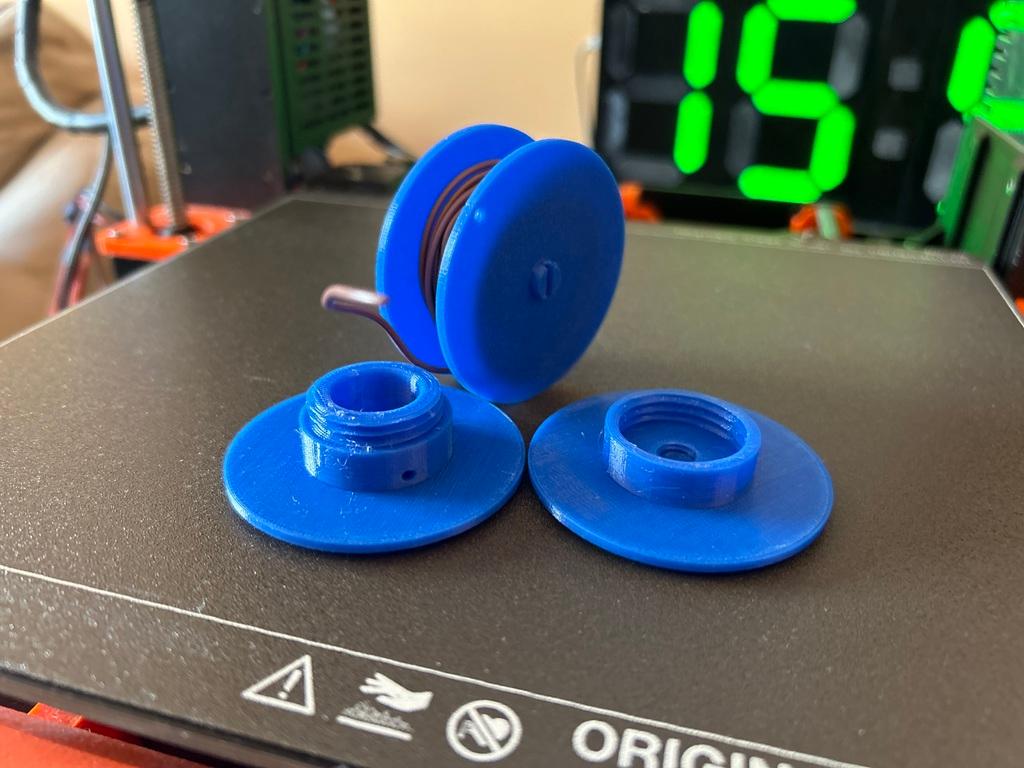
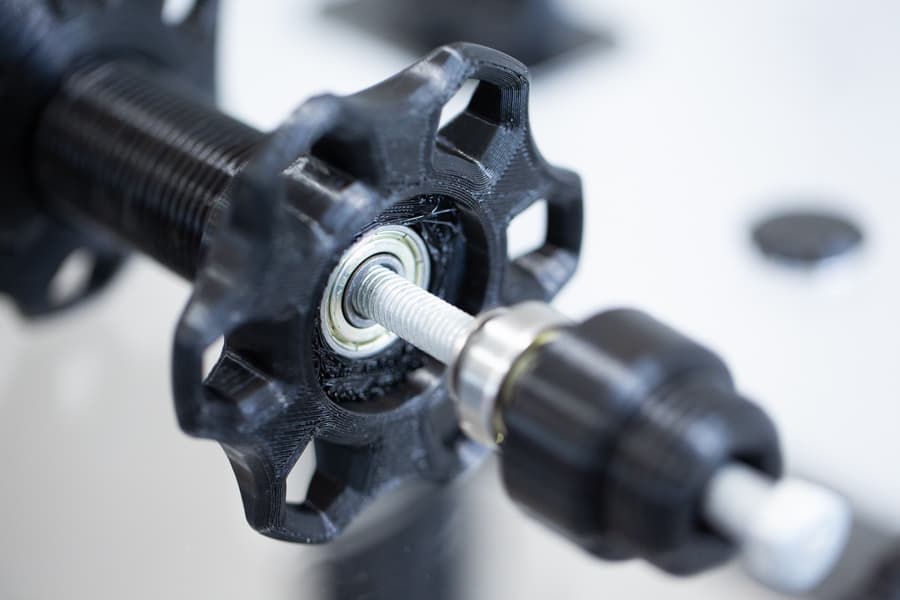
I designed the spool holder to work with 10mm x 1.5mm magnets. However, it is easy to adapt to other magnet sizes (eg. 10mm x 2mm, or 12mm x 2mm, etc.) by simply changing the variable in the code to the appropriate depth, which can be done with the Makerbot Customizer, or with OpenSCAD directly. If you need help, just ask in the comments.
Directions:
- Measure your magnets. If they are different than ~10mm x 1.5mm use the customizer, or OpenSCAD (free download) and edit the variables. I recommend adding .1 to .15 mm to the magnet height, and .2-.5 for magnet diameter for tolerance (a little play in the diameter is fine). My magnets measured about 9.5mm x 1.4mm or so. Magnets should sit flush to the plastic for the best fit.
- Print two spool holders.
- Liberally apply CA glue (I use Mercury Thin flex) or Epoxy to the hole where the magnet sits. Let the magnet sit and dry in the adhesive for at least 30 minutes. Make sure that you are set magnets correctly, so they will attract and not repel. For example, the magnets in the first spool holder should be face down, magnets in the other spool holder should be face up.
- After gluing, you should be able to test the fit of the spools and hear a satisfying click when you put them together.
- Go subscribe to Alien3d if you haven't already! http://alien3d.us They have a great monthly box that includes several 20M rolls of sample filament.
Watch this video for more details on the Quick Change Sample Spool Holder and the Alien3d box.
Wire shelf hanging spool holder for Filler spool holder
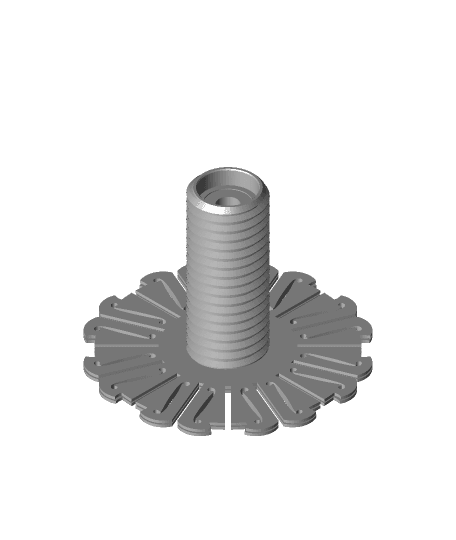
Spindle ends for quick change spool
Sample Filament Spool Holder for small and medium winding

*remix* LowRider v4 CNC - KINEMATIC Tool-less Quick-Change Accessory Holder FOR DEWALT
Spool / Holder for Loose or Sample Filaments

Bambulab A1 Spool Holder Holder
Gridfinity Spool Holder with Spools
Threaded spool for Wire Spool Holder
Auto-Rewind Spool Holder for Spannerhands Spool System (MM)
Tall Desk Clamp Modular System - Spool Holder, Cup Holder, Headphone Stand all in one desk clamp
1, 3 & 5 kg metal shelf and rack mounted spool holder vertical above head assembly

Spool Plug: Horizontal Filament Spool Holder
Brazillian TUSH Holder (a gridfinity spool holder).stl
DOUBLE SPOOL HOLDER FOR ENDER 3 SERIES (PRINT-IN-PLACE)
Self-Centering Filament Spool Holder (Compatible with All Spool Sizes)

Spool Holder Adapter for large spools by les_kaye
Multiboard Spool Holder Mount
Filament Spool Holder for the Ender 3
Large Spool Holder - designed for 30cm diameter (5kg) spool
