
FPV Pop Up Racing Gate
Model originally uploaded to Thingiverse at https://www.thingiverse.com/thing:2307330.
I was on the quest for a simple, but cheap pop up style FPV racing gate. The cheapest ones I could find were $35 + shipping, with some being more than $60 each. After doing some research, I found a design by user "sekthree" here: http://imgur.com/a/23jRd and used some of his ideas to come up with this! I designed the 3d printed elbow and it holds the gate together very well.
The great thing about this gate design is that it's super light weight, it's easy to store and carry (you can easily twist it similar to soccer pop up goals), and it holds up very well. Finished dimensions of the gate are approximately 5ft wide by 3'10" high or so.
Update 6/14/2017: After using these gates for about a month, I have made a few improvements! I added a small cut out / notch so can more easily tie the string to these- it shouldn't slip around. Where I fly, the wind is very strong, so I added a hole to the back of the elbow that you can use to stake these gates down. I am using a Coleman 10" stake, but any stake about that size or smaller should work. These improvements are in the v2 file. I also recommend printing this in a PETG filament. On one of my gates, the PLA got a bit hot in the sun (90+ degree day) and bent. PETG should't do that!
Update 5/15/2017: Check out these gates in action! Youtube video here: https://www.youtube.com/watch?v=EseufUs_-Sg
Cost Estimate- The total estimated total cost for this project with the materials I list is about $15-$22 to make one initial gate. If you buy another set of the fiberglass poles, and cut the materials similar to what I did, you will be able to make 3 gates for around $30-35.
Rods: http://www.harborfreight.com/3-16-inch-x-33-ft-fiberglass-wire-running-kit-65326.html
Parts needed:
-
For $10, you can buy the fiberglass rods linked above from Harbor Freight. You will need to use 6 rods per gate. There are 10 rods in the container. If you buy two containers, you can make 3 gates (18 rods). Each rod is 33 inches long. Very important: I strongly recommend putting electrical some tape around where the rods connect, because the brass fittings will easily break if they are loose. They come loose pretty easily, too.
-
3d print the race gate elbows. These will be a fairly tight fit, but will hold the rods securely. I included the OPEN SCAD source code, so if you need different rods you can change the design. If you only need a little more room, just change the inner diameter variable (mm). If you need a lot more room (more than a few mm) you may need to update the model to scale it appropriately. (~$1 of filament)
-
Light string or rope. Cut it about 5ft 6 inches, or just enough to make a loop on the elbows, running the string from elbow to elbow so there is 5ft of string in between. ($1 for rope)
-
A few metal stakes to hold down the elbows. I always have wind blowing, so the stakes are definitely recommended. ($1 each)
-
Race Gate material: I used a shower curtain, mine was $8 at a dollar store. You can find them for cheaper (as low as $1 on clearance). Make sure the material feels sturdy. If I recall, it was 72 inches wide by 70 inches long. This was enough material for 3 gates. Also pay attention to the pattern, if it has one. You will need 105" length total for these gates. For mine, I was able to use the pattern and cut into 3 pieces (info below).
I also recommend a bright colored shower curtain so you can see it easily. Blue is probably not the best choice (as pictured here) but white, yellow, or pink would definitely stand out. You may also want to experiment with materials and try something like a ripstop nylon fabric.
Finished dimensions of race gate material: 105" length x 4" width
How I cut my material: Middle section: 66 1/2 inches x 8 inches End Pieces: 19" x 8 inches
Your cutting/sewing may vary depending on the shower curtain you use. Just make sure you have 105 inches or so width x 4 inches. You may be able to save sewing multiple pieces together by picking a solid fabric that has a length > 105". Get creative!
Sewing the seams:
- Sew the middle section and end pieces together so it creates on continuous piece (creating a 105" total length, 8 inches width).
- Fold the material in half (folded you should now have 105" x 4")
- Sew a continuous seam for fiberglass rod at the top: Between 1/2 to 5/8" at the top
- Sew a continuous seam where the pieces meet at the fold
Storing the gate: There are two options for storing the gate. Option 1. Simply "twist" and the gate will flatten down. It's small enough to fit in your trunk or on a wall when collapsed using the twist method. Option 2. Disassemble the gate by removing the 3d printed elbows, remove the fabric, unscrew the rods. This will only take a few minutes and you can collapse it down to something very small. You should be able to fit all 3 gates, material, and 3d printed parts in the original container that the fiberglass rods came in.
FPV Pop Up Racing Gate
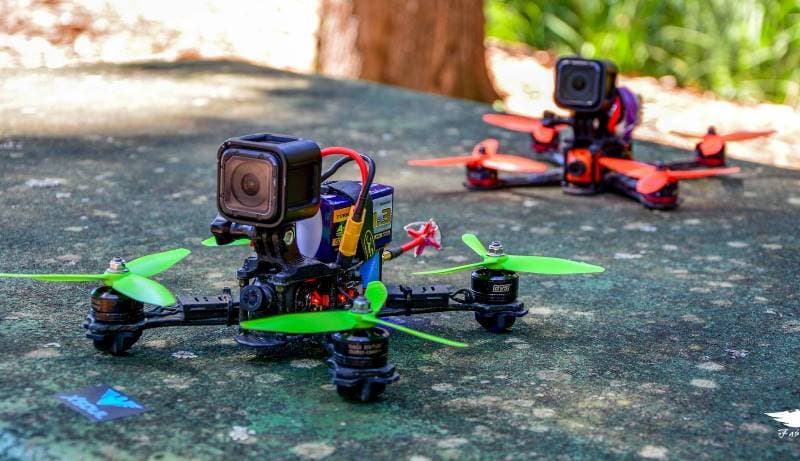
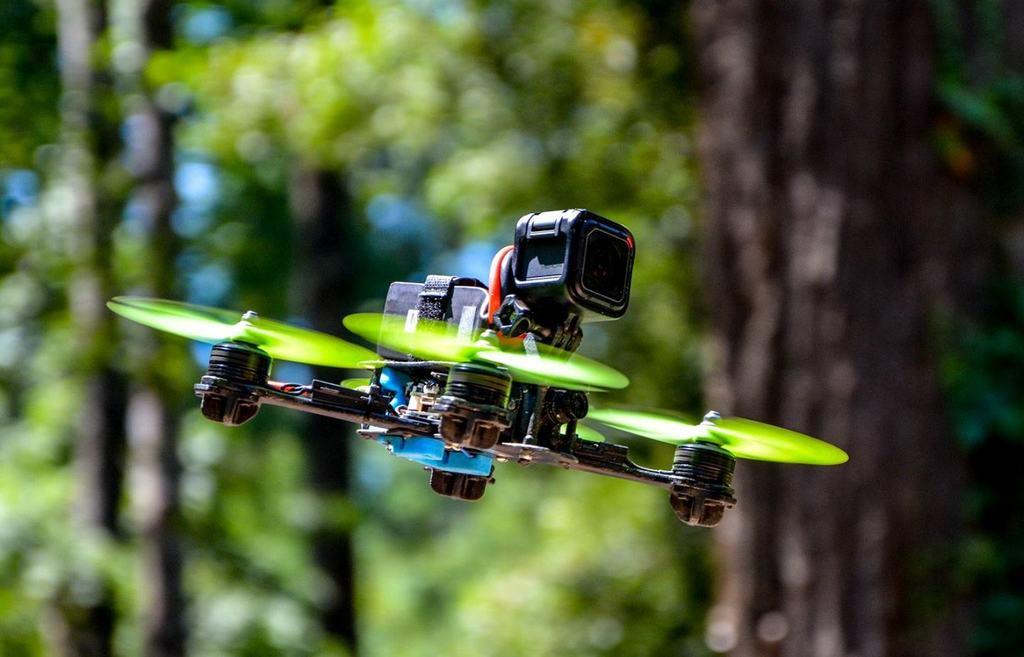
Fpv Racing RR210 Frame - Gopro Action Camera Holder
Fpv Racing RR210 Frame - Feet

KARLACH BALDUR’S GATE 3 FUNKO POP STYLE – STL Fan Art Model

SHADOWHEART BALDUR’S GATE 3 FUNKO POP STYLE – STL Fan Art Model

MINTHARA BALDUR’S GATE 3 FUNKO POP STYLE – STL Fan Art Model

1 ASTARION.stlASTARION BALDUR’S GATE 3 FUNKO POP STYLE – STL Fan Art Model

GALE BALDUR’S GATE 3 FUNKO POP STYLE – STL Fan Art Model

LAE’ZEL BALDUR’S GATE 3 FUNKO POP STYLE – STL Fan Art Model

DARK URGE BALDUR’S GATE 3 FUNKO POP STYLE – STL Fan Art Model
WHOOP Drone Gates - Modular System

Playbook'd - Sling Puck

RAVEN - 3D Printed Delta Wing Aircraft by Yantr
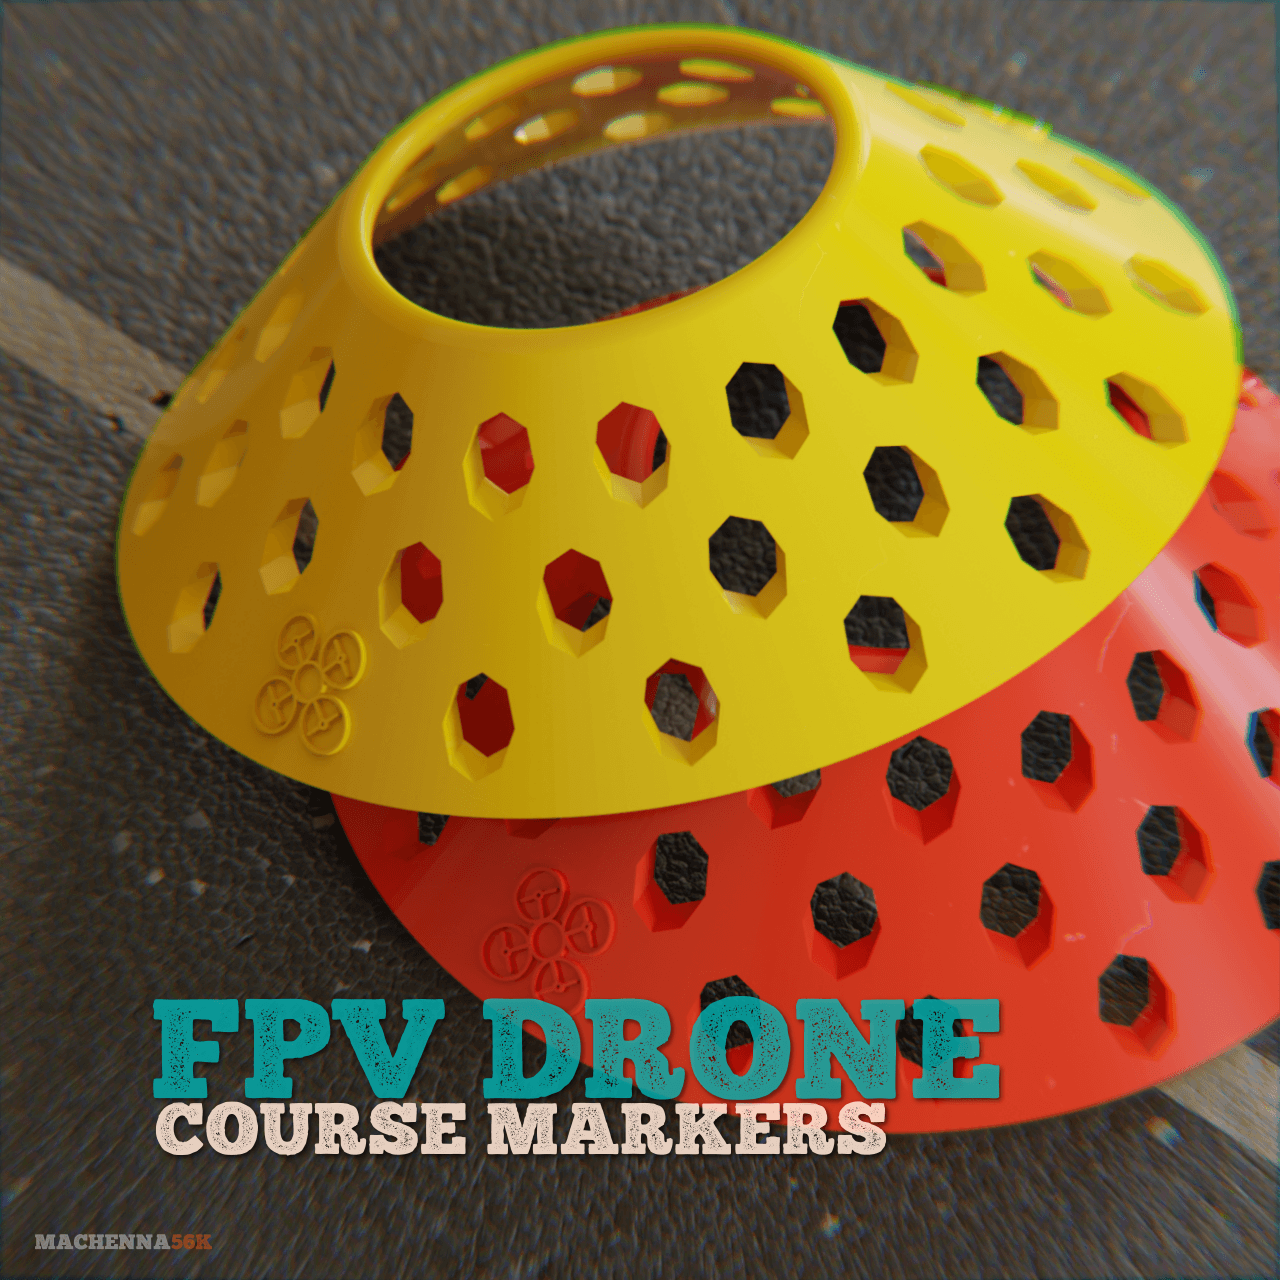
Drone Racing Marker
FHW: Grey Trooper Concept v1
FHW: Grey Trooper Concept V2
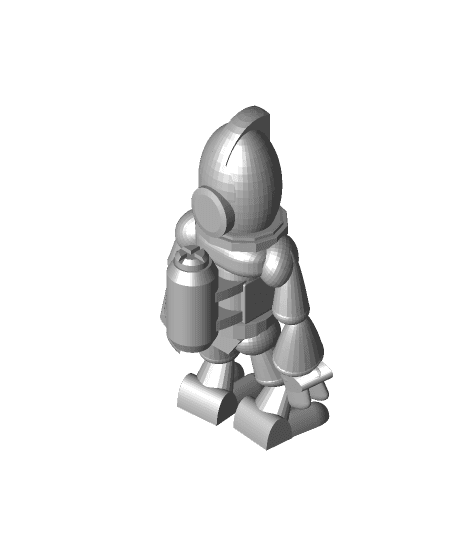
FHW: Grey Trooper Concept v3
RC Car chassis for 1/43 scale body
MicroDrone 2s 3D printed Frame
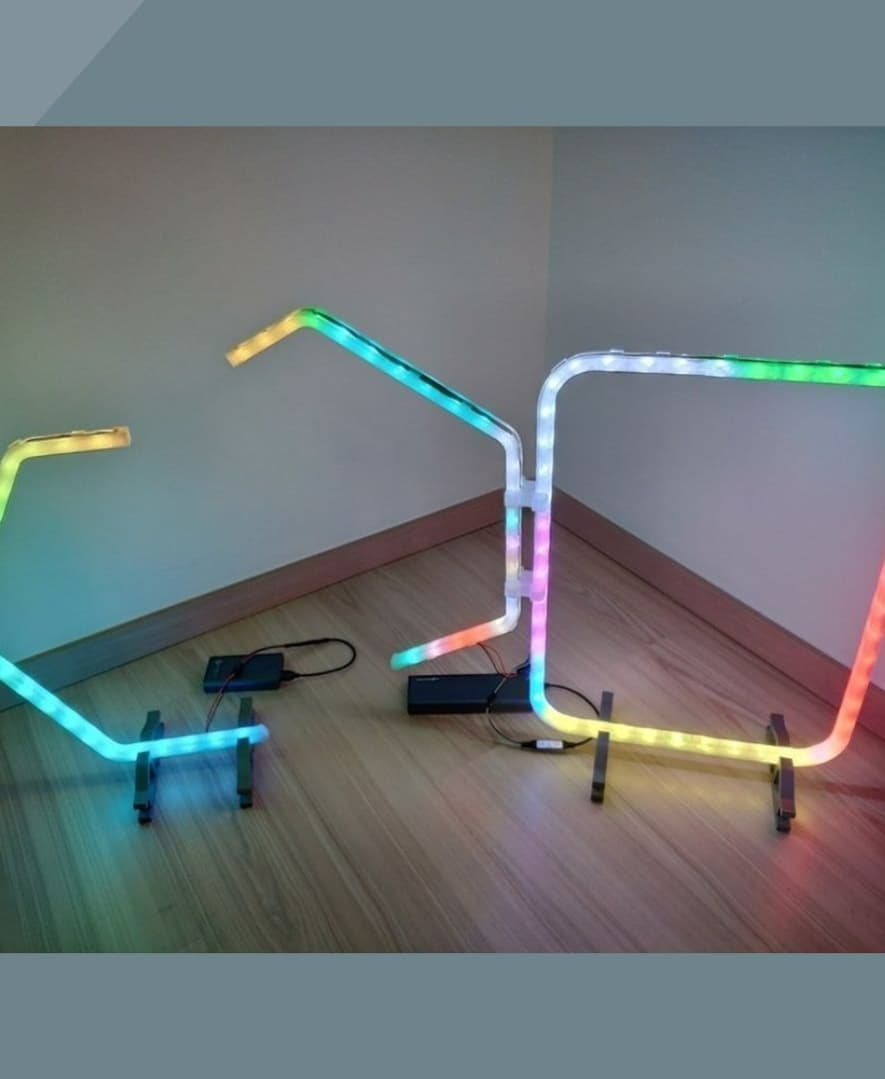
Drone Gate Light Rod
