CR-10 2020 Top Mount LED
Model originally uploaded to Thingiverse at https://www.thingiverse.com/thing:2995743.
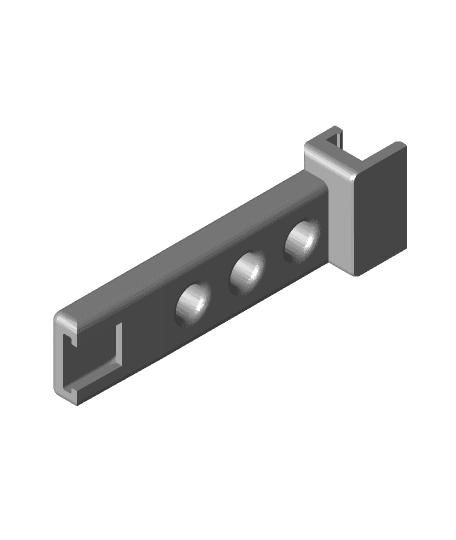
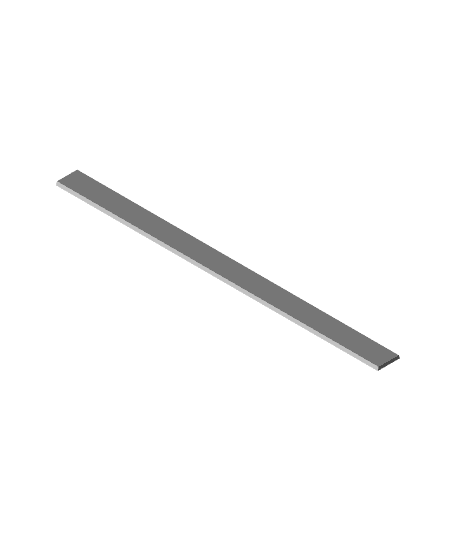
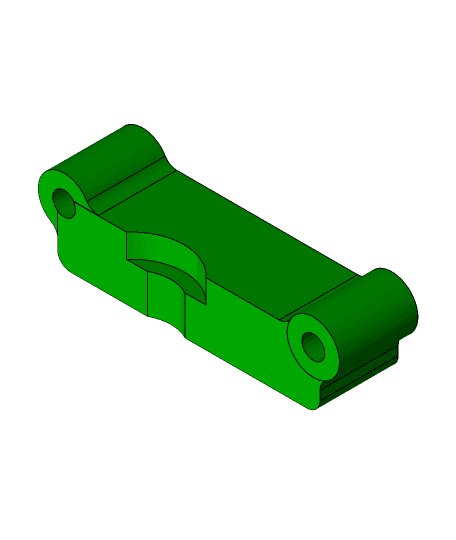
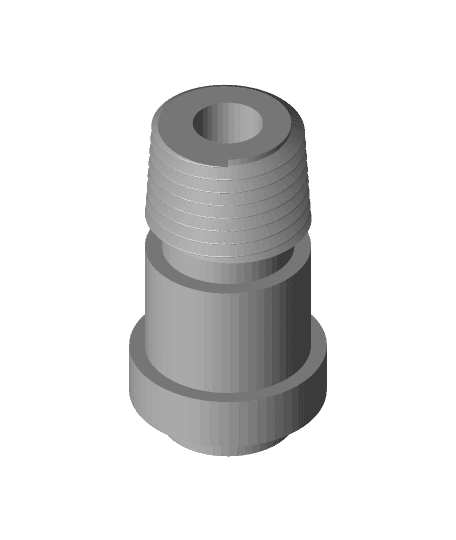
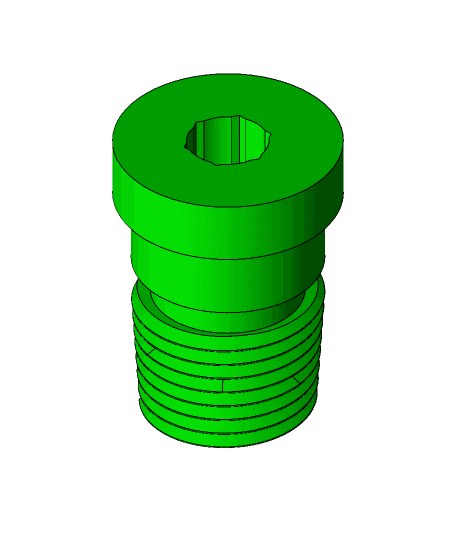
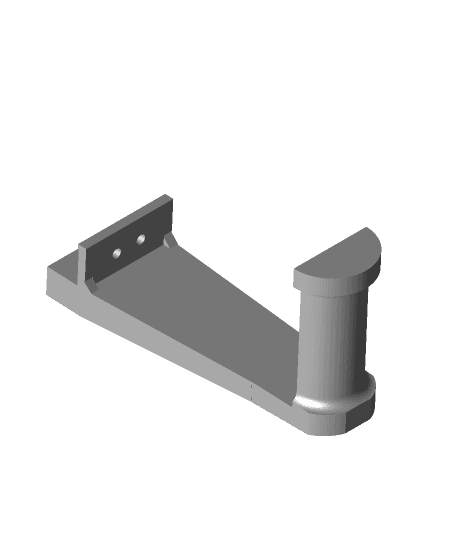
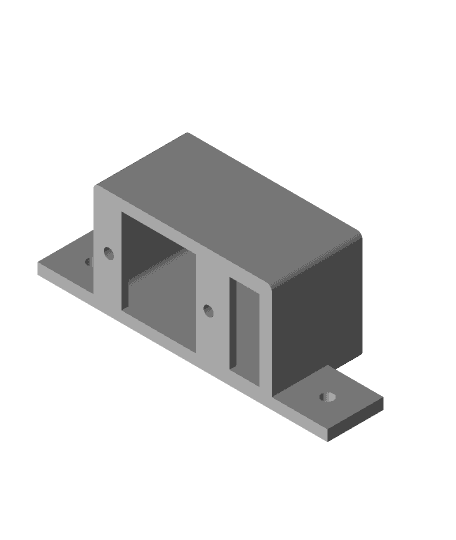
This is a top mount LED bar for a CR-10 printer, or any printer that uses 2020 extrusion. (Please post a make if you do it for something other than a CR-10).
This LED bar and mount is designed for 5050 LED strips that are 10mm wide. I used the white ones, but any should work.
I remixed this from the CR10s LED-strip mount found here, which mounts on the X gantry. https://www.thingiverse.com/thing:2738331
I liked the connector that he designed, but I wanted my light to be mounted at the top and not angled, so I modified it to work with this design.
The bar is approximately 310 mm wide. It will print diagonal on a CR-10 bed. I made it 310mm wide so it could fit on both the front and back side. I have now printed it and successfully tested it on both sides, and it works great. Plenty of bright lights.
Update on 7/16/2018 If you print this bar with 50% infill or more (I used PETG), it should be sturdy enough to not sag. However, you may want to use 3 of the mounts to be safe.
Top level Instructions (more details below):
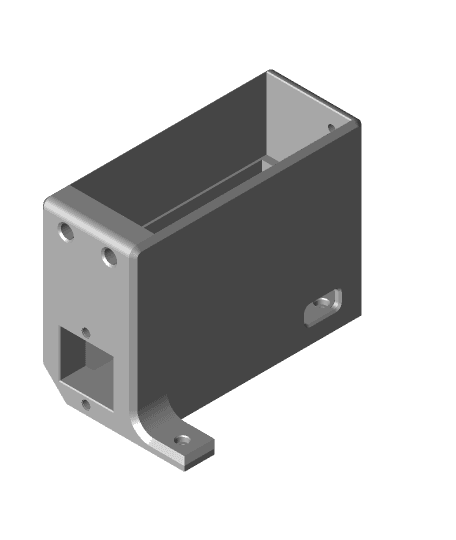
- Print the following, 1 set of each is needed per side you want to mount. You can do just the front, or just the back, or both:
- Solder up your LED's. See wiring info below.
- Run your wiring through the frame. Print out the wire covers listed below, or tuck under the plastic cover on the CR-10 if you installed it.
- Connect to a 12v Power Supply. I used this one: https://www.amazon.com/gp/product/B078BHWD1Y/
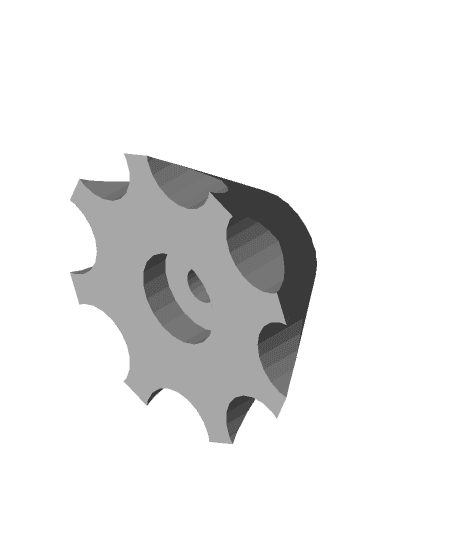
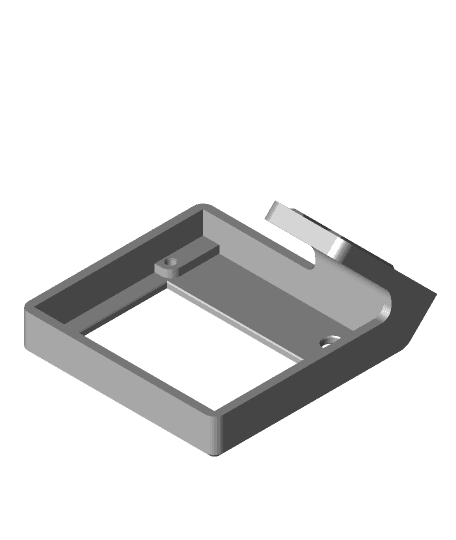
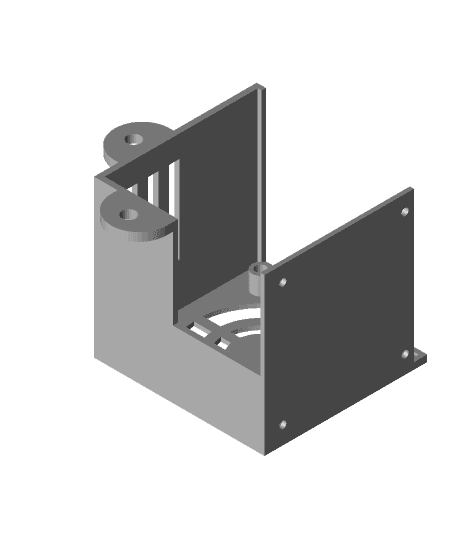
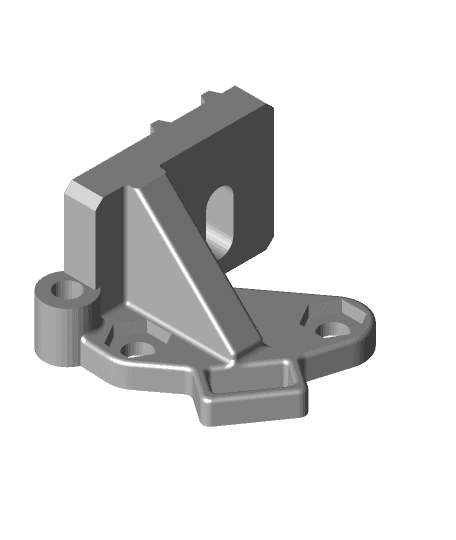
Print settings for LED Bar and Mounts: 1x LED Bar 2x LED Mounts (3 if you want middle support)
Print with 50% infill or greater for the LED bar. 20% infill on the mounts should be fine.
No supports are required for either the bar or the mounts. Make sure your printer is calibrated well. If you are over extruding, the LED mounts won't fit very well.
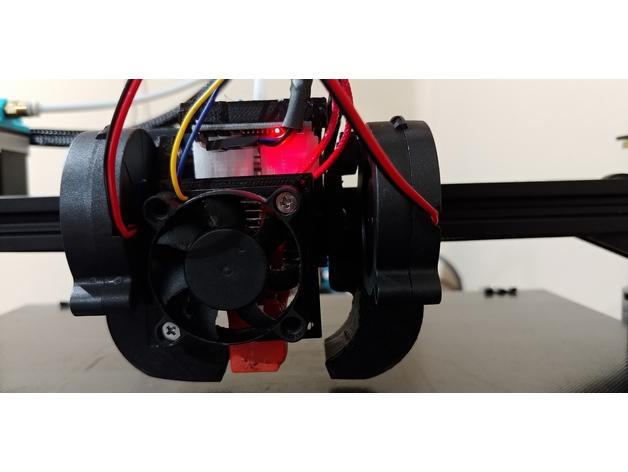
Wiring the the LED strips: I am using a standard 5050 white LED strip. I took a segment of 12 LED's and cut them down the middle (two segments of 3 LED's each). So there ends up being a total of 6 LED lights on each side of one LED Bar (left and right), with 12 total on the LED Bar. With two LED bars, you will have 24 LED's if you wire it like I did. In the middle of the LED bar, I just soldered 4 inch or so of silicone wiring to connect the two strips.
I cut it this way so I'd have an even amount of LED lights on each side of the bar. I also used electrical tape for my strips down the strip on the ends and middle, because the sticky adhesive doesn't stick very well to plastic.
You don't need to do it this way- you could also just center the strip and fit 15 LED's instead of 12. However, I'd say the 12 LED (24 if you run it on both sides) is plenty.
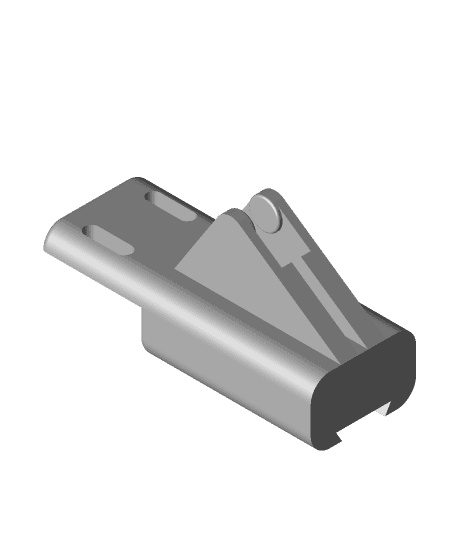
Connecting the LED Strip to the mount:
There is a small hole that will line up on the bar and mount. I used a zip tie, but an m3 screw should also fit if you would rather use one of those.
See my pictures on how to run the wire. I found 2020 clips to be perfect for tucking the wires in and holding them in the back of the extrusion:
https://www.thingiverse.com/thing:2411063/files
LED Power Supply: I used this power supply, and I also ran a cheap automotive 12v switch in between it and the LED strip.
CR-10 2020 Top Mount LED
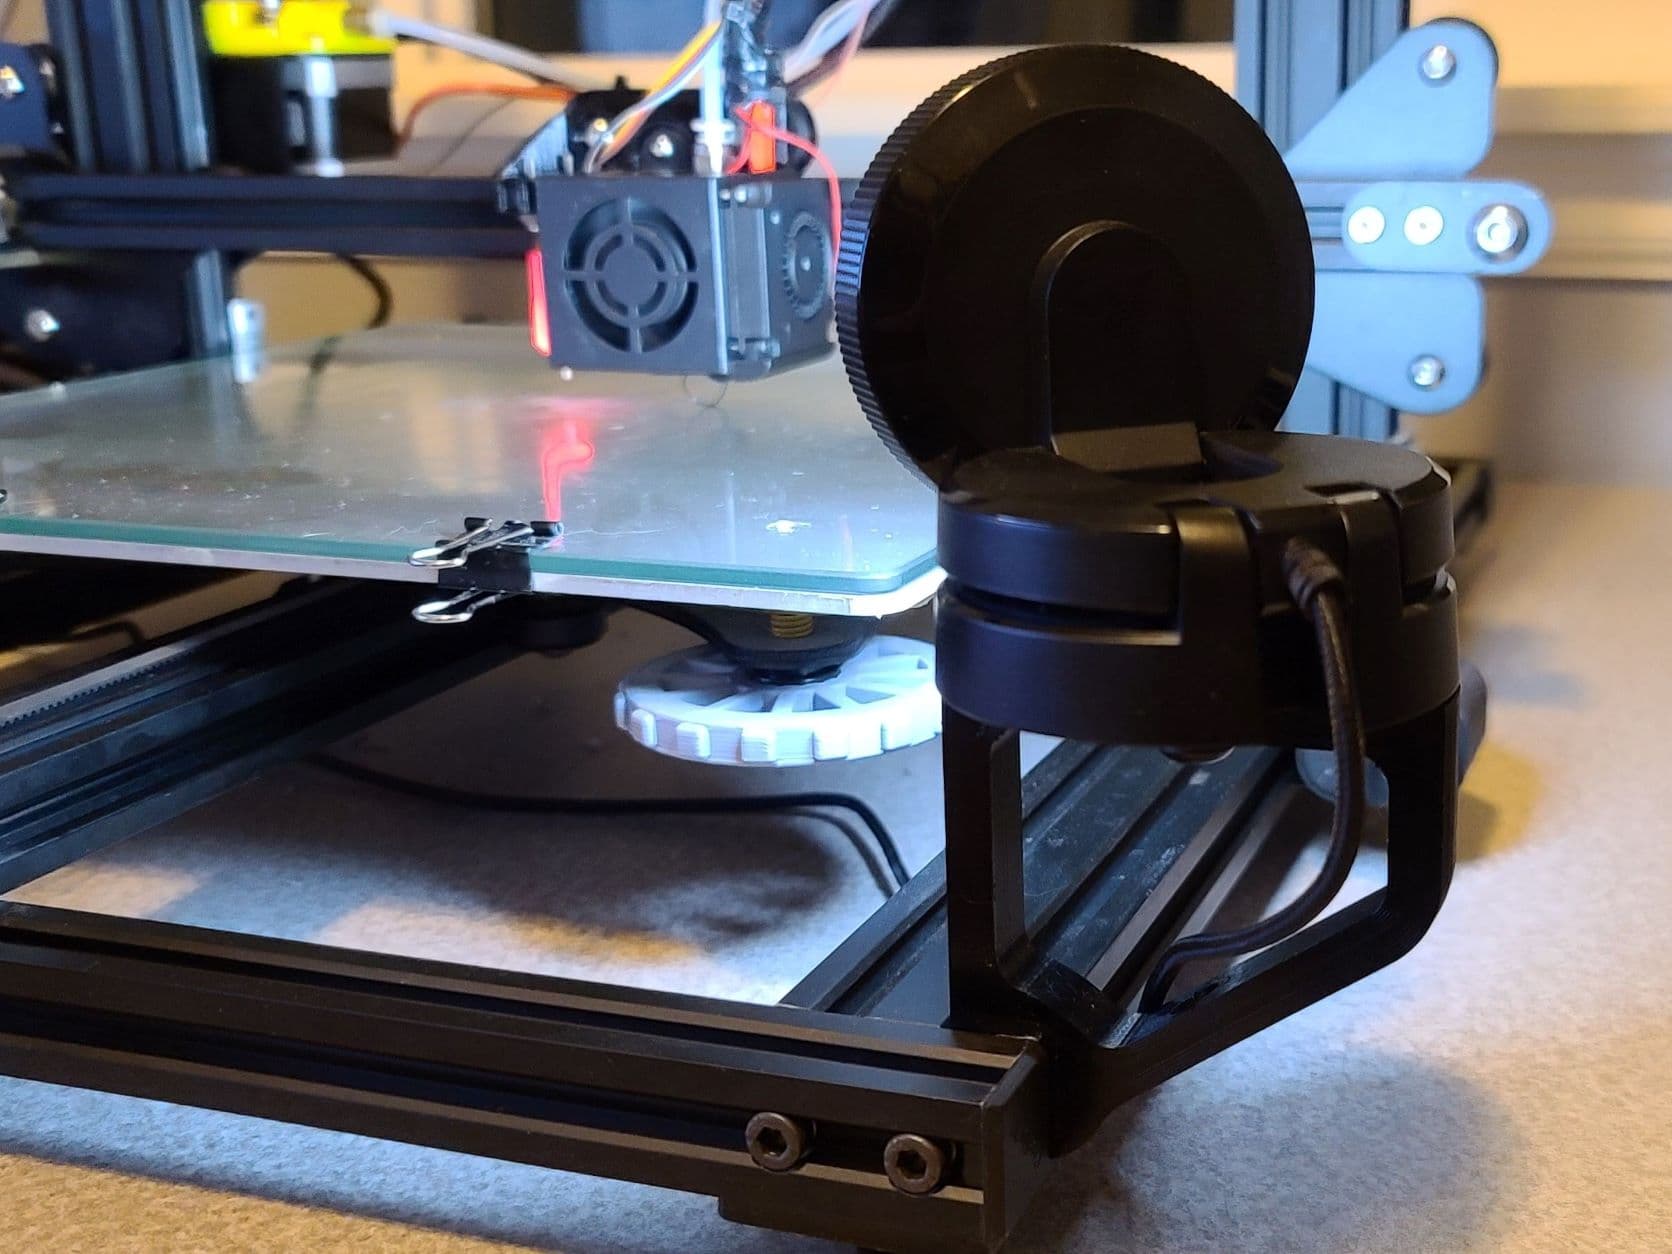
Razer Kiyo Mount 2020 CR-10
CR-6 SE LEDs Top Y-Rail Mount for WS2812 5050 RGB 8 Light Strip
Precision Piezo Orion Mount for CR-10 with E3D v6/Volcano with module mounting design for fans.
GoPro Hero Timelapse Mount for Creality CR-6 SE & CR-10 MAX
CR-10 mount for the Nimble Sidewinder V1.1
CR-10 mount for Nimble Sidewinder V1.1
Nimble and Sidewinder V2 mount CR-10 type print heads
Filament Holder Spool Mount For Cr-10 and Alfawise U20
PSU Mount for Creality CR-10
Flex mount for CR-10 type printheads

CR-10 E3D Hemera mount v6/volcano
Runout Sensor for 2020 rails top mounted version (REMIX)
CR-10 spool mount
LCD Display Mount for Creality CR-10
Creality CR-10 Fan Mount and Part Cooler
Nimble V1 and V6 mount for Creality CR-10
2020 Spool Holder - Top mount tall
COB LED Strip Mount for 2020 Extrusions
Conector corriente y boton CR-10 para perfil 2020