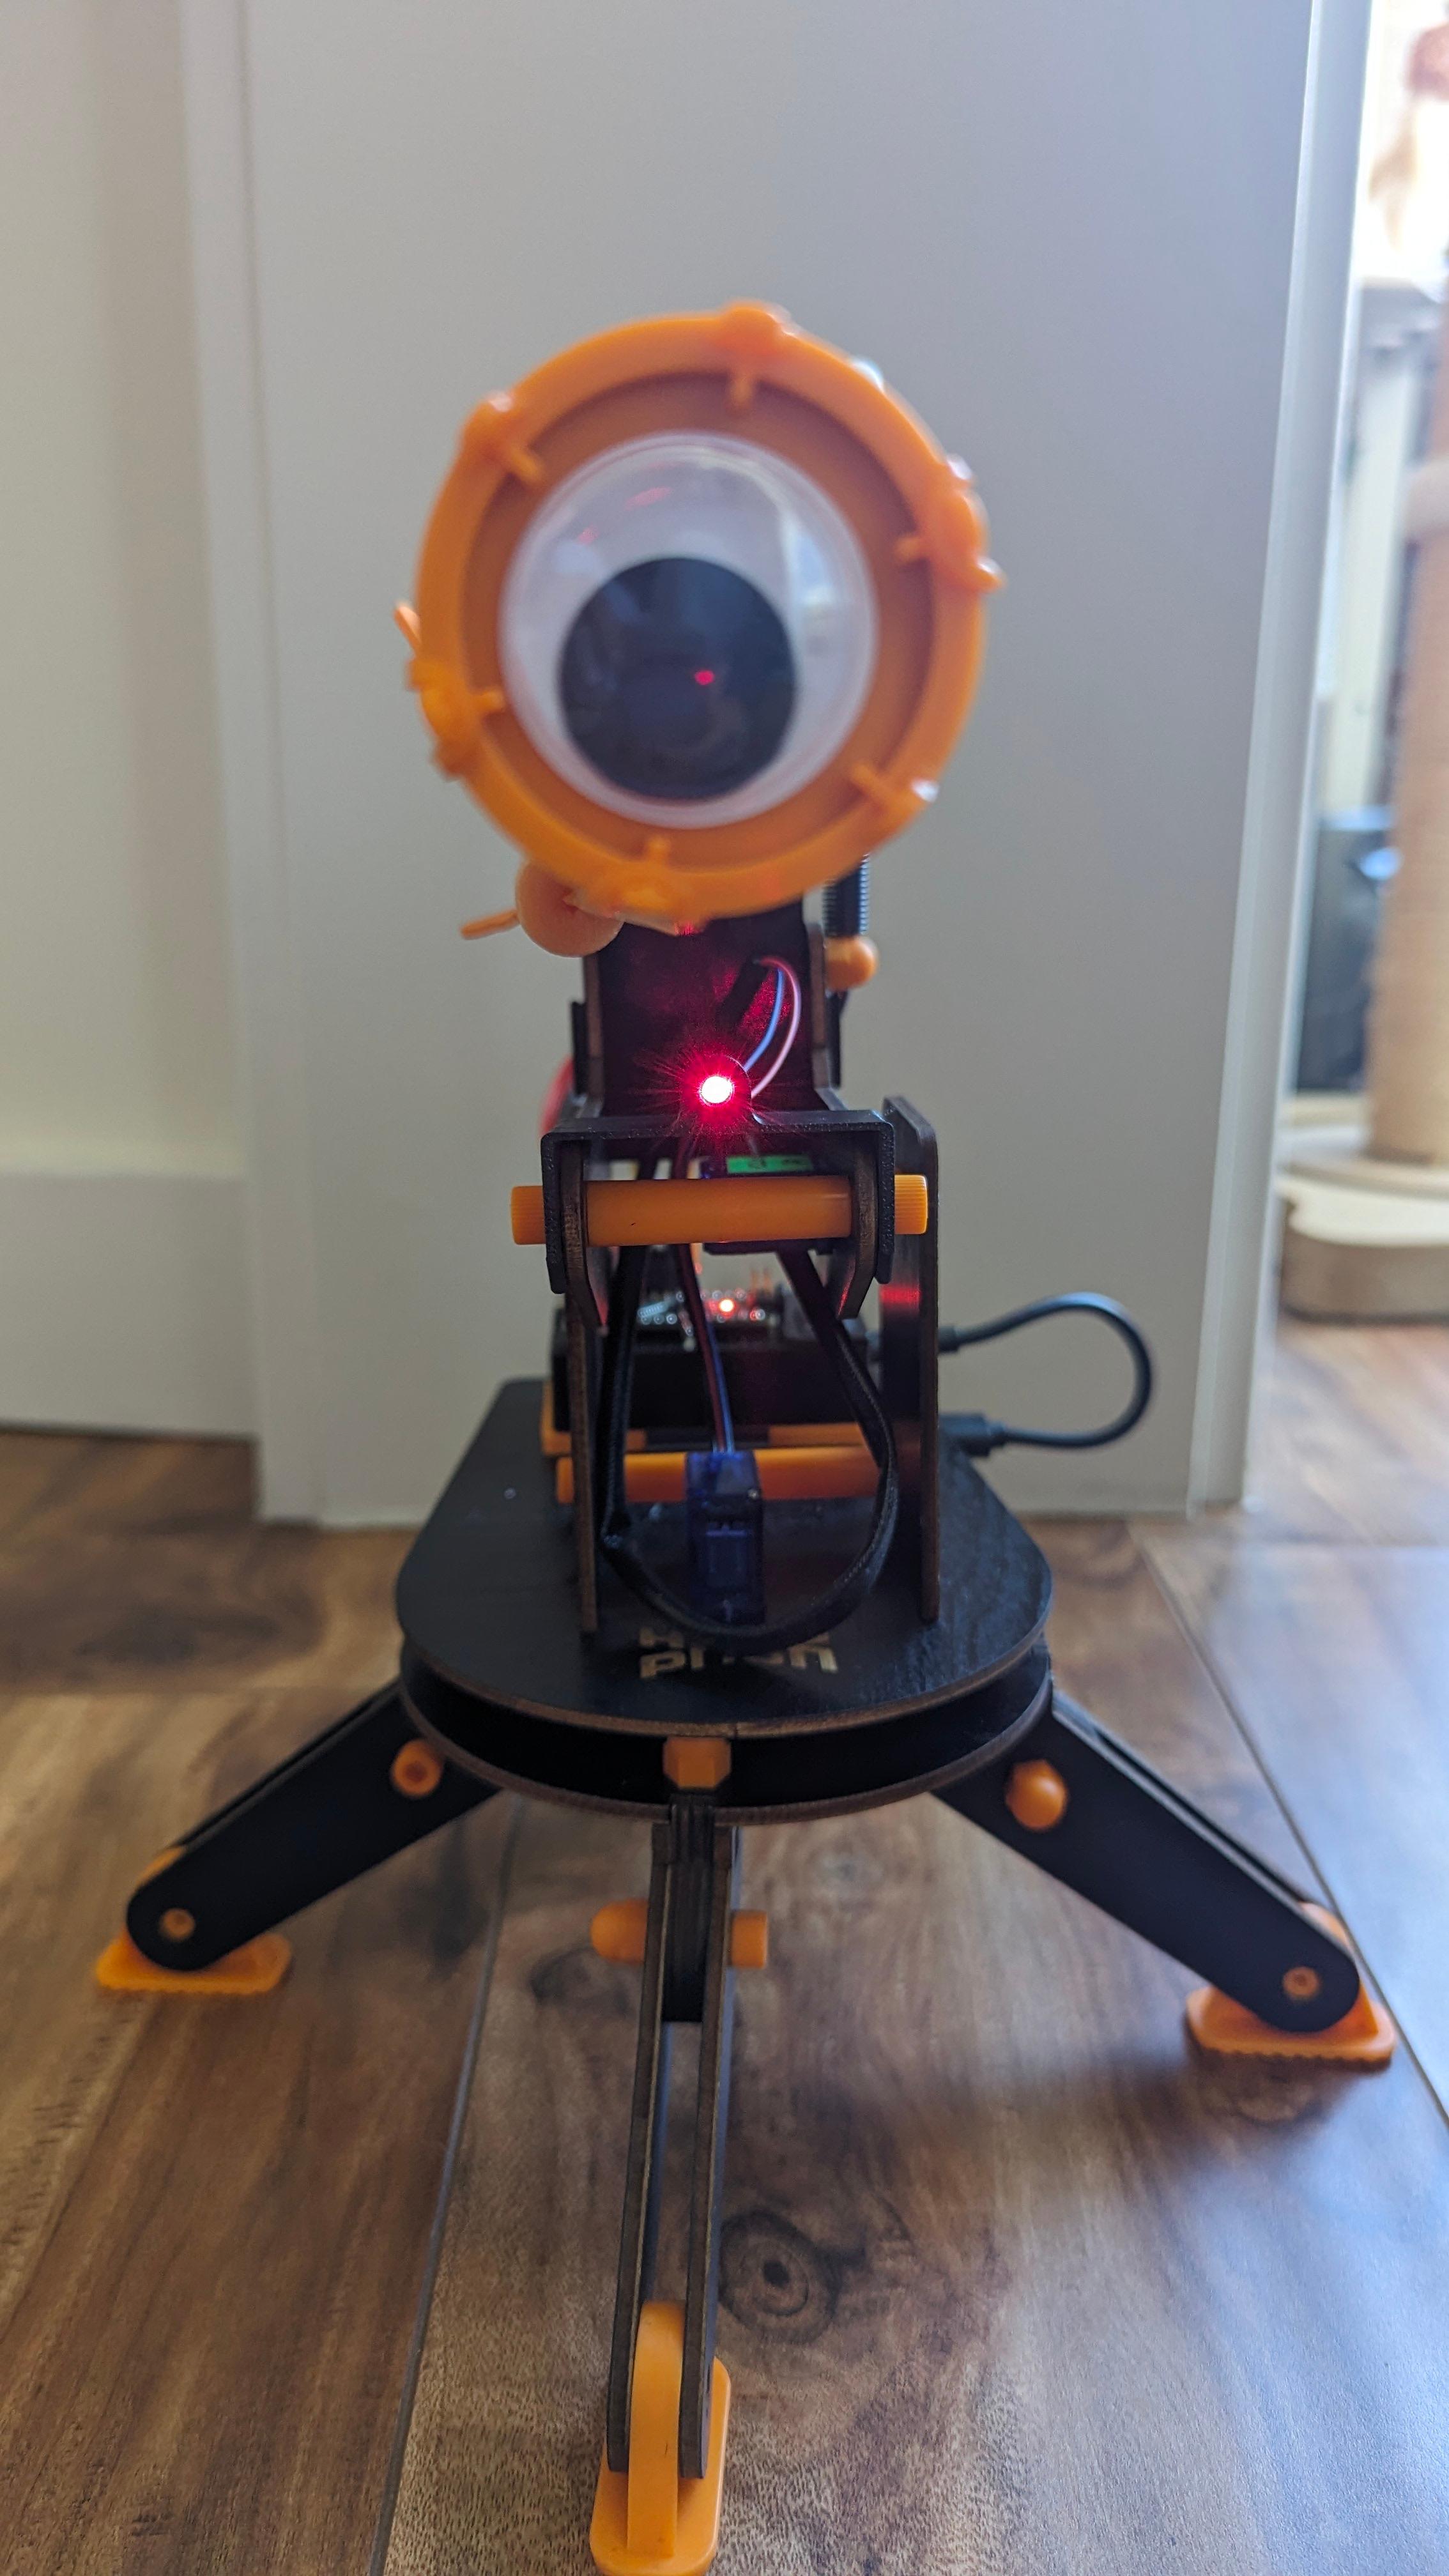
Hack Pack Turret Laser Mount
With this 3D printed bracket, you can mount a laser on the front of your Hack Pack* turret.
Disclaimer: Lasers are dangerous. Don't point lasers at yourself or others (including animals). Don't point lasers at airplanes.
The download includes the Fusion 360 source for those who would like to make adjustments.
Additional parts required
- 6mm diameter laser diode / laser tube (tested with these)
- Wires to connect the laser to your Arduino
- DuPont connectors and crimping tool if you want to match the stock wiring
Print settings
- No supports
- 2 walls and minimal infill works fine
- Orient the front-facing part of the bracket towards the print bed if your slicer doesn't do it for you
Installation
- Route your laser wires through the back panel of the turret, alongside the stock wires
- Wire up your laser! The positive wire should go to digital pin 8 on the arduino (right next to the stock purple wire). The ground wire can go to any ground pin (next to the stock black wires). Note: The laser I linked has a built in resistor. You may need to wire in a resistor if you use a different laser.
- Slide your laser into the laser mounting bracket and route the wires through the cable comb on the back of the bracket. Make sure to leave enough slack for the full range of the pitch servo!
- Attach the bracket to the front of your turret. First remove the screws from the short threaded rod. Next slide your bracket in place, lining up the screw holes. Finally, reinstall the screws.
- Install laser control code (see the example below)
- Test it out!
Sample code
In the PINS AND PARAMETERS section:
int laserPin = 8; int laserOutput = LOW;
In the setup() function: pinMode(laserPin, OUTPUT);
A new toggleLaser() function: void toggleLaser() { laserOutput = !laserOutput; digitalWrite(laserPin, laserOutput); }
A new case in the IR receiver switch statement:
case hashtag: toggleLaser(); break;
*This is a referral link that includes a $10 coupon. Just search "Hack Pack" if you don't like referral links.


