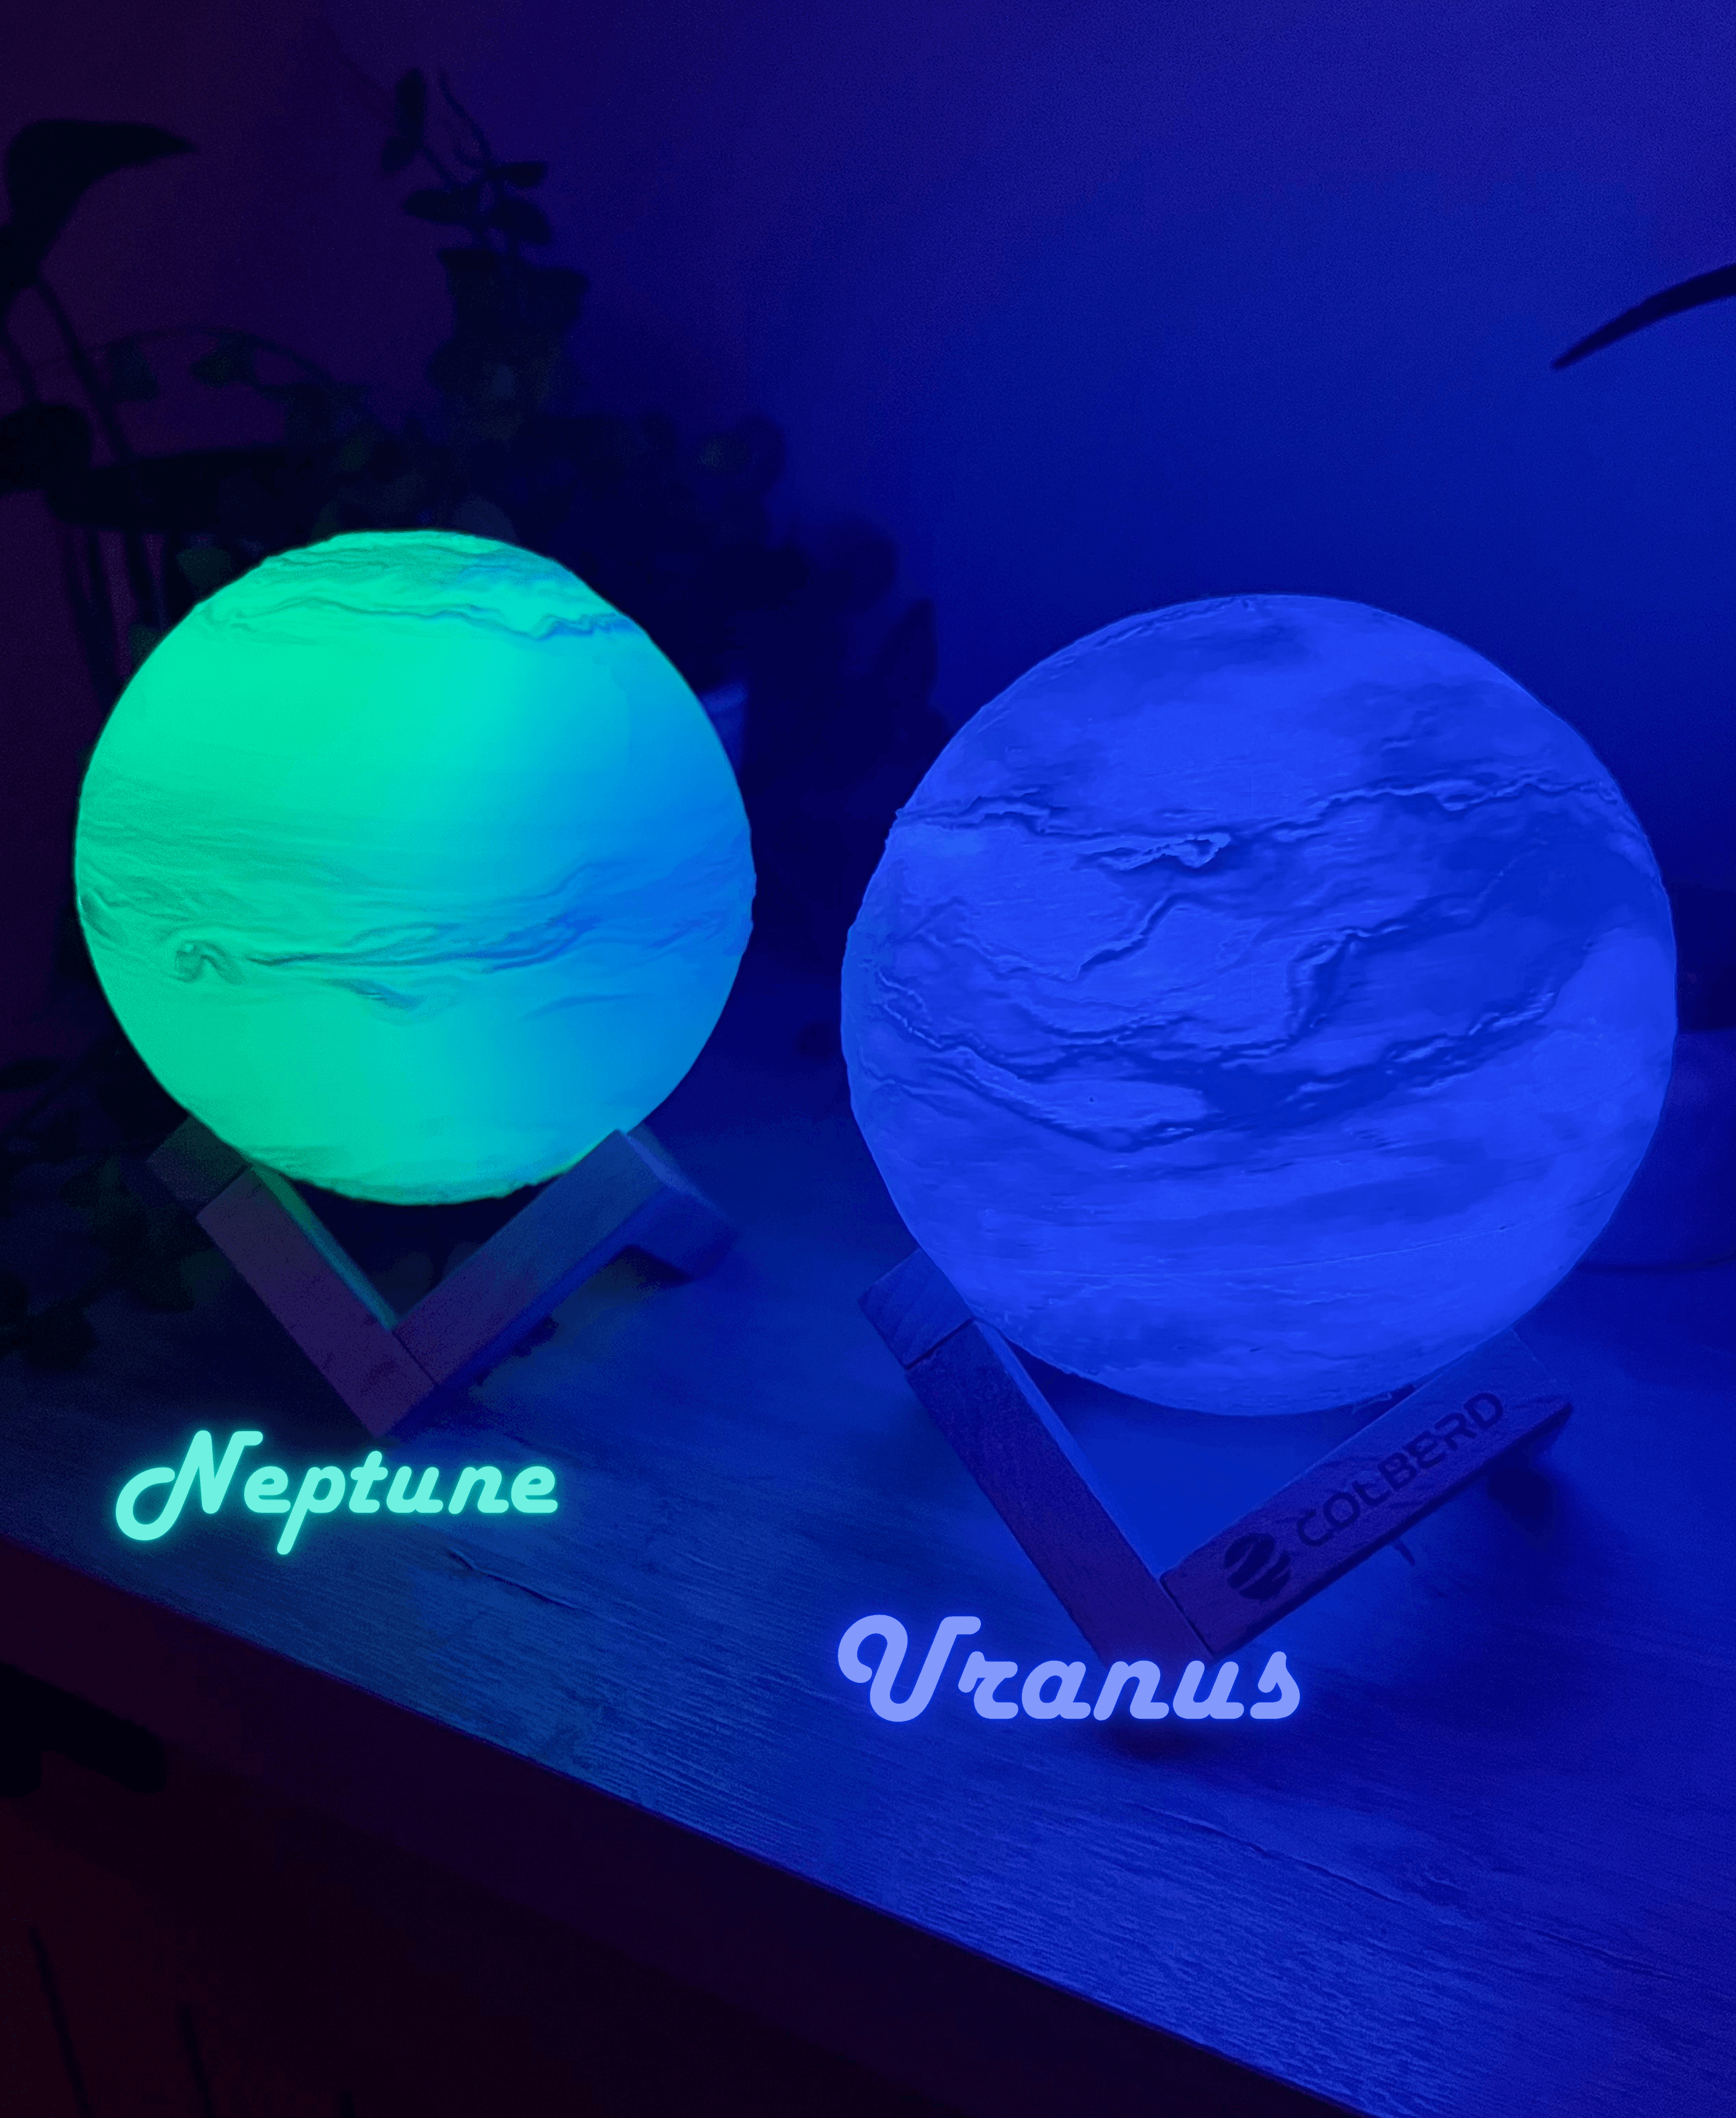
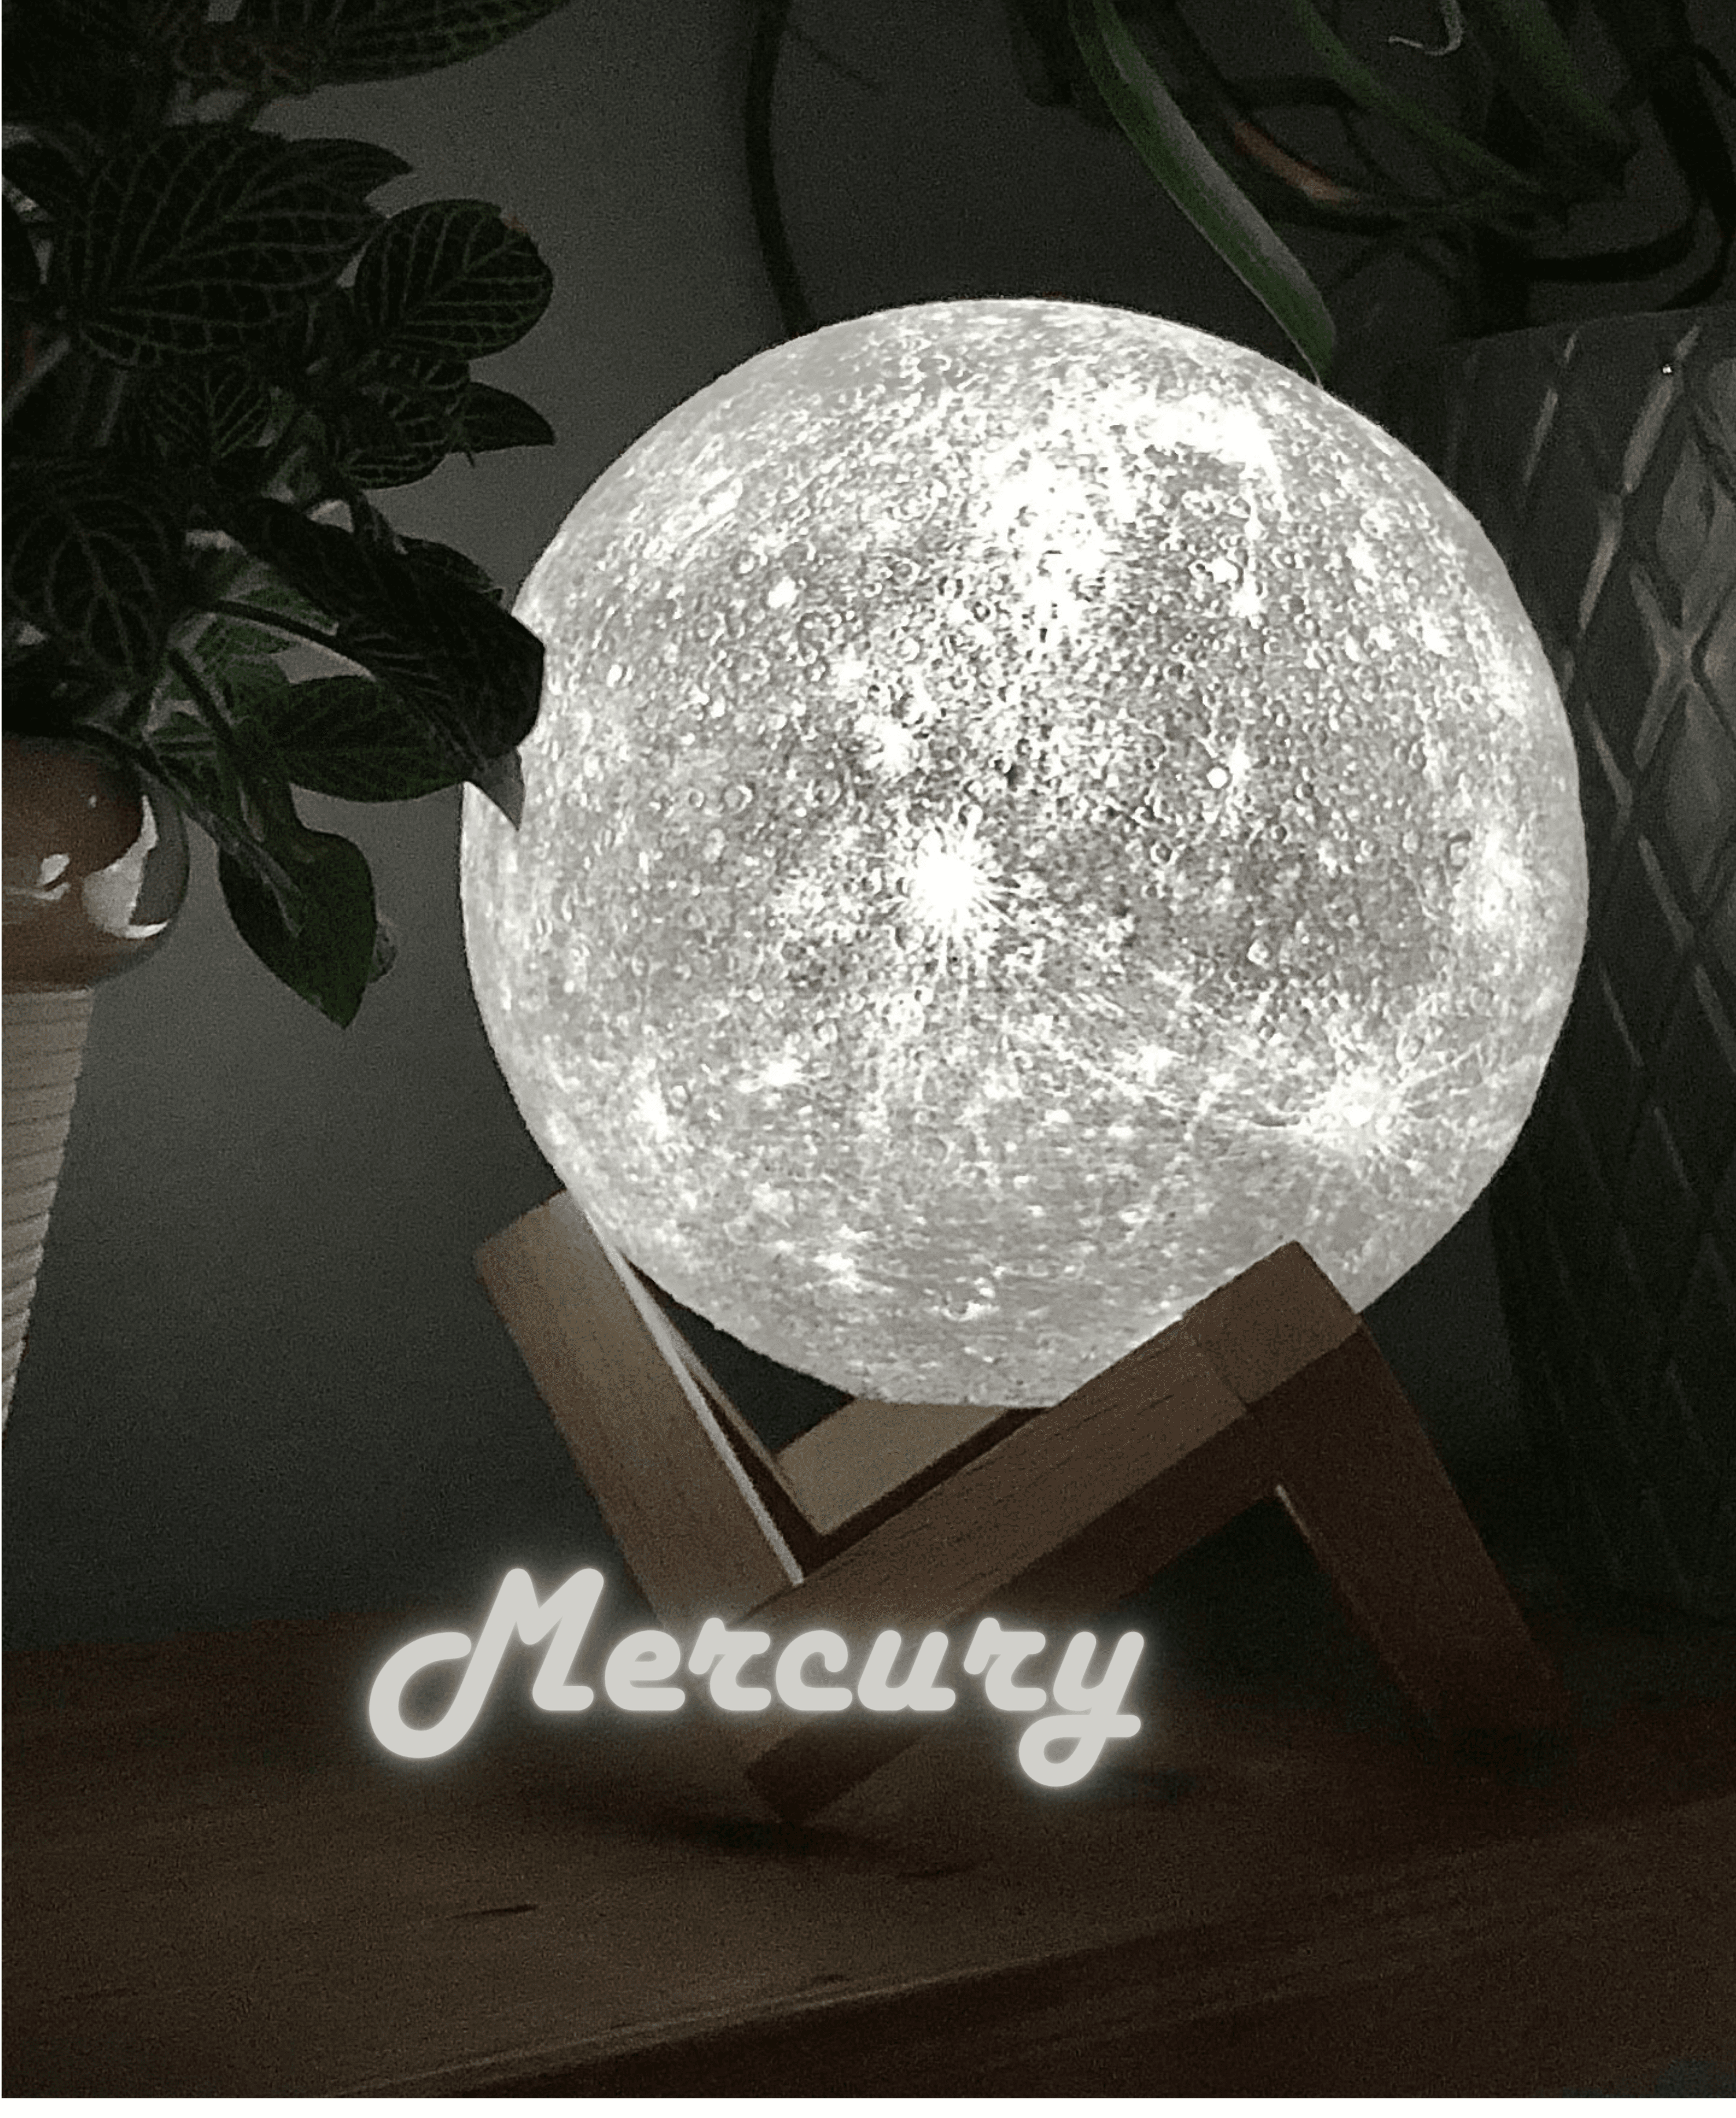
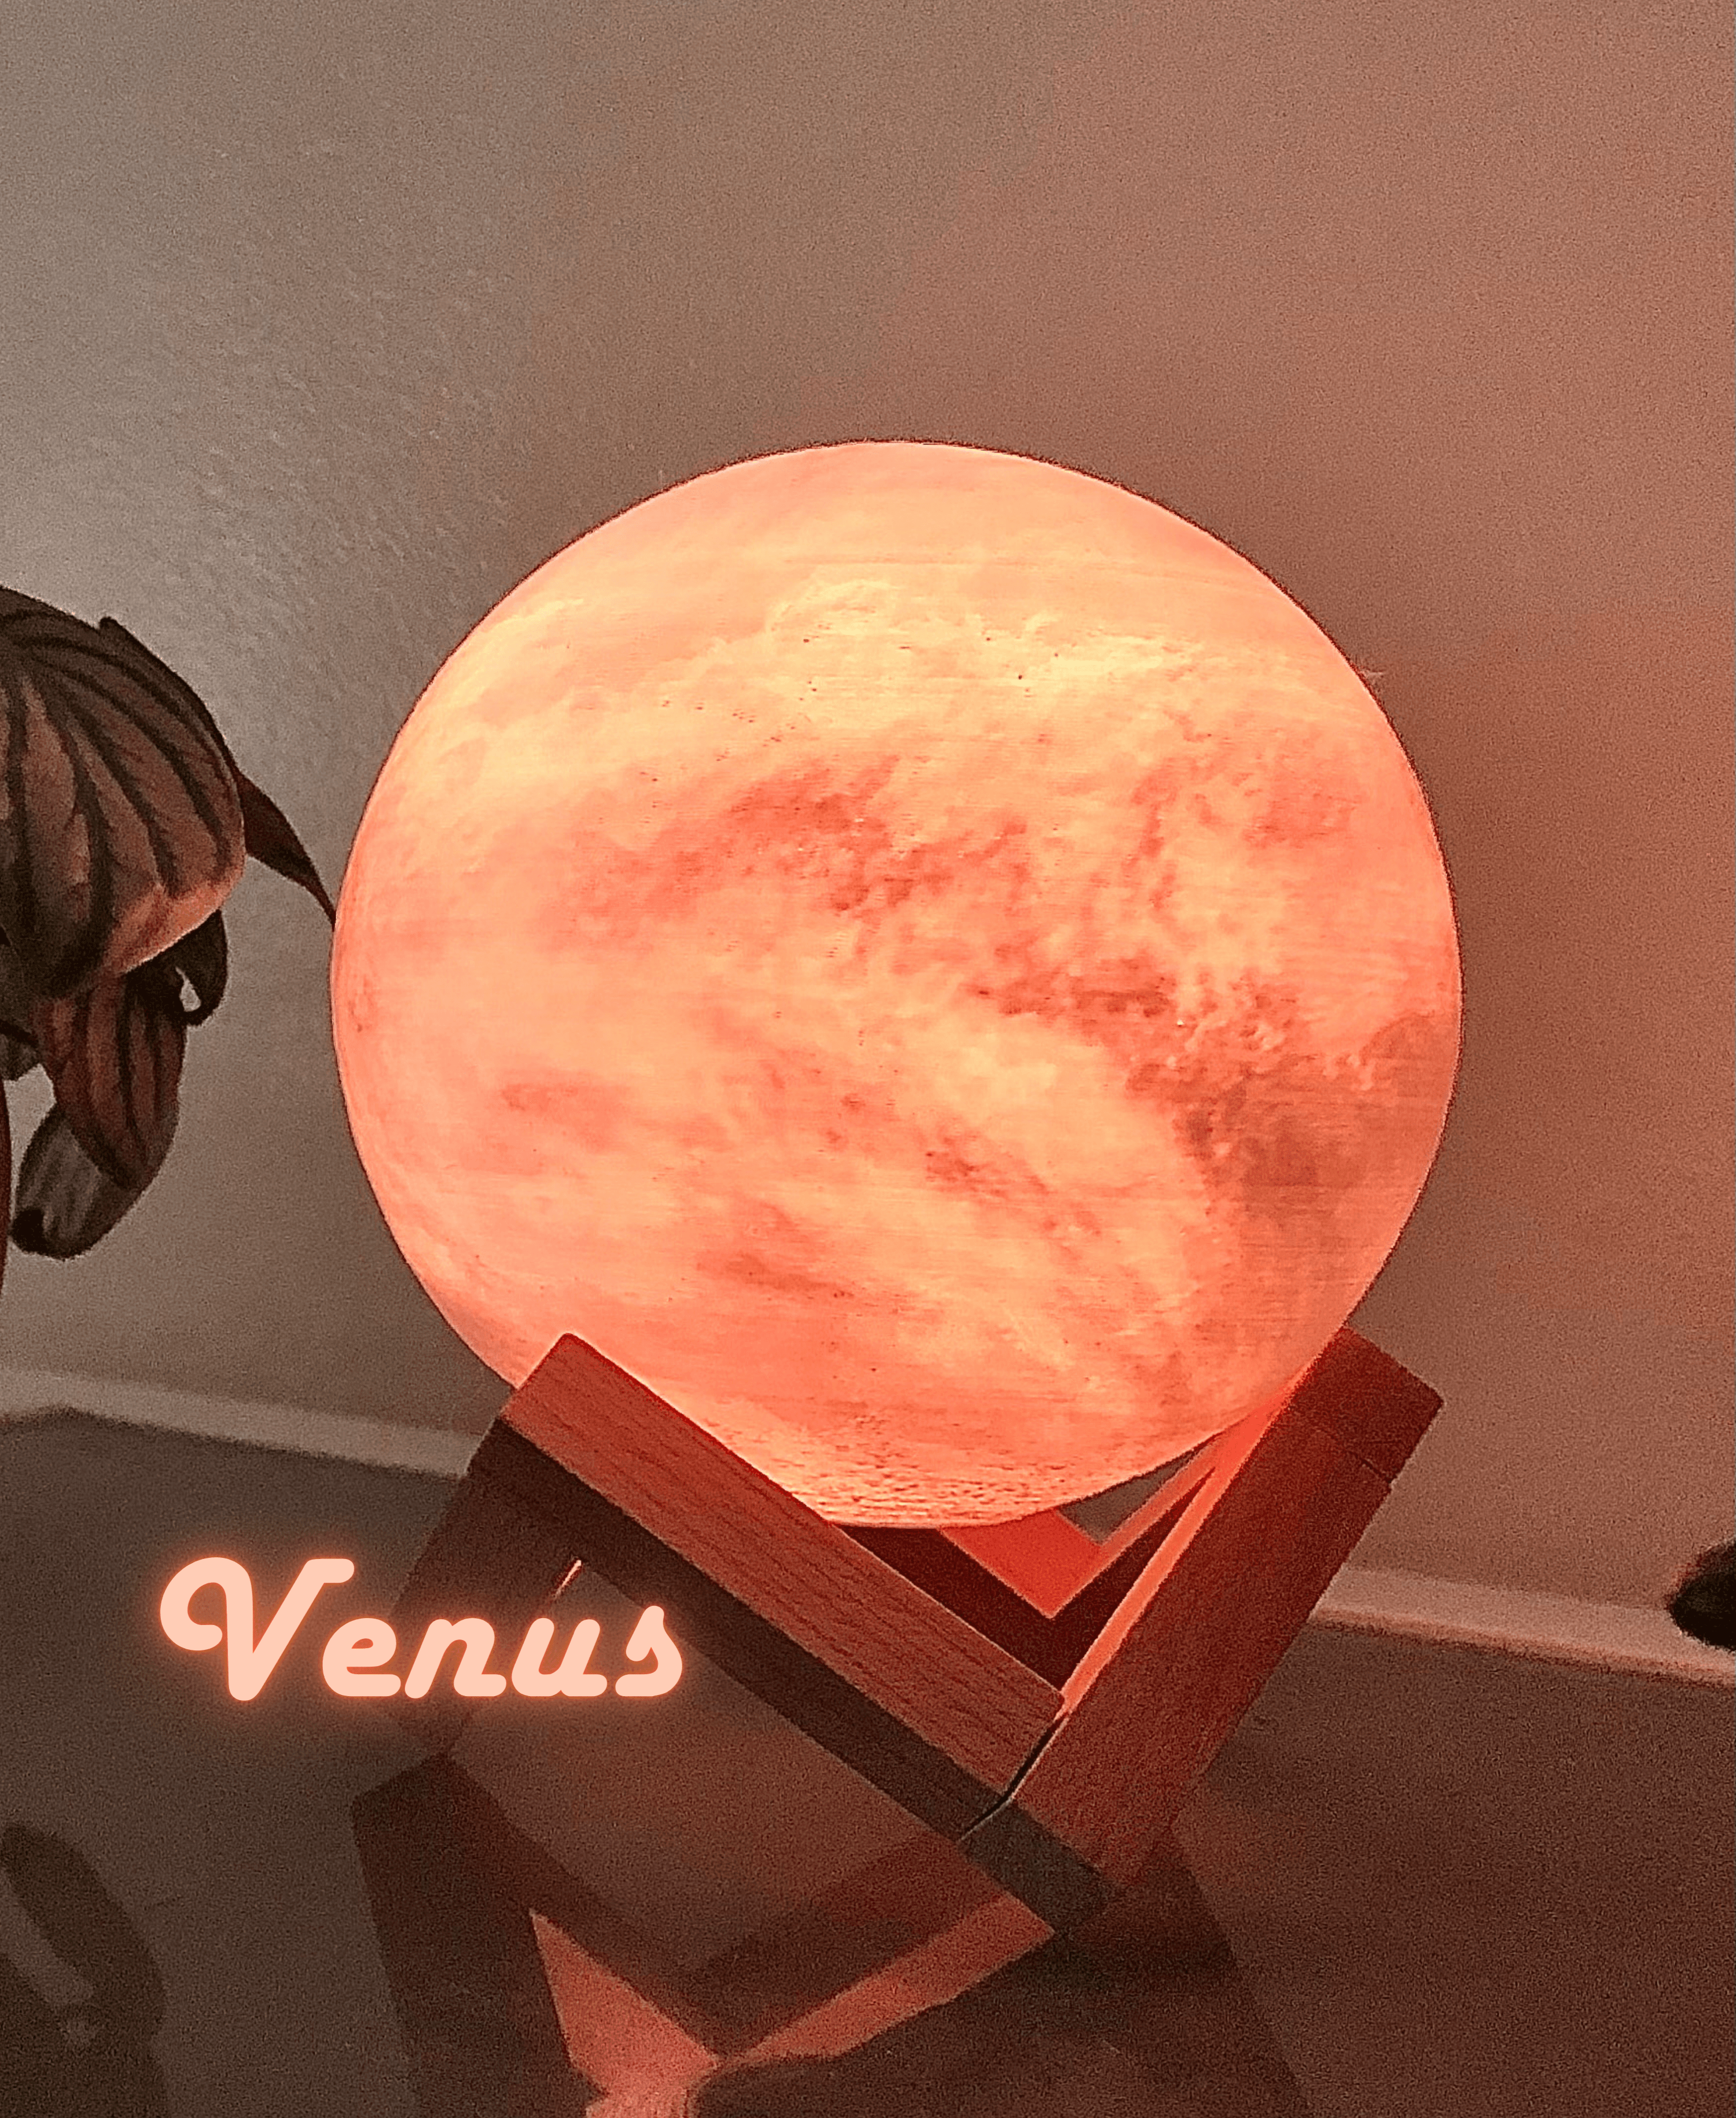
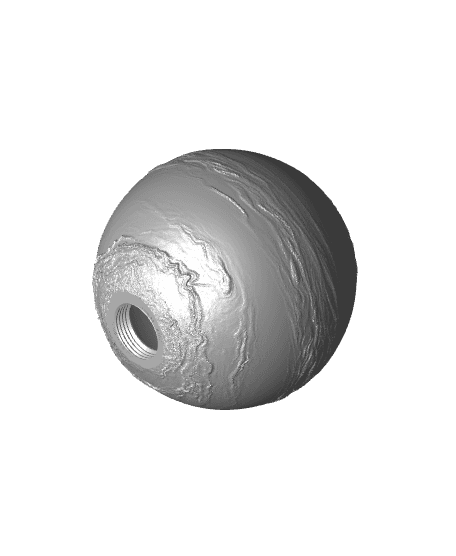
These Plant Lamps make the best lamp to give your room more ambiance. Perfect for kids rooms, gaming setups, bedrooms, using for nightlights, or just for some Space Vibes. They are (almost) all made using real satellite Data from NASA. These took me several years of design iterations to get to where they are now.
Saturn*, Neptune*, Uranus*, and Pluto do not have high quality satellite scans yet to create interesting lamps from, so those models are made using some artistic interpretations to make them look better. When I sold these on Etsy, my customers did not care about that, but if you plan to sell them, its worth mentioning in your description. *These 3 planets were made in collaboration with Ri0m0 on thangs.
I sold these on Etsy, and never got into in-person sales. But I would be willing to bet that these will CRUSH at craft fairs, events, festivals, and other in-person settings.
These Planet Lamps are the best that are out there. But what qualifies me to say that?
Well these designs have grossed me $374k in revenue the last 3 years selling them on Etsy. And they were the best selling planet lamps on Etsy that entire time by a large margin. In fact they ranked at the top of all Lamps and Night Lights at one point. I sold them at around $44-$55 per planet, and i'd recommend not going much lower than that, especially if you offer free shipping.
If I made that much money why am I giving them to others?
A few reasons, some are personal. I am having a baby this year, moving to a different state, and wont have a warehouse anymore to pack and ship orders from since I'll be home with the baby. Also, I like designing new products for you guys a lot more than I like running a print farm. I've been running my own print farm for 4 years now and I think it's time to let others make money off of these models. Giving these models away and closing my Etsy shop will also let me put A TON more time into designing models for you guys (:
Components You'll Need:
-
Wooden Base: Wood Base Use the middle size
-
Light, Charger, & Remote Bundle: RGB Lights Moon Lamp PCB-03C You can buy just a few of these at first. But they give discounts for larger order quantities.
-
Good White Filament: Polymaker White 1.75mm PLA - 1kg (Amazon)
You need decent white filament for these lamps because any imperfections are exaggerated since light passes through it. This is the filament I recommend, as it also has good translucency.
Tools you may need (Optional)
-
Needle File Set (Amazon) I used these to scrape imperfections off the bottom of the lamps (you will get a lot of little bits that need to be scraped off the bottom). I also use the small round ones to screw the base in to lamp.
-
Pliers (Amazon) You'll need this style of pliers to snap the plug into the screw base. The gap is necessary to apply pressure in the right spot to get it to snap in.
How to Assemble Assembly Video
-
Insert black part of light into Screw base
-
Snap the plug into the Screw base to secure the light in place. Pliers are required to snap it in securely
-
Screw the light base into base of lamp using pointed object (I use the Need File Set).
Printing Instructions: Print Instruction Video
Important Settings:
-
999 Walls
-
0% infill
-
Use A big raft
-
0.2mm layer height
-
NO Supports needed
-
Use adaptive layer height to make the layer height very small on the top and bottom of the print for optimum quality.
These Models require a good printer to pull off well, and a little more intermediate/advanced knowledge on printing and print settings. So don't print these as your first ever 3D print or you may get frustrated.
Printing Instructions: Print Instruction Video How to Assemble Assembly Video


