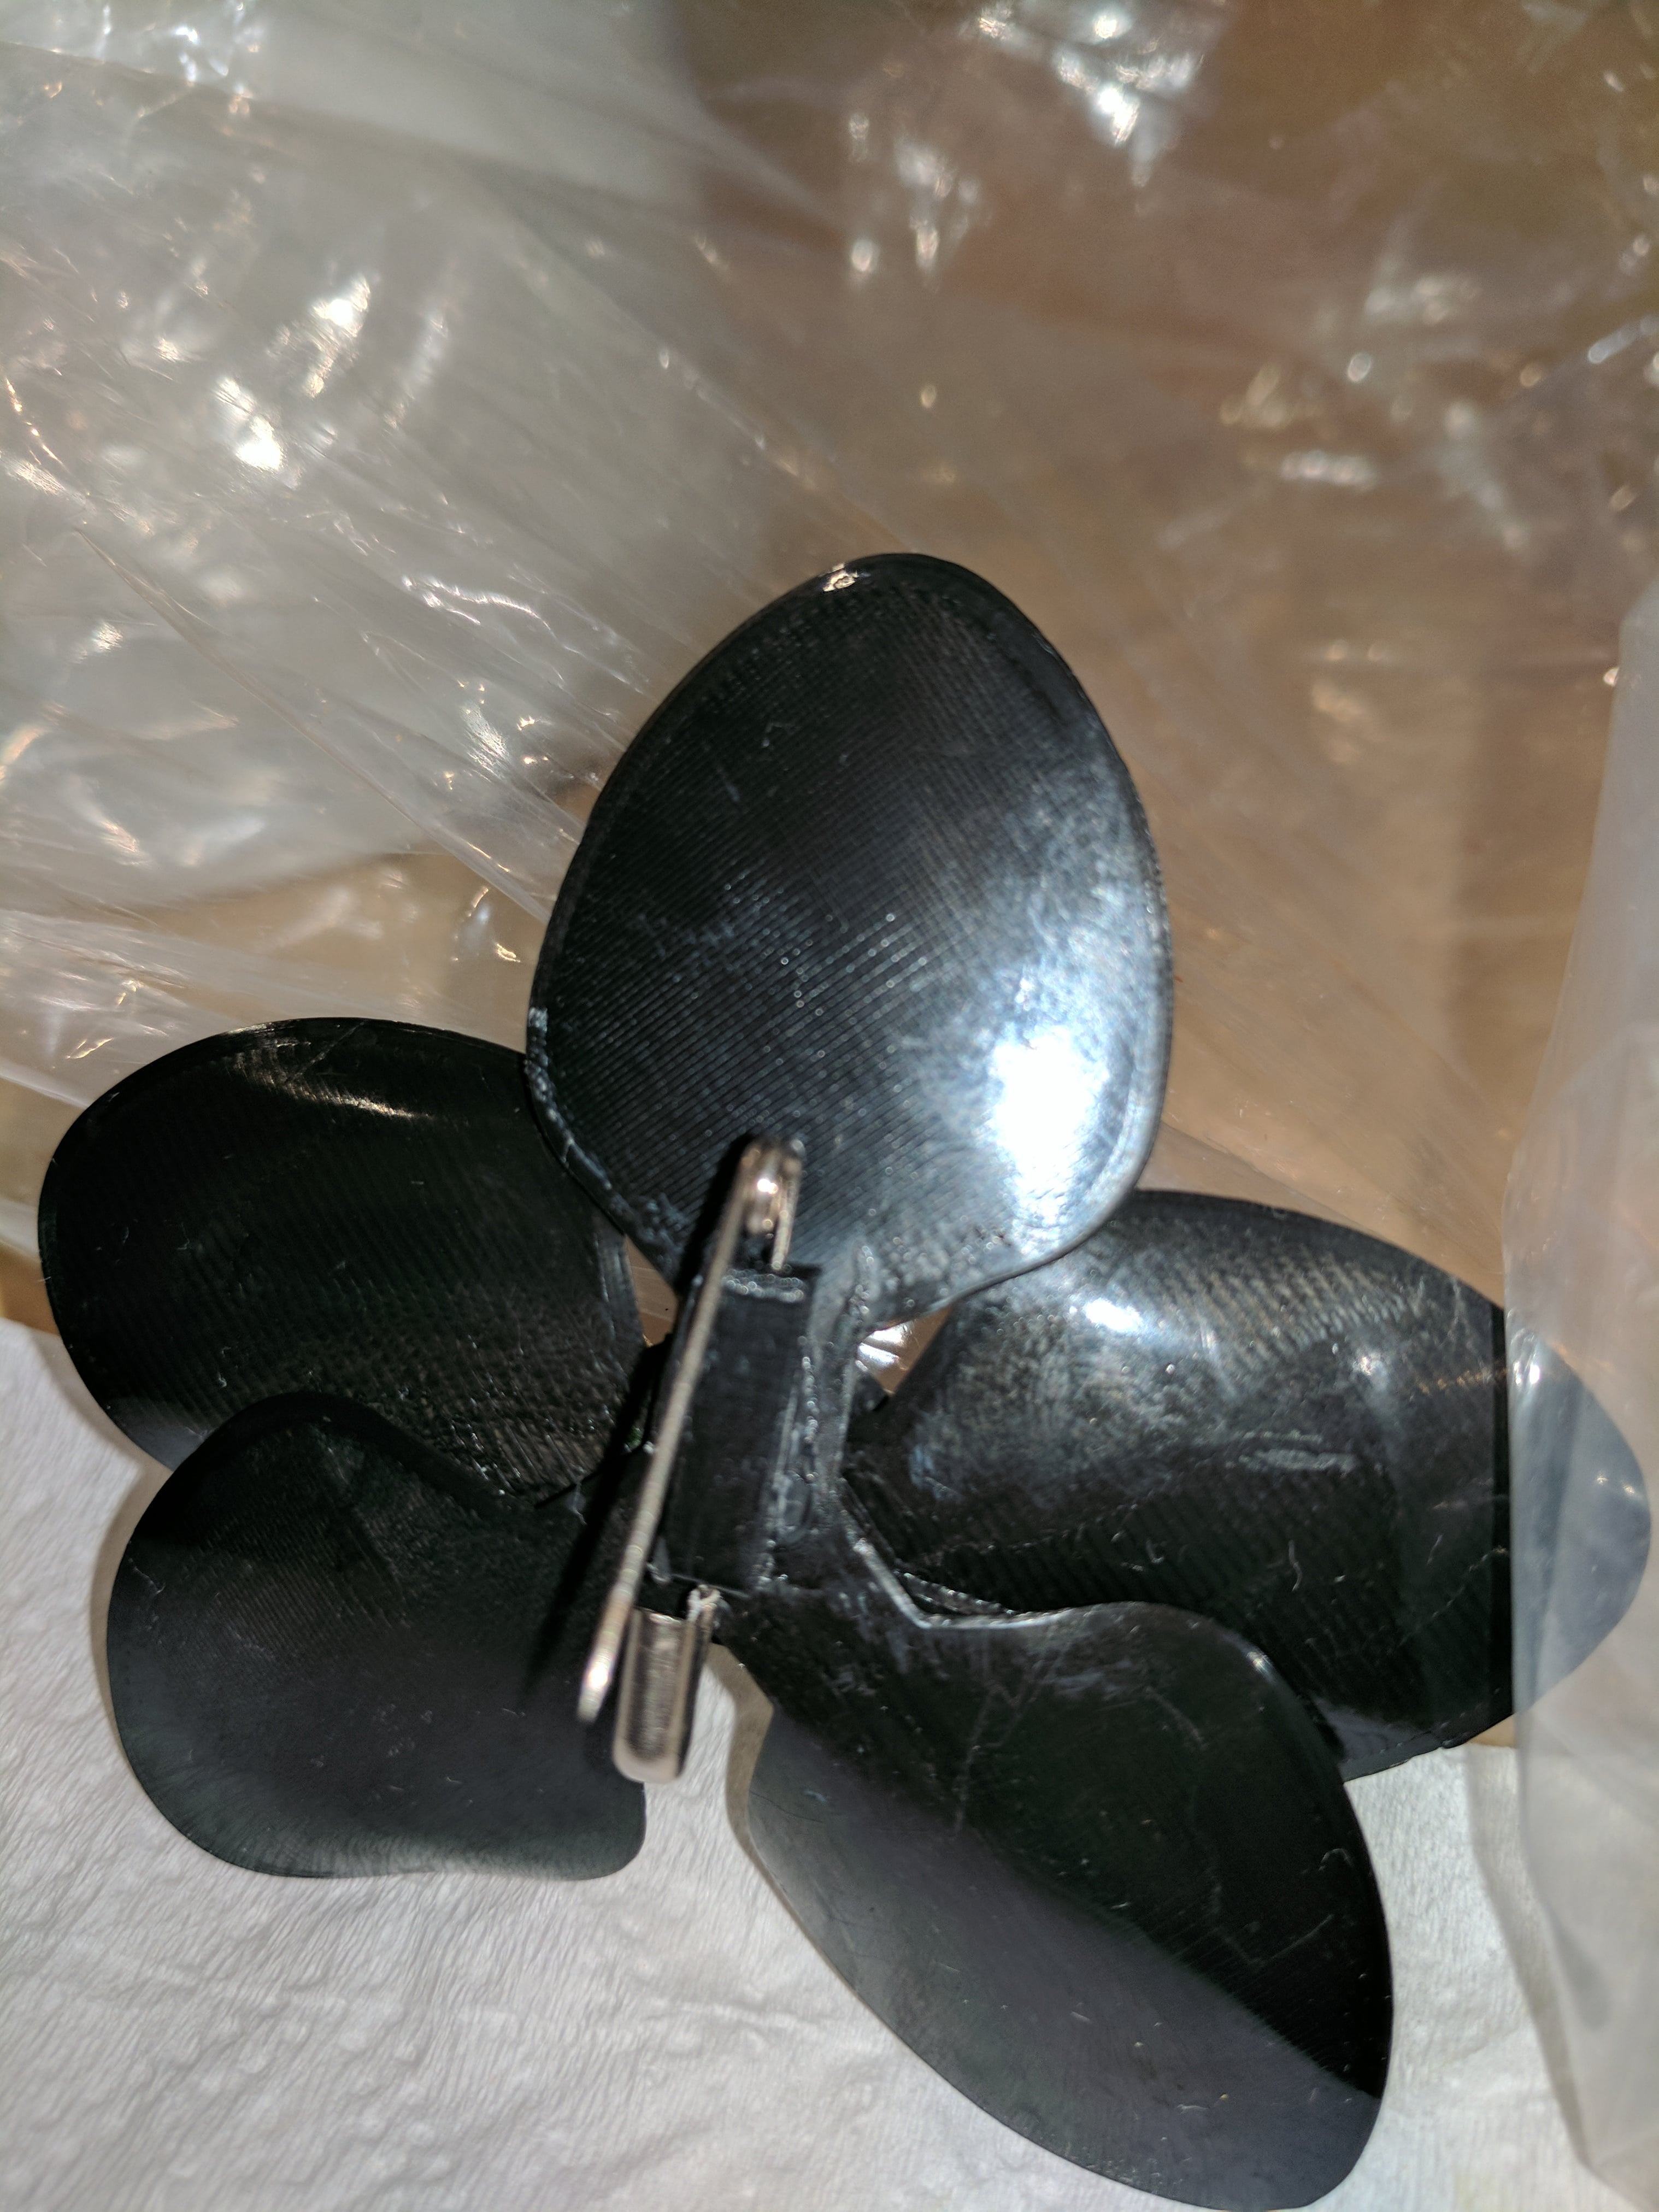


Orchid Brooch
7 downloads · 4 years ago · **Description**
My wife asked if I would make a festive brooch for the hostess of the formal New Yea
This model is restricted by licensing terms.
View license.
Description My wife asked if I would make a festive brooch for the hostess of the formal New Year's Eve Party that we will attend. After designing and printing one, I decided to make pins for additional guests. Each one is a little bit different, as I thermoformed the petals by hand.
Materials and methods Materials:
- PLA or other thermoformable filament (https://en.wikipedia.org/wiki/Thermoforming)
- Safety pins for the clasp. Mine had an interior length >16mm and a pin diameter ~0.8mm.
- CA or other strong glue to affix the pin to the back.
Procedure:
- Print all parts in PLA, or any other plastic that can be thermoformed. Decide which side of the petal_trio and petal_duo parts you want to consider the front of the petals. The petals can be printed at the low resolution setting for speed, but the smaller parts should be printed at a high resolution setting.
- Boil water. Pour some into a small cup or bowl. Dip one petal, excluding the square center hole into the hot water for 3-5 seconds.
- Remove petal from the water, and as soon as you can touch it, press your thumb into the middle of the front of the petal, with your index and middle finger on the back, shaping the petal.
- Repeat on the remaining petals. You can reheat petals if want to make corrections.
- Press the fully split arm (the arm with the ball end) of the pin_mount part through the petal_trio part from the back, with the partially split arm aligned behind a petal (now the vertical petal).
- Press the petal_duo onto the arm, in front of the petal_trio.
- Press the mount_cap onto the ball end of the pin_mount.
- Open the safety pin. Press the non-opening side, pintip down, into the exposed slot on the side of the pin_mount. Squirt in a little glue, and let harden.
This model is restricted by licensing terms.
View license.

Aromatic Orchid - Oil Diffusor and Incense Holder - with Spinning Leaves
Bleeding Hearts - Functional Plant Print For Valentines Day - Jewelry Box
Orchid Tadling
.png&w=3840&q=75)
Night Light Lilies - The Lily of the Valley Night Light
Orchid Tiny Spider
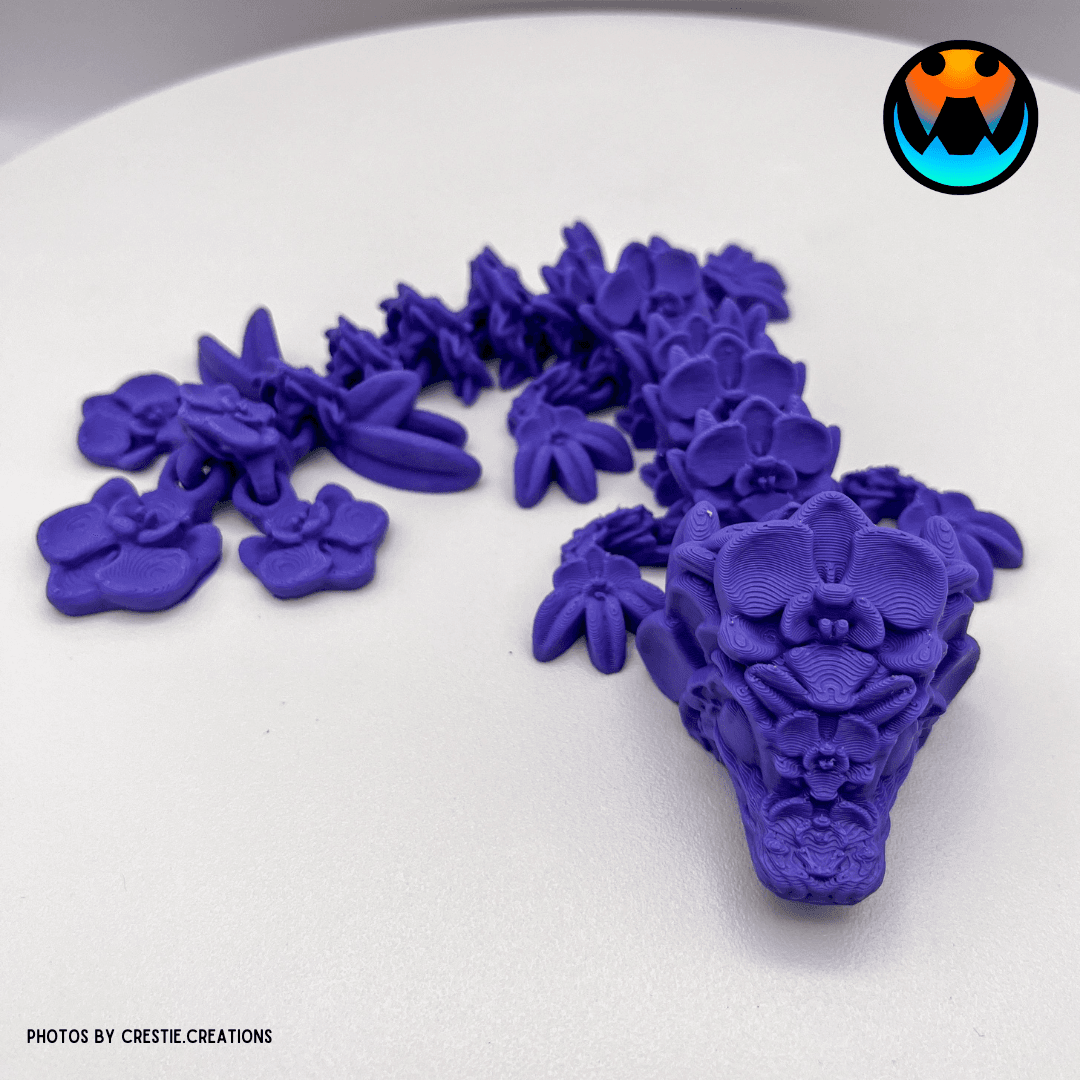
Baby Orchid Dragon

String of Pearls Cable Organizer - Cable Ties - Zip Tie - Plant 3D Print

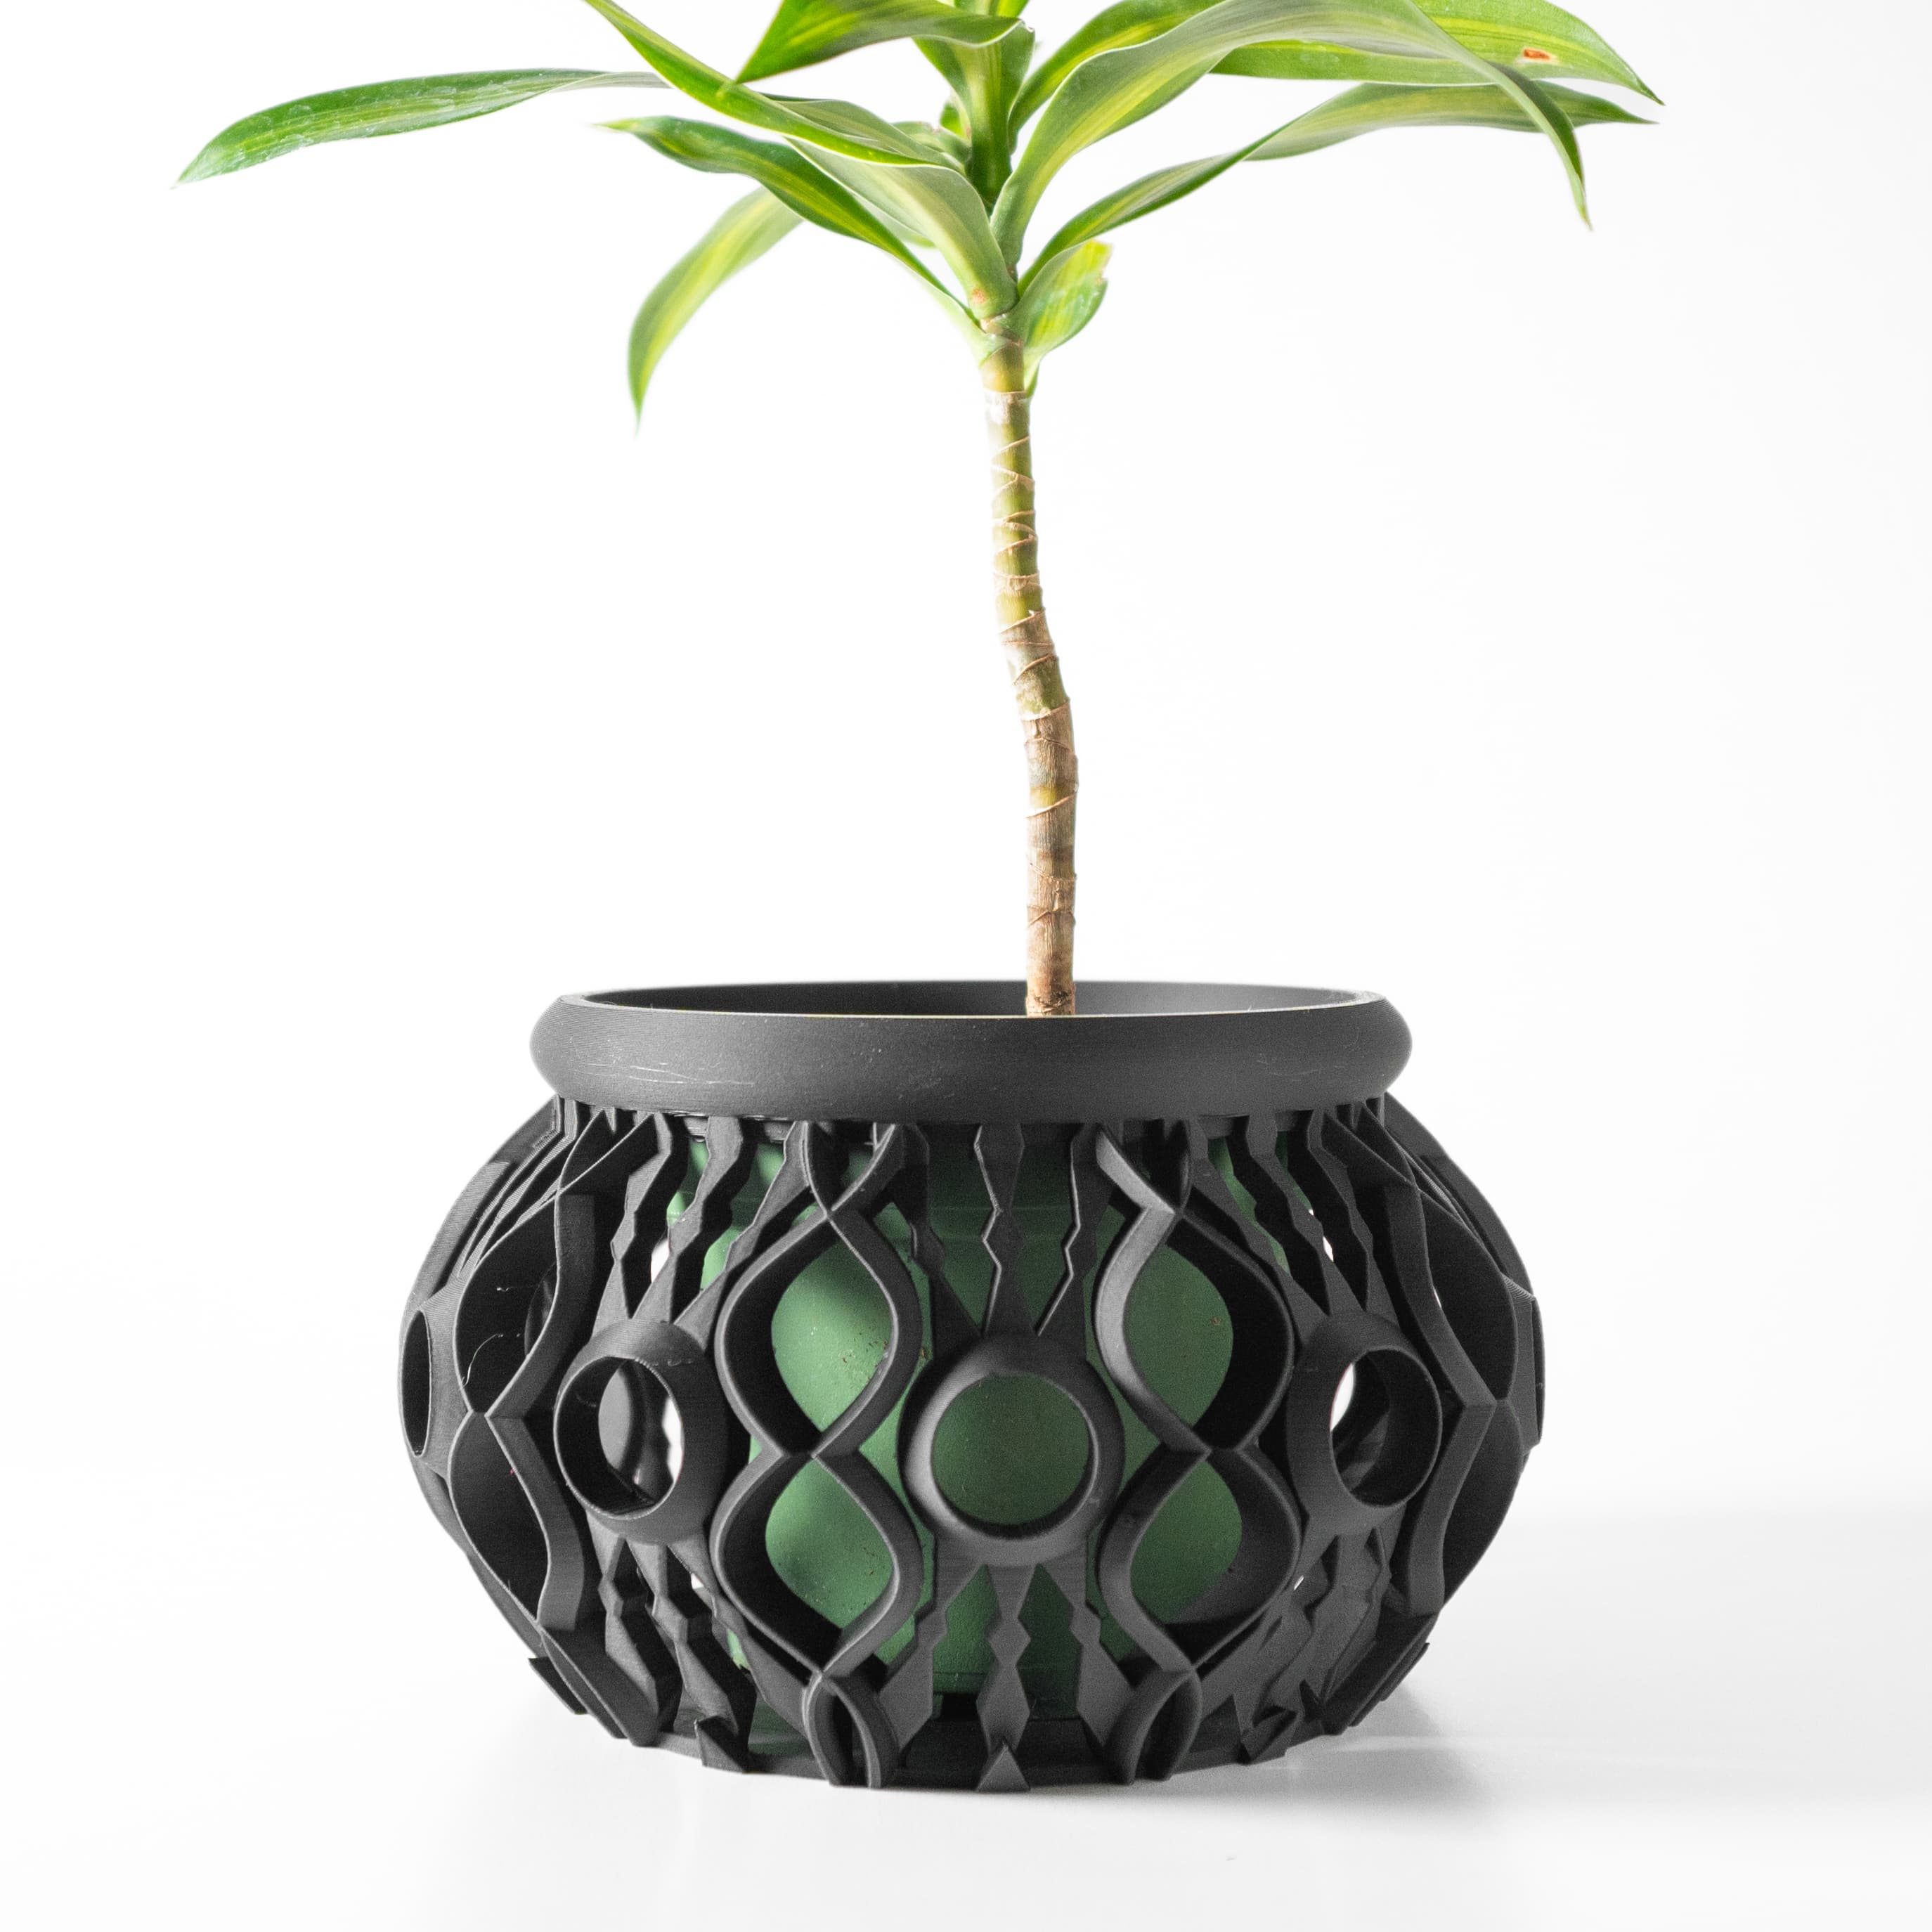
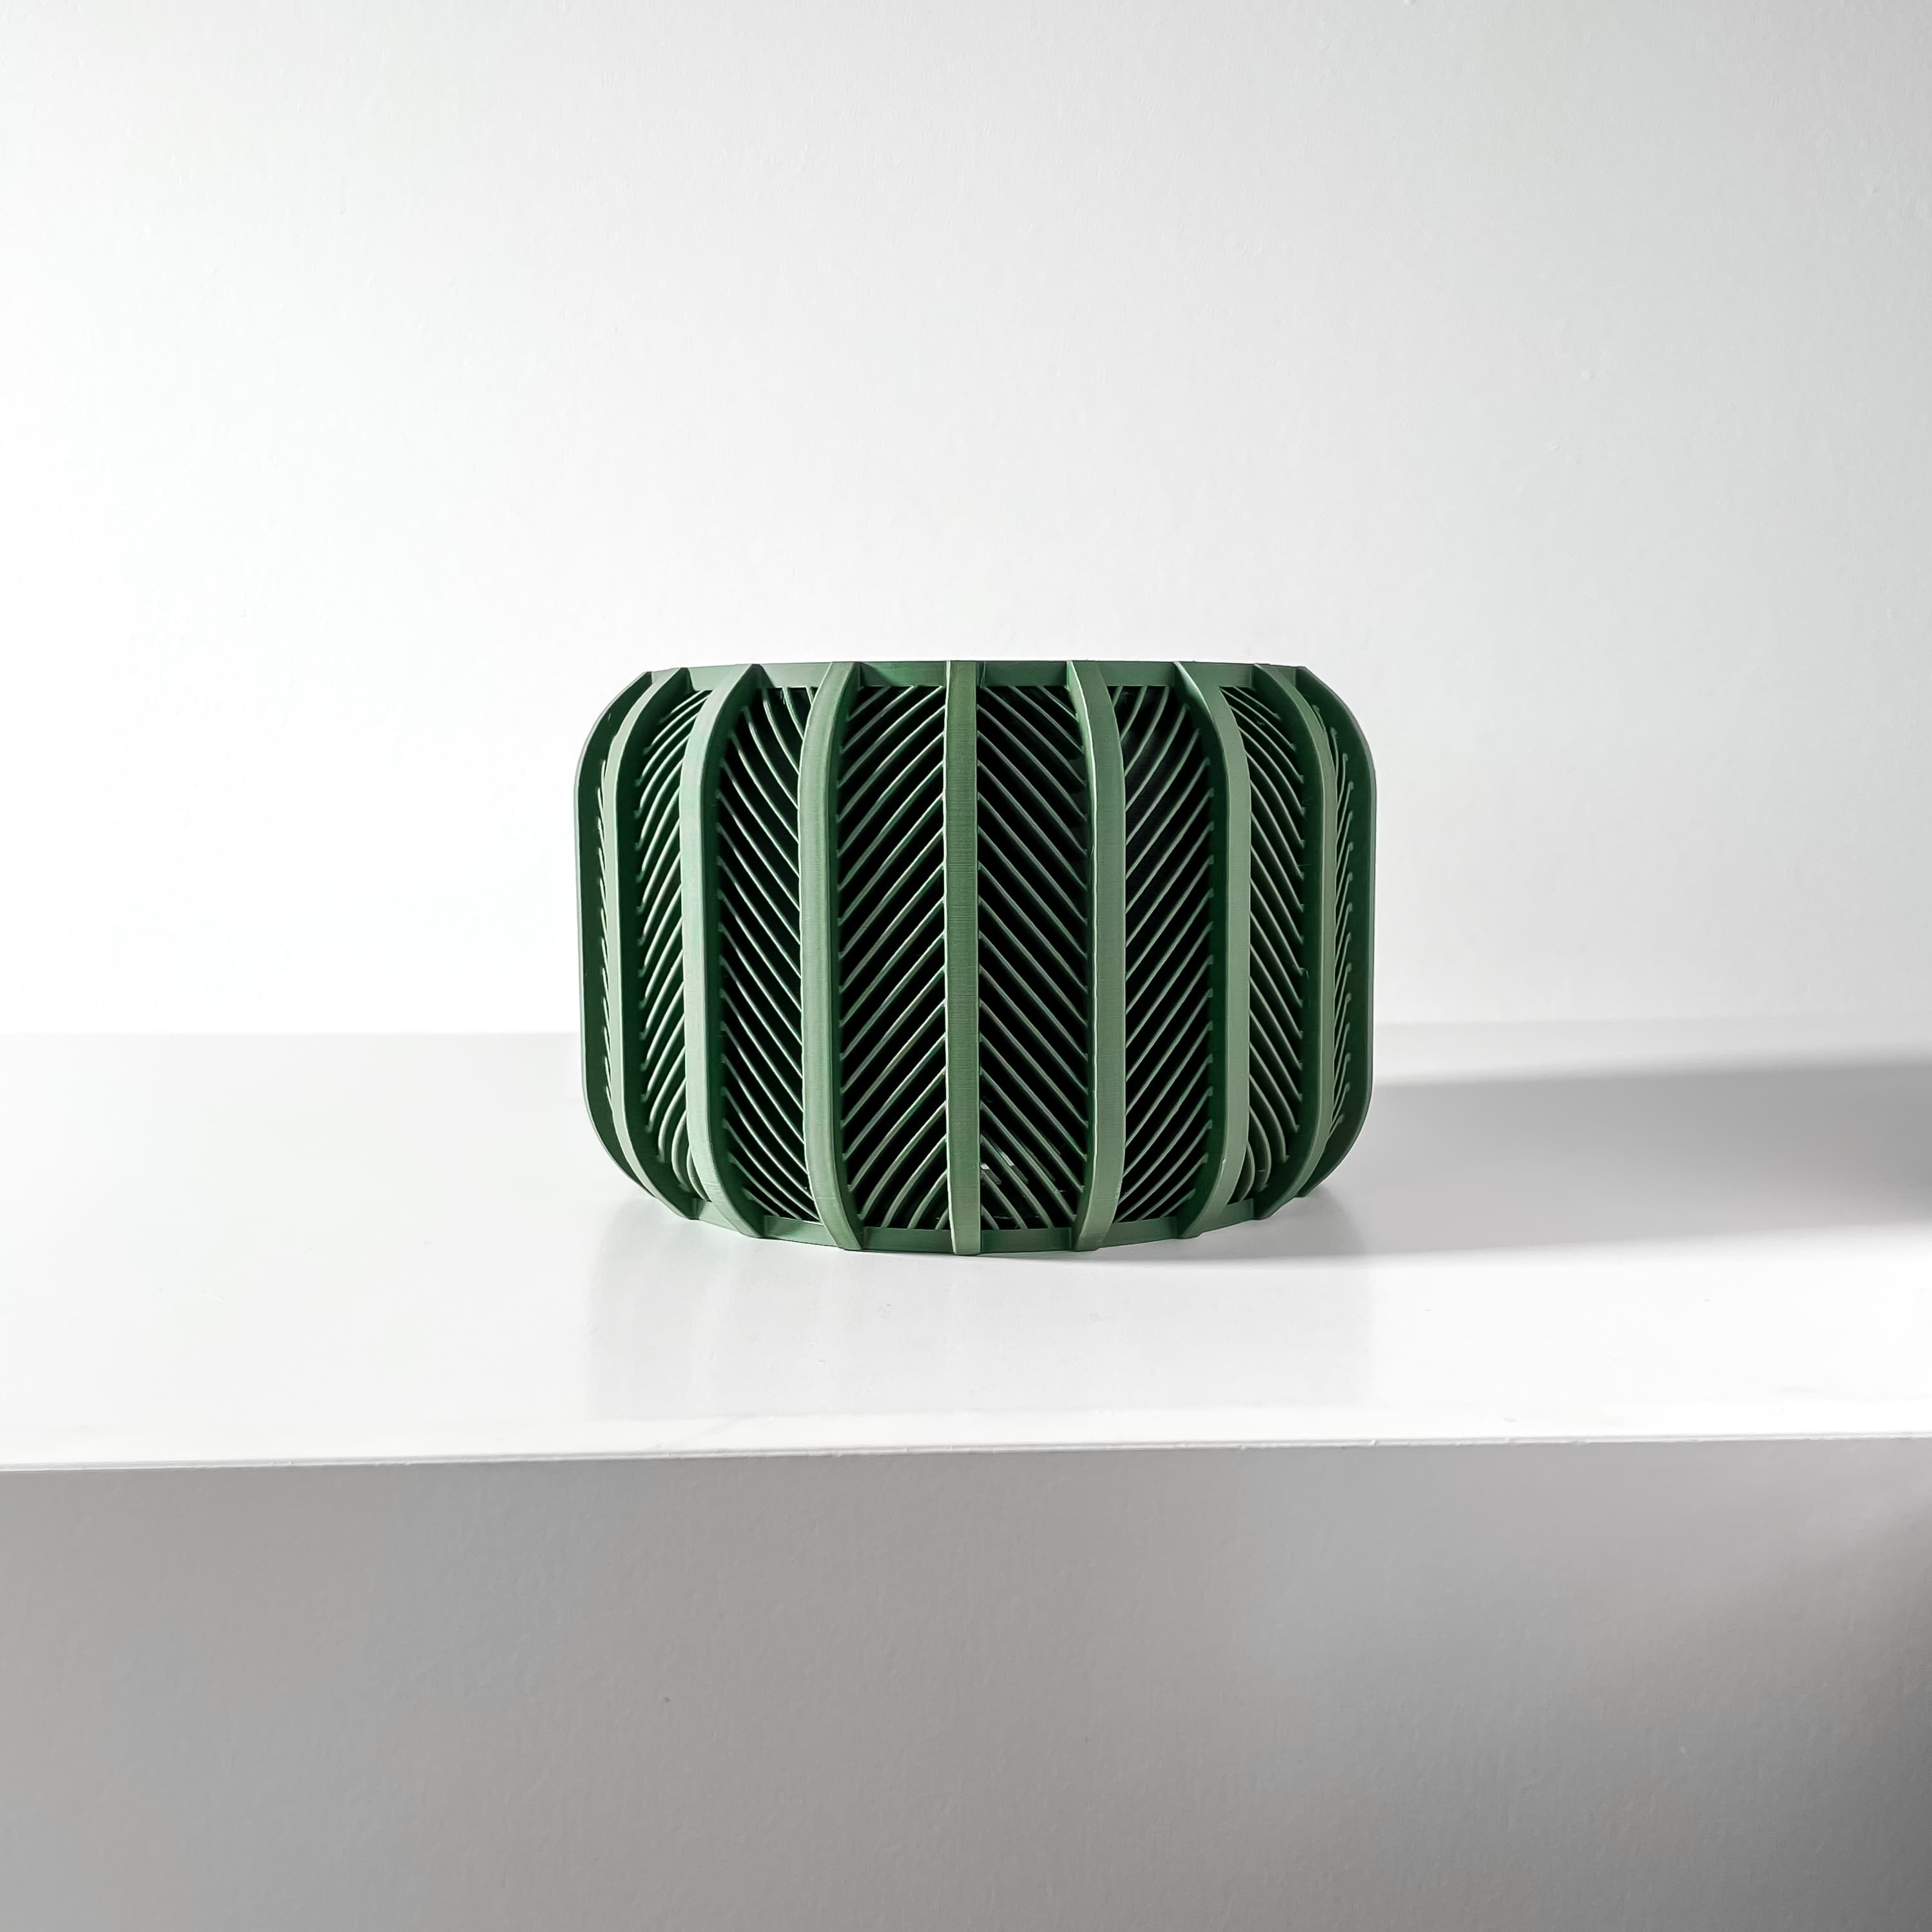
AERIS – Orchid Planter
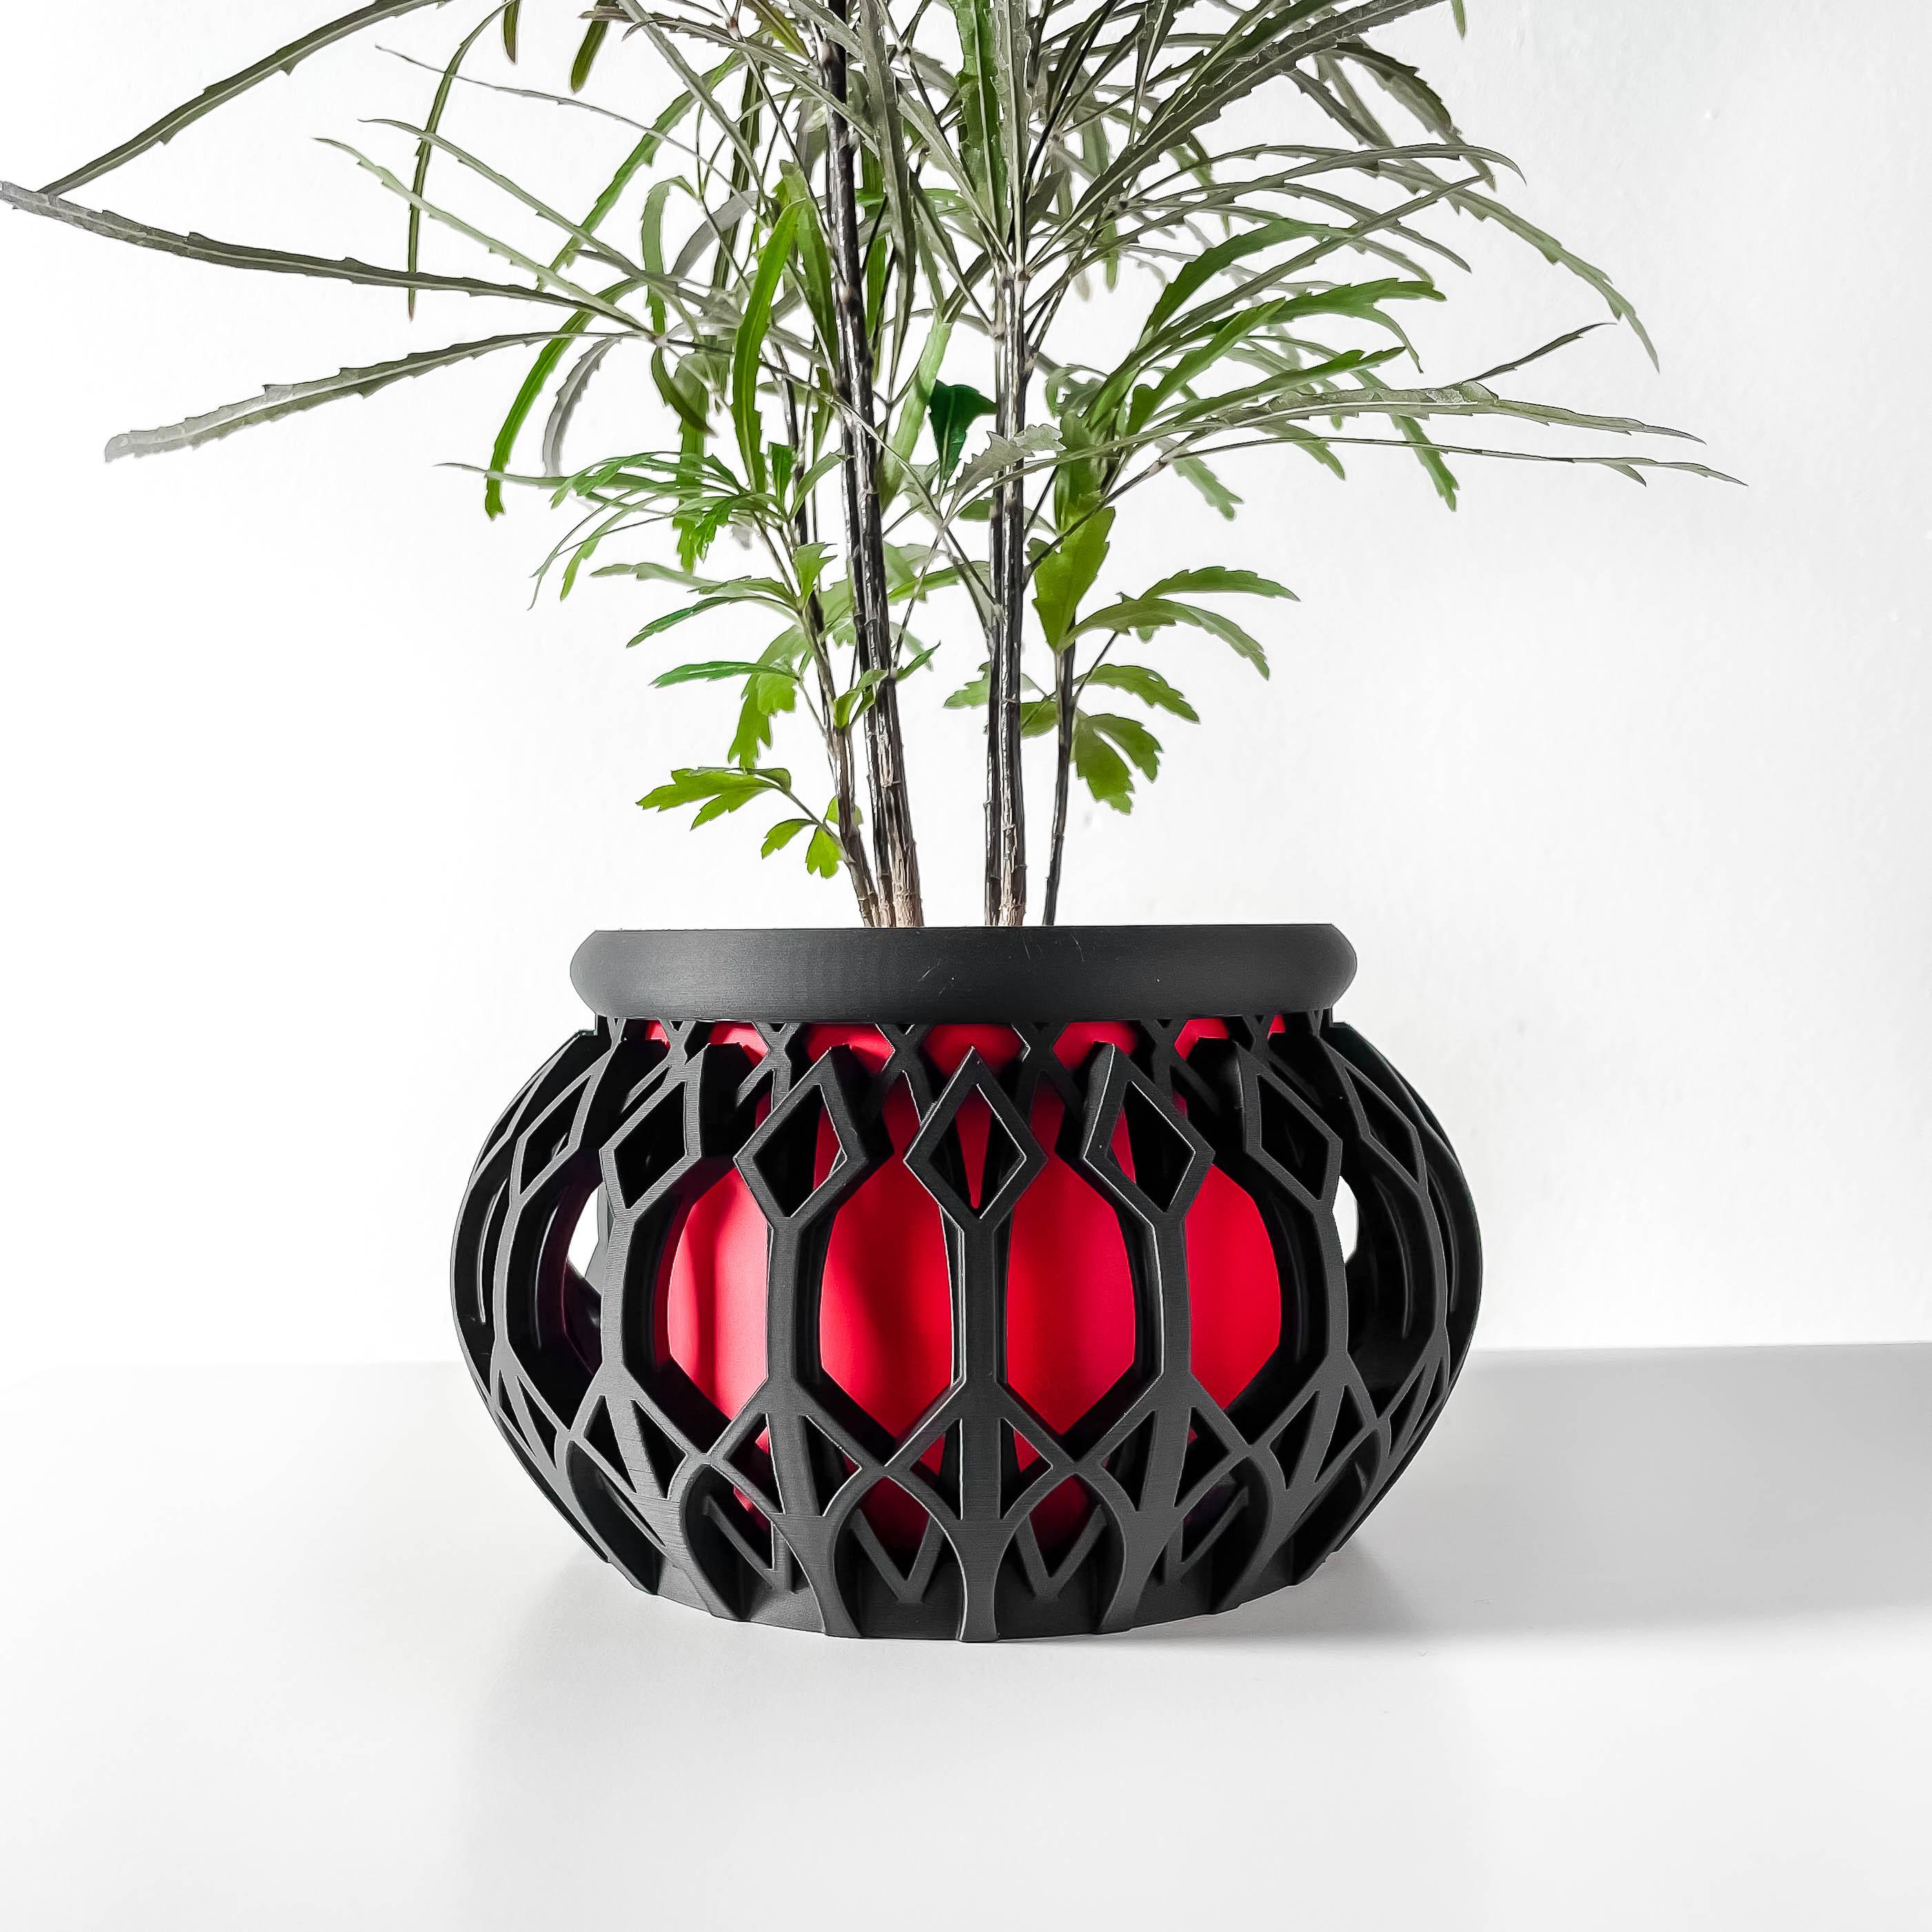
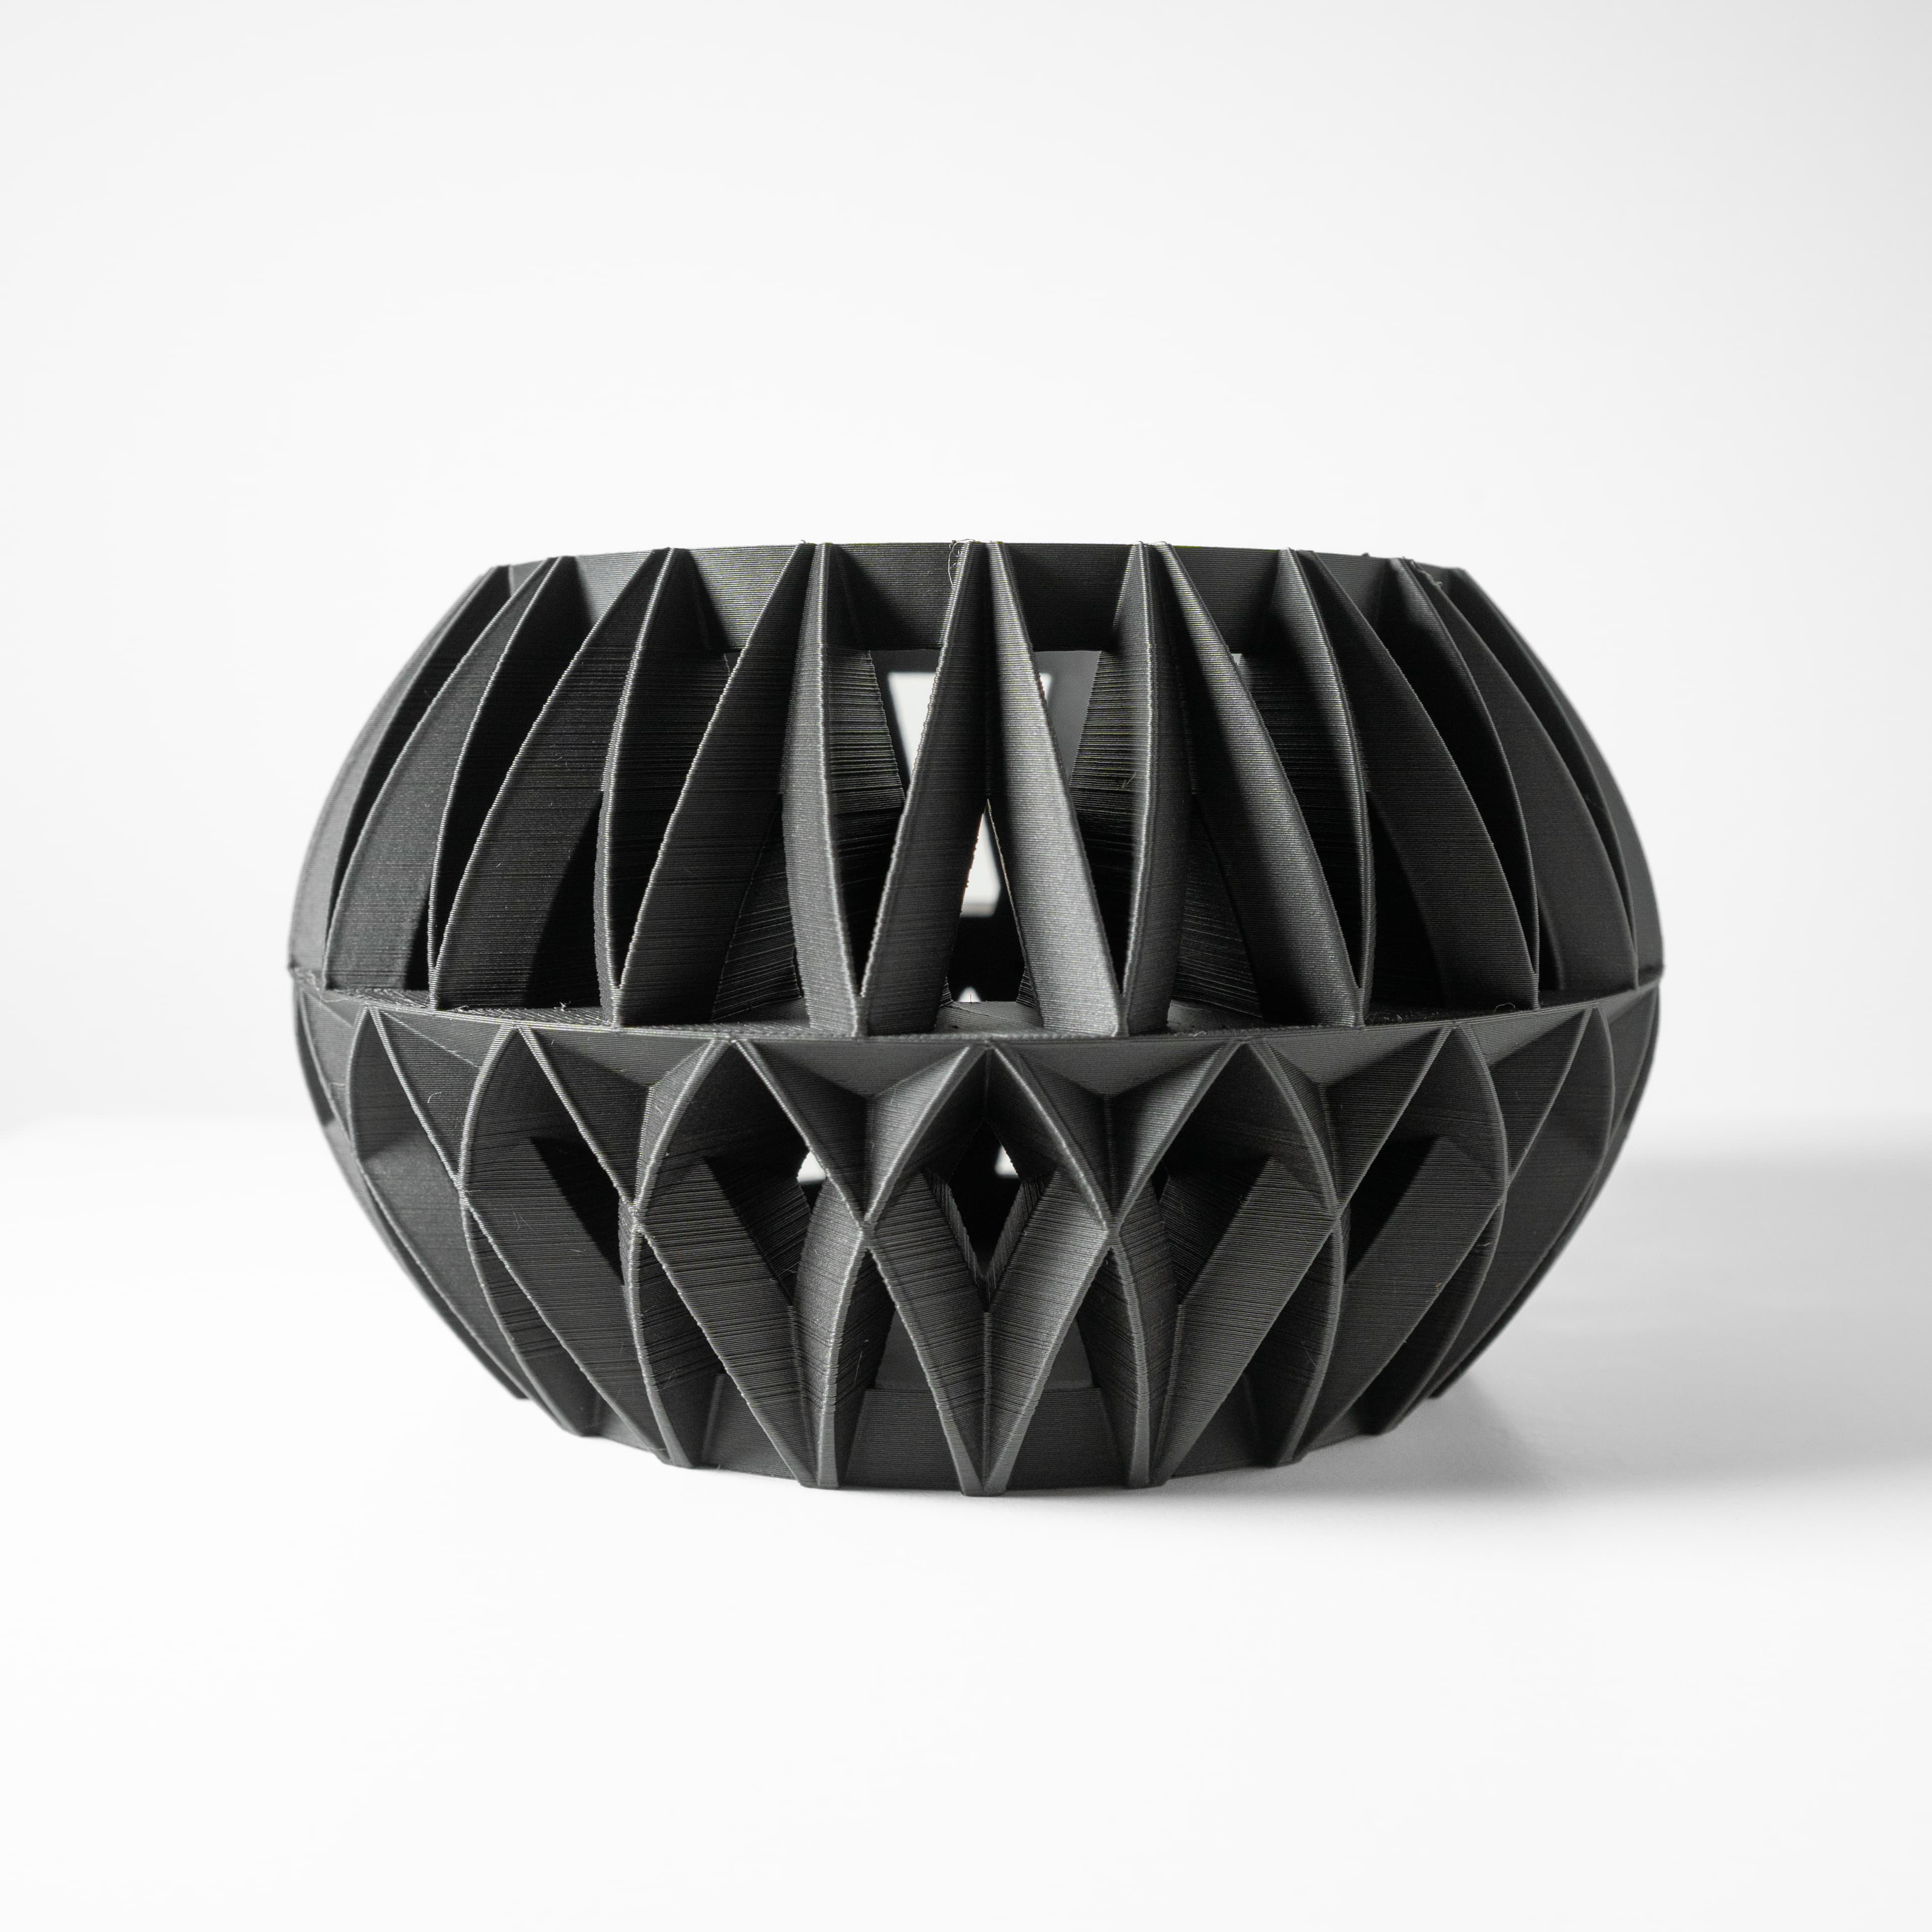
The Lyren Planter Pot & Orchid Pot Hybrid with Drainage Tray: Modern Home Decor for Plants
The Vyre Planter Pot & Orchid Pot Hybrid with Drainage Tray: Modern and Unique Home Decor for Plants
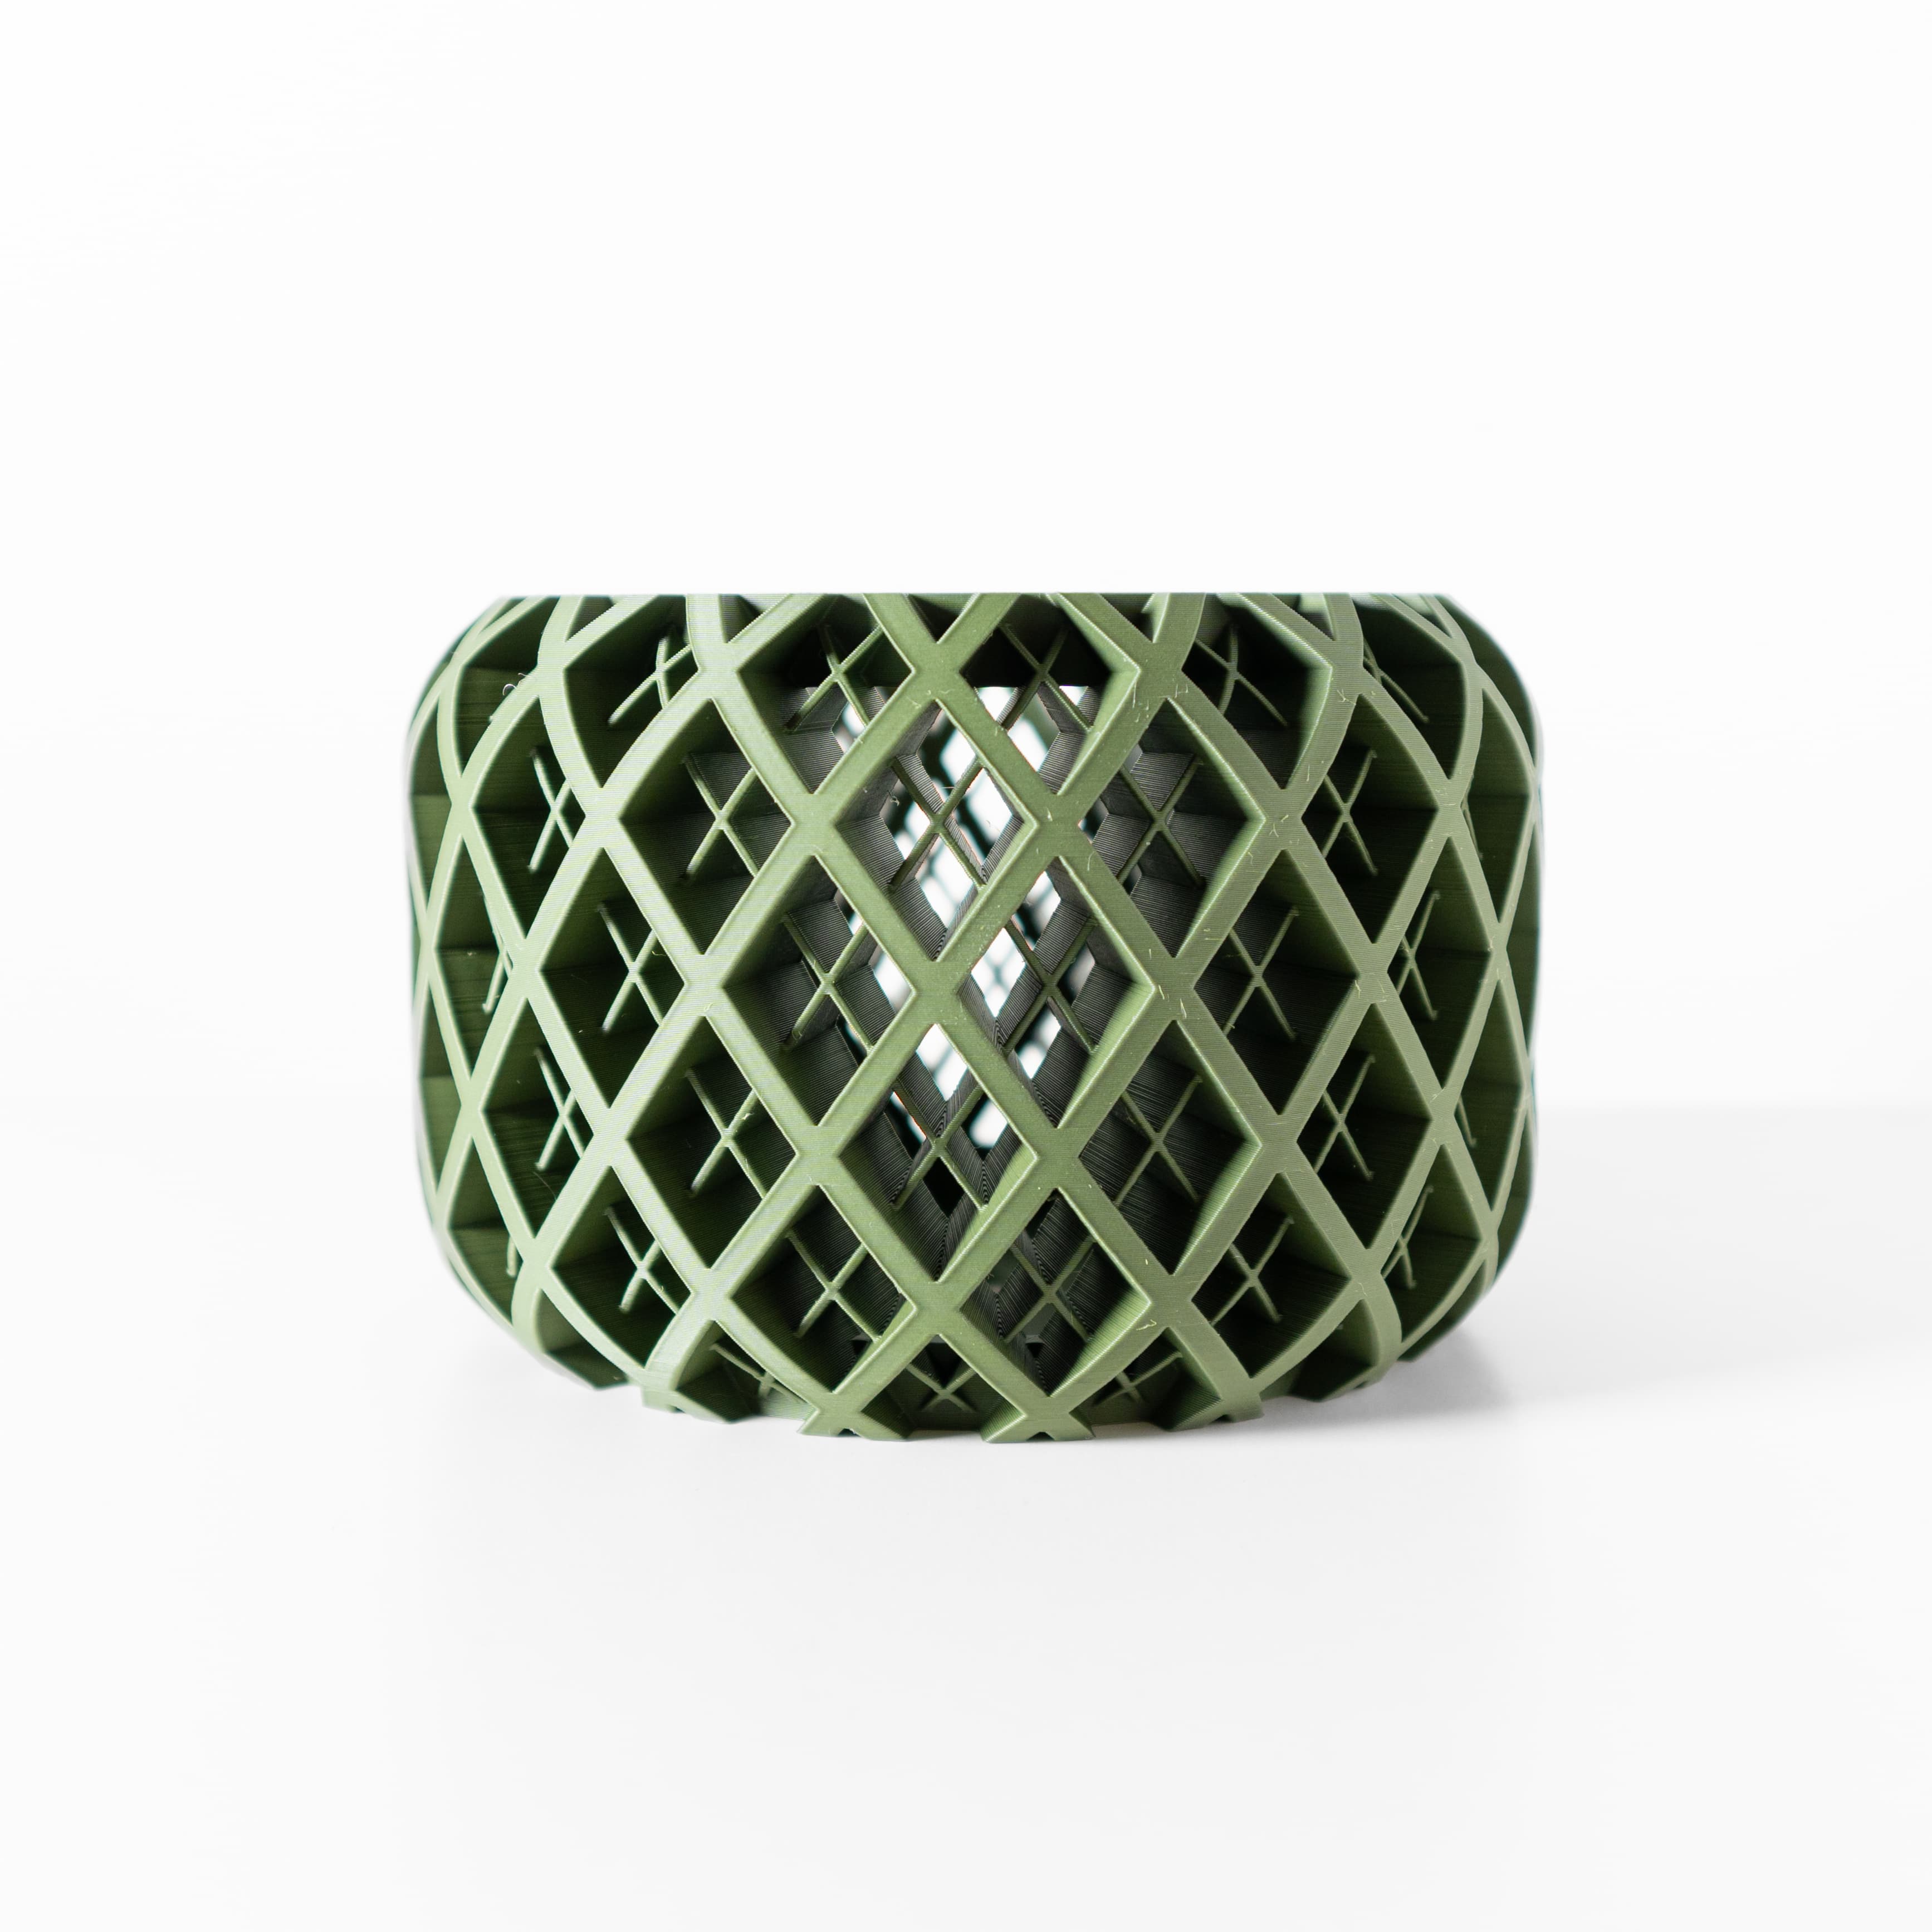
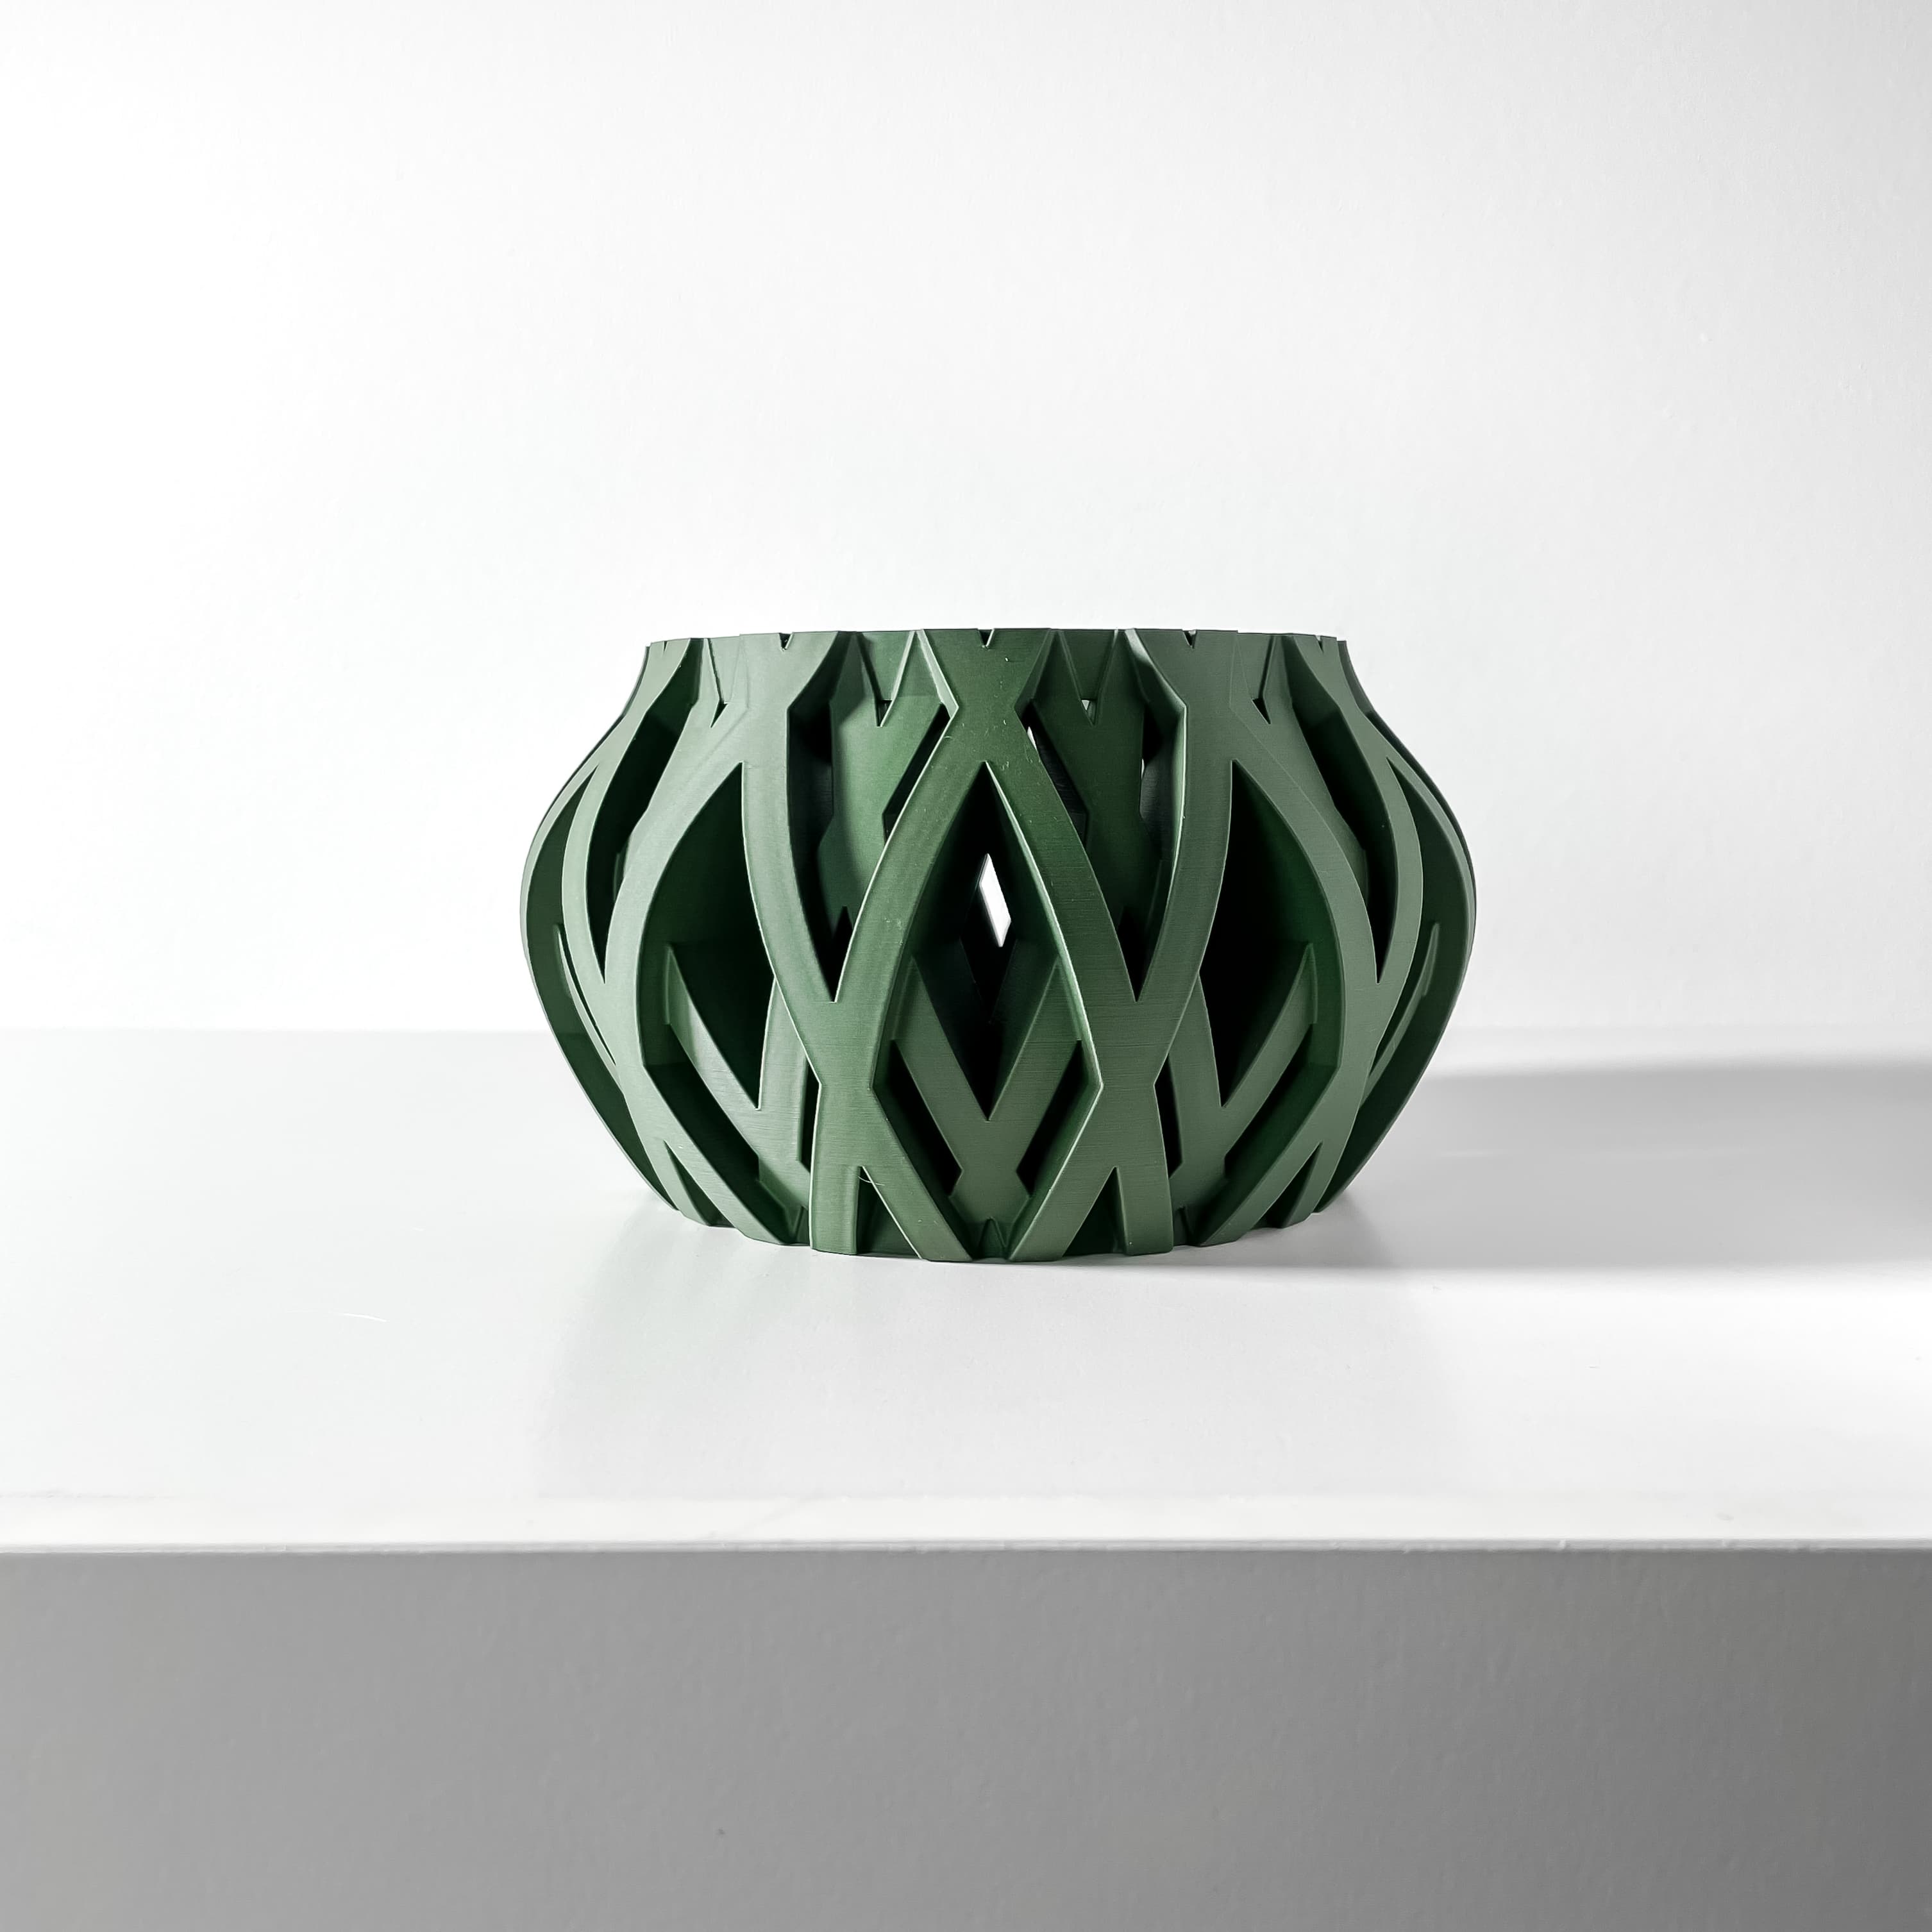
The Noro Orchid Planter Pot with Drainage | Tray Included | Modern and Unique Home Decor for Orchids
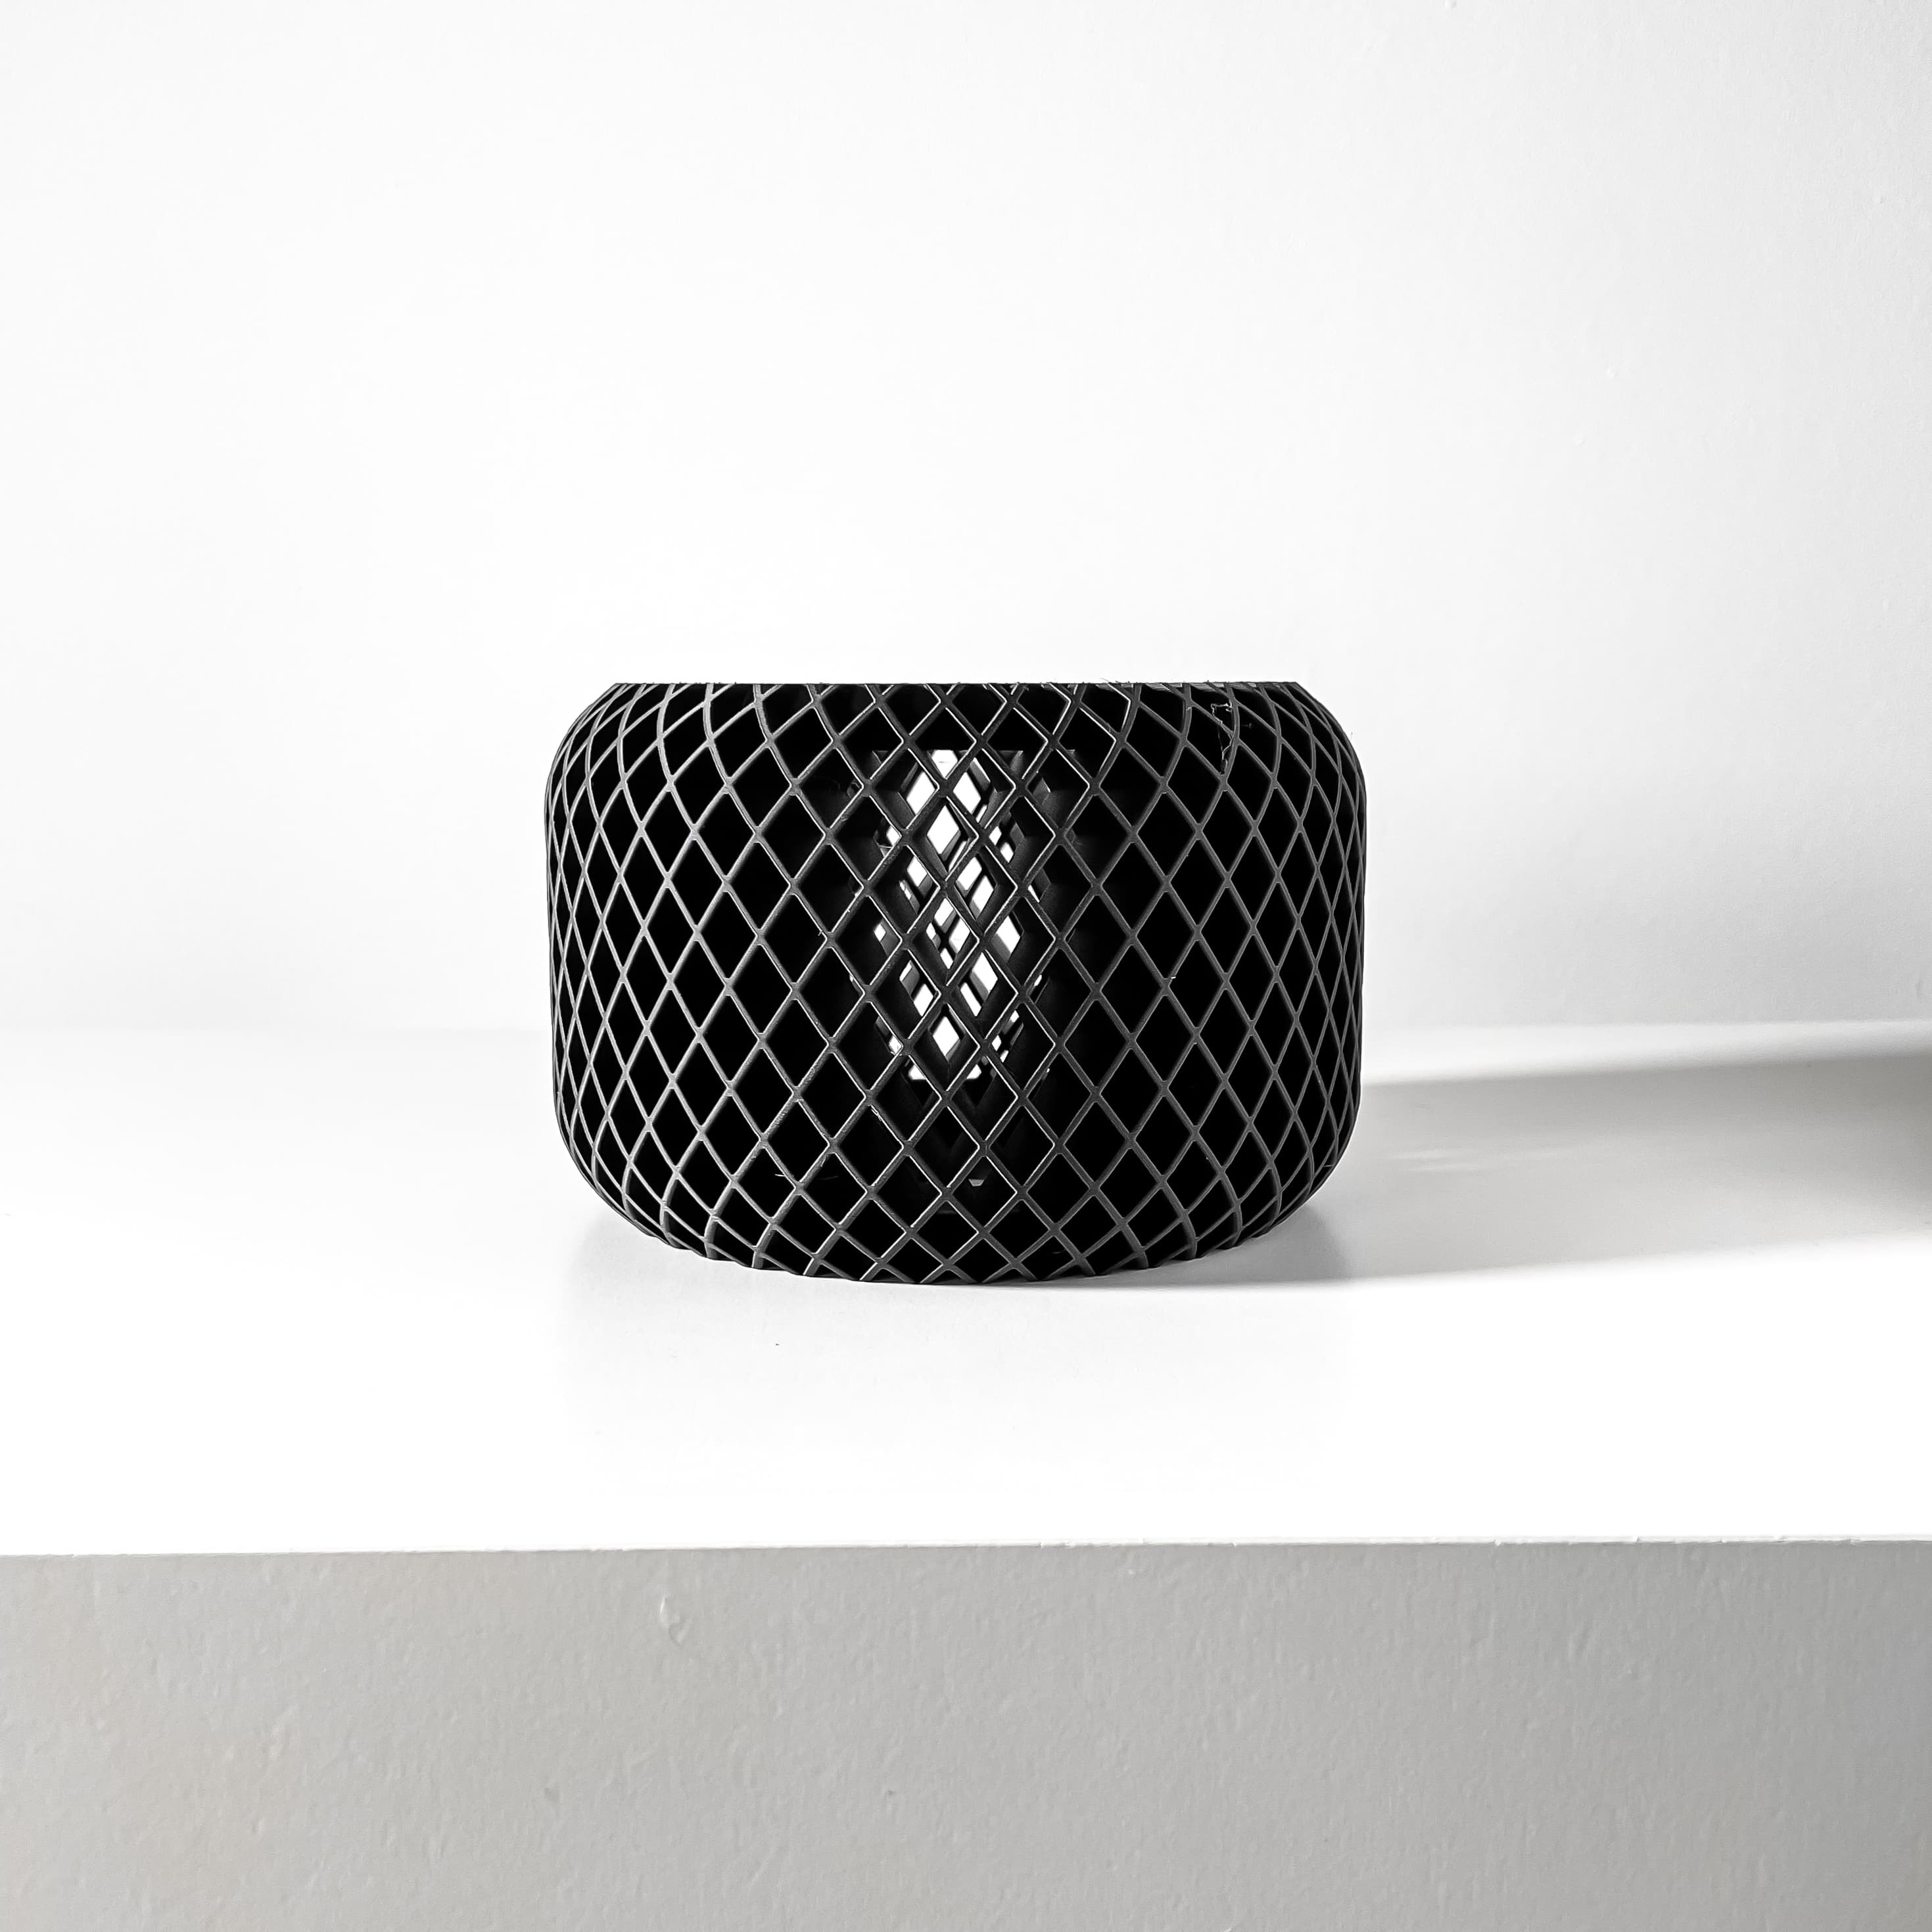
The Rodex Orchid Planter Pot with Drainage Tray | Modern and Unique Home Decor
The Oku Orchid Planter Pot with Drainage | Tray Included | Modern and Unique Home Decor for Orchids

Cat Brooch - Easy print
The Rimo Orchid Planter Pot with Drainage Tray | Modern and Unique Home Decor
The Ravik Orchid Planter Pot with Drainage Tray | Modern and Unique Home Decor
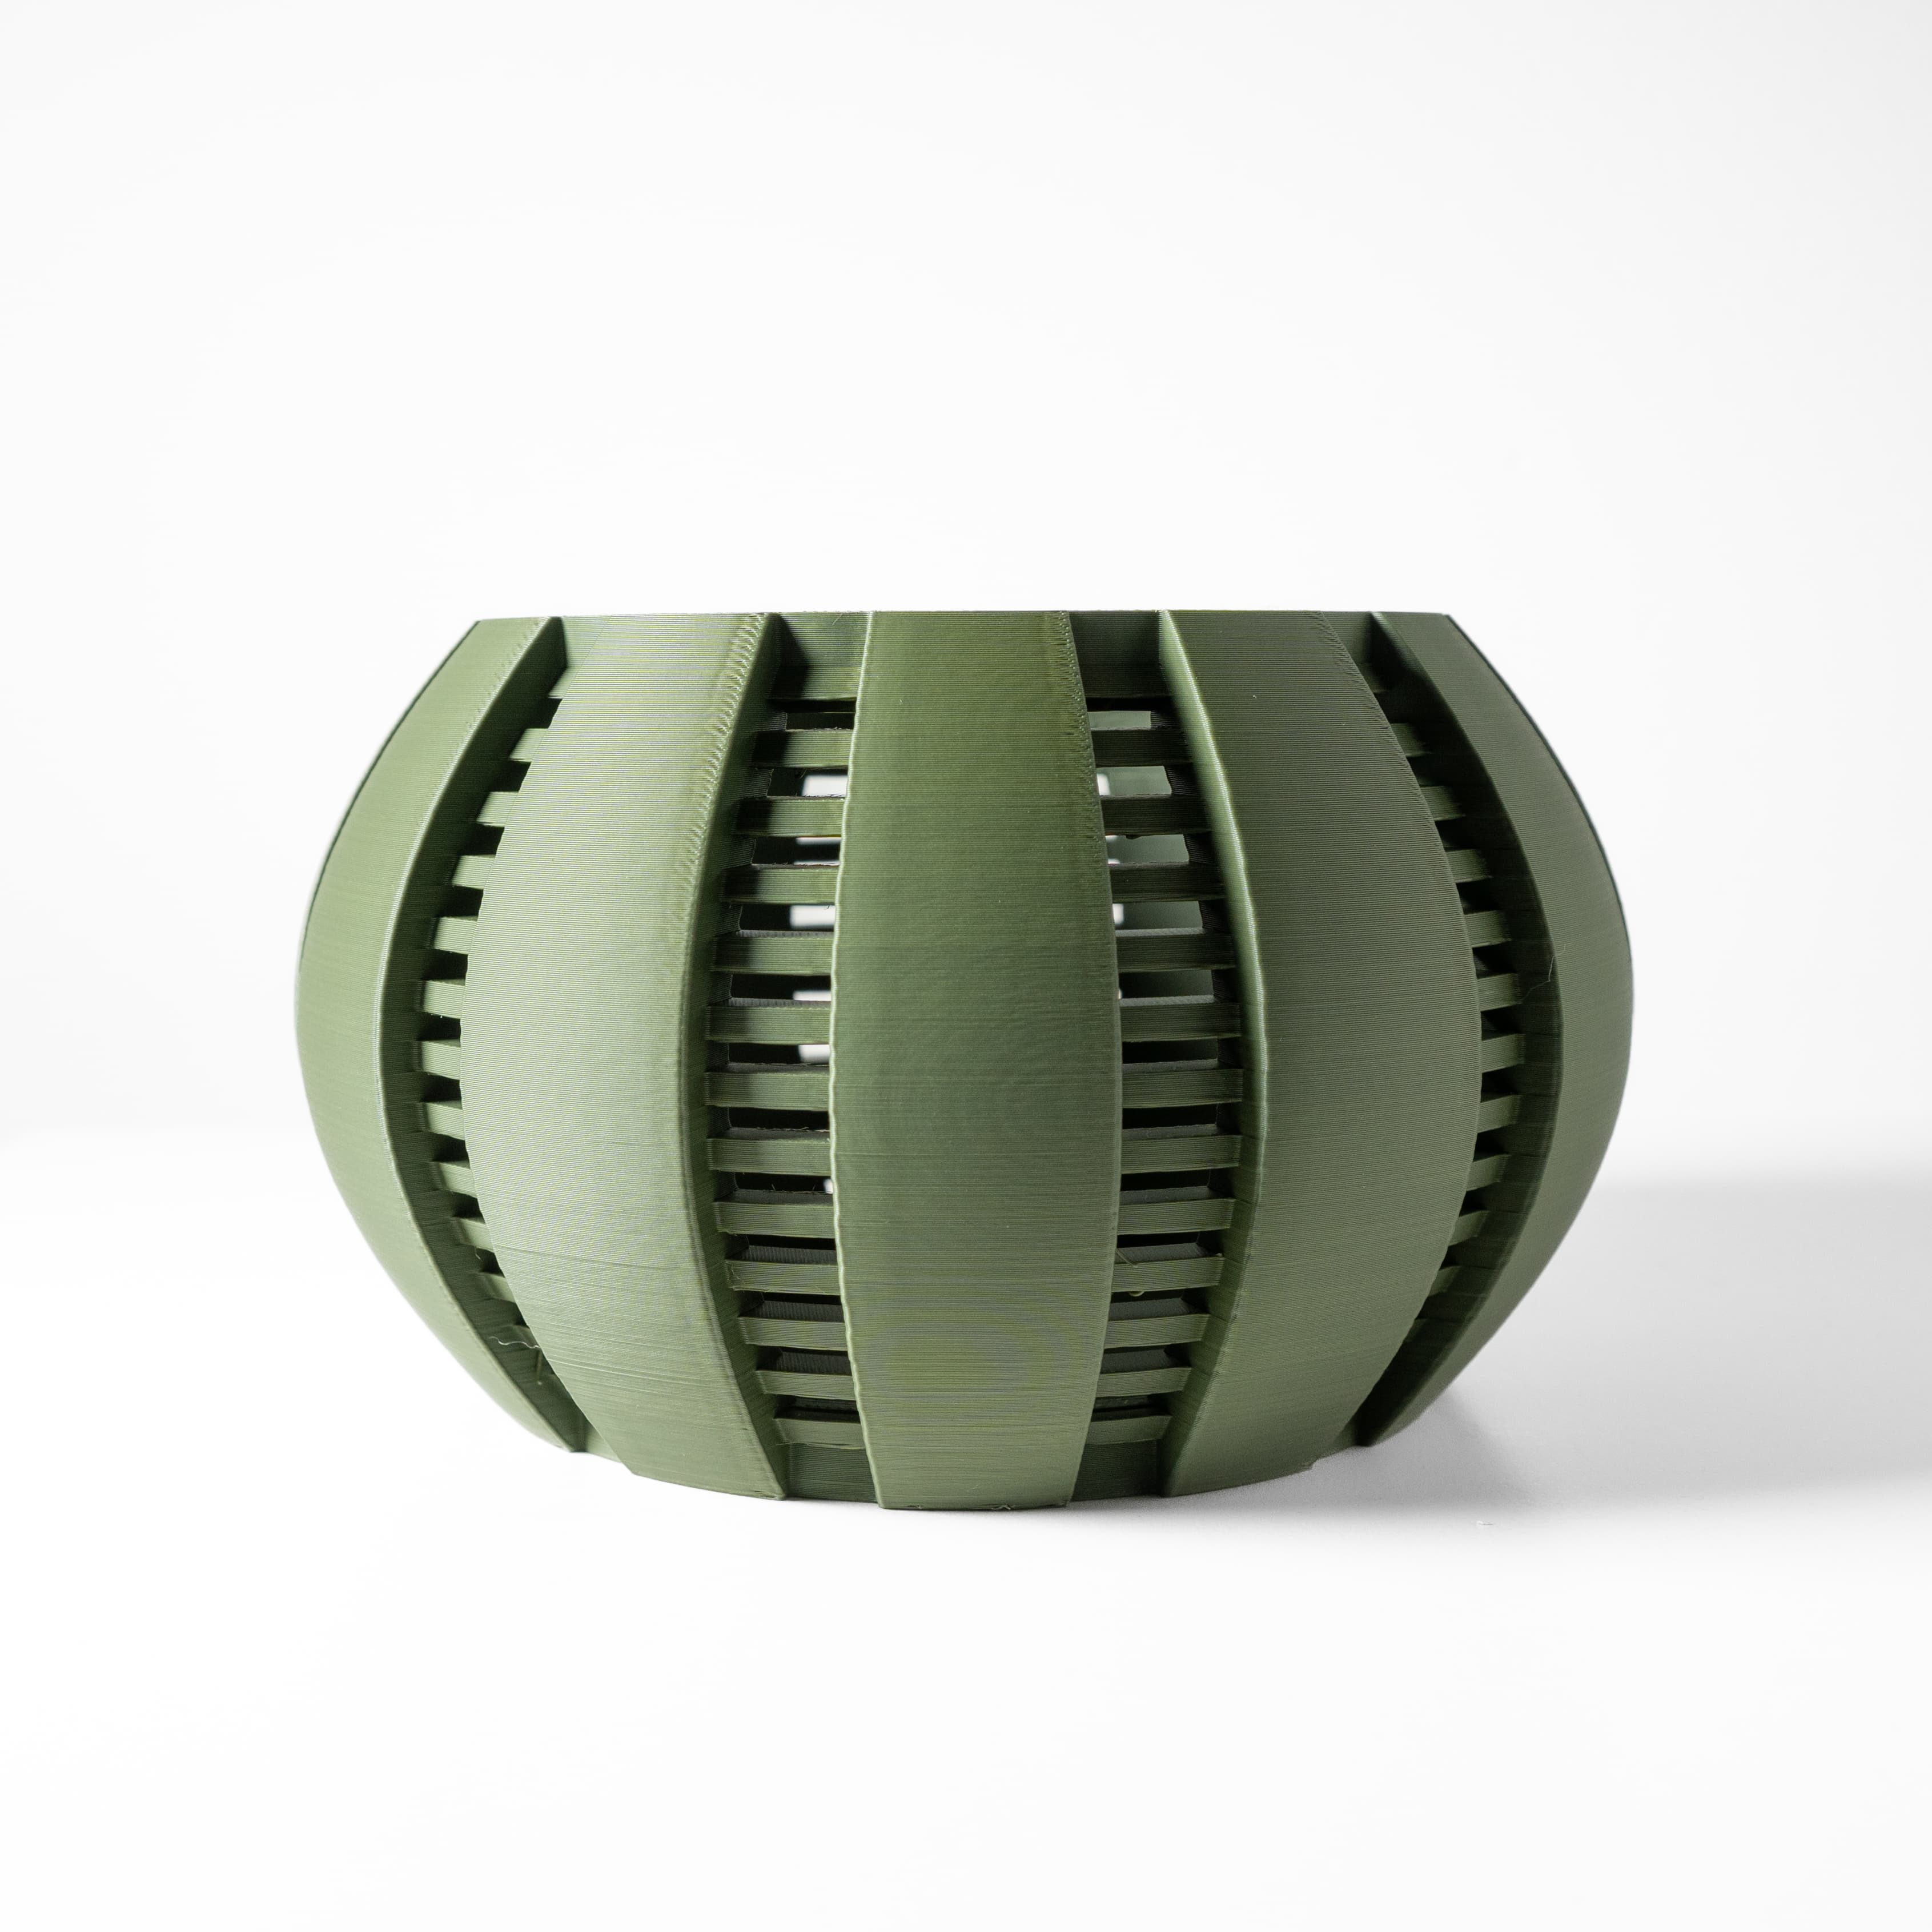
The Arik Orchid Planter Pot with Drainage | Tray Included | Modern and Unique Home Decor for Orchids
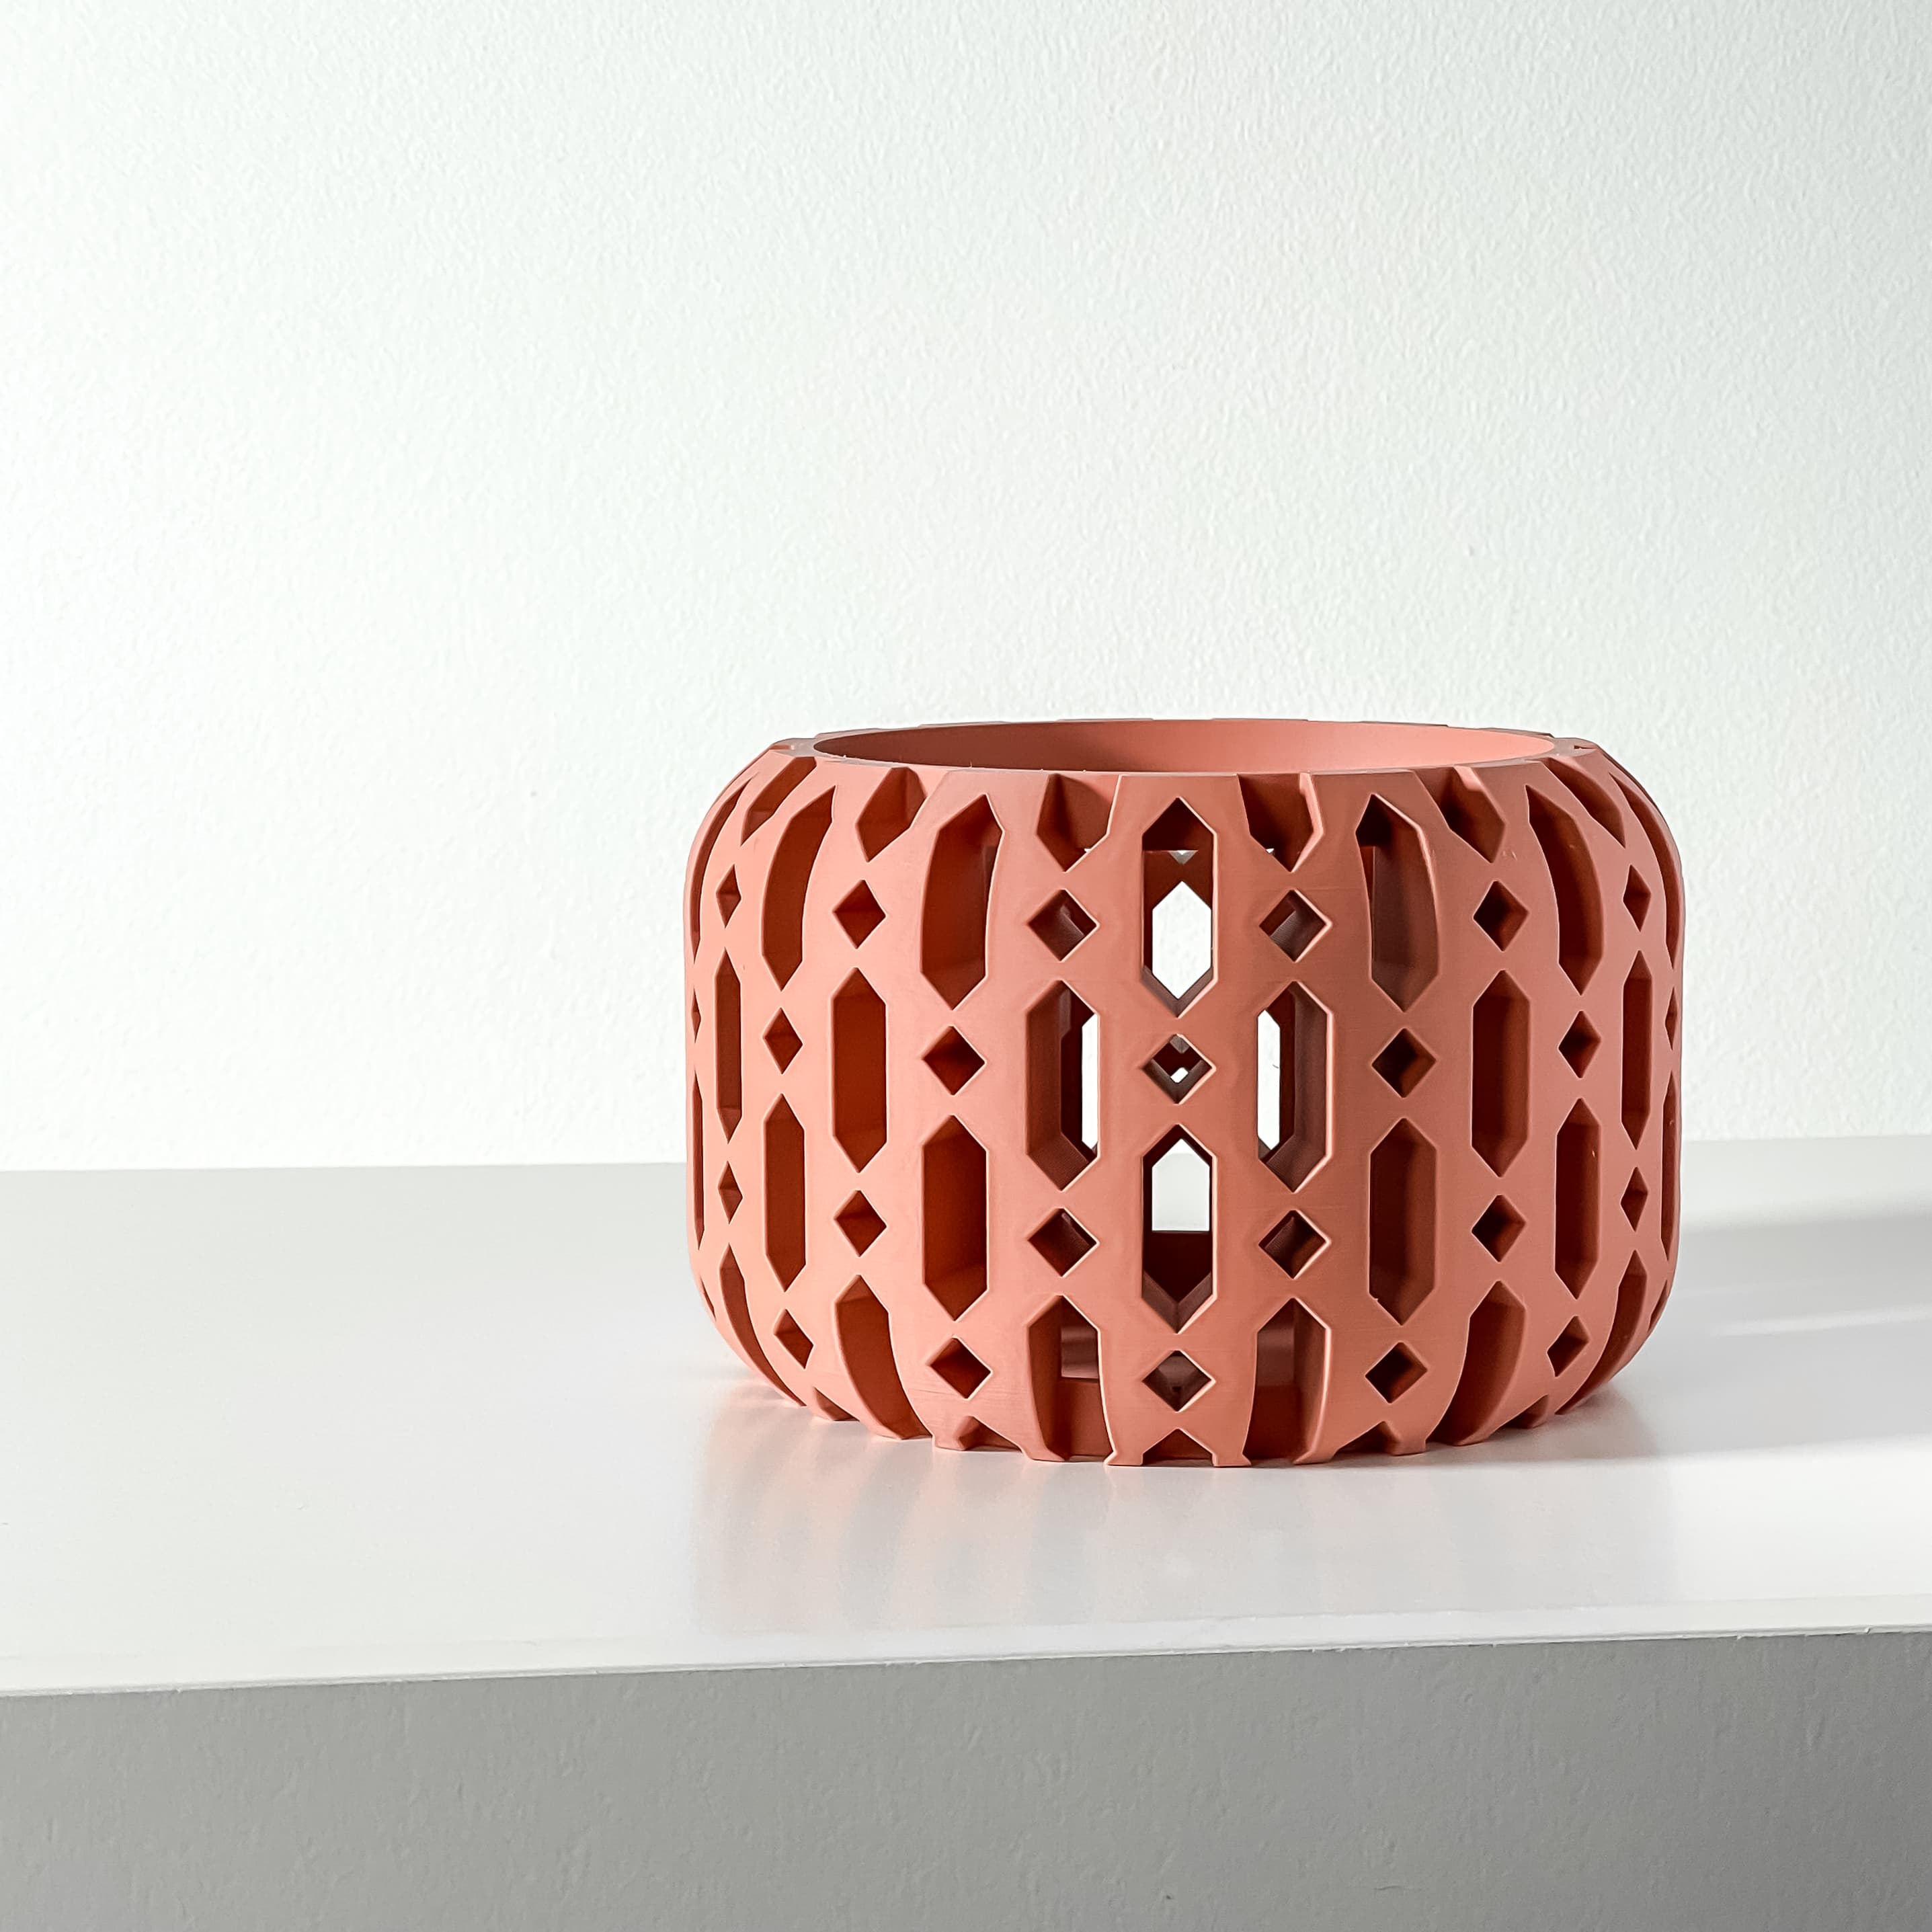
The Ritar Orchid Planter Pot with Drainage Tray | Modern and Unique Home Decor
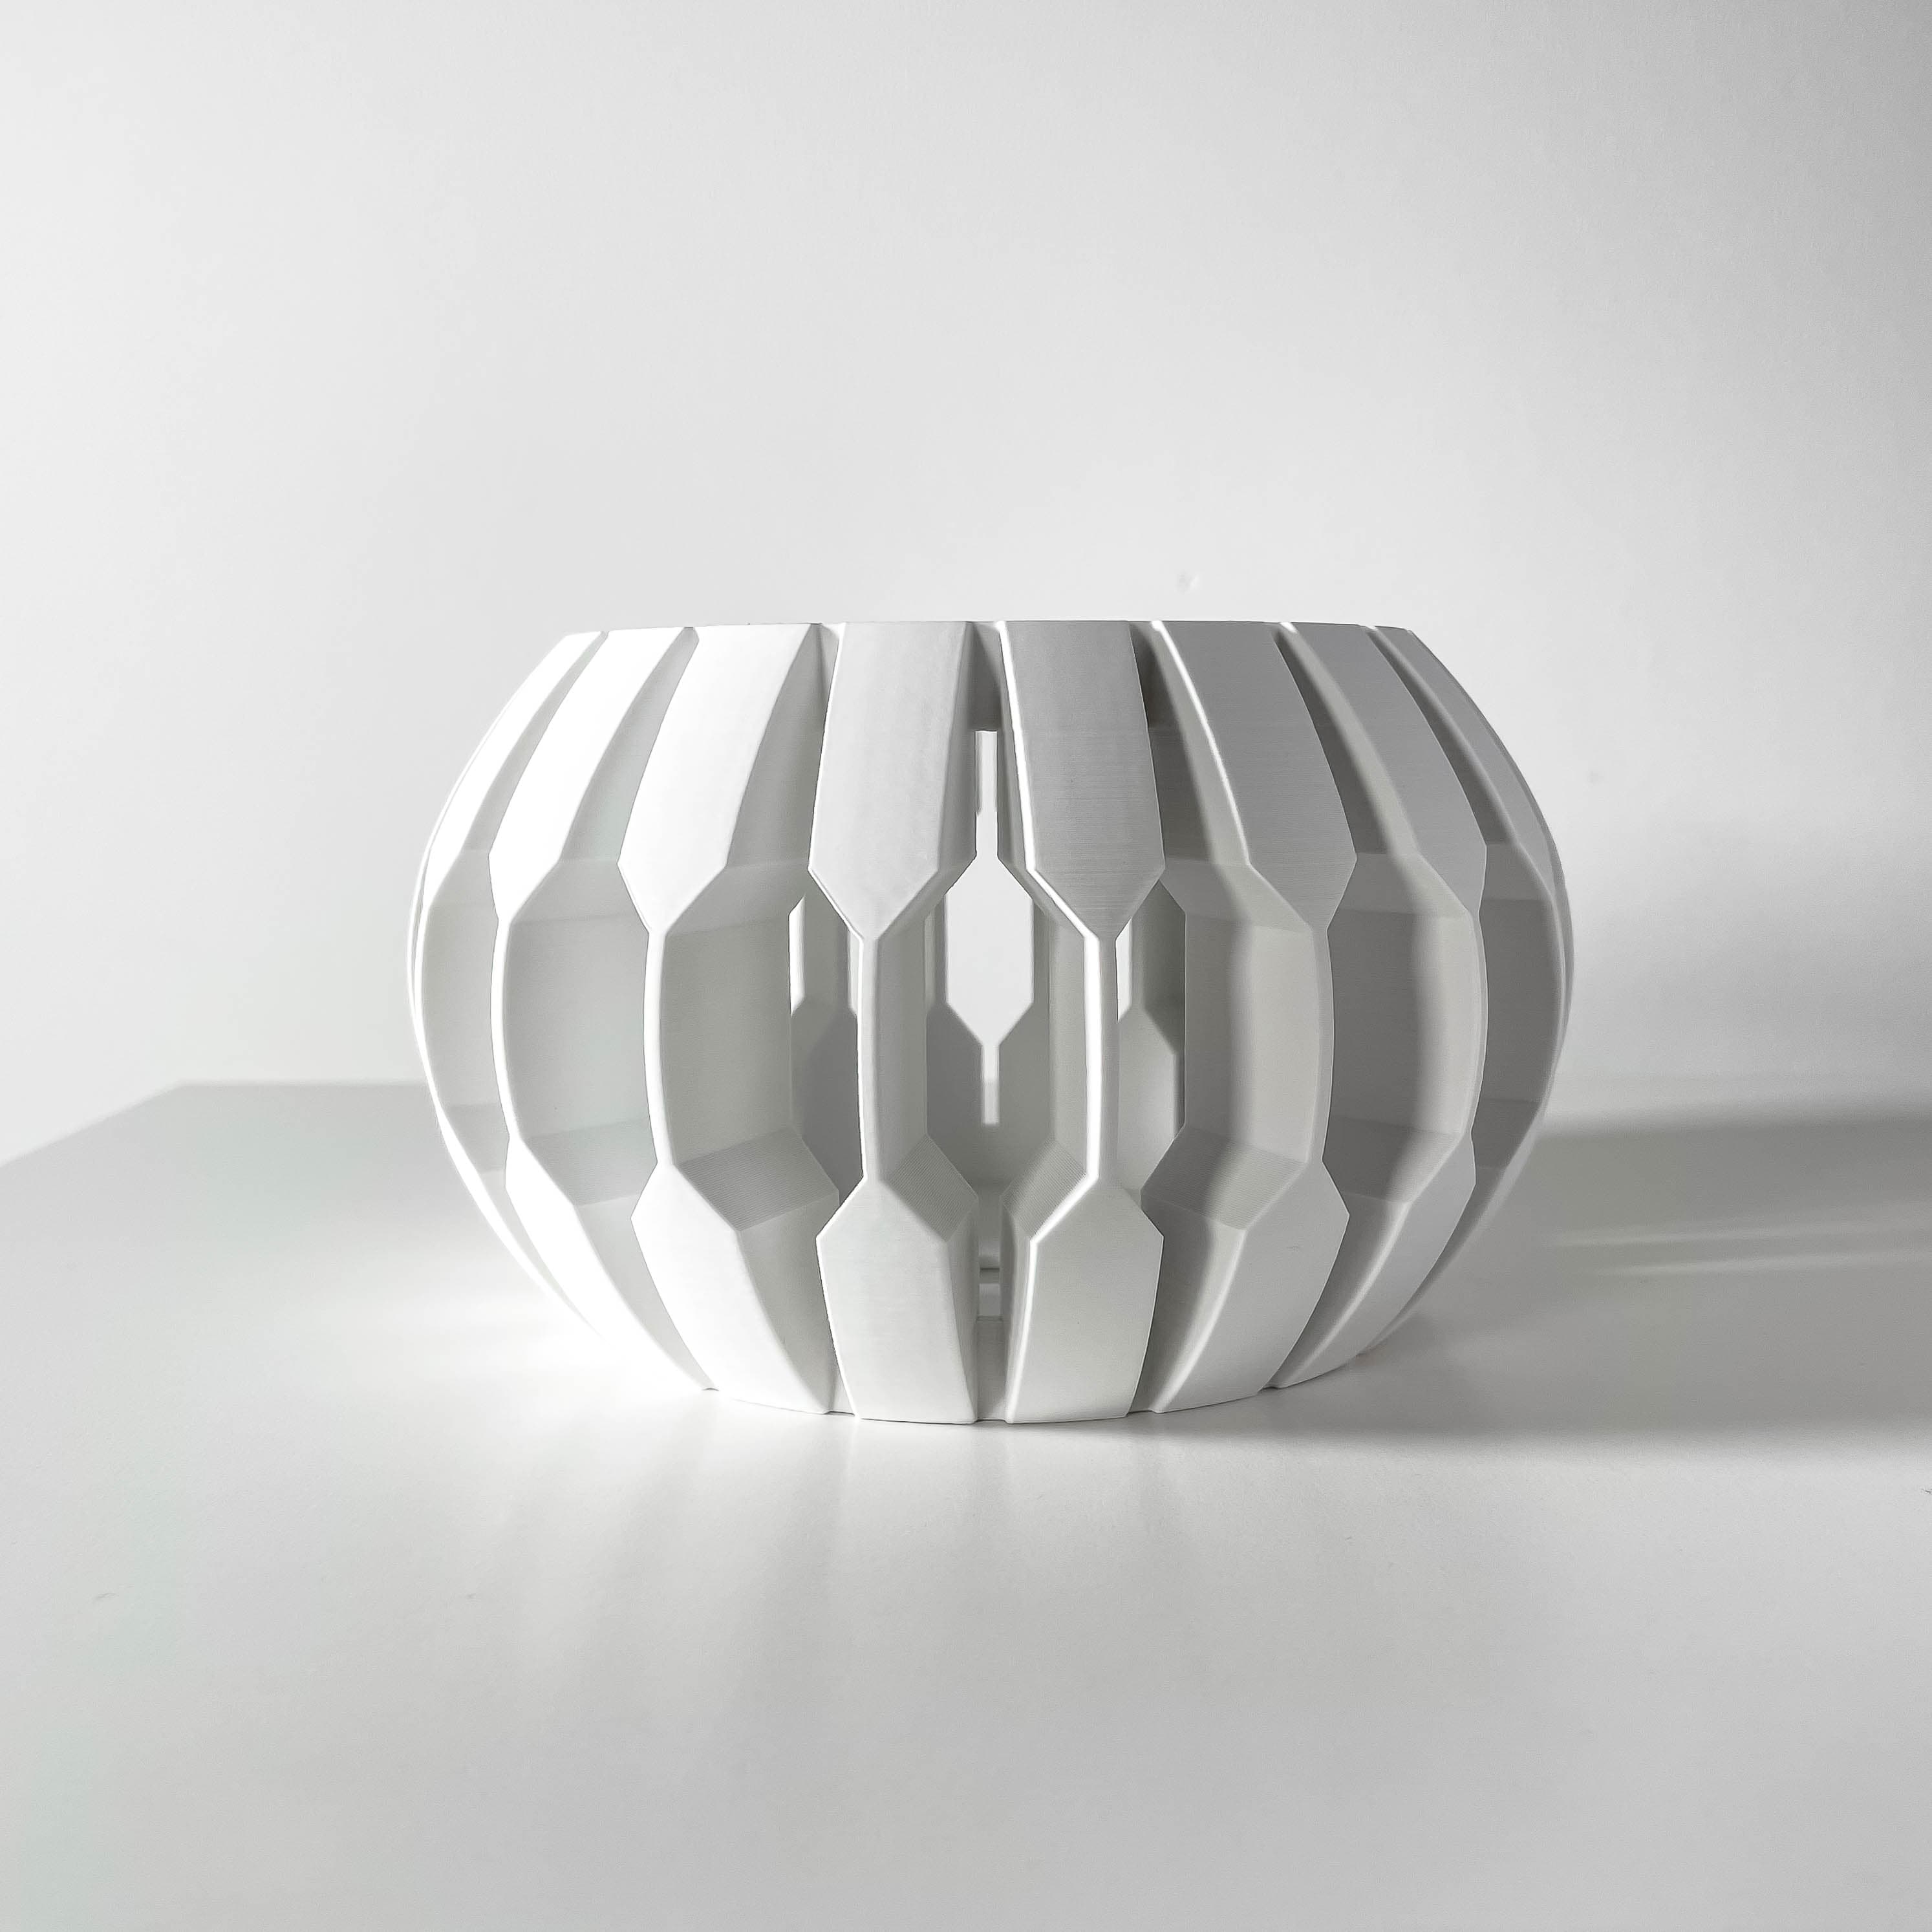
The Garni Orchid Planter Pot with Drainage | Tray Included | Modern and Unique Home Decor
