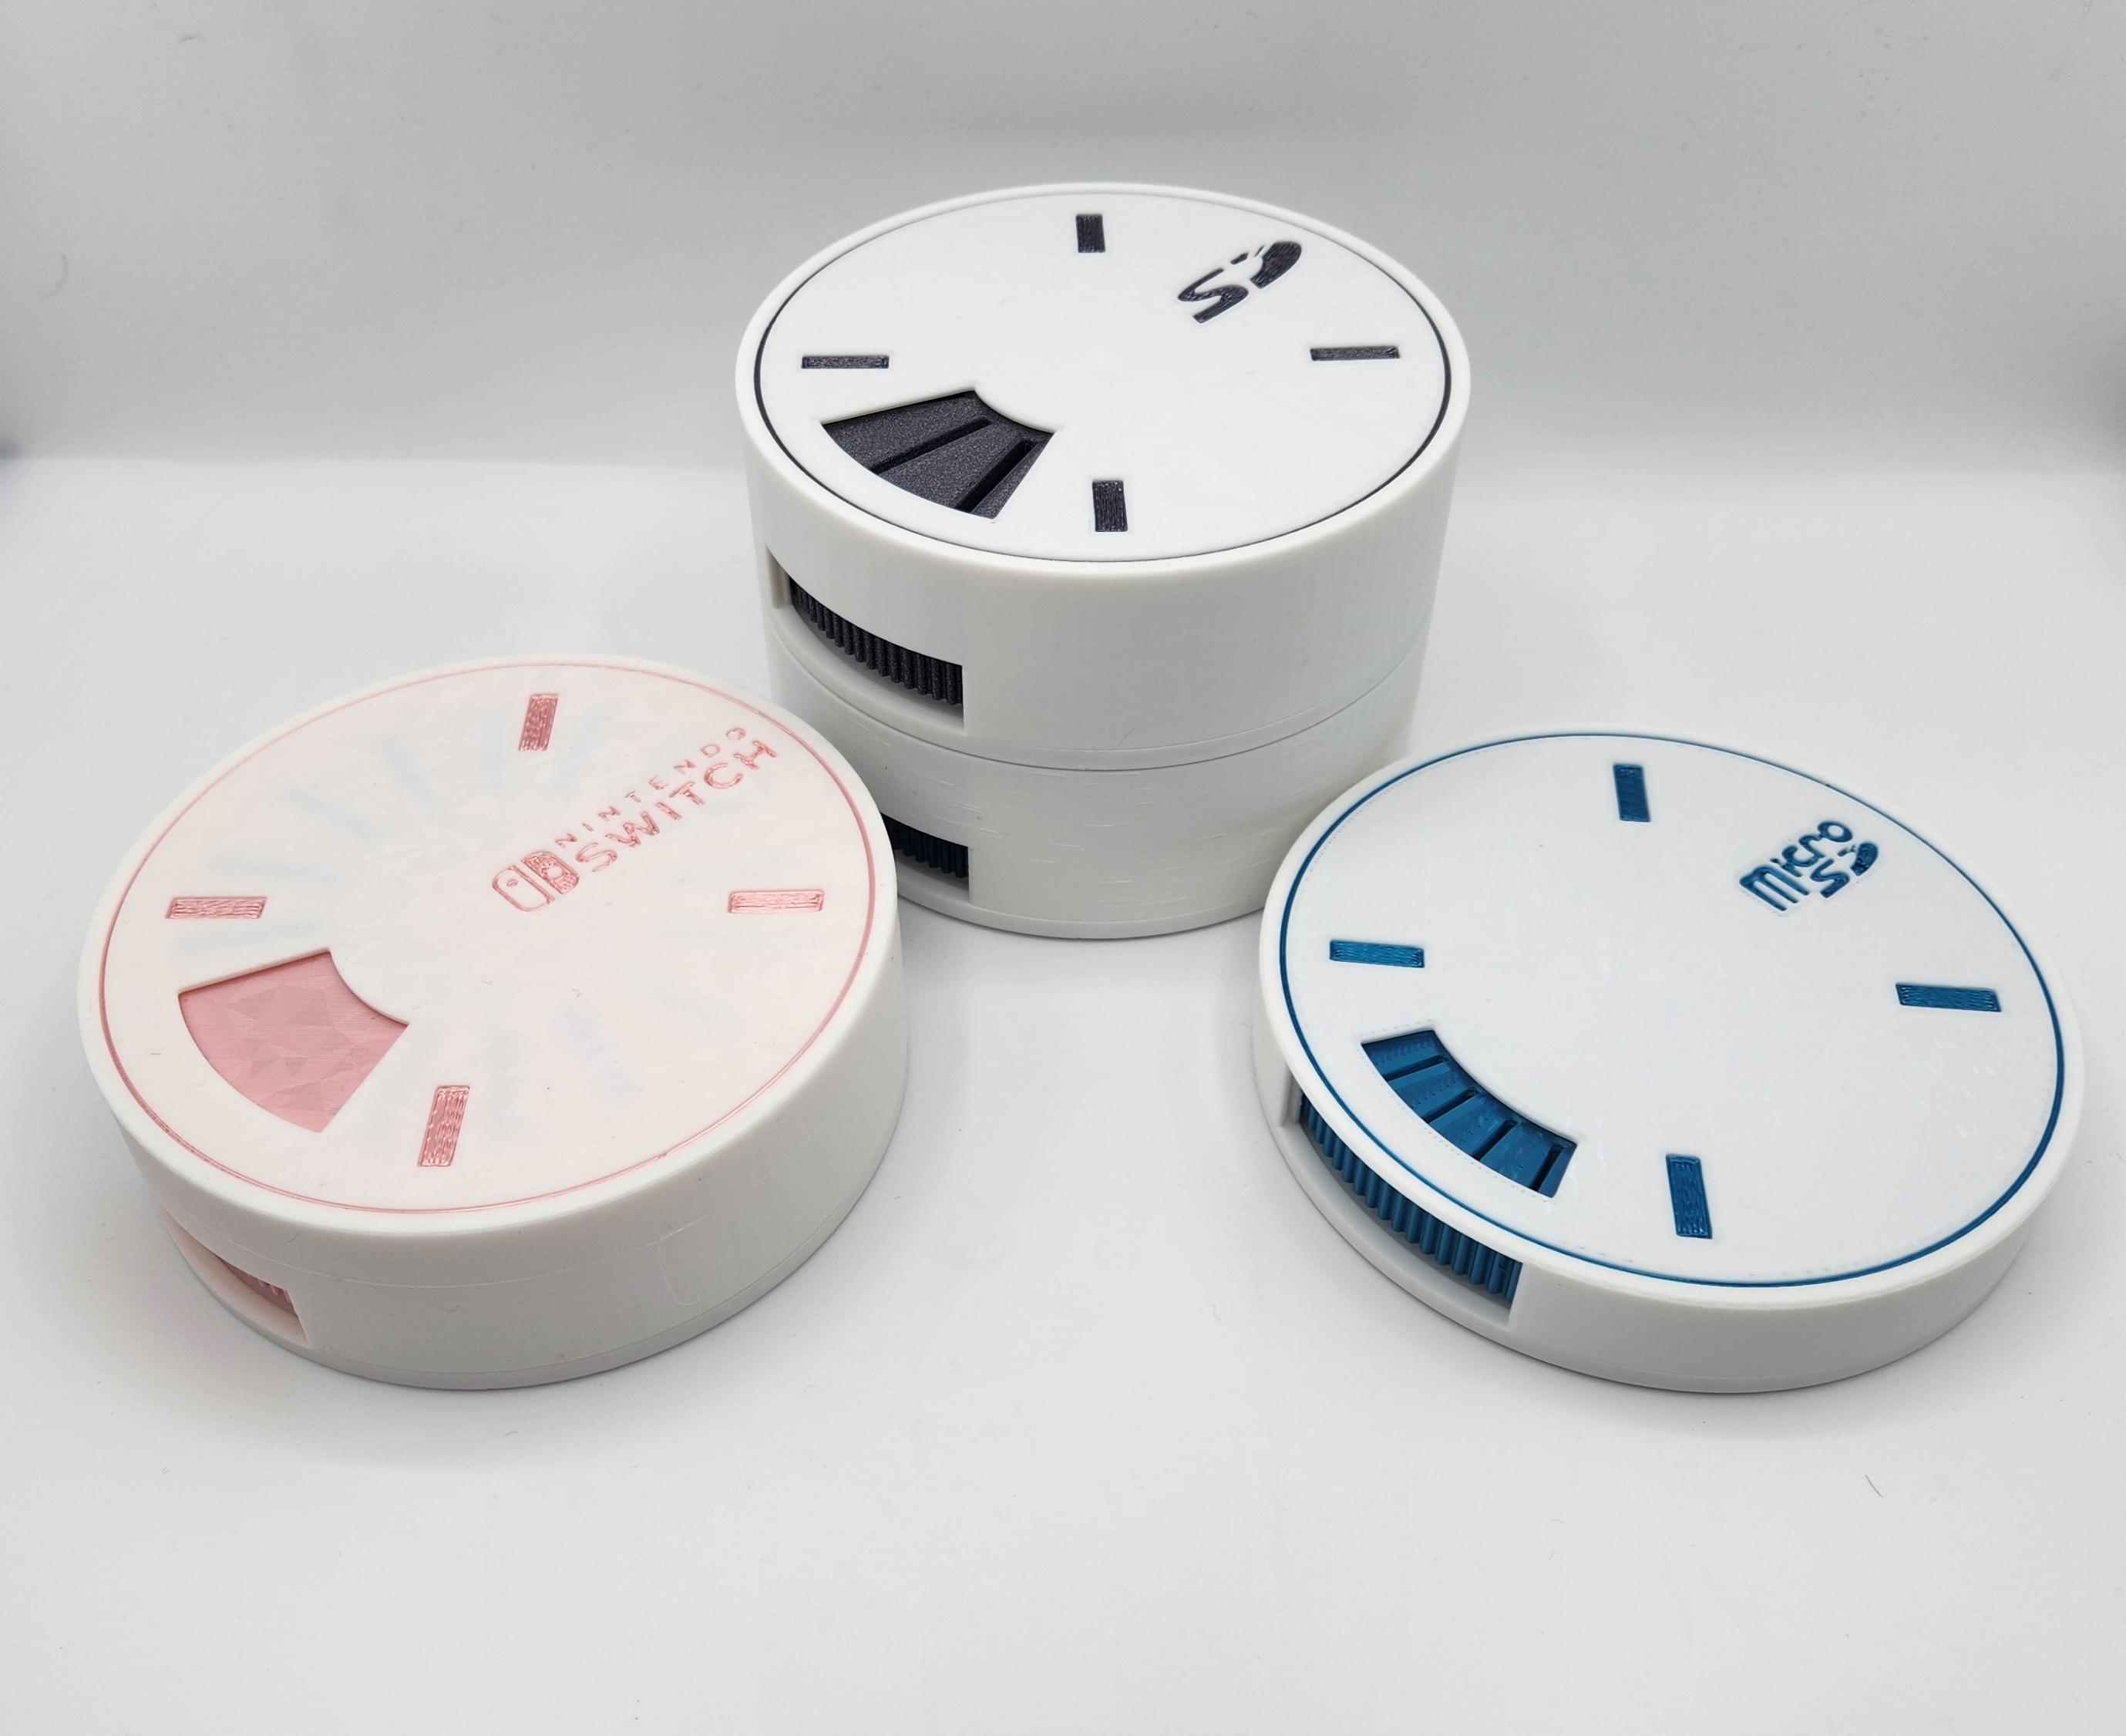
SMART STORAGE CASE - SD CARD, MICRO SD & NINTENDO SWITCH
3D MODEL DESCRIPTION
Stackable storage cases for either Nintendo switch, SD or micro SD cards. Small and simple design.
Clicks when rotating the wheel and your stored items pop up out the opening, has a blank section to prevent any stored items from dropping out.
Easy to assemble, requires 1x 608 bearing (22mm) and glue for the feet if you wish to stack them.
Simply download whichever you choose - do not resize any part - will also fit on the A1 mini, just change your printer in the top left in the bambu slicer.
To assemble just insert the spring into the middle section (it only fits 1 way and will need to be tapped in) then insert bearing. Both may require slight force depending on your chosen filament (see internal picture)
The elevated section of the base, if rough then you may wish to lightly sand the surface to remove the layer lines to allow the device to spin even smoother.
Then simply insert the middle and the outer top, aligning the outer top with the bases removed section for access to the spinner )you may wish to use glue on the outer top if you don't ever intend to disassemble)
Glue the 4x feet in their slots on the bottom and your finished.
3D PRINTING SETTINGS
If not using the provided 3mf files, requires standard .42 walls, speed depending on your printer and filament, supports and brim not necessary but support interface recommended on the feet sections and logos for a finer print surface.
The base section is best with either adaptive layers set to smooth or a very low layer height - this is too eliminate the layer lines as much as possible to allow the device to work more smoothly.
It's also recommended if using silk to only use silk on the middle (cog) section - print this with 50% infill and 4x walls & enjoy.


