Model originally uploaded to Thingiverse at https://www.thingiverse.com/thing:4407250.
A phone stand with a hidden wireless charger inside!Made for this exact wirless charger: https://www.digitec.ch/de/s1/product/xqisit-wireless-fast-charger-1a-10w-quick-charge-20-fast-charge-mobilgeraet-stromversorgung-8763156
I would basically not use my wireless charger because I'd need to carefully aim for it to charge and couldn't use it while charging... Ss I made this stand!
it's way easier to hit the fast charging sweet spot and I can use my phone in landscape mode while it's charging!
Printing!I included my supported stl's as well as the sliced files for the anycubic photon S.
In cas you want to modify/hollow/pierce/orient/support the model yourself, you'll find two base models:
- WirelessPhoneStand.stl
- InternalSupports.stl
Basically, I don't like auto-generated internal supports (when you hollow the model) So I manually designed some permanent ones.
Long story short, in case you want to apply modifications the workflow is as follows:
- Modify "WirelessPhoneStand.stl"
- Add fill supports to the wireless charger hole port.
- Orient the model on the build plate (-90 degrees X and -6 degrees Z)
- Hollow the model, min 2.5mm thickness
- Add draining holes, take a look at my ready_to_print stl for guidance
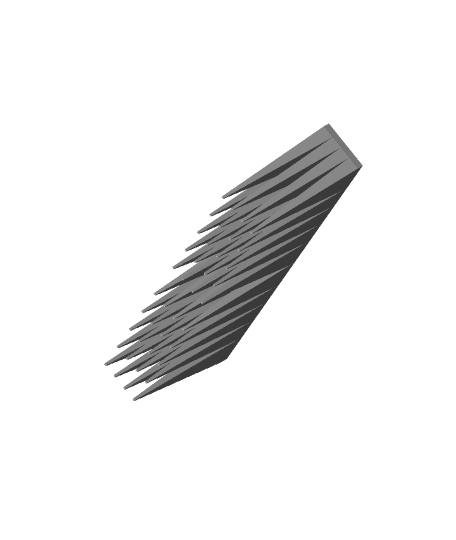
- Add the "InternalSupports.stl" model, place it under the big internal overhang, (under the slot for the wirless charger)
- The internal supports should go though the first wall resting on the build plate and though the first wall of the wirless charger slot (without poking on the other side!).
- Slice them both at the same time an print it!
Printer: Anycubic photon S
What to print?: One phone stand with an hidden slot to put a QI wireless charger
Time to print?: around 24 hours
Layer height: 0.02 mm
Quantity of resin used: around 160 mL
Type of resin: Anycubic Eco plant-based resin (macaroon pink)
Printing temp: around 20C, the highest I could get at the time
###Washing, Curing
I recommend removing the supports before curing. It's a bit more tedious with gloves and a mask, but they come off easier and there is less risk of damage.
also recommending to cure underwater, just tried with the last batch and they came out great.
###Sanding
Basically sand the supports marks until they are flat, then increase the grit to have a smooth finish.
Have fun :)