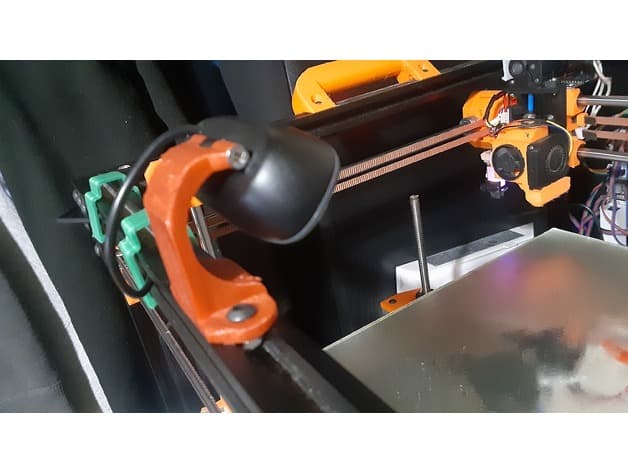
Improved Logitech c270 webcam mount + Snapmaker 2.0 base options
Model originally uploaded to Thingiverse at https://www.thingiverse.com/thing:4742899.
These remixes are based on these three things:
Logitech C270 tripod, by luc_e, December 27, 2015
C270 Focus Ring - OpenSCAD included, by biomushroom, August 24, 2016
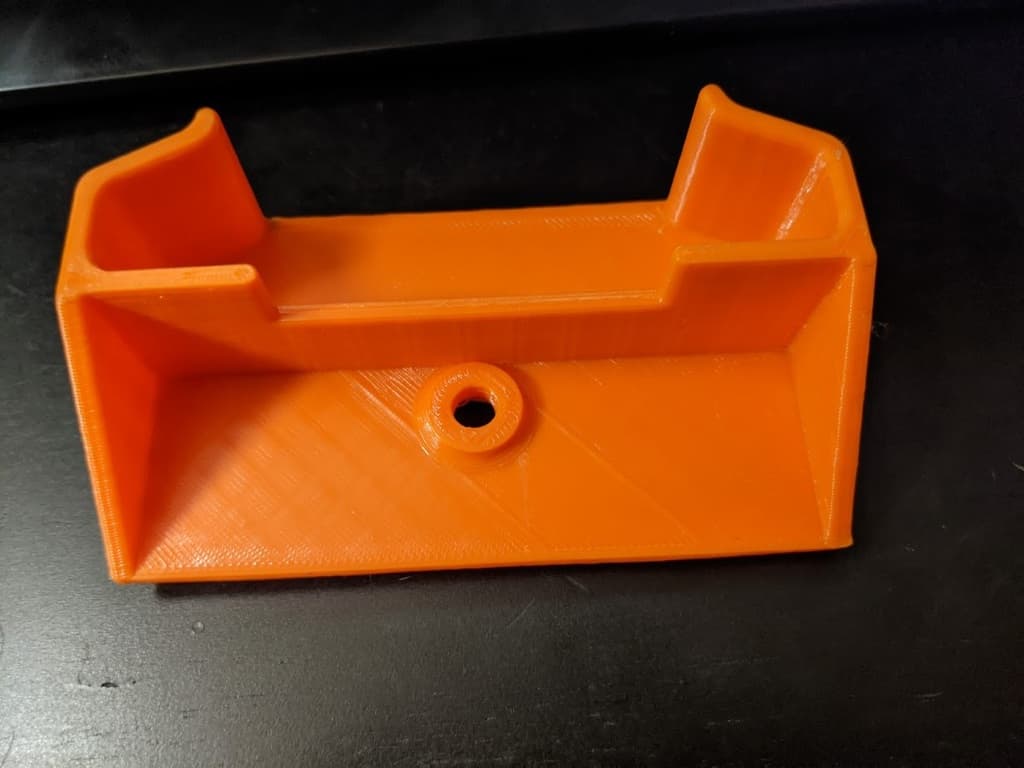
snapmaker base plate, by Okatake, February 12, 2018
(Note: I tried to officially link more than one source item, but the thingiverse.com search tool kept saying "0 results.")
Kudos to luc_e, biomushroom, and Okatake for the things.
Parts list & hardware:Here's what is included and the minimal hardware that's needed:
-
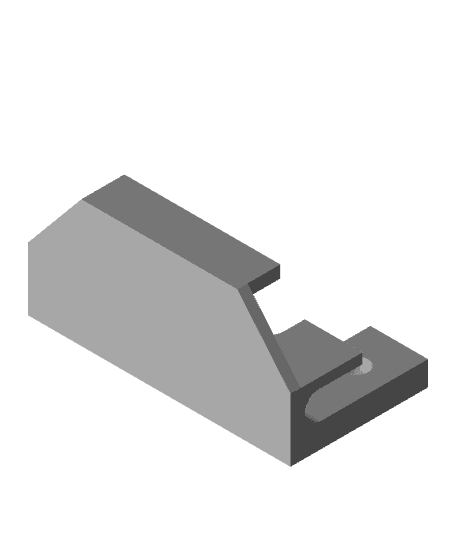
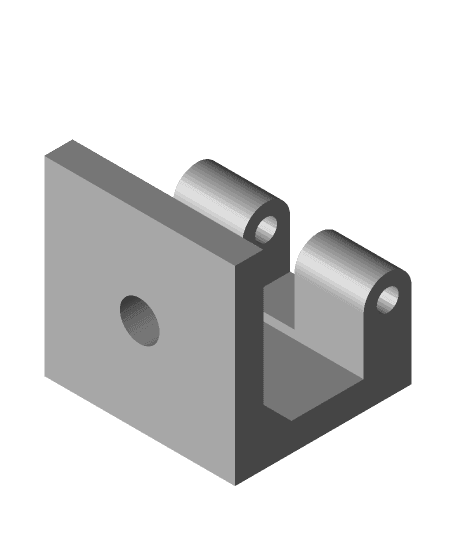
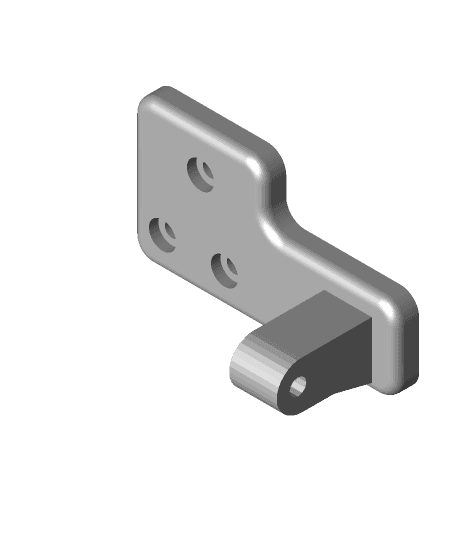
BASE option A — M3x16 screws x 2 (This can be attached to Snapmaker 2.0 enclosure vertical beam near touchscreen.) Then to attach the next flex arm segment (below), M3x20 screw and matching nut.
-
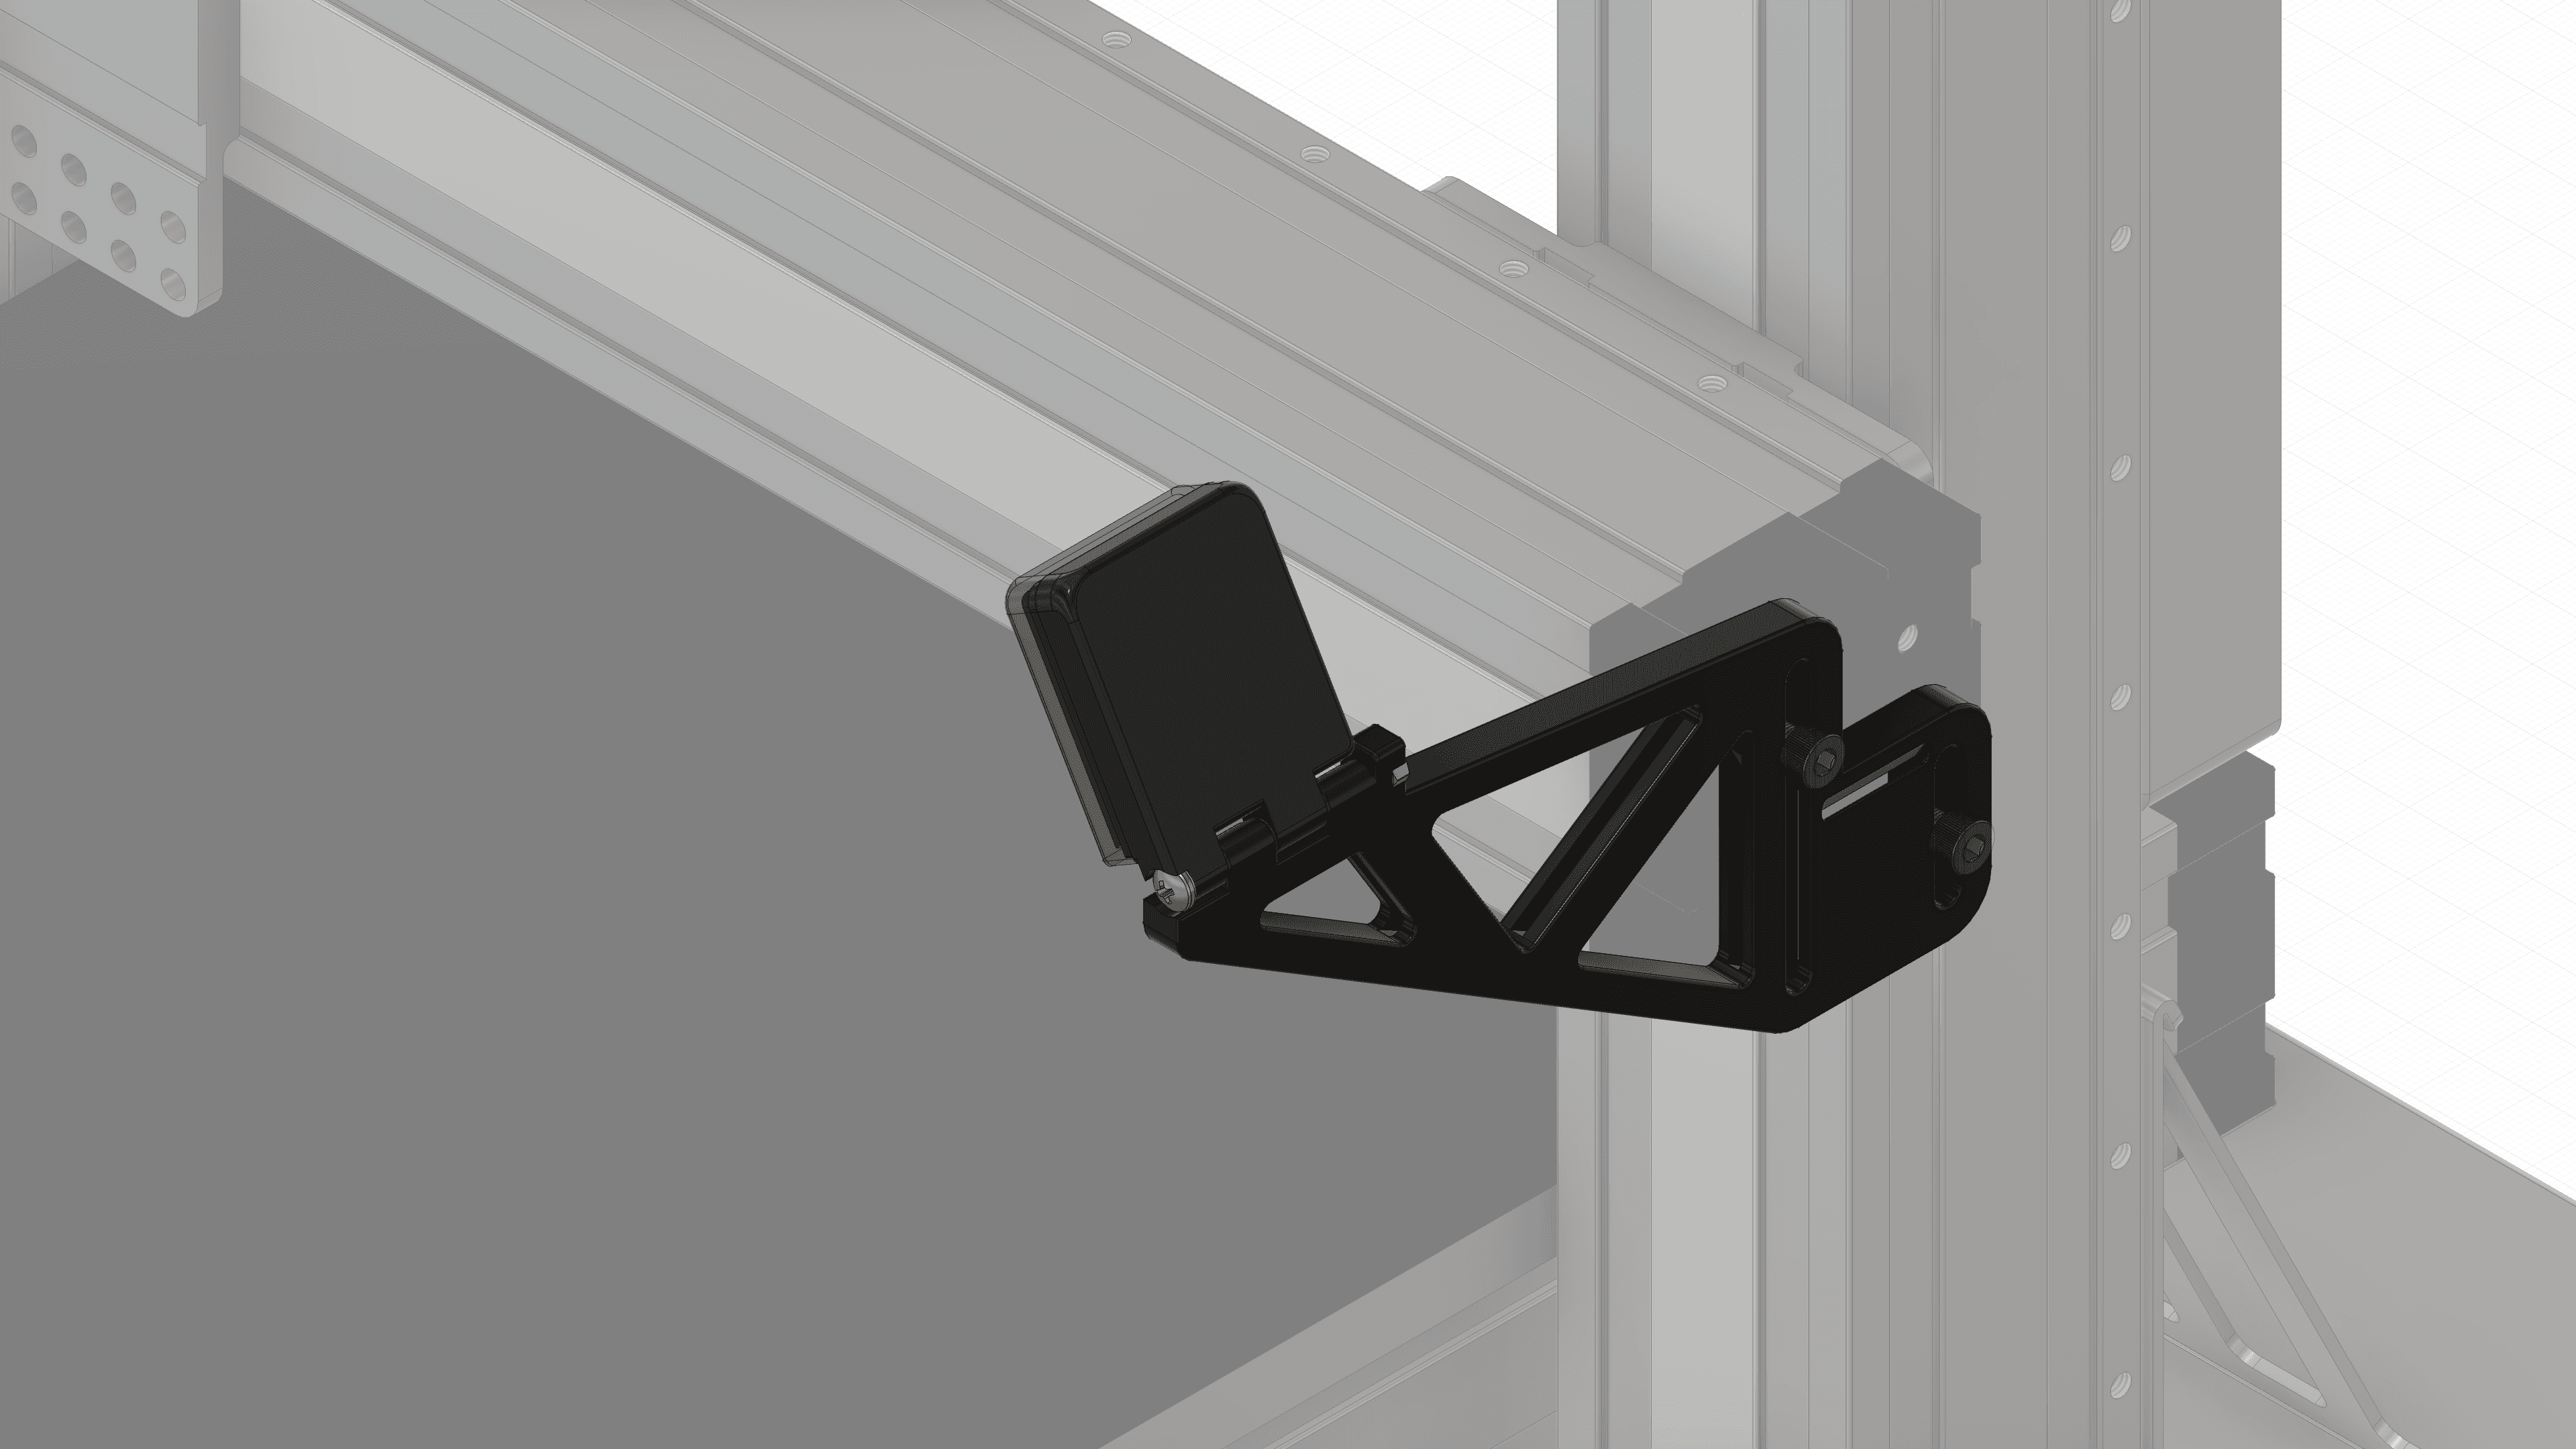
BASE option B — M4x16 screws x 4 (This can be attached on the end of a Snapmaker 2.0 linear module.)
-
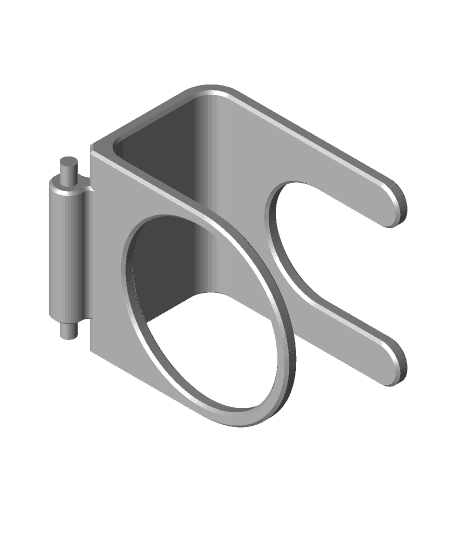
c270_cam1_REMIX — no additional hardware needed (Use the original 3 small screws from the webcam itself, that hold the inner front piece on.)
-
c270_cam2_shaped_REMIX — M3x12 self-tapping screws (tapered head screws) x 2
-
C270_Focus_Ring OPTIONS (choose one of three):
-
C270_Focus_Ring_REMIX_LOOSE
-
C270_Focus_Ring_REMIX_MID
-
C270_Focus_Ring_REMIX_SNUG (recommended)
-
-
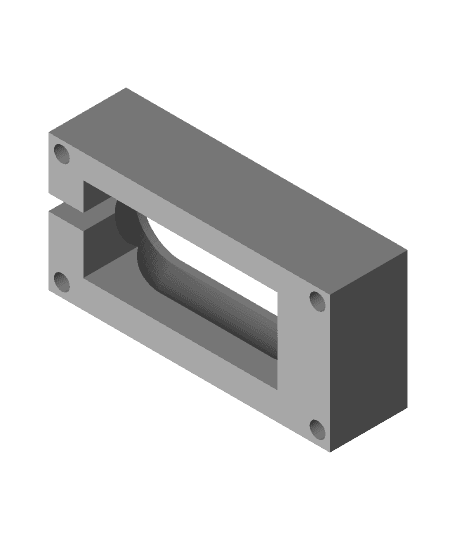
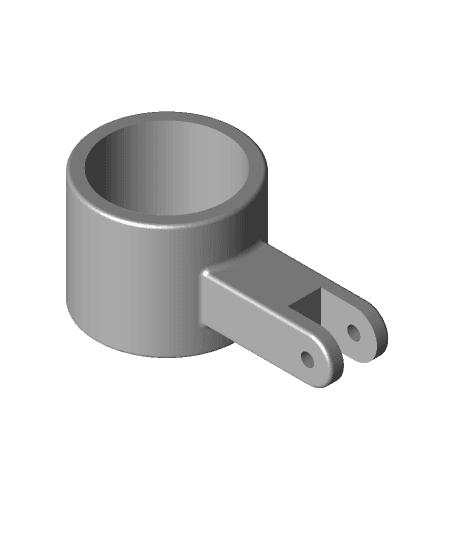
c270_hinge_REMIX — M3x12 screw (or M3x10 screw) & matching nut. (If using 12mm, some washers maybe needed as spacers.)
-
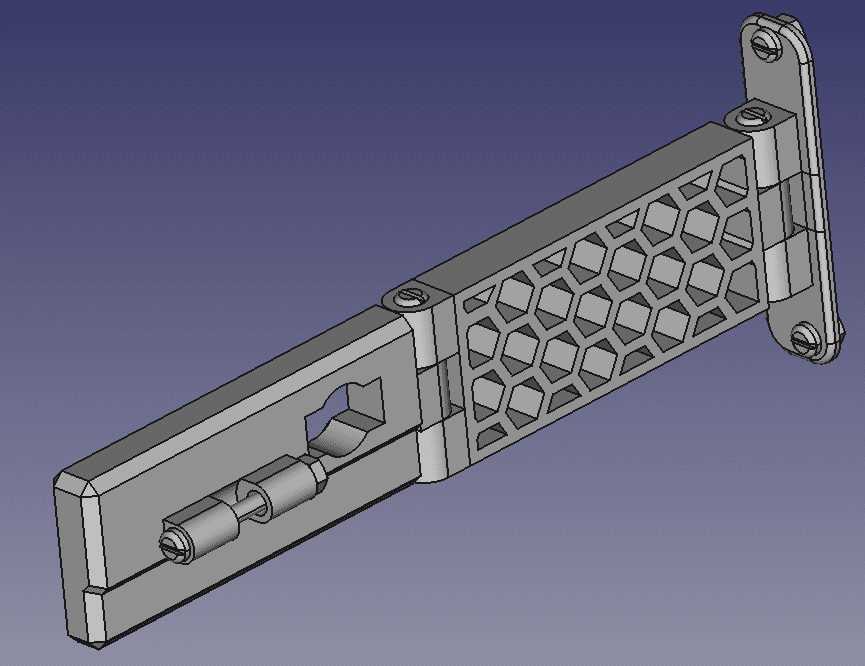
Flex_Arm OPTIONS (mix and match as needed):
-
Flex_Arm_Regular — M3x20 screw and matching nut
-
Flex_Arm_Right-Angle_Twist — M3x20 screw and matching nut
-
Flex_Arm_w_c270_Mount — M3x20 screw and matching nut
-
NOTE: That last option ("Flex_Arm_w_c270_Mount") is not used in the pics. It would eliminate need of part "c270_hinge_REMIX," but at the cost of some adjustability (swivel).
Where to start on reasons for all this remixing....-
Original focus ring did not grip my C270's focuser at all, and neither did the later remixed one by biomushroom, despite being recommended by luc_e. Perhaps my specific model of the C270 camera had some differences?
-
Original "c270_hinge_M3_screw.stl" was missing a crucial constriction of the bore for the pin (as viewable in the original camera mount). The edge of it should form an inner lip for the screw head to sit against. Without this "ledge," nothing prevents the pin from sliding right out even while the hinge screw is tightened in place.
-
Original "c270_cam2_shaped.stl" by luc_e mysteriously had a 3.3 mm tall opening (ledge wall) for a focus ring disc that was only 2.0 mm tall. Too much of a gap, led to wobbling.
-
Original "c270_cam2_shaped.stl" by luc_e used "terraced" levels in the lens opening, to "match" the injection molded part removed from the camera. These "stair like" widenings meant either printing overhangs with no support, or turning on supports when they really should not be needed. The "terraces" did not print well for me without supports. The normal "cone" shape I used instead, however, prints much better and without supports needed.
-
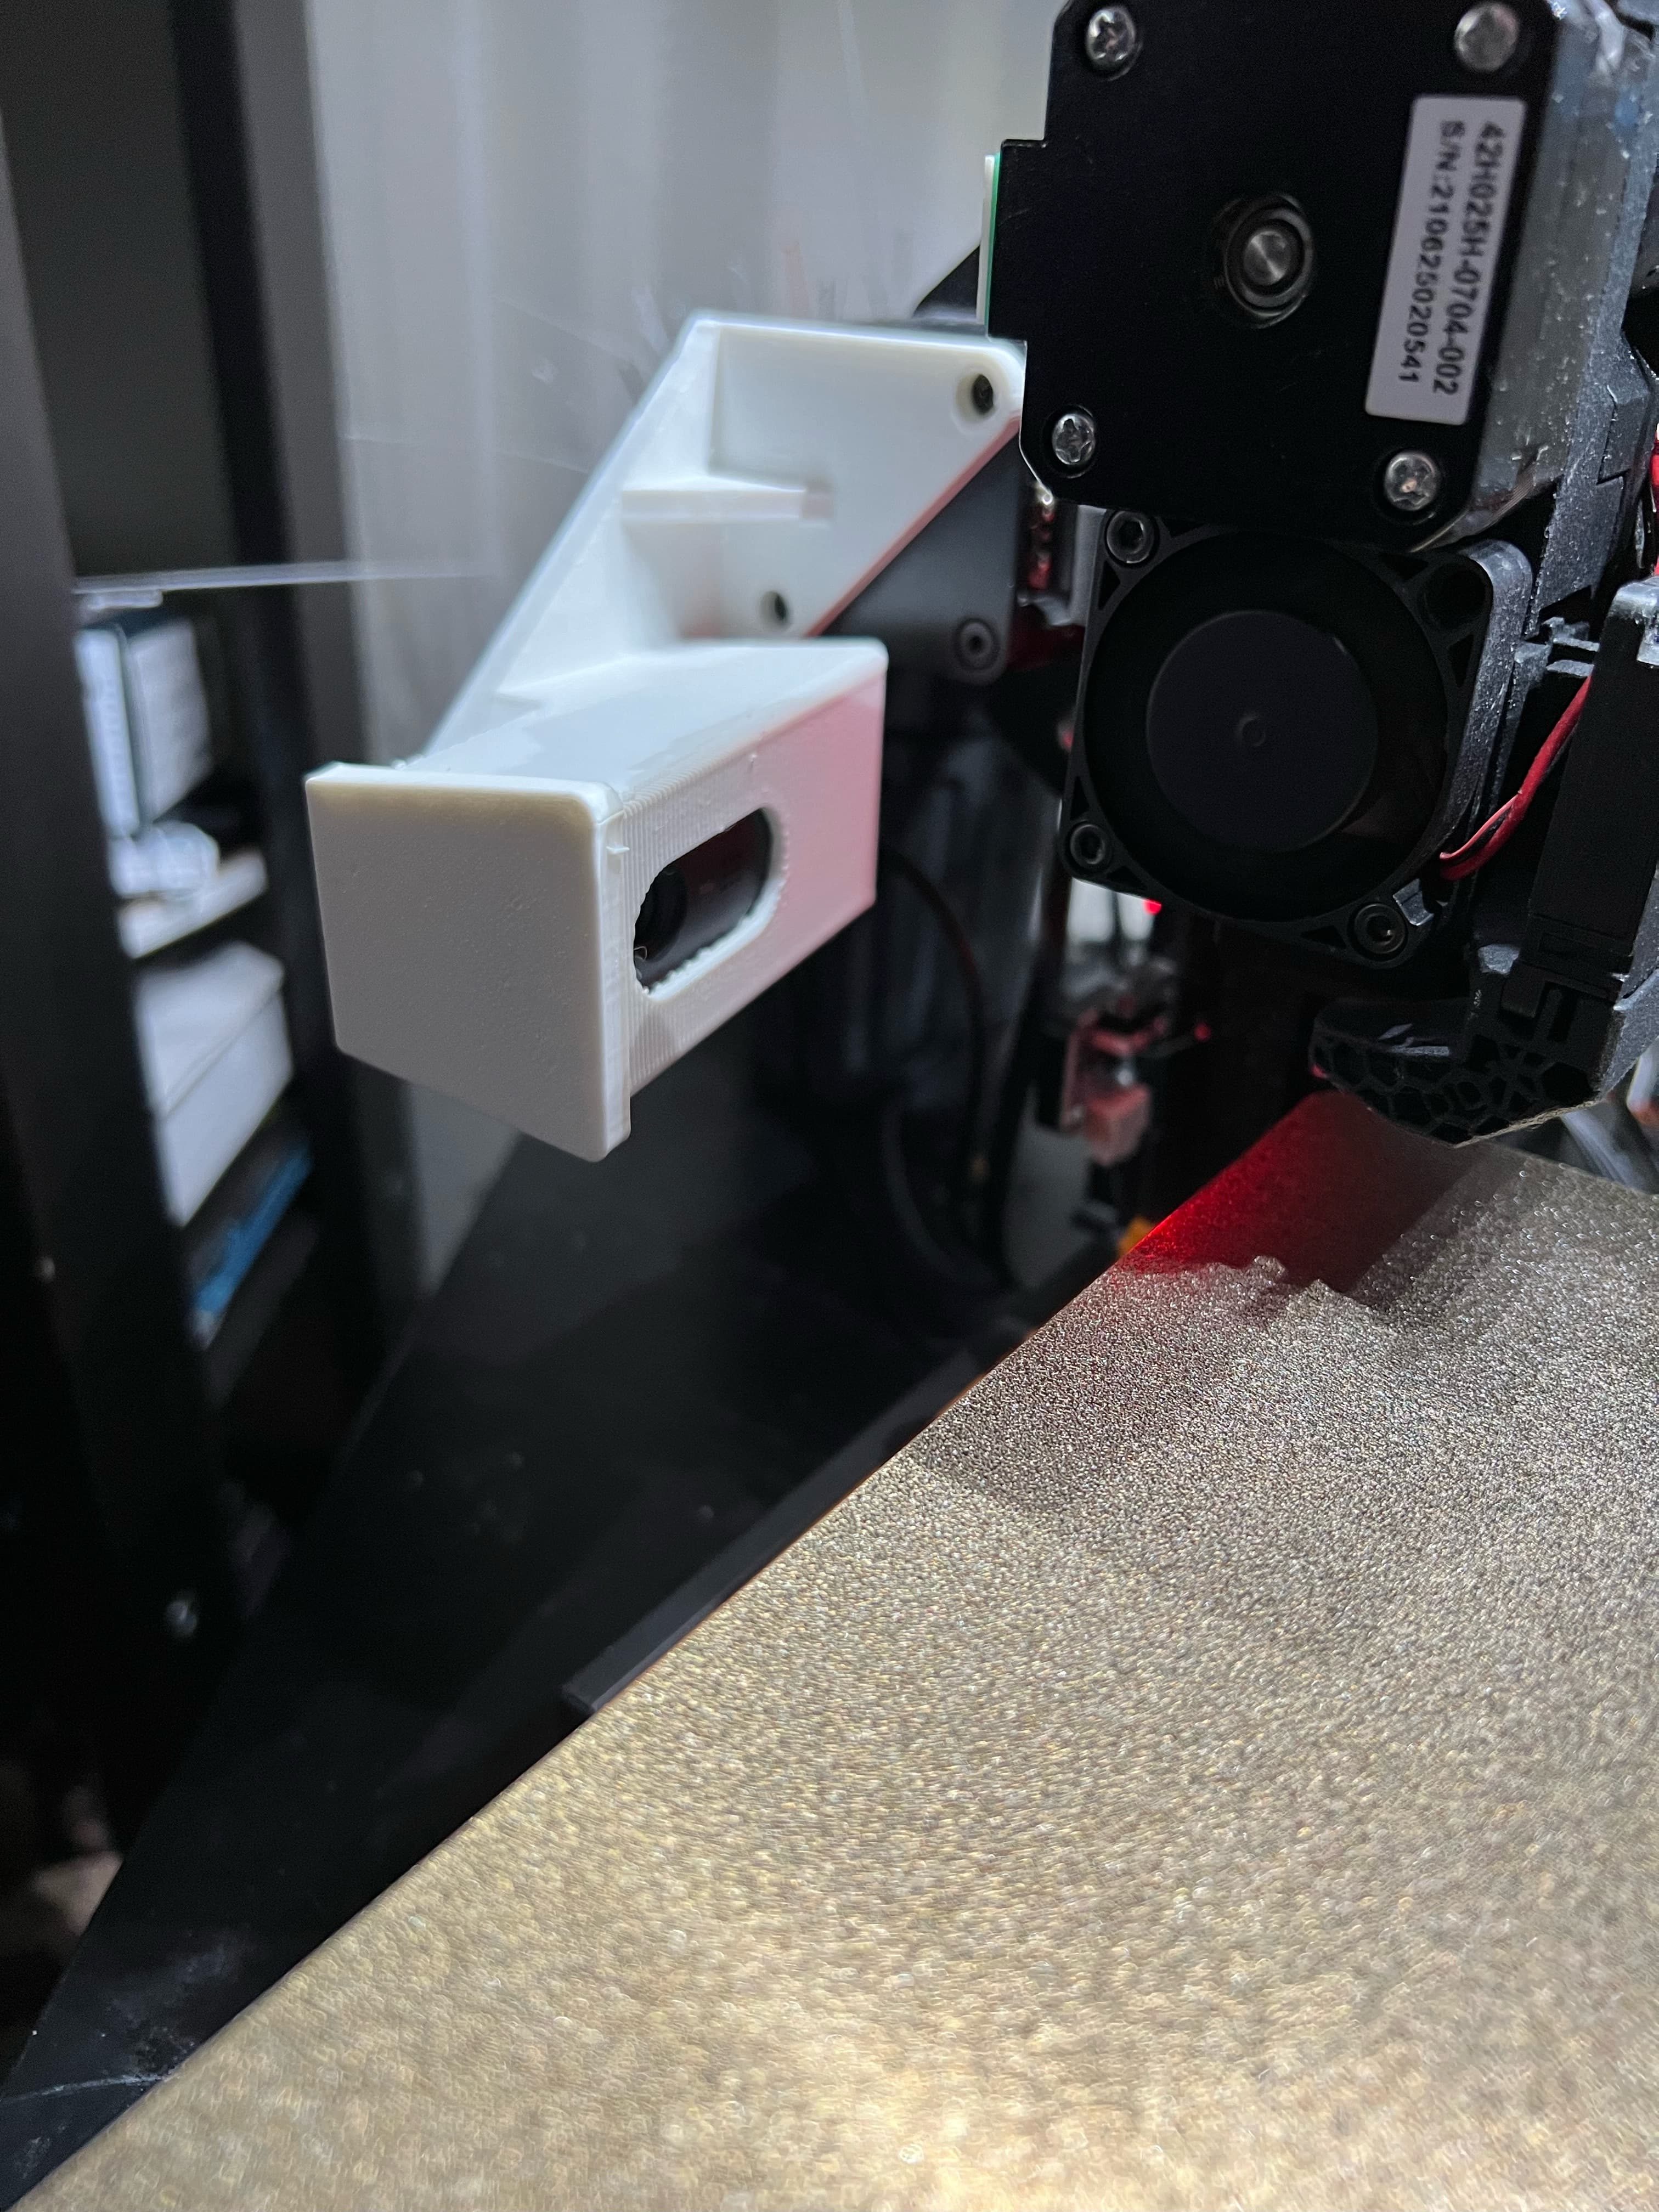
Original design offered no openings to permit audio into the webcam's built in microphone, which probably does not matter for most 3d-print time lapses, but allowing for sound inlet really costs nothing extra save forethought, and allowing it perhaps supports/retains the camera's original functionality that might at some point be welcome or needful. My remix has holes in the right places to permit sound to reach the mic.
-
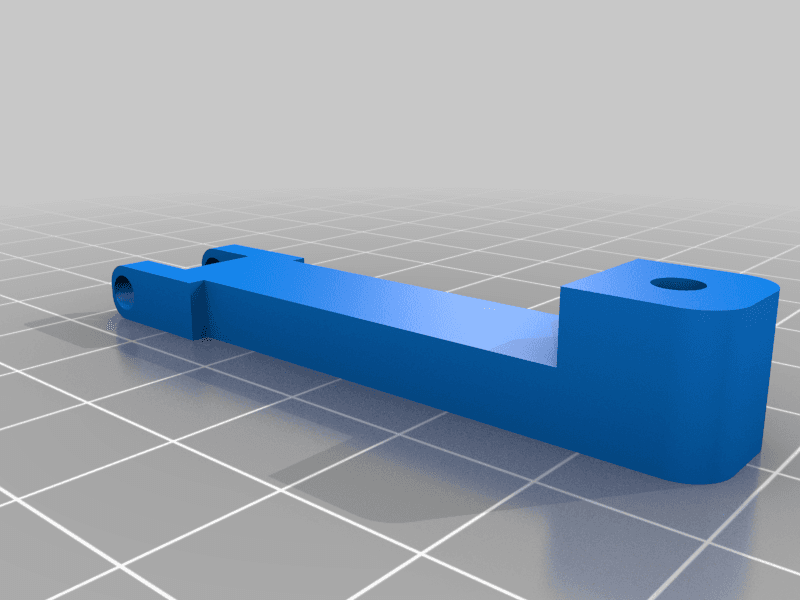
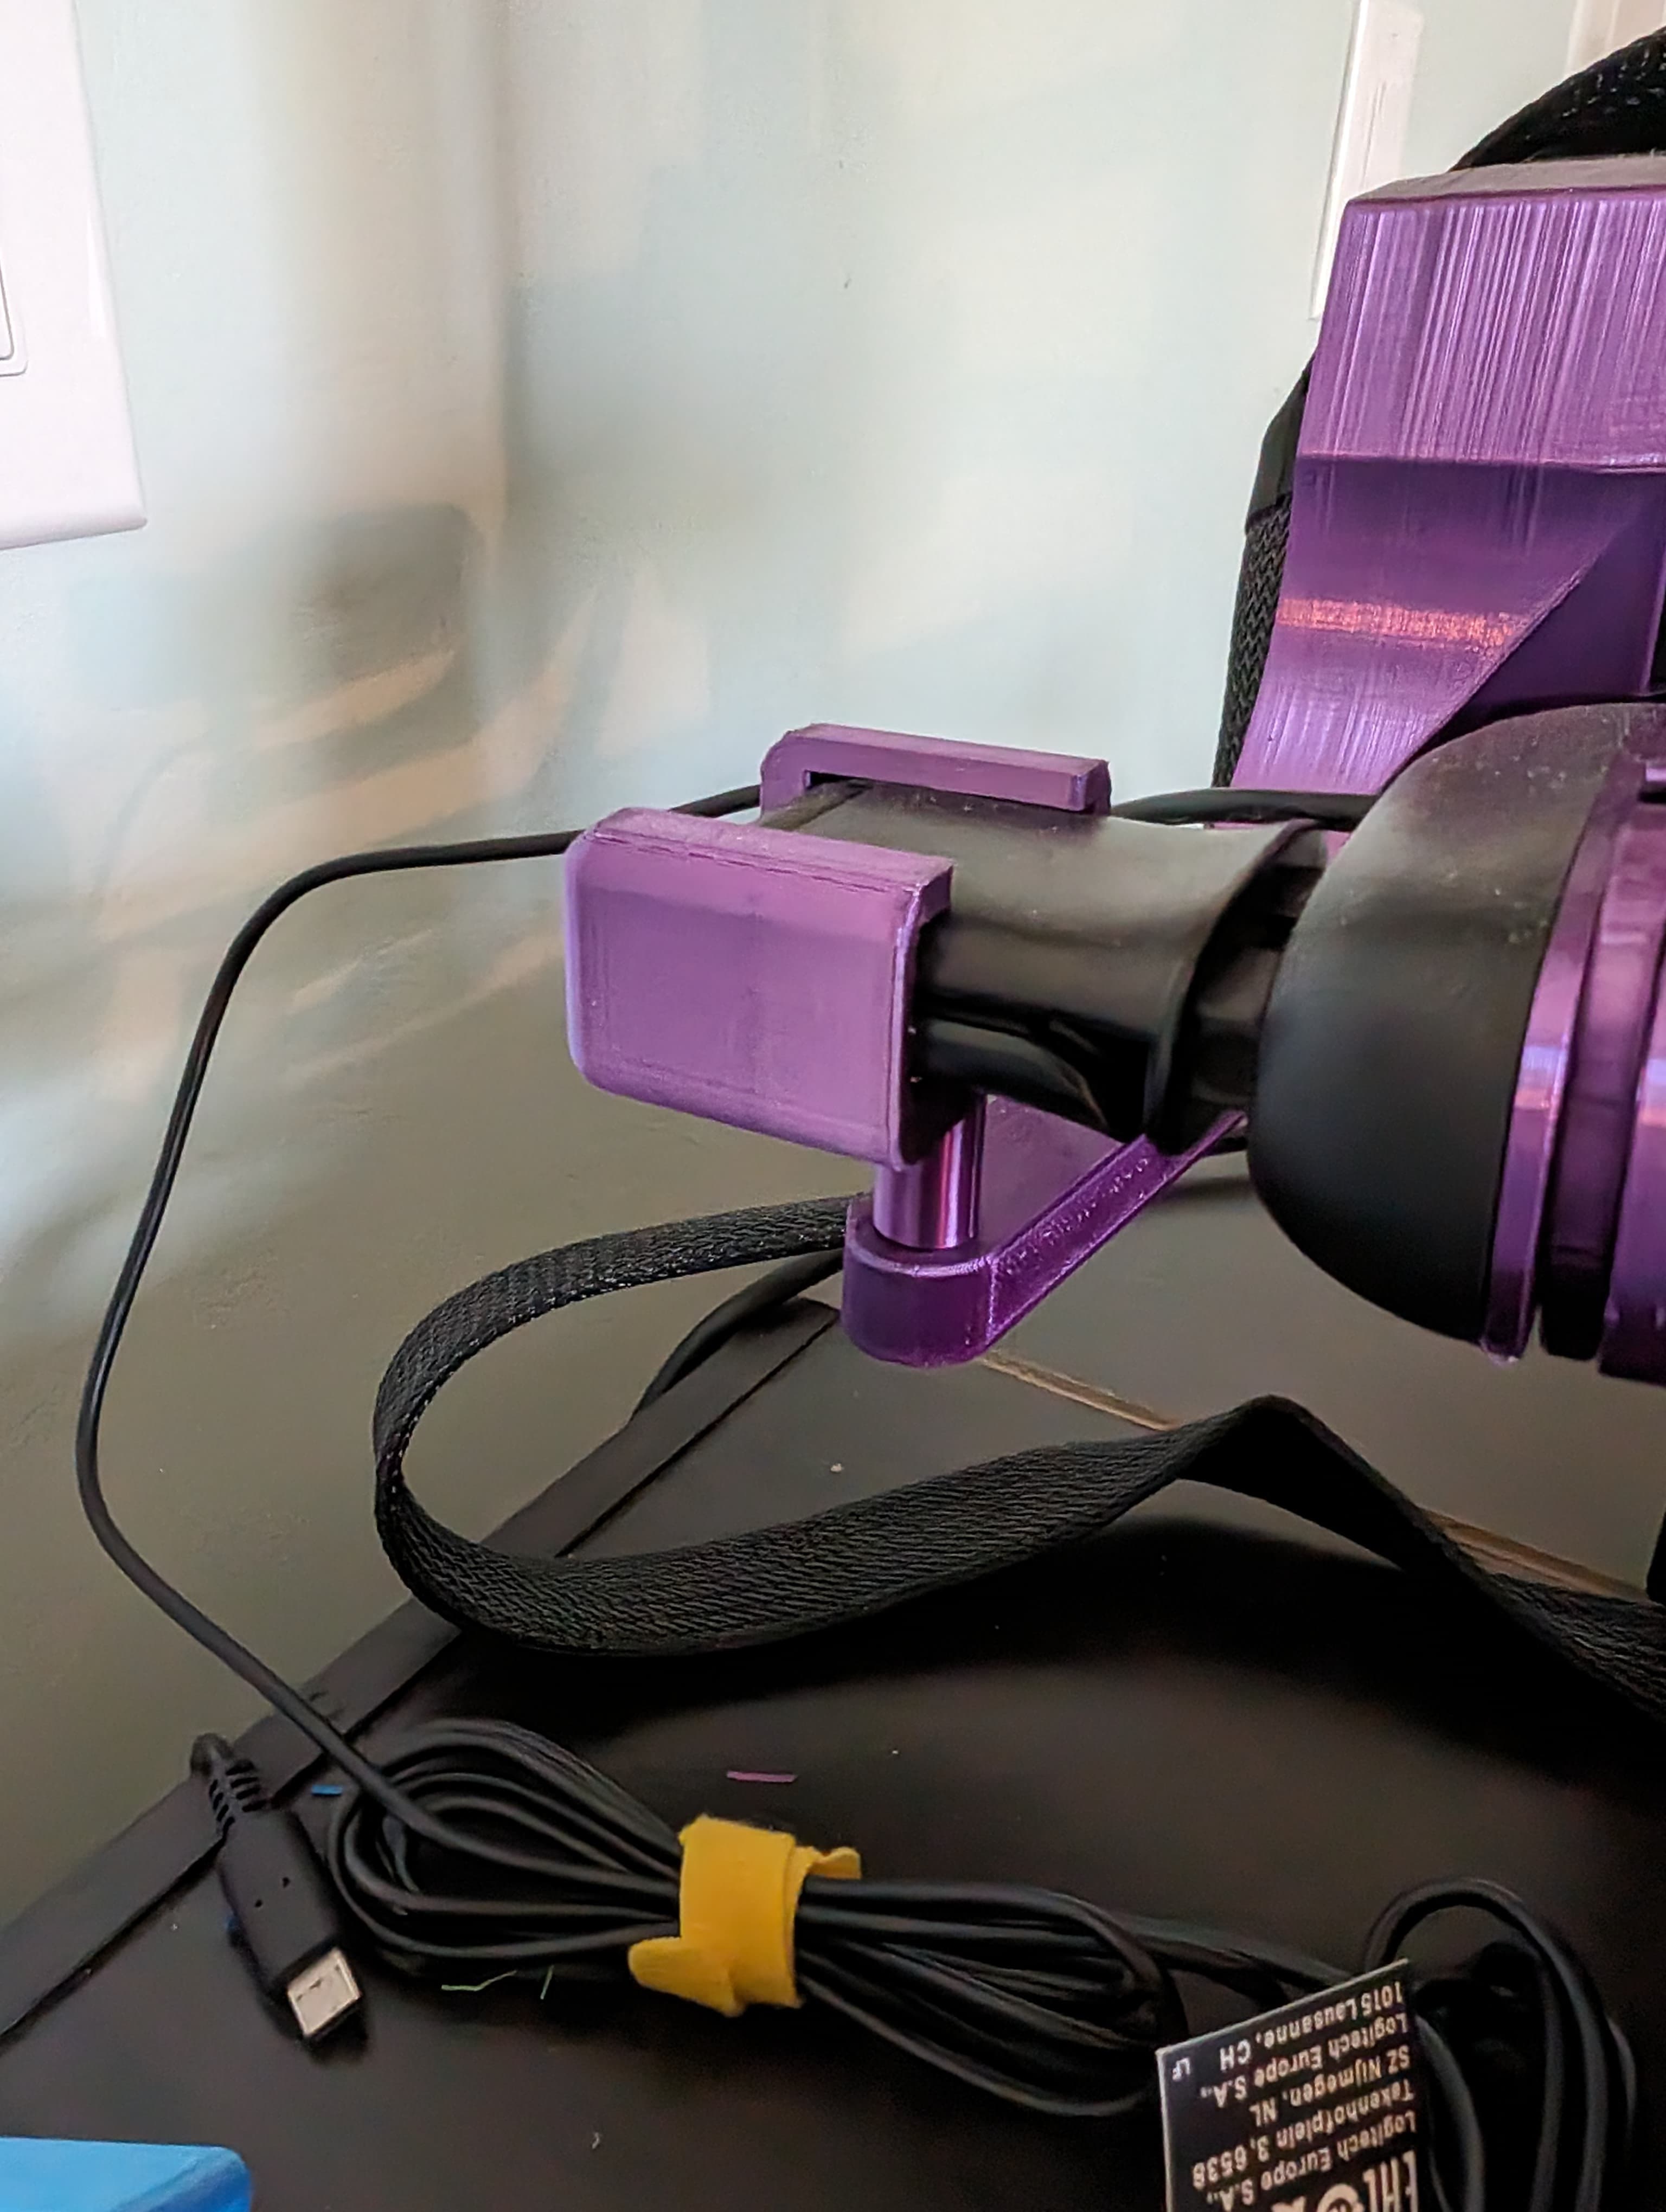
Original design did not offer any "tripod" segment option having a 90-degree twist on its top (point of connection to the next segment). I needed both types of segments, "straight" and 90-degree twist.
-
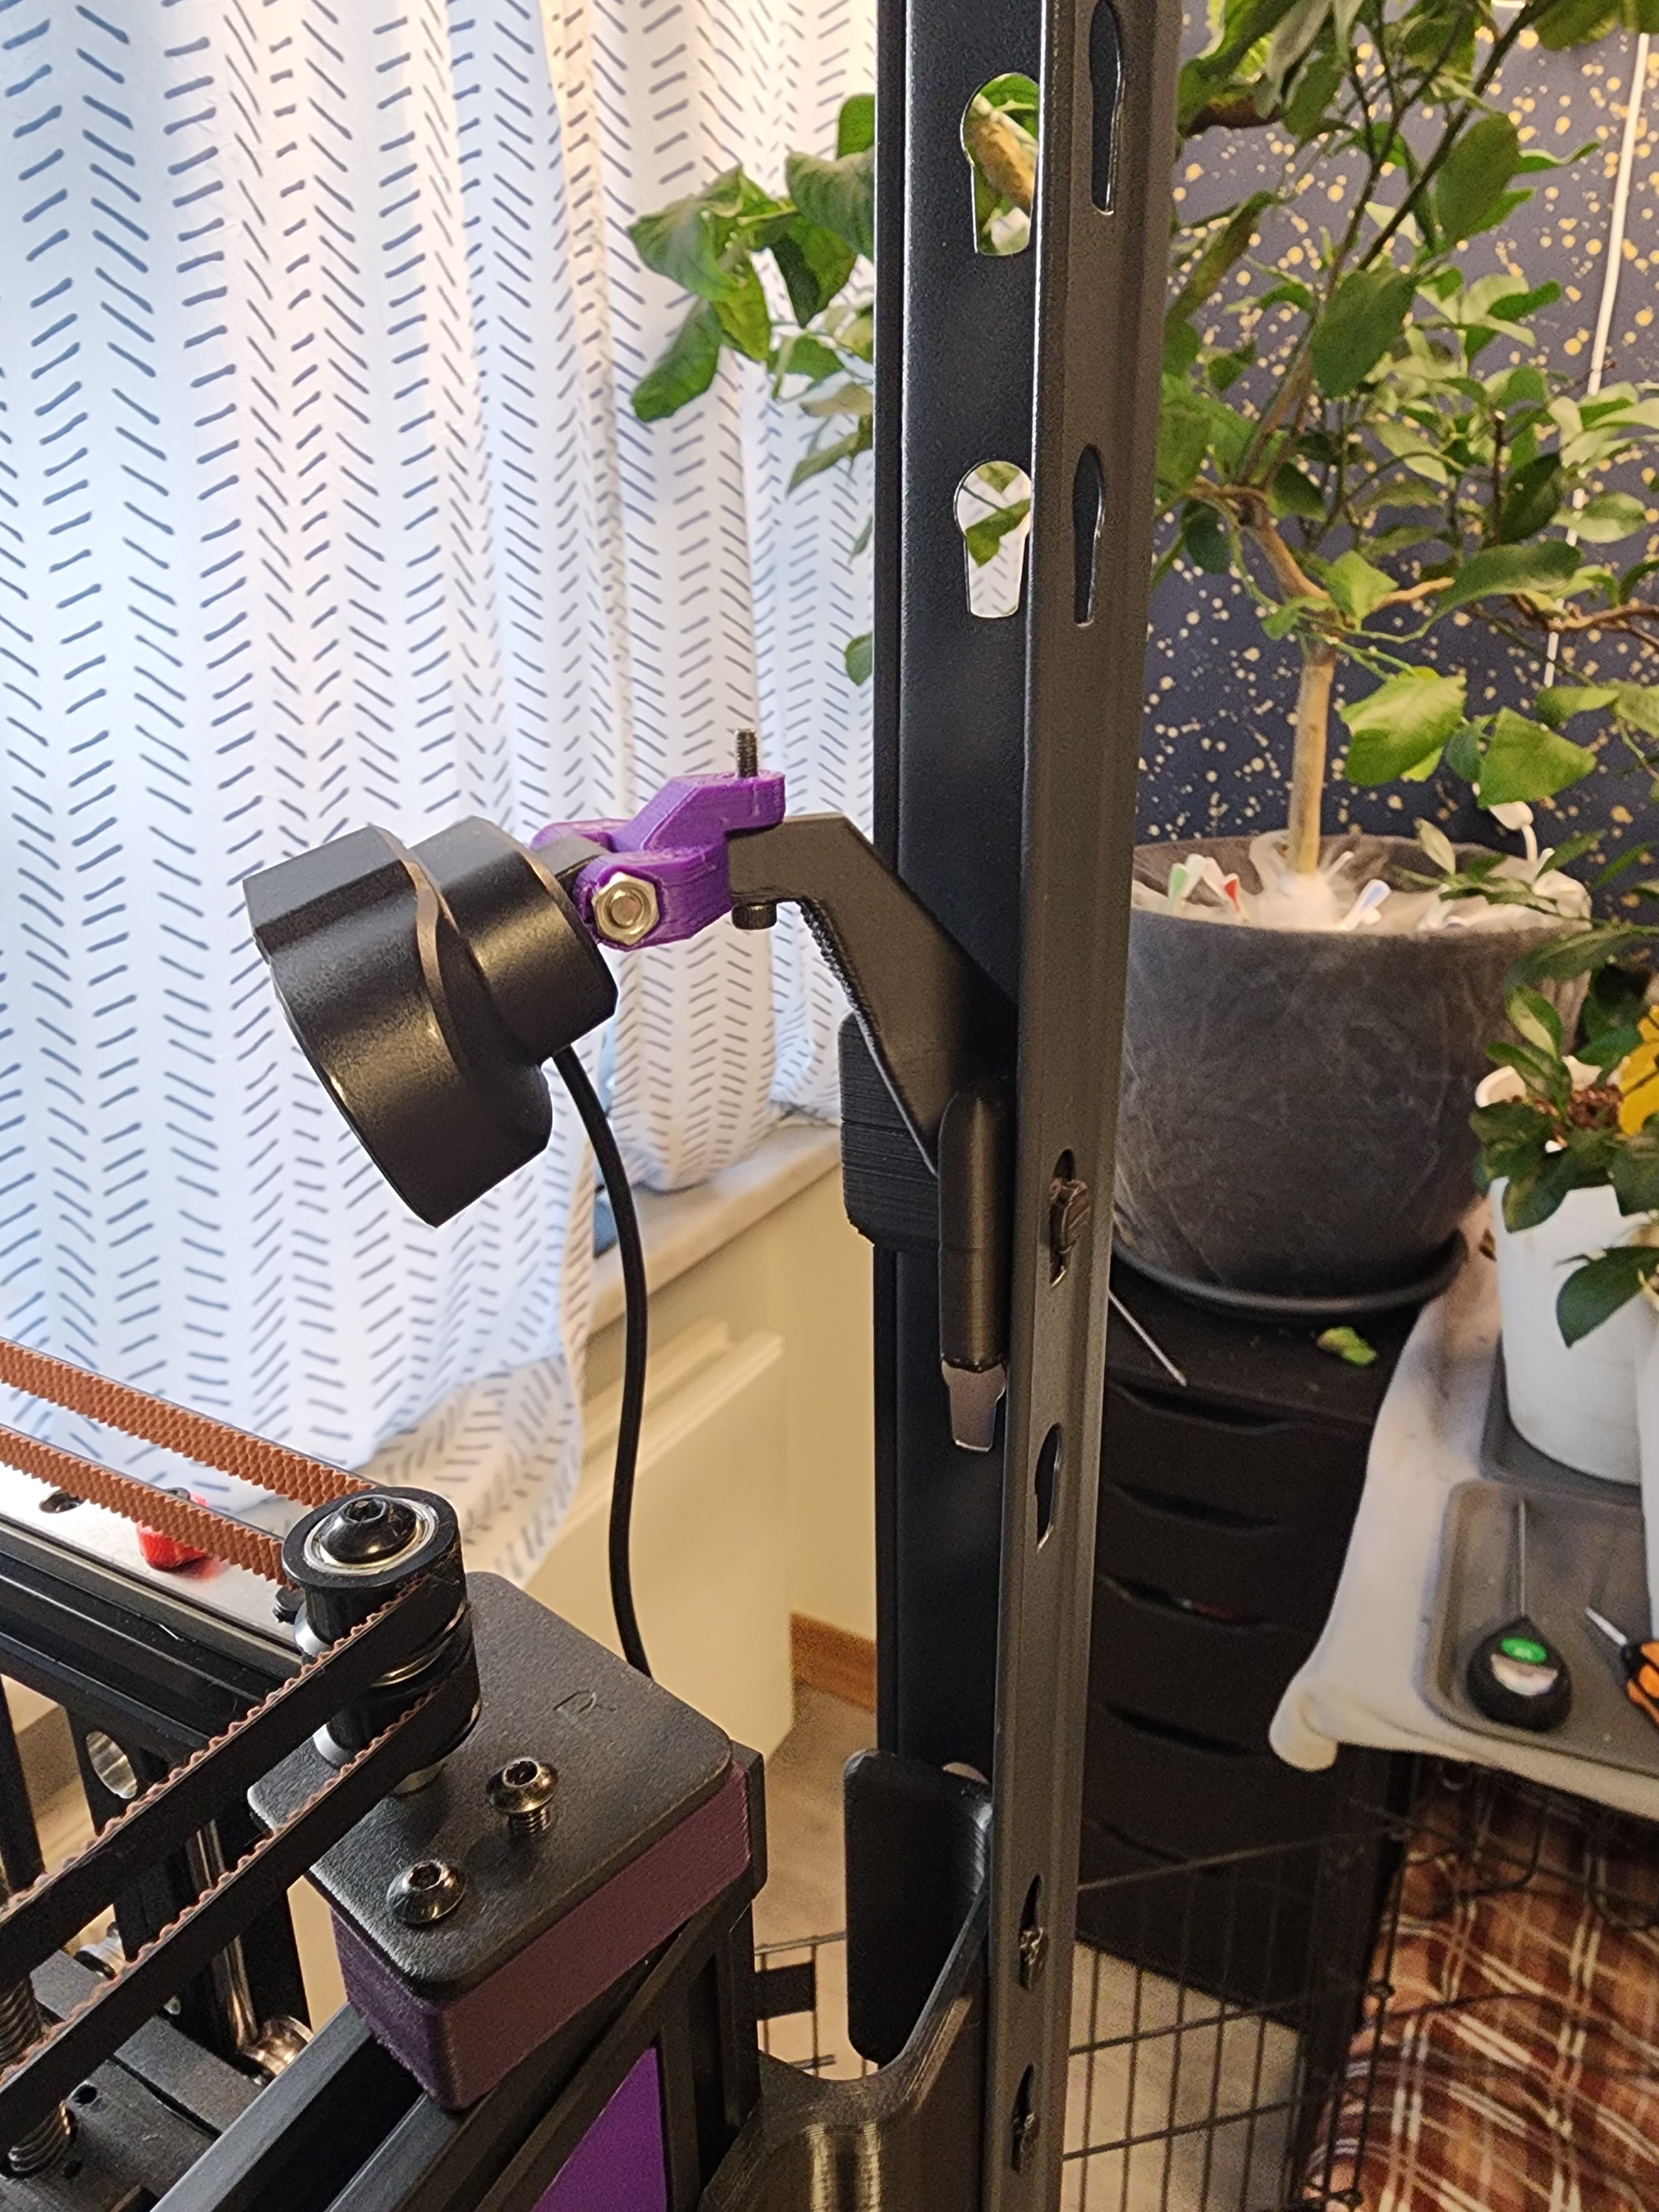
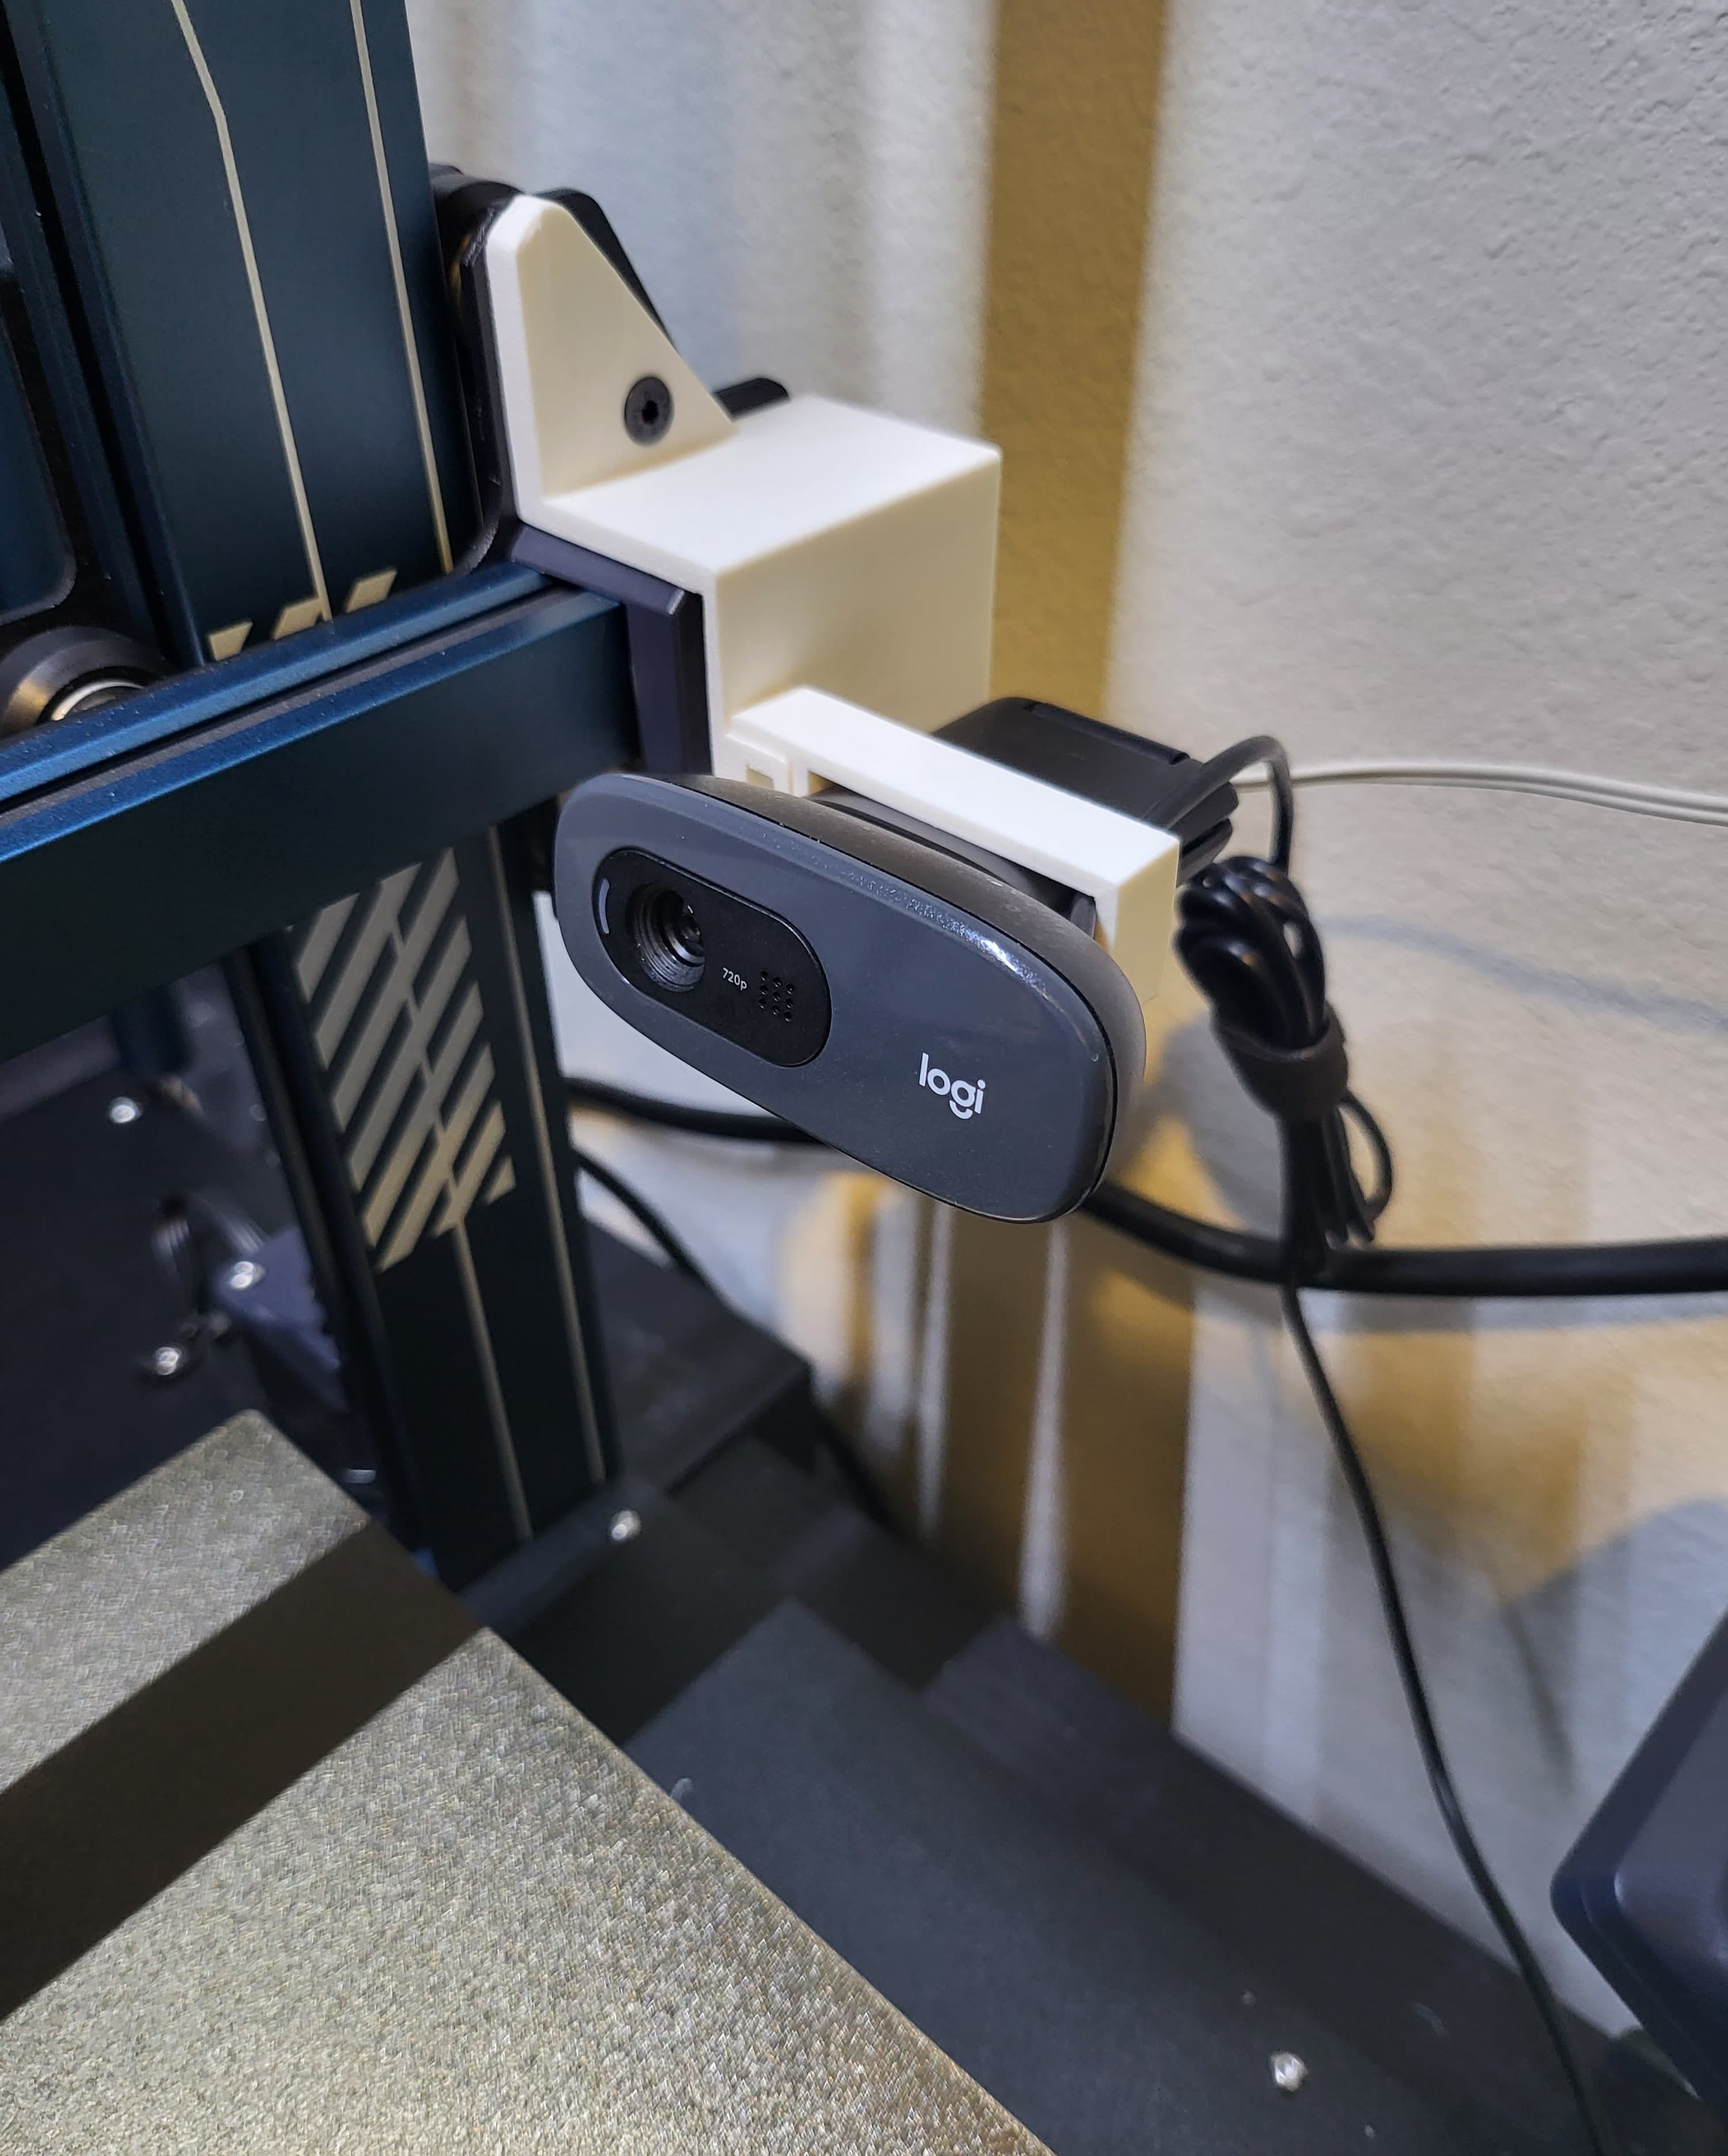
Original design offered only the weighted base (designed for resting where placed rather than mounting to frame or enclosure). Due to limited space I wanted to attach mine to my Snapmaker 2.0's enclosure. Anyone wanting the free-moving, weighted base, that's available in the original design. I offer, in this remix, two mounting base options designed specially for the Snapmaker 2.0. One mounts onto the SM2's enclosure, using already-existing threaded holes on the vertical beam near the touchscreen (if you have the touchscreen mounted as directed) — this is the beam with the door sensor, which both of the doors magnetically snap onto. The other mount can be attached to the end of any one of the Snapmaker's linear modules.
-
Original design had some stray geometry that I cleaned up in my remixes.
Improved Logitech c270 webcam mount + Snapmaker 2.0 base options

Logitech HD Webcam C270 Webcam Mount
Logitech C270 Webcam Mount
Ender 5 Logitech C270 webcam mount
Fokoos Odin-5 F3 Mount for Logitech C270

Logitech c270 mount v5.3mf

Frankencamera - Logitech C270 with M12 Lens
Logitech C270 Tripod Mount
Snapmaker 2.0 TPU Clamp (for laser engraving & cutting)
Logitech Webcam Arm
Logitech C270 Camera Holder for Adjustable Shelving Unit
Logitech C270 Mount Arm and Cam Connector Remix
C270 Webcam holder
Logitech C270 Z Axis Cam Holder for Neptune 3 Pro/Plus/Max
Ender 3 Pro Logitech C270 Z-Axis Mount

Ender 3 V3 SE Logitech Webcam Z-Axis Mount
Logitech C270 2020 mount
Snapmaker 2.0 Raspberry Pi Camera Mount for Octoprint
Logitech C270 front mount for Maker Select V2
Logitech Webcam and Vive Tracker Mount with Peg