DaveMakesStuff
DaveMakesStuff

Lightshade with Captive Dimmer Beads

by
DaveMakesStuff
DaveMakesStuff
Follow
DaveMakesStuff
DaveMakesStuff
|
Image 1 of 5
Lightshade with Captive Dimmer Beads 3d model
DaveMakesStuff
DaveMakesStuff
|
Image 1 of 5
Lightshade with Captive Dimmer Beads 3d model
2D
3D
Makes
Lightshade with Captive Dimmer Beads 3d model
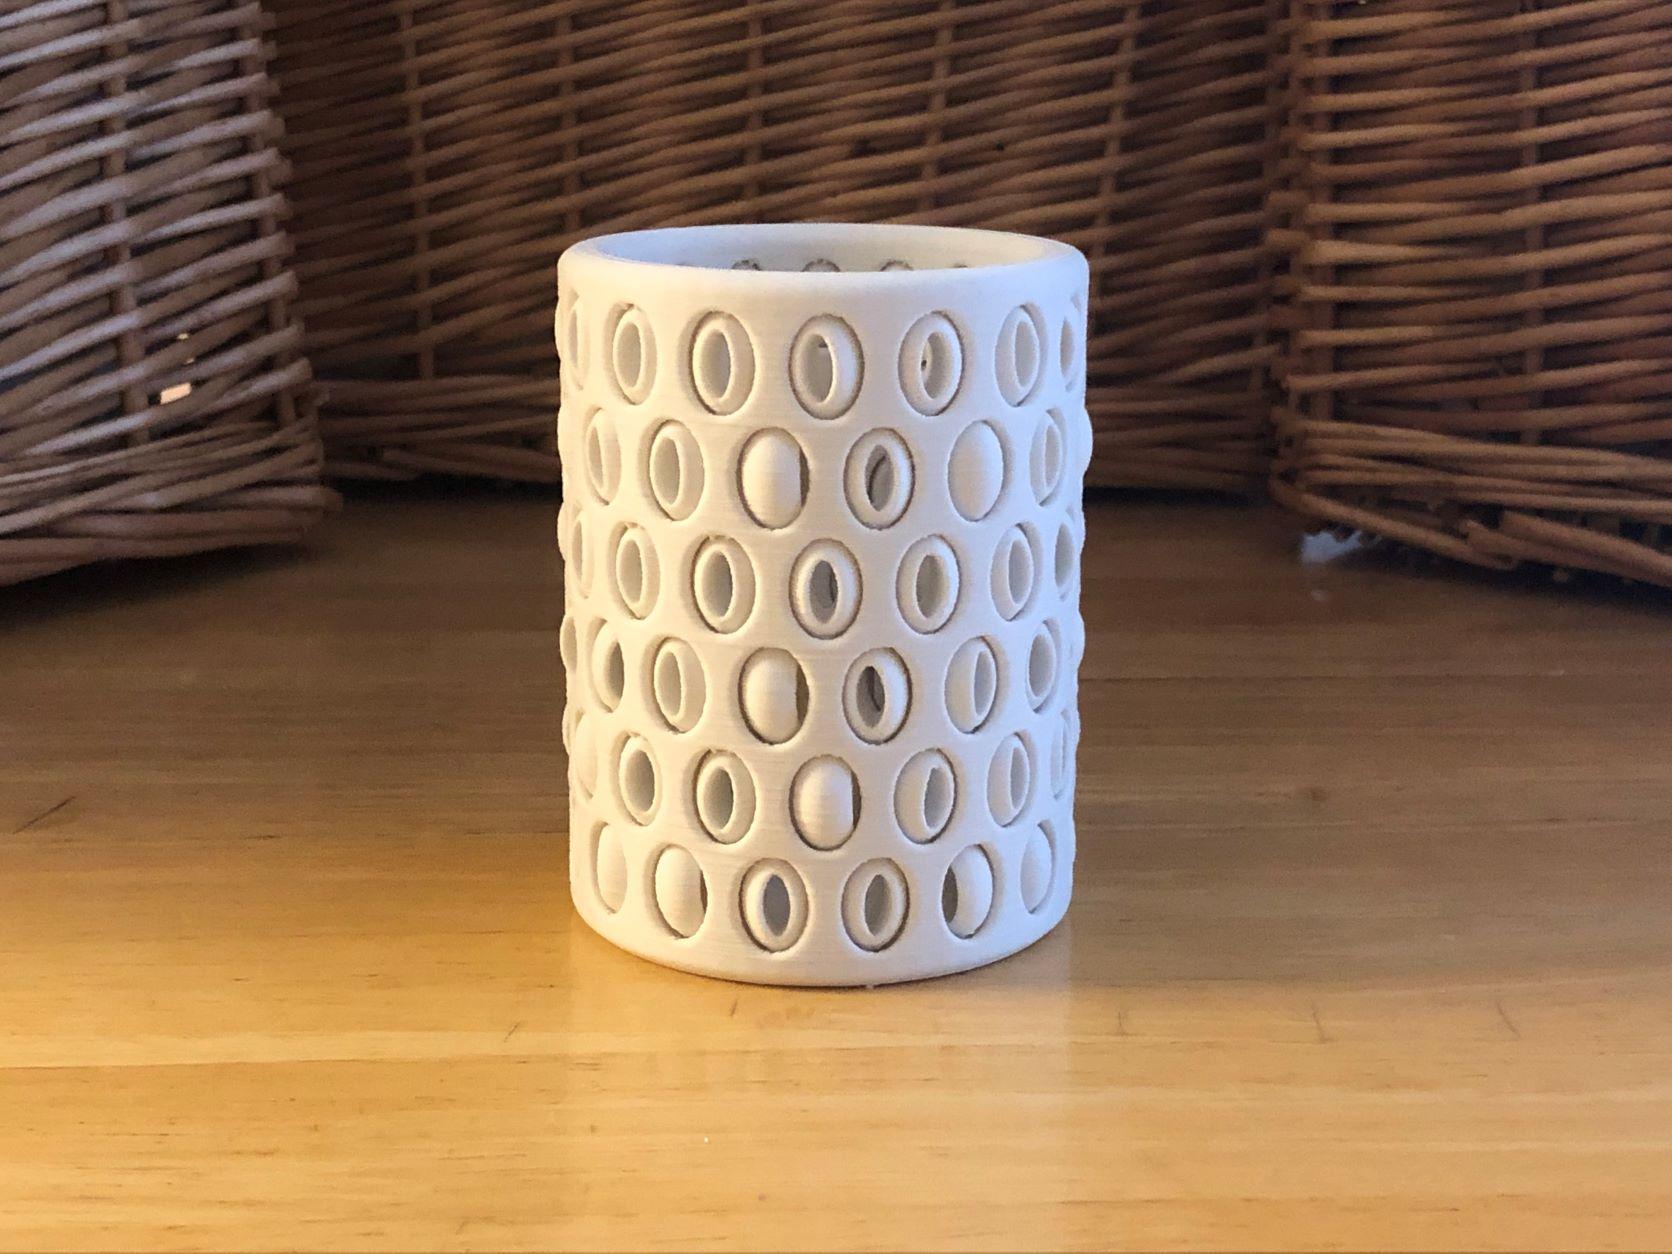
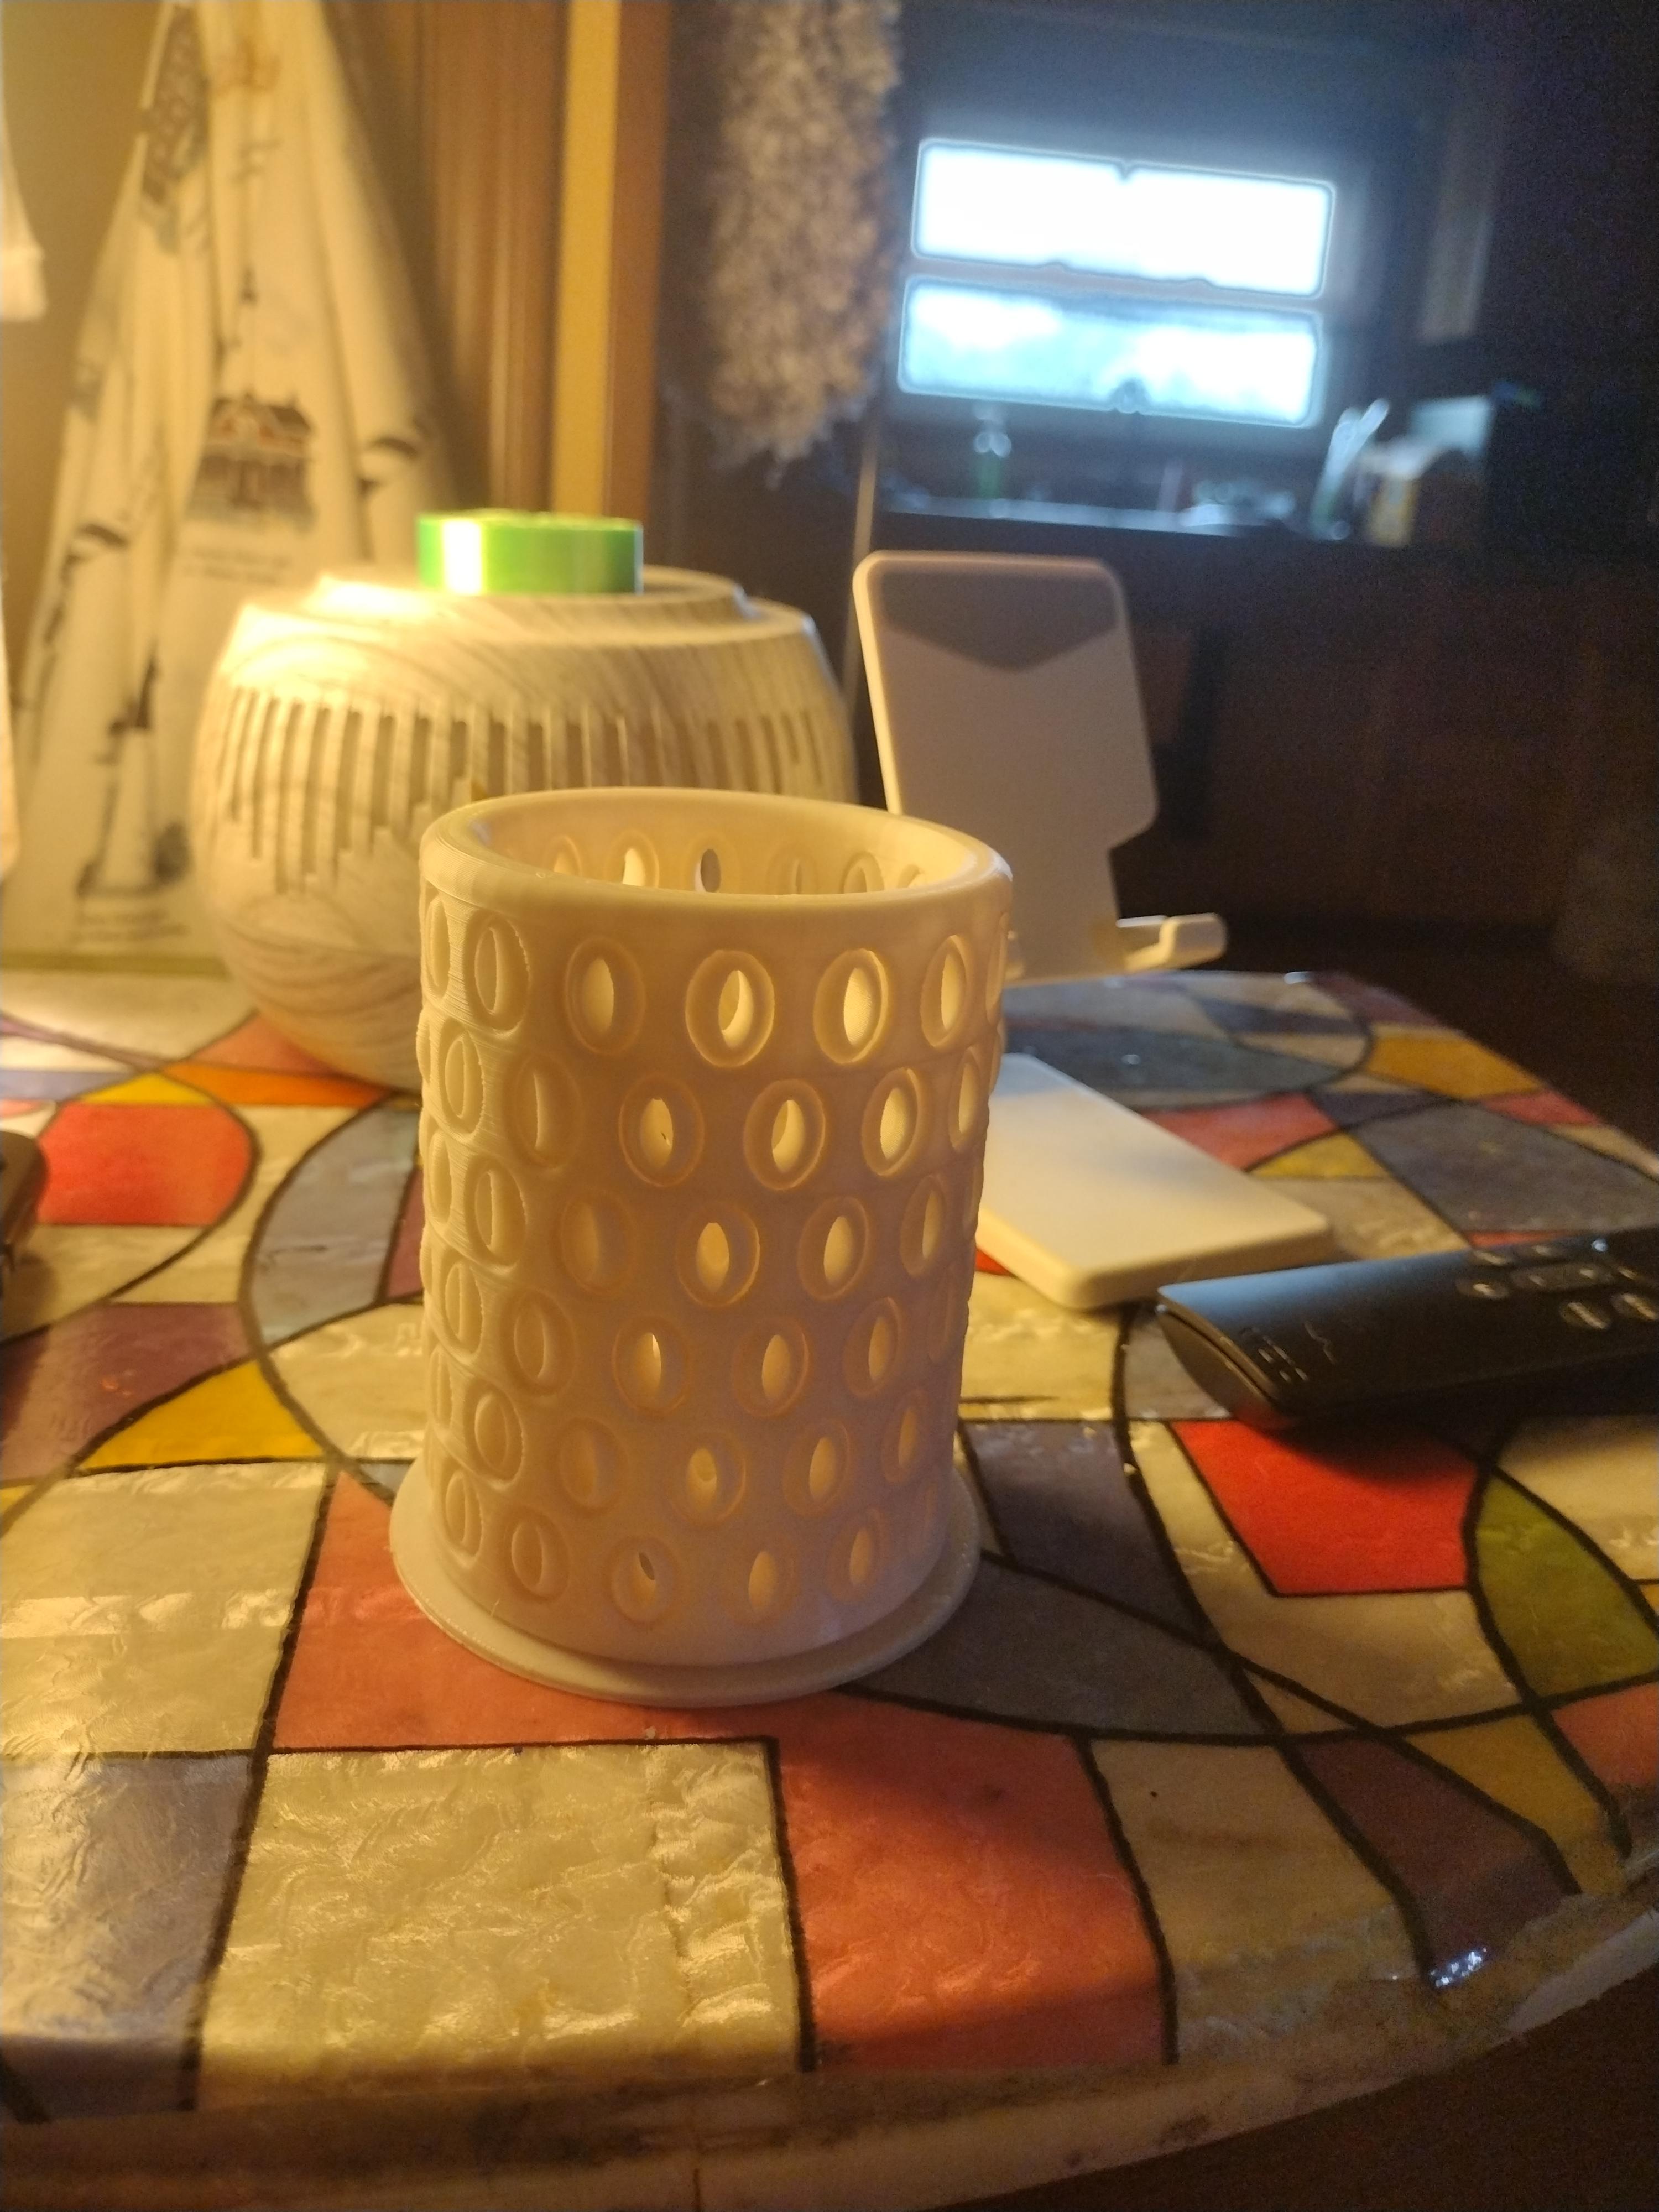
Lightshade with Captive Dimmer Beads - Well here's the one that I printed out the main secret I found out basically is you don't use supports use a raft you keep it at regular settings and to open the little holes I found out I did this.

I use a nail file you can use anything that's small but you want to put in the hole the device that you're going to use and wiggle it back and forth about 2 or 3 times just go back and forth very slowly do that for each hole and they'll turn and that's it this one took about 21 hours and I think it came out really well - 3d model

Lightshade with Captive Dimmer Beads

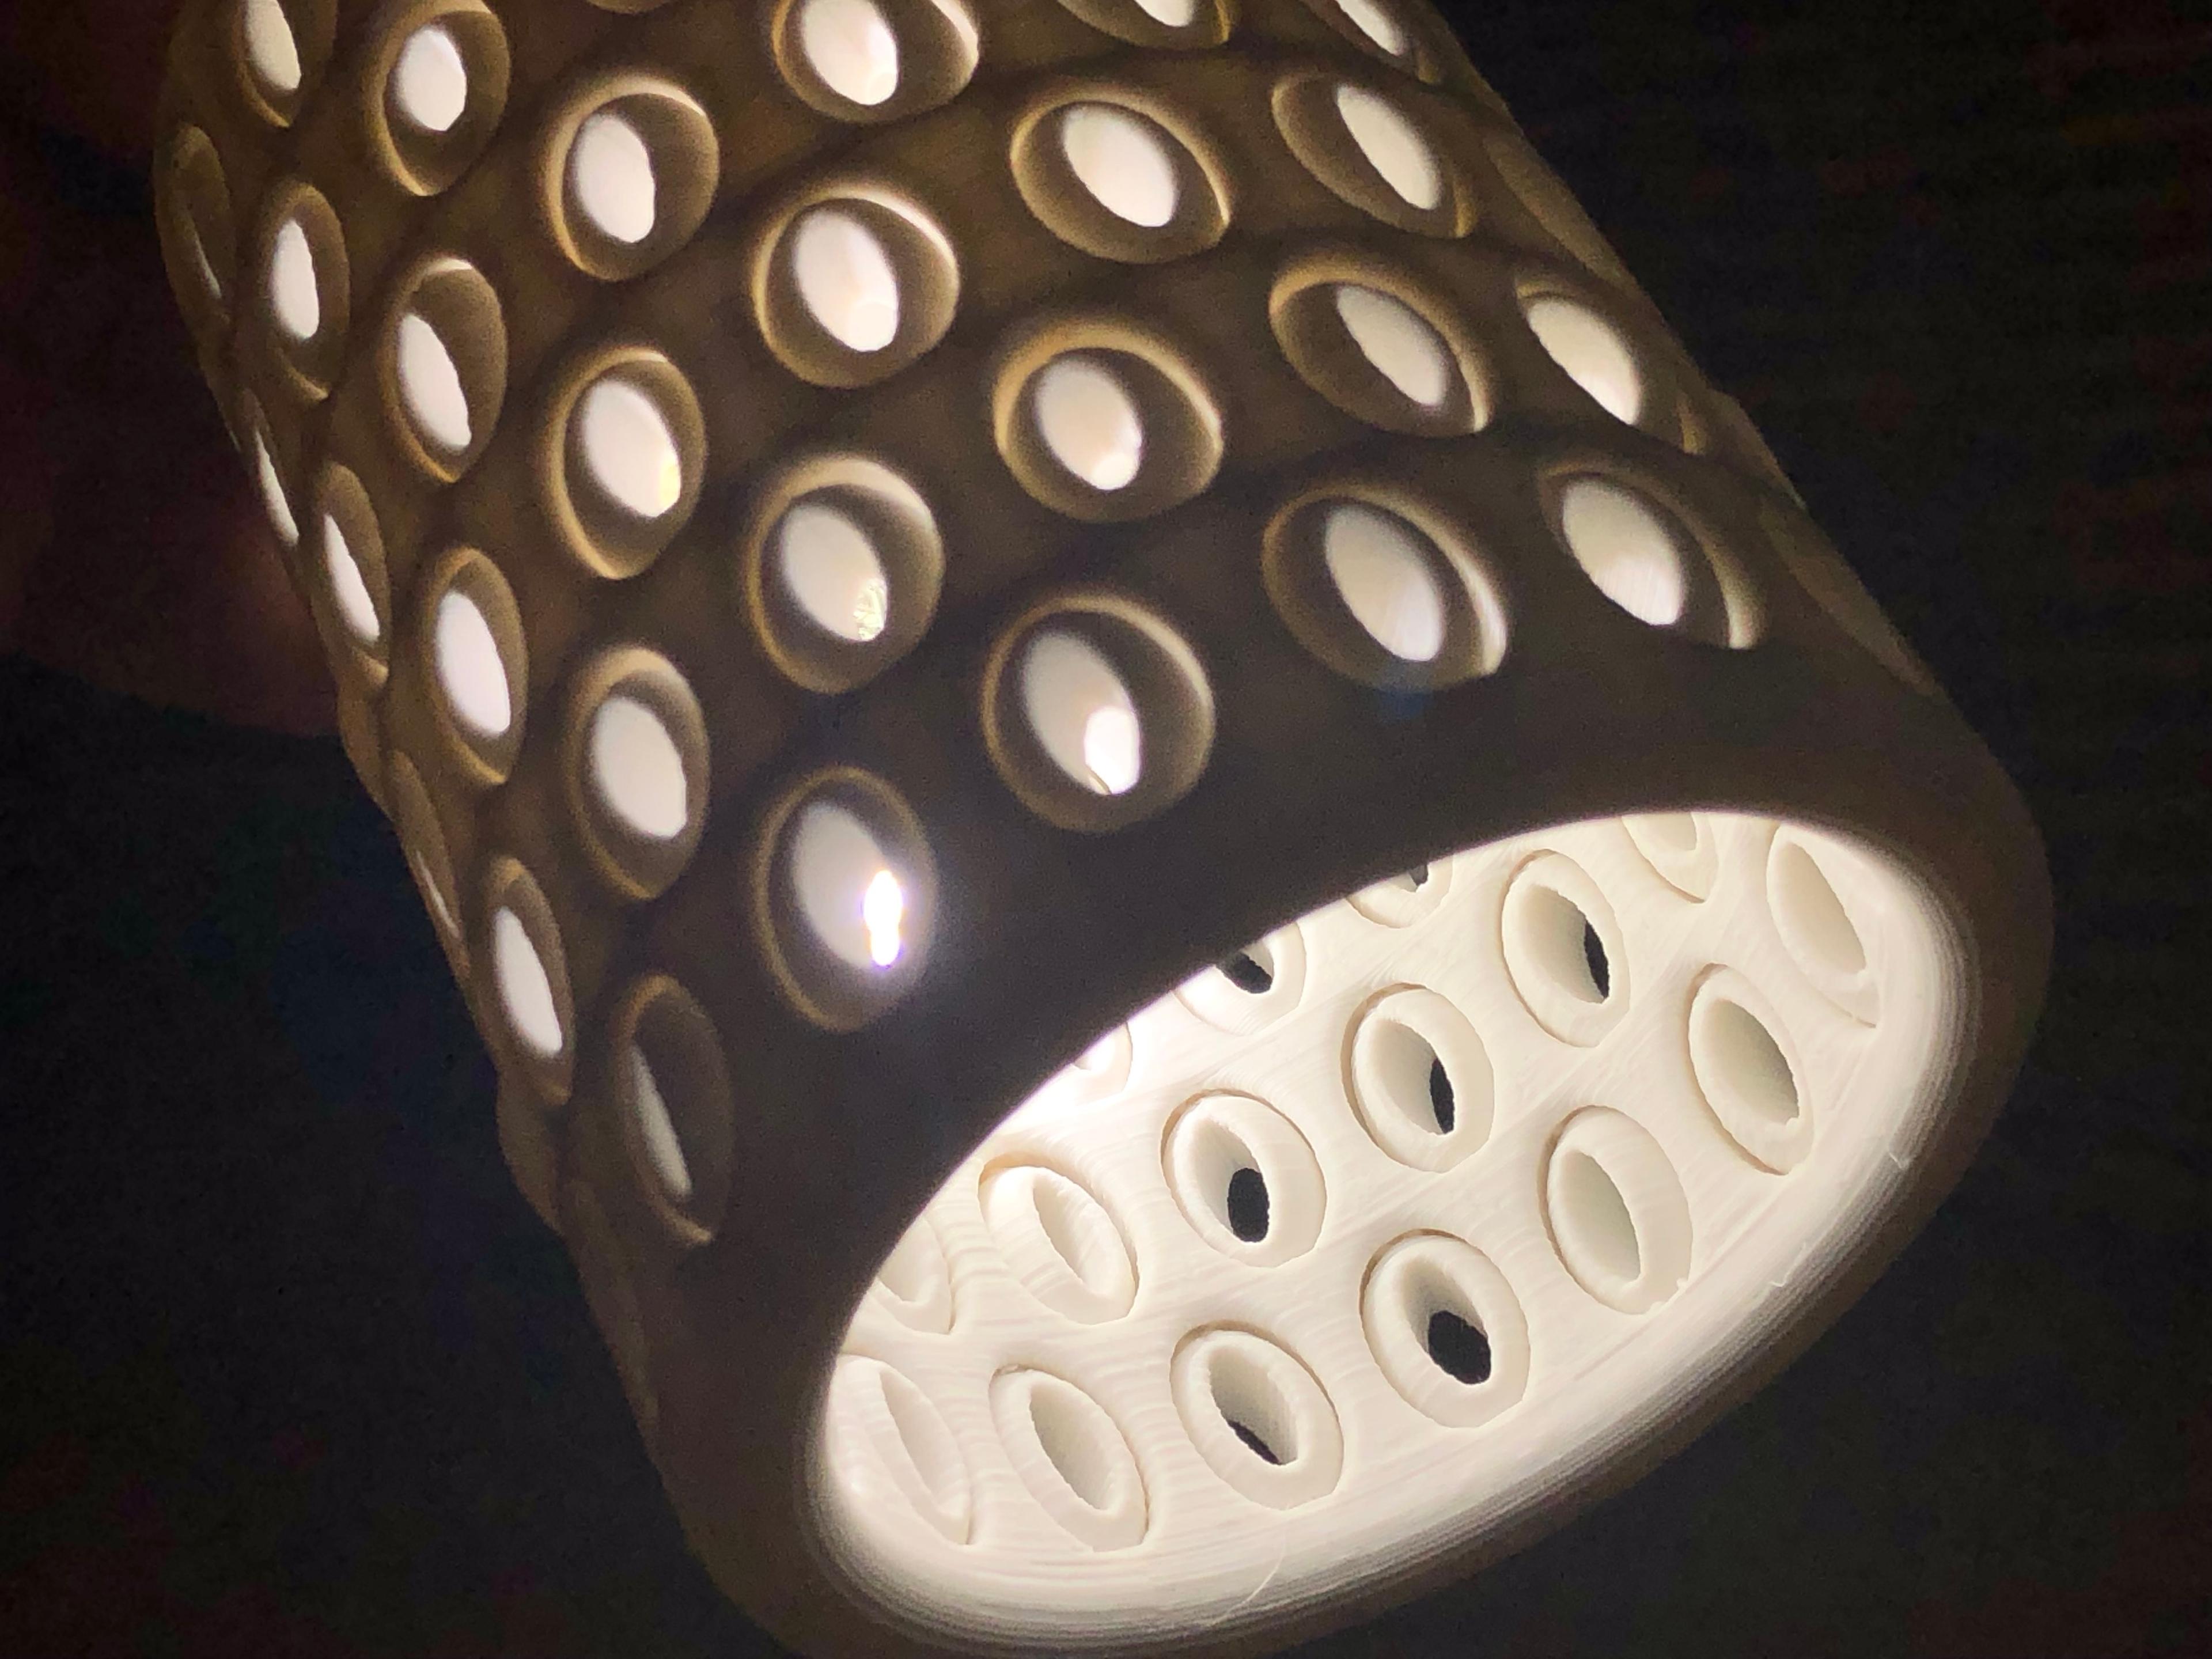
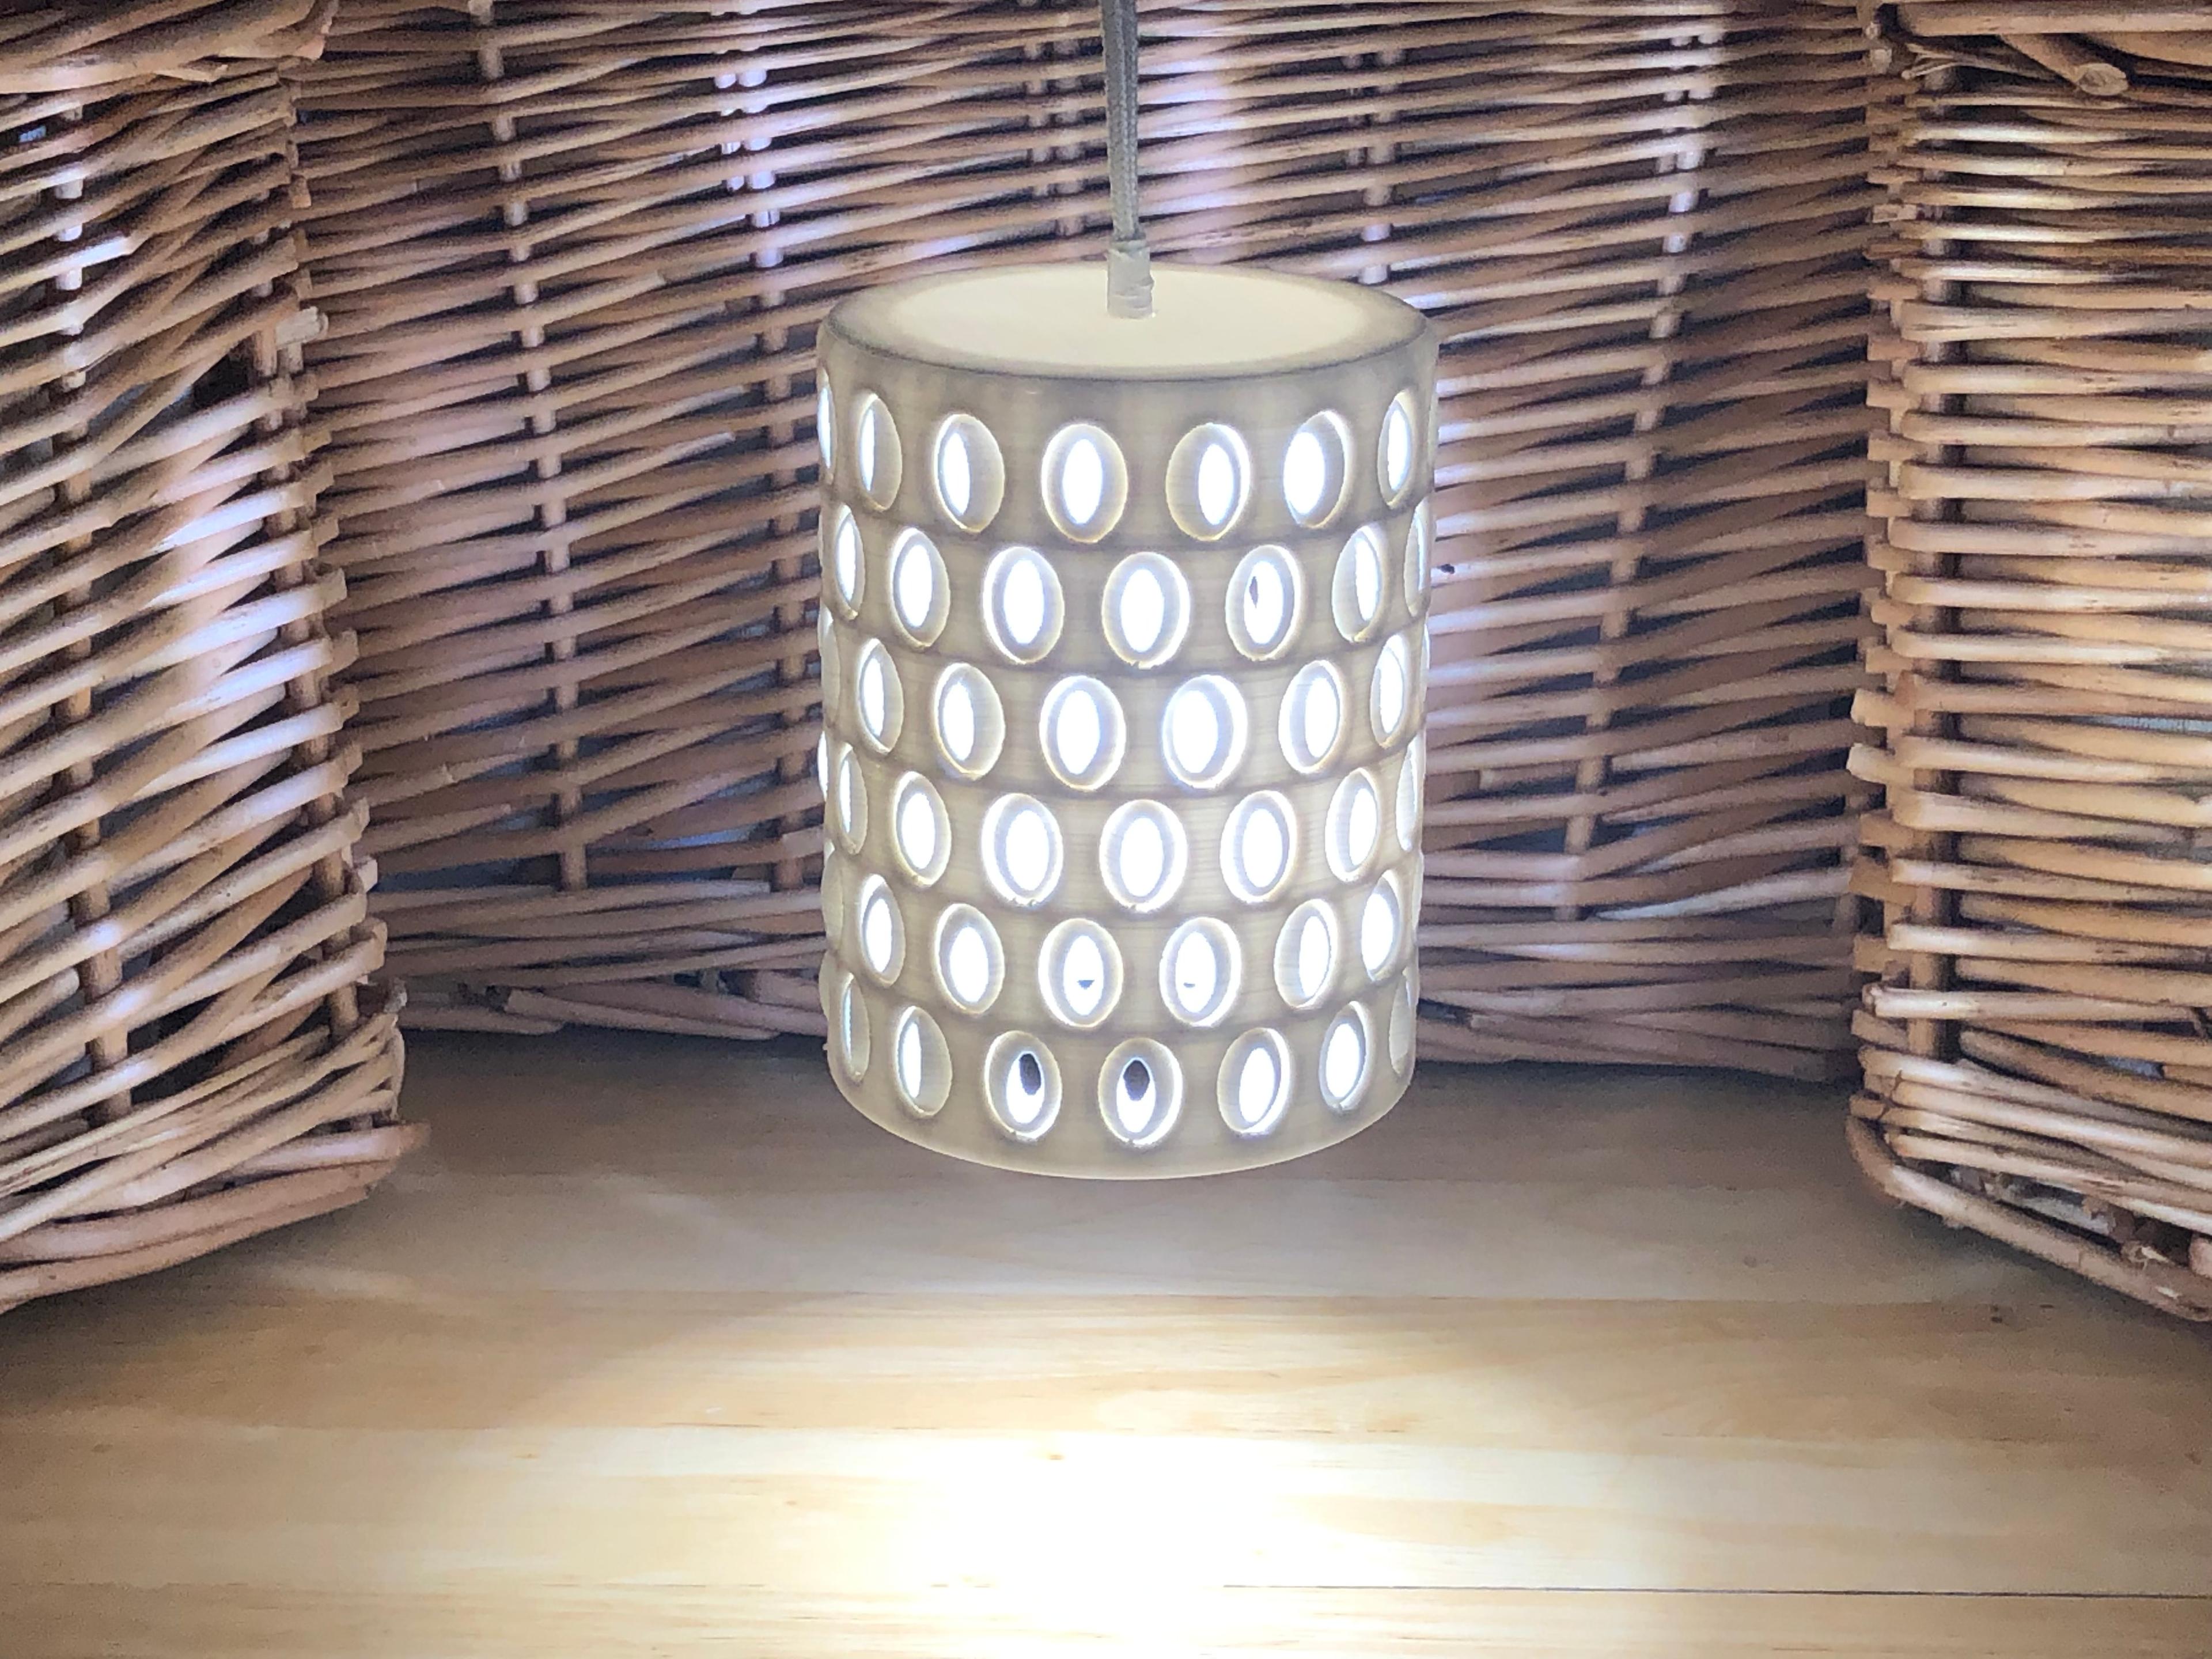
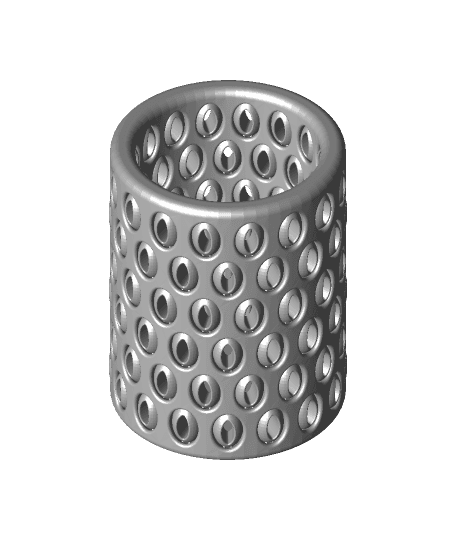
This print-in-place lightshade has captive beads that can be rotated to adjust the amount of light.

See here for video: https://youtu.be/i2H491pUNUo

To use with a hanging light, print the standard file and drill an appropriately sized hole for your light and wiring.

To use as a shade for a tealight, print the model with no bottom and place over or tealight.


51 Likes127 DownloadsJuly 16, 2022
This model is restricted by licensing terms.