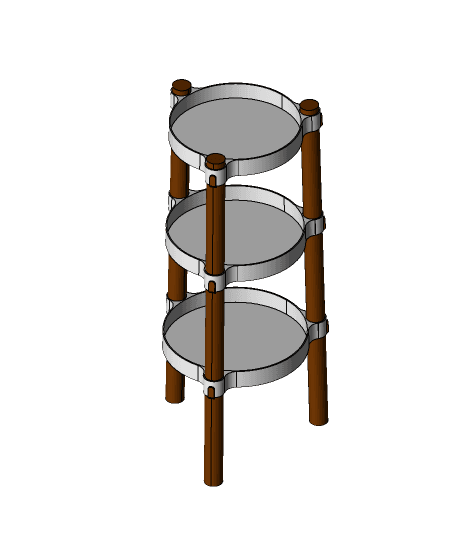
3-Tier Plant Organizer
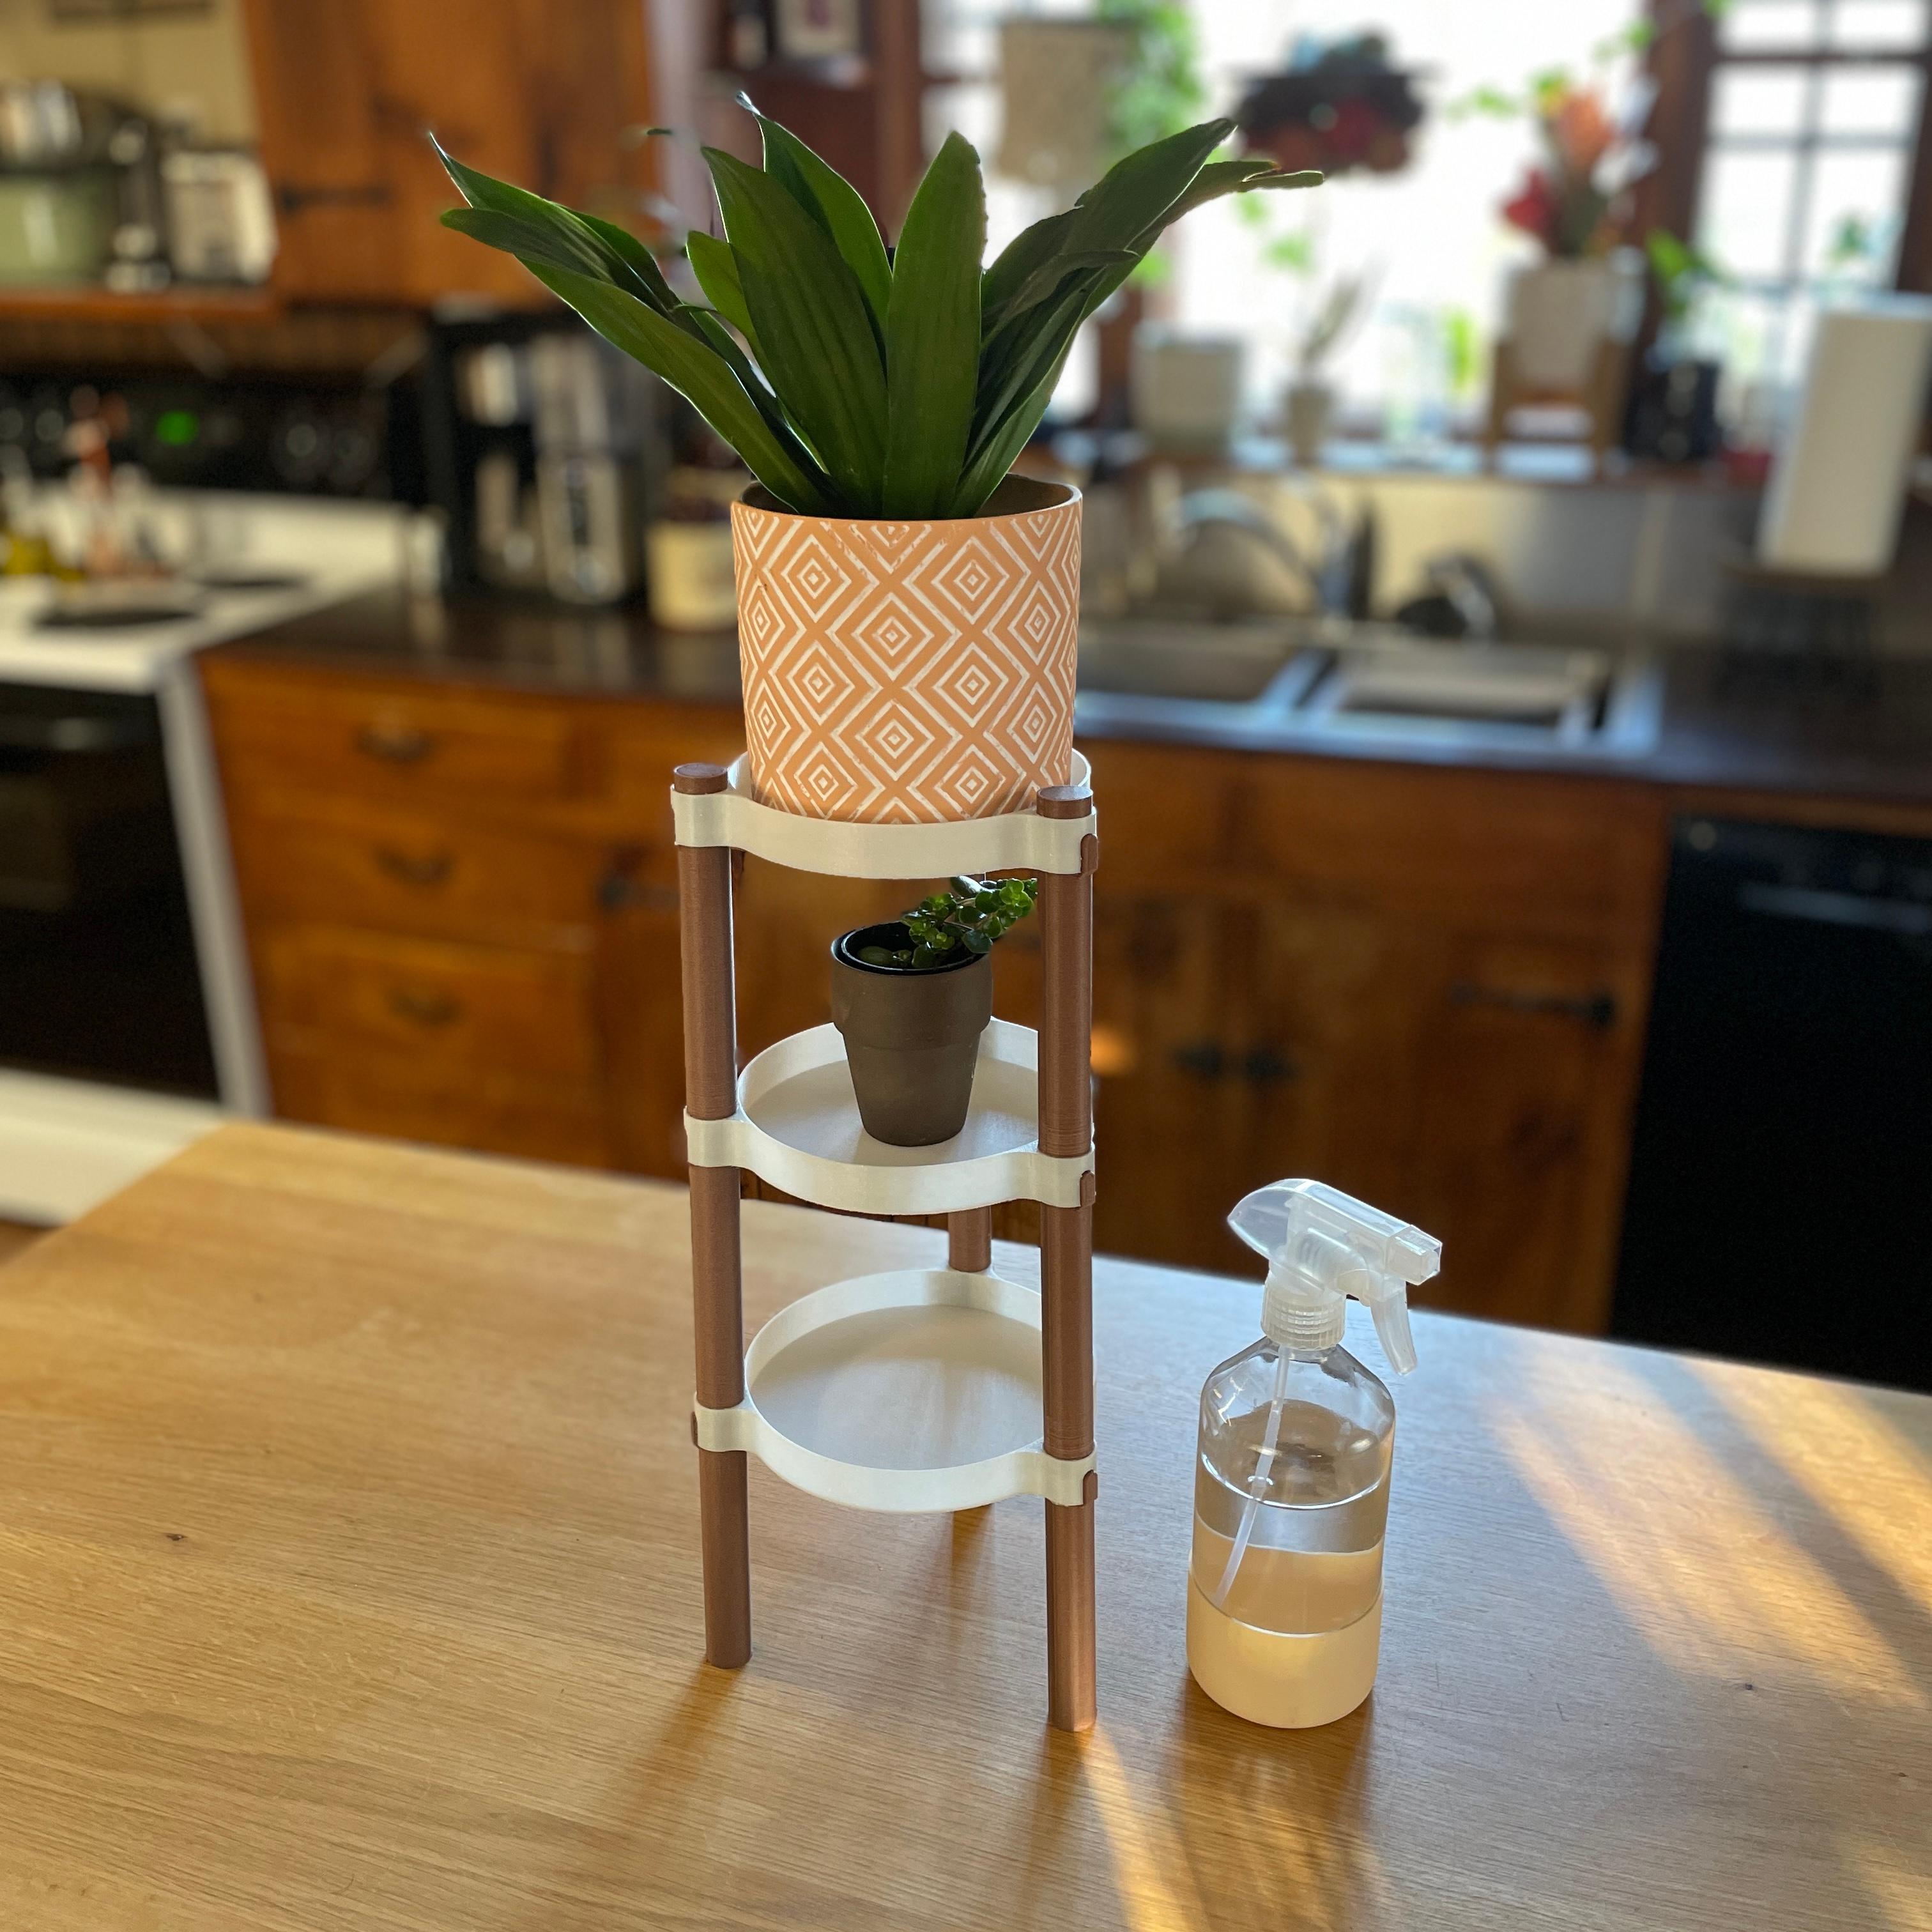
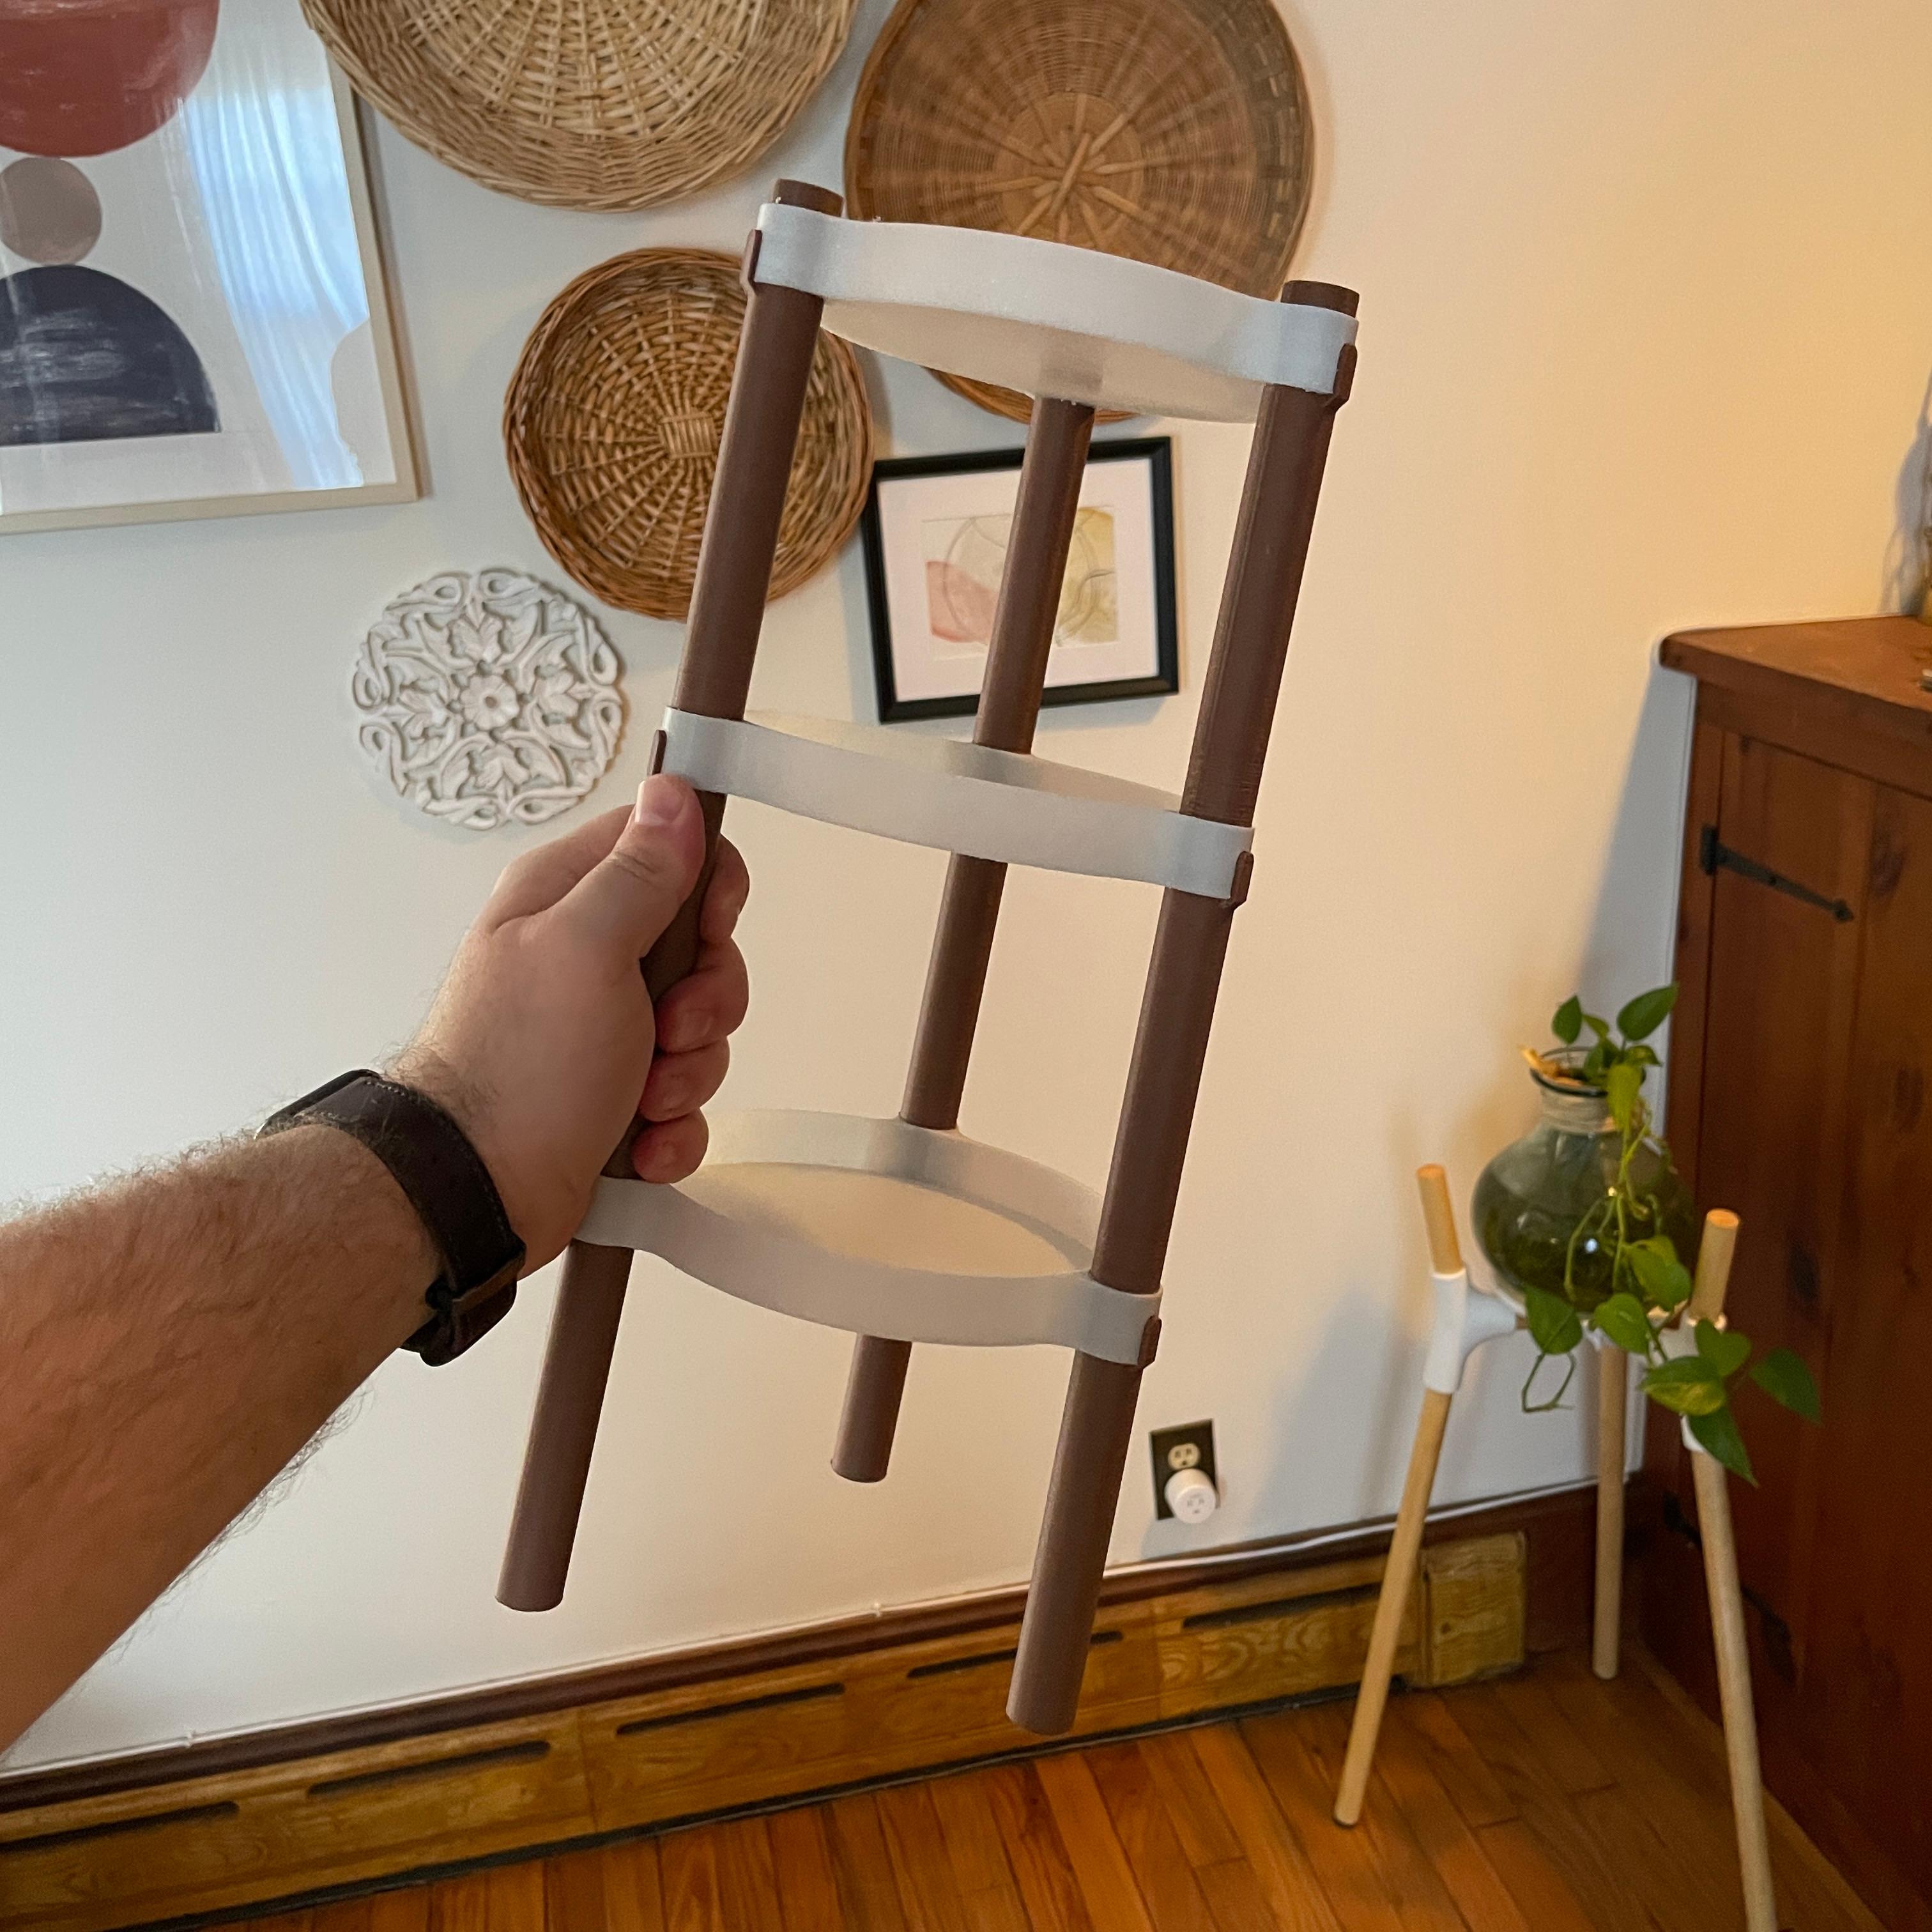
This 15in (381mm) tall organizer is a perfect way to store your small plants! It would be great for any office/home office! It can store other things you may want as well; maybe spices or knick-knacks!
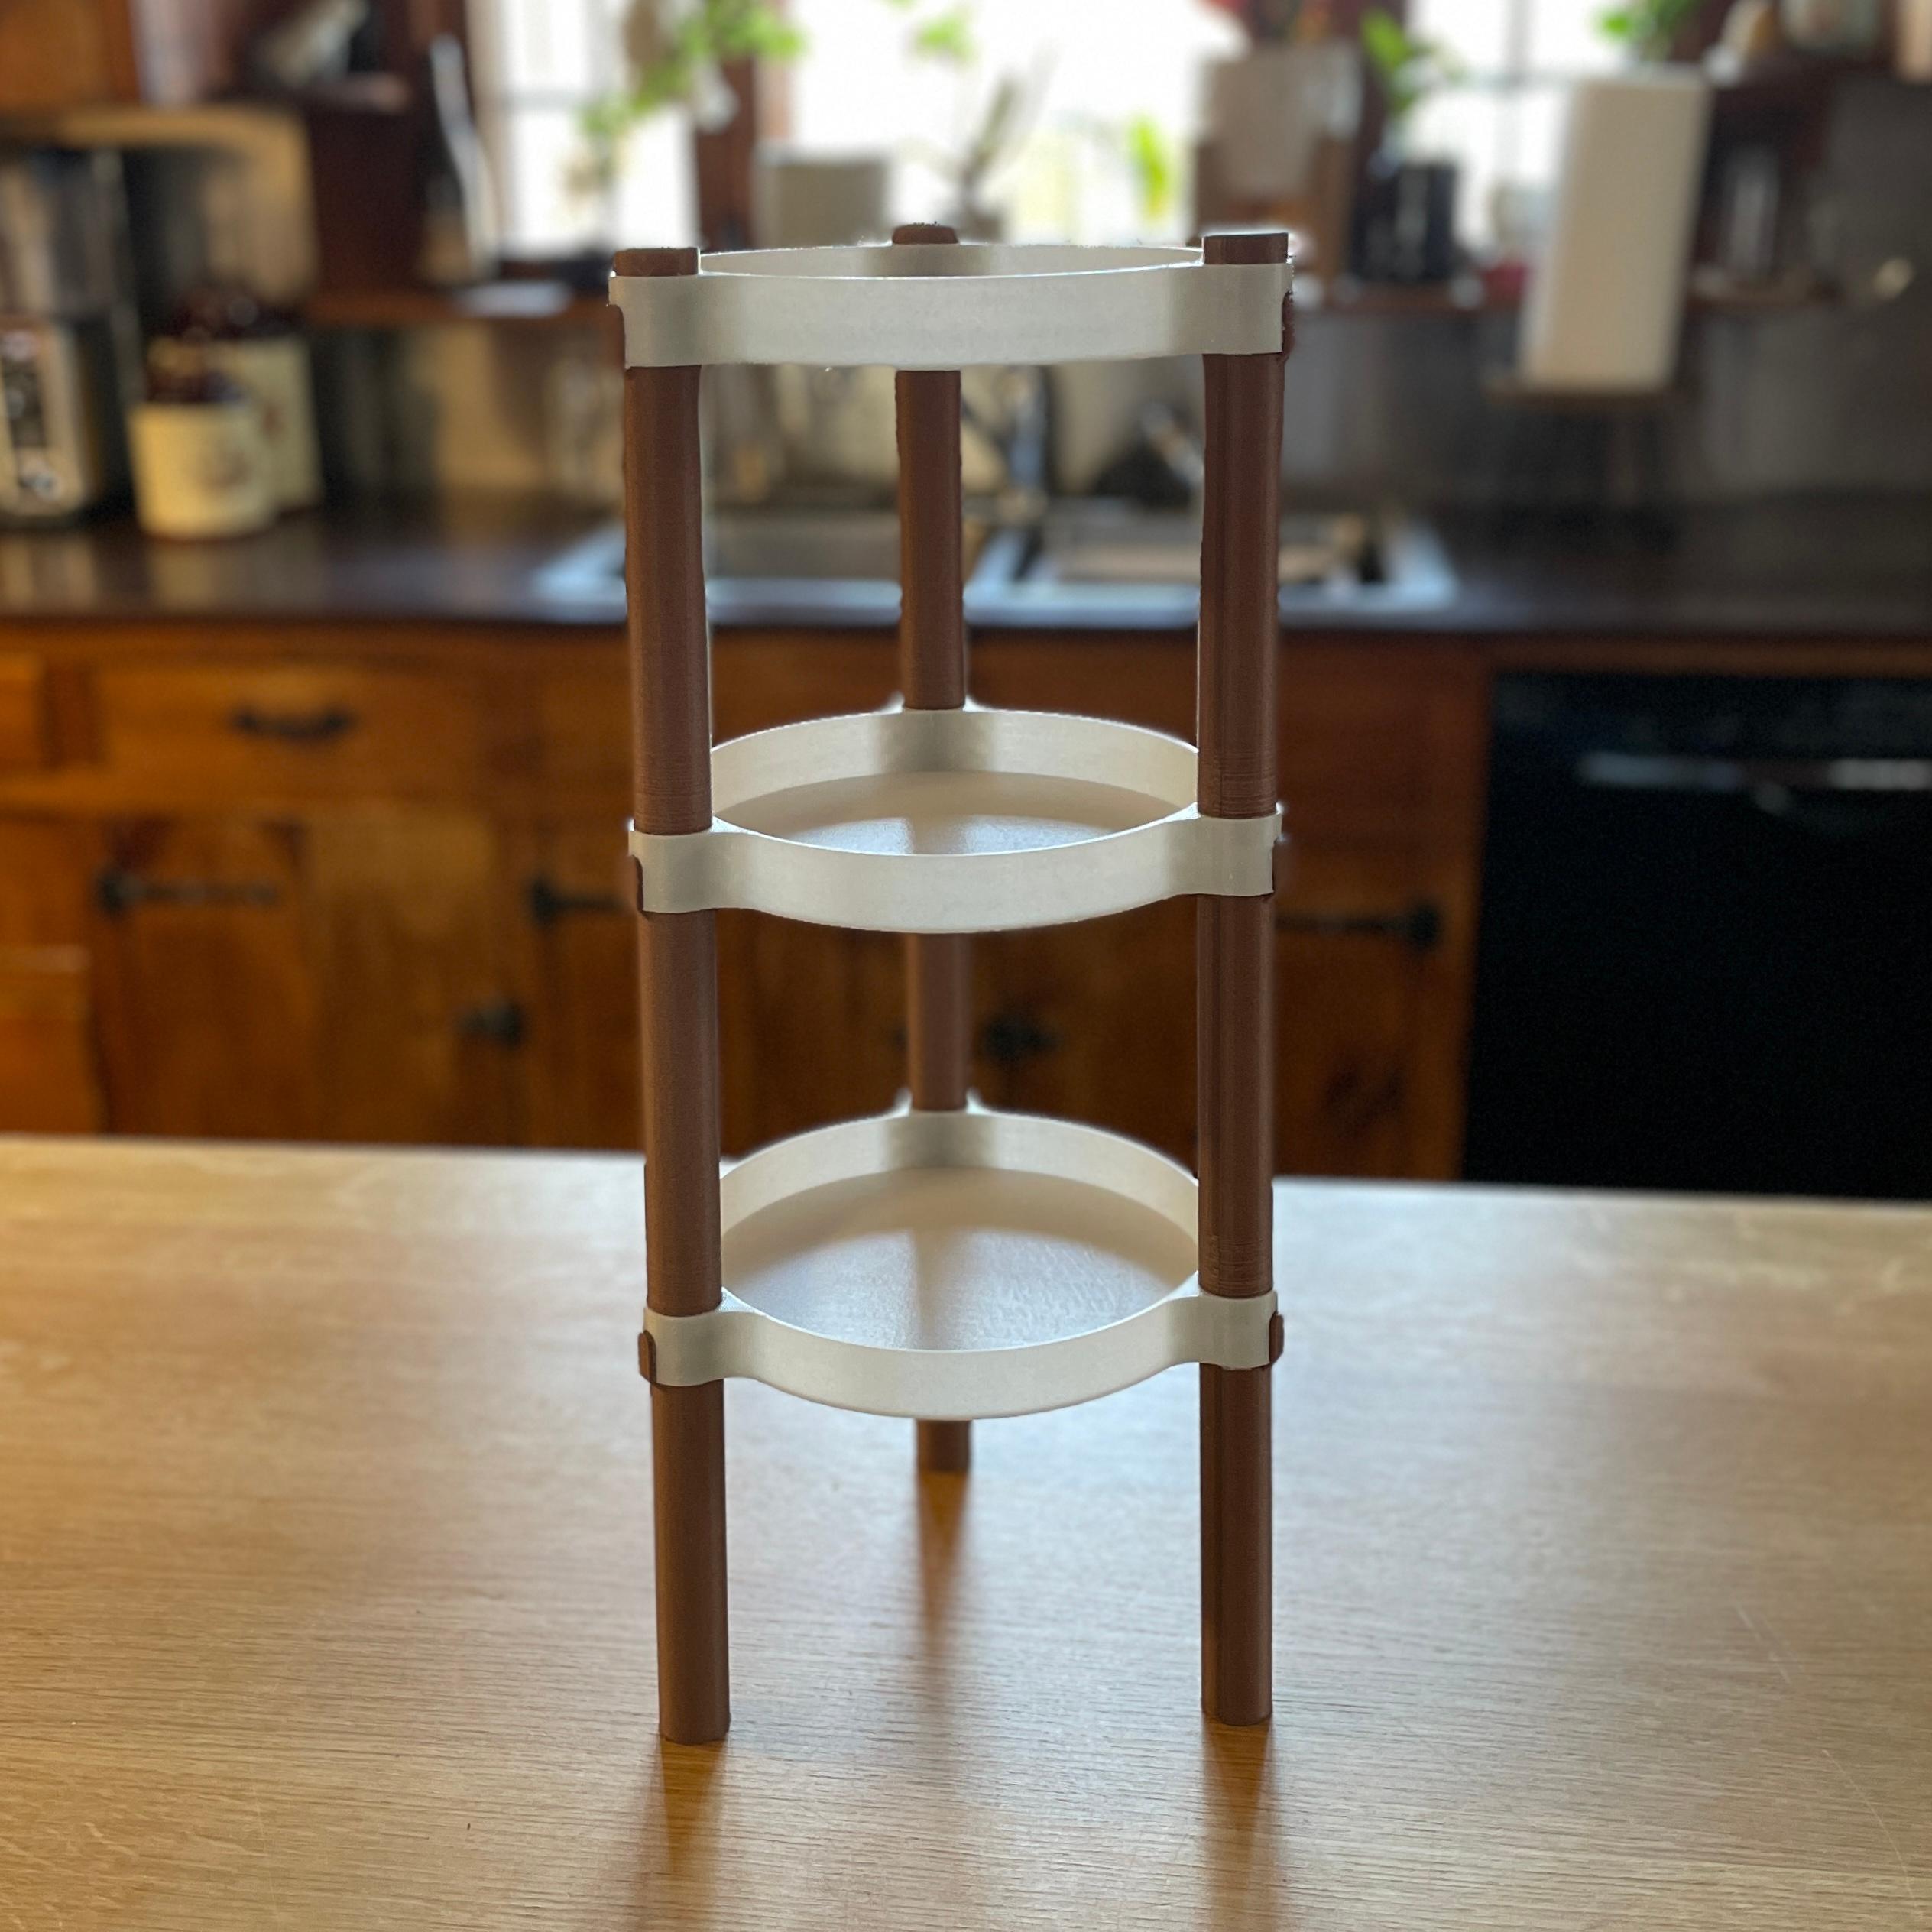
File Settings This organizer is split into 6 pieces. You have to print each of the leg components 3 times to have a complete model. They are described as Bottom Leg, Middle Leg, and Top Leg. The tiers are Bottom Tier, Middle Tier, and Top Tier.
I printed the Legs with a raft so that they are secure when printing. I also printed them at a slower speed to ensure that there is no wobble.
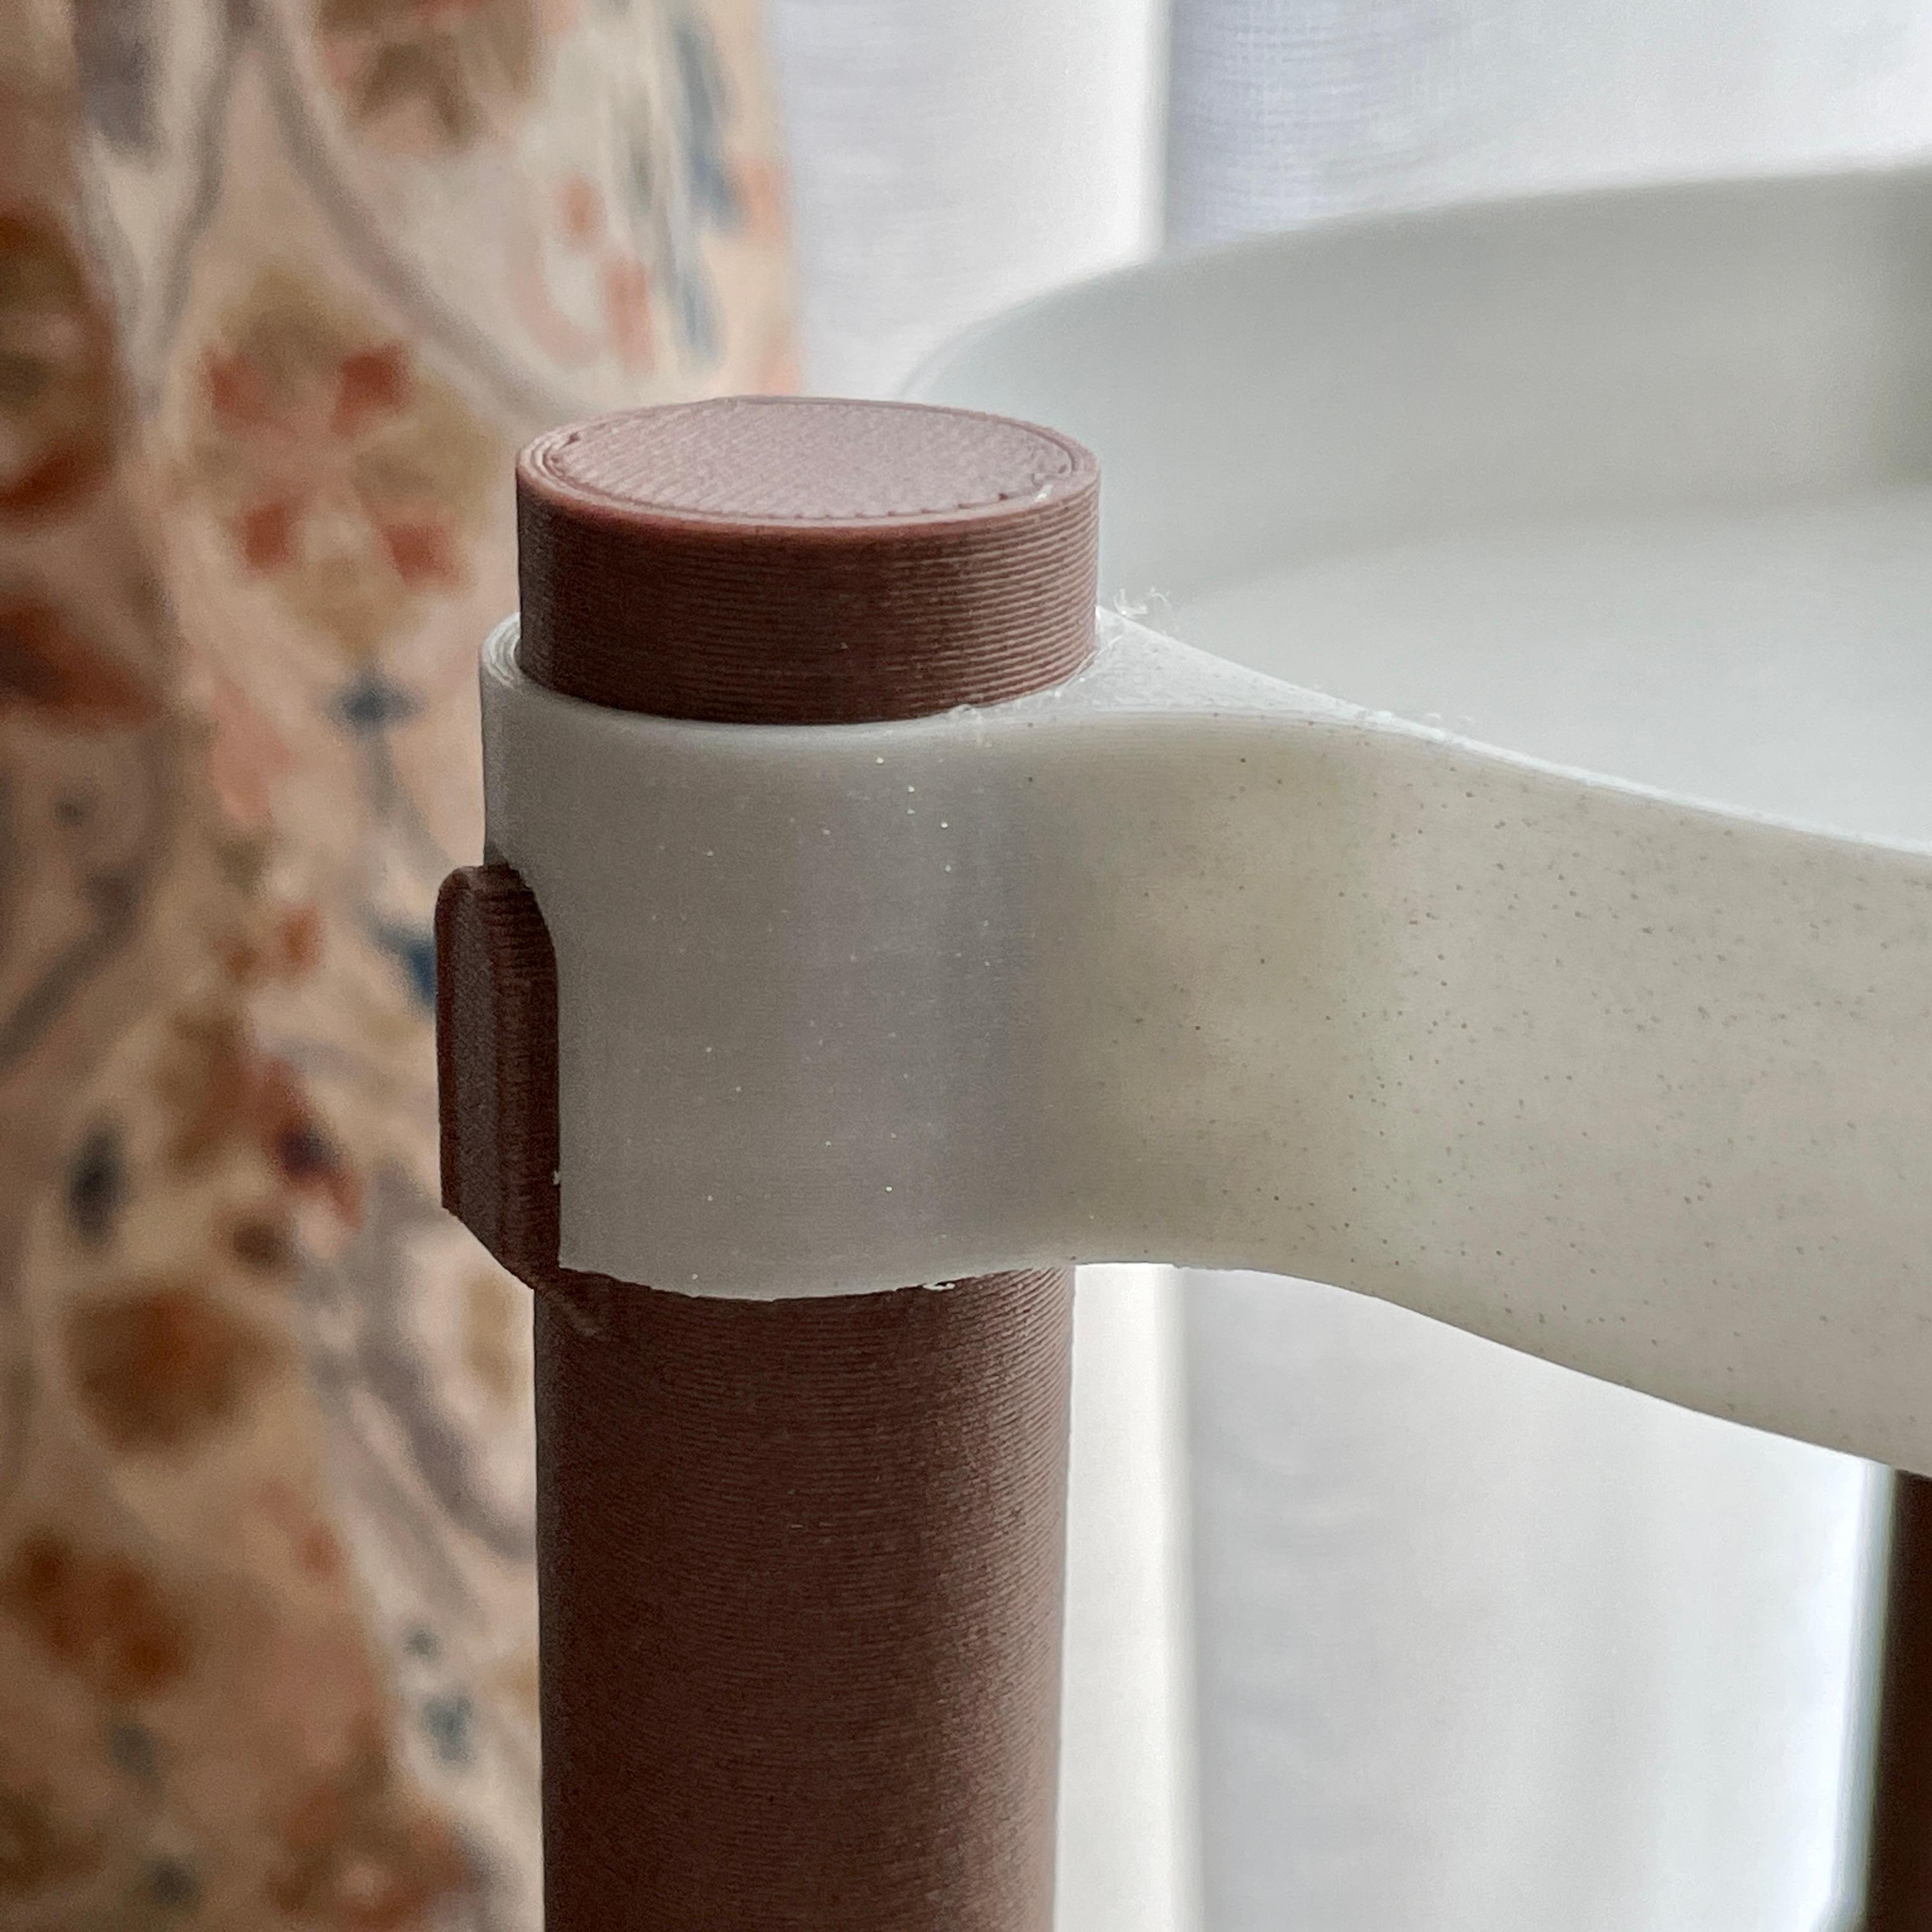
The Legs should be printed at a 15%-50% infill to make sure they are sturdy. I printed them at a .30 layer height to get some nice build lines to simulate wood grain.
The tiers are made at a .8mm thickness which should mean that only 2 perimeters/shells are necessary for printing. I printed these at 50% infill just to support the areas near where it interfaces with the Legs.
Assembly You start with 3 Bottom Legs and the Bottom Tier. After you slide the Bottom Tier over the Bottom Legs you can screw in the Middle Legs. Then you will slide the middle Tier on. You then screw the Top Legs on and finally slide the Top Tier on.
I have added tolerances to the threads and joints where the Tiers meet the Legs but, some minor sanding can be done to make sure every thing fits properly.
Let me know if you have any questions! Hoppy Printing!
#MakerMadness
