


WIFI SENSOR - PRINT START/PRINT END NOTIFICATION TO YOUR MOBILE ENDER3/PRO
Model originally uploaded to Thingiverse at https://www.thingiverse.com/thing:4738262.
I'm extremely happy with this simple tool!
When I started 3D Printing (this summer) as a newbee with a brandnew Ender 3 Pro, the first thing I considered was how to get notified when the print ends while I was away from my printer. May be I missed, but I couldn't find any simple solution in 3D printing social platforms.
Actually, the solution I found was very simple: to use a 10$ wifi door sensor to be purchased from China sites (ie Ali Express).
In this model, I used the one I have on hand. There is no brand name on the device but see the picture of dimensions which may also fit your sensor. However, I have re-checked Ali Express once more and realized that there are various kinds of door sensors with different sizes. So take care with the sizes. Indeed, you can create yours like me by using Tinkercad (or any other 3d design software).
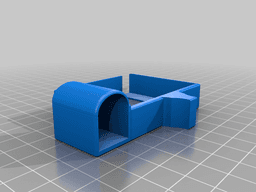
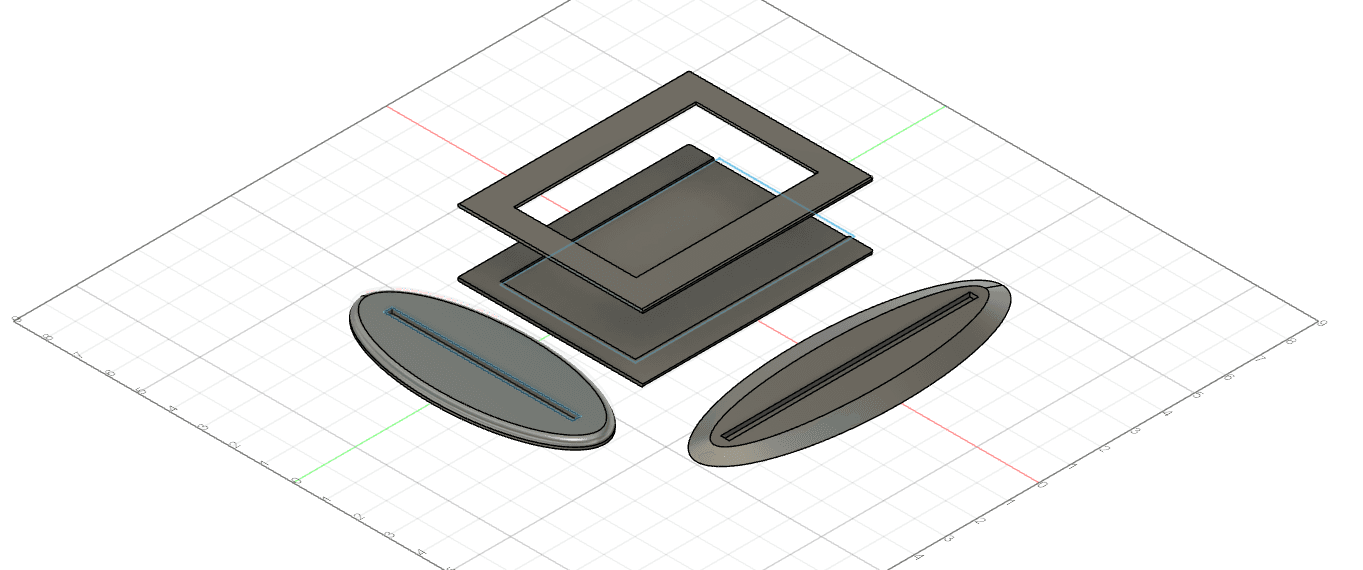
There are two parts of the system (both designed for Ender 3/ Ender 3 Pro):
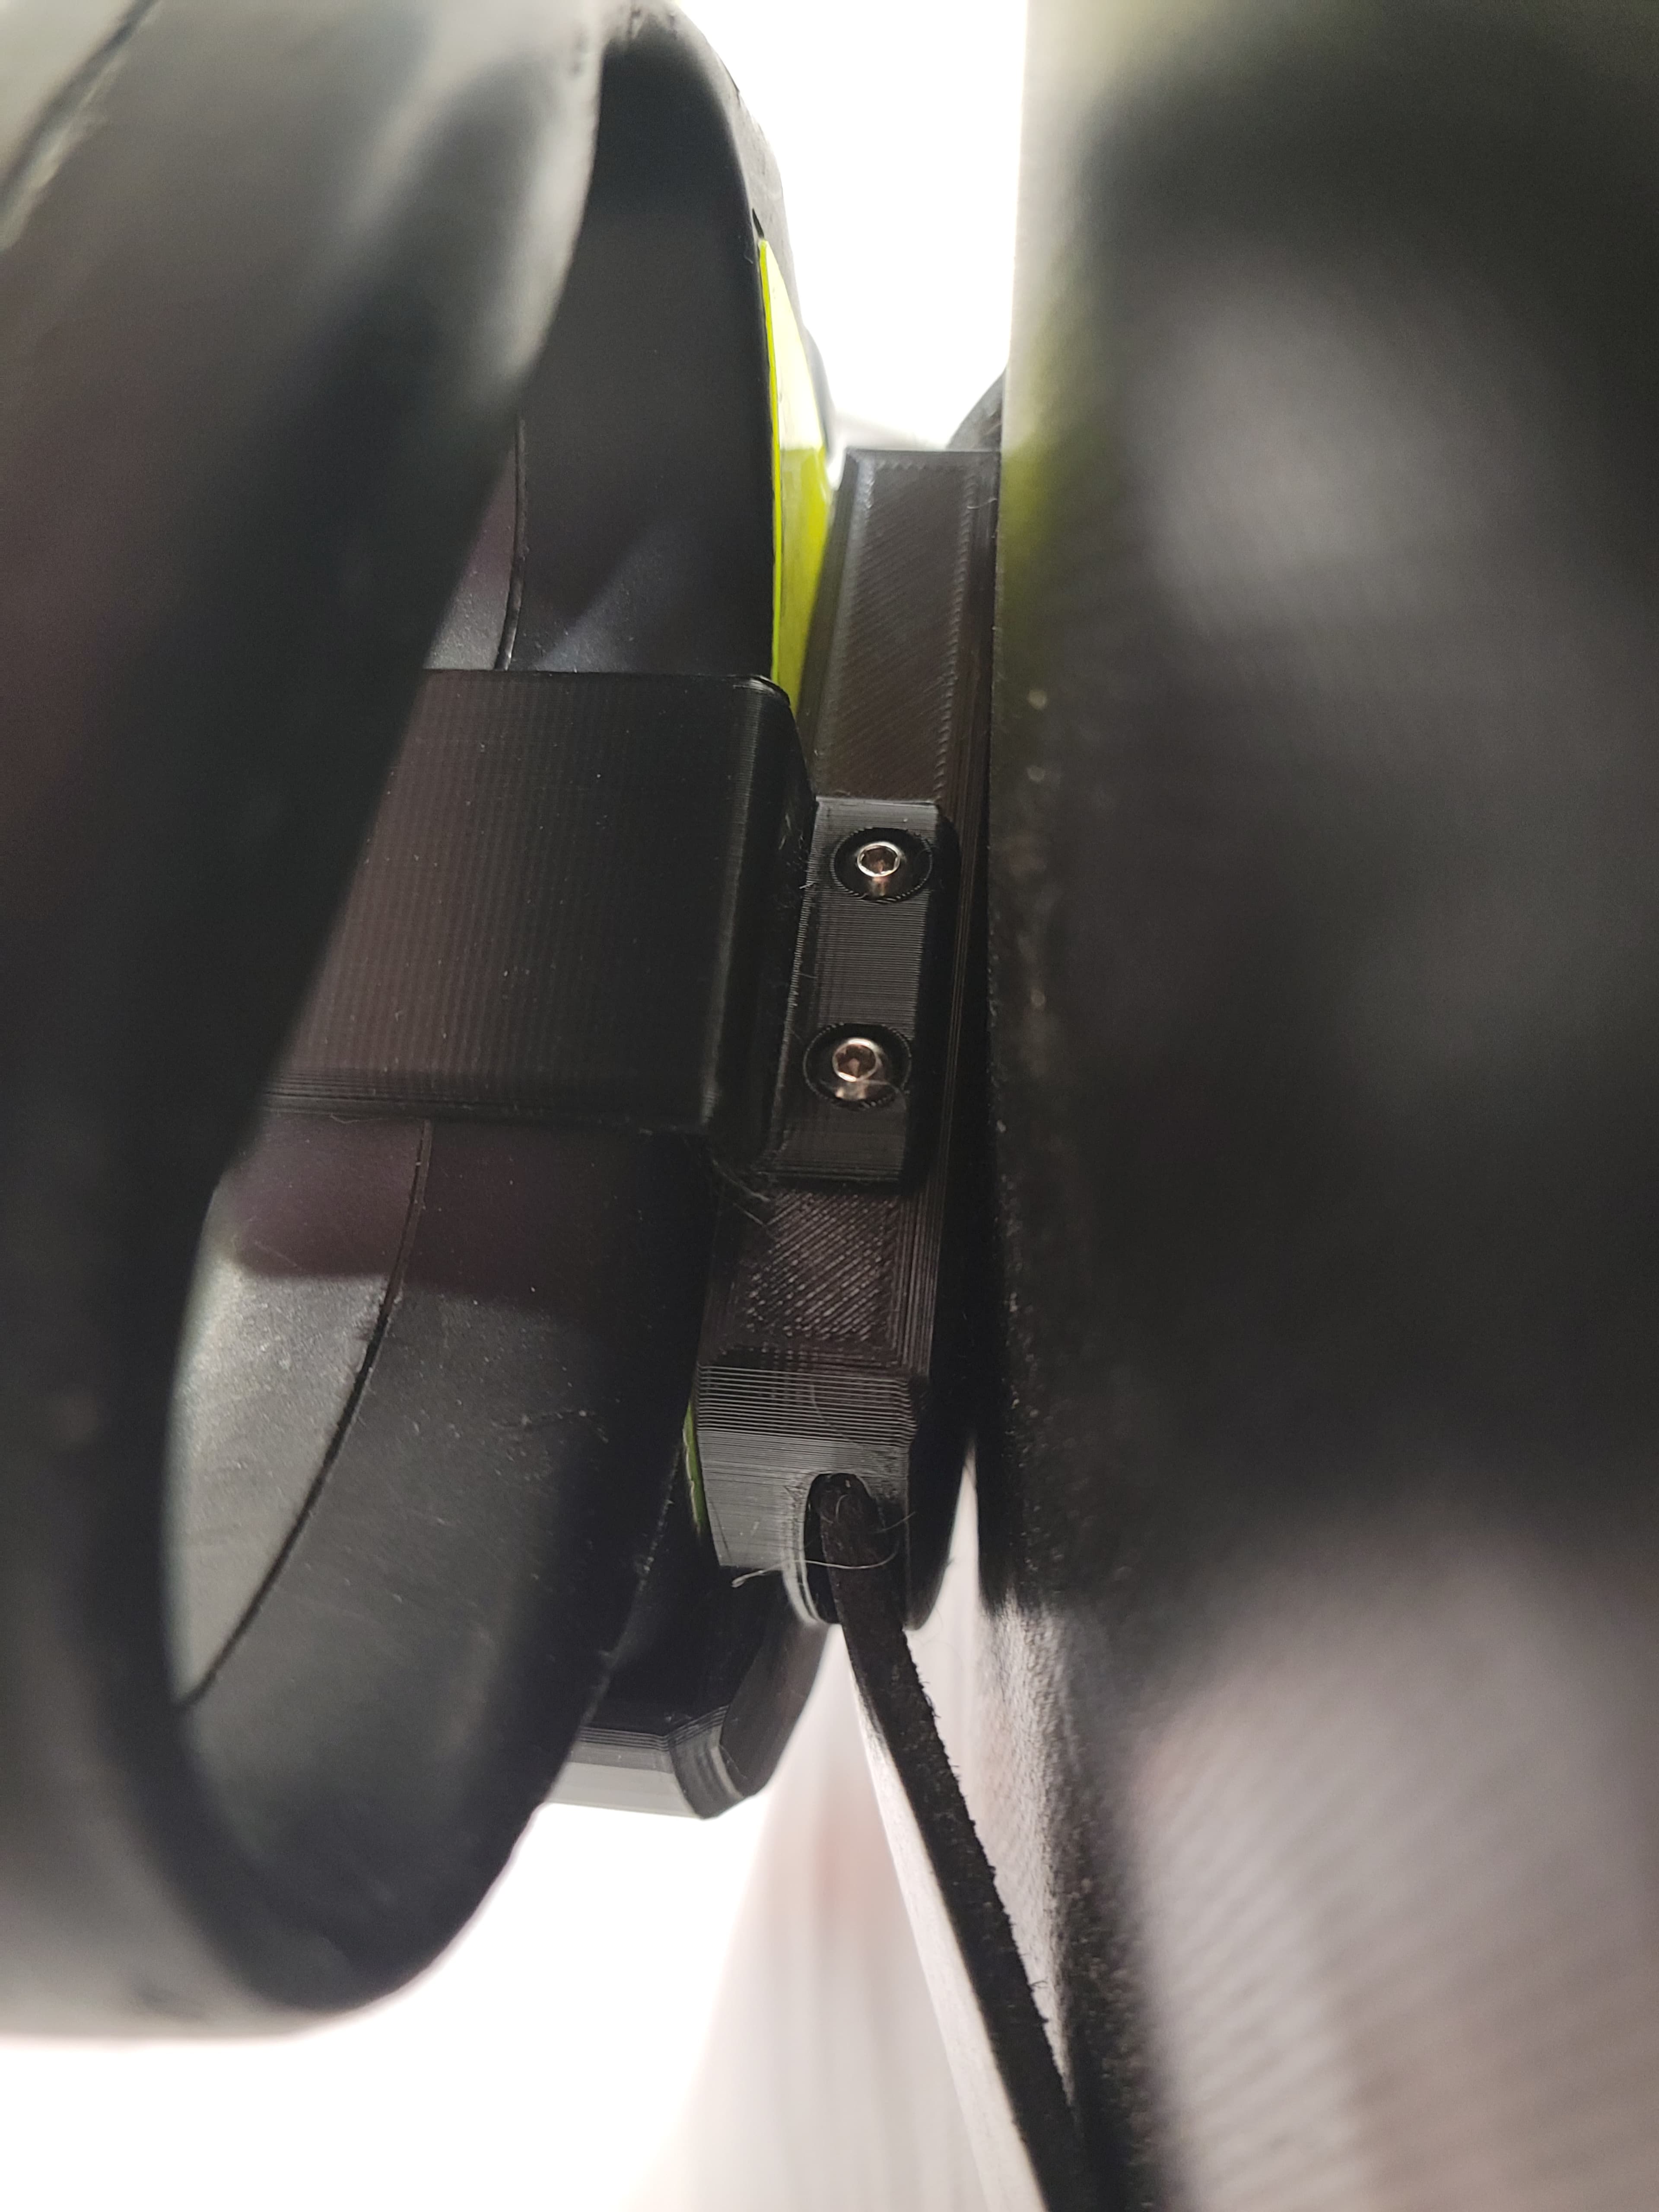
- Sensor Box to push-fit on X axis stepper motor
- Magnet Case Frame to push-fit on hotend box.
I also put a slider/handle on the magnet case frame which is also very useful to move the hotend box during manual bed leveling movements (of course, when the steppers are disabled).
HOW IT WORKS: When you turn on your printer (Ender 3/ Ender 3 Pro and may be some others), the hotend is at Home position. In this position the magnet on the Hotend Frame is close enough to the sensor which is mounted on the X stepper motor. So, the sensor is not activated. However, when the printing starts, as the Hotend will depart from its home position, the sensor will get activated and send a notificaiton to your mobile, wherever you are.
Same for print end; when the printing finishes, the Hotend box will return to its Home position once again, activating the sensor box which will again send a notification to your mobile.
Accordingly, the frame length is extremely important to keep the proper distance between the sensor and the corresponding magnet. WARNING: If it's too long, the hotend frame will hit and force pushing the sensor box which may harm your printer. On the other hand, if the frame length is too short, the magnet will be far away from the sensor and cannot activate it even at Home position.
In this respect, 80mm frame length (end to end) is very accurate. The tickness of the walls for approaching sides is 1mm (or so) each both for the sensor box and the magnet box/hotend frame; whereas the rest of the walls are >=2mm (again both for the sensor box and the hotend frame) to keep the boxes more stout.
In order to avoid using supports, I have designed the sensor box with 45 deg (or approximate) overhang rule.
For the same reason, I have designed the magnet box (hotend frame) with the hogging on the other side (the magnet box stands reverse but has no effect on the operation). Besides, the sensor box and the magnet box do not fully allign when they meet each other (when X is zero) but this does not also effect the operation.
See how it works: https://youtu.be/6iAyQyD4y88 https://youtu.be/mvgv8d3M8jM
Happy printing :)
3D PRINTING SETTINGS No supports needed (read explanations in the 3D Model Description) No build plate adhessions needed In fill >=20%
WIFI SENSOR - PRINT START/PRINT END NOTIFICATION TO YOUR MOBILE ENDER3/PRO
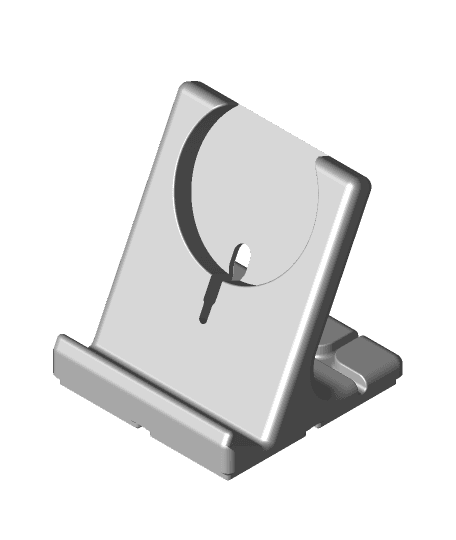
MagSafe Phone Dock.stl

STEPH – Screen Top Edge Phone Holder (Print-in-Place)
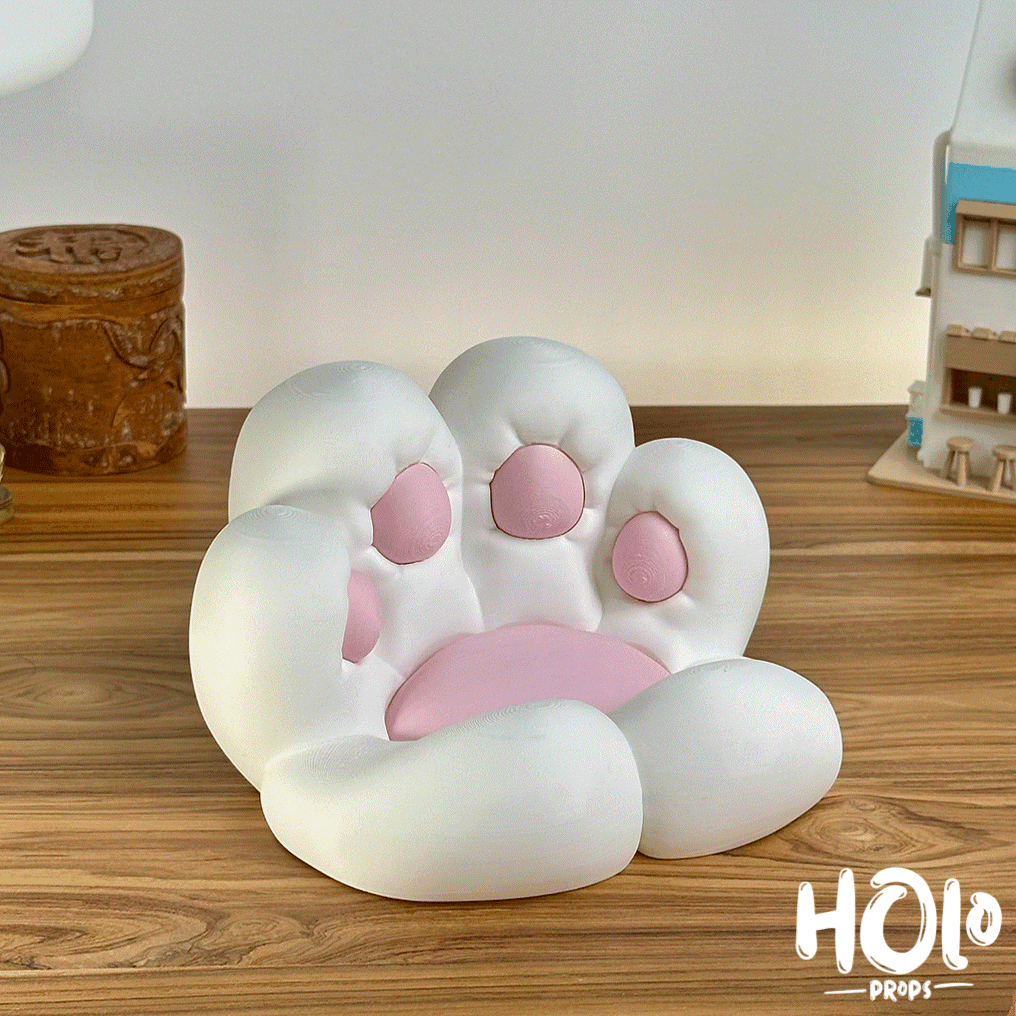
Kawaii Cat Paw Tray
.gif&w=3840&q=75)
Iris box - Bubble skin - Stackable

Snake Emerging- Slytherin Inspired Book Nook

Compact Phone and Planter Desk Tray – Sumi

Artemis Space Craft REMIX

Cute Lil' Strawberry Guy
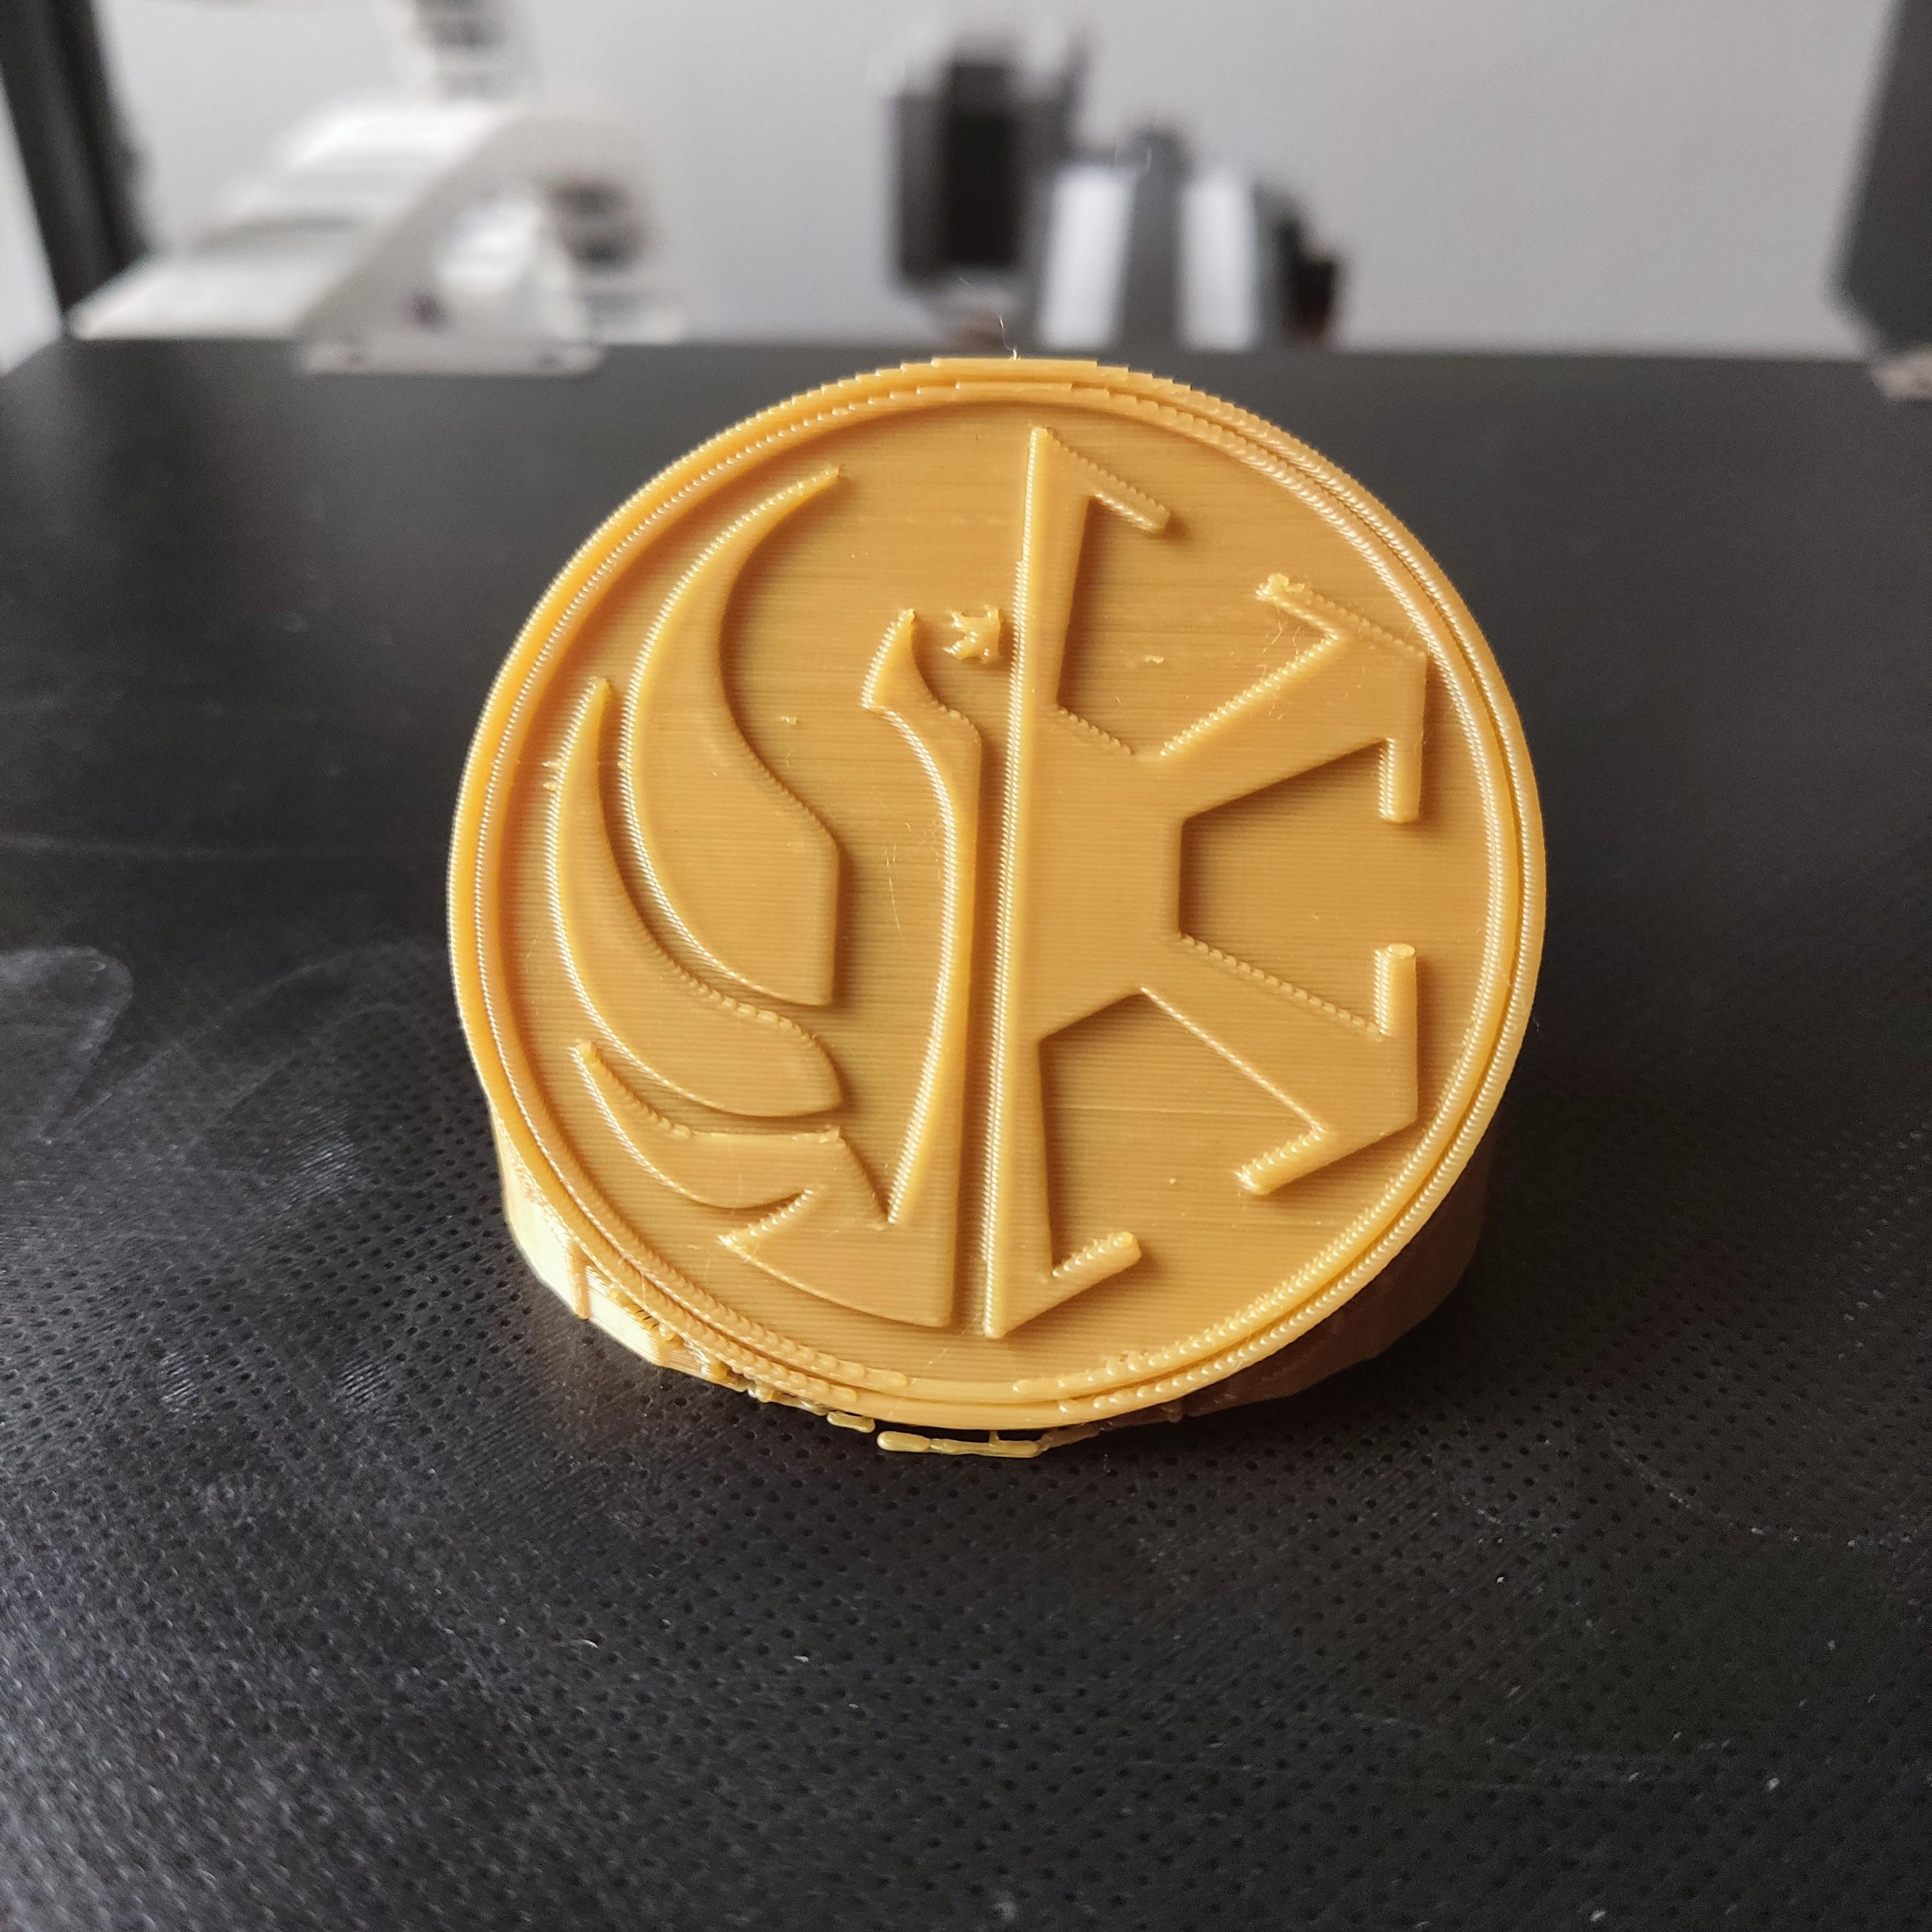
Star Wars Both Factions Badge

Carved Ornate Bowl
THE PHONE COUCH / DESIGNER APPLE IPHONE STAND / UNIQUE PHONE STAND / ANDROID STAND

Smart Office Organizer

Flexi Transforming Dog

Rainbow Phone Stand

Anubis - God of Mummification and Afterlife
APPLE WATCH CHARGER MINI STAND
Flexi Leash Holster
4x6 picture frame with base

Statue of Abraham Lincoln
