


PRINT-IN-PLACE NFC & RFID BLOCKER CARD (100% PROTECTION TESTED)
Model originally uploaded to Thingiverse at https://www.thingiverse.com/thing:5997643.
PRINT-IN-PLACE NFC & RFID BLOCKER CARD (100% PROTECTION TESTED)
RFID and NFC skimming is a type of theft that involves the unauthorized access of someone's payment card information using a RFID/NFC reading device. This method of theft has become increasingly common in recent years, as more and more people use contactless payment methods. RFID/NFC skimming is performed by using a RFID/NFC reading device to intercept the radio frequency signals emitted by RFID/NFC chips in payment cards, passports, and other documents. These signals may contain sensitive information, such as credit card numbers, expiration dates, and security codes. To protect yourself from RFID/NFC skimming, you can use RFID/NFC-blocking products, such as blocking cards, wallets, cardholders, and passport covers. These products contain materials that block the radio frequency signals emitted by RFID/NFC chips, preventing them from being intercepted by a reading device.
Most common ones are blocking cards either made of carbon fibers or aluminium sheets embadded. You can find them sold at Amazon, starting from 5 US Dollars up to incredible amounts. I have not seen any 3D printed cards and I decided to do myself :).
The card I designed includes aluminium foil (standard foil used in kitchens. I couldn't measure the thickness but I suppose it's about 0.1-0.15mm thick.)
Other features are as follows:
- The card is at the size of a standard credit card (100% universal size).
- It's only 1.32mm thick (including the overlays: logo, QR code, etc. Without overlays it's only 1.08mm thick).
- Print-in-place: includes aluminium foil, embadded during print.
- Less than 5grams (including foil).
- 1 hour print time (max).
- Multiple printing at one shot (upto 6 cards on Ender 3 standard bed).
- 100% protects from RFID and NFC signals, if you place it at the back of your credit cards (or even at the front. I tested several times, several ways).
COMPONENTS:
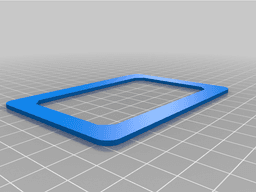
- One small piece of aluminium foil (to be cut using the 3d printed template, included in this project as a separate STL item).
- CD marker/pen to draw on the aluminium Ffoil using the template provided.
- Pritt or hair spray to glue the aluminium foil inside the card during print.
BEFORE PRINTING THE CARD:
Before you print the card, print the template provided once and you will use it several times when you want to print some more cards. Print settings of the template is standard (i.e. 0.20mm or 0.28mm layer height, 20% infill).
Use INSIDE of the template to draw with a fine tipped cd marker on the aluminium foil, where you will cut.
Cut the aluminium foil (directly on the lines) very carefully without wrinkling the aluminium foil and keep it safe somewhere until you place it to its frame at layer 9 (during first pause).
PRINTING INSTRUCTIONS (IMPORTANT!!! PLEASE READ IT BEFORE PRINT!!!):
Please fine tune your printer before start printing the card (i.e. good bed leveling).
I preferred (two different colors) PLA to print the card but any other material (i.e. PETG, ABS etc.) can also be used.
In order to make the card as thinner as possible, I used 0.12mm layer height (CURA Super Quality profile). So, all following “pause” settings are based on this layer height.
There are 2 pauses(*) during the print:
- to insert the aluminium foil (layer 6 = height 0.72mm cumulative)
- to change the color for overlays (layer 9 = height 1.08 cumulative) (*) be aware that when you enter pause layers in CURA post processing plugins (using Pause at Height script), the printer pauses at the END of printing the defined layer.
So:
- there are 3 bottom layers each 0.12mm totalling to 0.36mm
- there are 3 top layers each again 0.12mm totalling to 0.36mm
- there is a 3 layers space in the middle (where you will insert the foil), each again 0.12mm, totalling to 0.36mm.
The total height of the card, then, would be 0.36 × 3 = 1.08mm before the overlays. Overlays are 2 layers X 0.12mm = 0.24mm height in total. Then the overall height of the card (with overlays) would be 1.32mm when printing is completely finished.
PLACING THE ALUMINIUM FOIL:
Apply a very very thin layer of adhessive to the back of the aluminium foil to secure it in the printed frame at the first pause (at the end of layer 6). Adhessive is only required to keep the foil secure and flat in the 0.36mm thick frame ONLY until the ceiling is covered, the next layer. I tried both hair spray and Pritt, which both worked very well. Hair spray is sometimes more difficult to use as it may overleak on the foil and excess spray may pour in between the printed layers (which then may cause stains at the back of the card). Pritt should also be used very carefully and thin enough to avoid bulbs/protrusions. APPLY ADHESSIVES ONLY ON ONE SIDE (Bottom Side) OF THE FOIL (and also NOT on the printed section).
With sticky side down, place the folio in the center of the printed frame very carefully, preferably using tweezers, to avoid overflow from the sides and edges of the frame (don't worry, the foil cutted using the template provided is significantly smaller than the printed frame). Gently press over the bumpy areas with your fingers (take care it is hot) to place and secure the folio in the frame. Ensure that there is no bumps any more before you continue printing (or otherwise the nozzel may tuggle or even tear the folio next level, ruining your print. The first bridging over the folio may not be in good shape (there may be gaps between printed lines) and they may be loose. But again don't worry; during printing next layers the printer will cover them perfectly.
PRINTING OVERLAYS:
Pause at height (at the end of layer 9) to change to a different color filament (preferably contrasting color with the previous filement's color like black over white or vice versa) to print the overlays. Overlays are optional and are not a part of the functionality of the card; and you can stop the print at the end of layer 9 and use it as it is but they give more strength, identity and beauty to the card.
PRINT SETTINGS SUMMARY:
- Layer Height: 0.12mm (CURA Profile: Super Quality)
- Number of Top & Bottom Layers: 3
- Infill: 100%
- Print Speed: 20 (first two layers) then up to 70 to the rest (but you may slow down the speed while printing overlays to avoid any stringing).
- First Pause (foil placing): End of Layer 6 (height: 0.72mm)
- Second Pause (filament change): End of Layer 9 (height: 1.08mm)
- Optional: Start cooling the bed after layer 9 or 10 so that the bed will be at room temp when printing is finished or otherwise you have to wait the same period after printing is finished. Never remove the card from the bed before the bed is completely cooled down as you will deform the shape/flatness of the card.
PRINT MATERIAL:
I printed both with PLA and PETG. Both worked fine but PLA was better for filament change sticking at layer 10.
OTHER REMARKS:
I designed the layout myslef:
- The logo is based on figures on some other RFID products but unique.
- The QR code on the layout directs the user to my account in Thingiverse for easy download.
- DISCLAIMER: Evethough I tested the card's protection several times with different RFID/NFC instruments and ensured 100% protection against skimming, I hereby disclaim no responsibility agaist any kind of skimmimg you may face through any kind of instrument/devices which may still have some ways to overpass the protection of the blocking card. Print and use it at your own risk.
- This project is free to download, print, distribute and use except for commercial purposses. If you want to use it for commercial purposes, please ask for my consent.
- Please also feel free to contact to me for any question or concern about the project, printing issues, licence etc.
Thank you for reading above explanations and instructions before printing the card.
PRINT-IN-PLACE NFC & RFID BLOCKER CARD (100% PROTECTION TESTED)
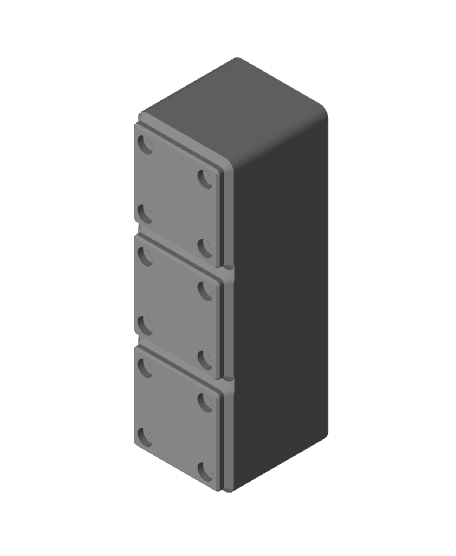
gridfinity nfc card holder v1
RFID Car key signal blocker case

NFC Keychains

EZ Access Card
%2520(Instagram%2520Post%2520(45))(8).png&w=3840&q=75)
Customizable Card Reader Holder

Mason Jar Vendor Sign *FULLY CUSTOMIZABLE*
Door Lock
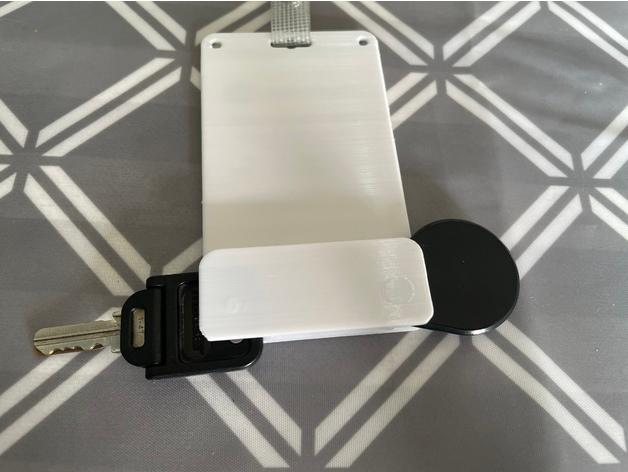
Badgecard Holder with RFID Attachment and Locker Key
.png&w=3840&q=75)
imbedded nfc rate us NO AMS/MMU *READ DISC*
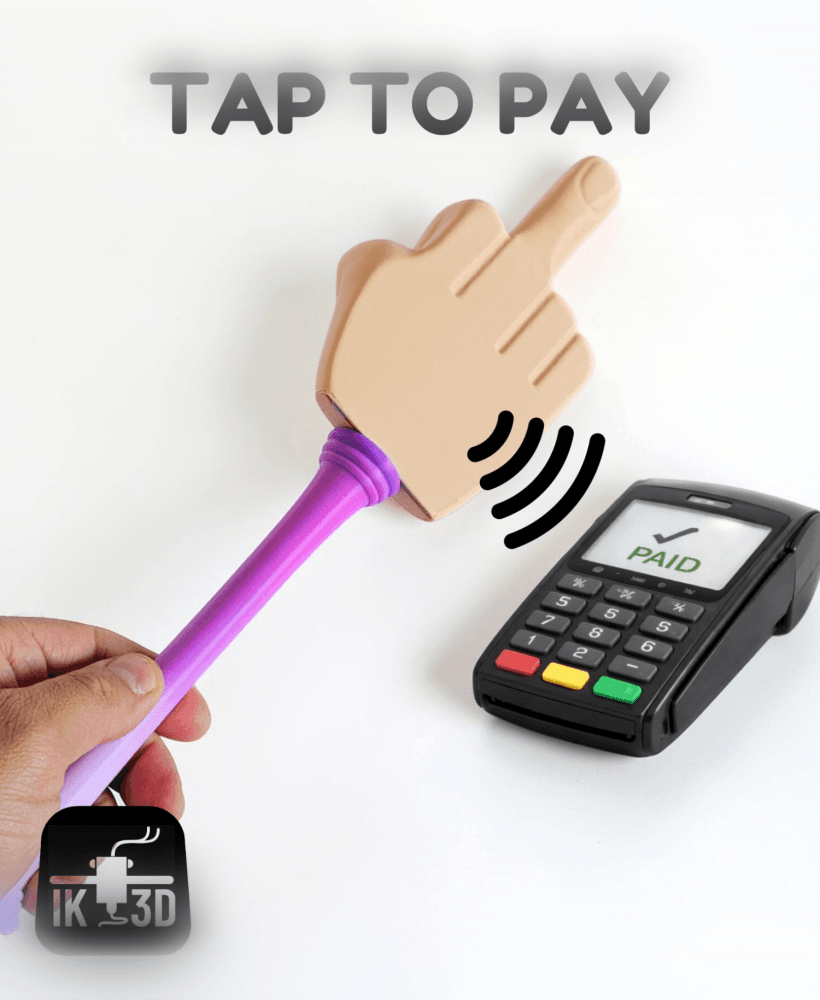
Tap To Pay Middle Finger Wand

Zenzatx
.jpeg&w=3840&q=75)
Butterfly Vendor Sign with QR and NFC *FULLY CUSTOMIZABLE**

Cloud Vendor Sign Large Version-- Customizable for QR codes and NFC tags

NFC Keychains Batch 2
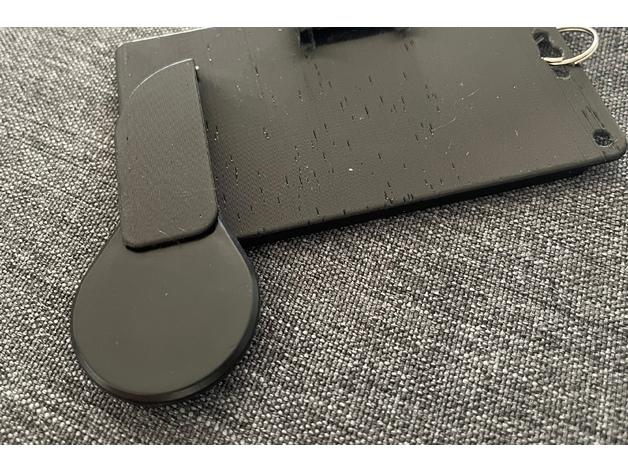
Badgecard Holder with RFID Attachment

Cloud Vendor Sign Smaller Version-- Customizable for QR codes and NFC tags

Shanghai Rummy SnapLock Box
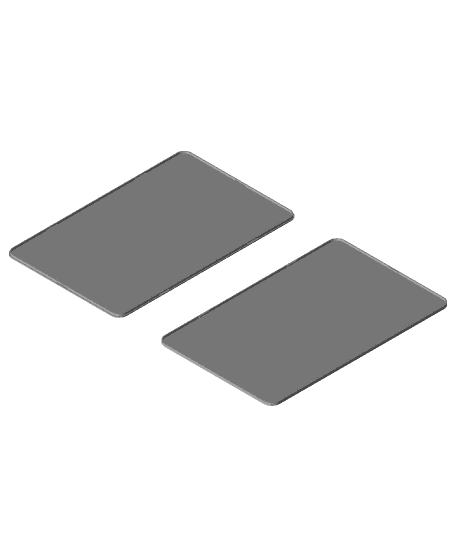
Ultra Thin Credit Card Sheath/Cover
RFID Tag Scanner Case
