


FILAMENT SPOOL REWINDER
Model originally uploaded to Thingiverse at https://www.thingiverse.com/thing:6109997.
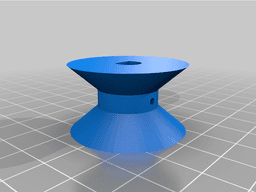
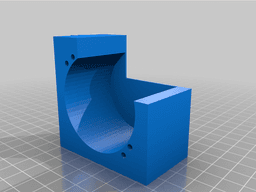
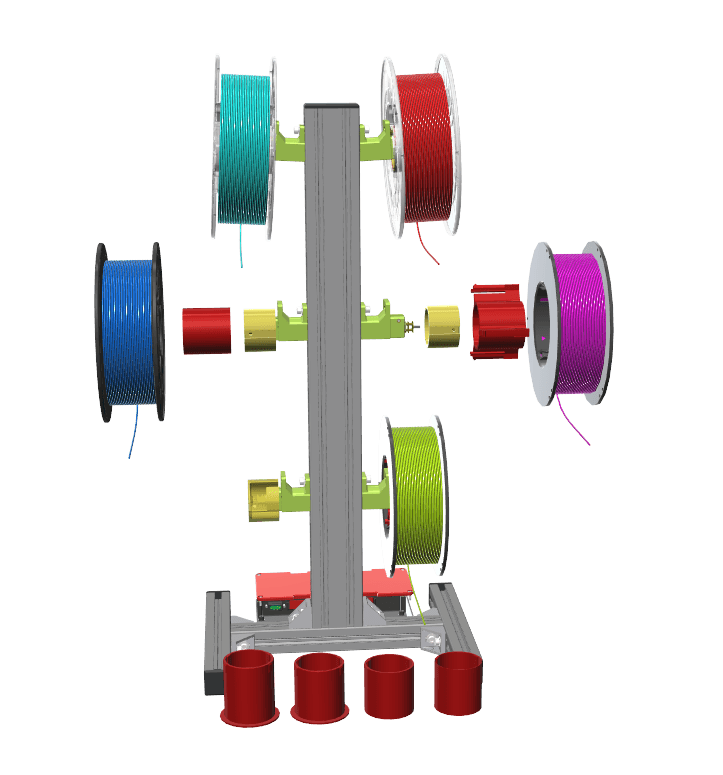
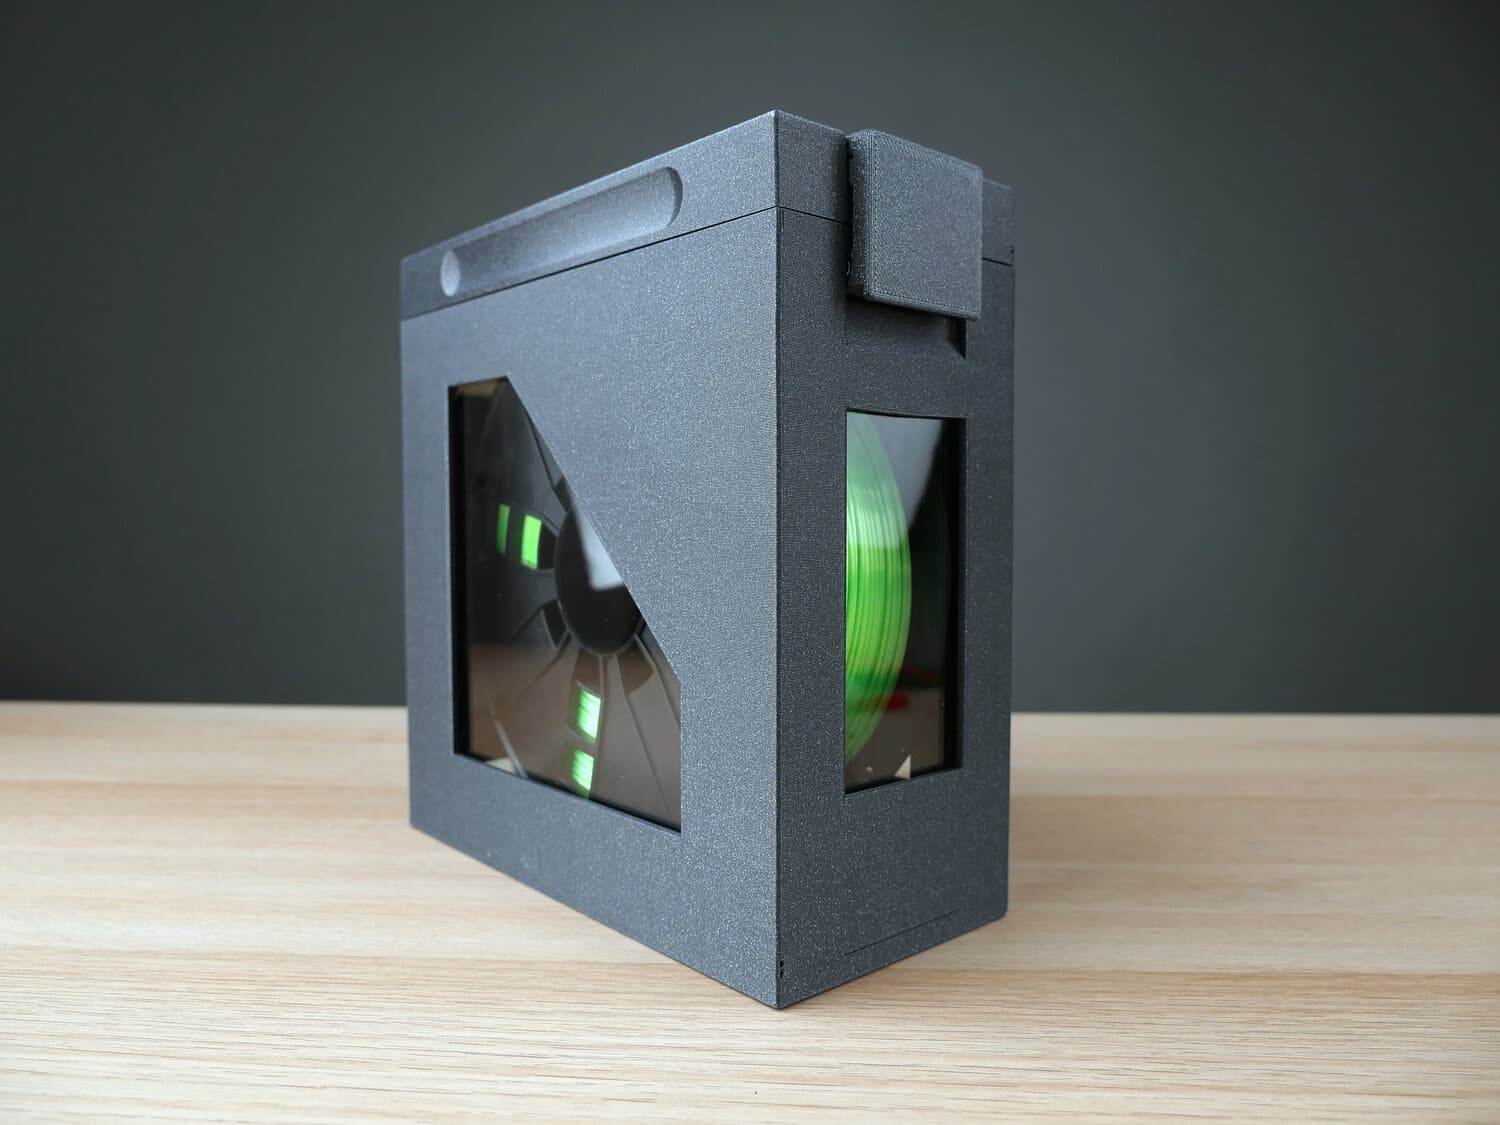
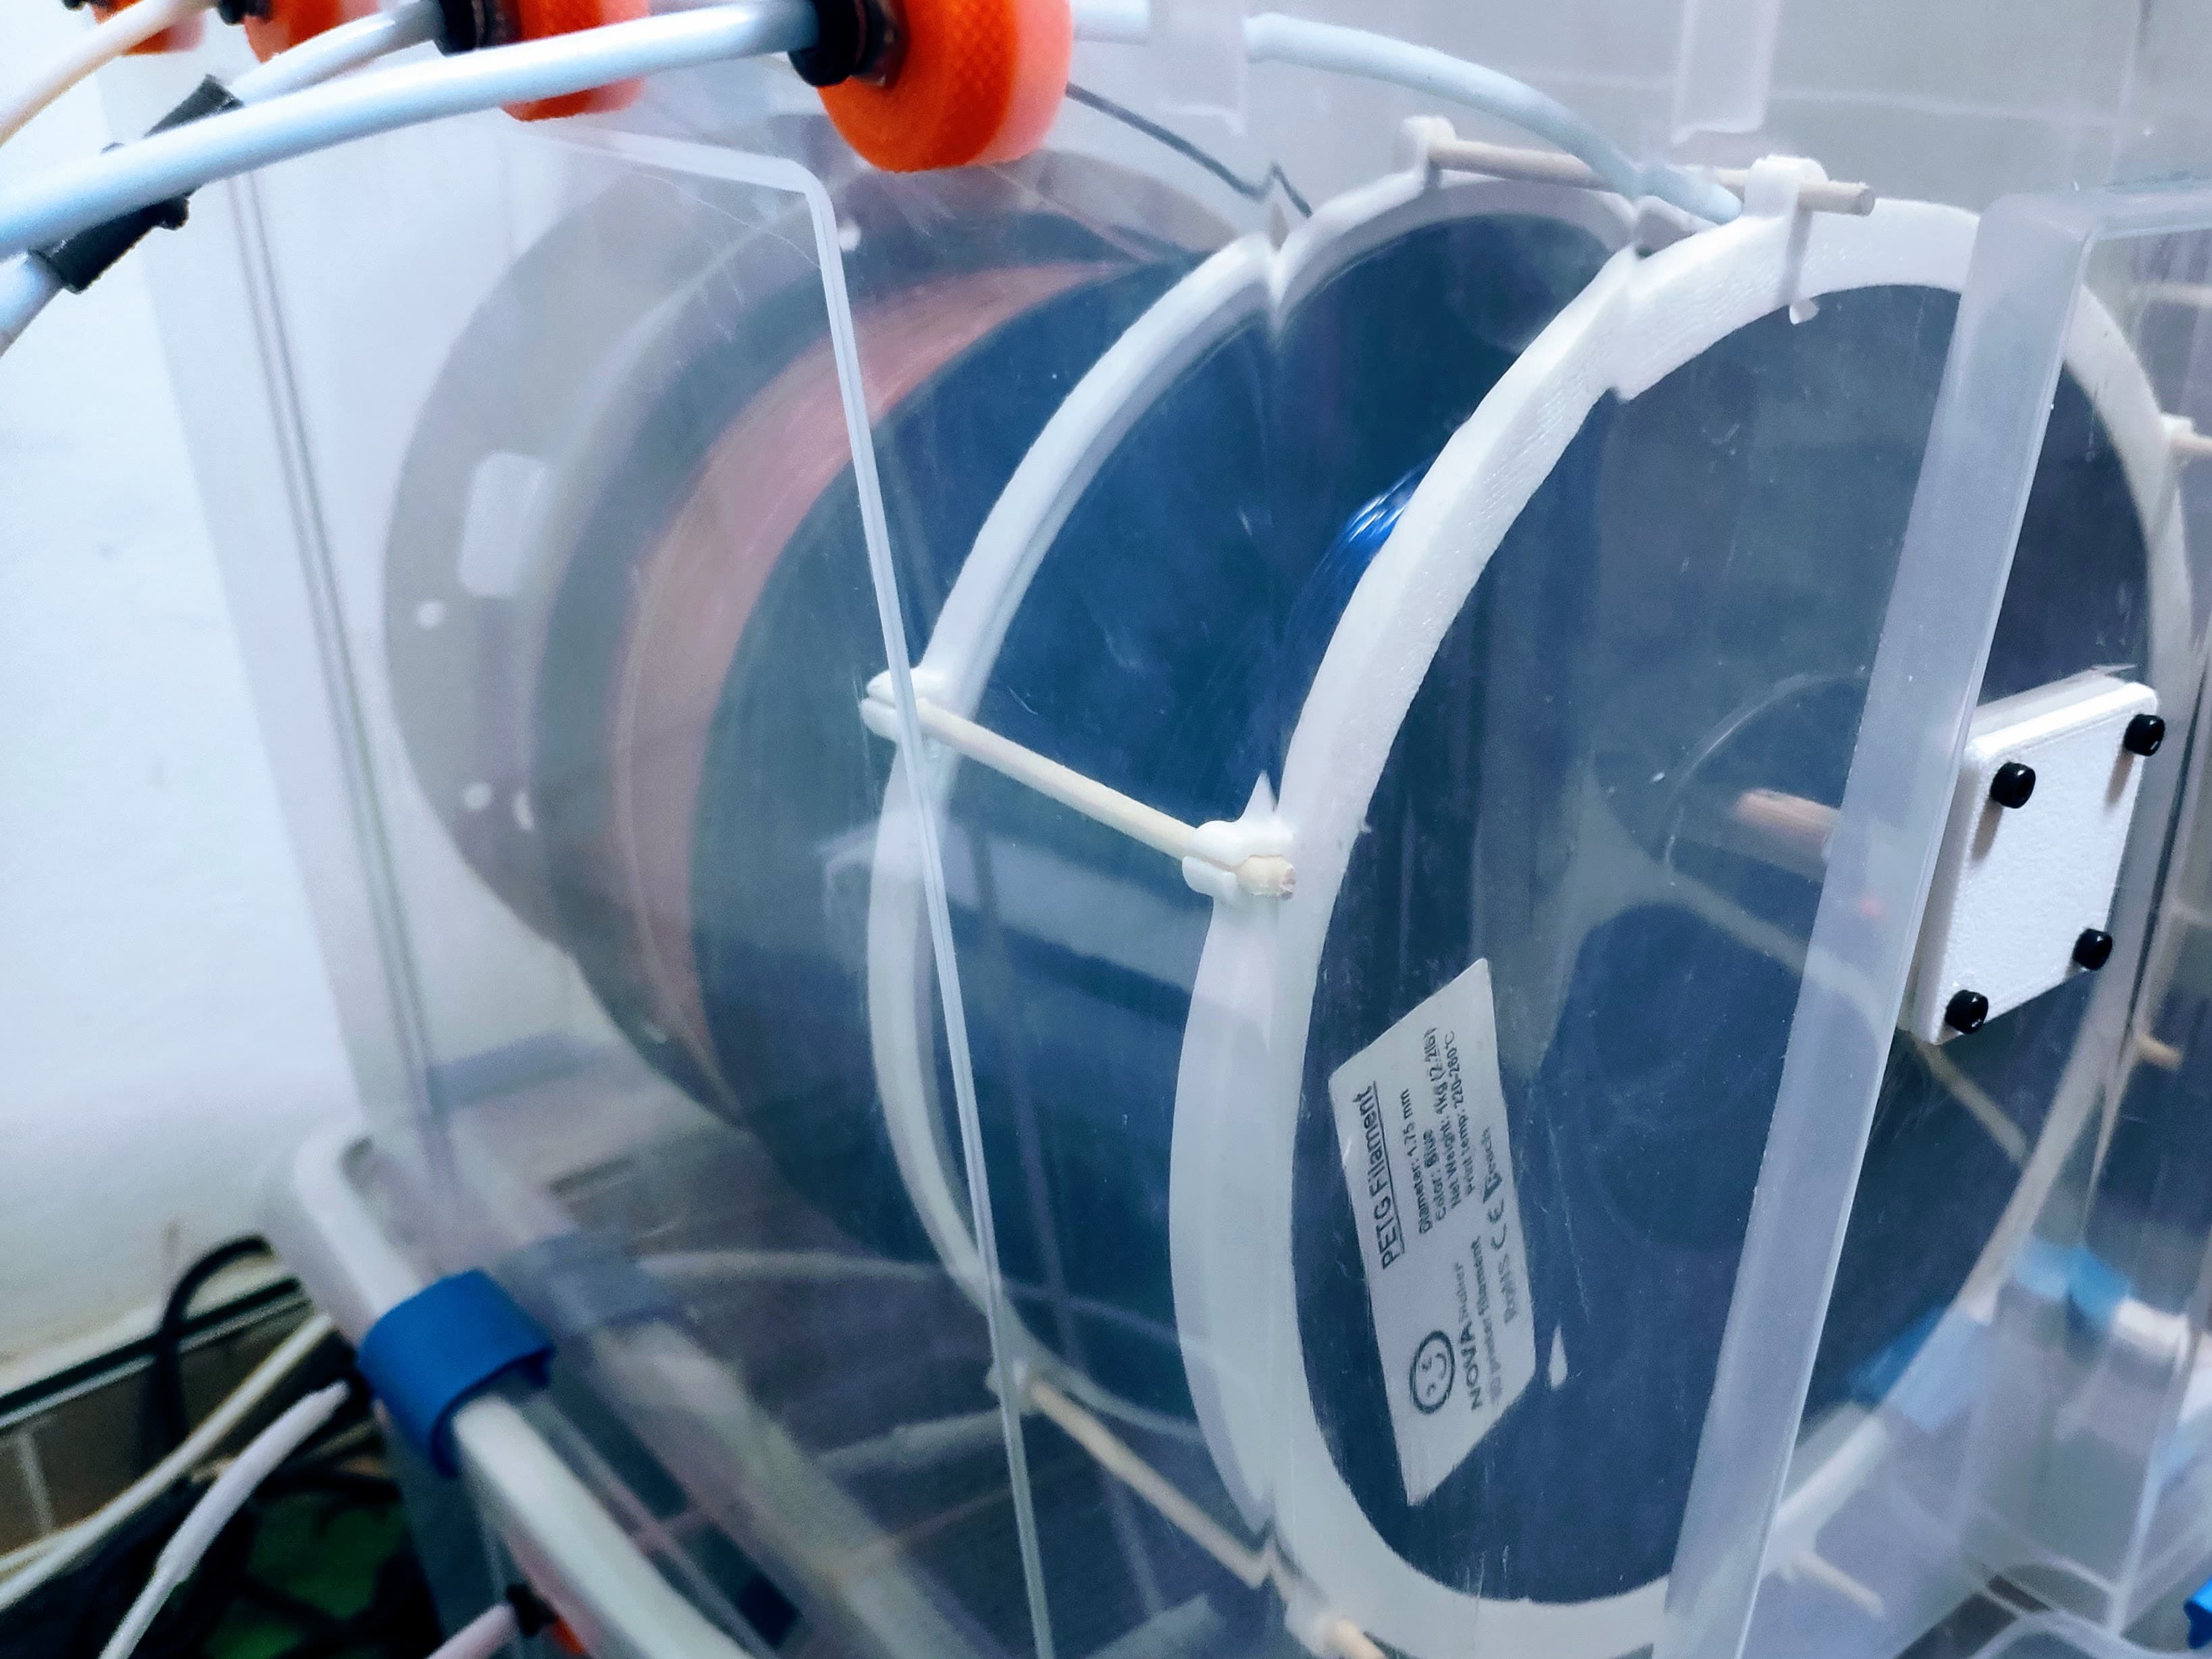
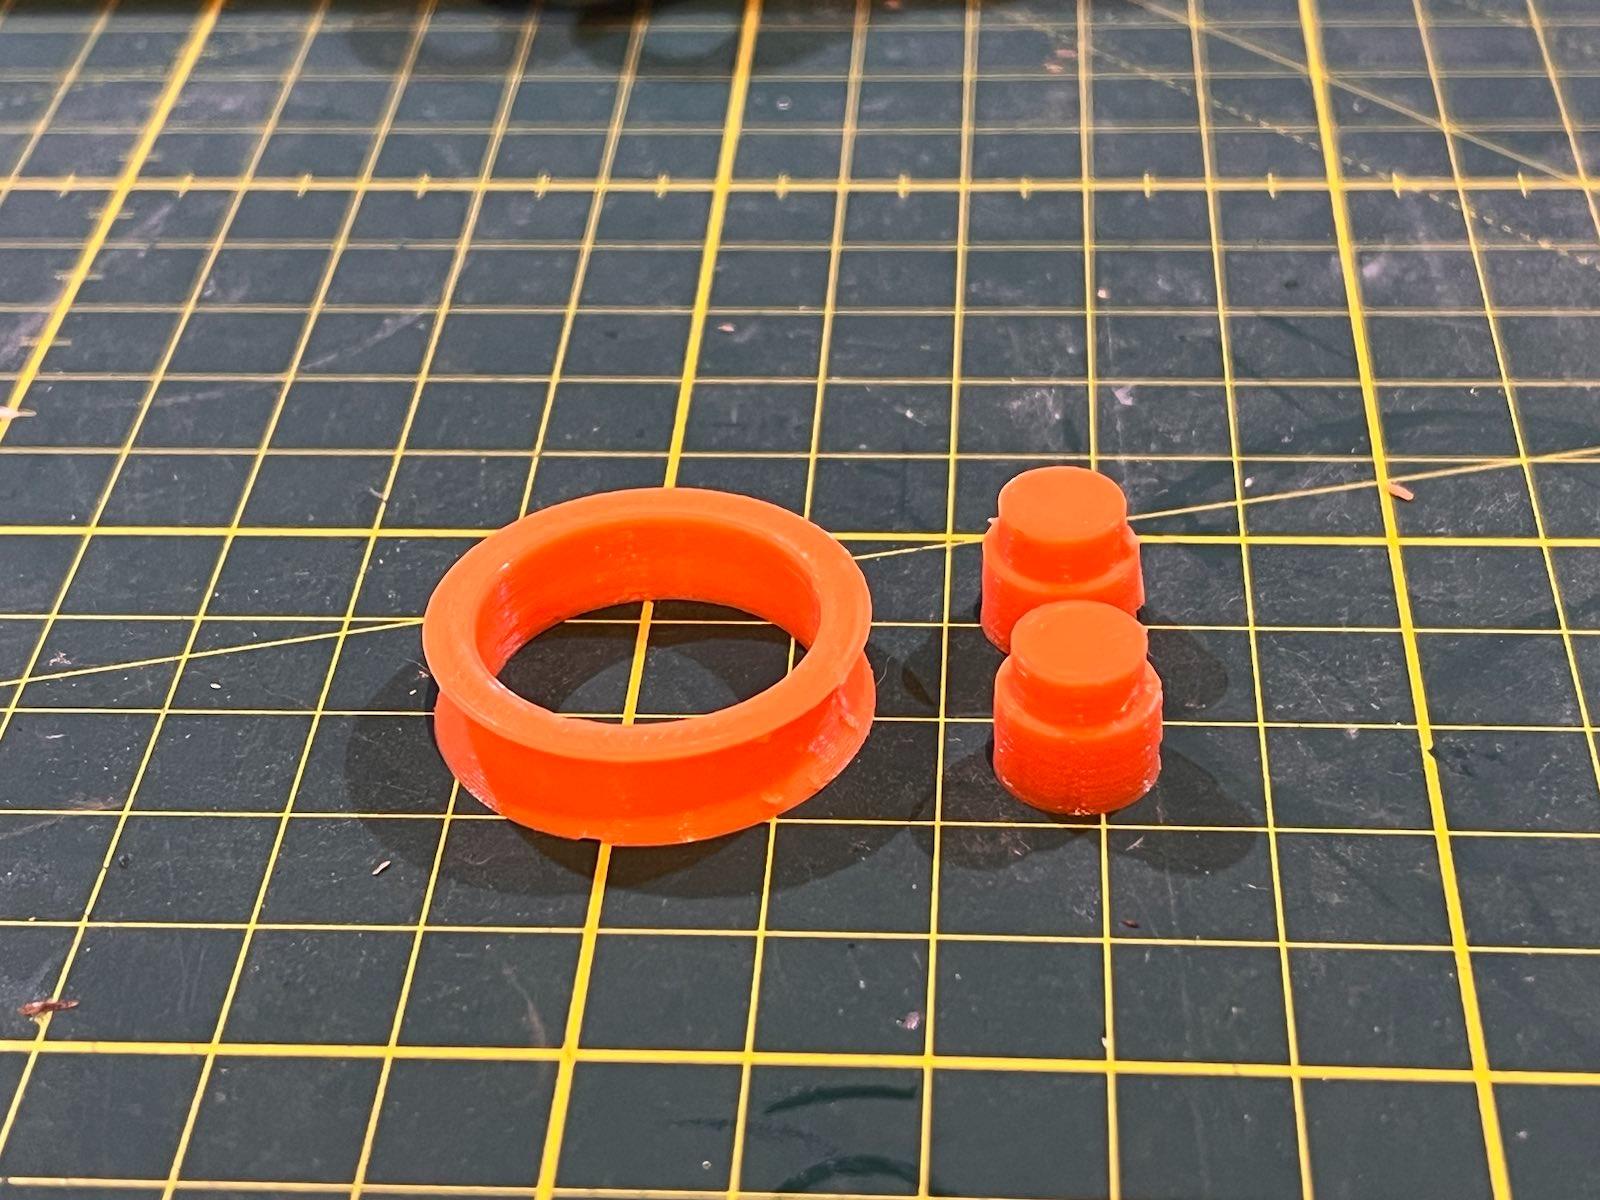
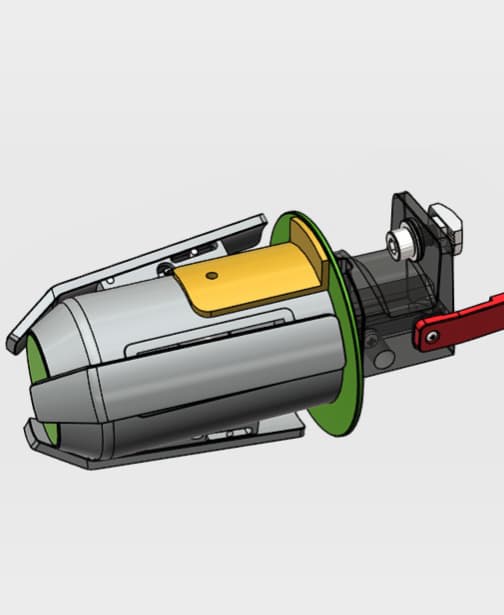
This spool rewinder is designed to support my Auto Filament Splicer. When the process starts rewinding merged filaments (e.g. up to 50m) the printer pulls the merged filament out of the PTFE tube and the extruder. This joined filament must be collected on one spool either manually or using this rewinder. The rewinder is a soft rewinder, meaning it does not hard pull the filament but forces the spool holder to turn backward, so as the spool. In this respect, it starts collecting the excess filament onto the main spool. You can also use it for other purposes such as transferring filaments from one spool to another or while using my Automatic Filament Change project. COMPONENTS: I used the equipment on hand: • 1 X 20rpm 50KTYZ Motor (110/220V) • 1 X Standard on/off switch (110/220V) • 1 X 50cm wide strip (e.g. 1cm) waist elastic band. • 2 X Small screws to fix the motor to the motor box. • 1 X Metal pin (2mmx2cm) to fix the pulley’s shaft to the motor shaft PRINTABLES: • 1 X Motor Box (to fit on Printer’s 20x20 top profile) • 1 X Belt Pulley Both can be printed without support and with 15-20% infill and 0.28mm layer height. MOUNTING & USE: • Mount the motor to the motor box with two small screws. • Connect the motor cables to the “on/off switch” • Connect a 4.7Mf (470K) 400V film capacitor between the connection pins of the motor to define the initial direction of the motor rotation (usually comes with the motor). • Mount the motor box to the 20x20 profile on the top of your printer. Hard push once and it will be locked to the profile. • Mount the pulley to the motor shaft and fix it with the metal pin. • Sew the ends of the 50 cm waist elastic band to each other (or you can use a thick rubber band instead). • Pass the band over the spool holder and then the pulley. • Tighten the band by moving the motor box (push hard, and it will move). • Isolate all connections, plug in the motor cable to a power outlet, and turn on the switch. Watch the Video: https://www.youtube.com/watch?v=e9dn1sm80Dw
Check related projects: AUTO FILAMENT SPLICER: (Coming Soon) ENDER 3 SERIES FILAMENT CHANGE AUTOMATION G-CODE SCRIPTS: https://www.thingiverse.com/thing:6017956 DOUBLE SPOOL HOLDER FOR ENDER 3 SERIES (PRINT-IN-PLACE): https://www.thingiverse.com/thing:6003353 FUNCTIONAL MINI SPOOL FOR FILAMENT LEFTOVERS: https://www.thingiverse.com/thing:6052426
WARNING: Safety First! Dealing with high voltage (ie 110/220V) is dangerous and may harm you or worse. Please disconnect all electrical plugs before you do any work on the power outlets/plugs and cables. Take care of short-cuts, weak cables, connections, and switches which may also cause electric shock, burns, and other fire risks. DISCLAIMER: This DIY project is not a professional study. Failure of proper work of the parts or devices may cause harm to you and/or to your printer. Accordingly, install and use the model at your own risk. I assume no responsibility in this respect.
FILAMENT SPOOL REWINDER

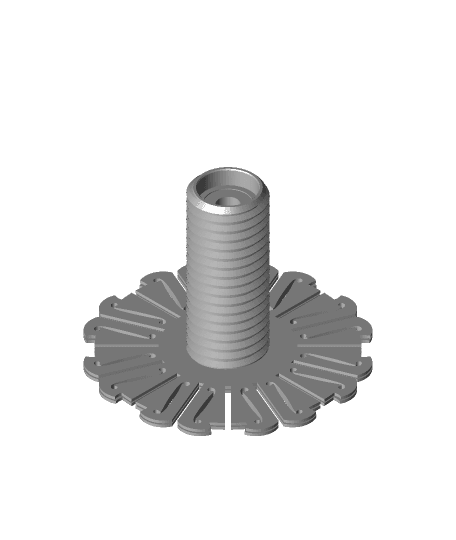
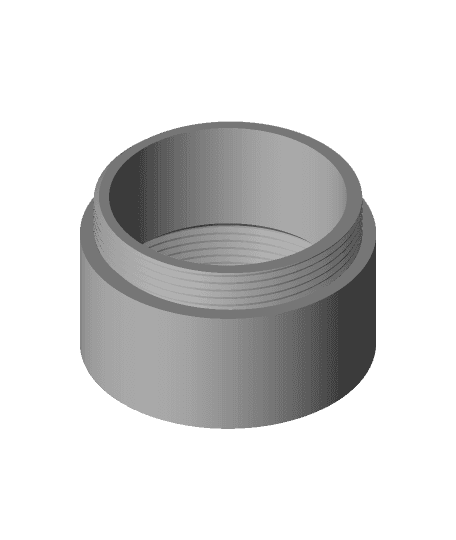
Universal Spool-Core for Spool-Rewinder
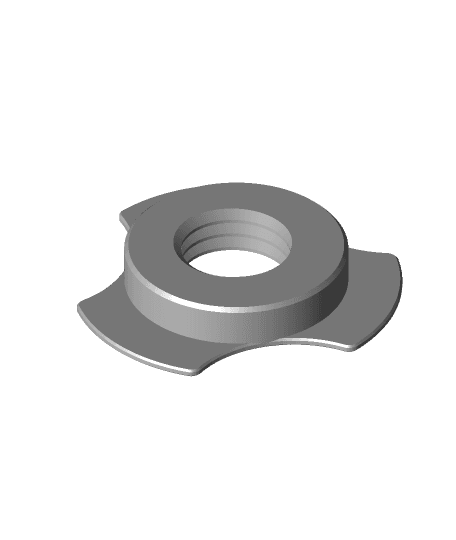
Parametric Spool Nut for the Universal Auto Rewind Spool Holder
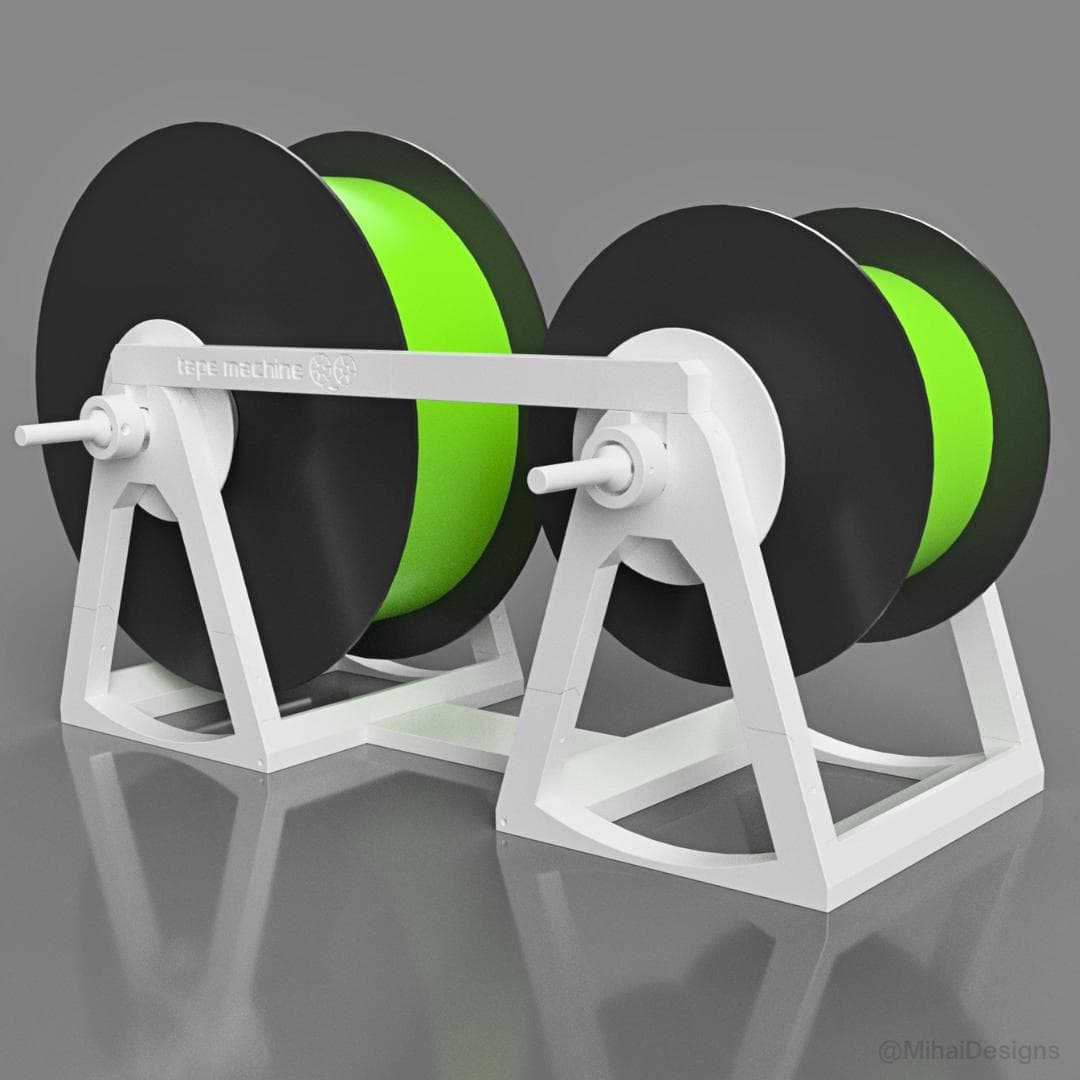
Tape Machine - filament rewind / respooling
Motorized Spool Rewinder (SMuFF)
Sample Filament Spool Holder for small and medium winding
AUTO FILAMENT SPLICER (AFS V1) USING YOUR 3D BOWDEN PRINTER (e.g. Ender 3/PRO)

AUTO FILAMENT SPLICER (AFS V1) USING YOUR 3D BOWDEN PRINTER (e.g. Ender 3/PRO)

Replacement for Cardboard Spools

Auto-Rewinder Mod for Creality Space Pi x1 & x2 - Integrated Spring System
Mihai's DryBox
Minimalist Spool Buffer

Spool Plug: Horizontal Filament Spool Holder

Reusable Filament Spool for Das Filament
608zz_Ball_Bearing_Filament_Rollers_Filament Spool Rollers v3_Shaft_1_Body1.stl
608zz_Ball_Bearing_Filament_Rollers_Filament Spool Rollers v3_Outer-Housing_1_Body1.stl
608zz_Ball_Bearing_Filament_Rollers_Filament Spool Rollers v3_Shaft_1_Body2.stl
Spool-Core for my Spool-Rewinder utilizing a Bambulab AMS-Lite Spool-Holder

Filament Spool with silica Beads storage
Modular Filament Spool Carrier