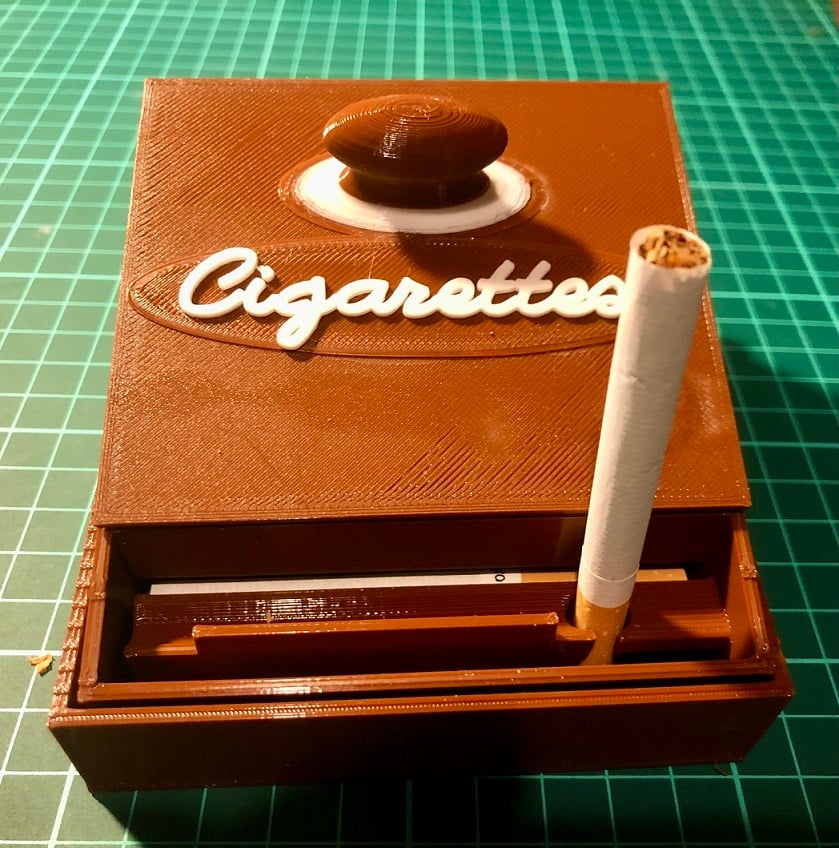


Cigarette Dispenser
_3D Printed Cigarette Dispenser (upto 30 standard 8.5cm cigarettes)
Watch the video: https://youtu.be/-W0srrSoo7A
Based on the wooden version I saw at Youtube, I designed a 3d print model myself using Tinkercad. Main parts are composed of two:
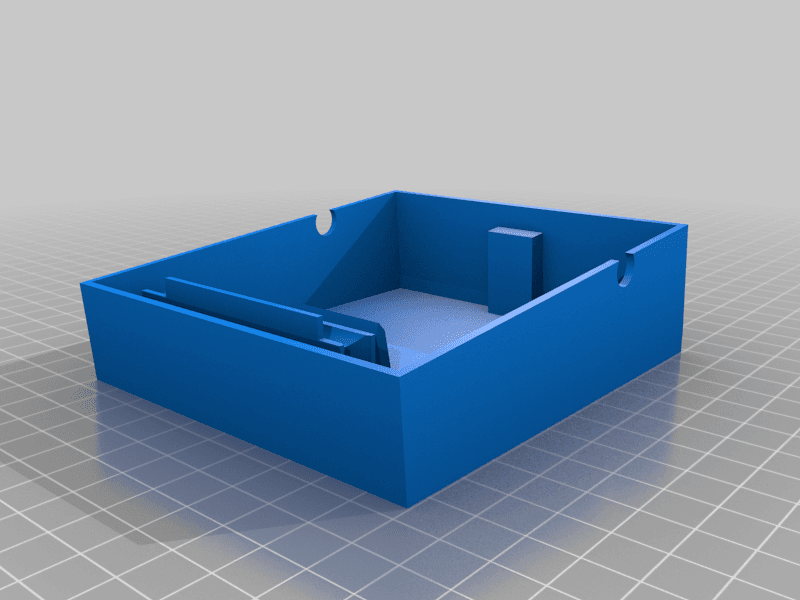
The base and; The box and two optional parts:
The lid of the box (actually advised to be used to make the lid heavier to work better) The handler of the lid together with the "Cigarettes" label The base does not require any support. I printed with 10% infill and 0.28 layer height. However printing with lower layer heights (ie 0.2 or lower) may result in better accuracy for the moving parts.
The box requires supports. However, to easily remove supports after print, I advise (not necessarily) you to change "support Z distance" as 0.4mm instead of 0.2mm standard in Cura. Clean the supports by using a sharp knifepoint and ensure no trace plastic is left which may block the movement of the cigarettes in due course. I also printed the box with 10% infill and 0.28 layer height. However, increasing the infill % (which will increase the weight of the box) and decreasing the layer hight (which will give better accuracy to the moving parts) may improve the automation.
To avoid jams of cigarettes (over 10 cigarettes) during use, I included a tongue stick-out from the bottom of the base which nudges the cigarettes to go into order in the box after every push. However, it's still not 100% effective. In case of any jams of cigarettes during use, push the top a few times and they start moving again. Below 10 cigarettes (first level of cigarettes) I did not encounter any problem.
I printed the lid of the box again with 10% infill and 0.28 layer height. However, same for the other parts, it is also advised to be printed heavier, ie by using 50% or more infill for more effective automation.
Finally, I printed the "handler with "cigarettes" label" again with same infill (10%) but with 0.2mm layer height to easily print in two colors.
So if you want two colors (if you have a one extruder printer like mine) as seen in the pictures, you should "pause at height" at layers 2 and 15 to change the filaments. In other words: 0.4mm box color+2.6mm label color (layer 15) and then the rest is box color again.
If you are not going to make any color change you can print all (4) parts at once, with the same settings you want. They fit into 200X200mm bed size.
In case of any questions please let me know.
Warning: Smoking is dangerous for your health!!!
Happy printings :)_
Cigarette Dispenser
Cigarette Dispenser
Gridfinity | Cigfinity Pack Dispenser

Cigarette Case
.png&w=3840&q=75)
Bambookends - Bamboo Pens, Highlighters, Post it note dispenser, Bookmarks, Panda
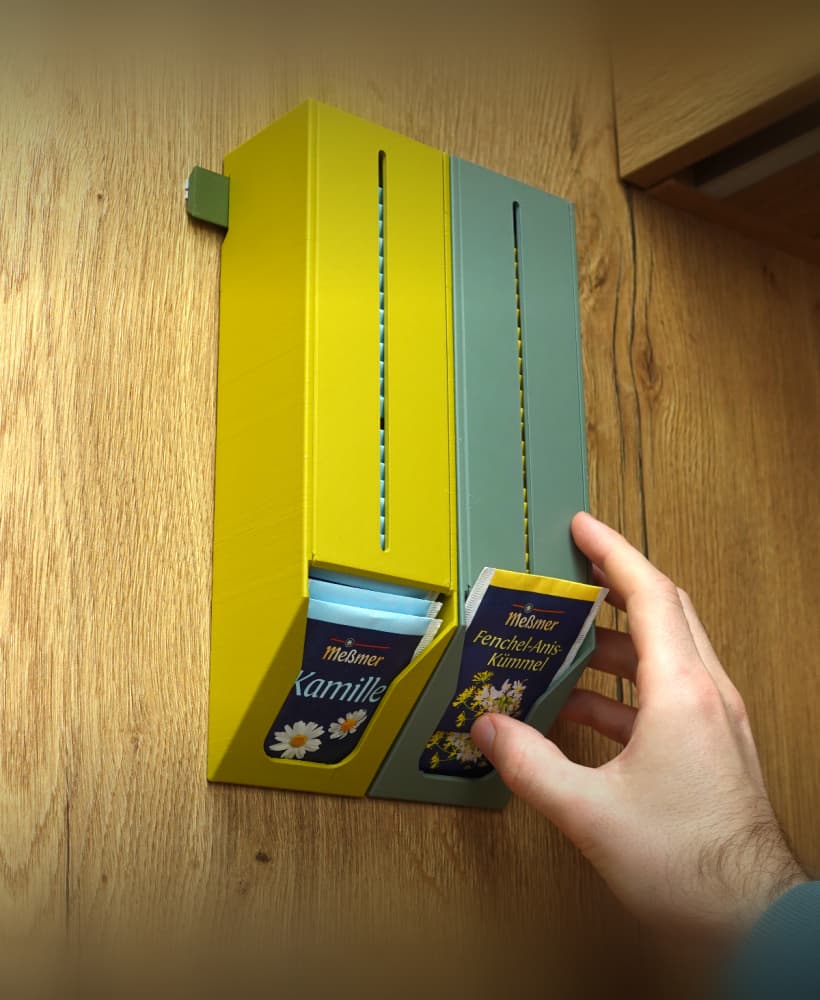
Tea bag dispenser
Frodrick the Toilet Paper Dispenser
CANDY GAT - THE 3D PRINTABLE CANDY SHOOTER
Dani's Miniature Grow Towers
.gif&w=3840&q=75)
Bubbles the Whale Tissue Box Cover
Paper towel holder
Mechanical Counter 0-10 - V1
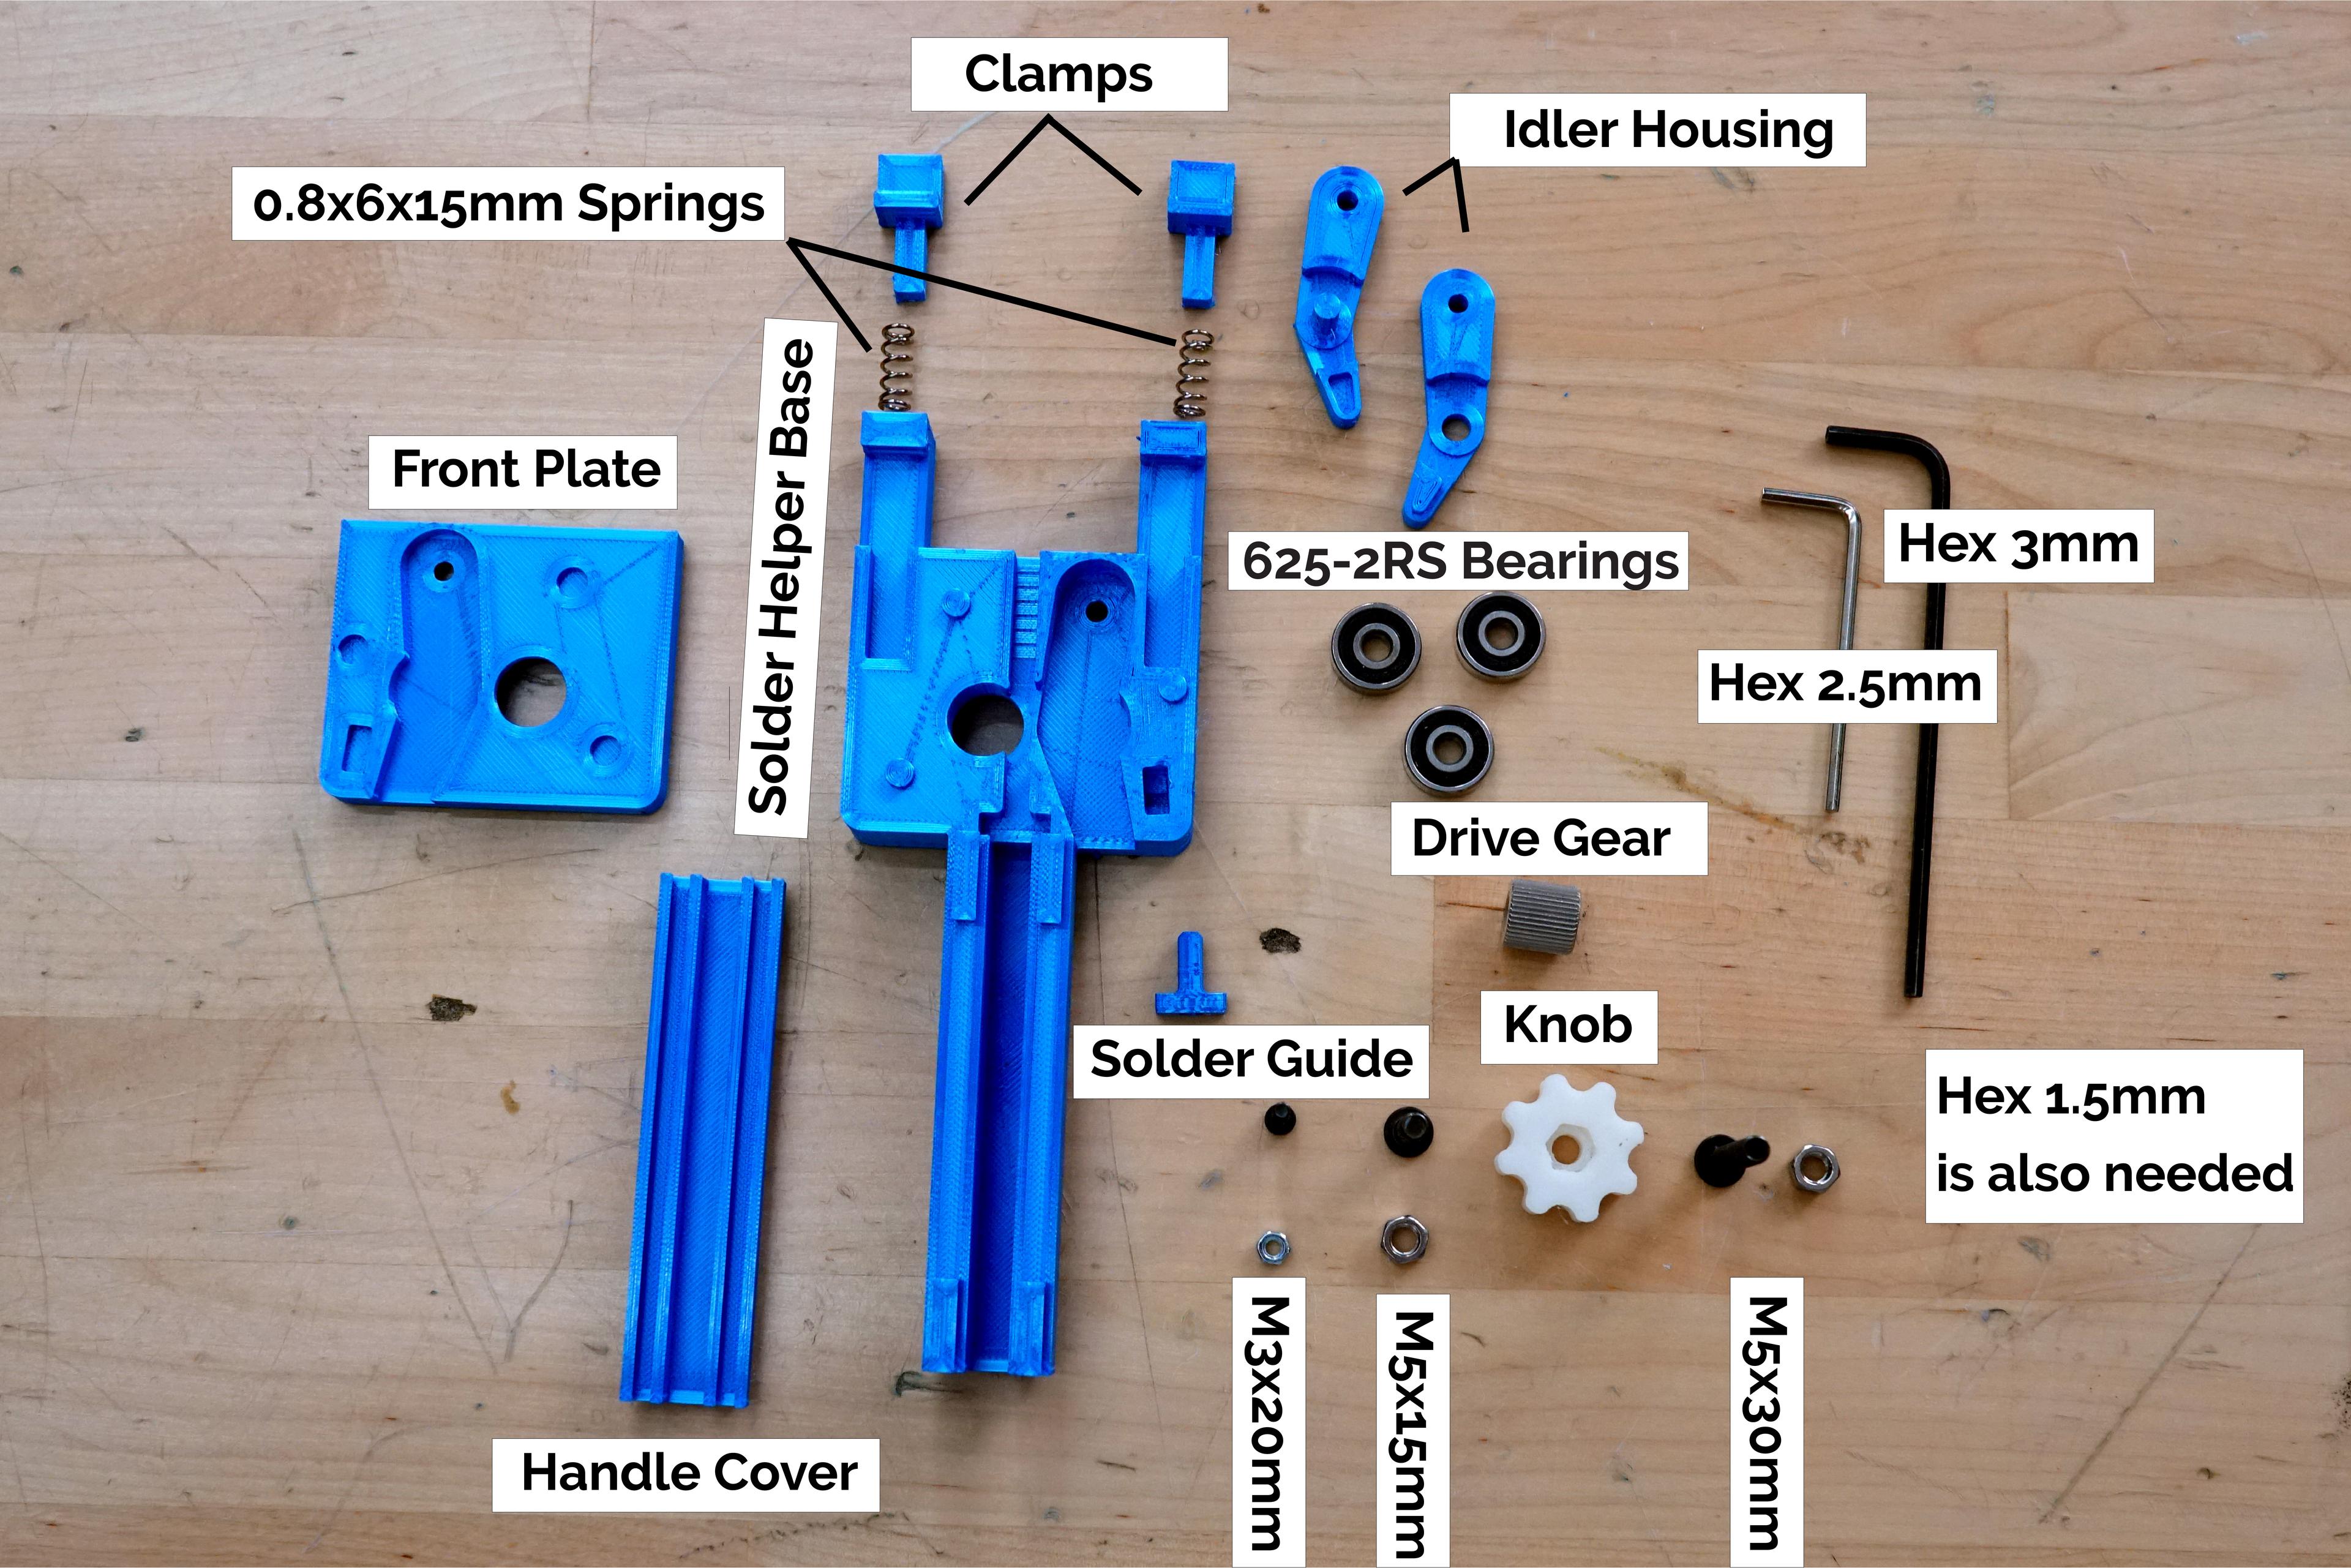
Soldering Helper
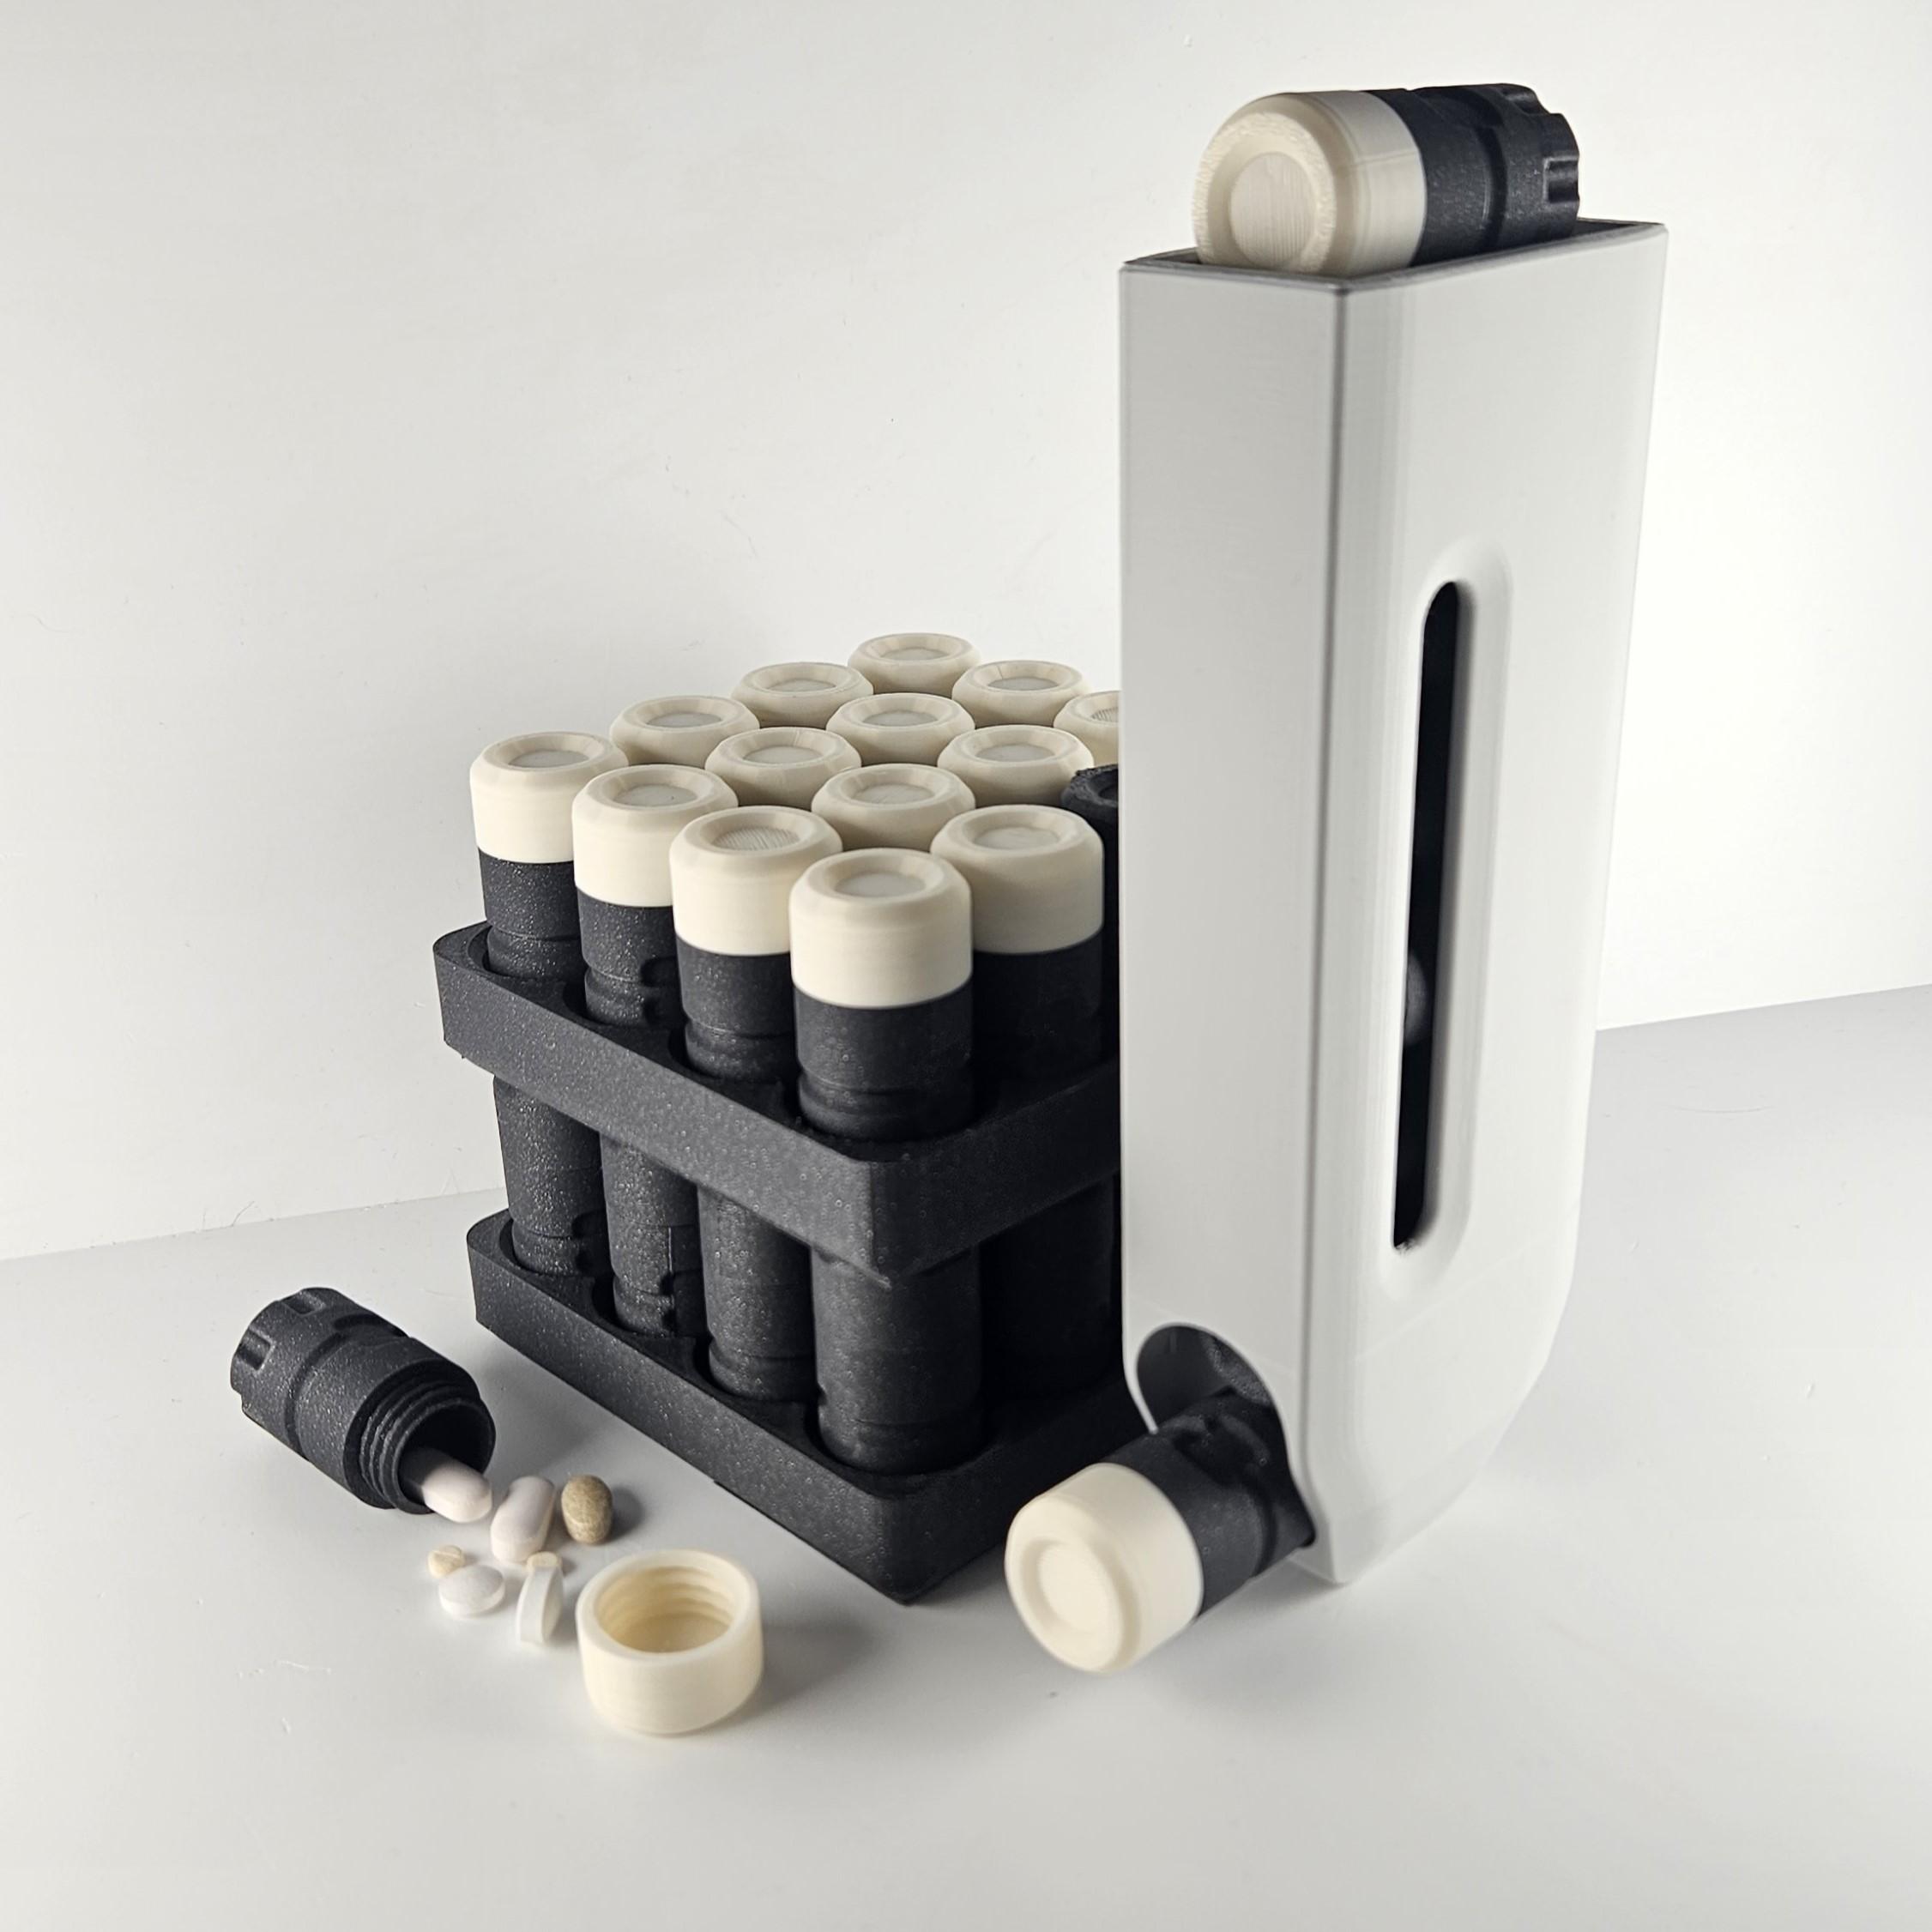
Pill Pods (Pillbox / Supplement dispenser)

Smack O'Lantern - The Smashable Candy Bowl
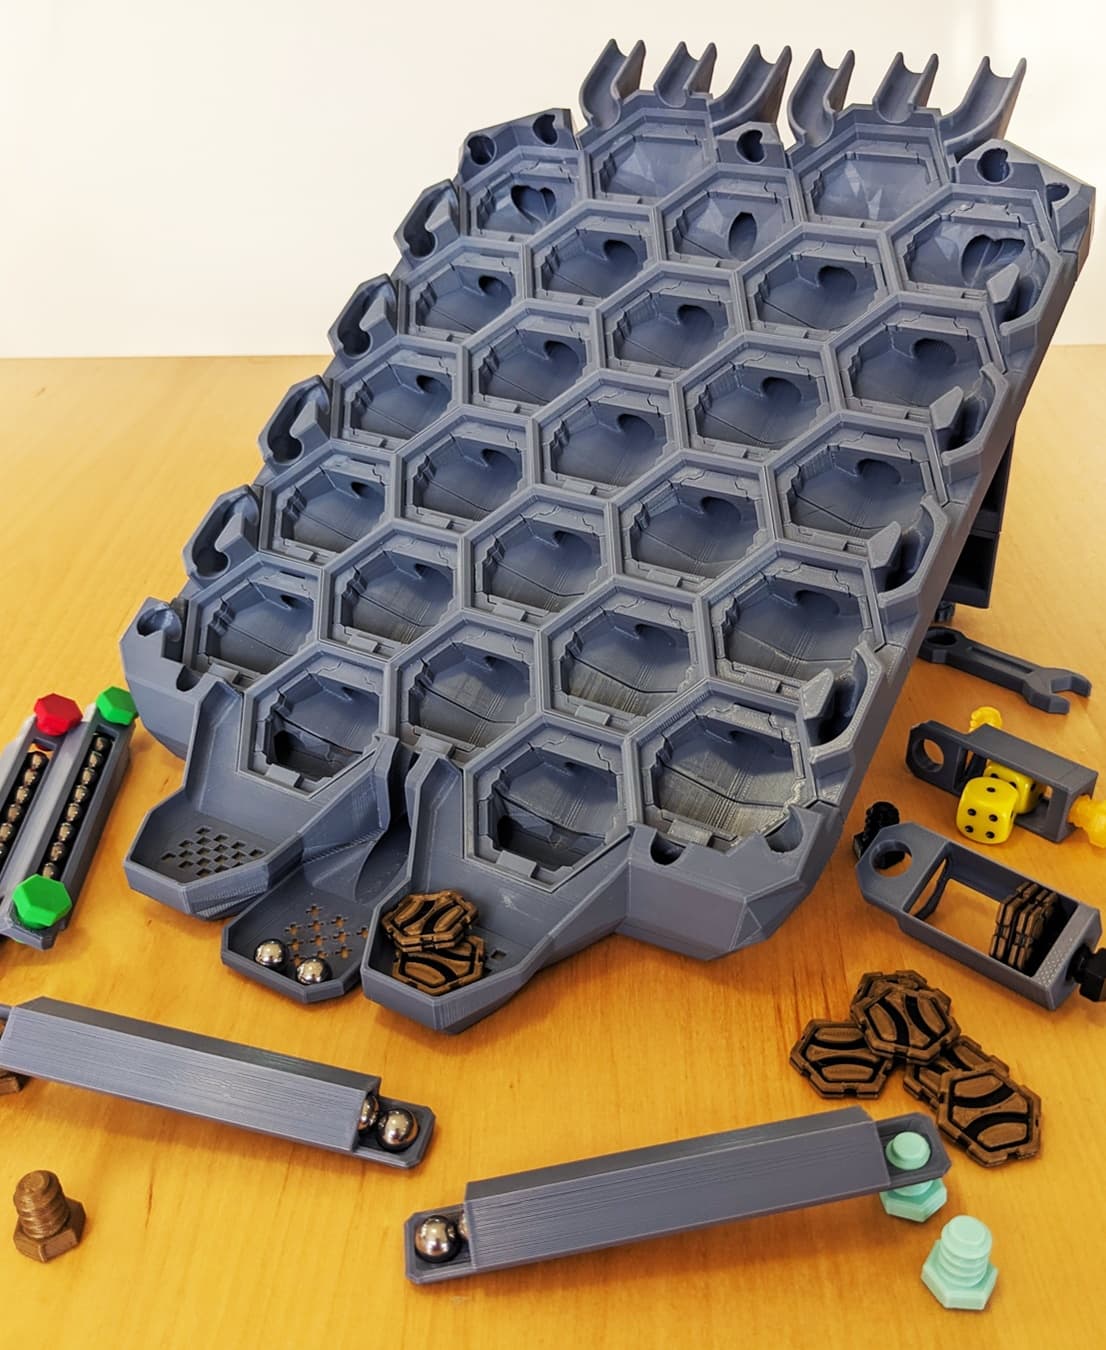
Super Fancy Remix of the Hextraction Game Board
.gif&w=3840&q=75)
Candy Creeper Pug - Candy Dispenser
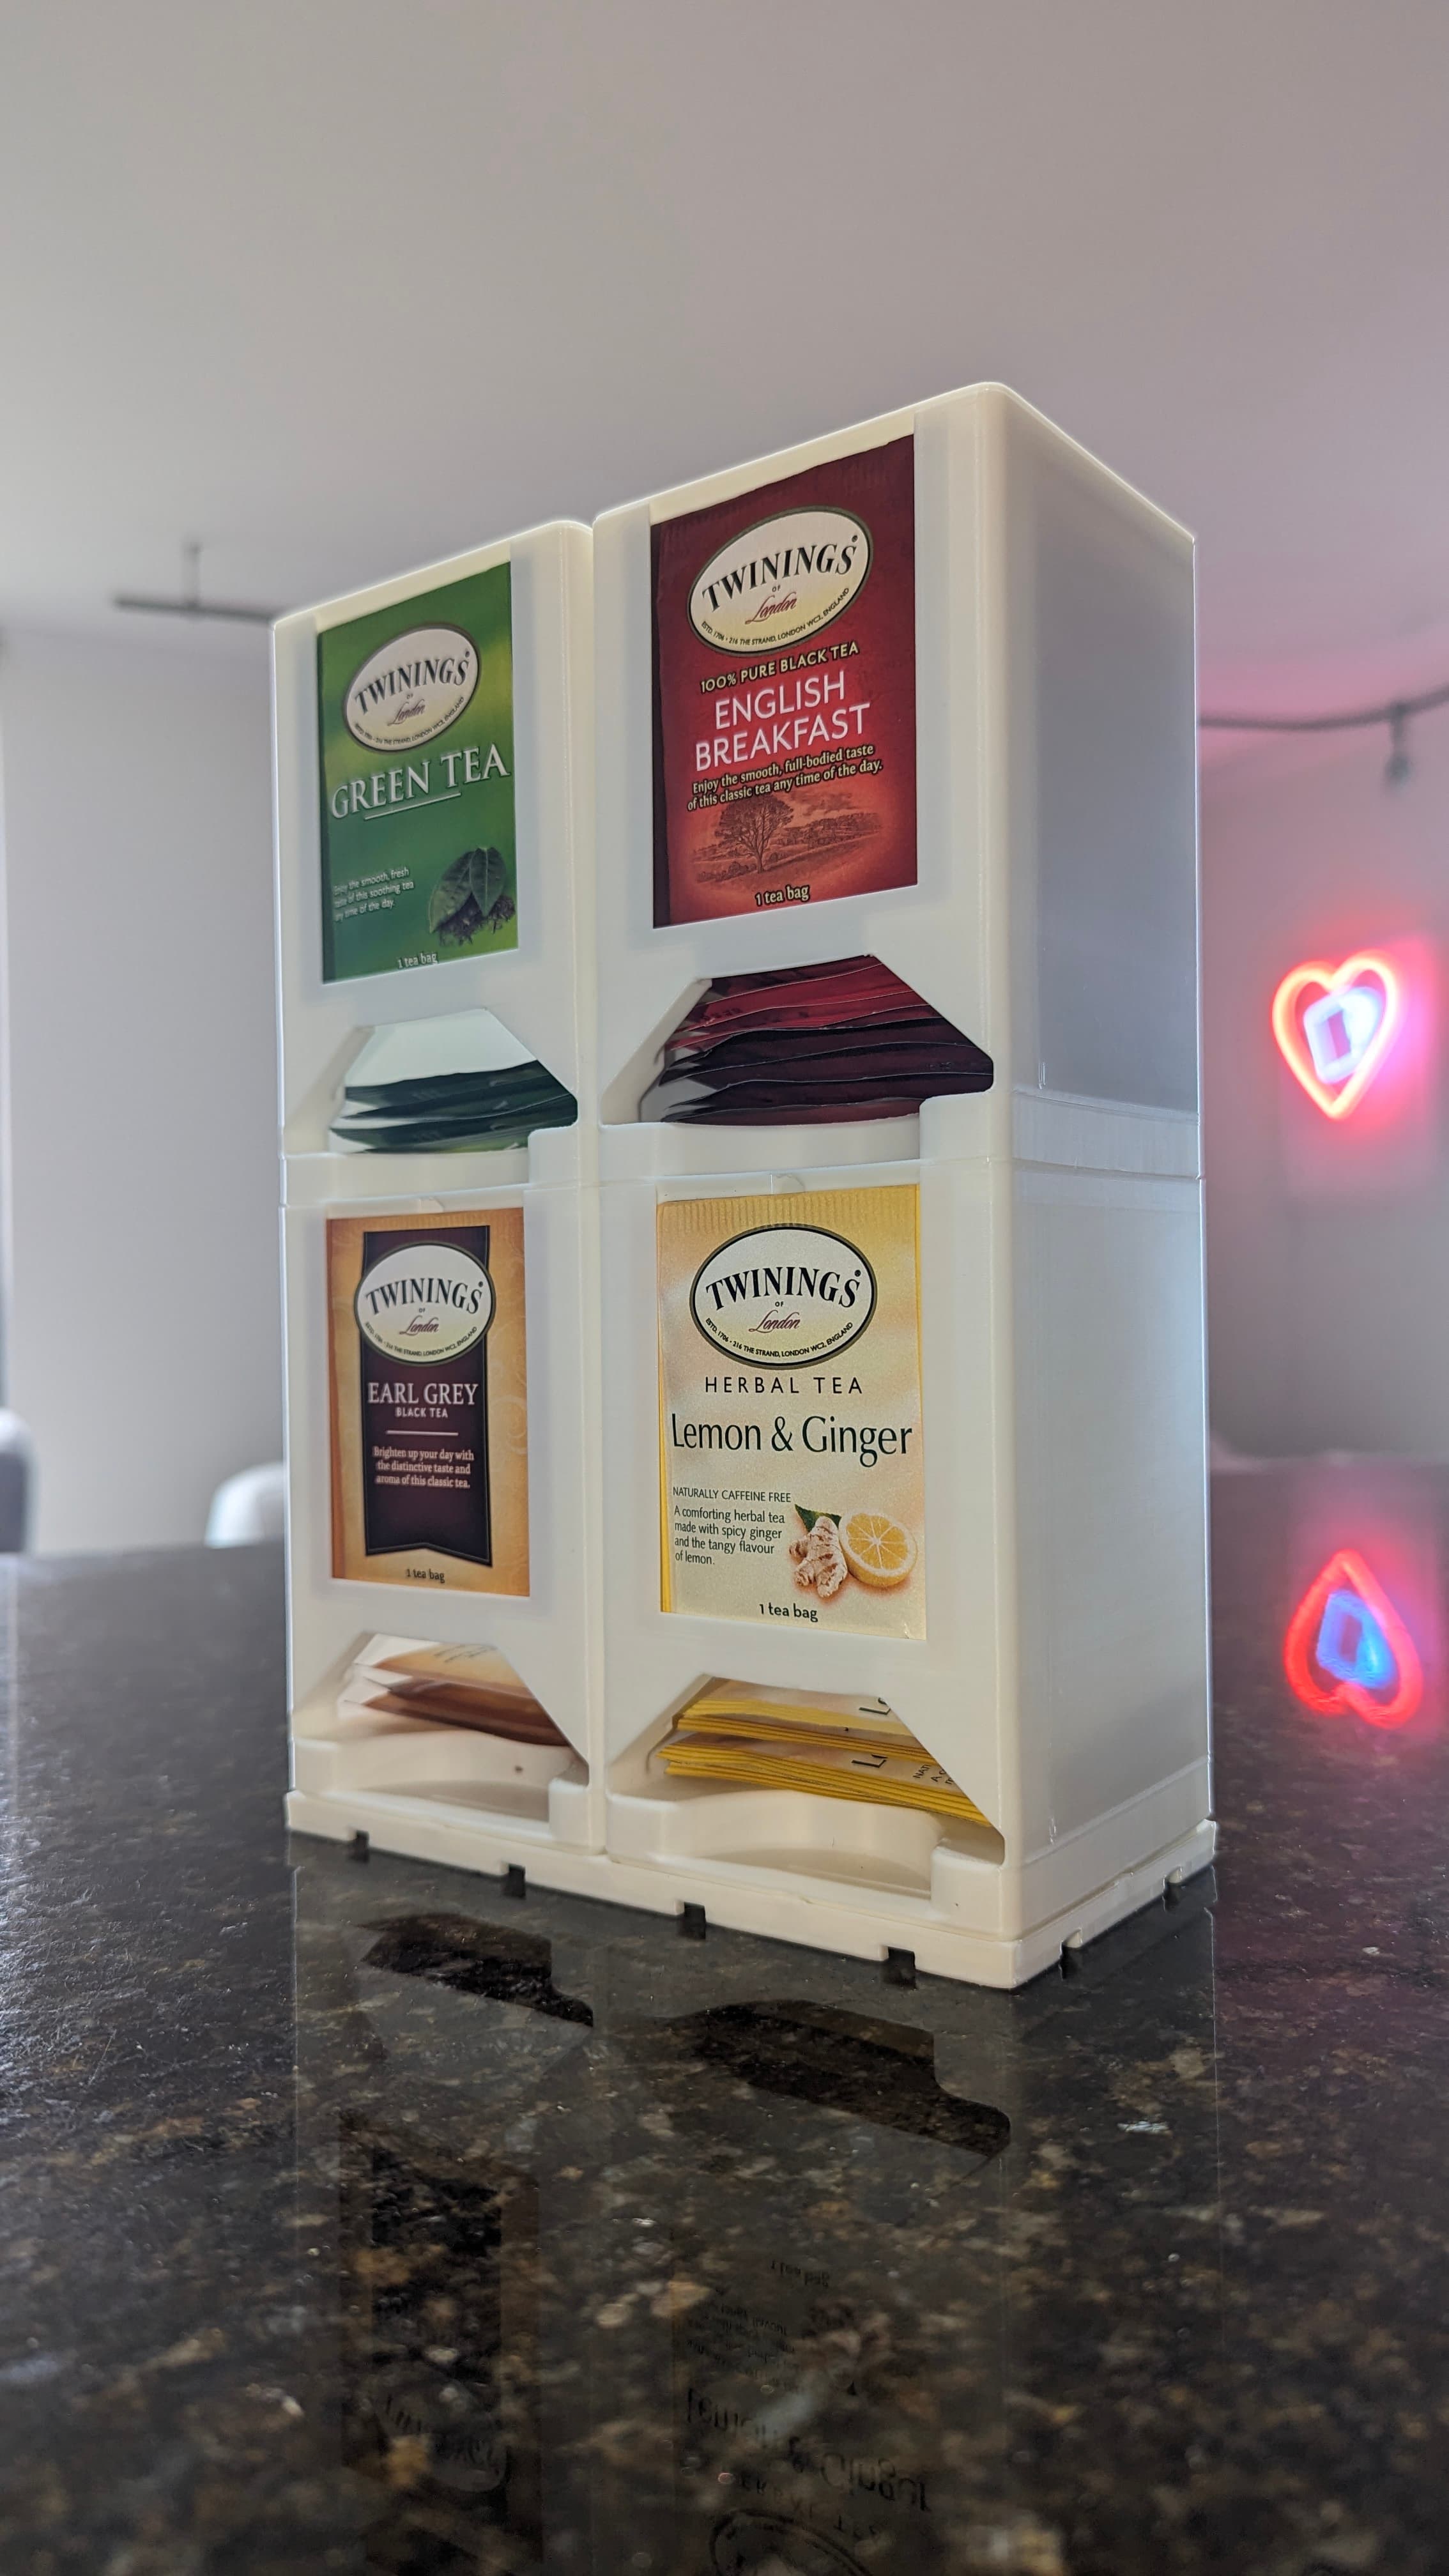
GridfiniTEA - Stackable tea bag dispenser and storage for Gridfinity
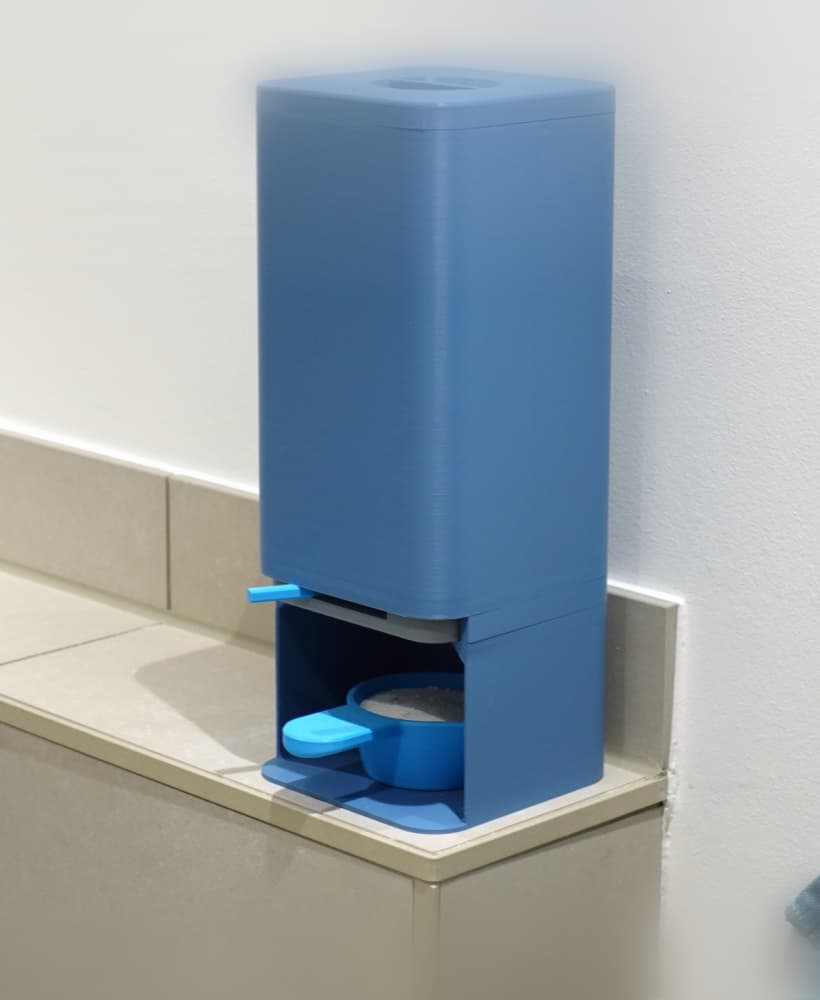
Laundry detergent dispenser

Henriegga – The Chocolate Egg-Laying Chicken
.png&w=3840&q=75)