Hero Me Remix 2 with Robust Assembly & Extended Wire Management
Model originally uploaded to Thingiverse at https://www.thingiverse.com/thing:3744260.
Jan 2020: It may be worth checking out my latest design - Hydra Fan Duct & Tool Change System which IMHO is far better in a lot of ways than this Hero Me remix. Link: https://www.thingiverse.com/thing:4062242
06\01\20 Uploaded 4010 fan ducts to fit new 2019 version fan.
09\12\19 Please Note: Creality seem to have changed the design of the 4010 fan and the size of fixing. Therefore until I have had chance to revise the 4010 duct may not fit with newer machines or replacement fans..
Update:29_09_19 Uploaded Ender 5 Base Fusion File
Update:15_09_19 Revised Ender 3 - CR10 base - Modified Hot End Fan Location holes.
Update:10_09_19 B Uploaded Fusion Base file
Update:16_08_19 B EZABLTouch Plate_V1 incorrect hand - have uploaded EZABLTouch Plate_V2
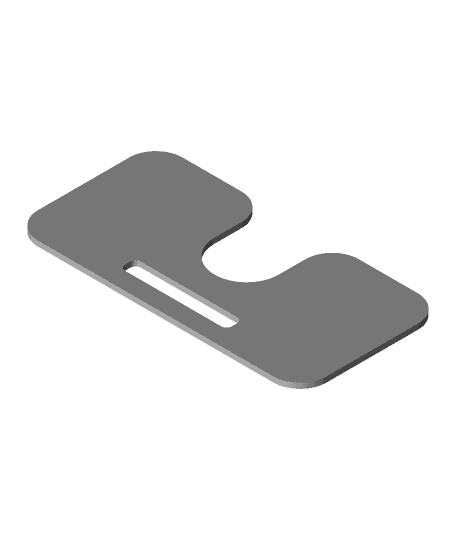
Update:16_08_19 Uploaded a WIP fixing plate for a EZABL sensor. This was a member request with a 18mm mounting hole specified. Never used one so this is definitely work in progress. All comments welcome
Update:04_08_19 Uploaded 5015 Ducts (Straight & Offset) with BL Touch mounting panel and mounting plate. I do not own a BL Touch so this design was based on 3D models so definitely WIP. I have increased the thickness of the Duct mount to the base unit to make it even more robust on the LH duct. You may now need to use M3 x 10 mm to fix to the base unit. You will require 2 x M3 x 6 mm bolts to mount the BLT fixing plate to the duct and 2 x M3 x 6 mm bolts to mount the BLT to the fixing plate. The fixing plate allows for 6 mm height variation.
Update:26_07_19 Uploaded 5015 Ducts V2_4 RH & LH. Improved the seat to create a much firmer seat\fit.Revised the duct vanes to provide more directional air flow over nozzle. Uploaded 4010 Ducts V2_4 RH & LH. Revised the duct vanes to provide more directional air flow over nozzle.
Update:17_07_19 Uploaded 5015 Ducts V2_3 RH & LH. Increased the size of the duct retaining flange to create a much firmer seat\fit.
Update:16_07_19 Uploaded 5015 Ducts V2_2 RH & LH. Rotated fan to improve fan cable management and reduce size of part. Fractionally condensed space between fans.
Update:14_07_19 Uploaded a 1mm & 2mm Leveling Spacers\Helpers
Update:14_07_19 Uploaded torture test images.
This is my second remix of kelokeras & Mediamans Hero Me Fan Duct. This remix involves the base unit, Dual 4010 fan duct and the dual 5015 fan duct. Update: Below: I do not use any form of levelling sensor so at this time I have not considered these options.
ratherbe_flyin has made a bracket for the BLTouch mount which he tells me works perfectly at the following link:
https://www.thingiverse.com/thing:3780708
The parts still use the original locking part but the Base units will only be compatible with the duct parts in this thing.
The parts in this thing are based on the standard stock hot end only at this time.
All parts were rebuilt from scratch in Fusion 360.
Apologies in advance if any of the items below are included in another remix I have not spotted
In this remix I have:
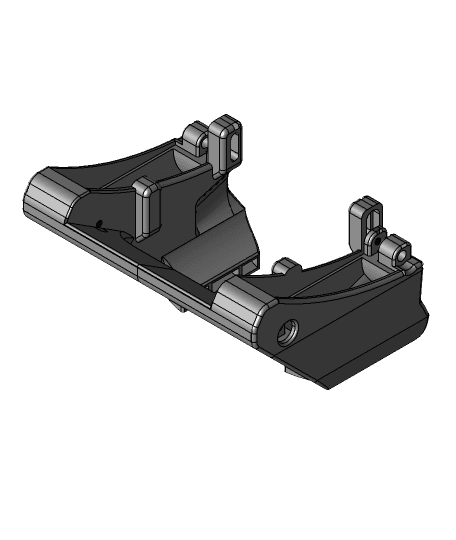
1.Created a 2 point fix solution with only one tab to provide a robust fixing solution that does not rely on very tight tolerances to create rigidity and over strain parts.The parts facilitate a standard M3 Pan Head x 10 mm bolt without any trimming with scalpels or knifes.
2.Extended the wire management of the fans, hiding all cables, with a cable channel & cap across the hot end fan and a restraining clip to the main cable feeds.
3.All parts included can be printed without supports ( I have integrated a break away foot to the 5015 duct RH & LH ducts to retain stability when printing).
4.Two part fan duct solution removes retaining cross bar, increases nozzle visibility and slightly reduces weight.
Printing and Installation Notes
1.Please refer to the original thing for basic installation guidance, if unsure please contact and I will attempt to explain any specific installation issues. I will upload a exploded view of parts later.
2.Please be careful when manipulating fan duct wires. Most lost cost fans have very delicate soldering and can easily break. I have re soldered many wires during the prototyping of this thing. I have found the Creality branded fans to be much more robust and better performance than other unbranded items.
FYI I have purchased these which appear genuine and low cost if you can allow the delivery time. Link:https://www.amazon.co.uk/gp/product/B07MBCM645/ref=ppx_yo_dt_b_asin_title_o00_s00?ie=UTF8&psc=1
3.The Dual 5015 installation at best can be described has finicky. You will need to clip the WM cap into the base unit with the Left Hand fan cables in place before inserting\fixing the Left Hand Fan. After inserting the Left Hand Fan you can then draw the excess cable through the WM Cap. Make sure that the soldered fan connections are not strained.
4.I have included a basic 1.5 mm pilot hole to retain the 4010 fans with the stock M2 bolts that are used with the original assembly. I have found that the 4010 fans are a snug fit and I have not used the original bolts at all. It may be best if wanting to use the stock bolts to thread the holes prior to assembly with the bolts.
5.With the Ender 5 base installation I found that just using the top rear fixing bolt was sufficient in addition to the lock plate. If you wish to use the lower rear fix as well, use a M10 x 6 mm bolt, the lower hole is shorter so not to conflict with the duct fixing holes.If you have any problems with this please contact..
6.I have noticed that the LH duct can conflict with Ender 3 Heat Bed cable retention housing at the extreme rear left. This must be something inherent with the original thing because the duct footprint as only changed slightly. Just be aware of this if printing anything which is placed to the very rear left hand corner.
Print Settings
Prototypes printed with Tronxy Orange PETG
0.2 resolution, 3 perimeters, 30 % infill, 245C @ 35 mms on an Ender 3 Pro\ Ender 5
Hero Me Remix 2 with Robust Assembly & Extended Wire Management
GoPro mount for Traxxas X-maxx

Hero Trophy Shelf - AC Valhalla

Hero Trophy Shelf - AC Origins

Hero Trophy Shelf - AC Odyssey
Ender 3 CR10S Hero Me Remix 3 For Basaraba Direct Drive Upgrade
Hero Me 4010 Dual Fan Duct with Improved Nozzle Visibility

Funko Pop Deadpool From Deadpool +& Wolverine
%2520-%2520Transparent.png&w=3840&q=75)
Resilient Half-Elf Bard Lyra - College of Lore Fantasy RPG Miniature
.png&w=3840&q=75)
Monster 4 Thalor by Mesh Mayhem

Transformer model

Funko Pop WolverinePool And Deadpool Bundle / Deadpool && Wolverine

Anya "Shadowfoot" Silvertongue - The Swift & Shrewd Rogue Miniature

Hero Trophy Shelf - Iron Man

Hero Trophy Shelf - Mortal Kombat
SCIFI - Human Man Soldier dual standing 1.stl

Hero Trophy Shelf - Grendizer
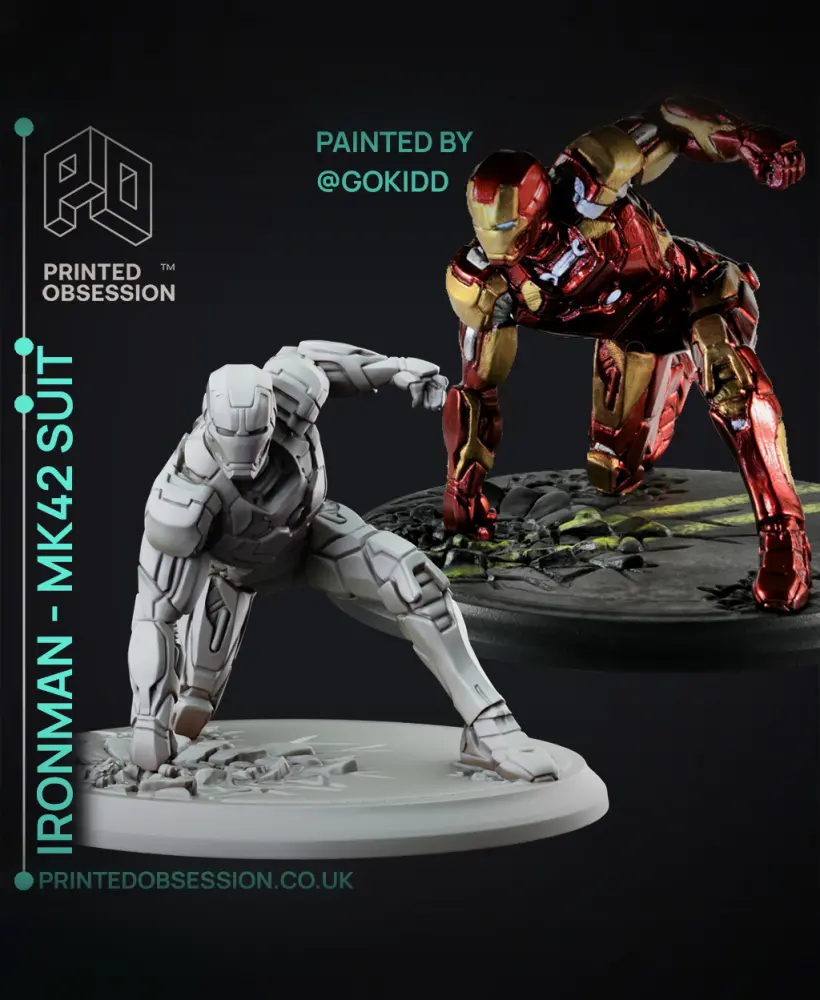
Iron Man - Mk 42 Suit Hero Landing - Marvel

Ironman Bust - Marvel - 20cm
Notebook with pencil case