Ender 5 Core XY with Linear Rails
Model originally uploaded to Thingiverse at https://www.thingiverse.com/thing:4650517.
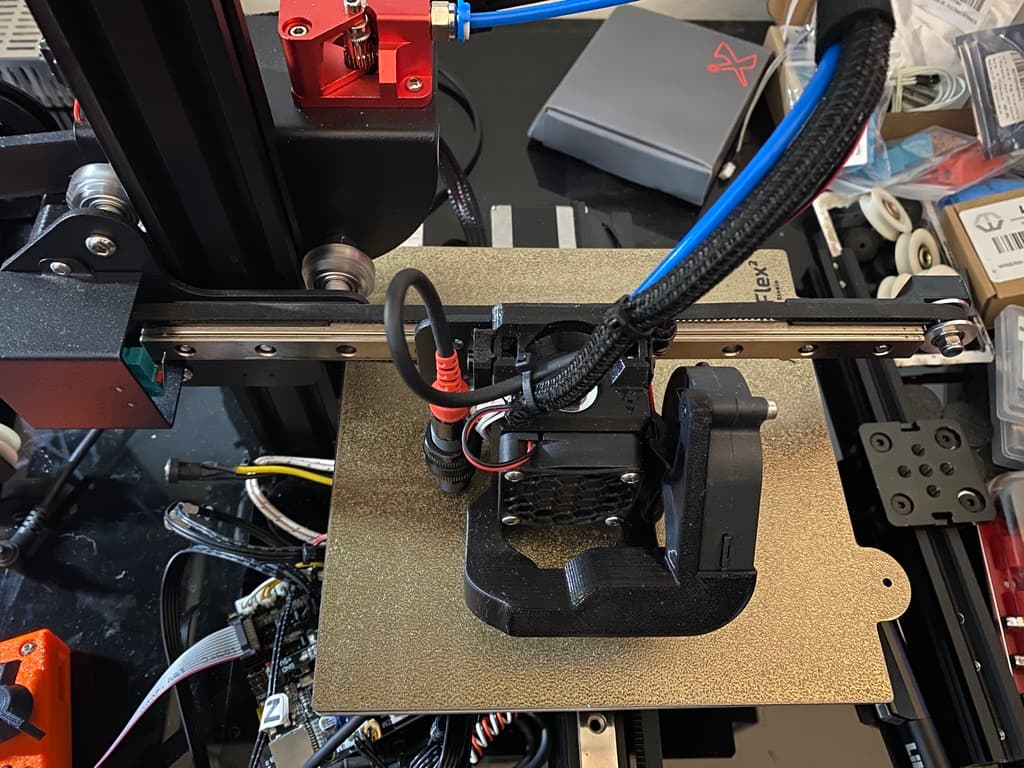
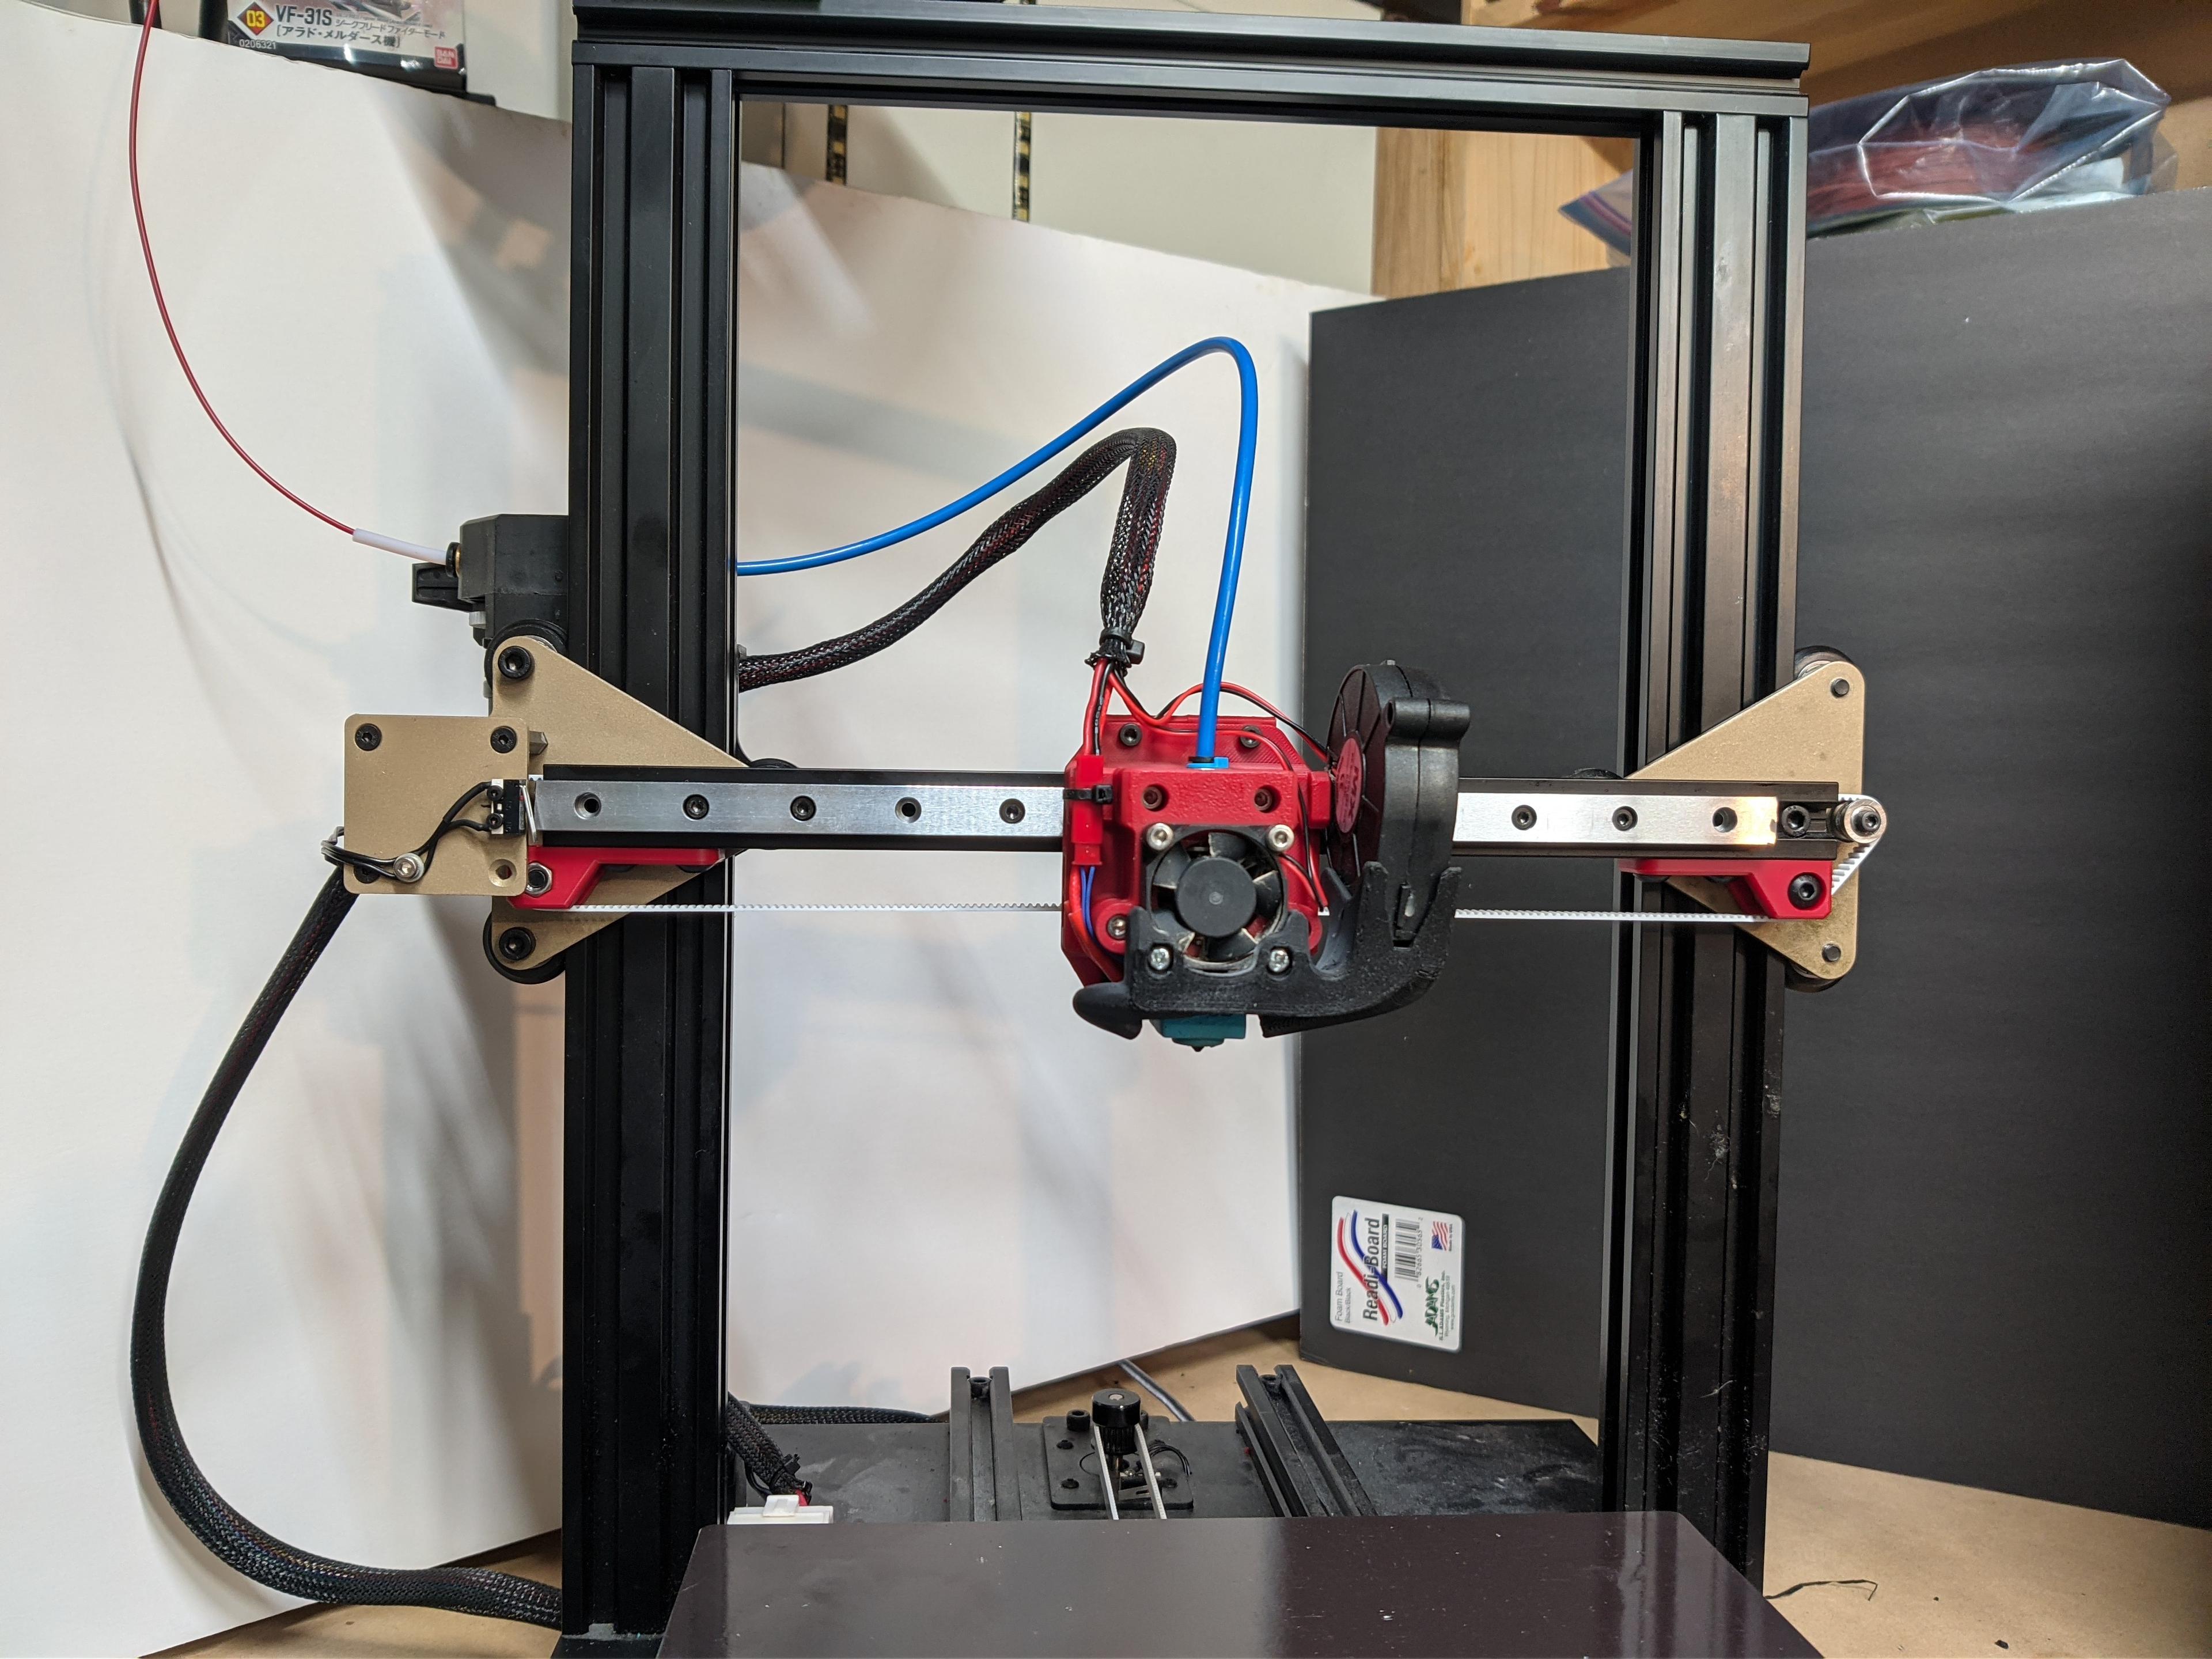
This is a Core XY conversion kit for the Ender 5 with Linear rails
There is a MK2 version here:https://www.thingiverse.com/thing:4777606
Big shout out to Scott3D for his fabulous work on the Hypercube Evo which I have taken the belt tensioner detail from and a massive thanks to barnabyQ for his Ender 5 Pro 3D model over on Grabcad. This made things so much easier. Also to fellow Thingiverse member the_cook for inspiring me to use the rails.
I have spent quite a long time developing the XY joiner parts and they seem to be holding up well. One of the largest hurdles was conceiving a simple but strong assembly for the forward Idlers ( all parts are available form Amazon). I could probably tweak the belt tension further but its a balance with a Core XY machine.
I struggled with the stock stepper motors particularly with the dual Y motor which got incredibly hot , nearly to PETG melting and caused a lot of layer distortion in the first print. I have since replaced both with standard Creality 42-40 and all is good and running really cool.
The firmware changes were relatively simple, there are only a few comments to tweak. I did however have to invert the direction of the X & Y motors. Uncommenting Z_CLEARANCE_BETWEEN_PROBES & Z_HOMING_HEIGHT stopped the Z axis from trying to drop to clear when homing. I have included my config file within the upload for reference.
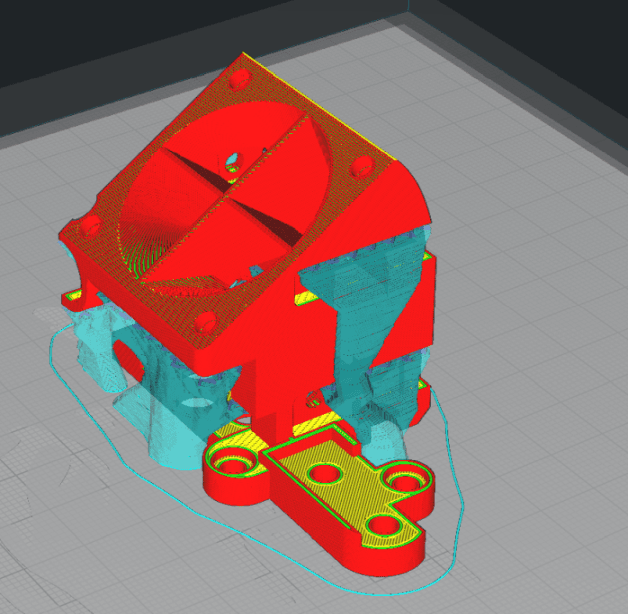
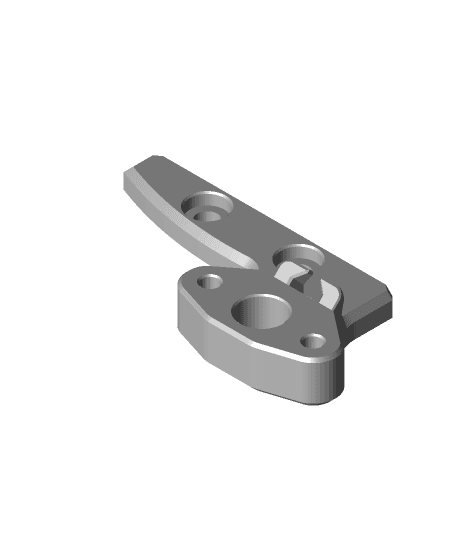
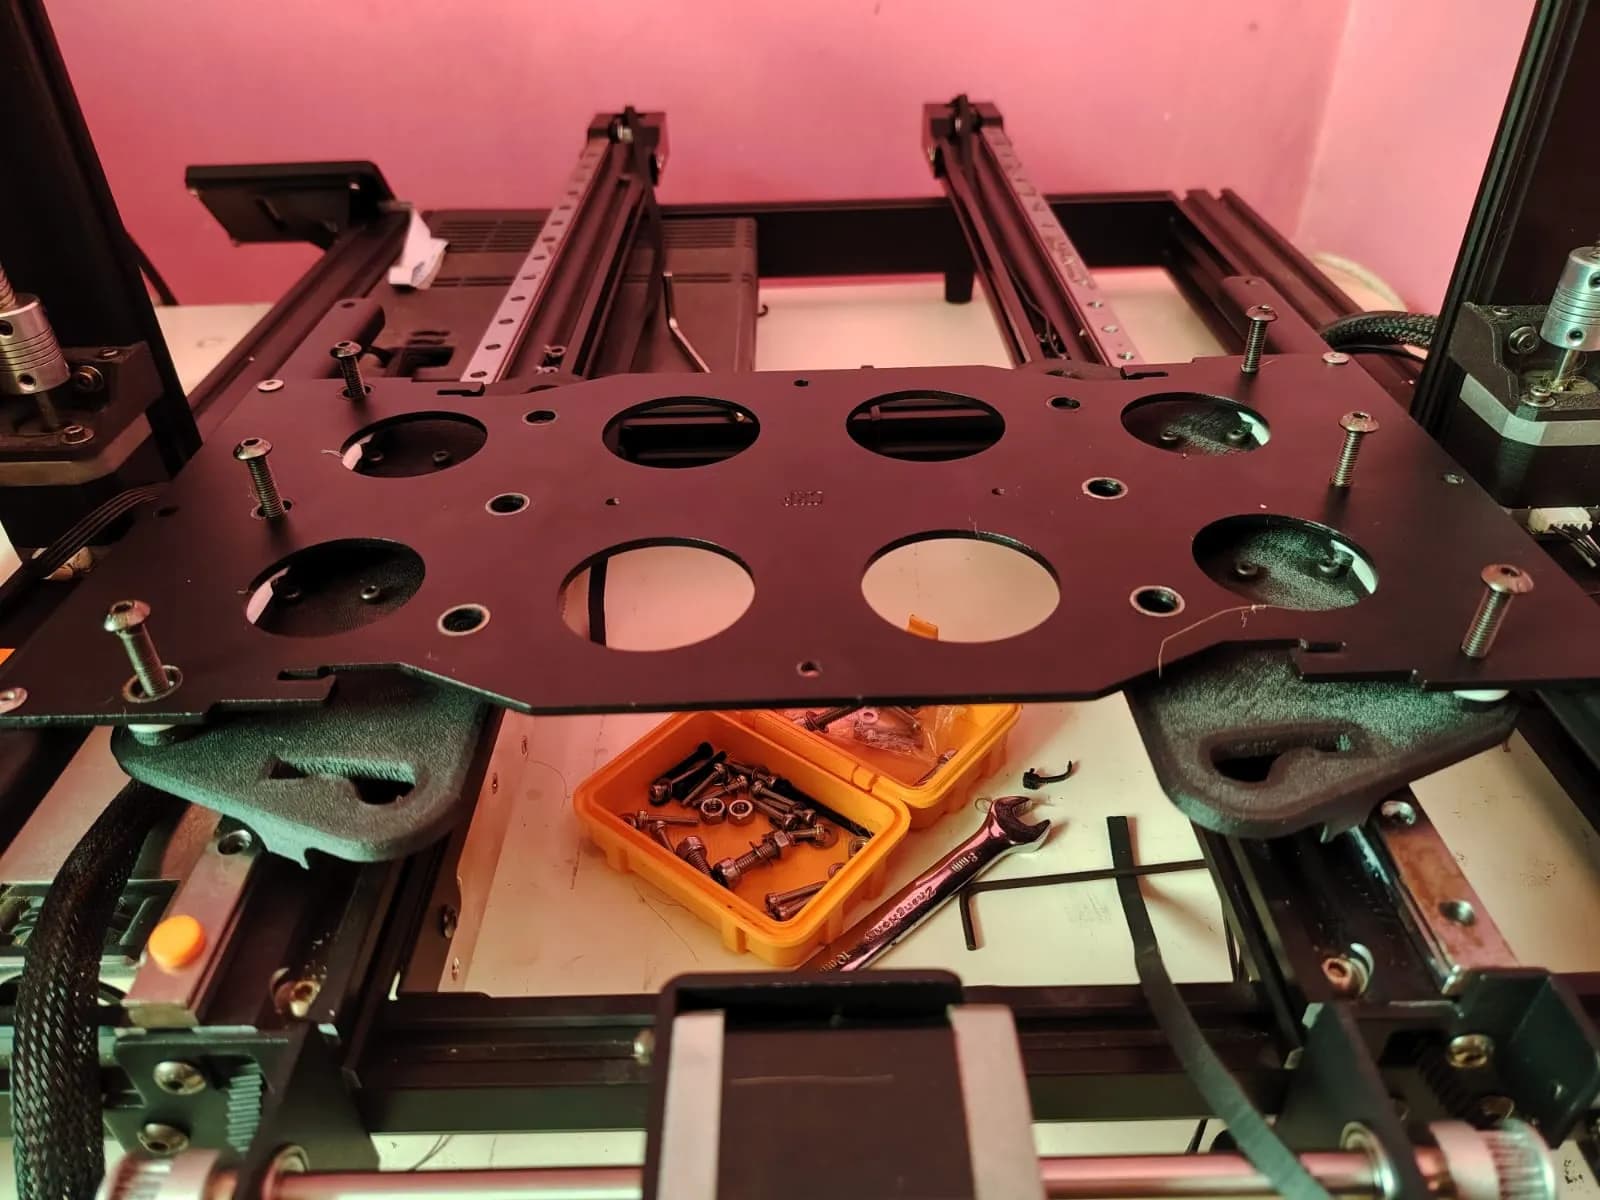
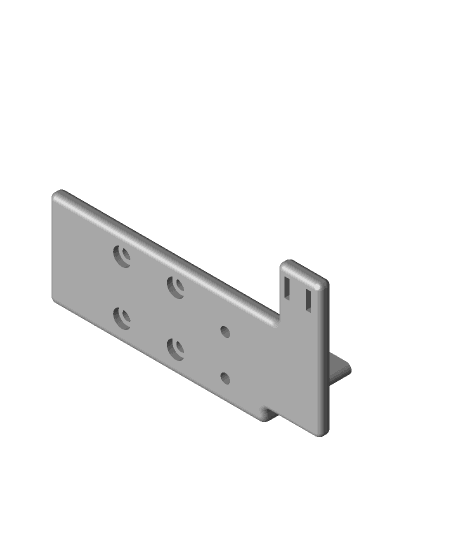
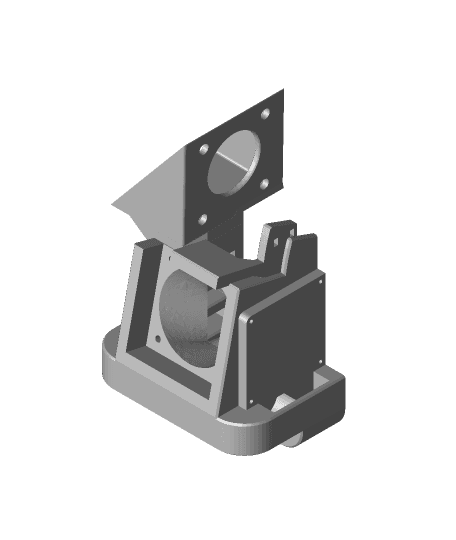
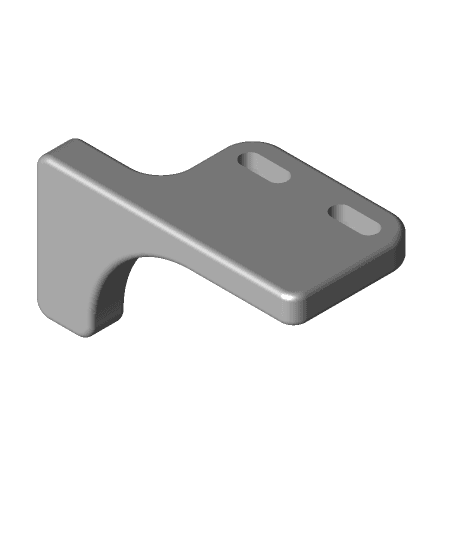
The hot end mounting plate is universal with 5 back fixing holes and 4 forward fixing holes. I have included also for an optical end stop which is going to be my next job to help tidy up the Ender 5s messy wire management. I have uploaded a step file of the mounting plate for ease of adaption to other hot end designs.
The conversion will easily allow for the stock 220 x220 build volume and allows for the full 235 x235 dependent on duct design (My Manta design looses about 5mm at the front and side with 5015 fans, should be Ok with 4010 fans there is plenty spare at the rear. There is also a small height gain of approximately 5mm.
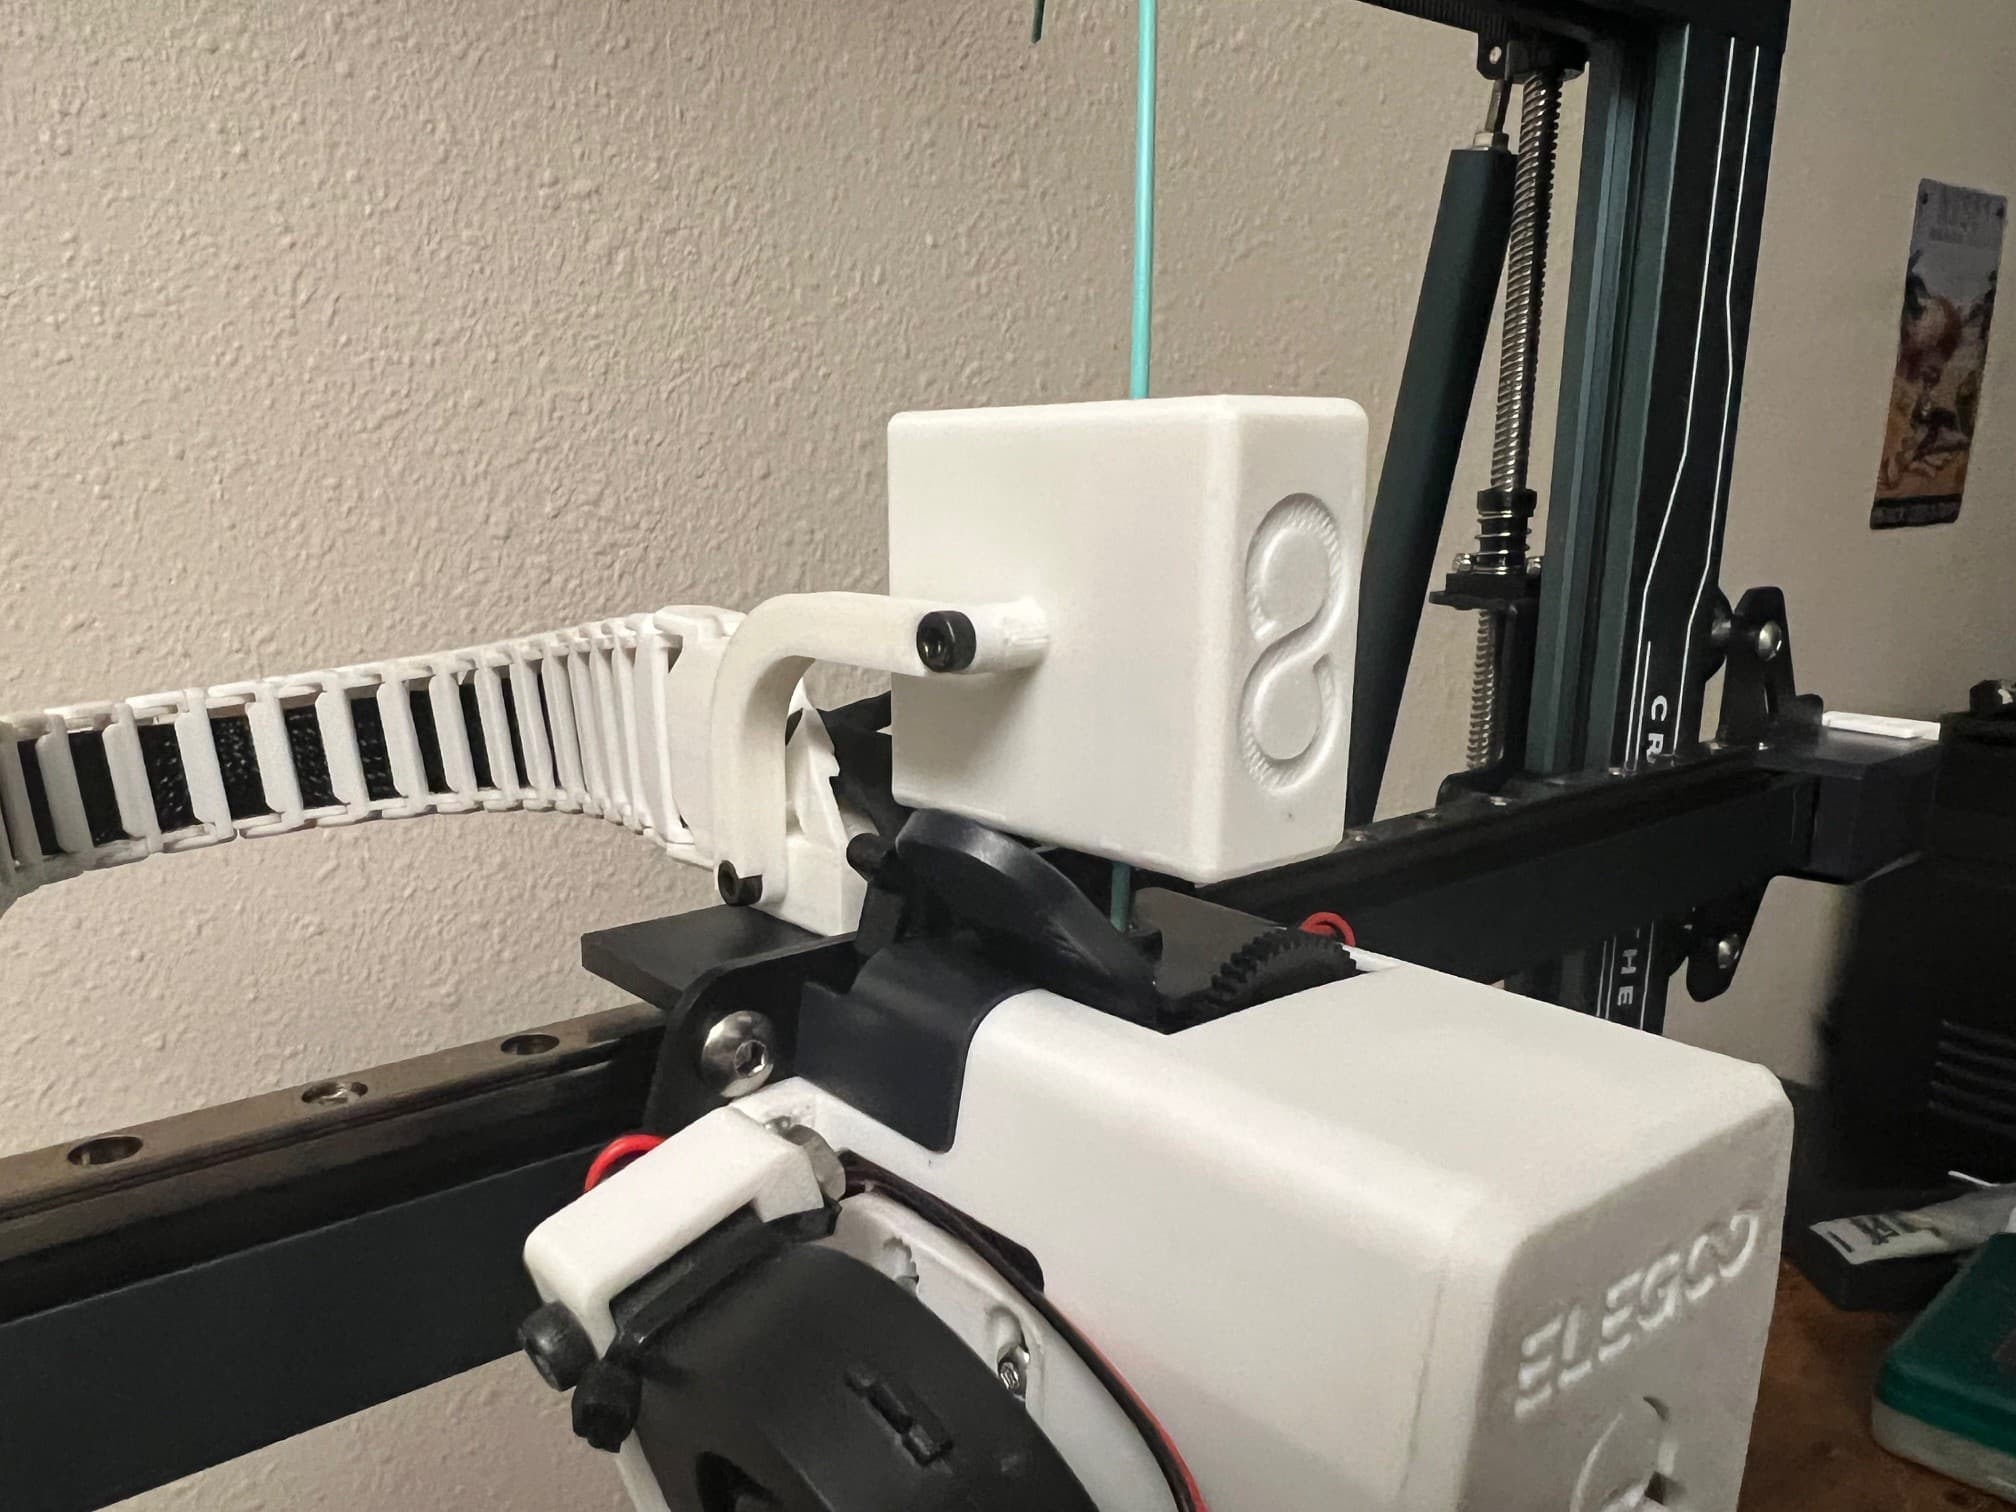
I have since attached a Optical End Stop to the X axis to tidy up all the cables. I had to extend a 1 metre cable to do this and provide a separate power feed to a spare 5v pin on my BTT E3 Mini board.
I have also remixed a fixed variant of my Slim Display Housing to sit inboard of the Ender 5 Frame here: https://www.thingiverse.com/thing:4650597
I have been printing with this for about a week now and generally the design is holding up well and the prints are good quality. Caveat, my Ender 5 printed well prior to the conversion but the new set up does appear to allow for faster print speeds whilst retaining quality. I have printed several prints in excess of 6 hours with no problems.
I do get some slight bearing noise from the Y axis from my inexpensive Aliexpress Linear Rails but this is no different from my high quality roller bearings on my HEVO due to the lateral tension of the belts. I will obviously monitor this. May have the belts a little too tight. With my brief Core XY experience I would consider this normal on the Y axis.
Edit:23\01\21
This was not a linear Rail issue, the noise was coming from the forward idler pulleys. This threw me a little because it was only occurring on the Y travel but of course in Core XY terms this is when both forward pulleys are rotating opposite to each other. Anyway I have since replaced the forward steel washers with nylon ones (M5 x 15 x 1mm ) and the travel noise has completely gone away. Well worth the effort, this can be achieved with just loosening the belts and replacing the washers individually in situ.
Installation
1.I have classed this has WIP because I have not yet been able to provide a detailed installation guide. I have however included a high res exploded infographic for the assembly and a sample BOM for the parts in the upload to get you started.
2.The Bill of Materials is only indicative and the relevant parts could be purchased much more cost effectively at the likes of Aliexpress. I had most of the parts in stock so personally this conversation cost very little.
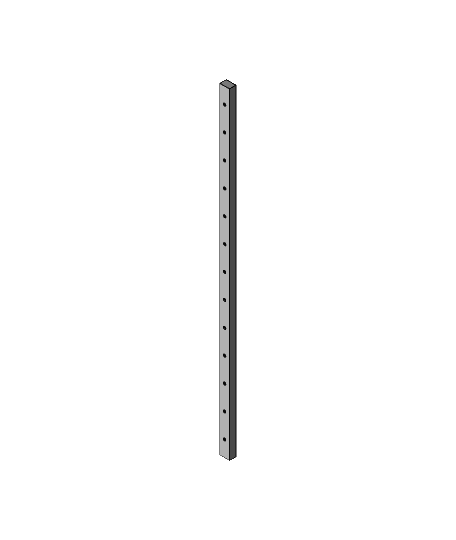
3.The forward idlers are created by removing the front to M5 2020 frame fixings and replace them with a 80mm threaded bar. This is a very simple but strong foundation for the front idlers. I have not seen any side effect in rigidity terms but you may want to attach some additional corner brackets if concerned about the rigidity of the frame overall.
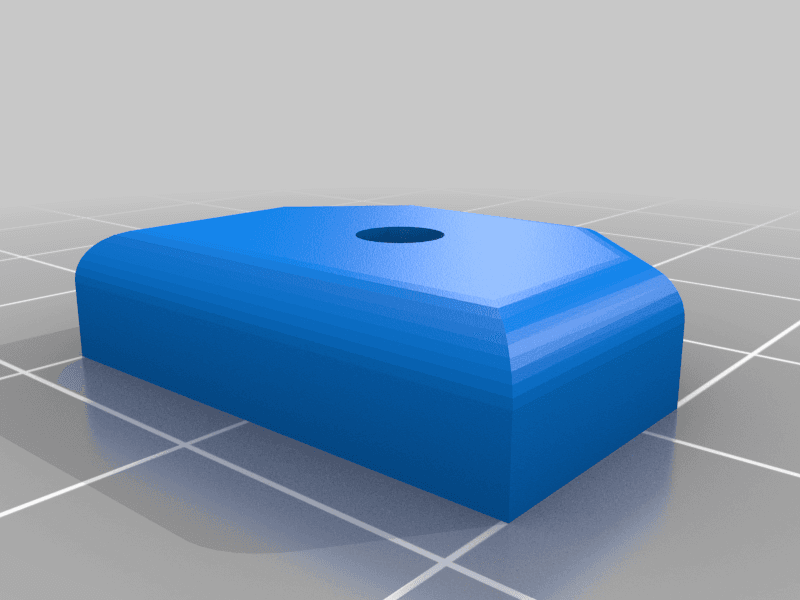
4.With XY joiners there is no perfect print orientation due to the stress by the belts on both axis. I have therefore included 2 x 50 mm long M3 tie bolts which fasten across the print grain to help reduce delamination of the layers. I have found out of experience any many prototypes with my HEVO that this little mechanical indulgence is well worth it in terms of longevity.
Printing
1.All parts print without supports. There are some sacrificial layers across some holes to help bridging which will require cleaning through.
2.If adopting the optional Optical end stop there is a bridging detail that requires trimming with a knife or hacksaw (see the infographic) - do not use side cutters it may split the part, I can confirm this from experience !
3.Due to the belt tension applied these parts need to be printed quite strongly. Therefore I have printed all parts with at least 30% infill and 3 layers. I would suggest all parts near to the hot end and bed should be printed in PETG whilst others will be fine in PLA if sufficient layers and perimeters are adopted.
4.Printed with Amazon Basics Yellow PETG @2.5 layer height, 40 mms on various printers.
Quick Tips
1.The Belt Tensioner assembly is much easier to put together with the printer on its front and therefore facing the parts laid flat. Leave a reasonable amount of spare belt for tensioning before trimming the belt.
2.Use a M3 tap to clear all the plastic from the thread inserts prior to assembly, it makes life much easier.
3.The thermal inserts I have used have an average OD of 5.2 mm. Therefore I use a 4.7mm insertion hole. Smaller inserts may require a smaller hole size. They are listed in the BOM.
4.Do not overtighten the belts, they can stand quite a lot but it may reduce the print quality.
Test Video Here: https://youtu.be/GUwfUaiC5Nc
Update 02_01_21: Uploaded Forward LH\RH Idler Guards.
Ender 5 Core XY with Linear Rails
Ender 5 Core XY with Linear Rails MK2

Height Gauge from Calipers
X-Axis Linear Rail For MGN12 Linear Rail
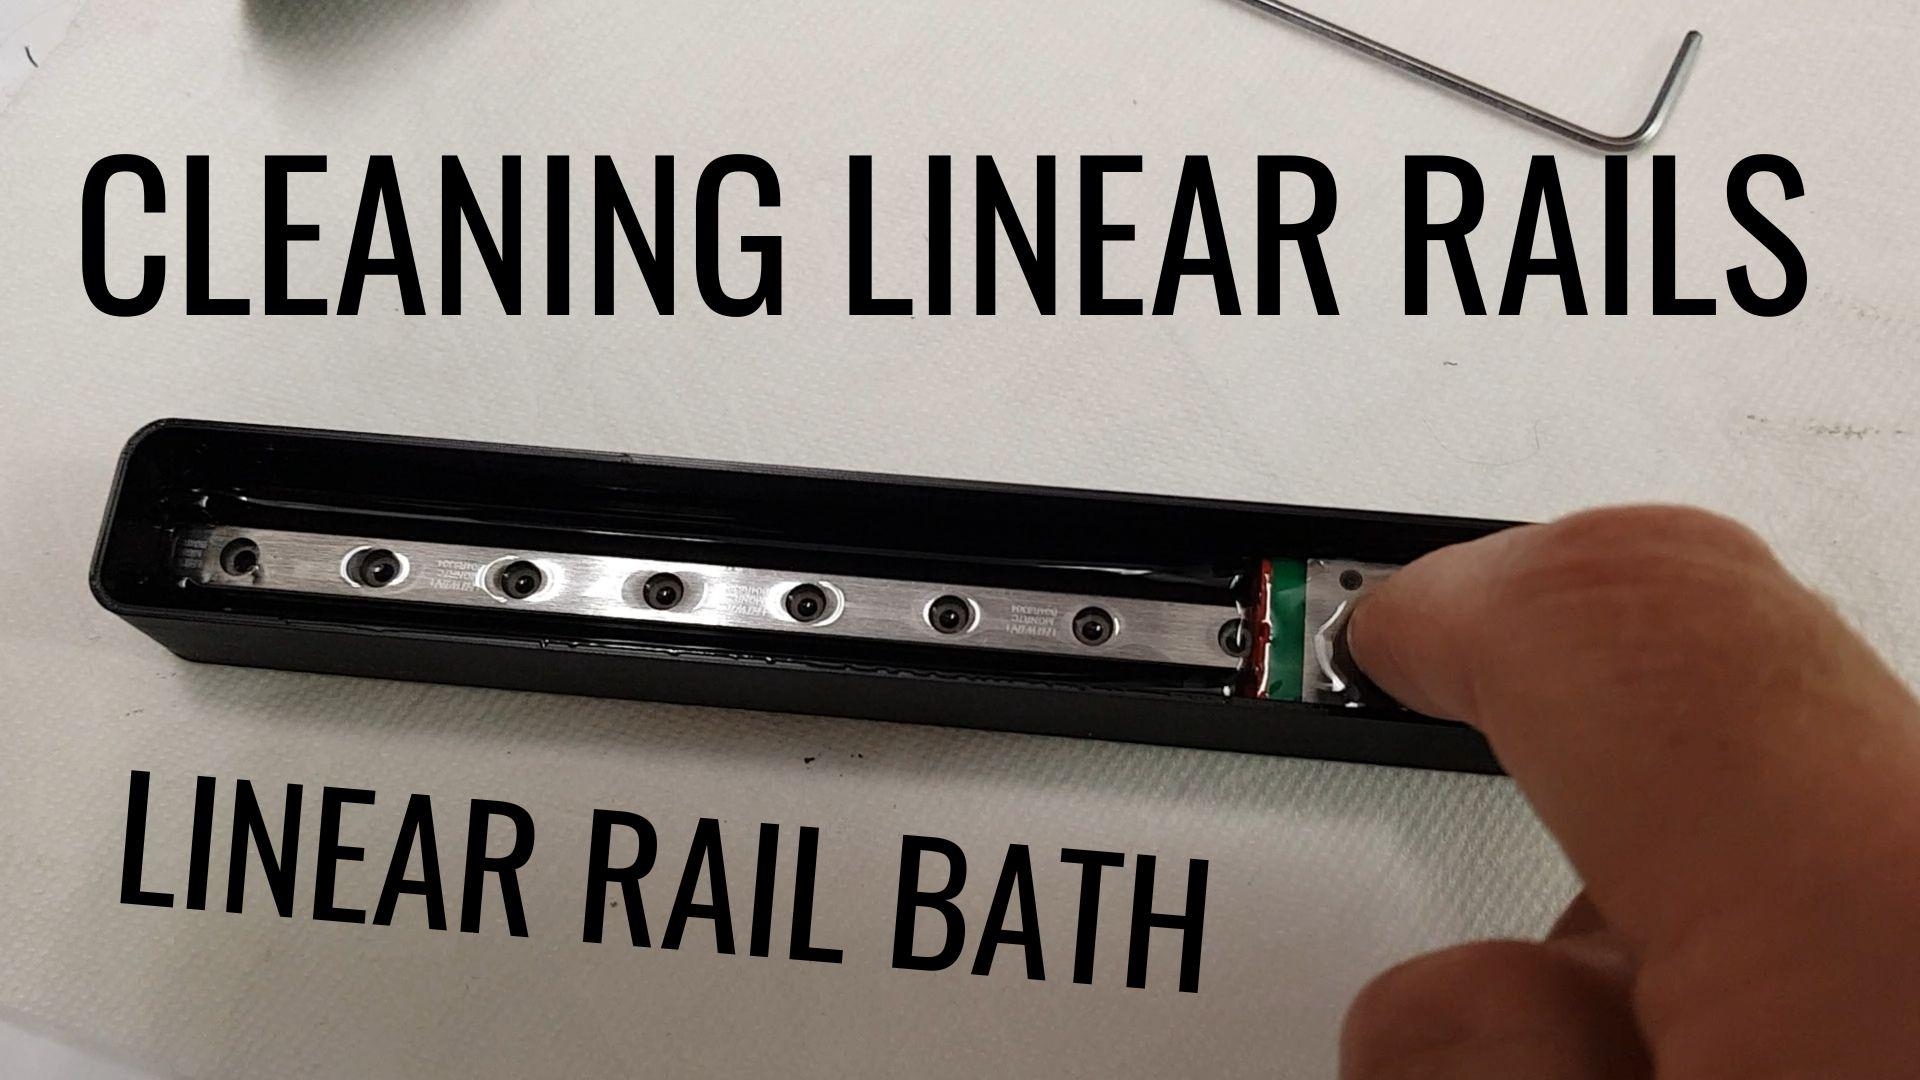
Linear Rail Bath - Clean your linear rails
Anycubic Mega Zero Z-Axis Linear Rail
AnyCubic Mega Zero V1 Y-Axis MGN12 Linear Rails
MGN12 2040 Carriage Stop-Linear Rail Alignment Tool.stl
Anycubic Mega Zero X-Axis Linear Rail
.jpg&w=3840&q=75)
MS DD Linear rail mount for Creality / Ender printers
Ender 3 X-Axis MGN9 Linear Rail Carriage
Kobra Max Linear rail y axis upgrade
Neptune TBStron3D Linear Rail Chain Adapter and Run Out Sensor Relocation
Ender 3 Linear Rail Mount for BIQU H2
Kingroon KP3 X Axis Linear Rail Mod
MGN12-H Linear Rail 400mm Long-3D Distributed.step
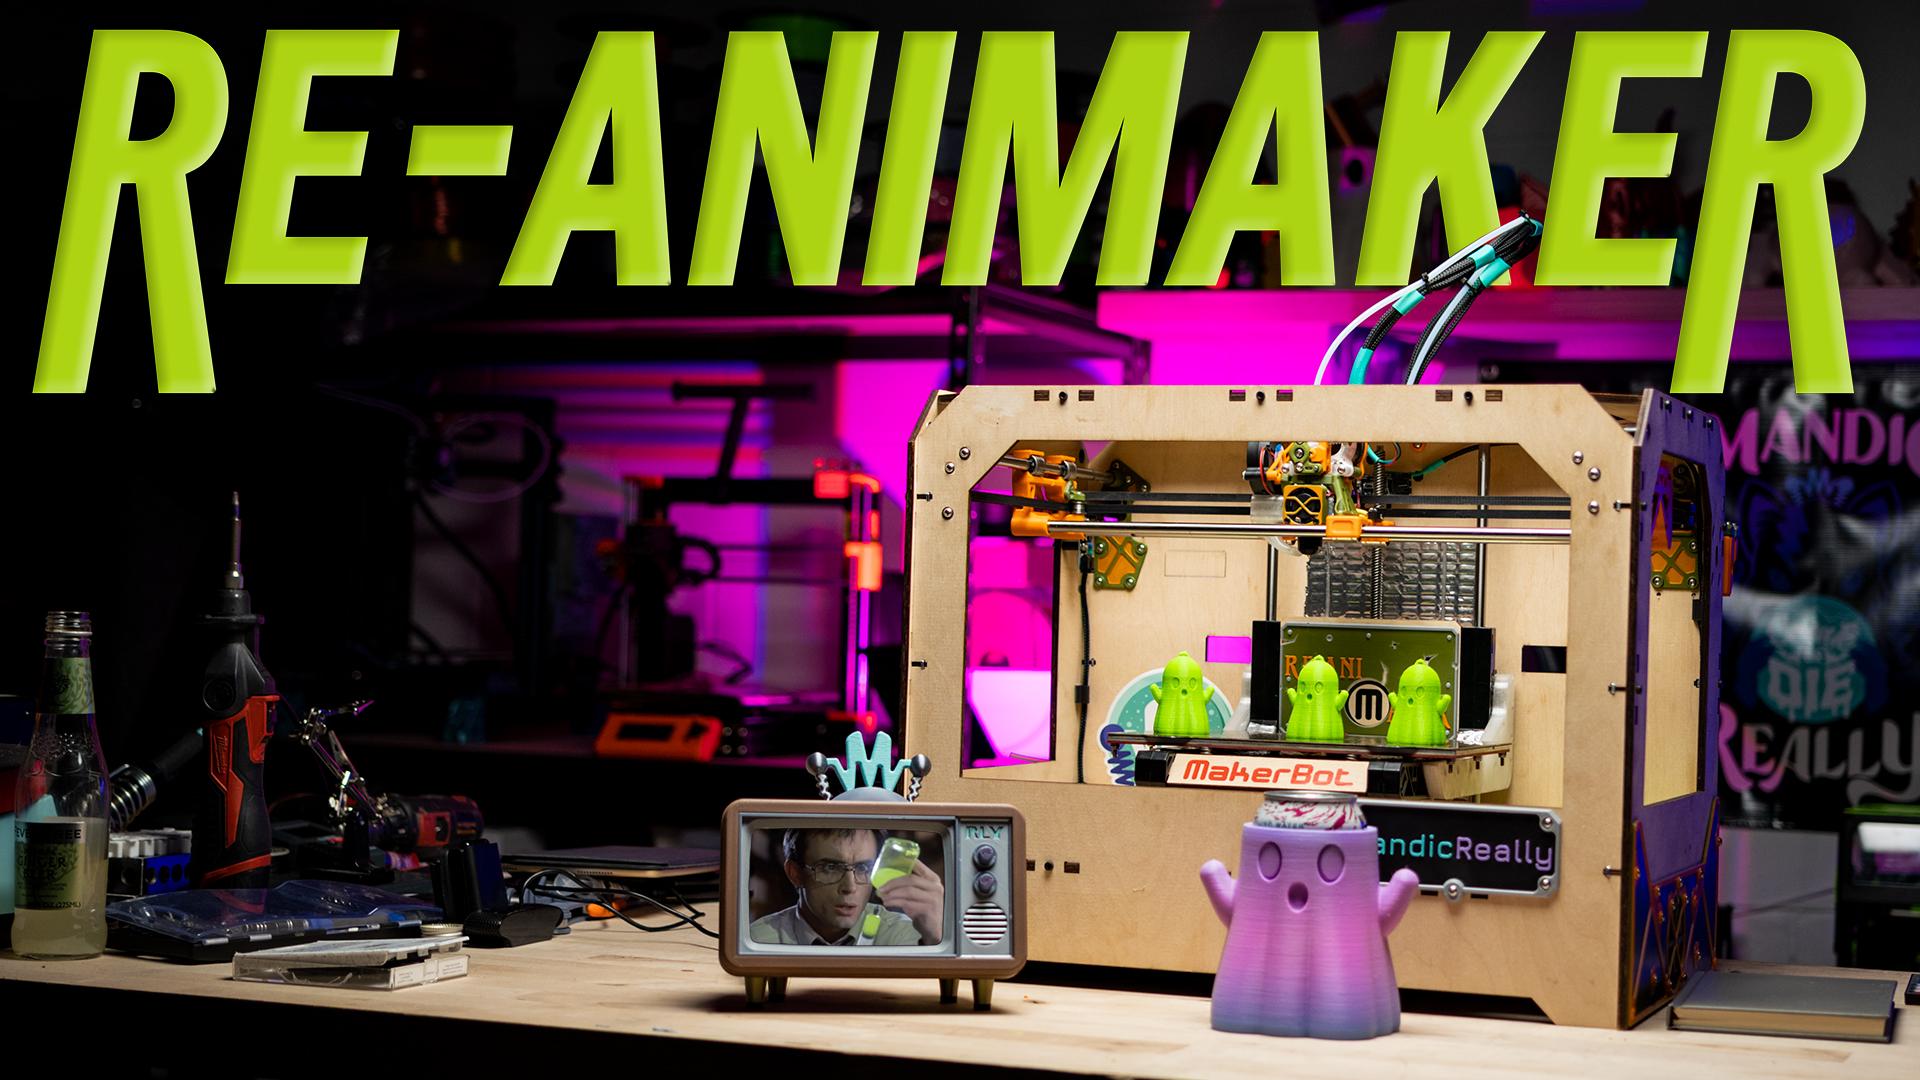
MakerBot Replicator Core-XY Conversion - Project ReAniMaker
Satsana - Linear Rail / Direct Drive Stock for Ender 3v2 Remix
Thinker S dual blower hotend - Remix for Linear Rail
Simax 3D X Axis Linear Rail Conversion