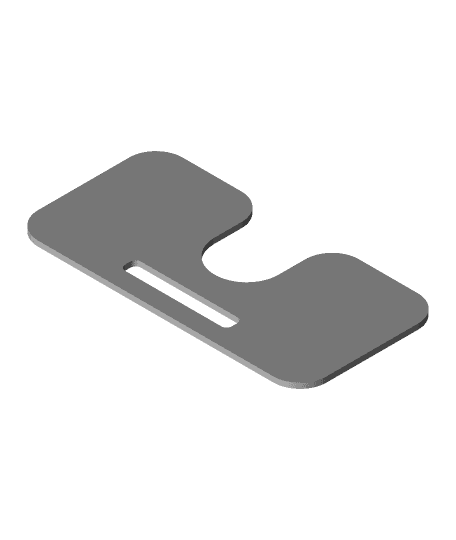
Model originally uploaded to Thingiverse at https://www.thingiverse.com/thing:3881061.
Update:19\06\20 Uploaded Step File.
Jan 2020: It may be worth checking out my latest design - Hydra Fan Duct & Tool Change System which IMHO is far better in a lot of ways than this Hero Me remix. Link: https://www.thingiverse.com/thing:4062242
Update 04_10_19
Uploaded a Bridged 5015 duct with BL touch Mount, included BL Touch and EZABL fixing plates. I do not use levelling sensors so these are all WIP.
Update: 26_09_19 Re uploaded Direct Drive Bracket Base System 2_V1 with the correct print orientation.
Update: 26_09_19 Re uploaded X Cap_V1 with the correct print orientation.
This is a combined remix of napfkuchen`s fabulously simple Direct Extrusion Mount and my own series of Hero Me Duct remixes (thanks to HiccupHater for making me aware of this).
In this remix I have:
1.Increased rigidity of the direct drive mount and made it compatible with a revised version of my Hero Me base designs.
2.Improved wire management to Duct Base Design.Revised base to suit the direct drive mounting bracket.
3.I have also included a version of the revised Direct Drive Mount just for the Stock Fan assembly.
4.Included a revised X carriage End Stop Cowl with integral junction box to tidy up Extruder extension cables and sockets.
This bracket is only compatible with the 5015 fan duct design at the moment. Due to the sideways mount of the extruder stepper motor I will have to design a new angled 4010 duct to make sure it clears the stepper and allows room for cables.
I do not use levelling sensors but there are other variations which you may want to try (purely work in progress) which are uploaded to my previous 2 remixes at the following links:
https://www.thingiverse.com/thing:3774121
https://www.thingiverse.com/thing:3744260
Installation
1.I have uploaded a fairly detailed PDF installation guide with the things which should cover most details but please contact if I have missed anything. The sequence of assembly in the guide is just a personal preference - the extruder motor & head can easily be attached prior to the Duct Base Unit if preferred.
2.CR10S owners. You made need to add an additional 1mm washer to the hot end when attaching to the base plate to allign the nozzles and short length of Bowden Tube. I noticed n my CR10S that the mounting bosses are slightly smaller than the Ender 3 M3 mounts.
3.I have uploaded 2 versions of the Assembly (see uploaded images). System Base 1 & 2. Both versions basically do the same job. The Base 1 unit wraps over the front fan assembly and therefore hides the fan\heater cable better but is slightly more fiddly to install. The base 2 assembly are separate in front of the front fan and therefore slightly easier to manipulate cables and parts during installation.
Notes on Print Quality
Although my test prints so far have been quite good. Due to the side mounted design the results are better IMHO than other direct drive upgrade kits I have previously purchased. However, the increased weight of the direct drive assembly does cause some minor artefacts to the surface quality in comparison to the original Bowden configuration. I have tested with the stock fan arrangement and even braced the printer to the wall but additional surface noise is still evident.
Therefore to summarise this is an ideal and inexpensive option (free except for a few bolts and stepper extension cable) for someone who wants to try direct drive printing, print alternative materials and print faster but do not expect higher print quality results than an existing Bowden set up (see uploaded comparison print samples image). At the time of publishing I have only tested with PLA.
If anyone can resolve the artefact issue with the direct drive I would be very keen to know how. I have tried lots of different things including retraction\jerk speeds, extensive slicer settings, belt & pulley tightening and general speed & retraction settings. I do however have a direct drive printing very well on my heavily braced (10 mm threaded bar) CR10S. This may be the obvious answer, that and a second Z drive as per the CR10S
Print Settings
1.All parts printed with Tronsky Orange PETG @ .02 layer height, 3 perimeters and 30% infill on a Ender 3 Pro, Ender 5 and CR10S.
2.The Direct Drive Bracket does require supports, all other parts can be printed support free.
