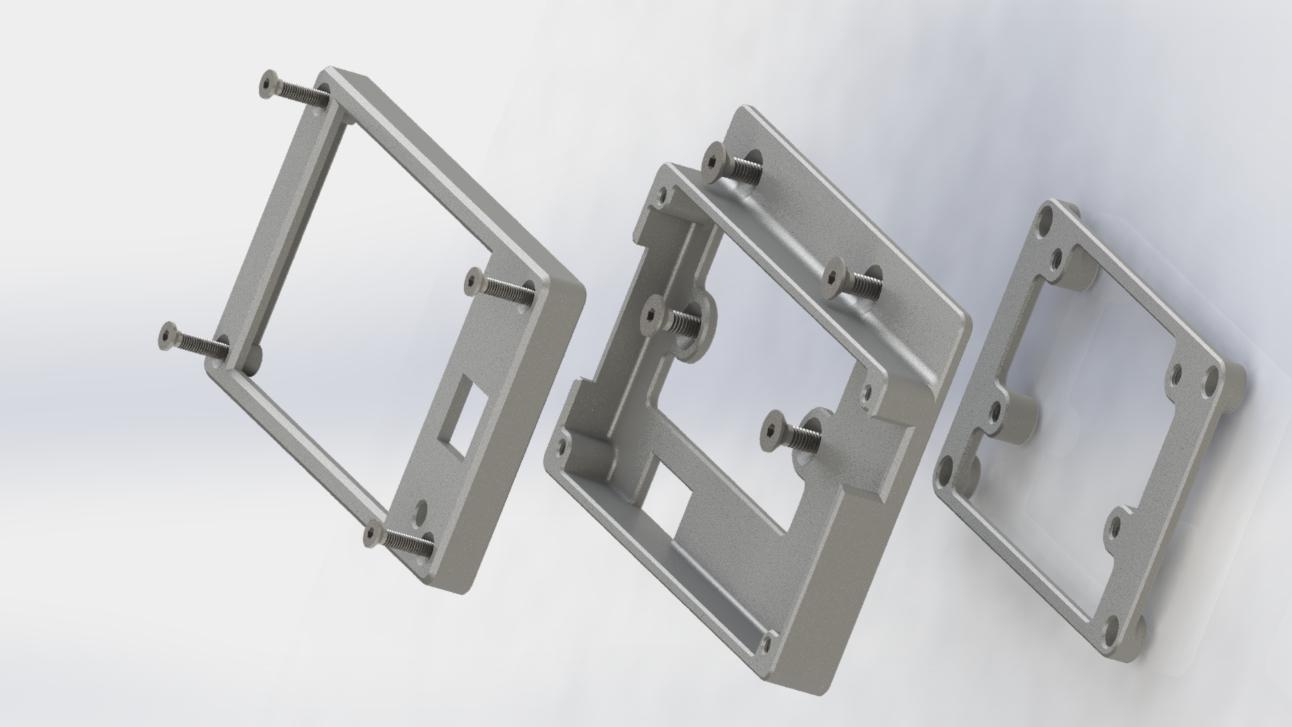
CR10 Display Console for the BTT 35 TFT E3
Model originally uploaded to Thingiverse at https://www.thingiverse.com/thing:4635129.
Update:27\10\20: Revised the main body part with an additional 0.5 mm clearance to the Card Adapter apertures to allow for any bridging distortion.
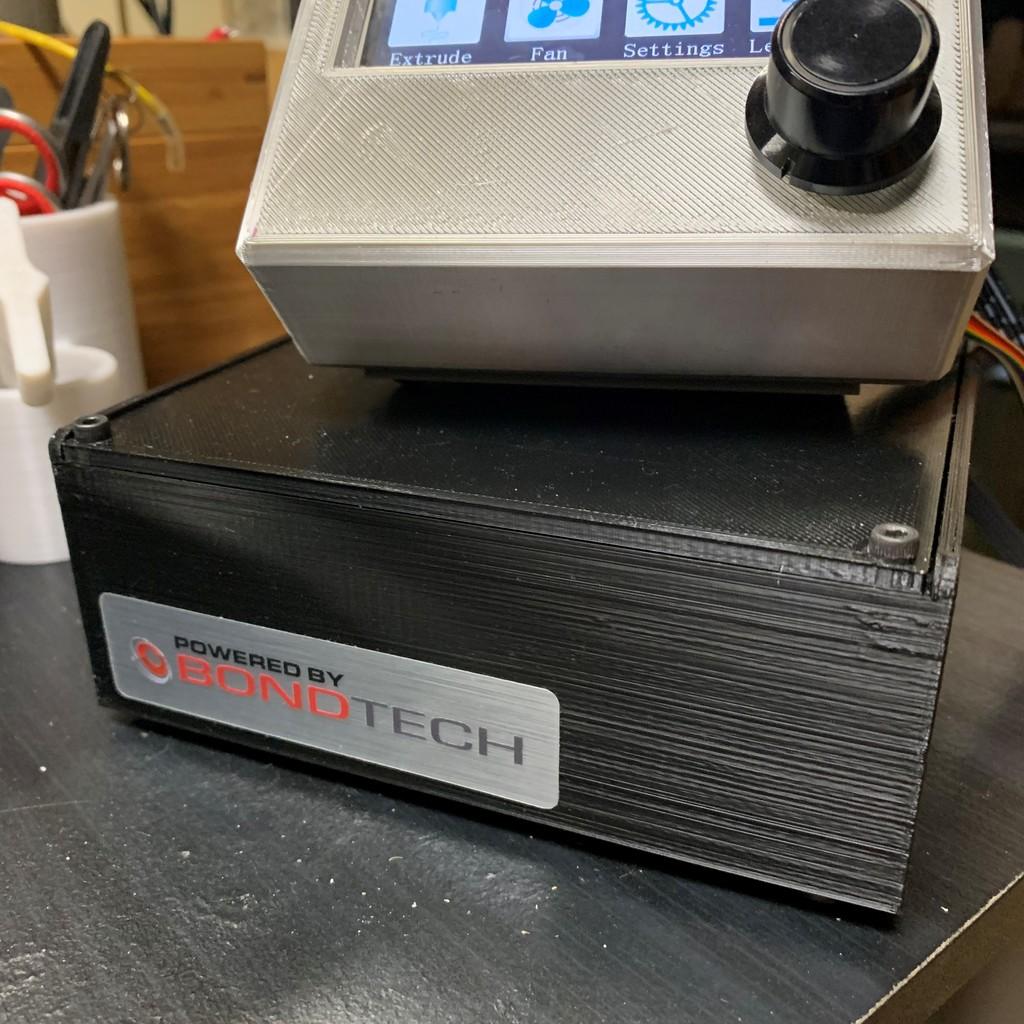
Having upgraded my CR10S with a BTT 35 TFT I was frustrated that the existing Control Box Limited the accessibility of some of the ports and therefore features of the Display.
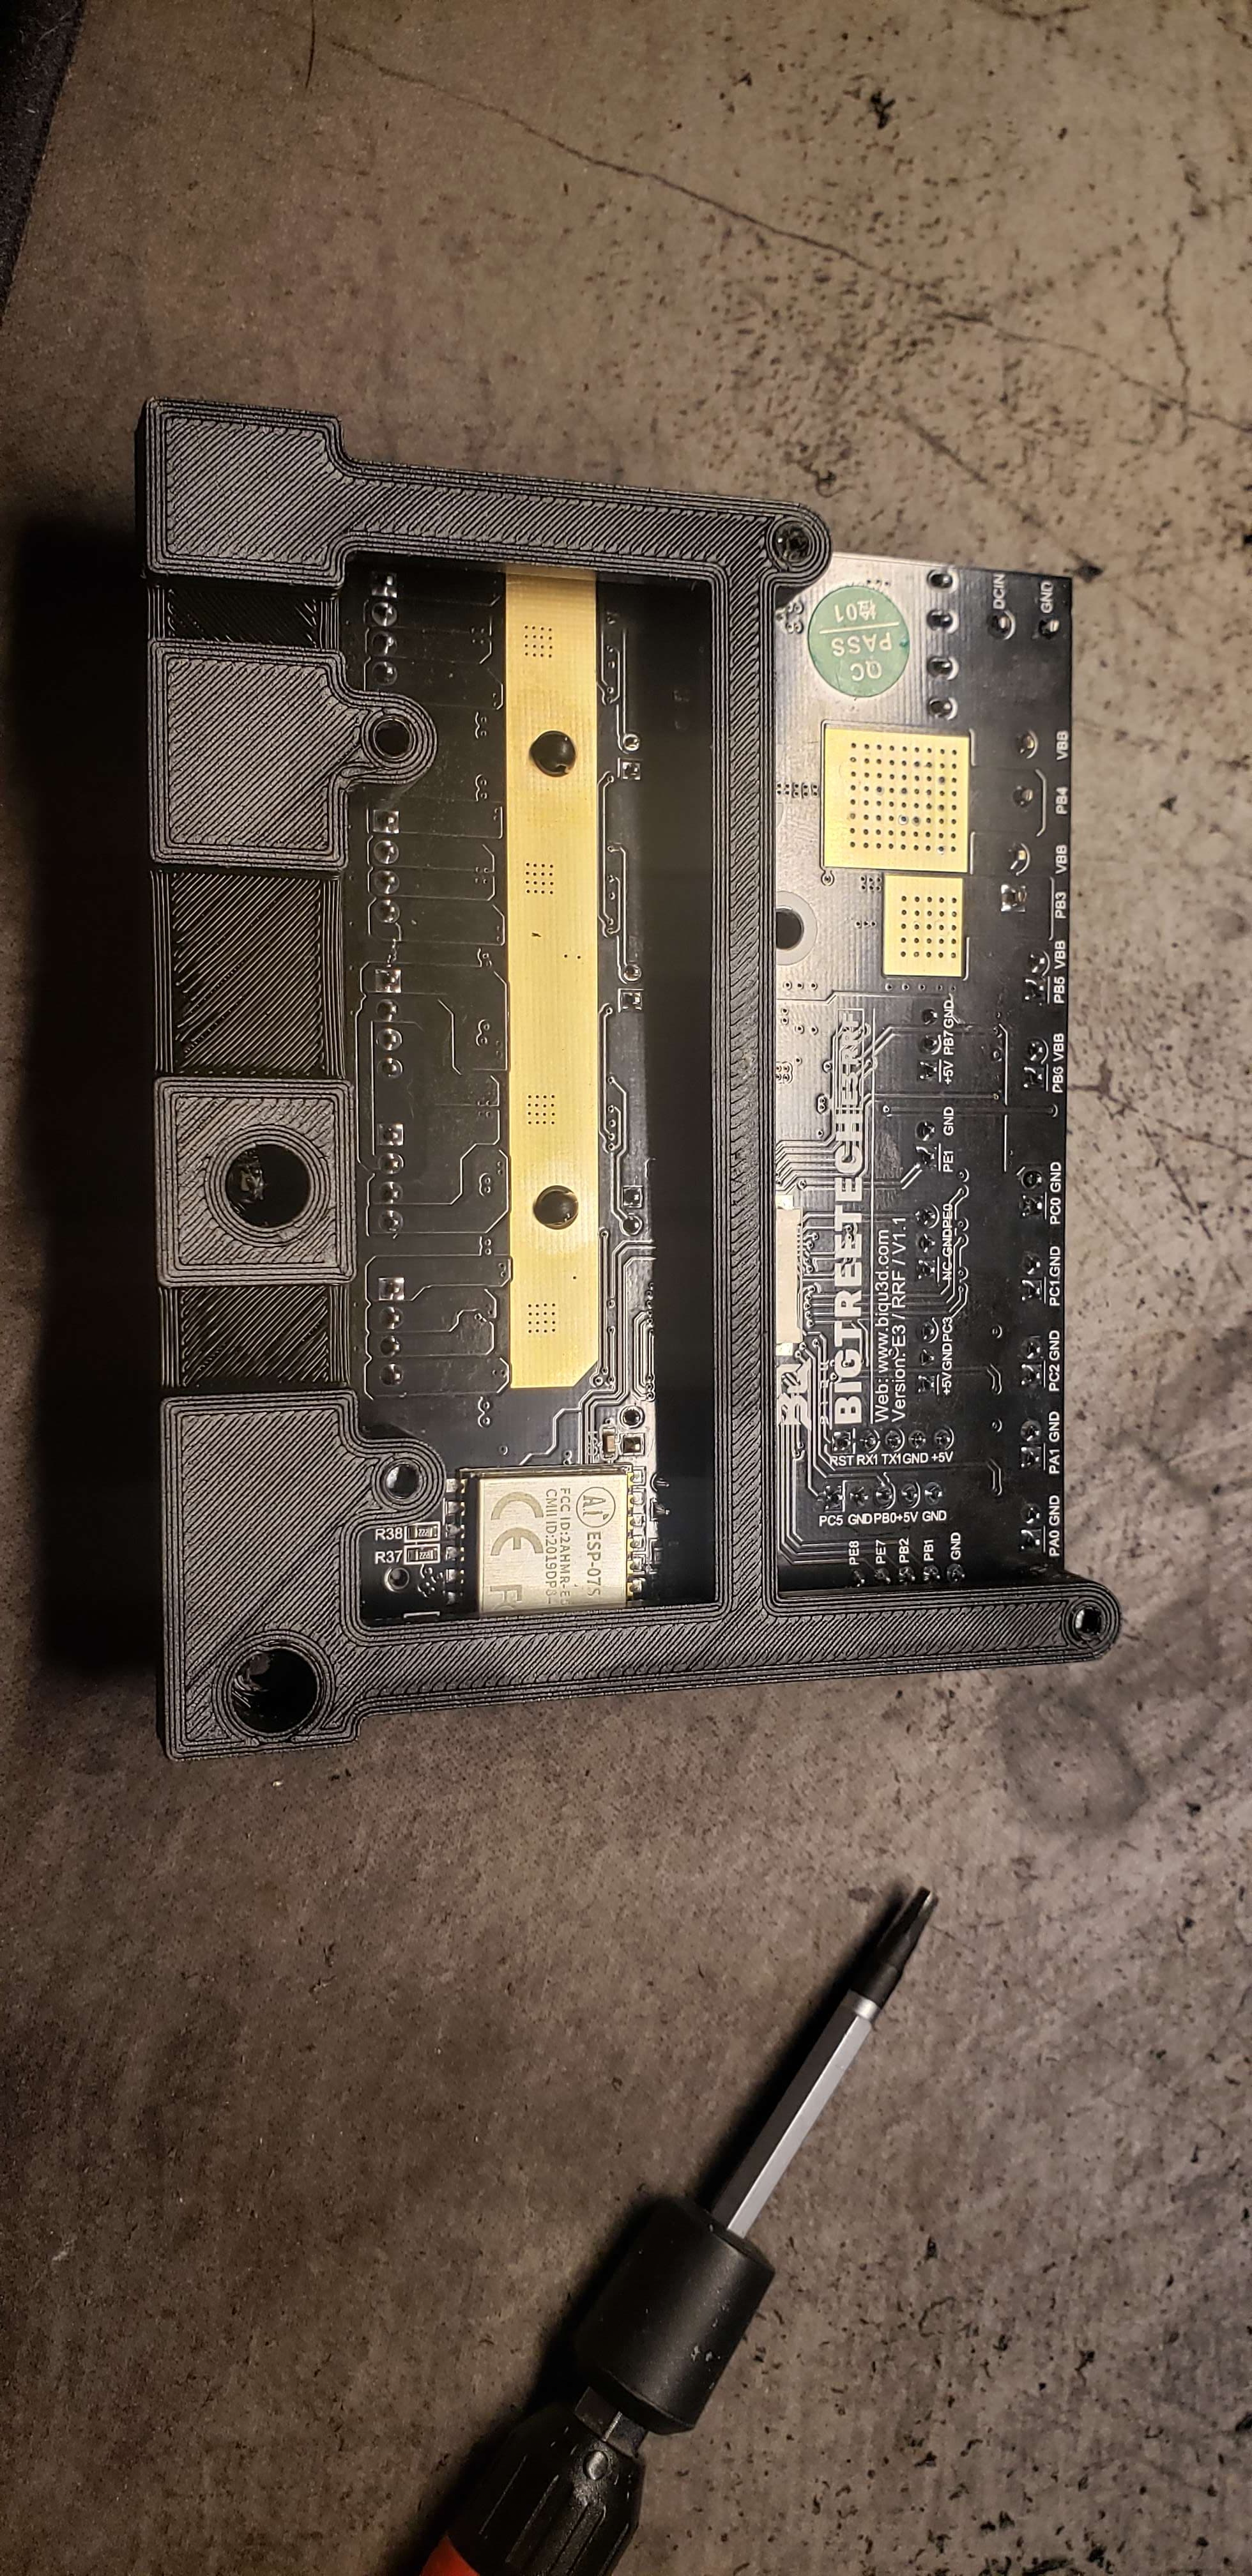
I therefore designed this console to allow access to the Display USB & SD Card Reader and the Onboard USB\ Micro SD Reader but also to incorporate 2 x SD Card Adapters to save wear & tear on the respective integral Card Readers.
I have also included 2 x SD storage slots into the display frame.
Installation:
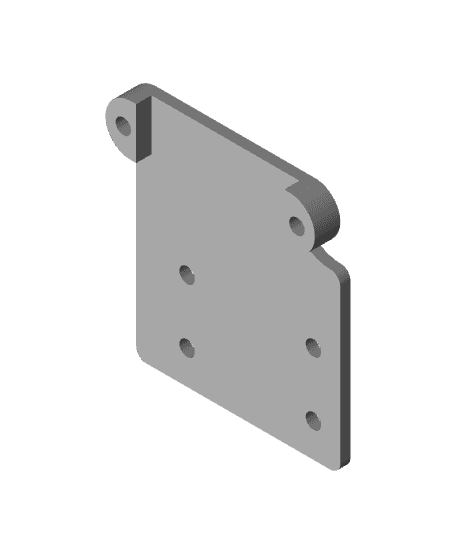
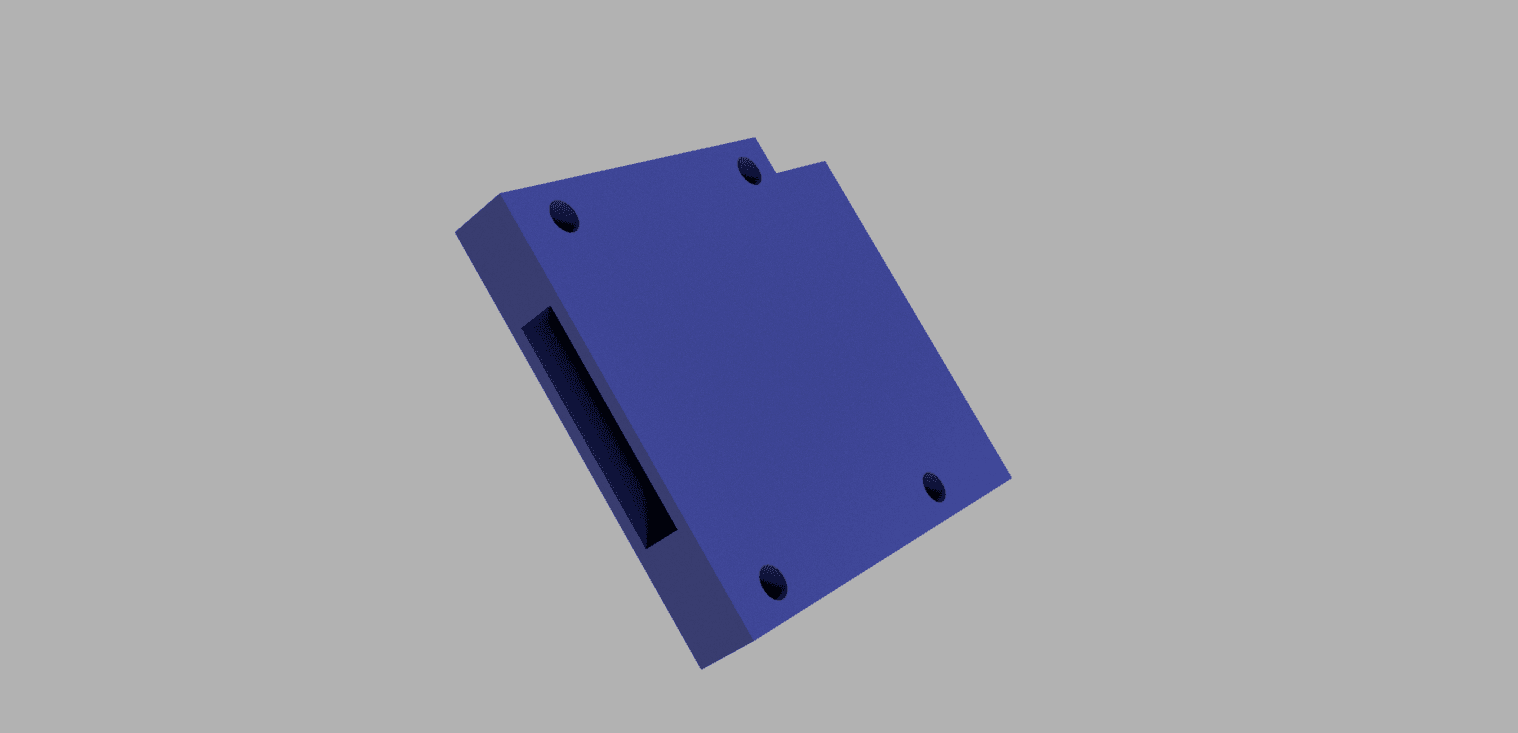
1.I have included a basic installation guide within the thing files but basically the LH side of the display frame is retained within the existing Control Box Display aperture and fixed with one of the existing M4 bolts currently holding the PSU to the control box.
2.Having the hinged Lids it is much easier to access but still be careful with inserting the SD Adapters particularly the Onboard Mic SD so not to damage anything.
3.BOM\Links to suggested SD Card Adapters in the Installation Guide.
4.Make sure the bridging where the SD Card Adapters are retained is even, clean up if sagging. If the Readers are a tight fit remove the 2 runners printed on the opposite side to the bridging to ease the fit. It should preferably be snug but if the interference is too tight it may split a very long print!
Printing:
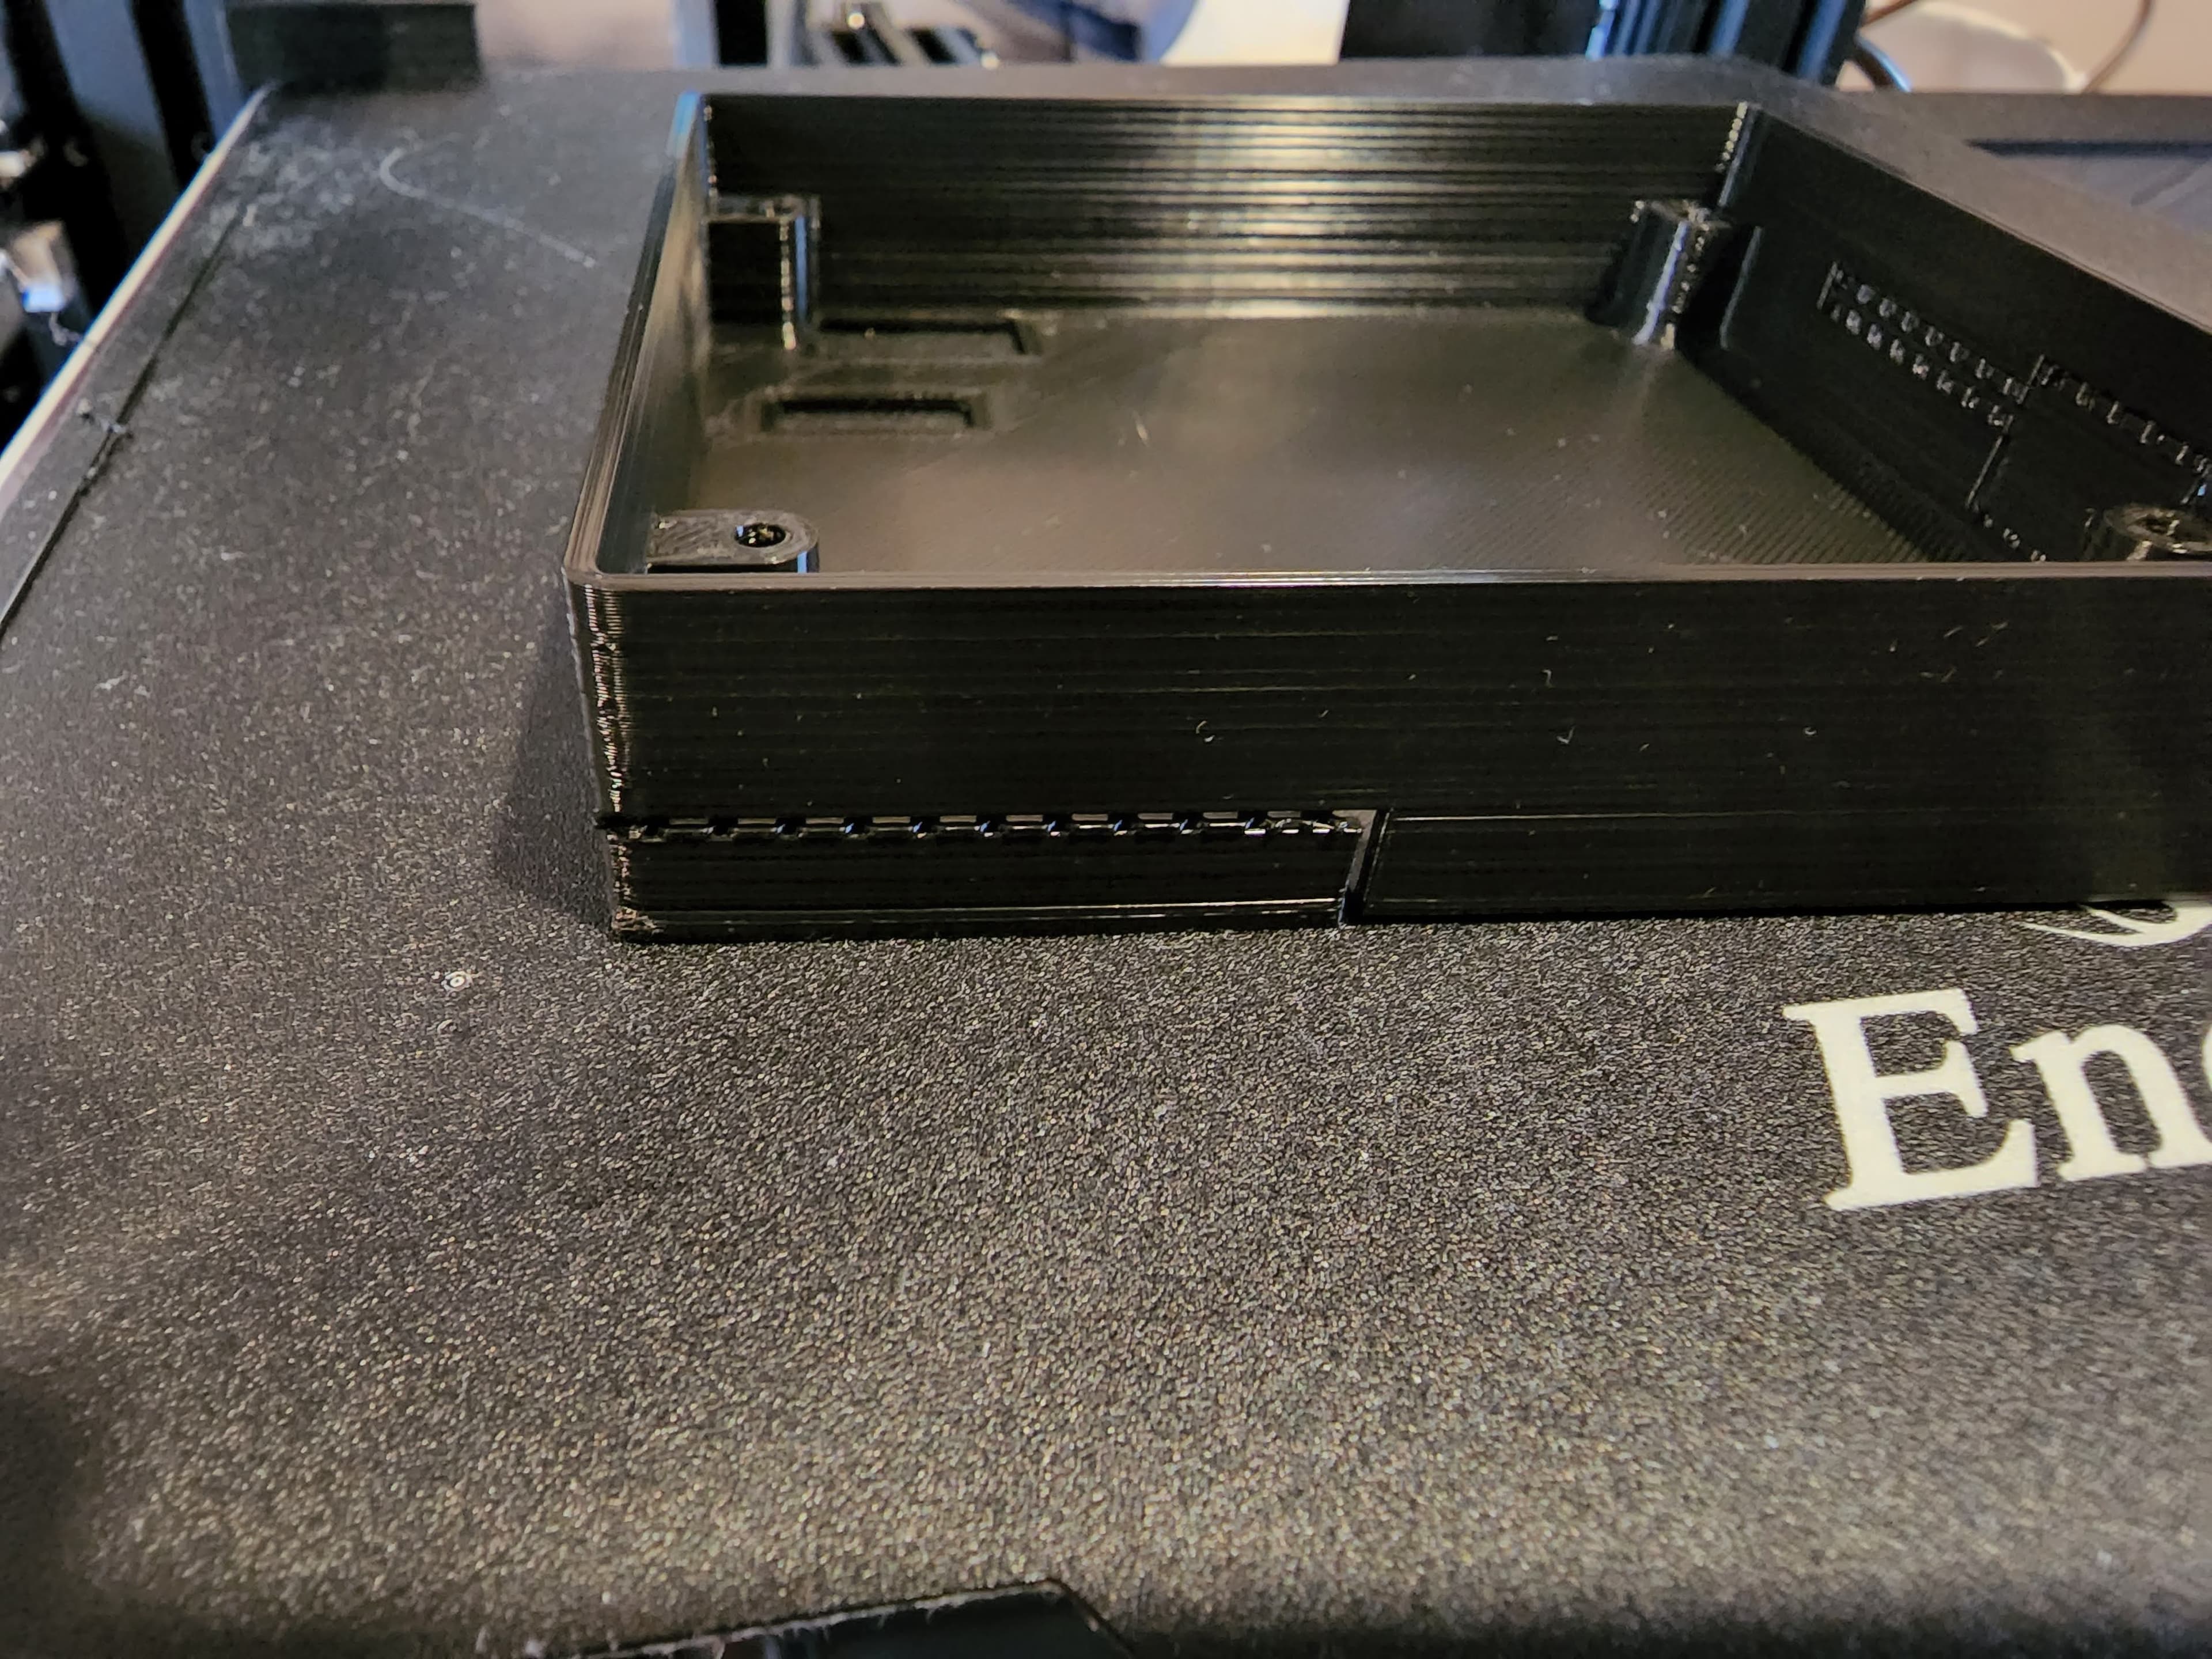
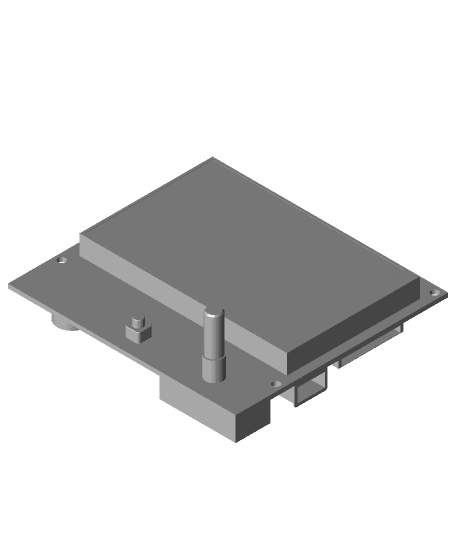
1.Main Body printed @ 40 mms / 0.25 layer height / 2 perimeters with 20% infill which took approximately 6.5 hours.
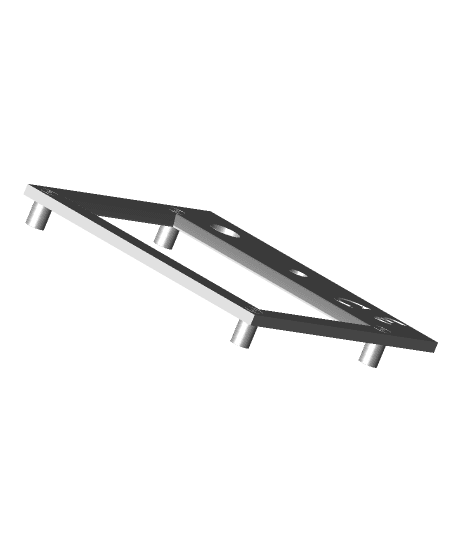
2.Display Frame printed @ 30mms /0.2 layer height / 2 perimeters with 20% infill.
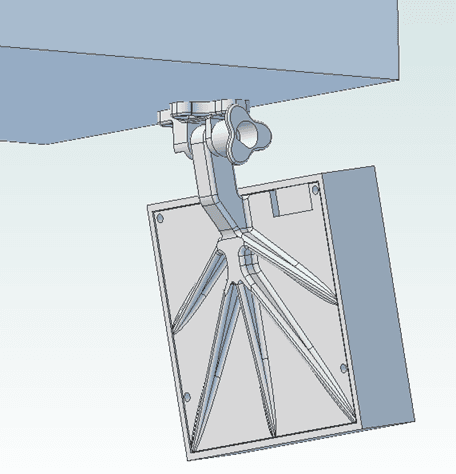
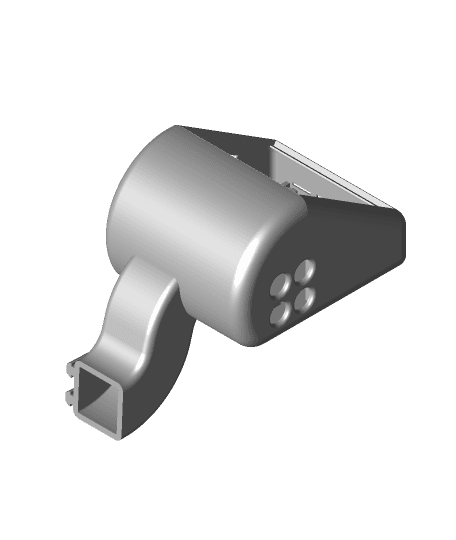
3.Control Knob printed with 100% infill. @ 20mms.
4.No supports are required but I have included an integrated foot to the main body to reduce the risk of warping. This will need removing prior to assembly.
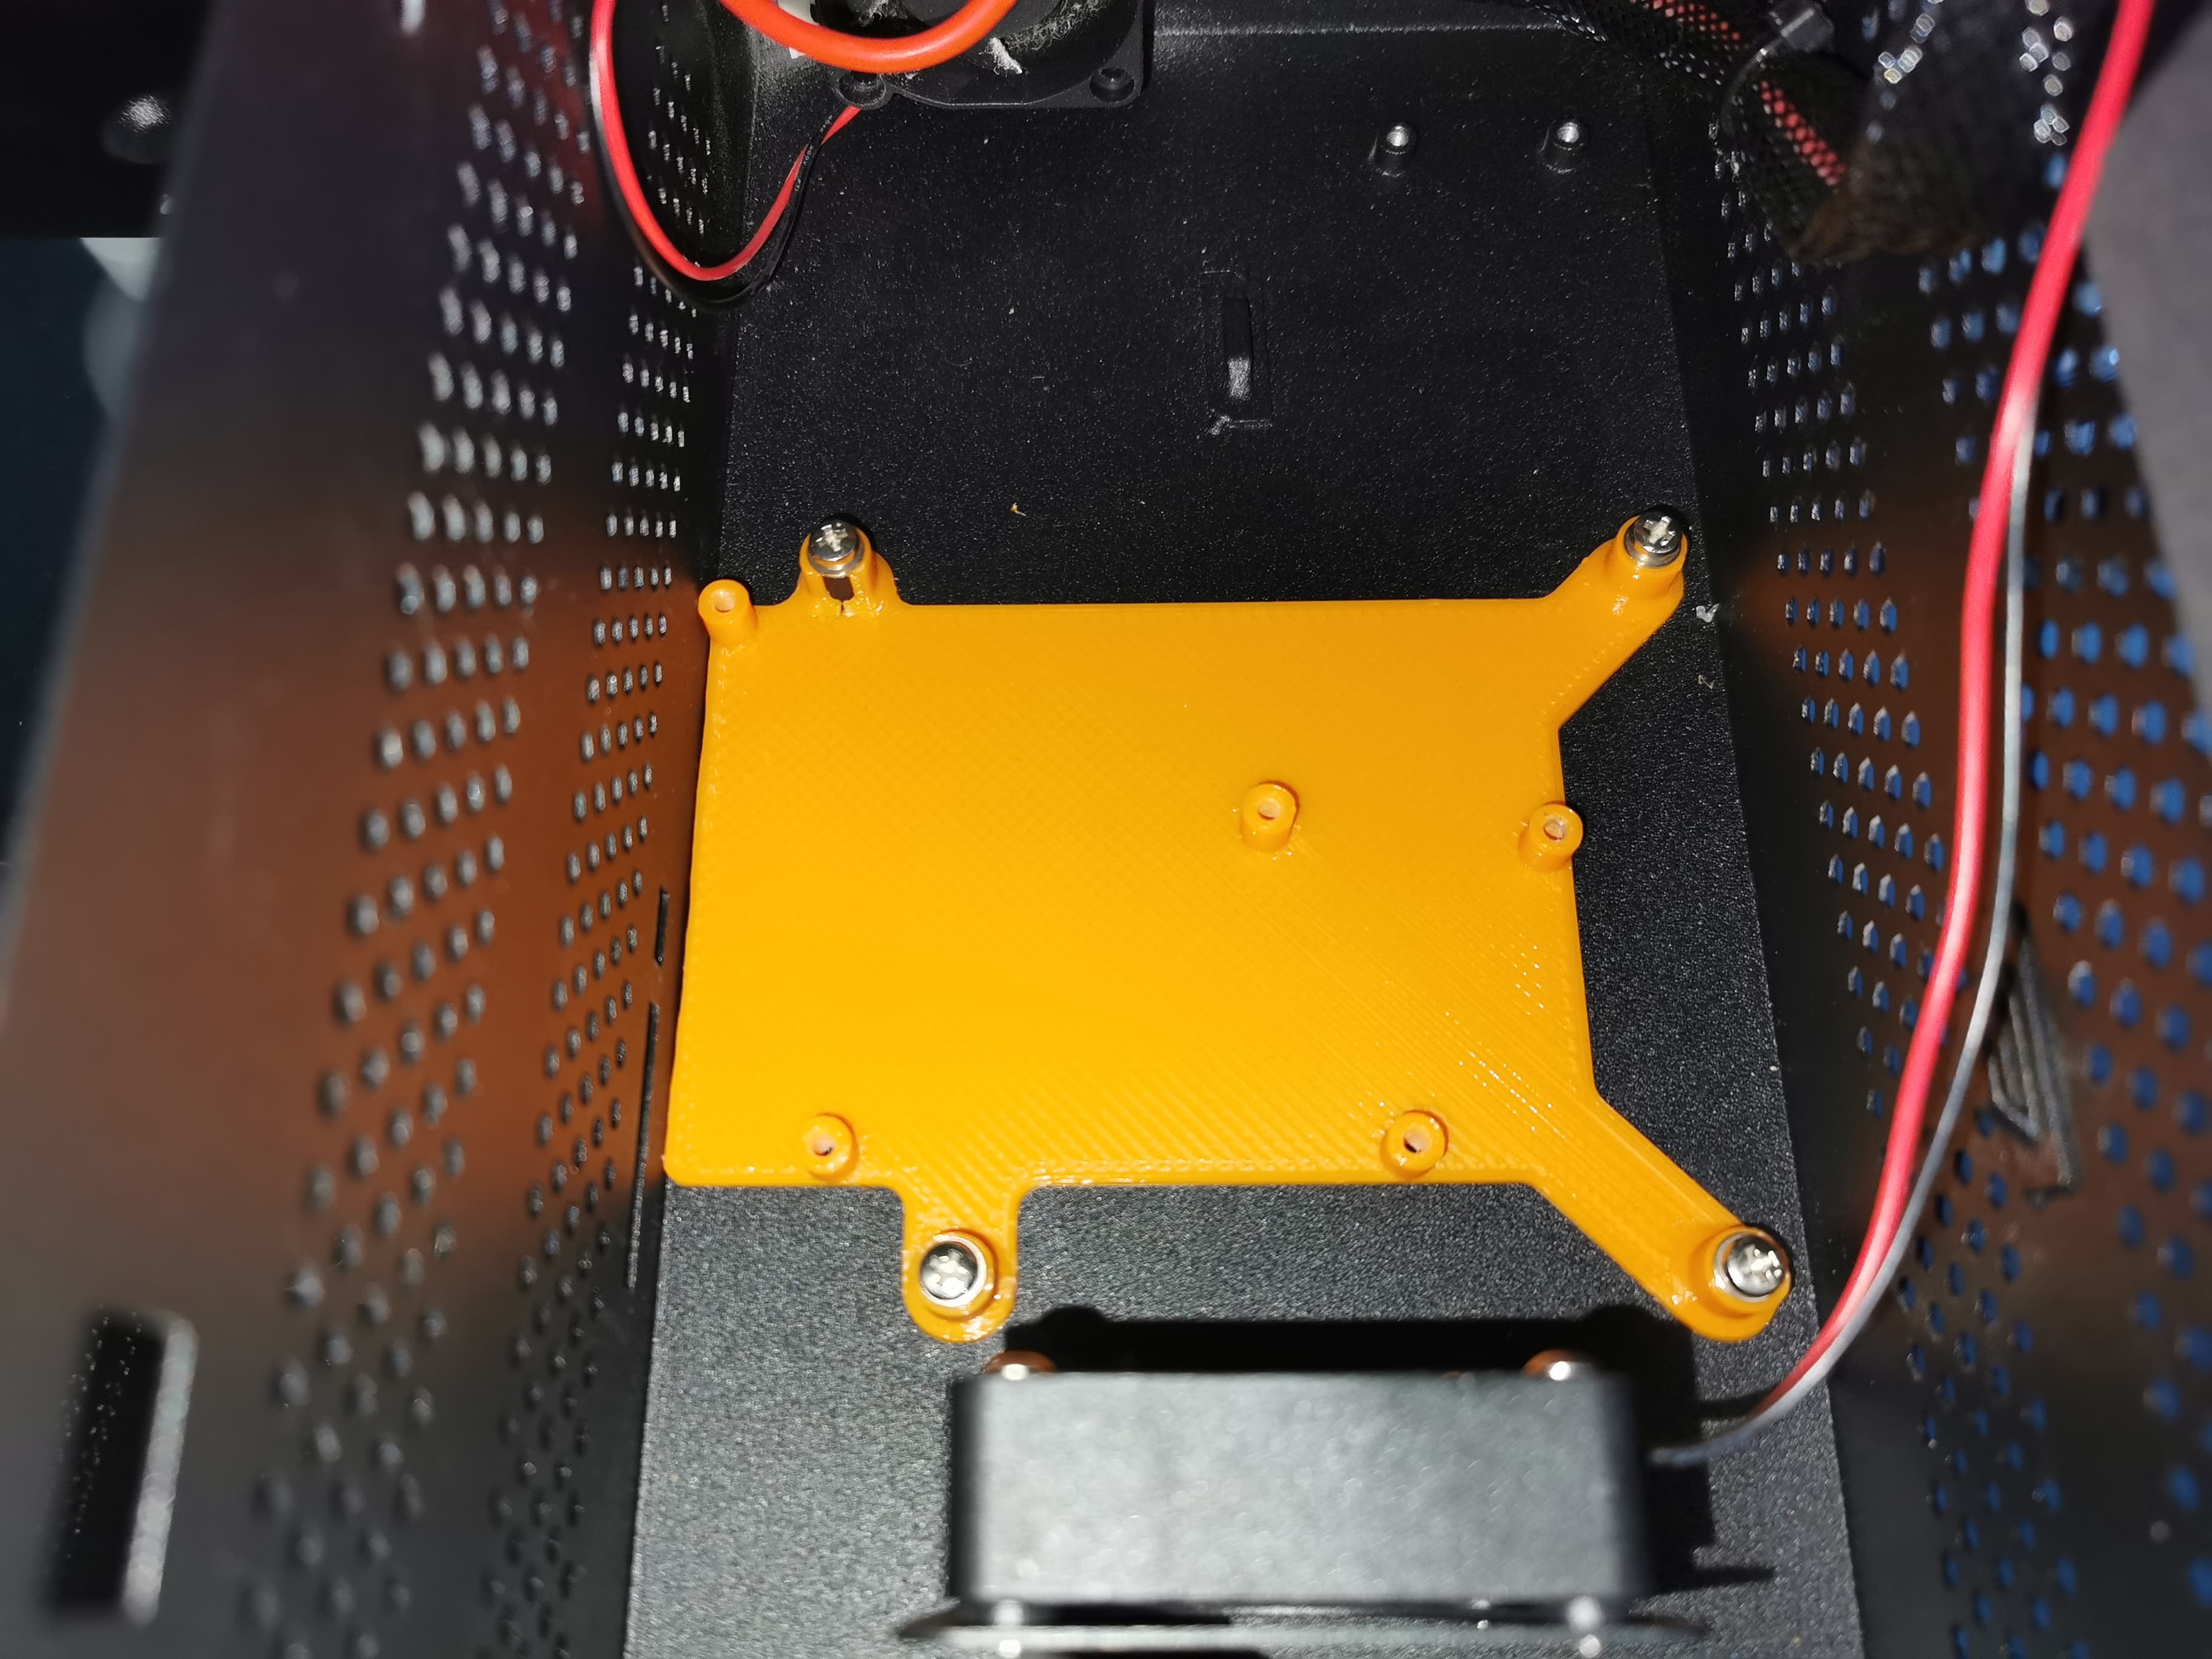
5.Printed with AMZ3D Black PLA and Amazon Basics Yellow PETG. The main body does not need to be PETG it was just to match the rest of my CR10 livery.
6.The main M4 fixing hole does have a sacrificial layer to aid bridging which will need cleaning out prior to assembly. The sacrificial layer is set to 0.25 layer height so if you print at a different layer height there might be some slight stringing but should still print with an acceptable finish.
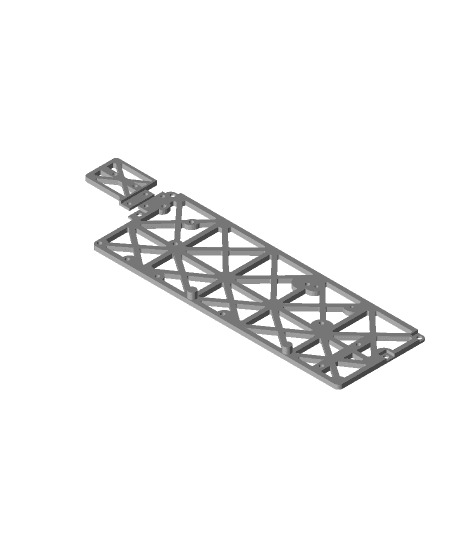
7.For the best finish I would suggest printing to the uploaded orientation
8.I have included a blank step file of the hinged lid for personal customisation.
9.There are linear rebate details in both the main body and the display frame which will allow a clean print break for dual colour printing if further personalisation is desirable.
CR10 Display Console for the BTT 35 TFT E3
Ender 3 BTT TFT35 E3 V3.0 Cover
Magnetic screen mount for BigTreeTech BTT TFT35-E3

Pivoting Display for Ender 3 - Pro - V2 - Ender 5 - BTT 35TFT & Stock

Slim Pivoting Display Housing for the Ender 3 & 5

SKR Pro v1.2 and TFT E3 v3.0 Case (remix) (threaded inserts)
melzi to BTT E3 rrf.stl
Wanhao i3 Plus frame for BTT SKR E3 Mini V2
BTT TFT35 E3 Top Hanging Housing
Sprite - E3 V3 SE - BTT SFS V2.0 Runout Mount v4.stl
SKR MINI E3 V3 Adapter plate vor CR-10 V3
TFT 35 Artillery Case.stl
TFT35 E3 V3.0 Model.stl
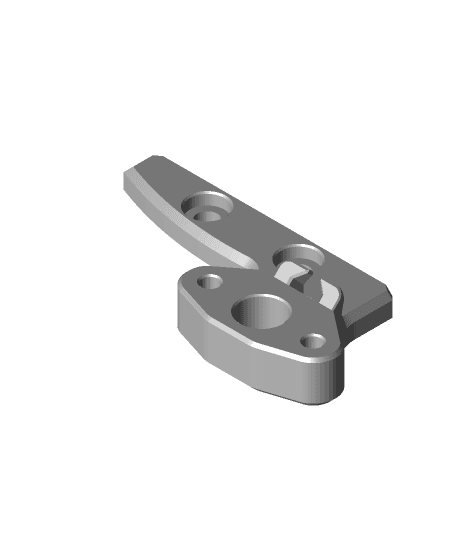
console e3 v10 with 4mm arm G2.stl
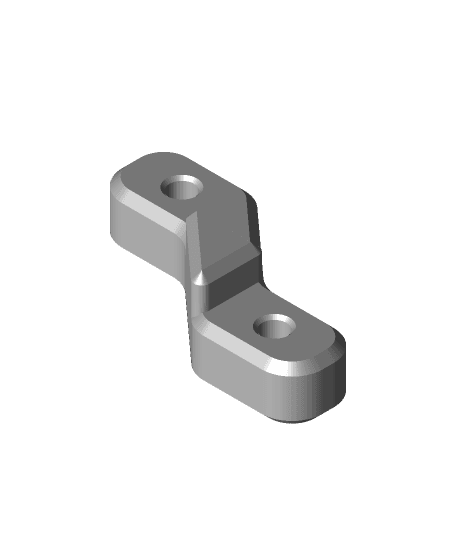
LID FOR console e3 V9 G1 last update.stl
Ender 5 Core XY with Linear Rails MK2
Ender 3 / SKR Mini Board Case

BIGTREETECH Pi TFT 43 Mount for Ender 3 S1
Ender6 SD Card Extender Mount
Ender 5 Core XY with Linear Rails