


Collapsing Master Sword with Replaceable Blade
Collapsing Master Sword with Removable Blade
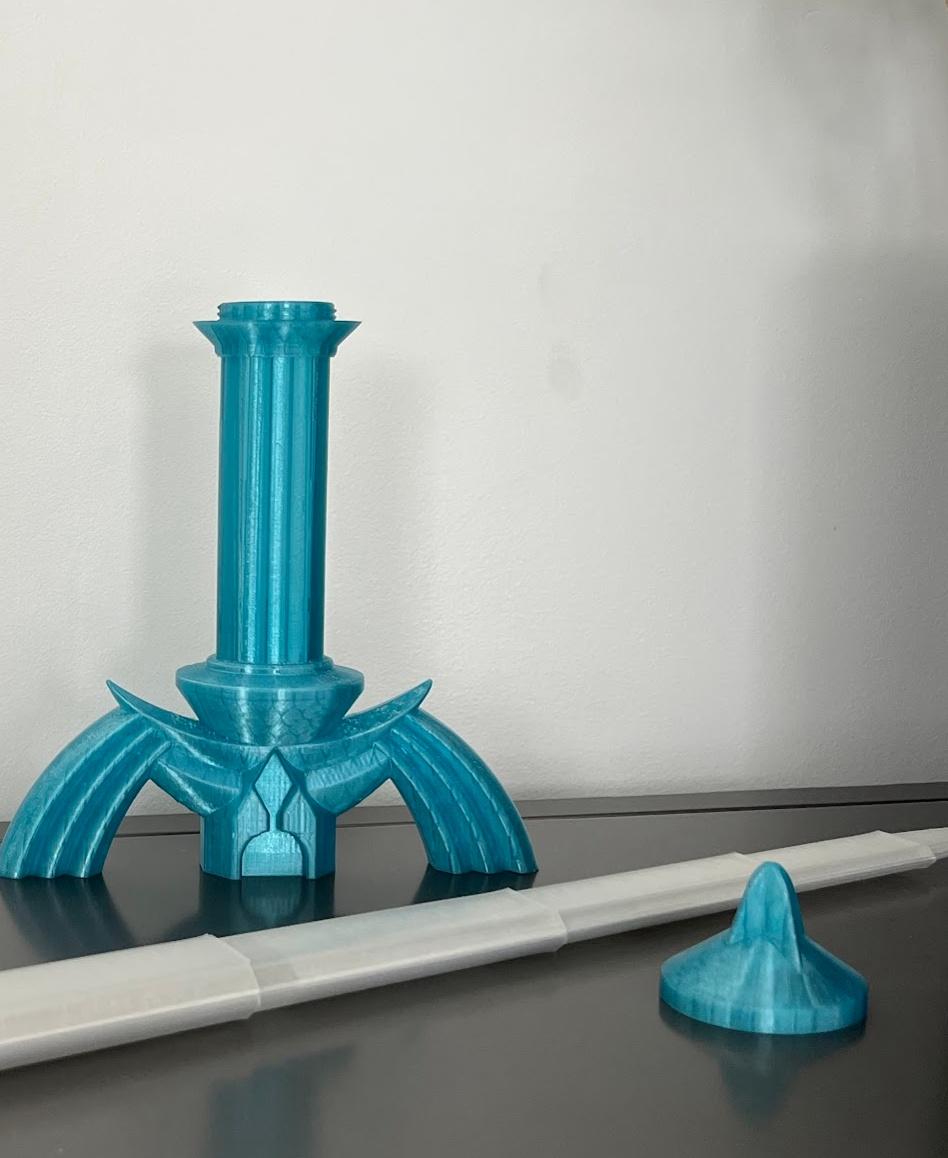
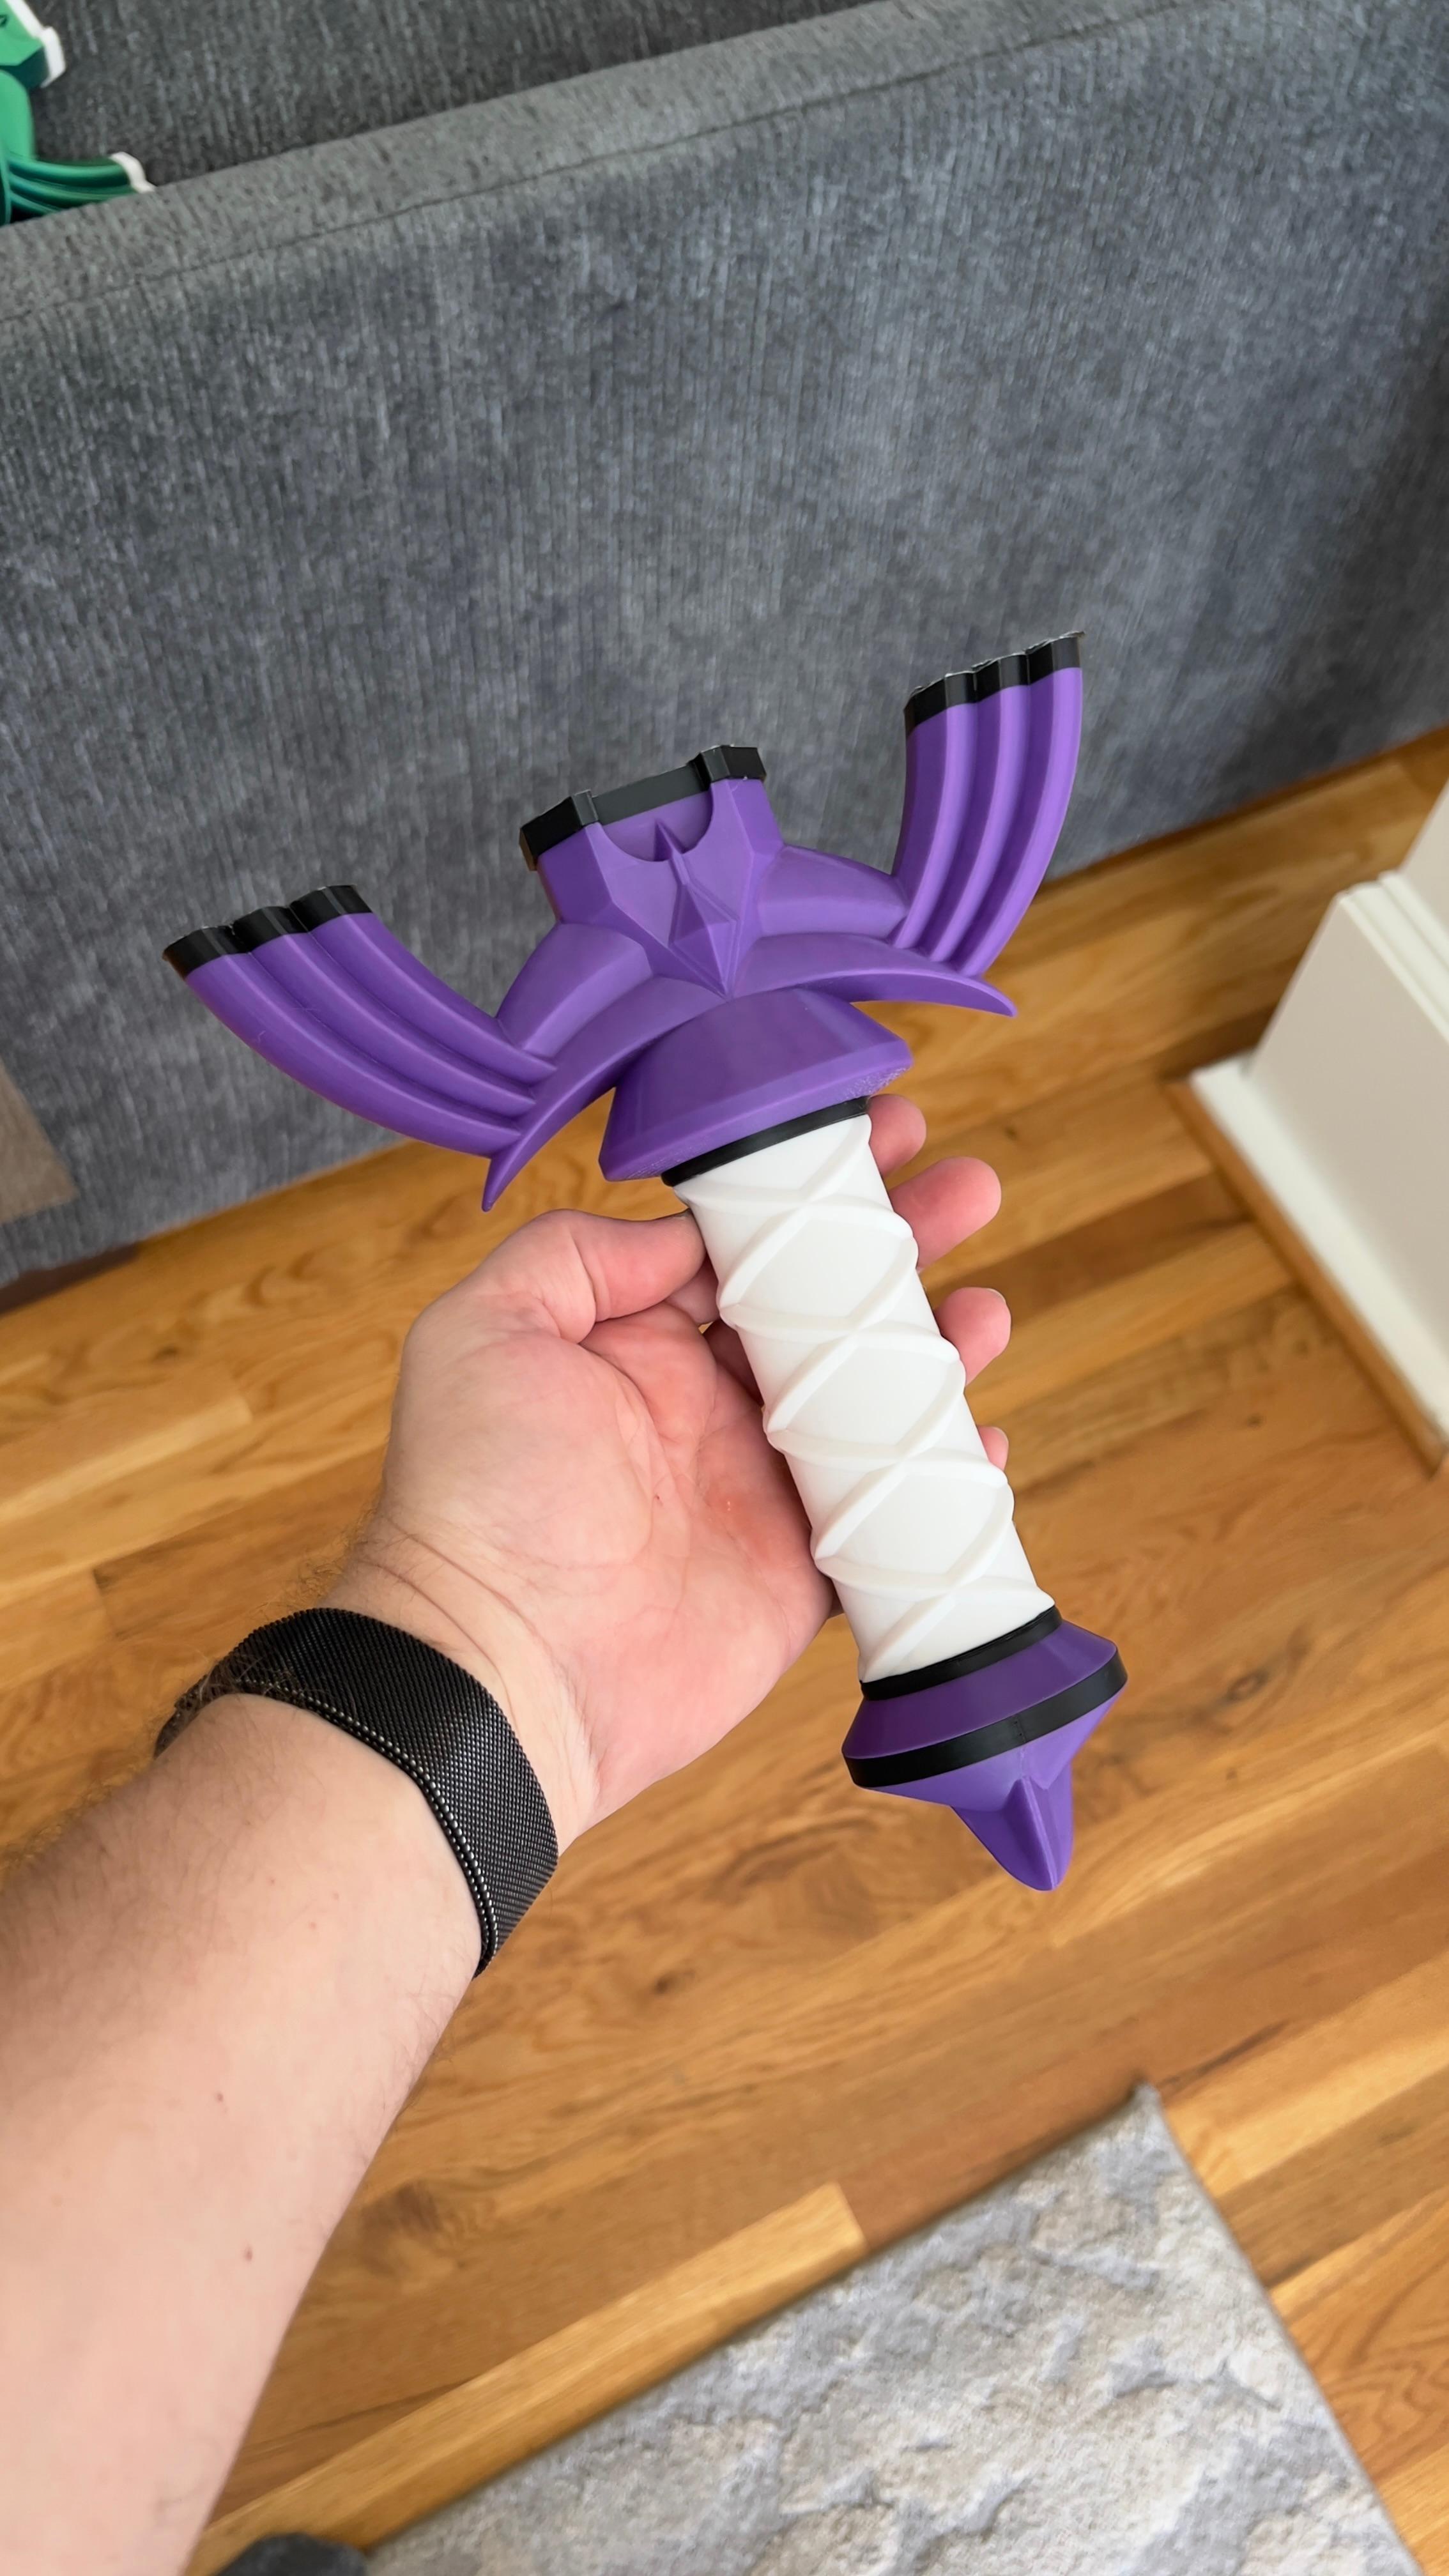
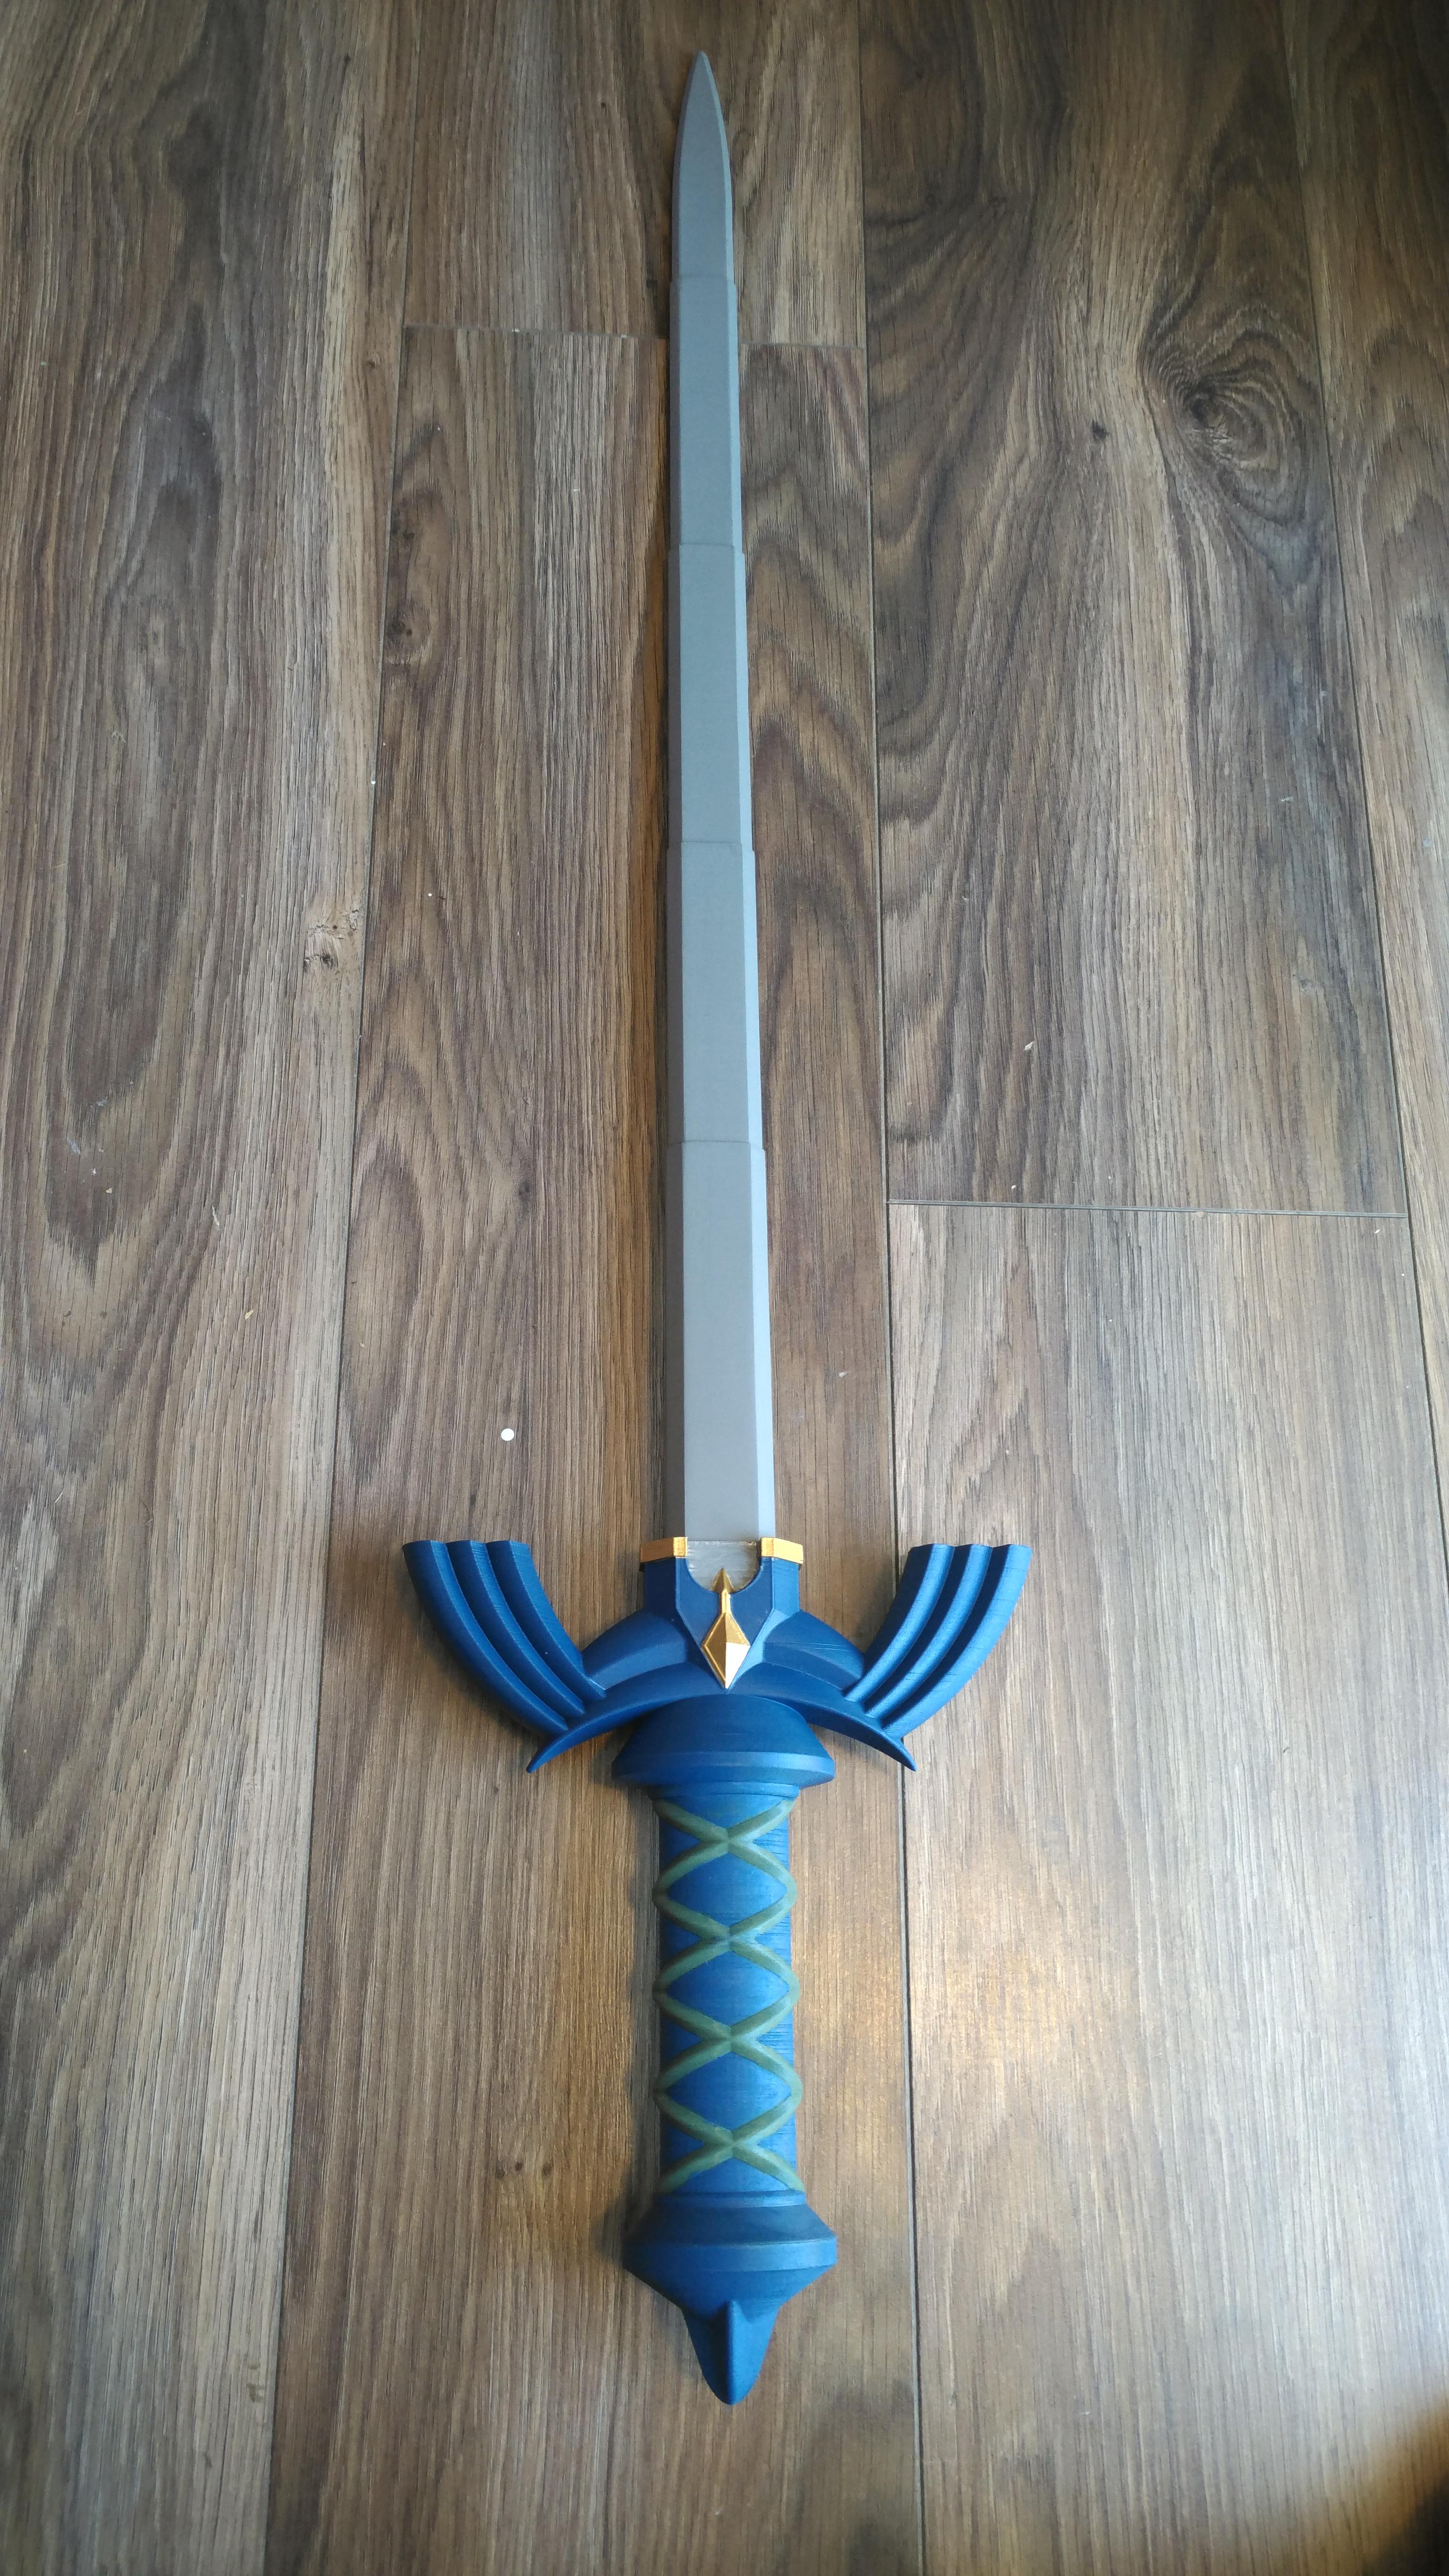
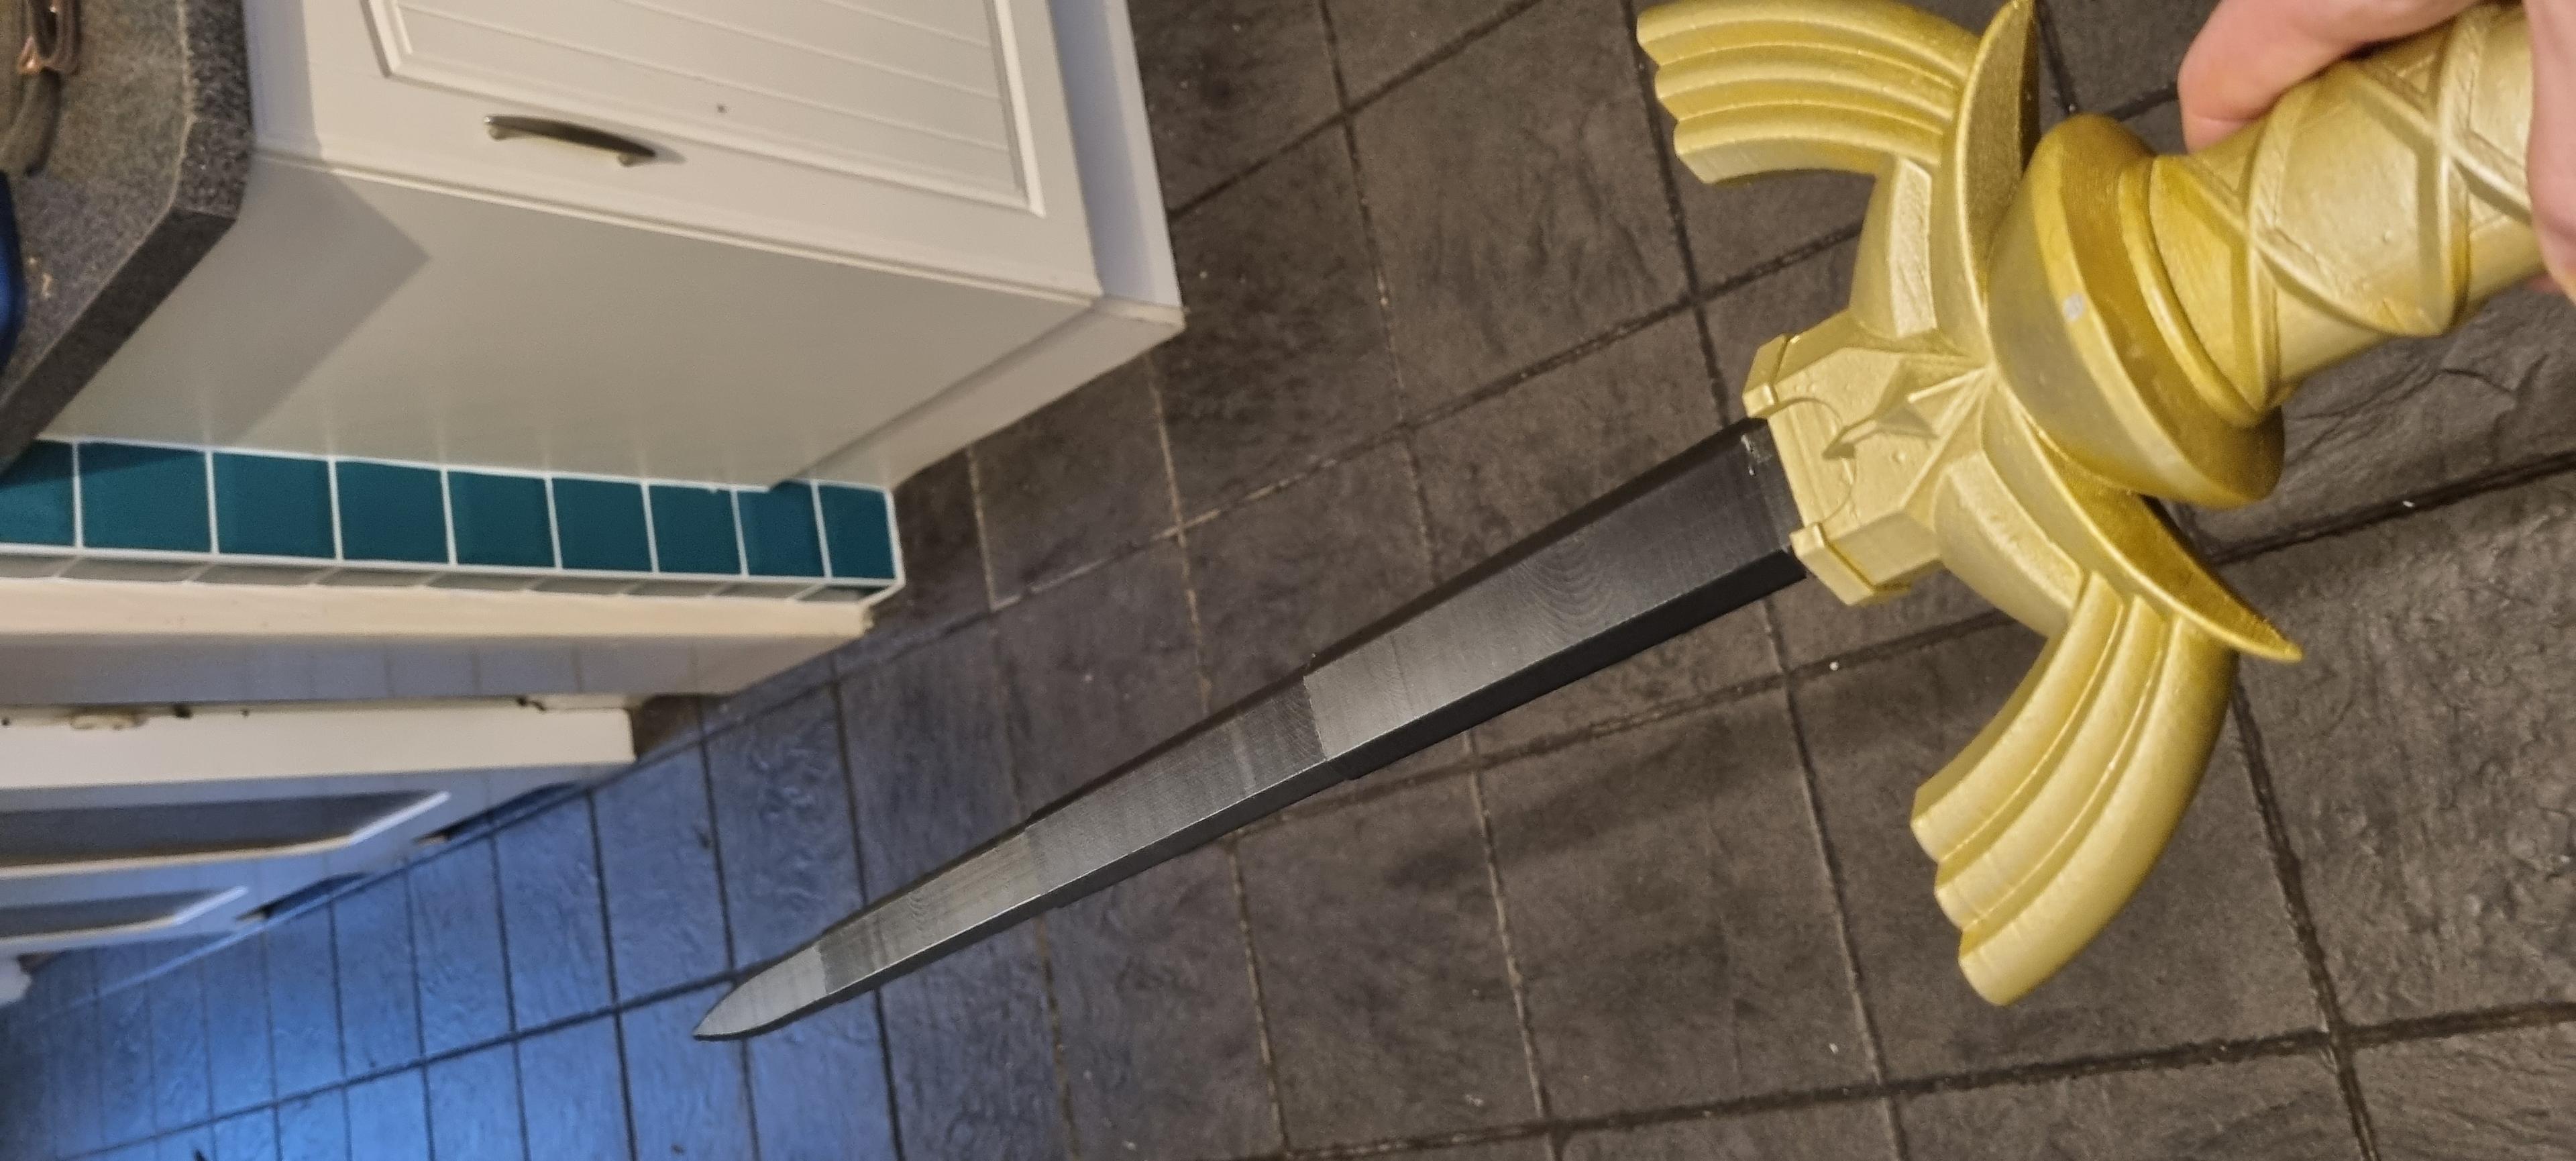
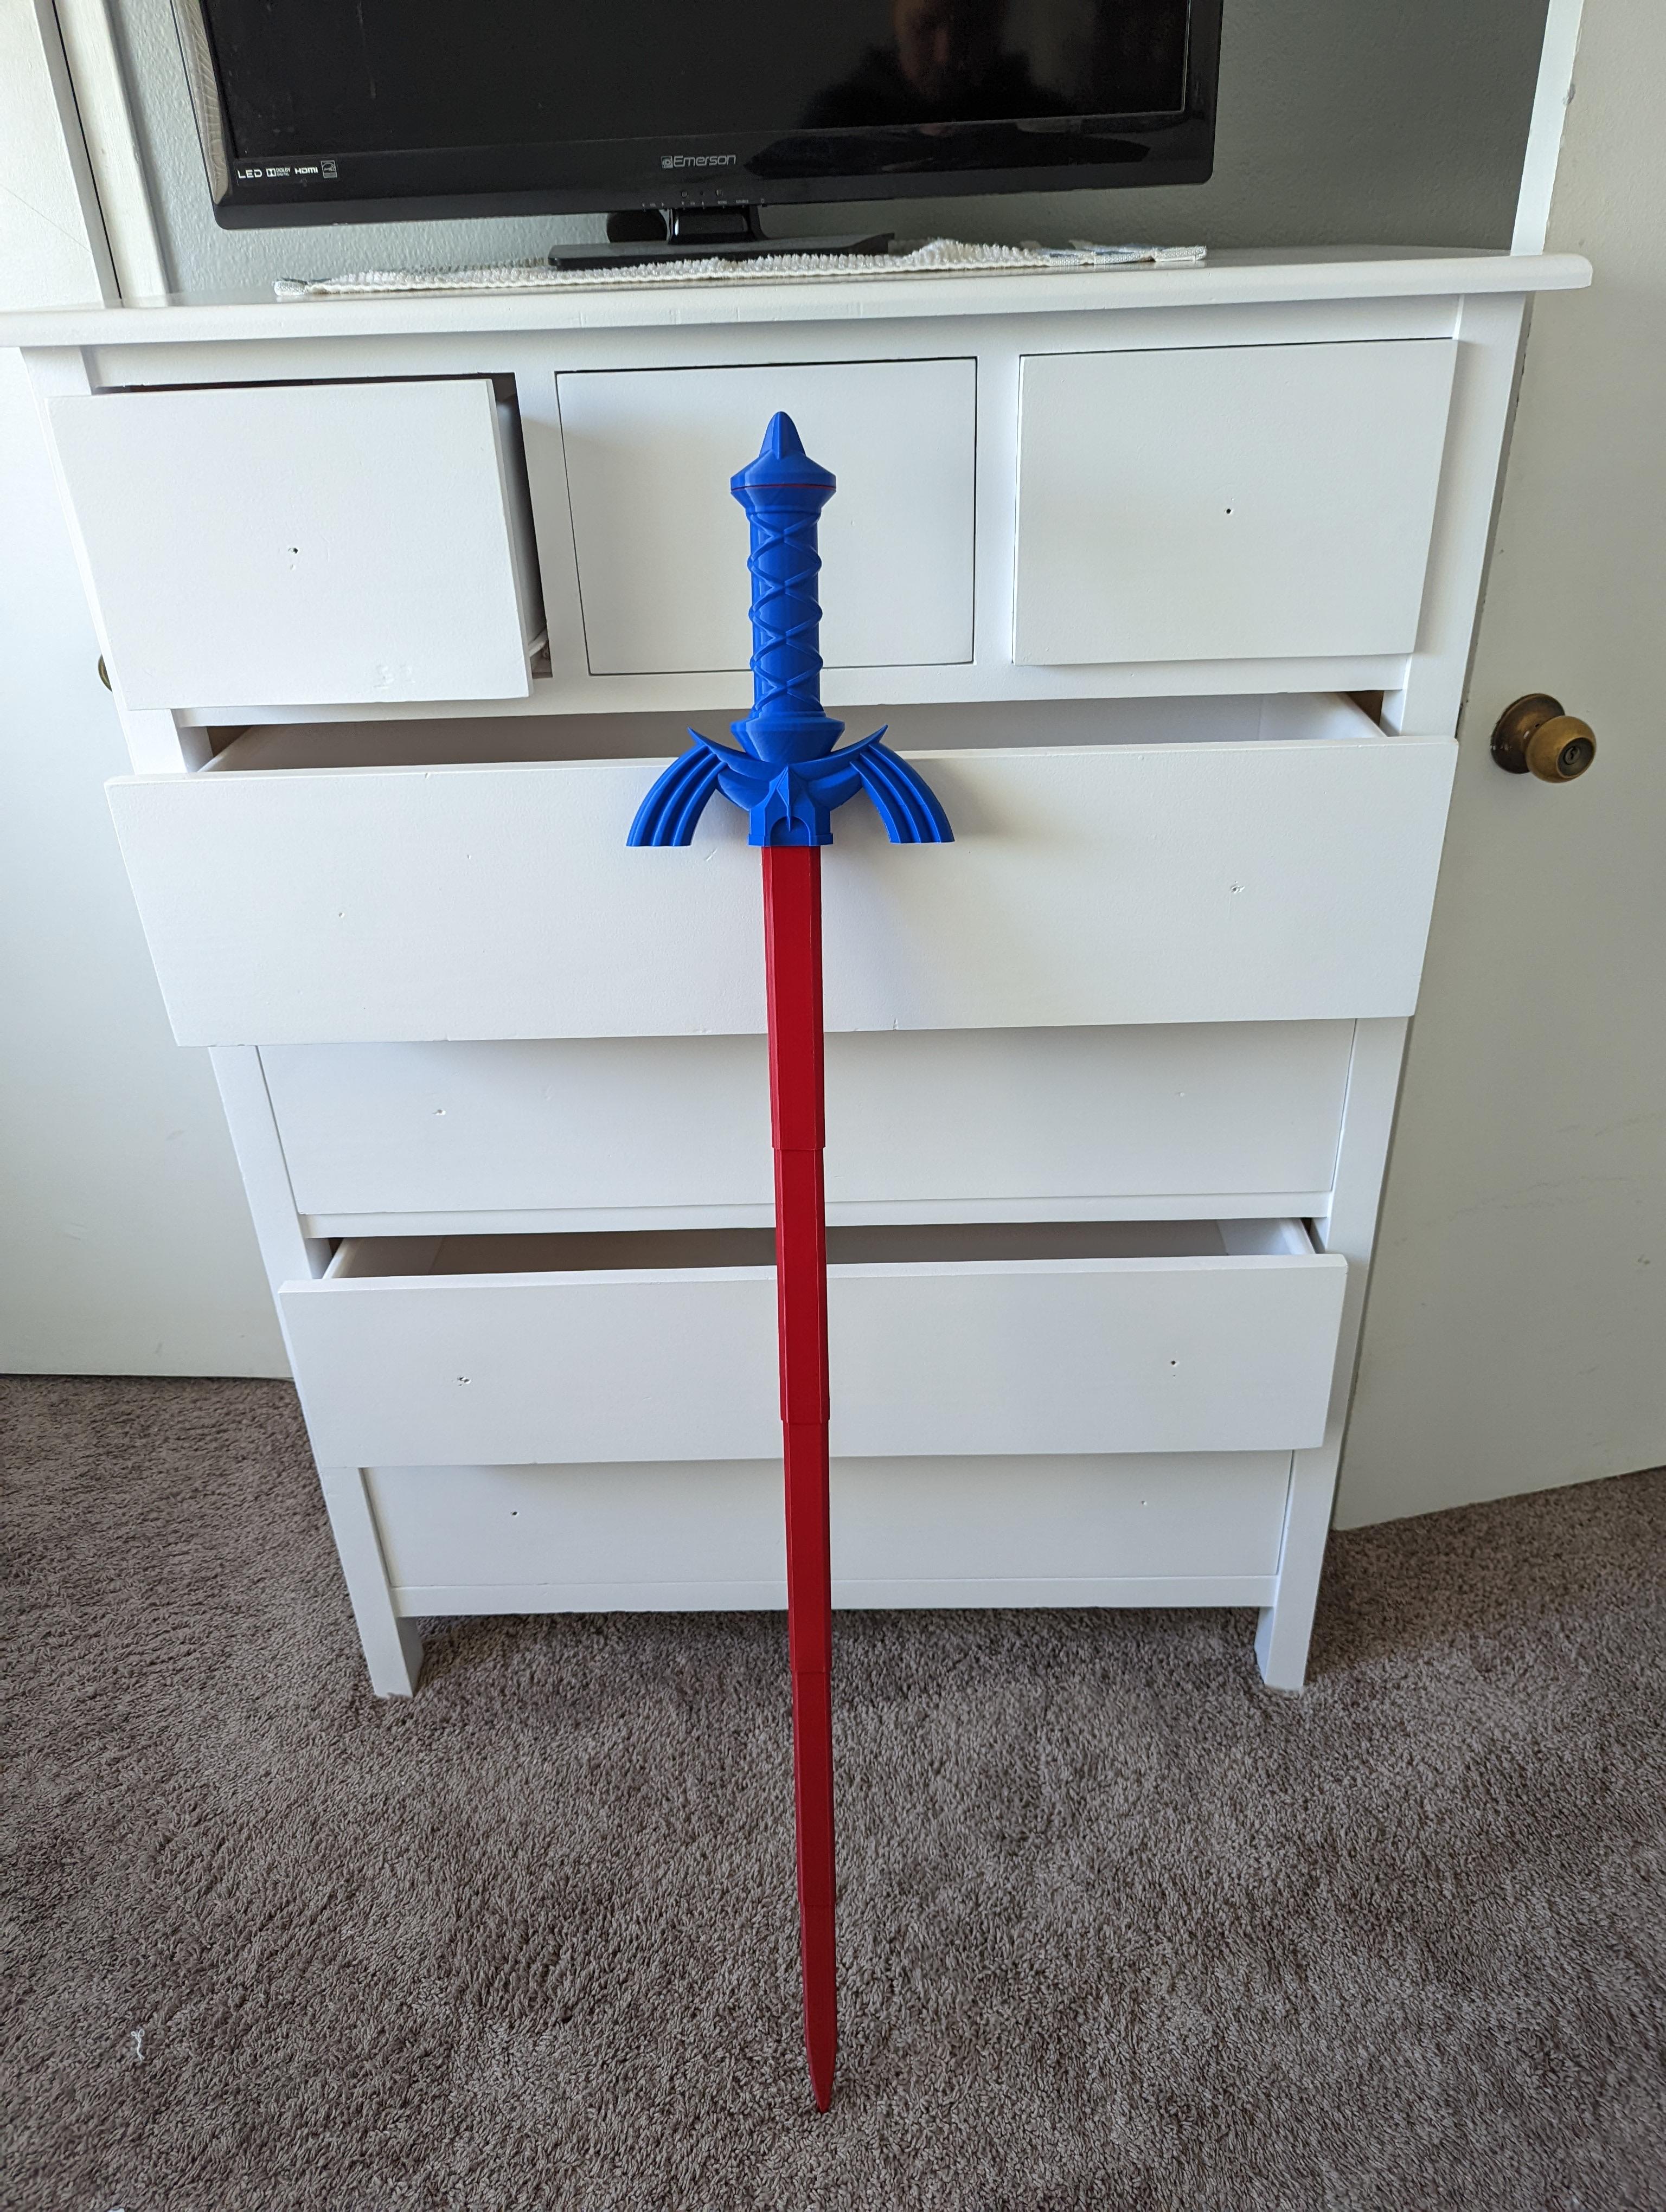
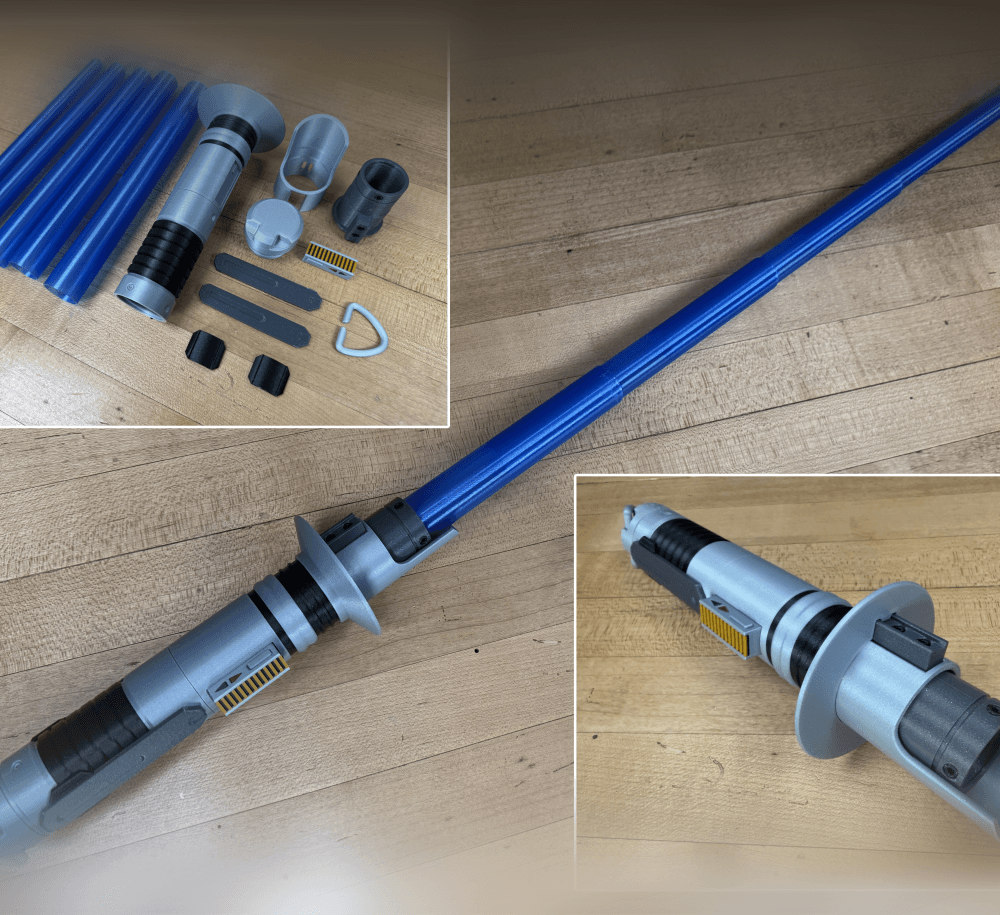
Unlike the Print-N-Place version, the pommel on the hilt of this Master Sword is threaded which allows the blade to be printed separately and inserted. The assembled hilt is 250mm long but the blade extends to a length of 870mm long in total!
Printing The hilt and pommel do not require supports. The blades can be printed concentrically as an assembly or individually in vase mode. If you plan to print concentrically, a single stl contains all the blades. If printing in vase mode, there is a stl for each blade. Note the vase mode stl’s are supposed to be solid so the slicer knows not to make an internal perimeter.
Vase Mode I prefer printing the blades in vase mode as the result is a much cleaner and easier print that can easily be scaled. If you print sequentially, it’s faster too. If printing at 100% scale, set the line width to .85mm. If you plan to print it smaller, scale the line width down by the same about. If printing in vase mode you can scale down to a minimum of 55% with a .4mm nozzle. For vase mode turn top and bottom layers on for the first blade, but turn it off for segments 2-5. You will notice that the vase mode files are solid, this is so your slicer knows not to try to build a inner perimeter.
Concentric When printing the blades concentrically use a .4mm nozzle and set the line width to .42 so the blades are two shell thick. If you would like to scale it down try printing the vase mode version instead. Before printing the blade assembly make sure perform the test print found here This print is sensitive on the layer seam and might need to be tuned so the blades don’t fuse.
Test Print The test print is a total of 24mm high so I change retraction settings every 8mm. Then I compare the changes until I achieve the best result. Each printer is going to be different but in my case I used a negative “extra restart” distance to reduce the size of the layer seam.
Detailed printing instructions can be found on my website
Note: Assembled 3mf file for reference only
Printed with 3D Fuel Cobalt Blue and Silver Pro PLA
Printed on the Muldex rep-rap IDEX printer.
Master Sword Versions Print-N-Place Dual Extrusion Three Color
Note: Assembly model for reference only.
Having troubles printing or want to show off your prints? Join our Facebook Group.


Collapsing Master Sword with Replaceable Blade
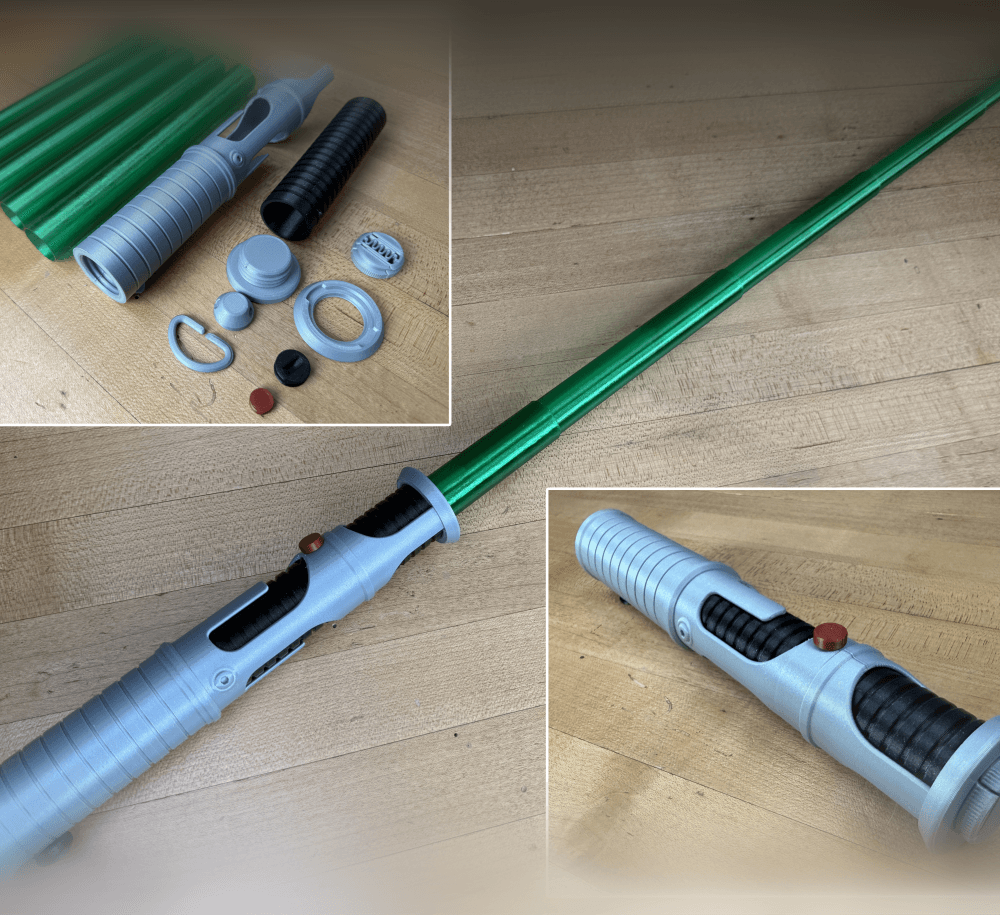
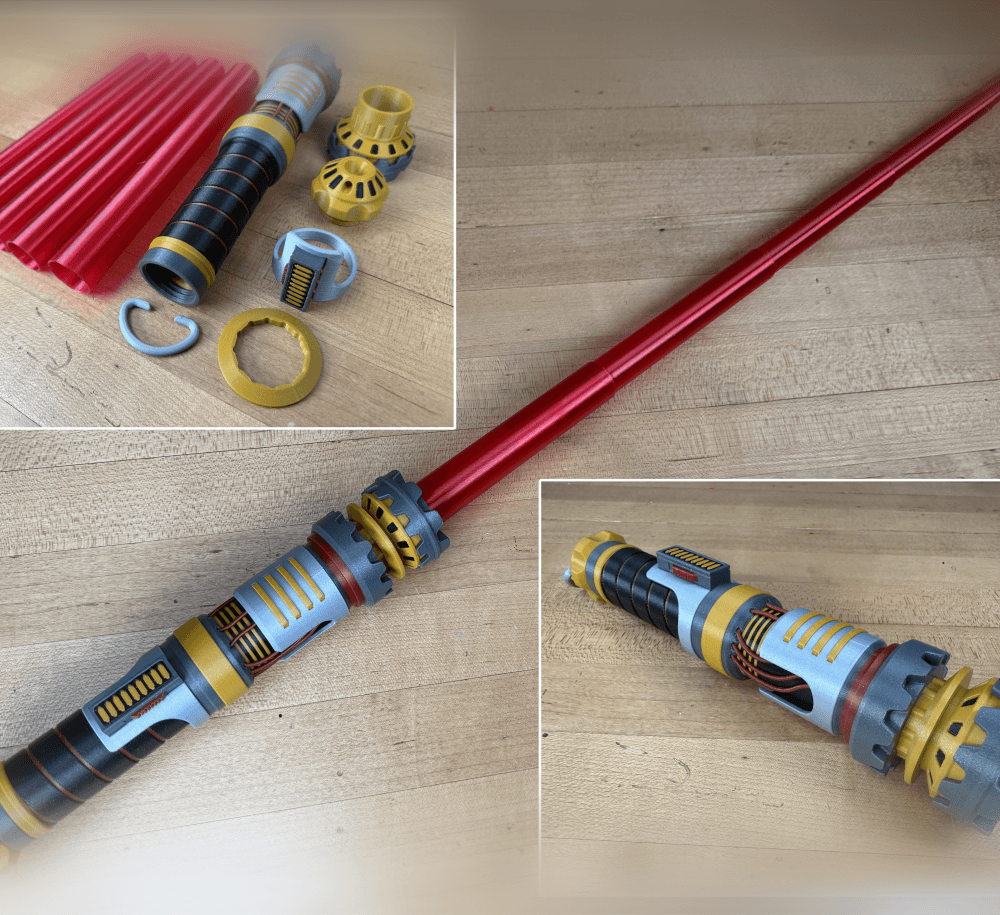
Quinlan Vos Collapsing Lightsaber

Master Sword Horizontal Wall Mount

Expanding Master Sword

Lightsaber Belt Clip

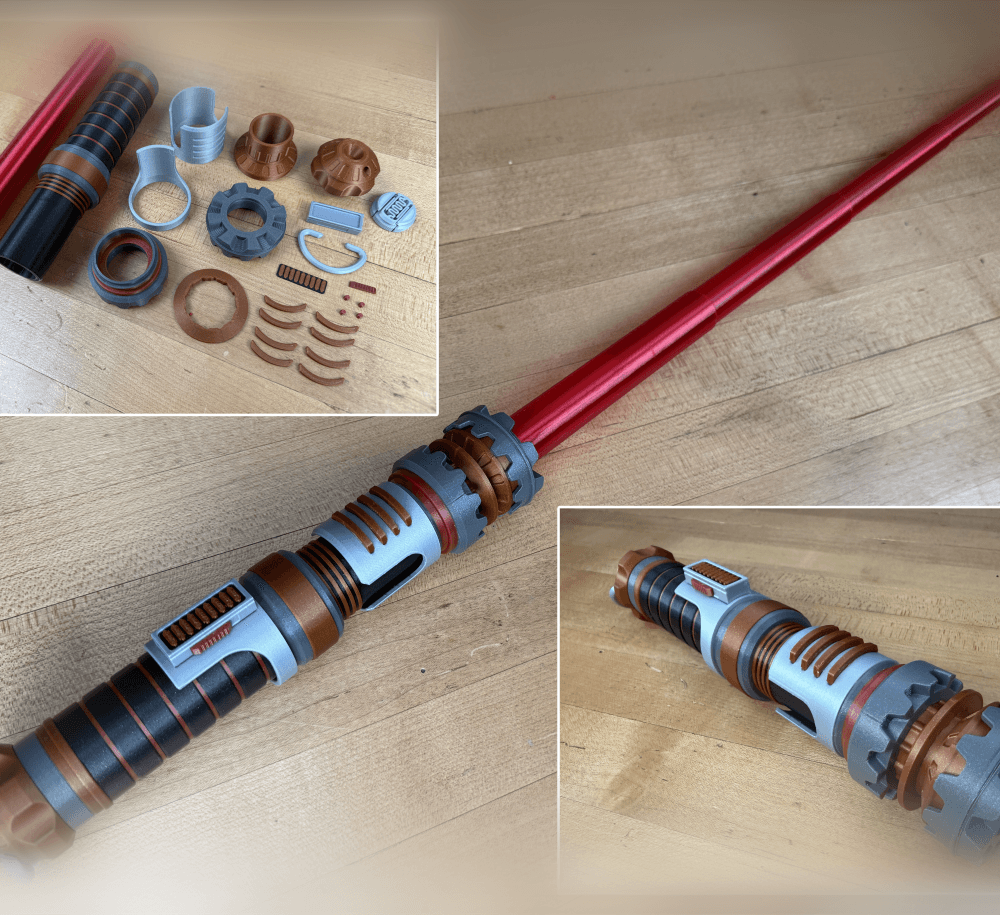
Luke’s ROTJ Multi-Part Collapsing Lightsaber

BYOK #10

Fallout Access Granted Illuminated Panel
The Incinerator Multi-Color
The Incinerator Collapsing Lightsaber

Fallout Access Granted Panel
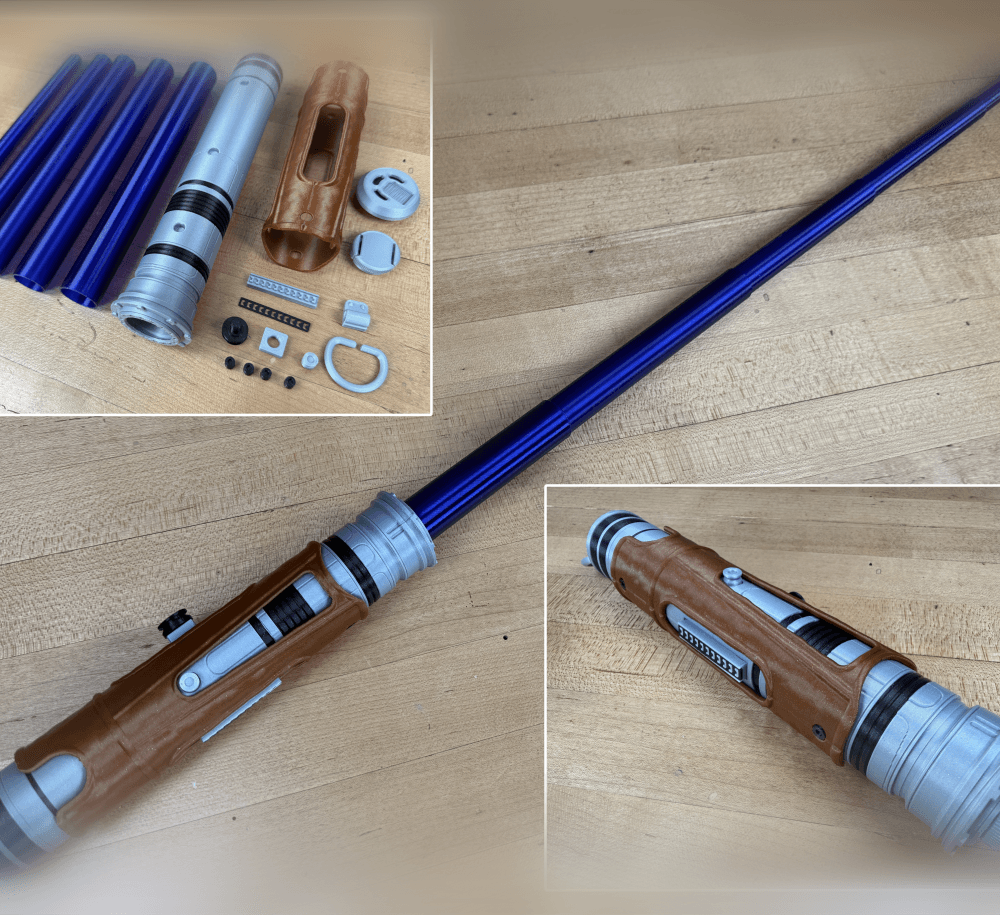
Devon Izara's Collapsing Lightsaber
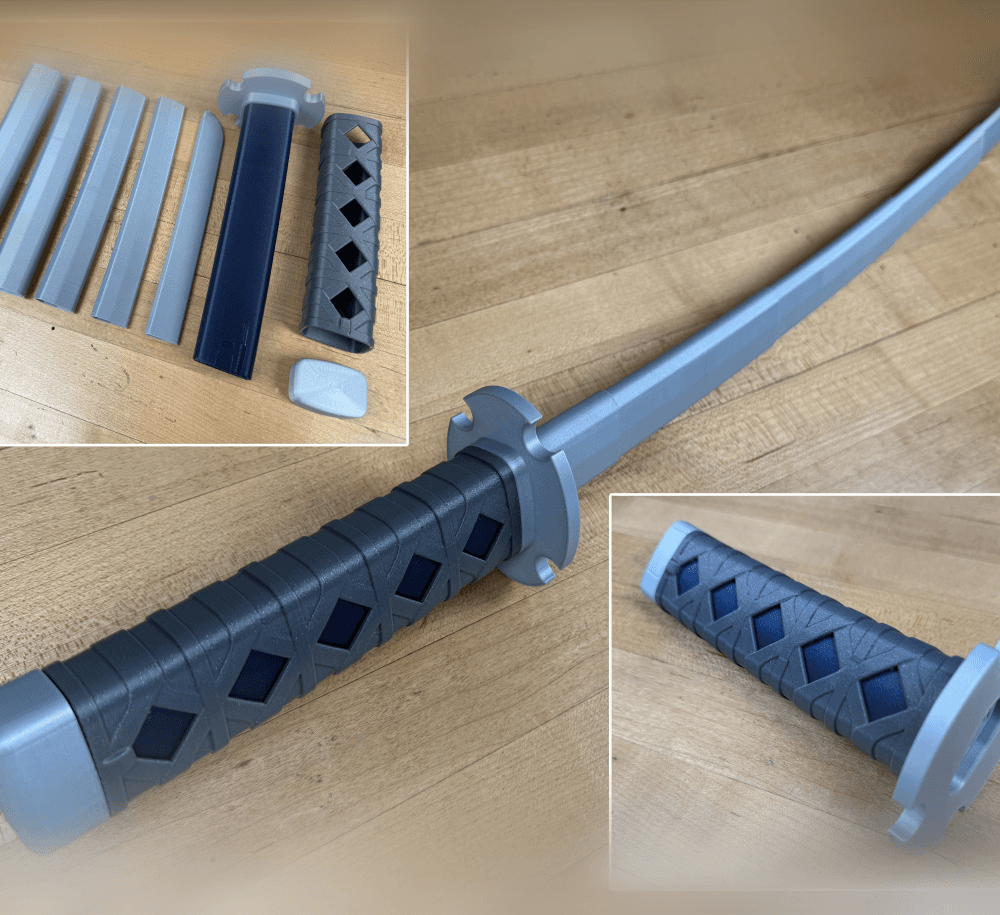
Sakonji Tomioka Katana

Master Sword Vertical Wall Mount

Collapsing Easter Basket

Buster Sword Wall Mount

Textured Planetary Egg Container
Ezra Bridger 3rd Collapsing Lightsaber

Illuminated Galaxy Edge Control Panel #2

Illuminated Galaxy Edge Control Panel #1

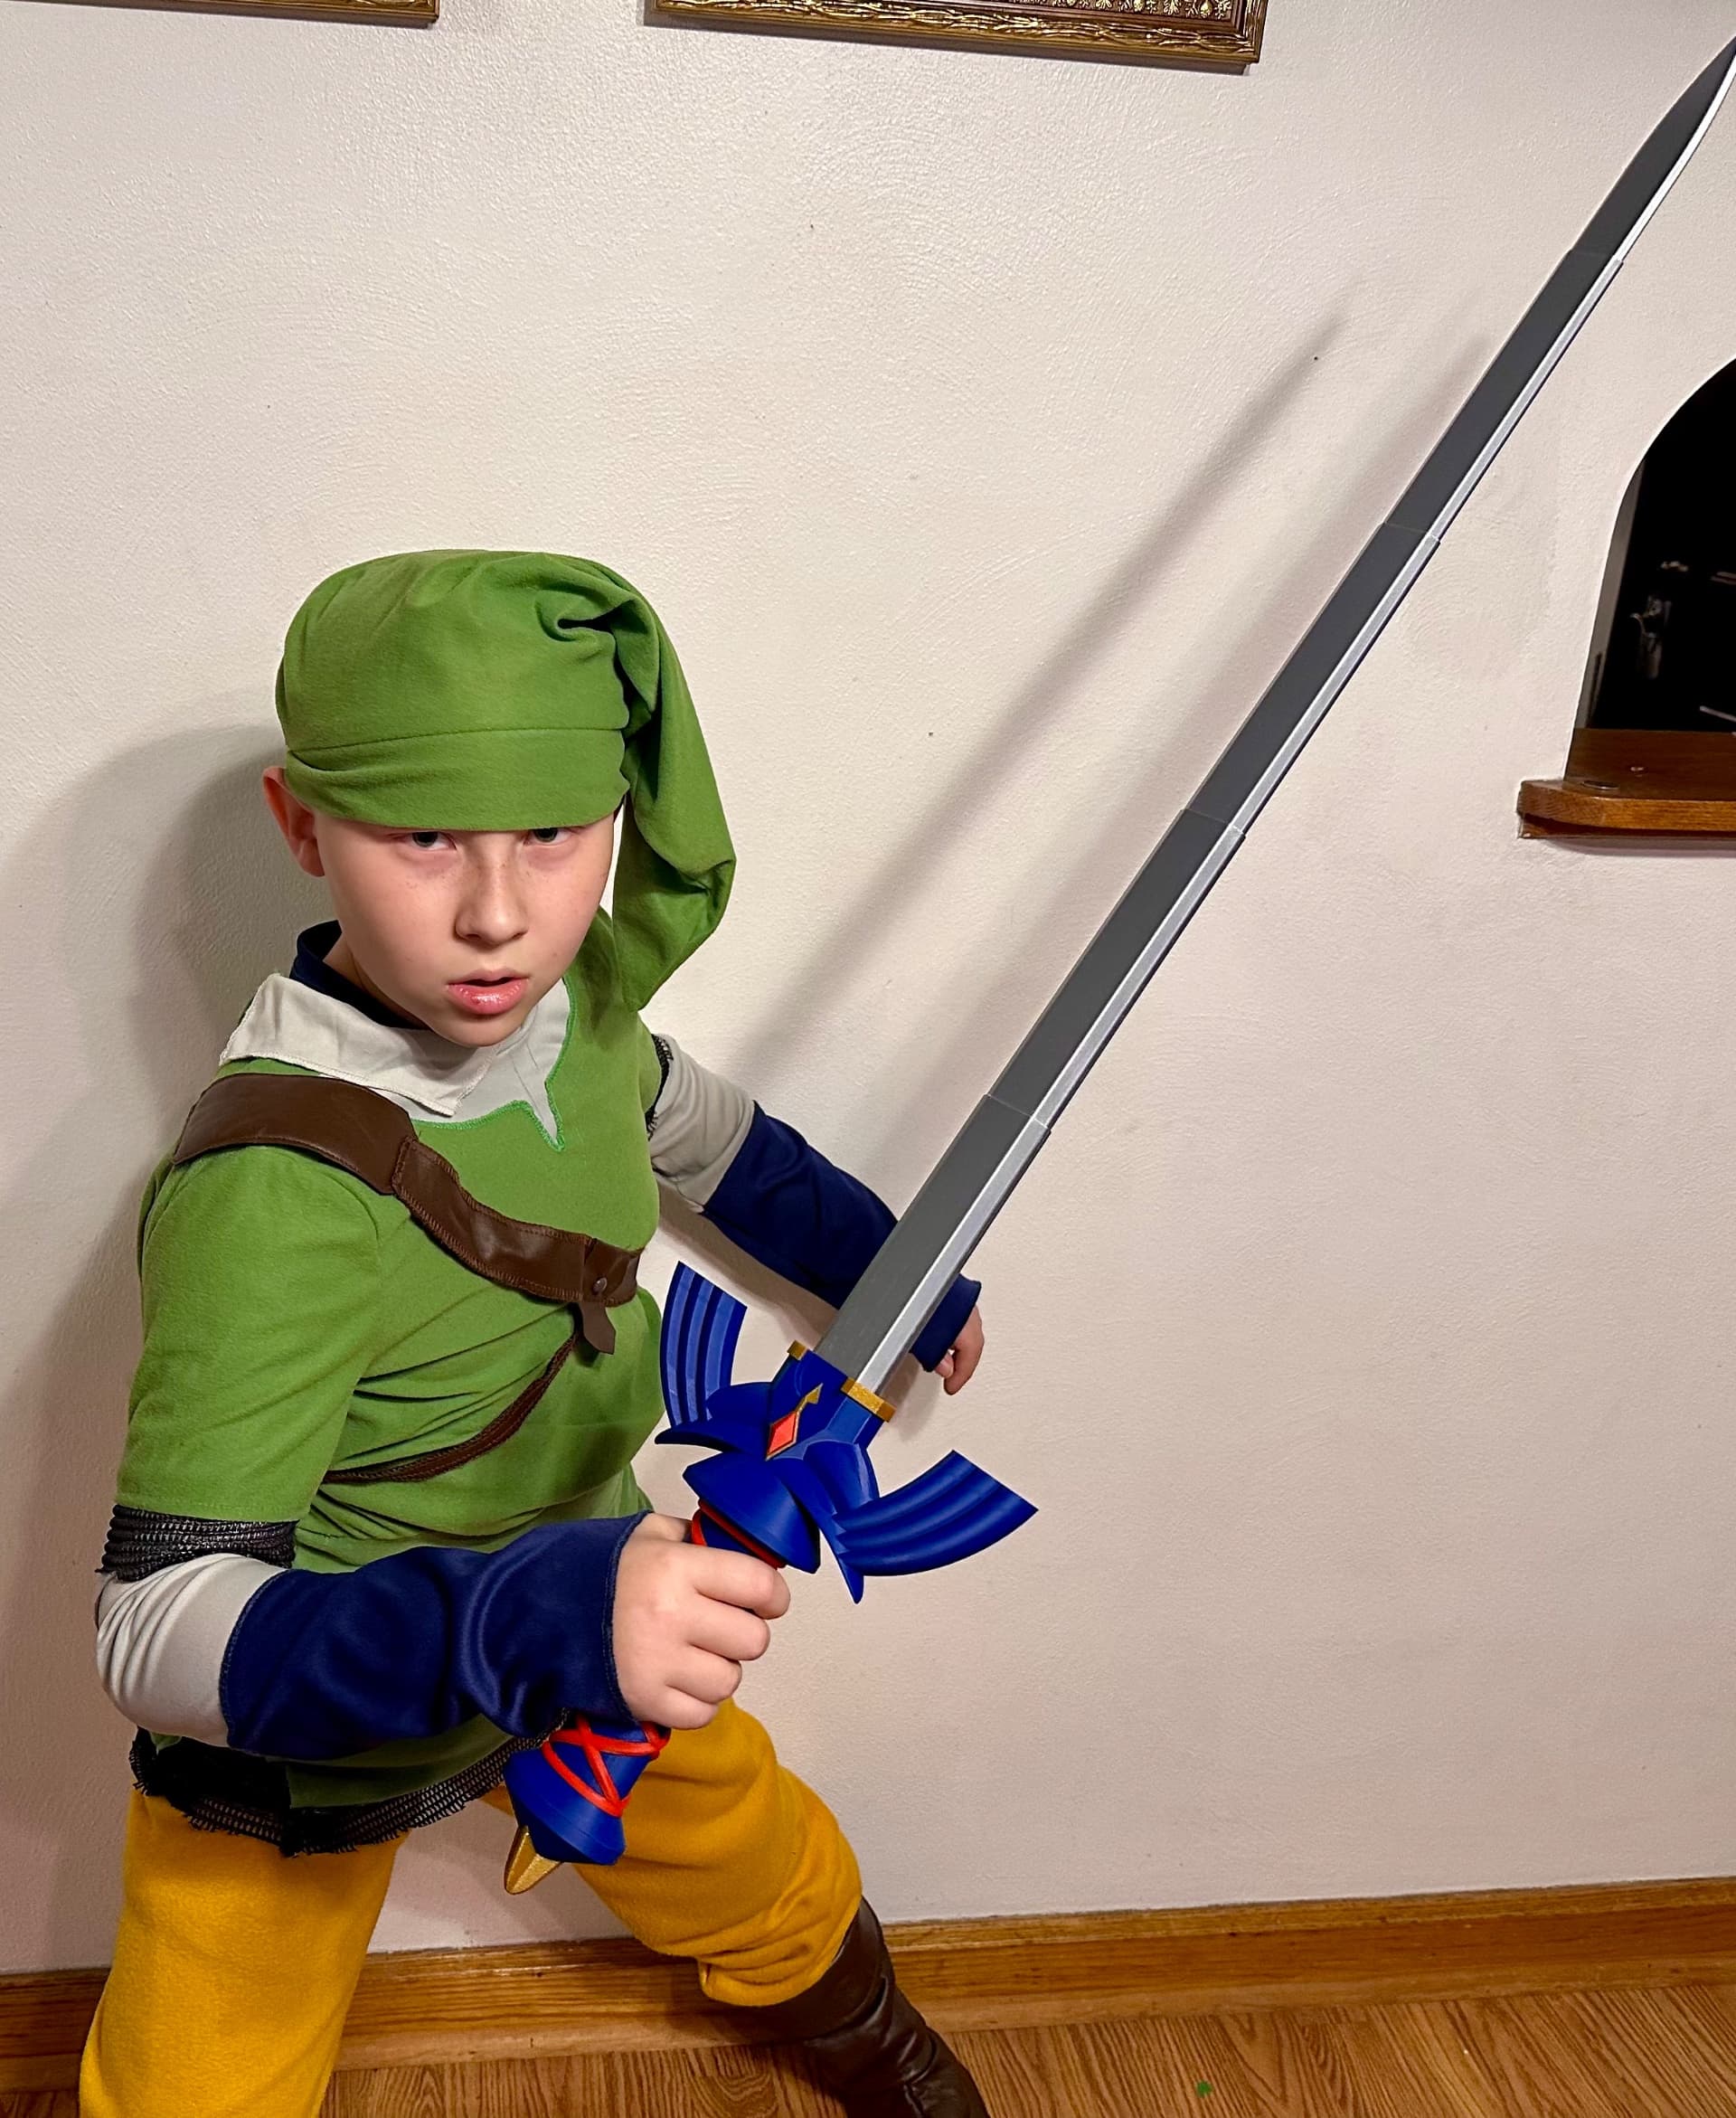
It would be great if you could make a rounded tip for this sword. My kids love the sword, but I'm afraid they will hurt their eyes.
There is no test part, you have to cut the assembled blade down in the slicer to test
See link above under "Concentric"
Why is it that when I try to print the 1st 2 blade segments and then test the parts they fit into each other but don't slide.
It's like there's not enough clearance. I'm new to printing so no idea what is wrong. Followed instructions and still no joy.
How are you printing the blades, in vase mode? If so, increase your line width, it should be .9mm. If you are printing the blades all at once, it would be a "extrusion Multiplier" adjustment.
Hi When I print them together they stick and when I print them separately in vase mode it just fall off
Can you help?
When printing in vase mode you need to increase your line width, see the troubleshooting page for more information.
Quando stampo la spada estraibile mi rimane incastrata e i pezzi non scorrono come posso risolvere ? Uso una bambù p1s nozze 0.4
My test print came out great, but when printing Concentric the blades don't come out that far is their a suggestion for making the walls a bit smaller to have them come out more, like you can in vase mode?
these are terrible files if printed separately how are meant to MASTER SWORD-QUAD-G onto the handle also MASTER SWORD-QUAD-Y cant be out onto the handle i would a refund for the subscription as the model doesn't work
First off those files you mention are for the multi-color version, not this one. Also please read the description, they are for a multi-color printer like a IDEX, MMU, AMS. They are not designed to be printed separately then assembled.
everything printed and looks great though the blade is stuck and will not extend any reason why that might be ??
If you see the test print and trouble shooting guide you will find some tips. Personally I would try printing the blades separately in vase mode. There is more info on this in the guide as well.
Printed out one of these and the screw on pommel is nigh impossible to screw down all the way. On top of that, hilt snapped during normal use and pommel fused to threads and broke off after trying to unscrew it. Not really sure what went wrong. Used some tricolor Kingroon PLA. .4 nozzle, .16mm layer height, 15% infill.
Here are some tips :
• Reprint the pommel with the cap just below the bed surface in your slicer to allow it to rotate more. • Reprint the pommel scaled up slightly. • Tighten the pommel really tight, wait a day to allow the plastic to creep and loosen. Tight it again and repeat until it lines up. Too Loose