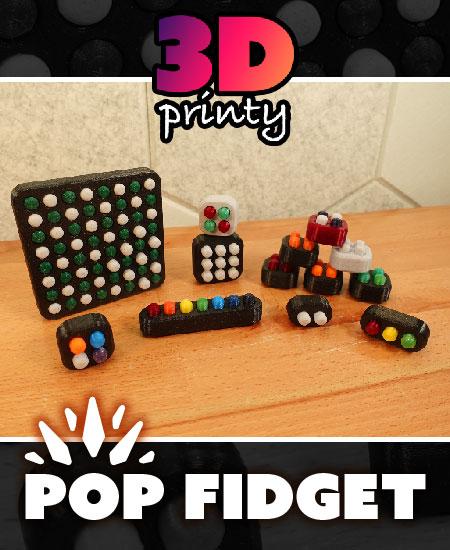
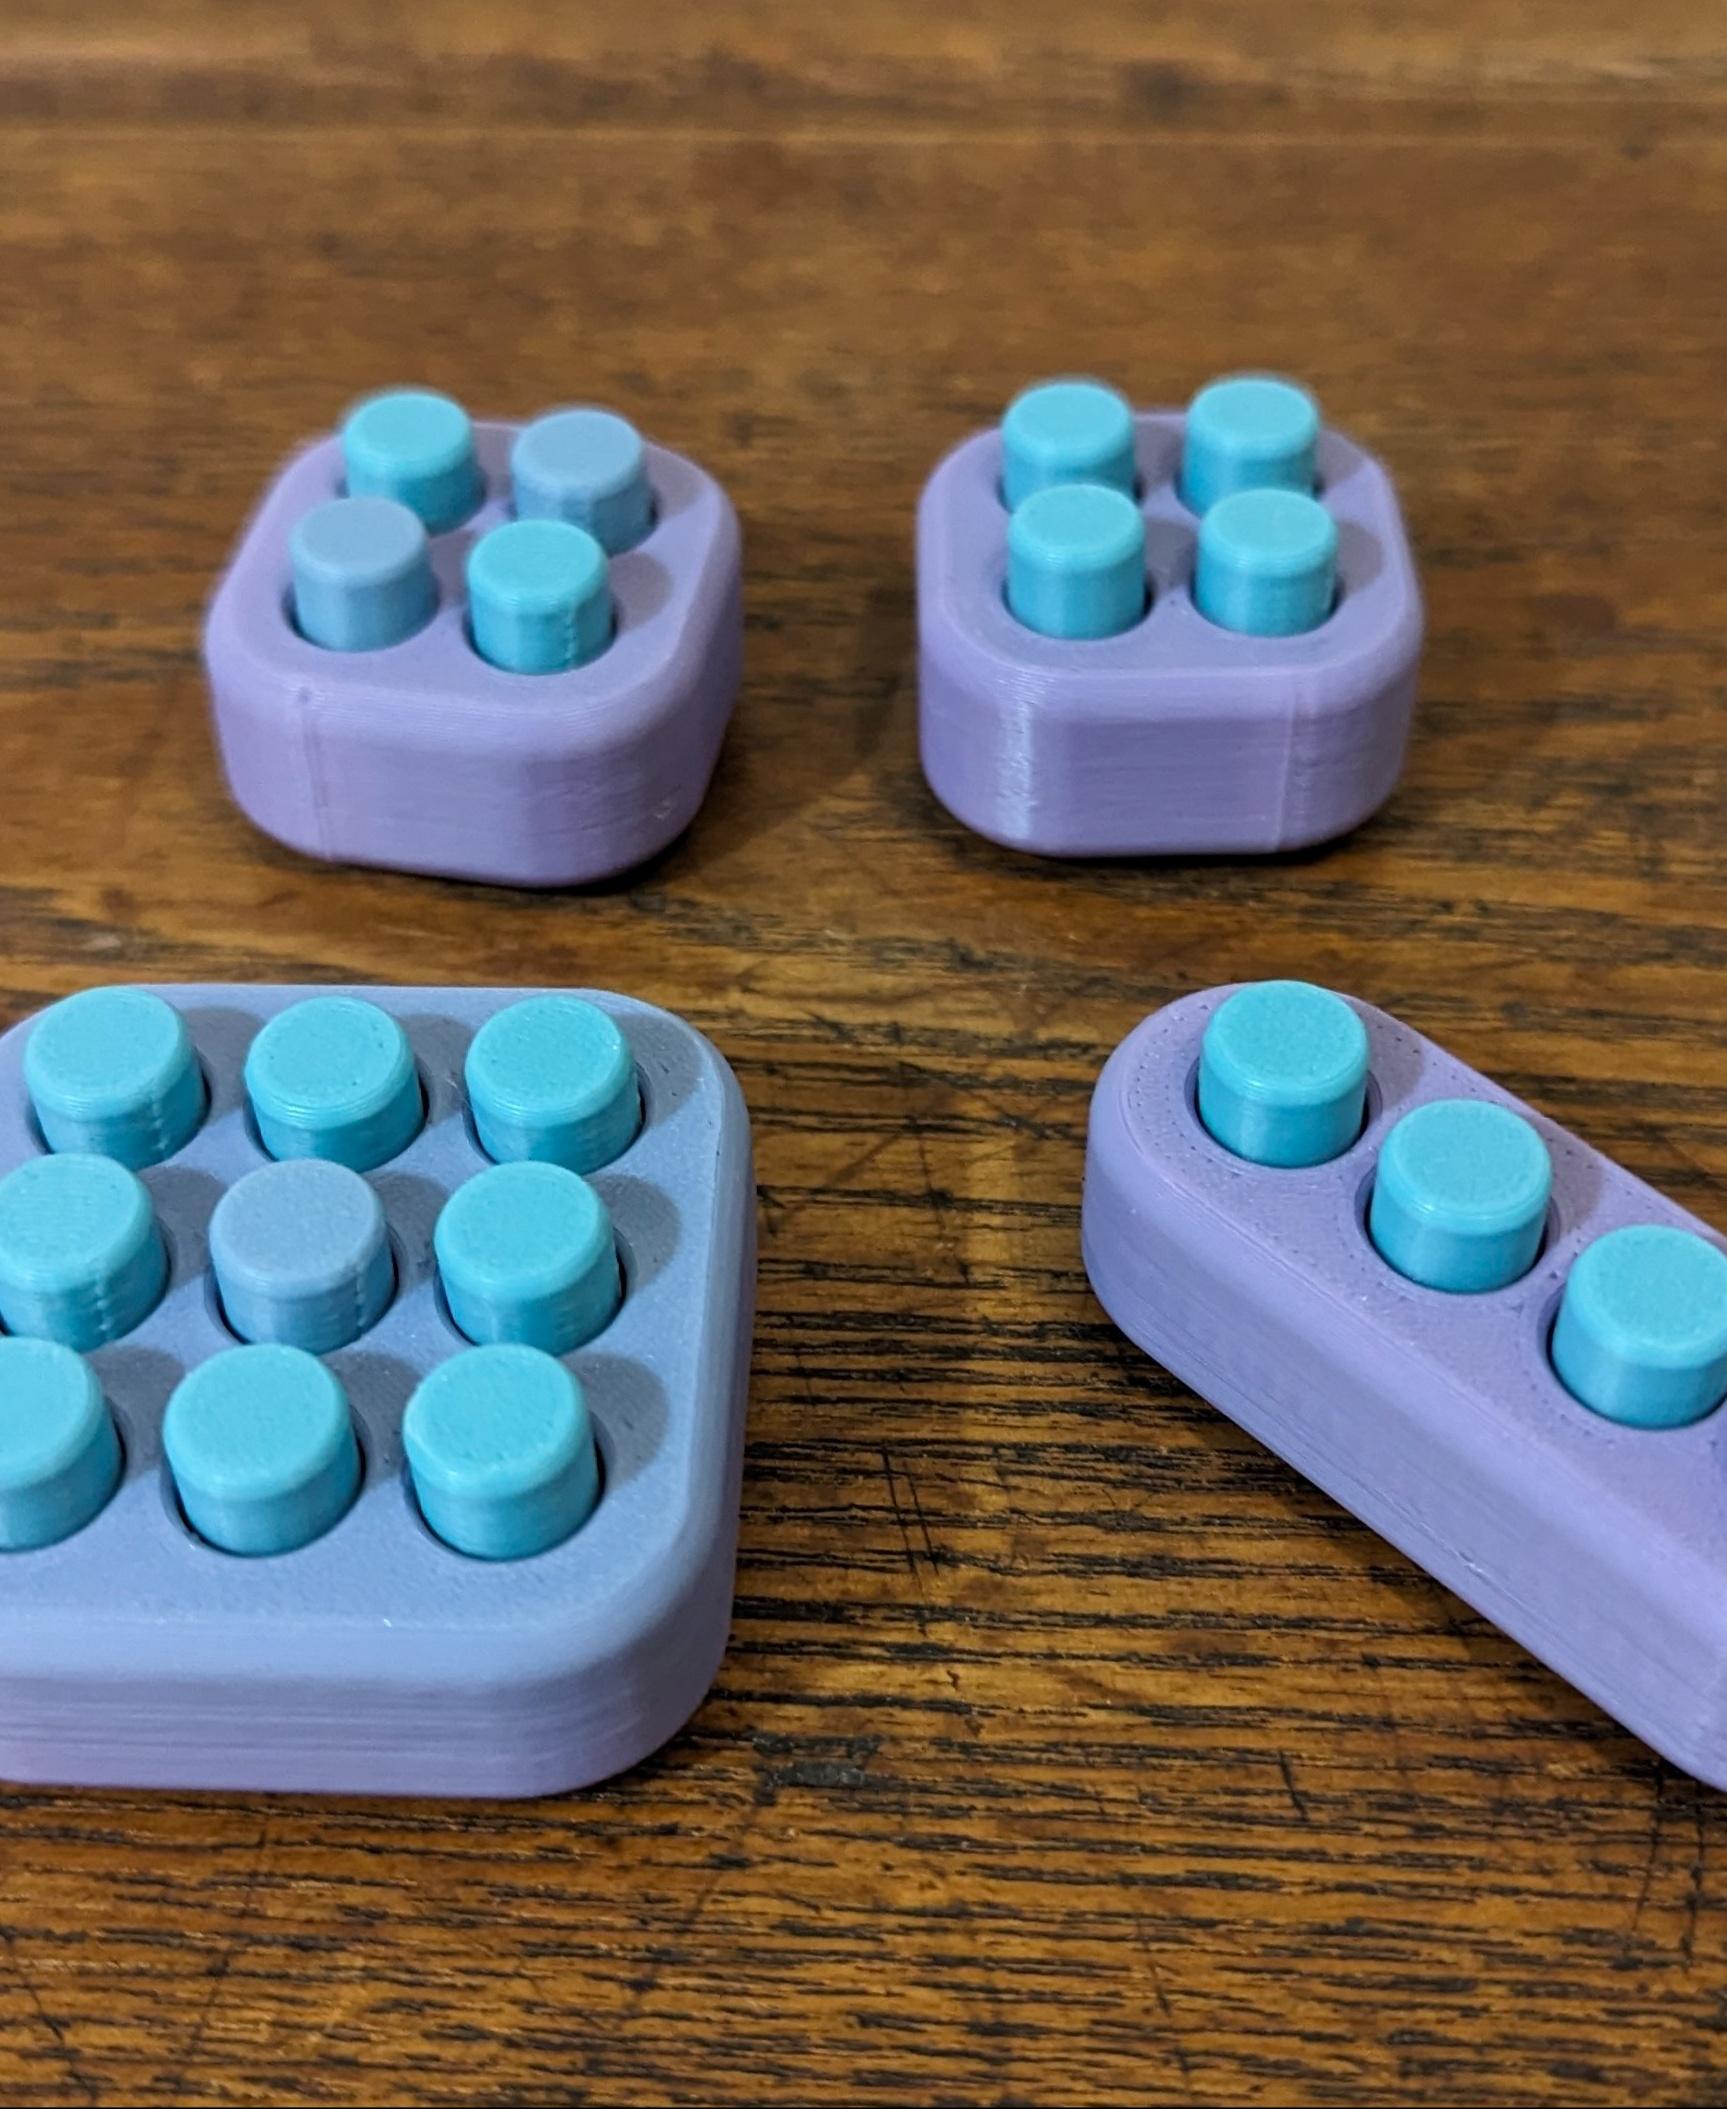
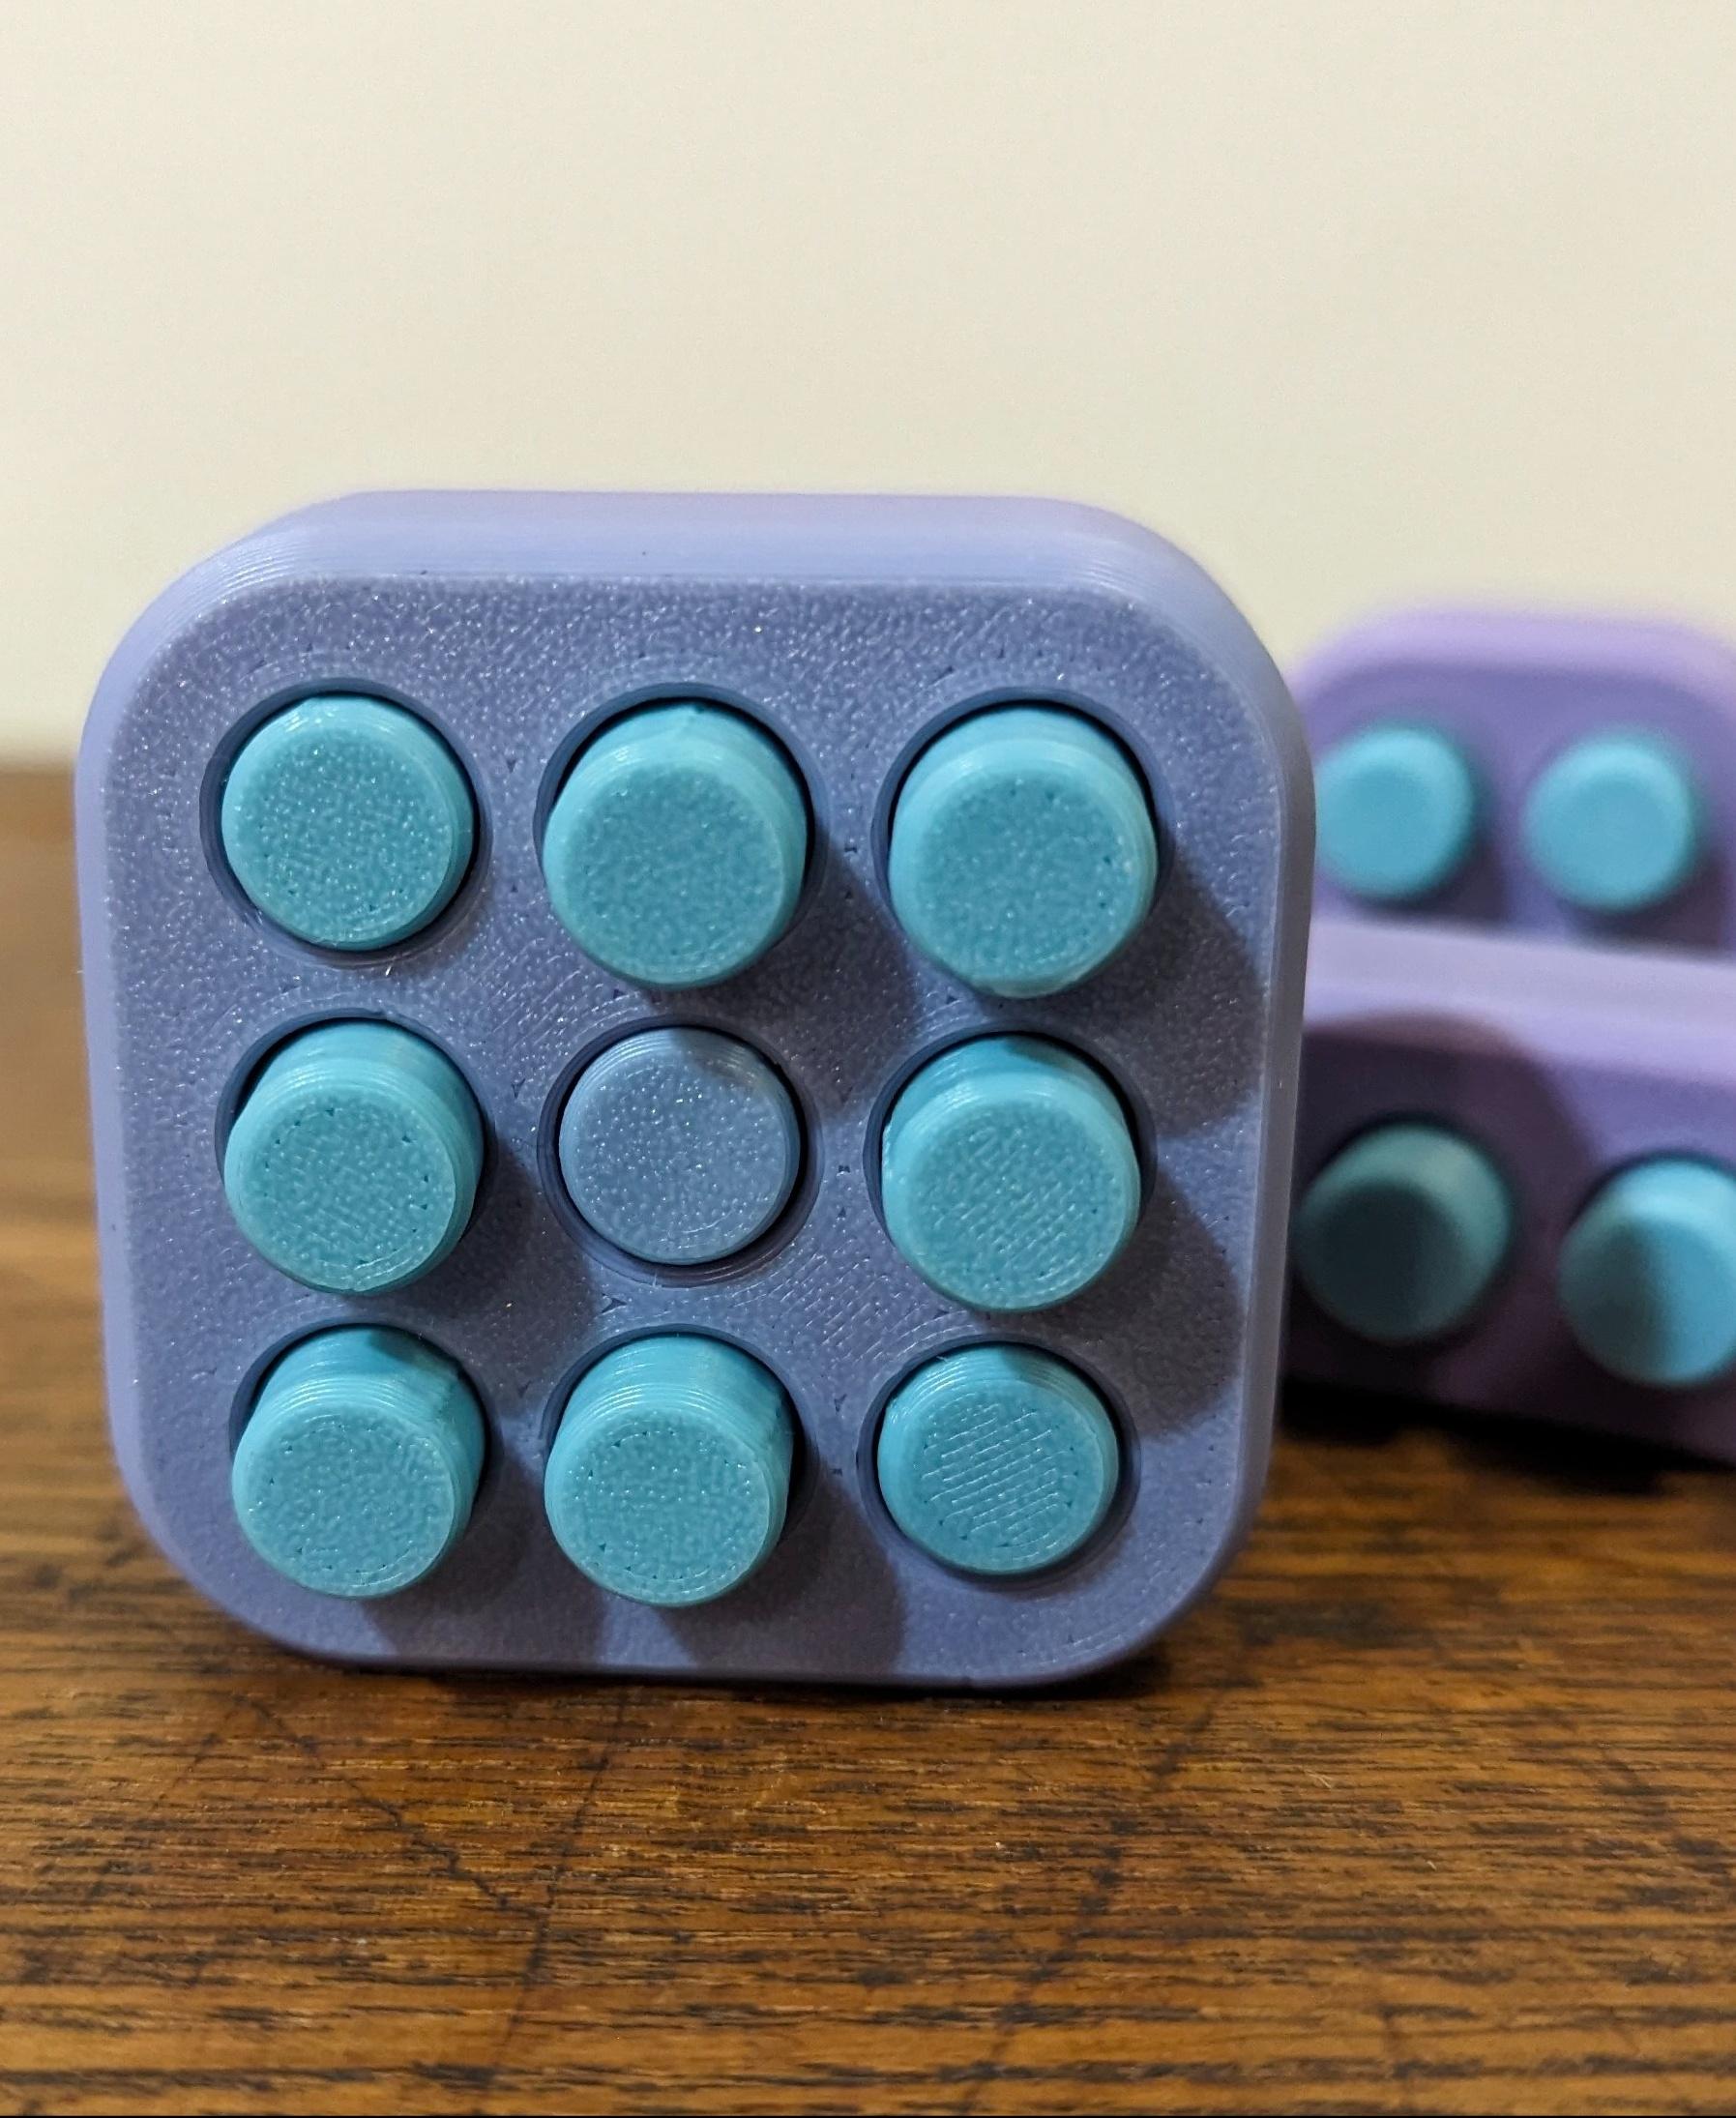
Perpetually poppable fidget toy with a simple TPU mechanism.
Intro and demo video https://youtu.be/_vFLbze1DHM
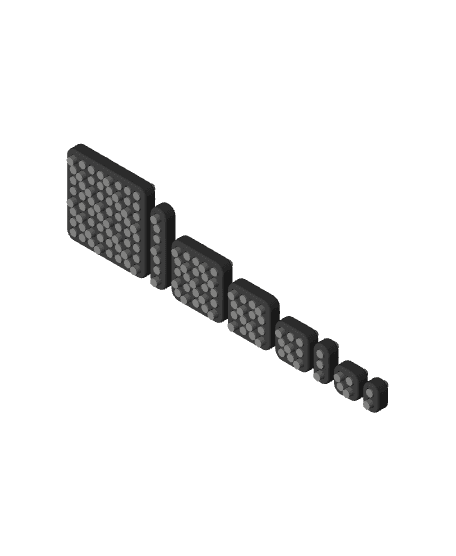
Case Options
- 1x2
- 1x3
- 1x4
- 1x5
- 1x7
- 2x2
- 3x3
- 4x4
- 5x5
- 8x8
- 24x24 (requires a 300x300mm print bed)
Insert Options
- Default - 0.45mm internal radius
- Loose - 0.6mm internal radius
Button Options
- Default: round on top flat on bottom
- Round (print on side)
- Flat
Assembly
- Press-fit buttons into the case
- There is no second step
Printing
This design includes a TPU gasket which is entirely contained within a rigid (PLA/PETG/ABS) frame. Printing requires either a multi-material printer or pausing the print to insert the pre-printed TPU gasket.
Either way
- Print the TPU Gasket with at least 5 perimeter shells
- Print buttons separately from the case
If printing on a multi-material printer
- Turn on the “Interface Shells” so the TPU gasket has a solid base to print on
- If using a wipe tower, set “Wipe Tower Extruder” to your TPU toolhead to create a reliable TPU wall around the wipe tower
If printing on a single-material printer
- Pause the print just before the layer where the case begins to bridge. Insert the TPU gasket so that the top is entirely flush
Can I sell copies of this?
Yes! This project was shared under the Creative Commons - Attribution license.
This license allows selling copies, but you must provide proper attribution, as detailed in the license itself.
Please note that any other projects linked here (remixes or related projects) may have a different license. Please respect those licenses.
This license applies only to the model files (STL, 3MF, STEP, F3D) included in this project. It does not apply to photos, videos, my logo, or other supplemental graphics attached to or displayed with this project.


