


Filament Straightening Block (Used to Straighten Unprinted Filament)
This is what I call a Filament Straightening Block. I designed it to straighten sections of filament to insert into 3D prints to act as axles or hinges. I could instead design axles or hinges into prints but sometimes I want them thin AND strong. Using unprinted filament would provide both of those qualities...I just needed it to be straight. Specifically, I used these for my recent project the Mini Magnetic Tile Haunted House Collection but plan to use it in other projects in the future also.
3D Print Settings PETG preferred because of it's high heat tolerance (but PLA will work too:) 0.2mm Layer Height 20% Infill No supports needed
Note: You will need two rubber bands to secure the two halves of the block together. (I did design collars to the halves together which you could also use but I like prefer the rubber bands.)
To use this block, secure the two halves together with a couple rubber bands (or collar pieces). Next heat a pot of water over the stove to around 160F (~70C) and carefully insert sections of filament into the hot water (please be careful not to burn yourself). Swirl the filament around until it gets soft (like a cooked noodle) and then insert it into one of the holes in the block, threading it all the way through. Repeat (there are five holes) until filled.
Let the filament sit and set for a half an hour and then when you open it the sections will be straight:)
See the attached video to watch how I did it.
Have fun printing!
Filament Straightening Block (Used to Straighten Unprinted Filament)

Mini Cupcake and Candle Set

Twisty Fidget Tree (2 Styles)

Alphabet Layered Fidgets

Big Beads: Sports Themed

Cupcake & LED Candle Set (with Cupcake Stand and Magnetic Match)
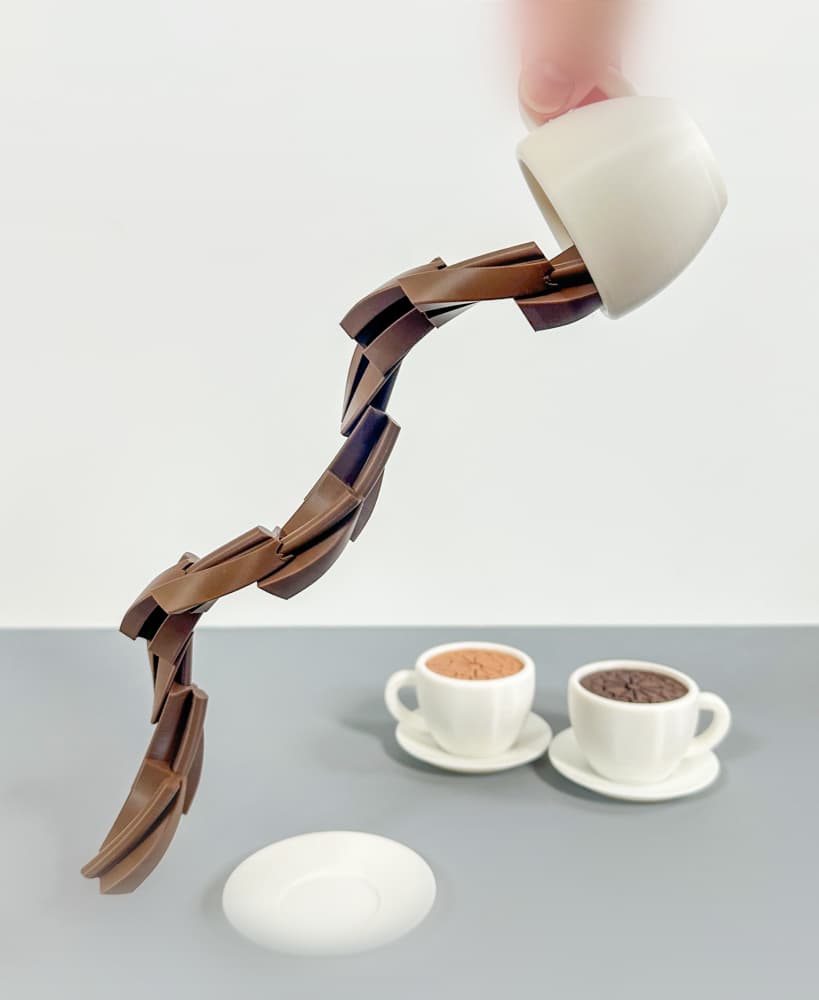
Spill the Tea Fidget

Football Layered Fidget

Potted Flowers and Watering Can

Flower Stand for Potted Flowers with Watering Can

Pixel Flower Fidget (2 sizes) with Stems, & Vases (3 styles)
.JPG&w=3840&q=75)
Fidget Fabric Fried Egg Set (play or coaster set)

Twisty Pint Fidget (2 Styles)

Clicky Phone Fidget (2-in-1 Fidget)

Fry Pan, Spatula and Fork

Green Eggs (requires mesh fabric), Slinky Ham and Plate

Number & Symbol Big Beads (for Horizontal and Vertical Stringing)

Big Letter Beads
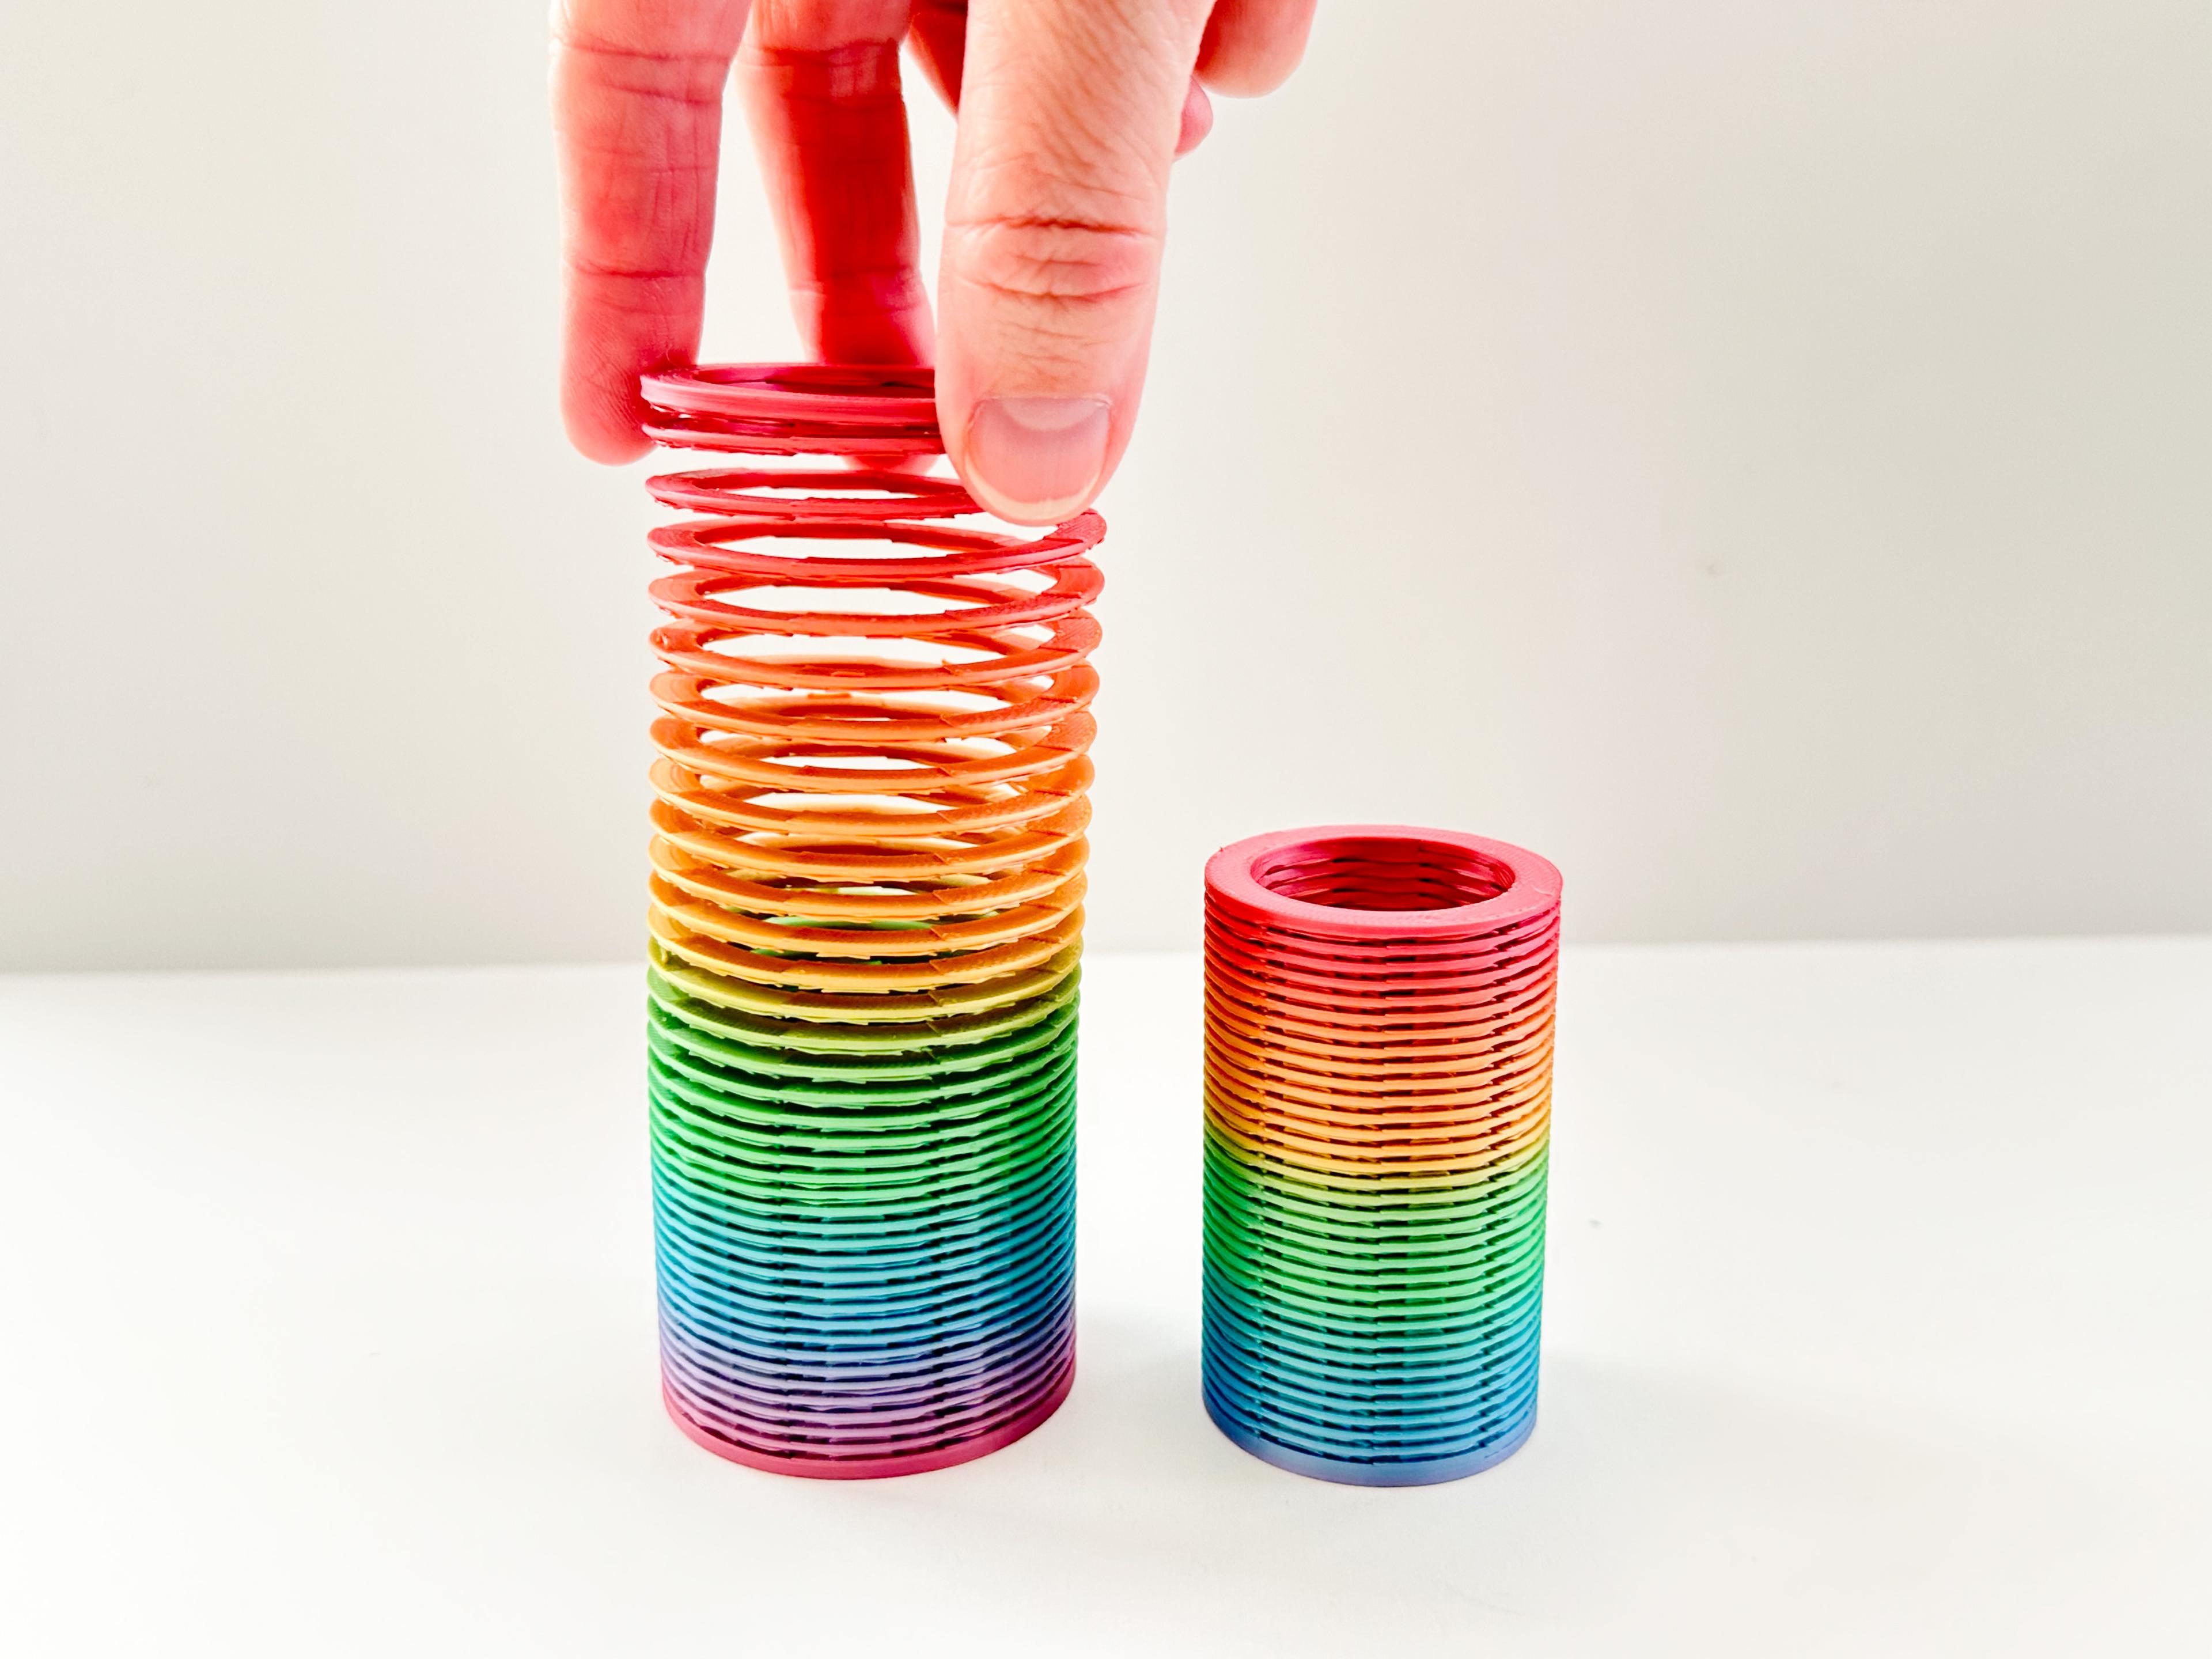
Slinky (2 sizes)

Pear Spinner Fidget
.JPG&w=3840&q=75)