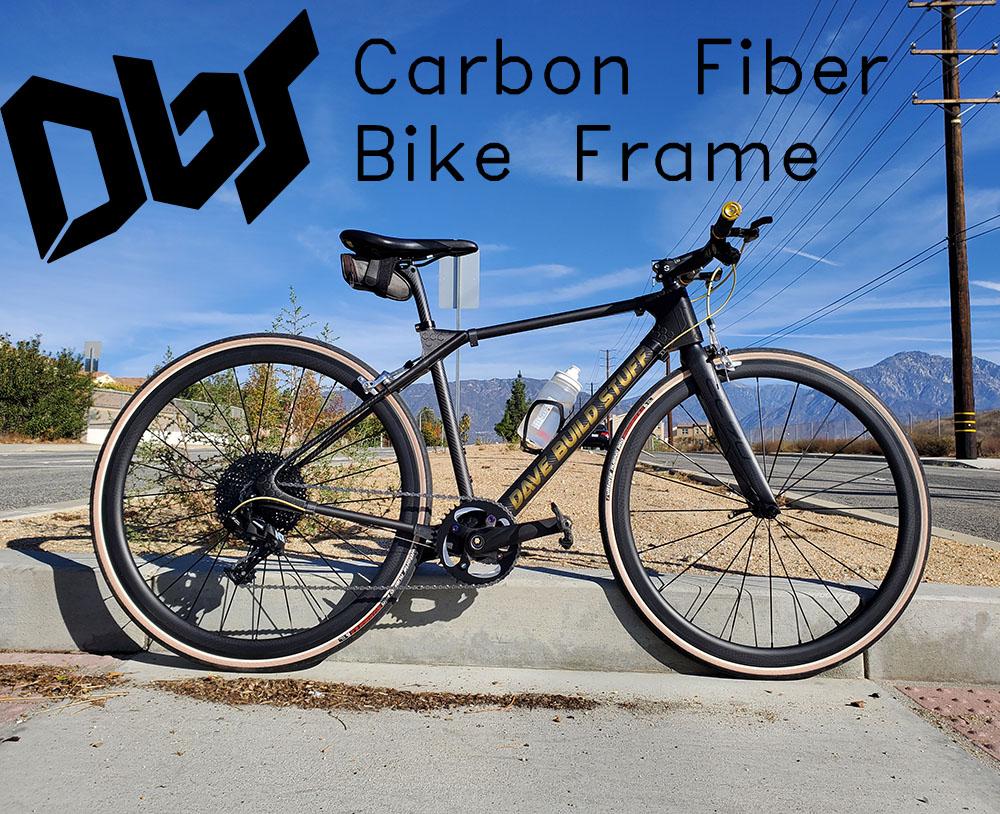
Any questions reach out on Instagram - https://www.instagram.com/designbydave_aldrich/
Medium Size Now Available - https://thangs.com/designbydave/DBS-3D-Printed-Carbon-Fiber-Bicycle-Frame--Medium-42394
Video breakdown - https://youtu.be/baJIxkLU98w
See full playlist for more info on the build - https://youtube.com/playlist?list=PLZbAxl62ULQvcmdNVjiKLCC5SVoM-k3Fc
Google Drive shared folder with STL files and Documents - https://drive.google.com/drive/folders/1-s83oGZZNBDJ3QmTnrI9ZYfnnFFJOd0l?usp=sharing
Printing Parts
Material: CarbonX EZ-PC from 3DXtech or similar structural material 0.6mm nozzle 0.36mm layer height 6 perimeters (@0.65mm extrusion width = 3.9mm wall thickness) or more 6 top and bottom layers (@0.36mm = 2.16mm) 90-100% infill for dropouts 50-70% infill for headtube, rear brake mount, seat tube to top tube and bottom bracket When in doubt, favor wall thickness to infill percentage Custom supports are designed into the parts and should be sufficient at least with the CarbonX material (except the Rear Brake Mount part, that will likely need auto generated supports for the bridge area.) Use a ~5mm brim
Carbon Tubes Needed 50x48x1000 mm - headtube and downtube 30x28x1000 mm - seat tube and toptube 18x16x1000 mm - or - 18x15x1000mm - chainstays 15x13x1000 mm - or - 15x12x1000mm - seatstays (2 pieces) See included BoM for more details
Cutting Tubes
Use 3D printed templates to mark tubes using the spacing between templates provided in the documentation. Use a rotary tool to cut and gradually bring tube cuts to shape.
Assembly Jig
You will need some form of assembly/alignment jig. My design is included but uses 45x90mm aluminum t-slot rails. That’s probably overkill and expensive (they were donated to me.) You can probably substitute something much smaller and cheaper but will have to modify the included design (pretty simple change to make to the printed parts.)
Coat all parts that might get epoxy on them with a release agent like PVA. Don’t want to glue your frame to the jig!
Assembly procedure
Start by gluing the aluminum prefabricated dropouts to the printed dropouts. Install the threaded bottom bracket into the printed part (BE SURE TO CHECK THREAD ORIENTATION, THERE IS A LEFT AND RIGHT SIDE.)
Scuff up all the mating areas of the tubes with a coarse grit sandpaper to ensure a good key.
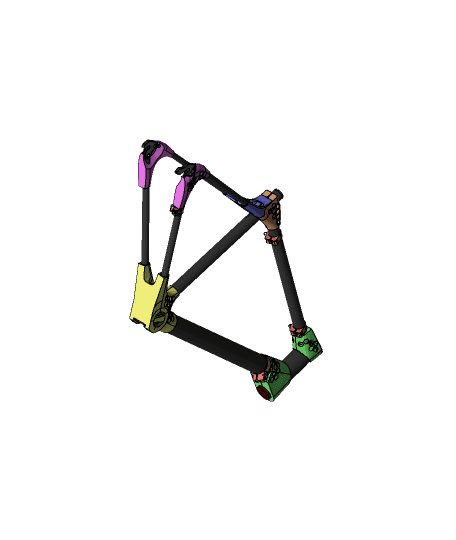
Assembly order: Attach bottom bracket to fixture Seat tube into bottom bracket Seat tube - top tube part Chain stays Rear brake mount and seat stays Dropouts Downtube Headtube and top tube together Bottle cage mounts
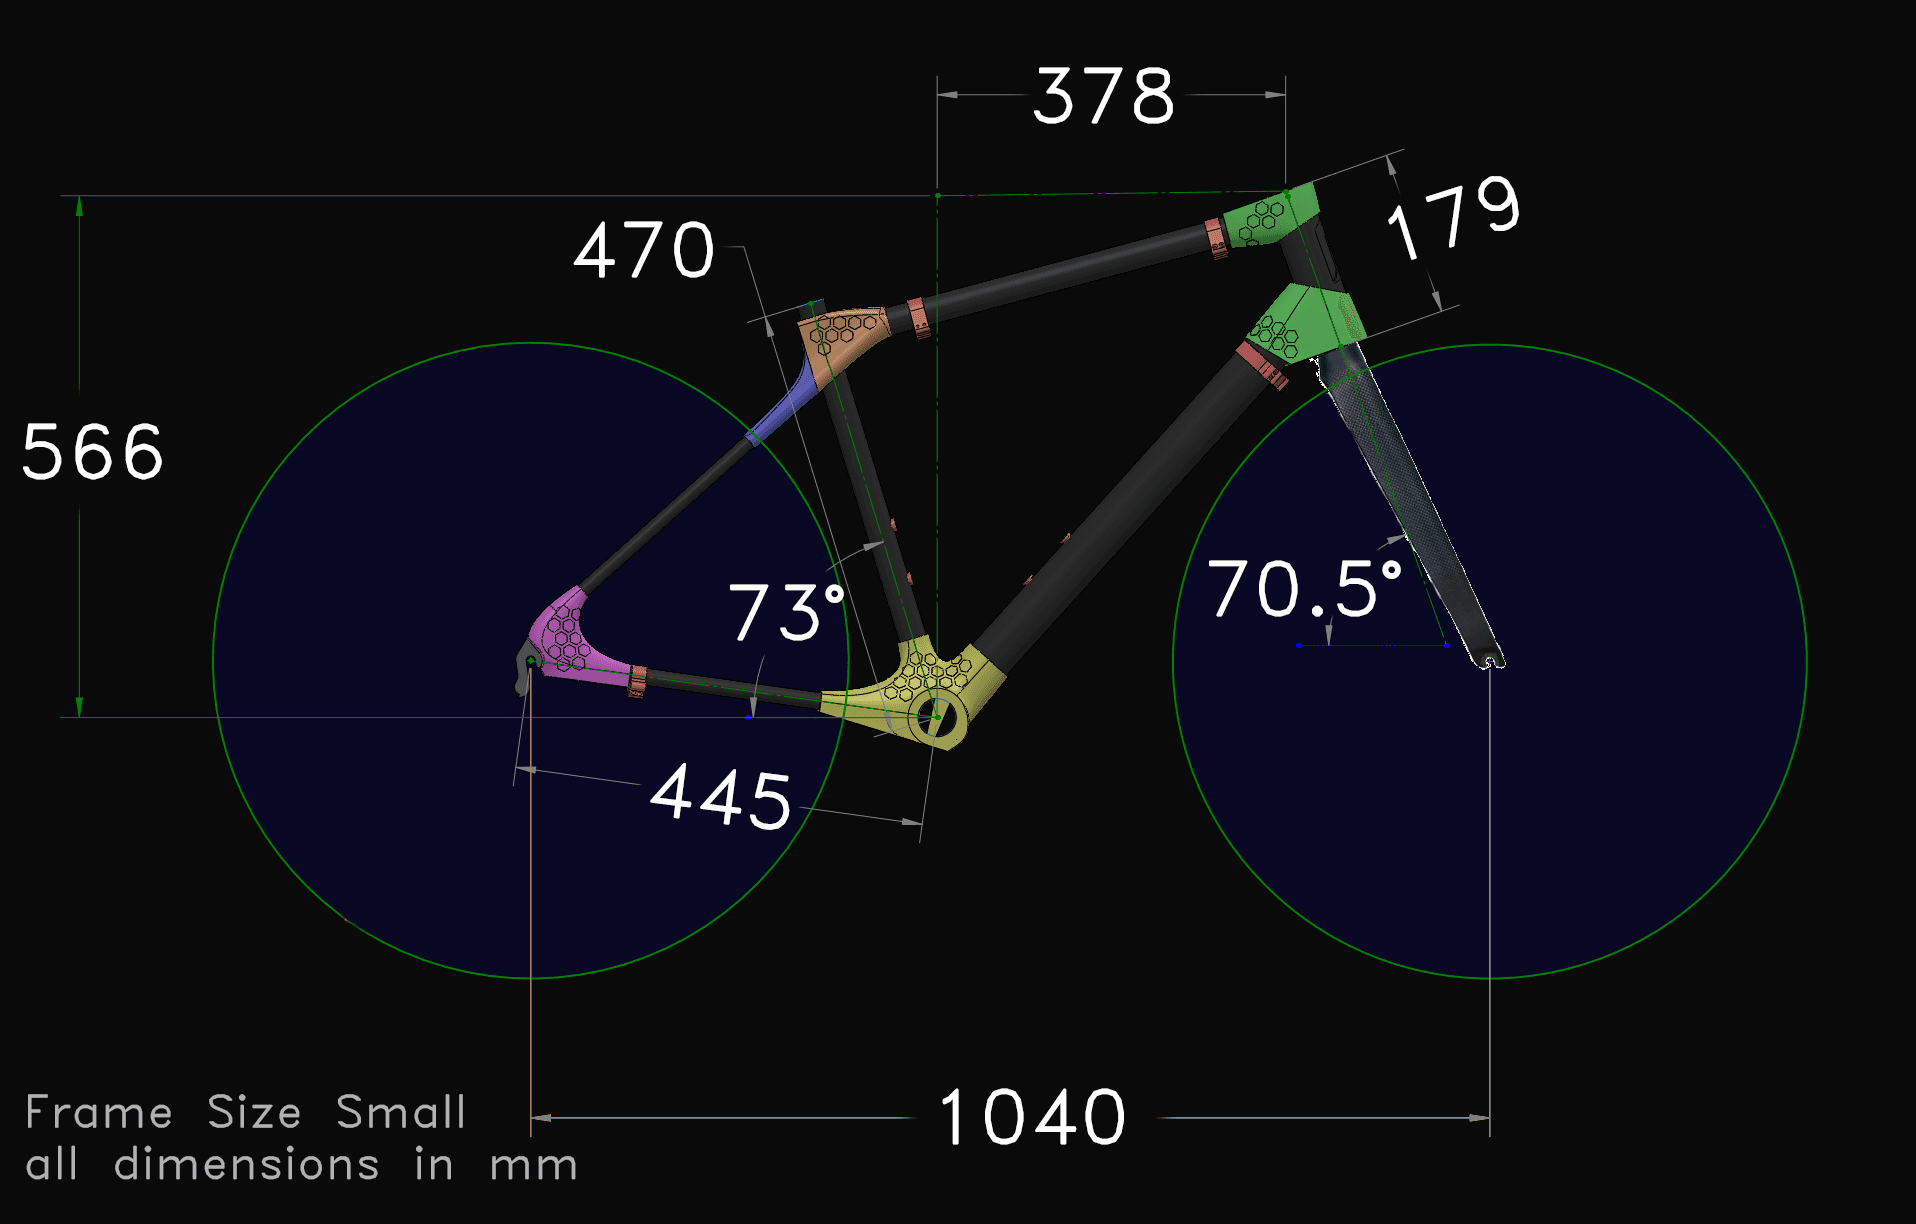
Bike Fit Geometry (Sizing)
This is a Small size which should be suitable for riders between 5’3” and 5’7” or so. Medium size here - https://thangs.com/designbydave/DBS-3D-Printed-Carbon-Fiber-Bicycle-Frame--Medium-42394 Large size coming in the future.
DISCLAIMER: This design has to be seen as a proof of concept, demonstrating that such a project can be achieved with 3D printing. As of the time of upload I have around 200 miles on the first prototype of real-world, low to moderate intensity riding with no issues. Having said that, I have done no amount of structural load testing. The frame is not ISO 4210 certified. Print, assemble and ride at your own risk.
Future versions and features to develop
Large Size Internal cable routing Disc brakes - Add brake mount to left dropout. Change dropouts to through axle. Change Rear Brake Mount part to remove unnecessary material and rim brake caliper mount / add more tire clearance. Source new fork Mods / add ons for pedal assist ebike system ISO certification Frame structural optimization, simulation Study of FDM load testing and calibration of numerical simulation Requests?

.png&w=3840&q=75)

