


Filament Rack for Multiboard - Single/Dual Color - by PRINT3D DESIGNS
Trying to make something of myself in this 3D industry, so every single like, share, save, and follow make A WORLD of difference! Thank you all for your support, you're all rockstars, and I hope you like my designs! Also make sure to follow me on Makerworld for even more designs, some even exclusive!
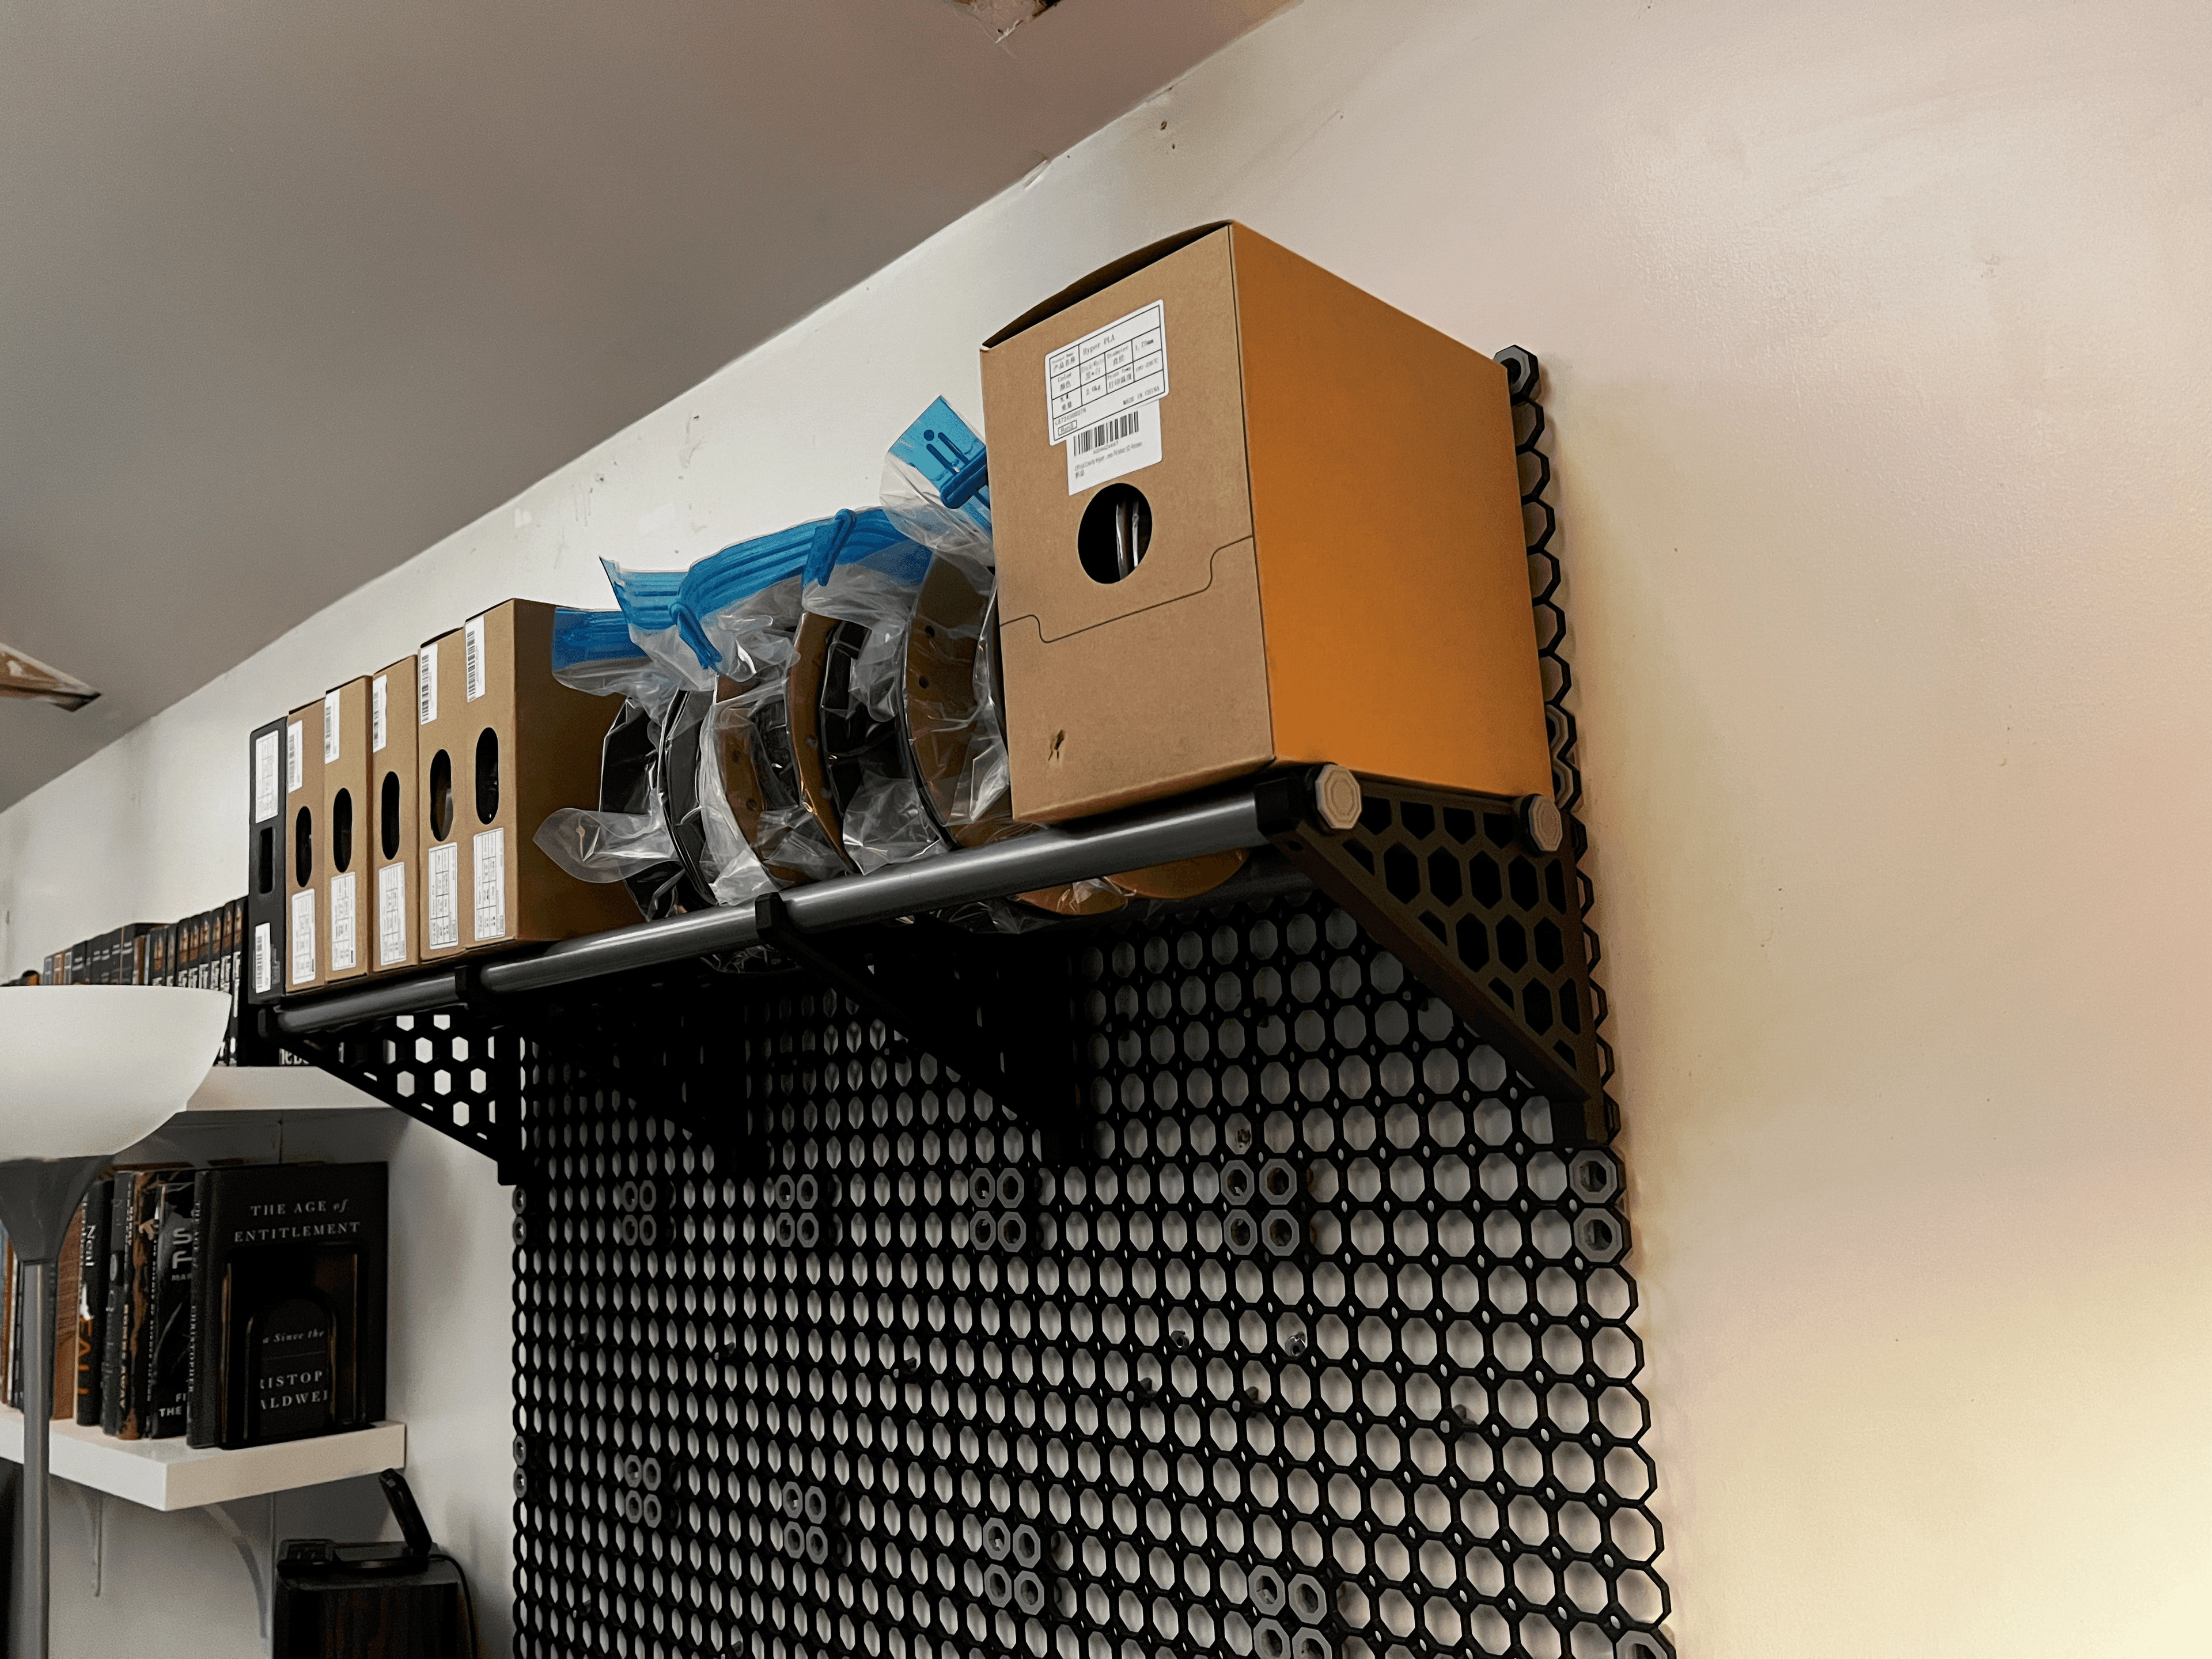
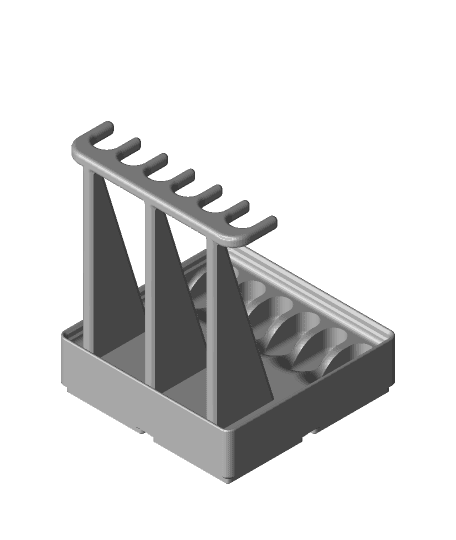
I remixed the filament rack made by @Maoirae so I could adapt it for use on my Multiboard tiles. I really liked the original design, so not too many changes were made. I mostly lengthened the height of the bracket to provide extra strength and durability, and added the multiboard's push-fit connectors to the rear. The original screw wells were retained, in order to still screw your wooden dowels to secure them even further.
Multiboard Filament Rack
This bracket is made to hold (2) 1" wooden dowel rods, available at most major retailers and home improvement stores. Included on the print profile are a few variants of the bracket.
- Dual color bracket (does not need a prime pillar)
- Single color bracket
Printing Instructions
Printing is easy peasy: 3 walls, 0.2mm layers, 15% infill. Cakewalk.
Required Multiboard snaps are included (Standard and Moderate Weight Bearing)
While screwing in the dowels can stop them from moving around too much, the dowels generally stay put with the weight of the filament rolls, so I've marked the screws as an optional step.
Parts Needed
(2) 1" diameter wooden dowel rods (Length is up to you) [OPTIONAL] (4) ½" small fastening screws (5x13mm)
Installation Instructions
0. (optional) Screw the wooden dowels onto the brackets using small wood screws. I used a small ½" screw. Drilling a small pilot hole in the dowel before putting the screw in will help to avoid splitting the dowel. Attach the moderate (or heavy duty) weight bearing snaps to the push-fit connector on the top of the bracket (dowel end). Attach the standard snaps to the push-fit connectors on the bottom of the bracket. Place the brackets into the multiboard tiles. You'll have to insert the top snaps first at a slight angle, so the hooks on the snap grab the back of the tile. Once the top snaps are lined up, you can rotate the rack down, allowing the bottom snaps to connect to the MB tiles, and the top snaps to lock all the way into place. When both the top and the bottom snaps are fully snapped in and connected, you're all set!I hope you find this design of great use, like I do, and thank YOU for being part of our amazing Thangs community!
Filament Rack for Multiboard - Single/Dual Color - by PRINT3D DESIGNS

Wall Mount for Cans/Cylinders (57mm).stl

8x8 MU - Center Grid Interfitted - MultiBoard Octagon Plate
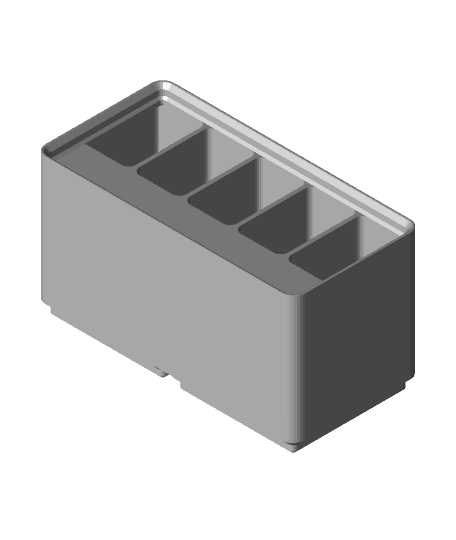
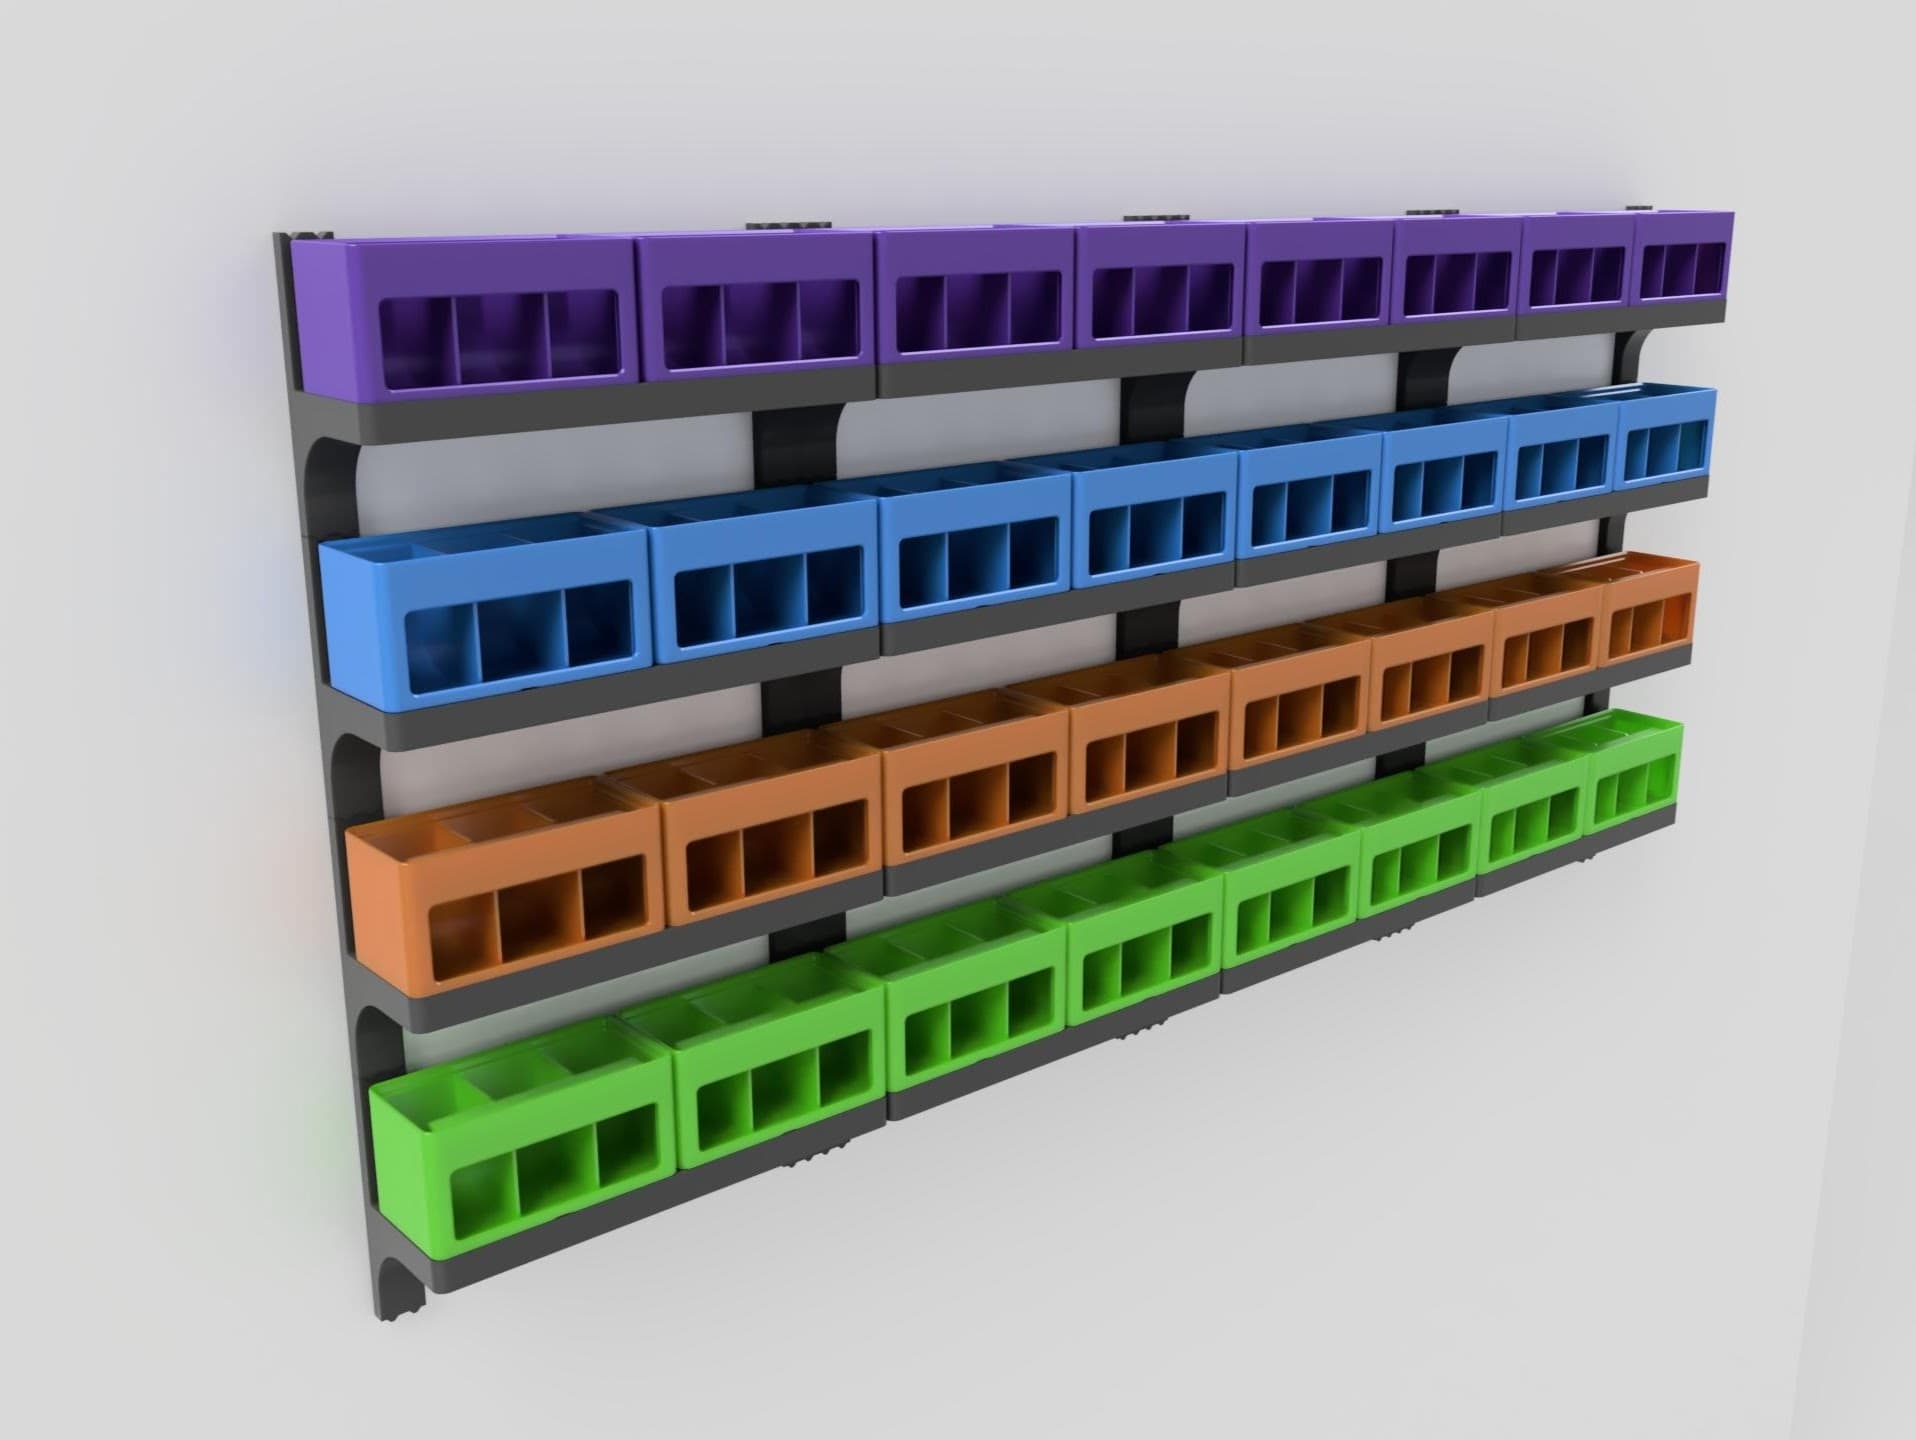
Gridfinity Divider Bins
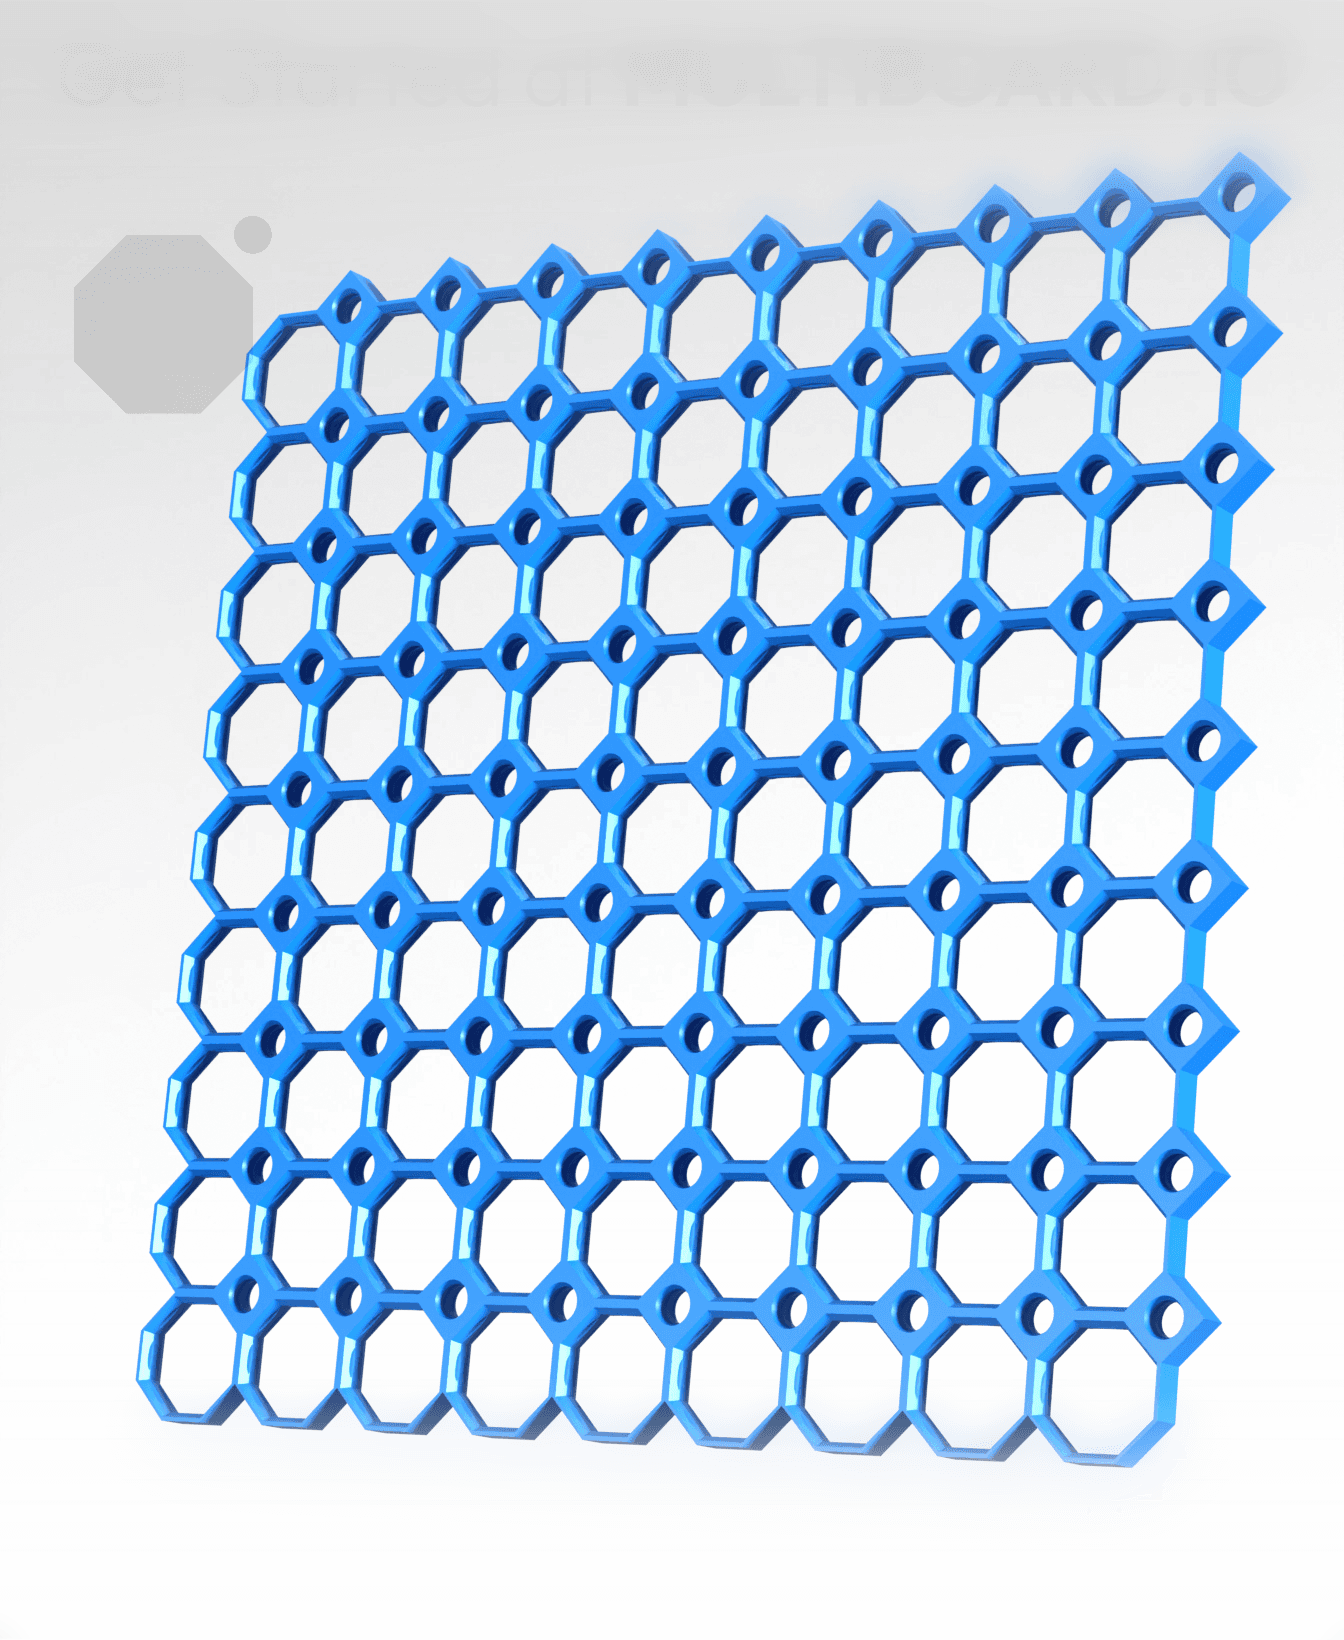
9x9 MU - Center Grid Interfitted - MultiBoard Octagon Plate
Gridfinity Nippers + Strippers + Pliers Racks
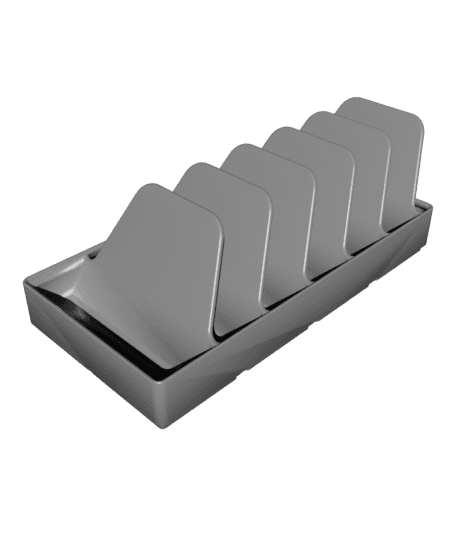
Gridfinity Pick + Tweezer Racks
Gridfinity Ratchet + Socket Holders
4x2 MU - Simple Bolt-Locked Shelf
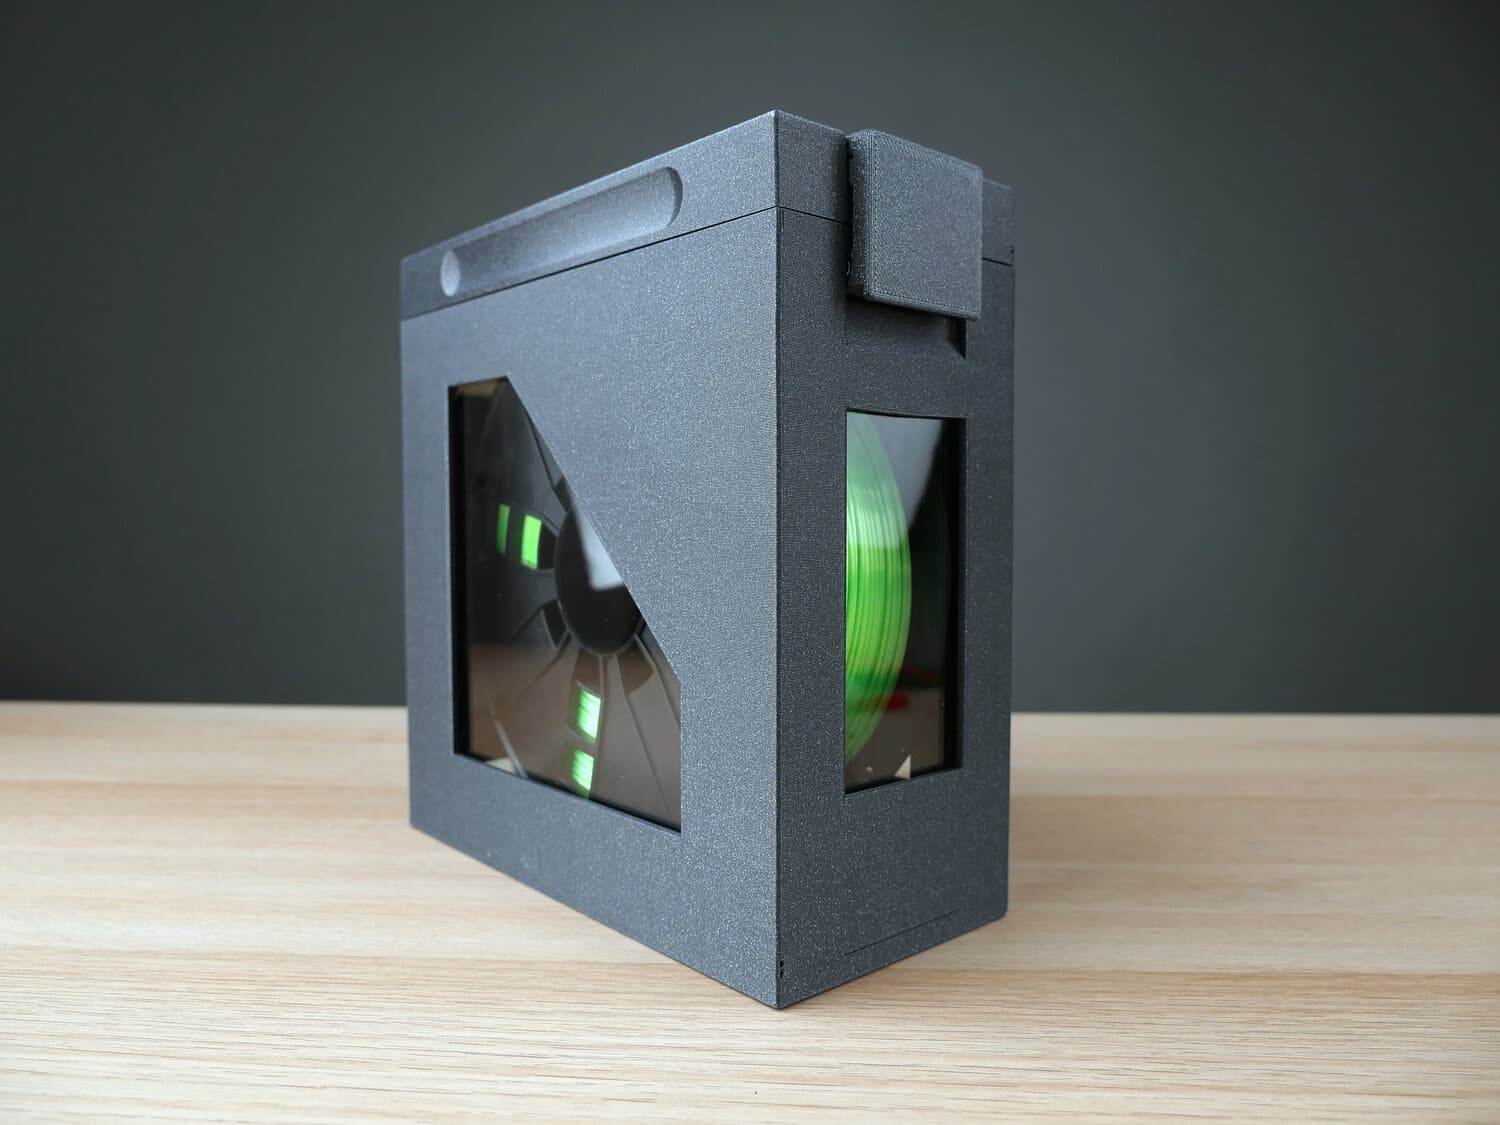
Mihai's DryBox
Gridfinity Wall Rack
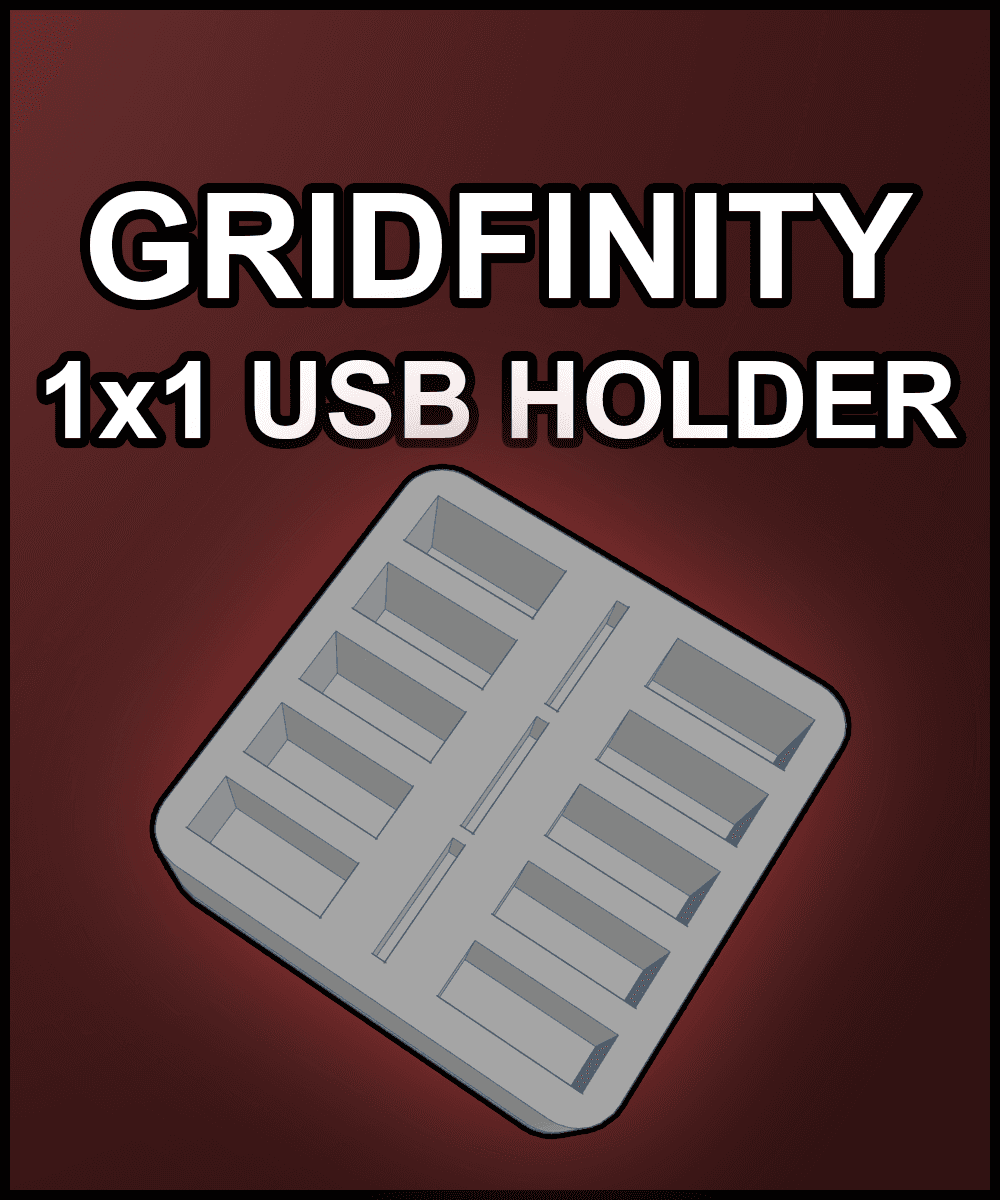
Gridfinity USB & Micro SD Holder
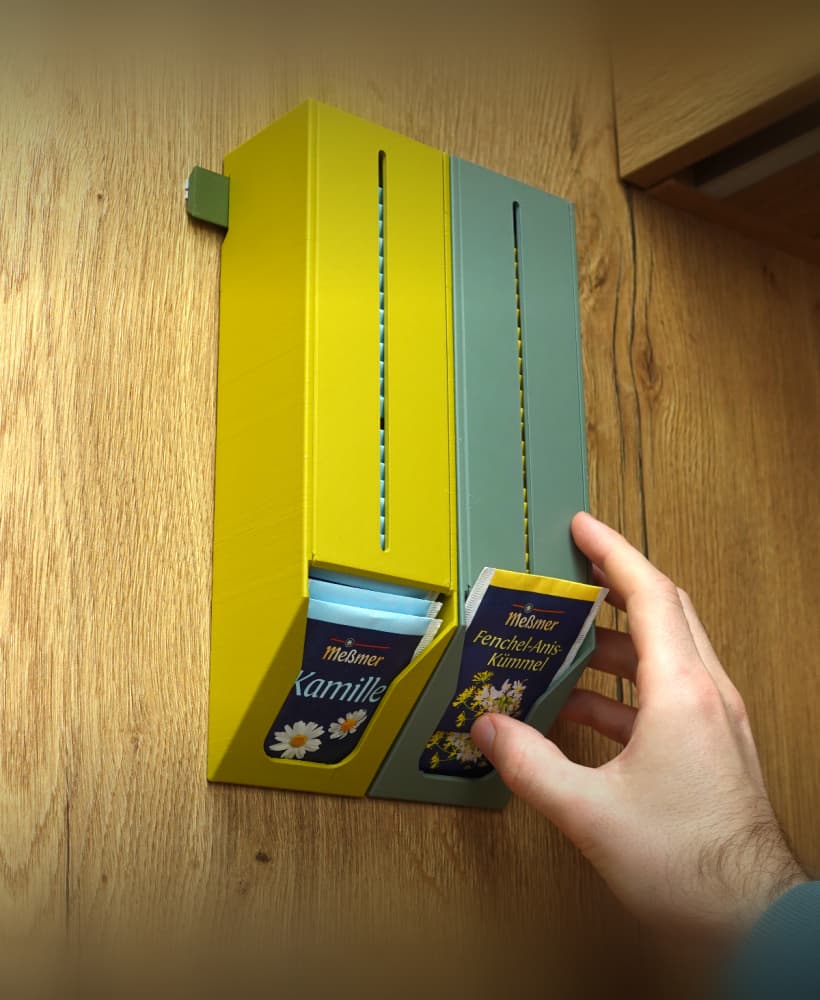
Tea bag dispenser
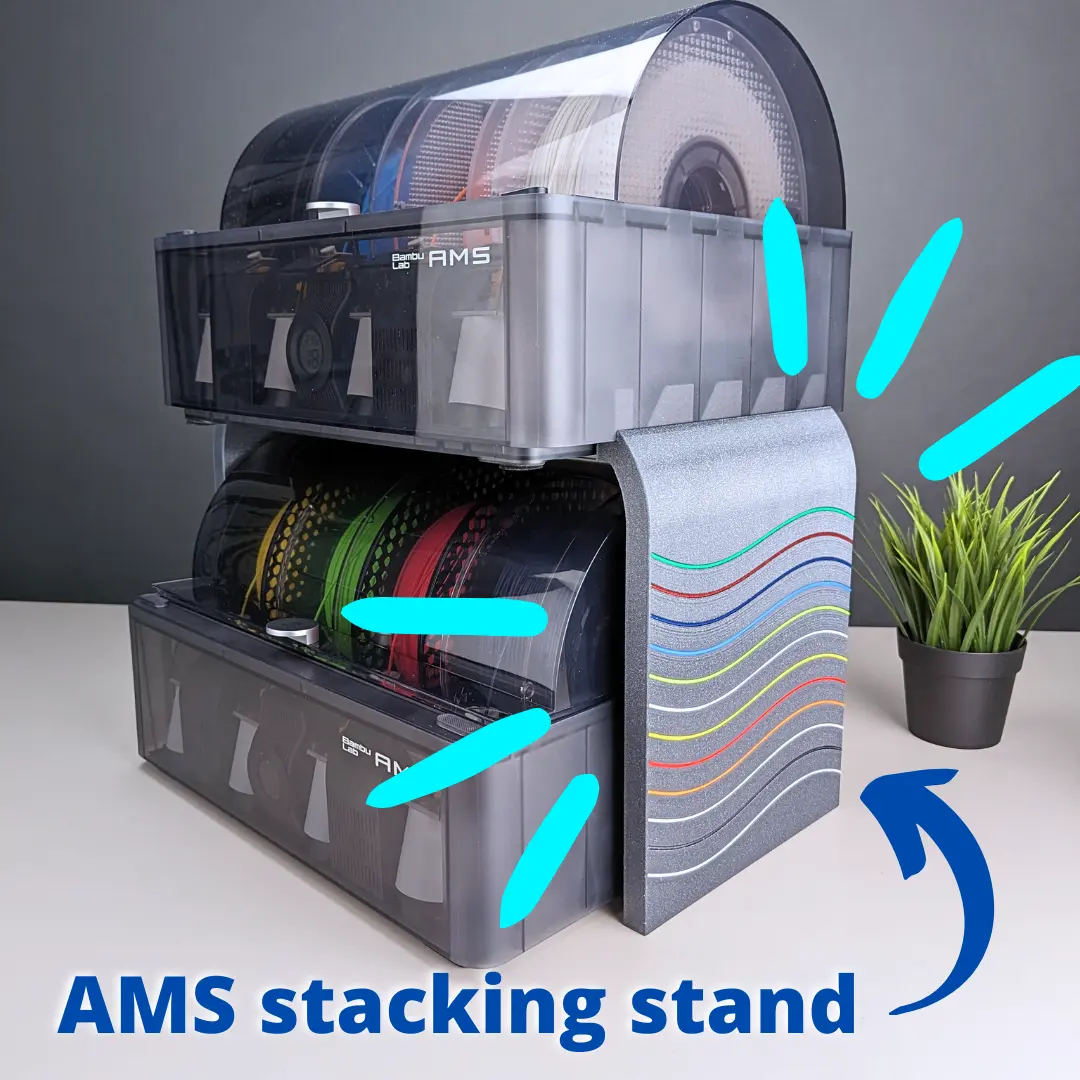
AMS stacking stand for Bambu Lab P1P and X1 #ThangsBambuContest
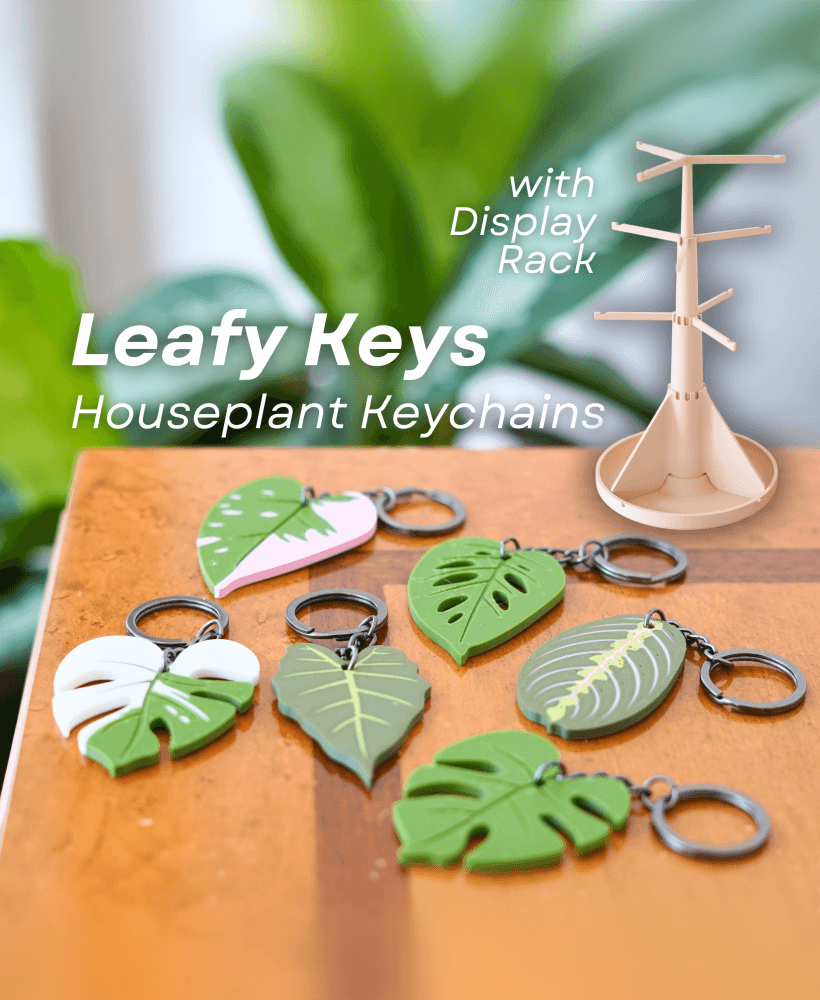
Leafy Keys - Houseplant Keychains - Monstera Albo plant leaves for car keys
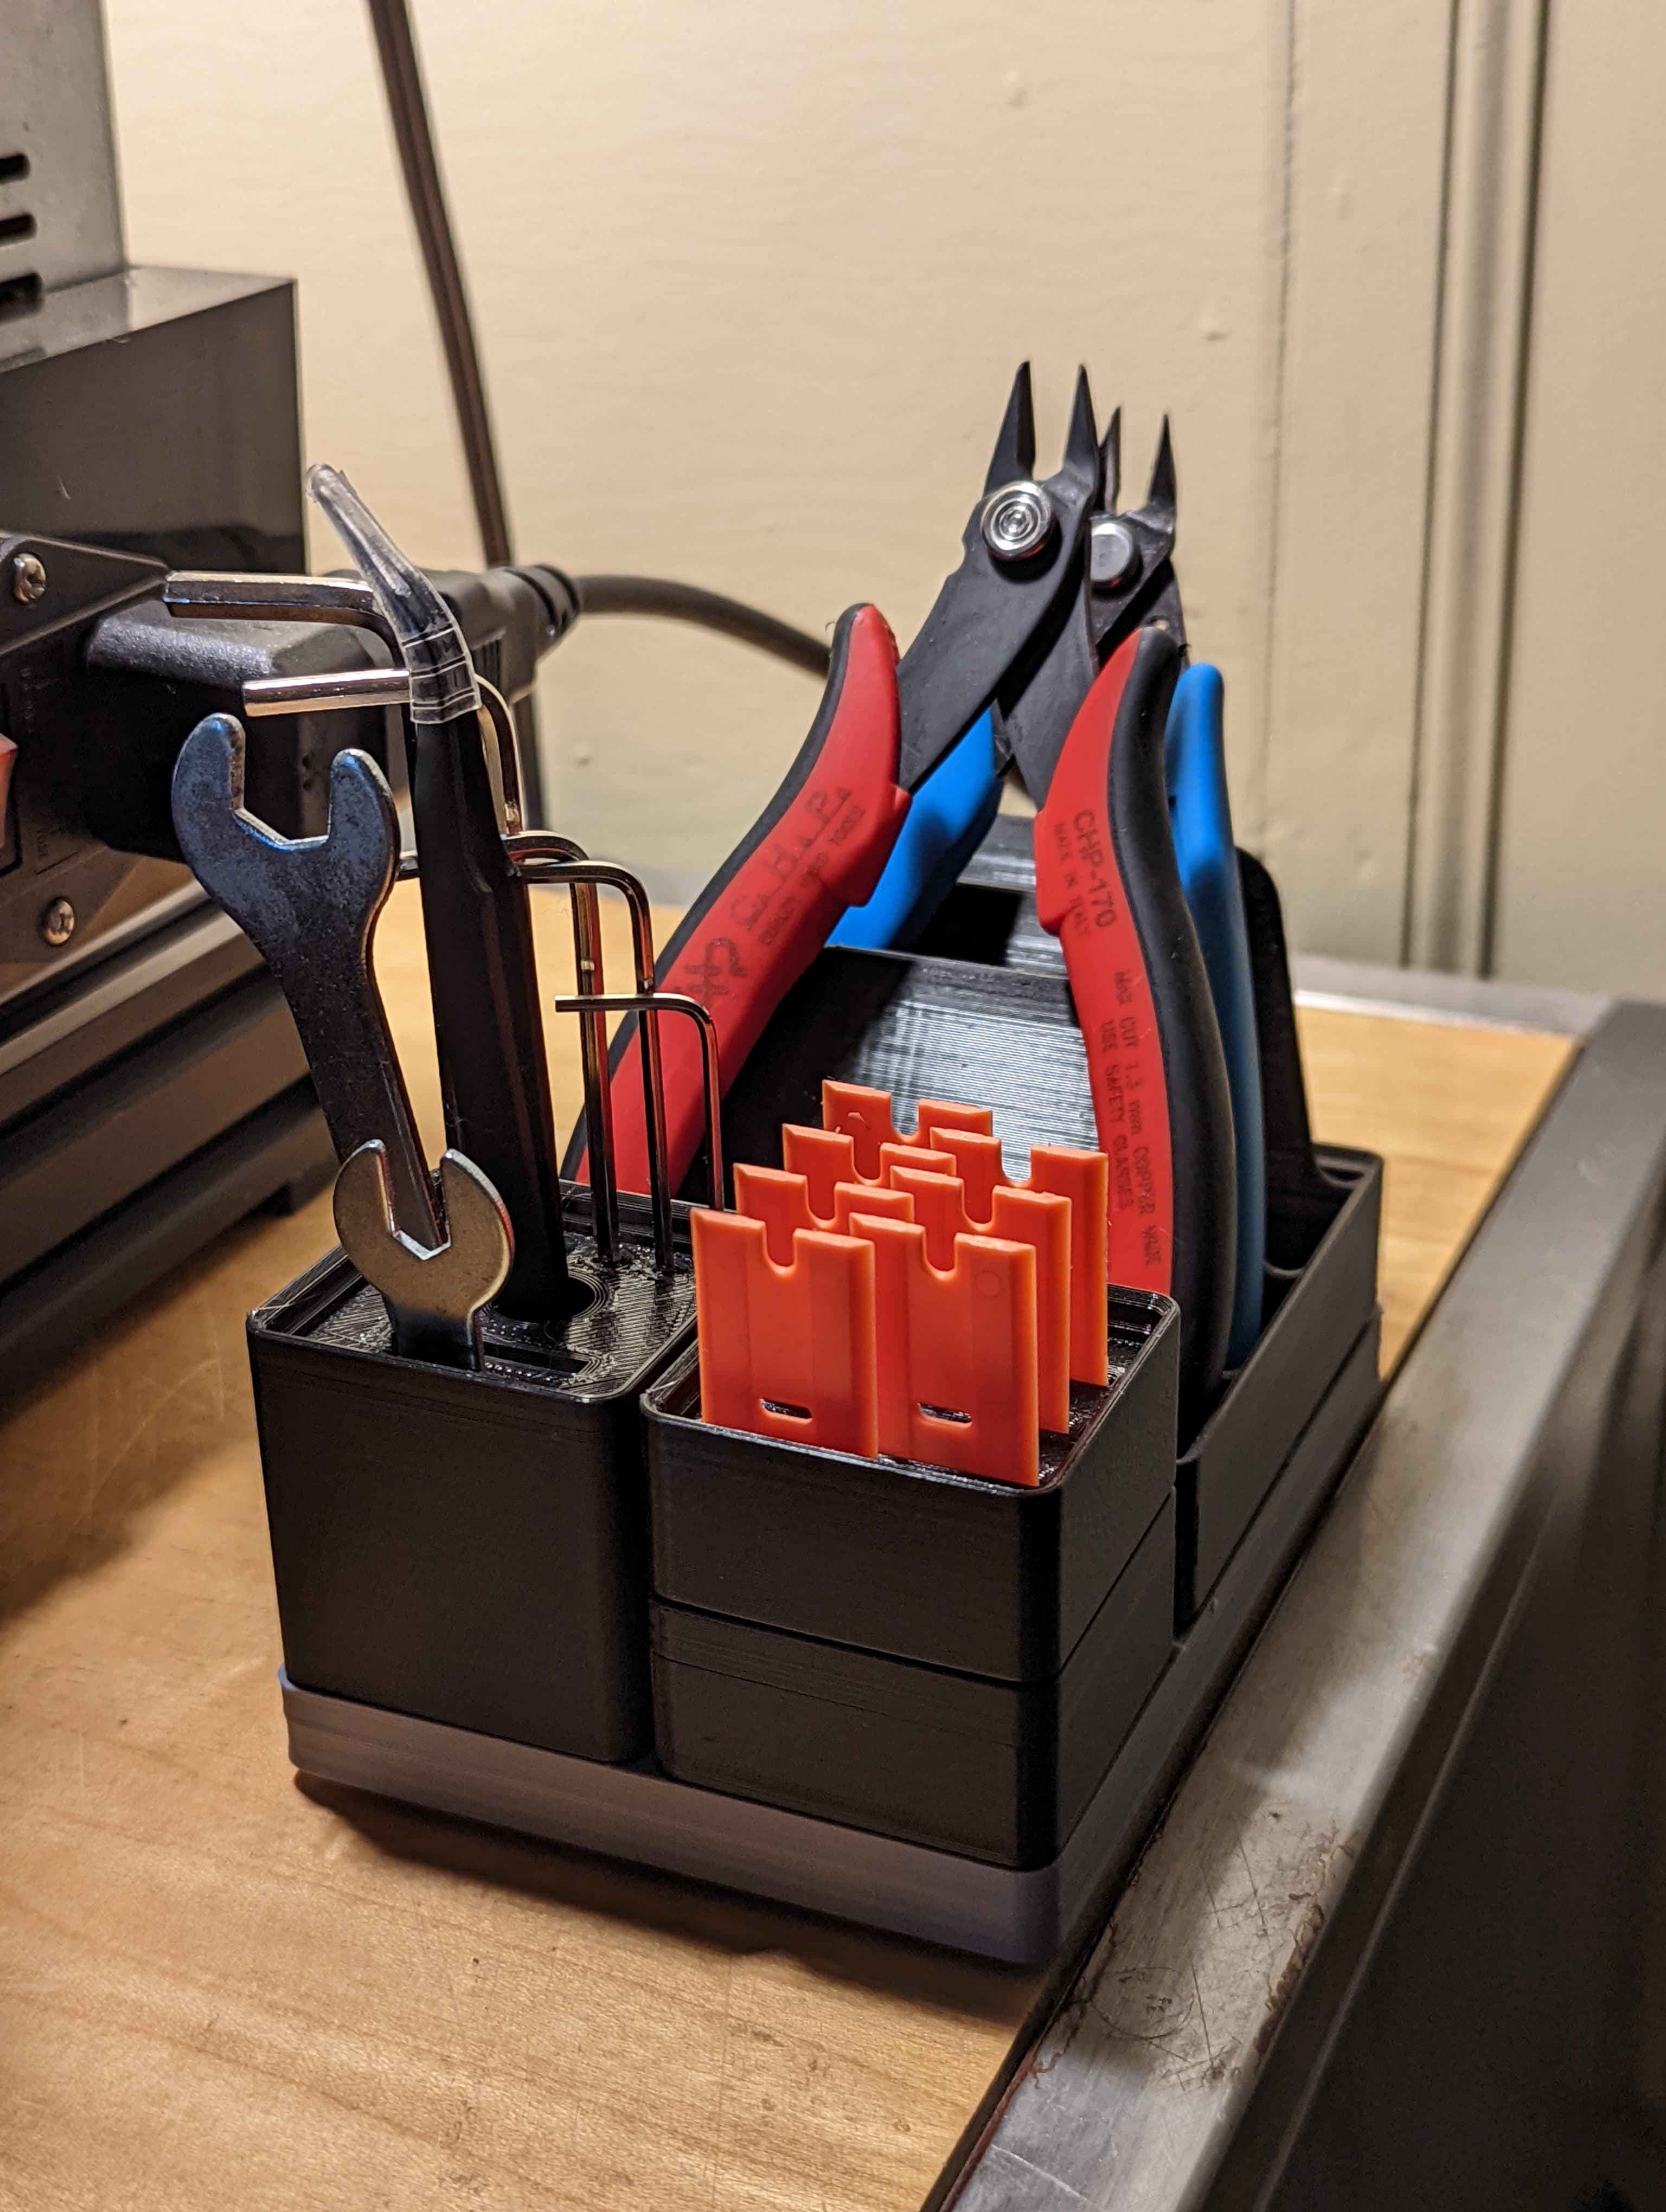
Gridfinity 2x2 Three-Bay Nipper, Stripper, Plier Rack
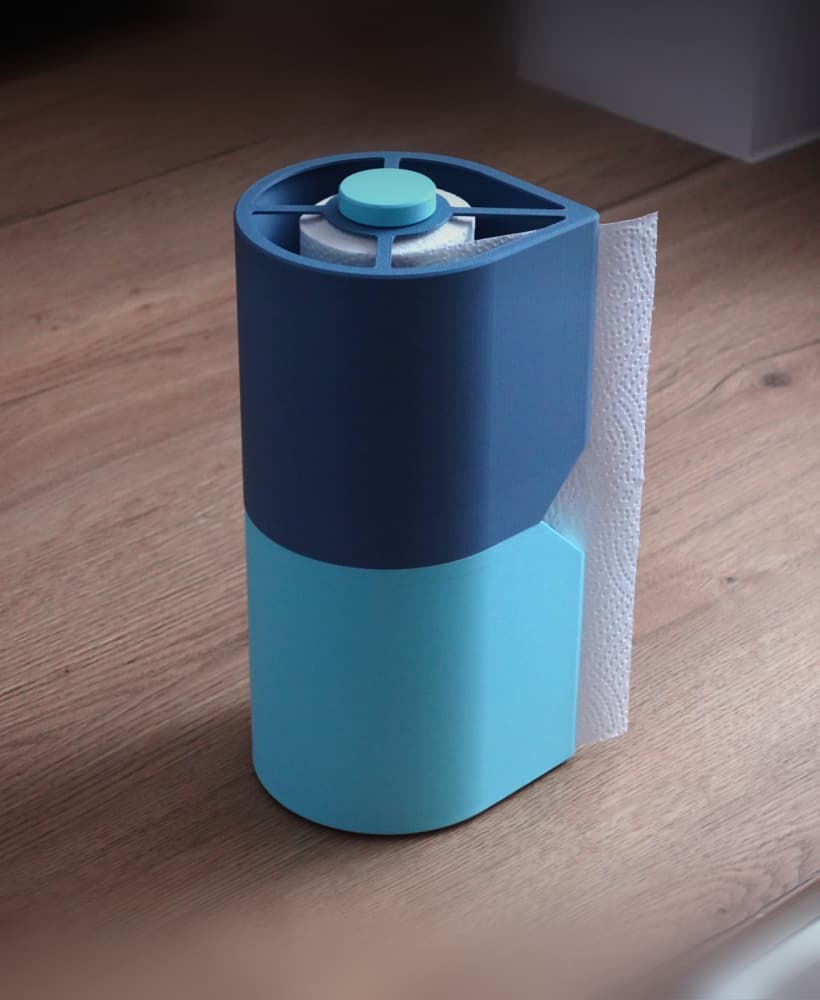
Paper towel holder
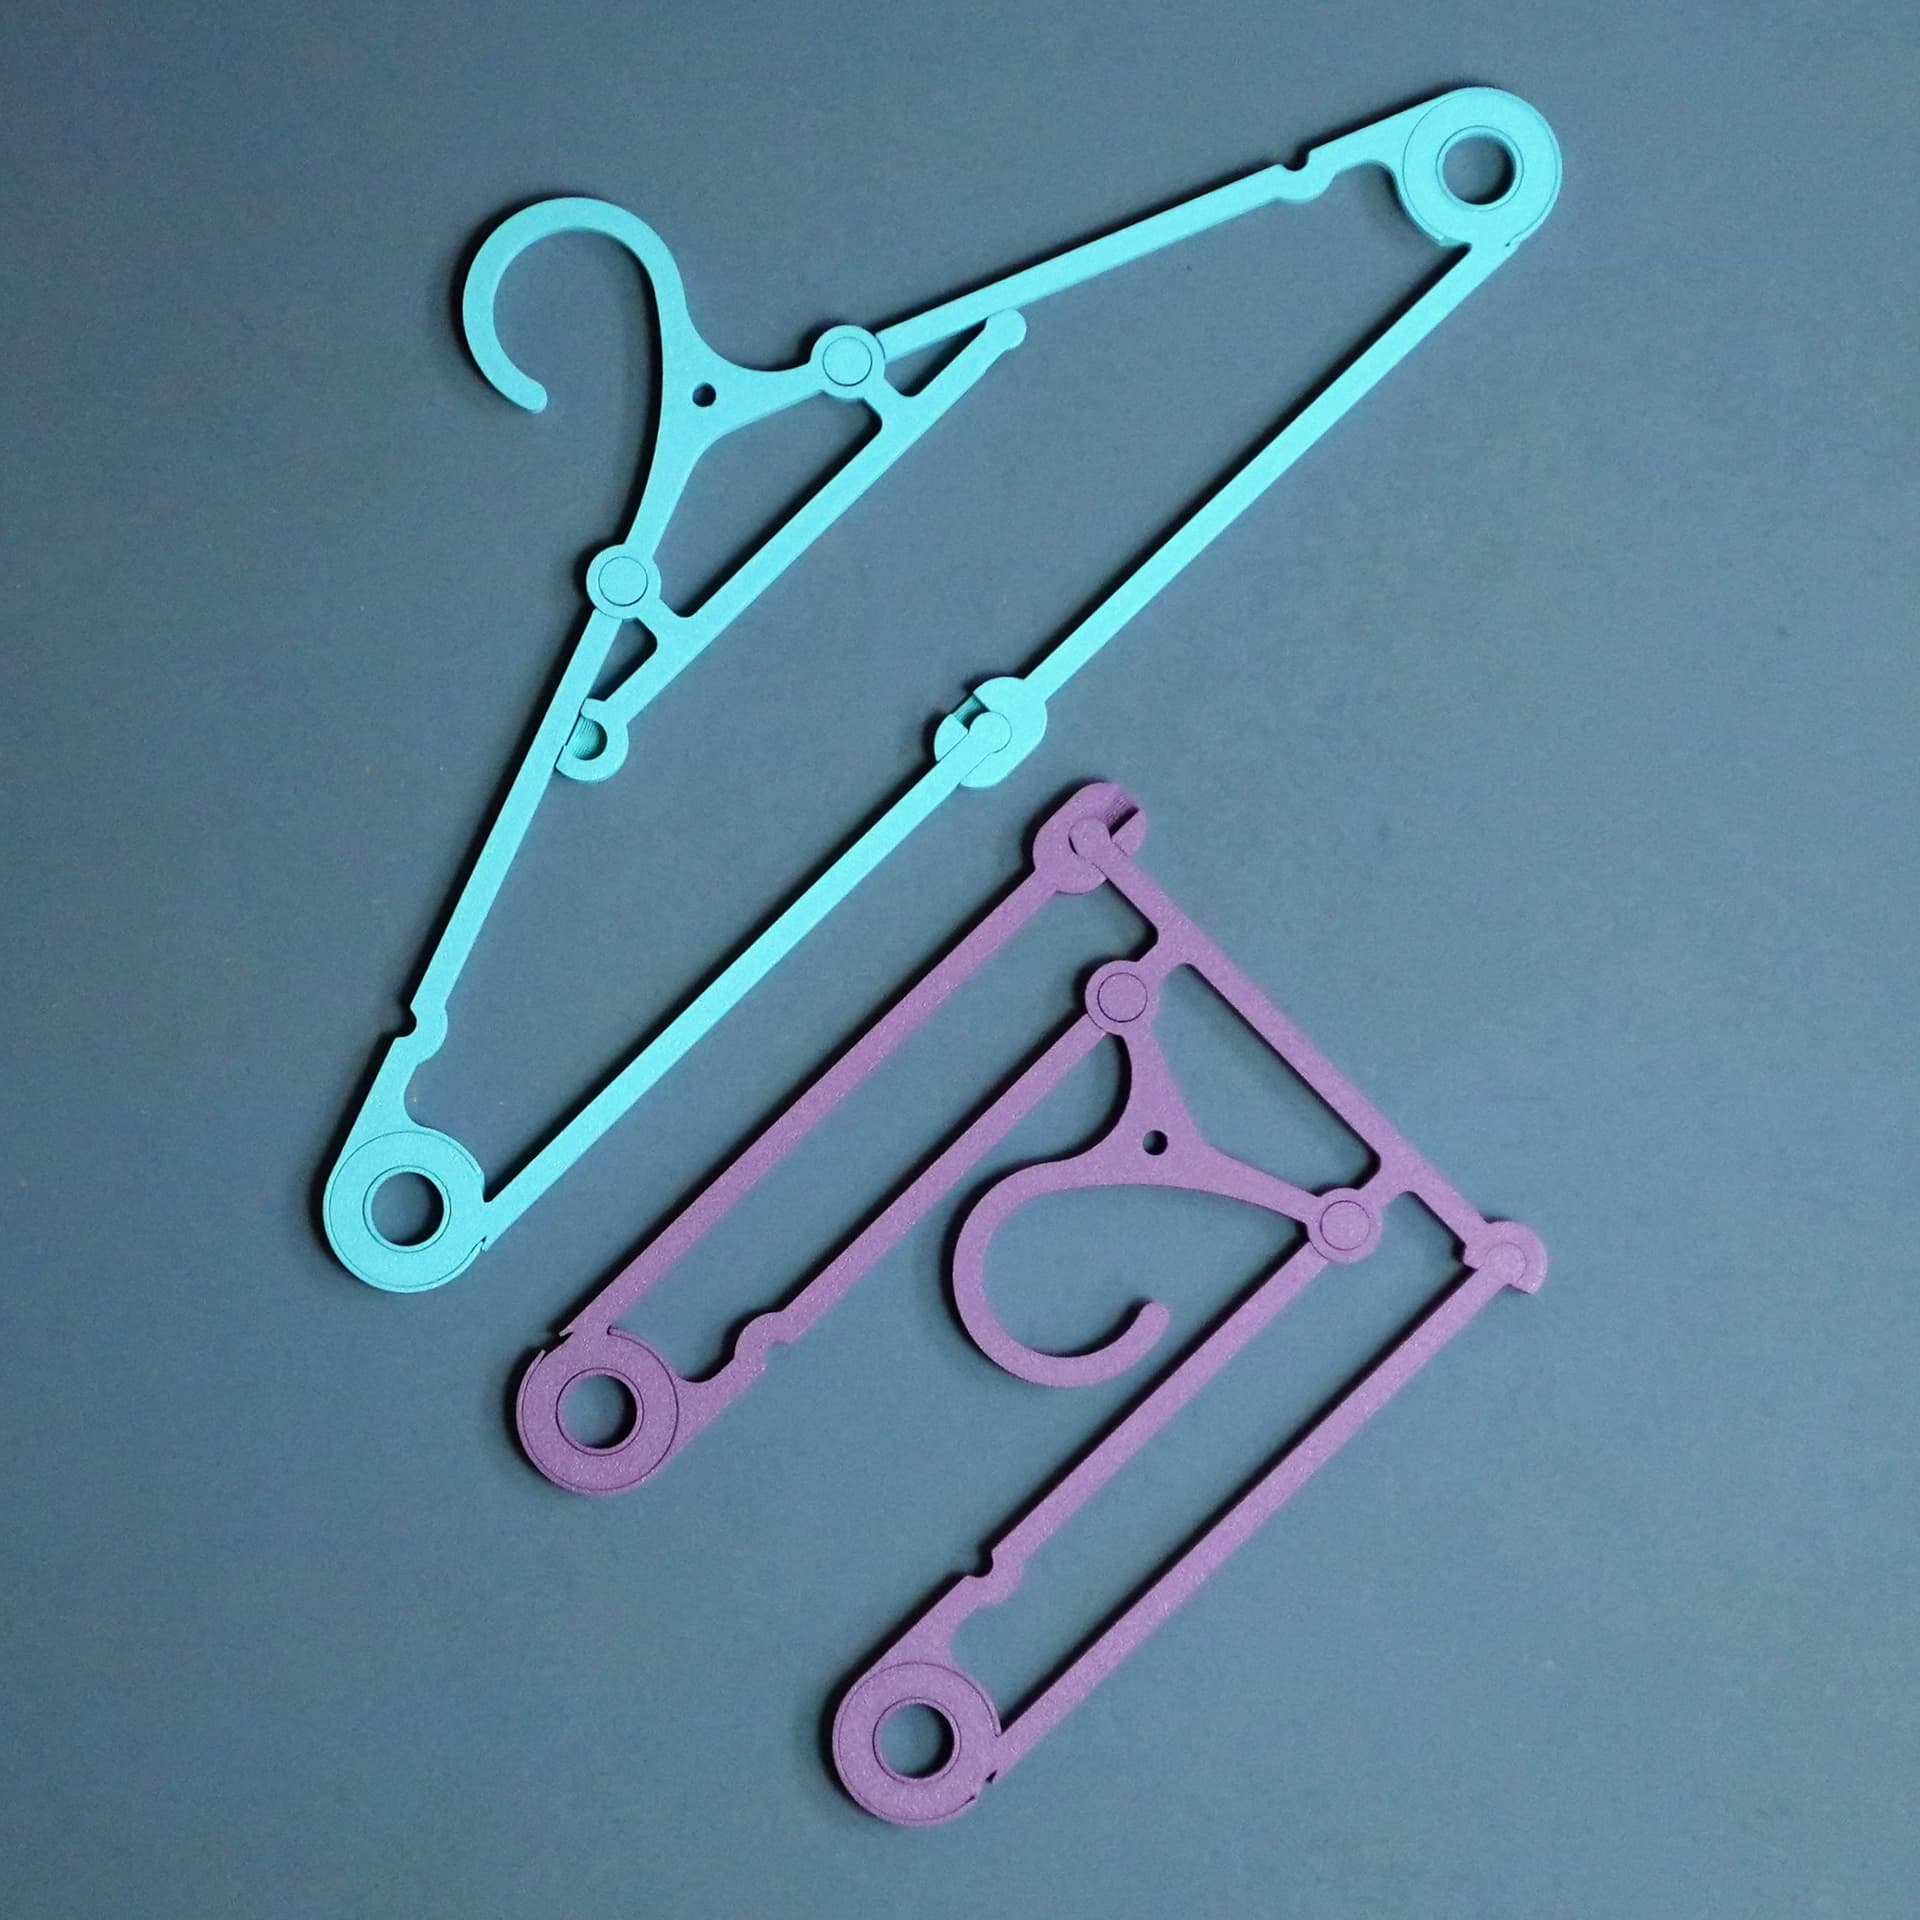
Print-in-place Clothes Hanger, foldable

GEN2 185 - Classic Drawers

Articulated Dragon 005 - Crystallized - No supports - Print in place - STL

I mean yuck Michigan colors lol but I'm excited to see if this works better than the last disaster I tried lol Maybe a nice purple. 🤔 Or eye assaulting neon pink on neon green. 🤔
Well good news! It's not Michigan colors! :D Or, it wasn't designed that way at least lol.
It was designed with Vault-Tec from Fallout in mind, but I can definitely see where you're coming from. XD
Im sorry! Im very new to multiboard, does anyone have all the attachment links needed to put the holders up?
what are you using to secure the snaps to the filament stand?
The top snaps are the weight bearing hook snaps, so it all just holds itself in place as long as you use a t bolt to secure the snap to the bracket before mounting it.
https://thangs.com/designer/Multiboard/3d-model/9%20mm%20Small%20Thread%2C%20Flat%20Head%2C%20T-Bolt-973894
I think this is the right t-bolt if anyone else is looking in the future.