
Puzzle Cube v1.3
Model originally uploaded to Thingiverse at https://www.thingiverse.com/thing:4641303.
Updated Hellraiser inspired puzzle box using my own planetary gearbox core. Using latest modular gearbox code and to remove the "false" alignments which allowed for a partial open.
https://www.youtube.com/watch?v=SVGQ_9T5_Bc
Assembly video - Jump to the end to see the finished product in action. "Core" preparation. These are for the previous versions but are mostly applicable. Key takeaways are dial in your printer to avoid "elephant foot" and tolerence to allow gears to print slightly fused - too much and they will stay fused, too little and there will be too much backlash. Give the core a whack on the side with a rubber mallet to free the gears, then use a single edged razor blade to carefully "crack" the ring gears (take care, blood has been shed to bring you this box - a hobby knife is not the right tool, wedging not slicing).
Print at 0.2mm (at least the core - it is designed to produce a 1-layer gap between the ring gears and is sensitive to layer height) and separate ring gears with a single edged razor blade or scraper. Print upper and lower parts separately (around 16 hours each, 8 for the core). Ease the core (wider tabs first, careful of orientation and alignment of the narrow tabs) into the end of the "claw", they will need to flex a little.
Enable Support Interface at 100%, Touching Buildplate with overhang of 85 degrees for improved finish. This will give a nice solid disk to support the raised dial which can be pried off. Core does not require support.
I'd also recommend "breaking in" the core by giving it a few minutes on a drill or Dremel tool to spin the gears (I use a long M5 nut and bolt in the drill chuck). Mark the starting positions with a pencil. They will soon wear in to move freely.
If you are having trouble getting the dials to move, a strip cut from a soda can can be used as a shim. Work it in and around the gap.
I have attempted to remain faithful to the original design, however it is apparent that multiple on-screen props were used with differing configurations, even some faces mirrored. To this end I have settled on the widely used HR1 configuration by Xane
The Lament configuration - art by artist064 "The original Lament Configuration was created by Simon Sayce for the original Hellraiser movie".
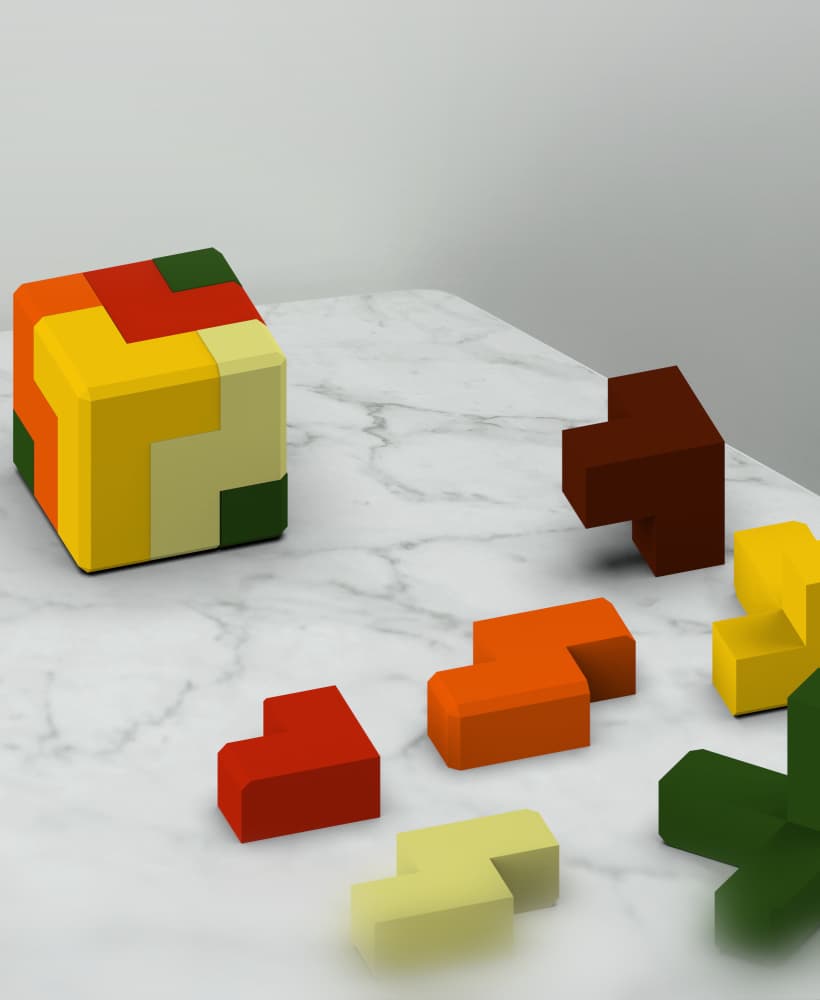
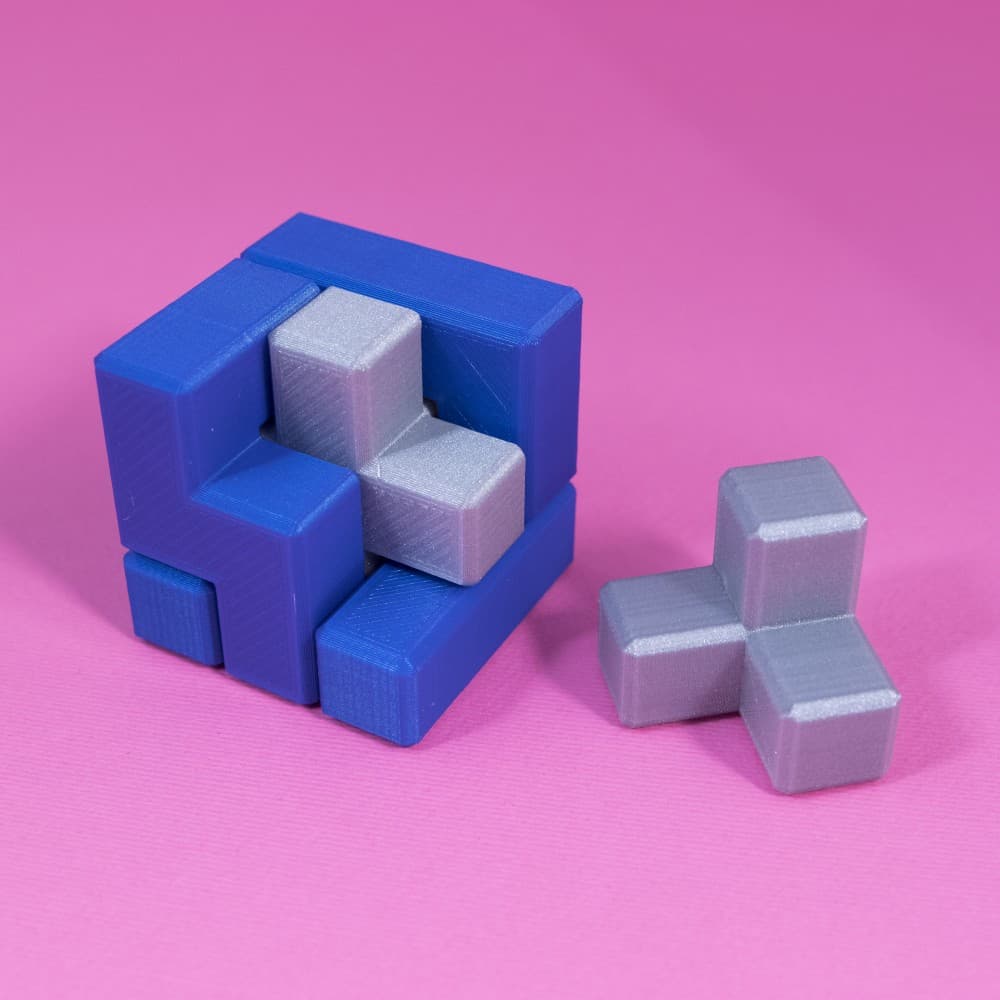
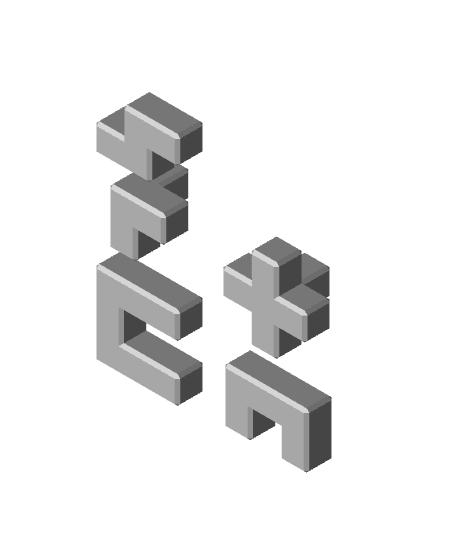
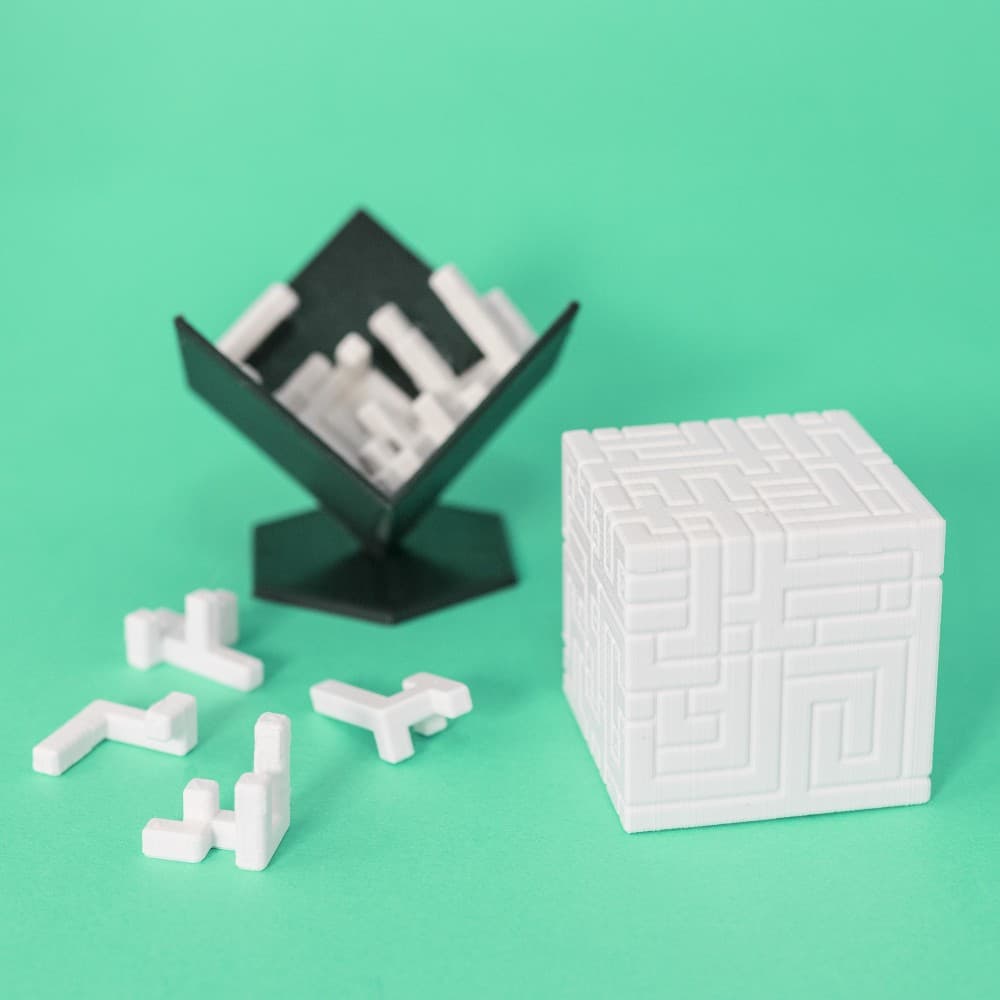
Geometric 3D Puzzle, 3D Puzzle Cube, 6 pcs. Puzzle, for Game Lovers, Special Gift, Mind Games
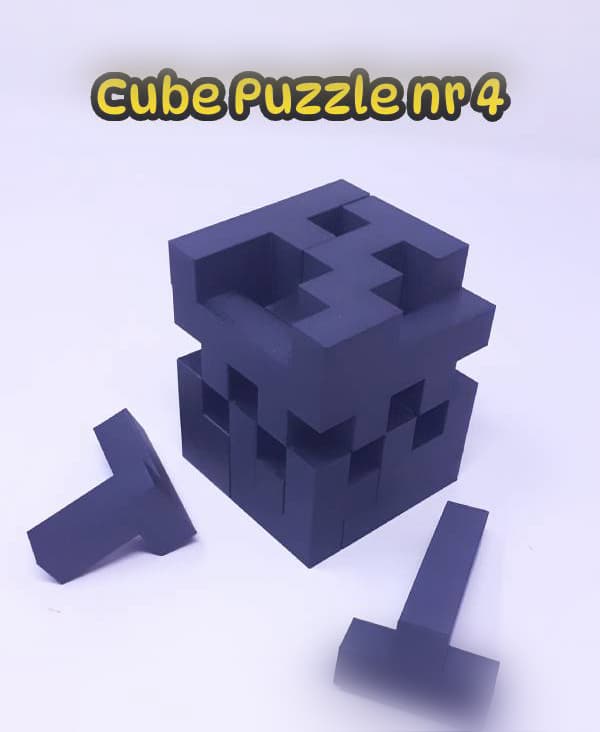
Cube Puzzle nr 4

Cube Puzzle nr 3.

Cube Puzzle nr 2.
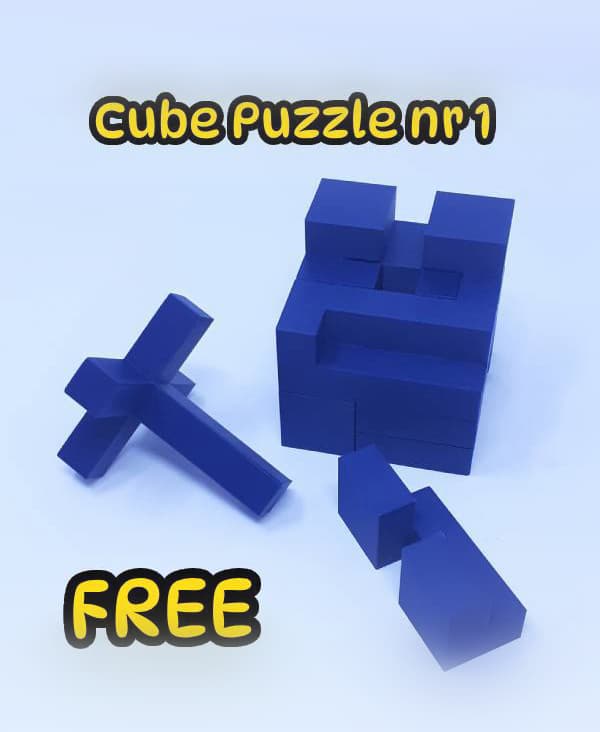
Cube Puzzle Nr 1
Cube puzzle (x6), create 6 small cubes or combine 4 pieces of each set for 1 big cube

rubkis cube wall art rubix cube puzzle wall decor gameroom decoration
3x3 Puzzle Cube

4x4 Puzzle Cube "Bedlam"

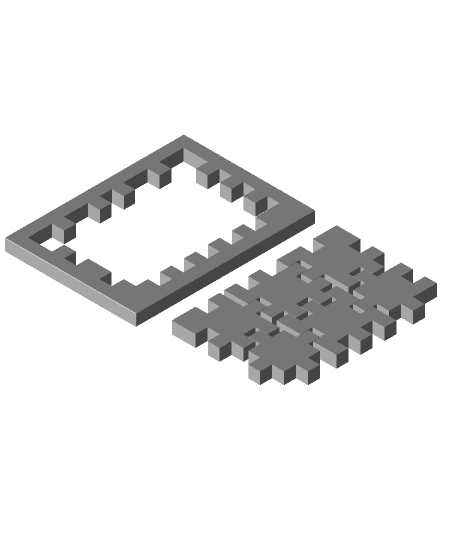
Cube Puzzle – 22-Piece Geometric Assembly Challenge

rubiks cube wall art gamer wall decor rubix cube puzzle wall decor
Puzzle Cube

Asymmetry Cube Puzzle
Puzzle cubes 3x3
5x5 Puzzle Cube
S U P E R C U B E // 10x10 Puzzle Cube
.JPG&w=3840&q=75)
Soma 3x3 Puzzle Cube

Donut Factory Puzzle (Deconstructed) // 2x2 Twisty Marble Puzzle (24mm inner cube)

3Dom Cube - Puzzle Version 4 - Intermediate
