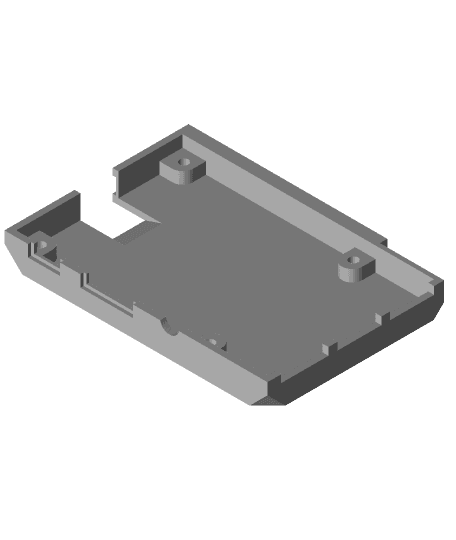
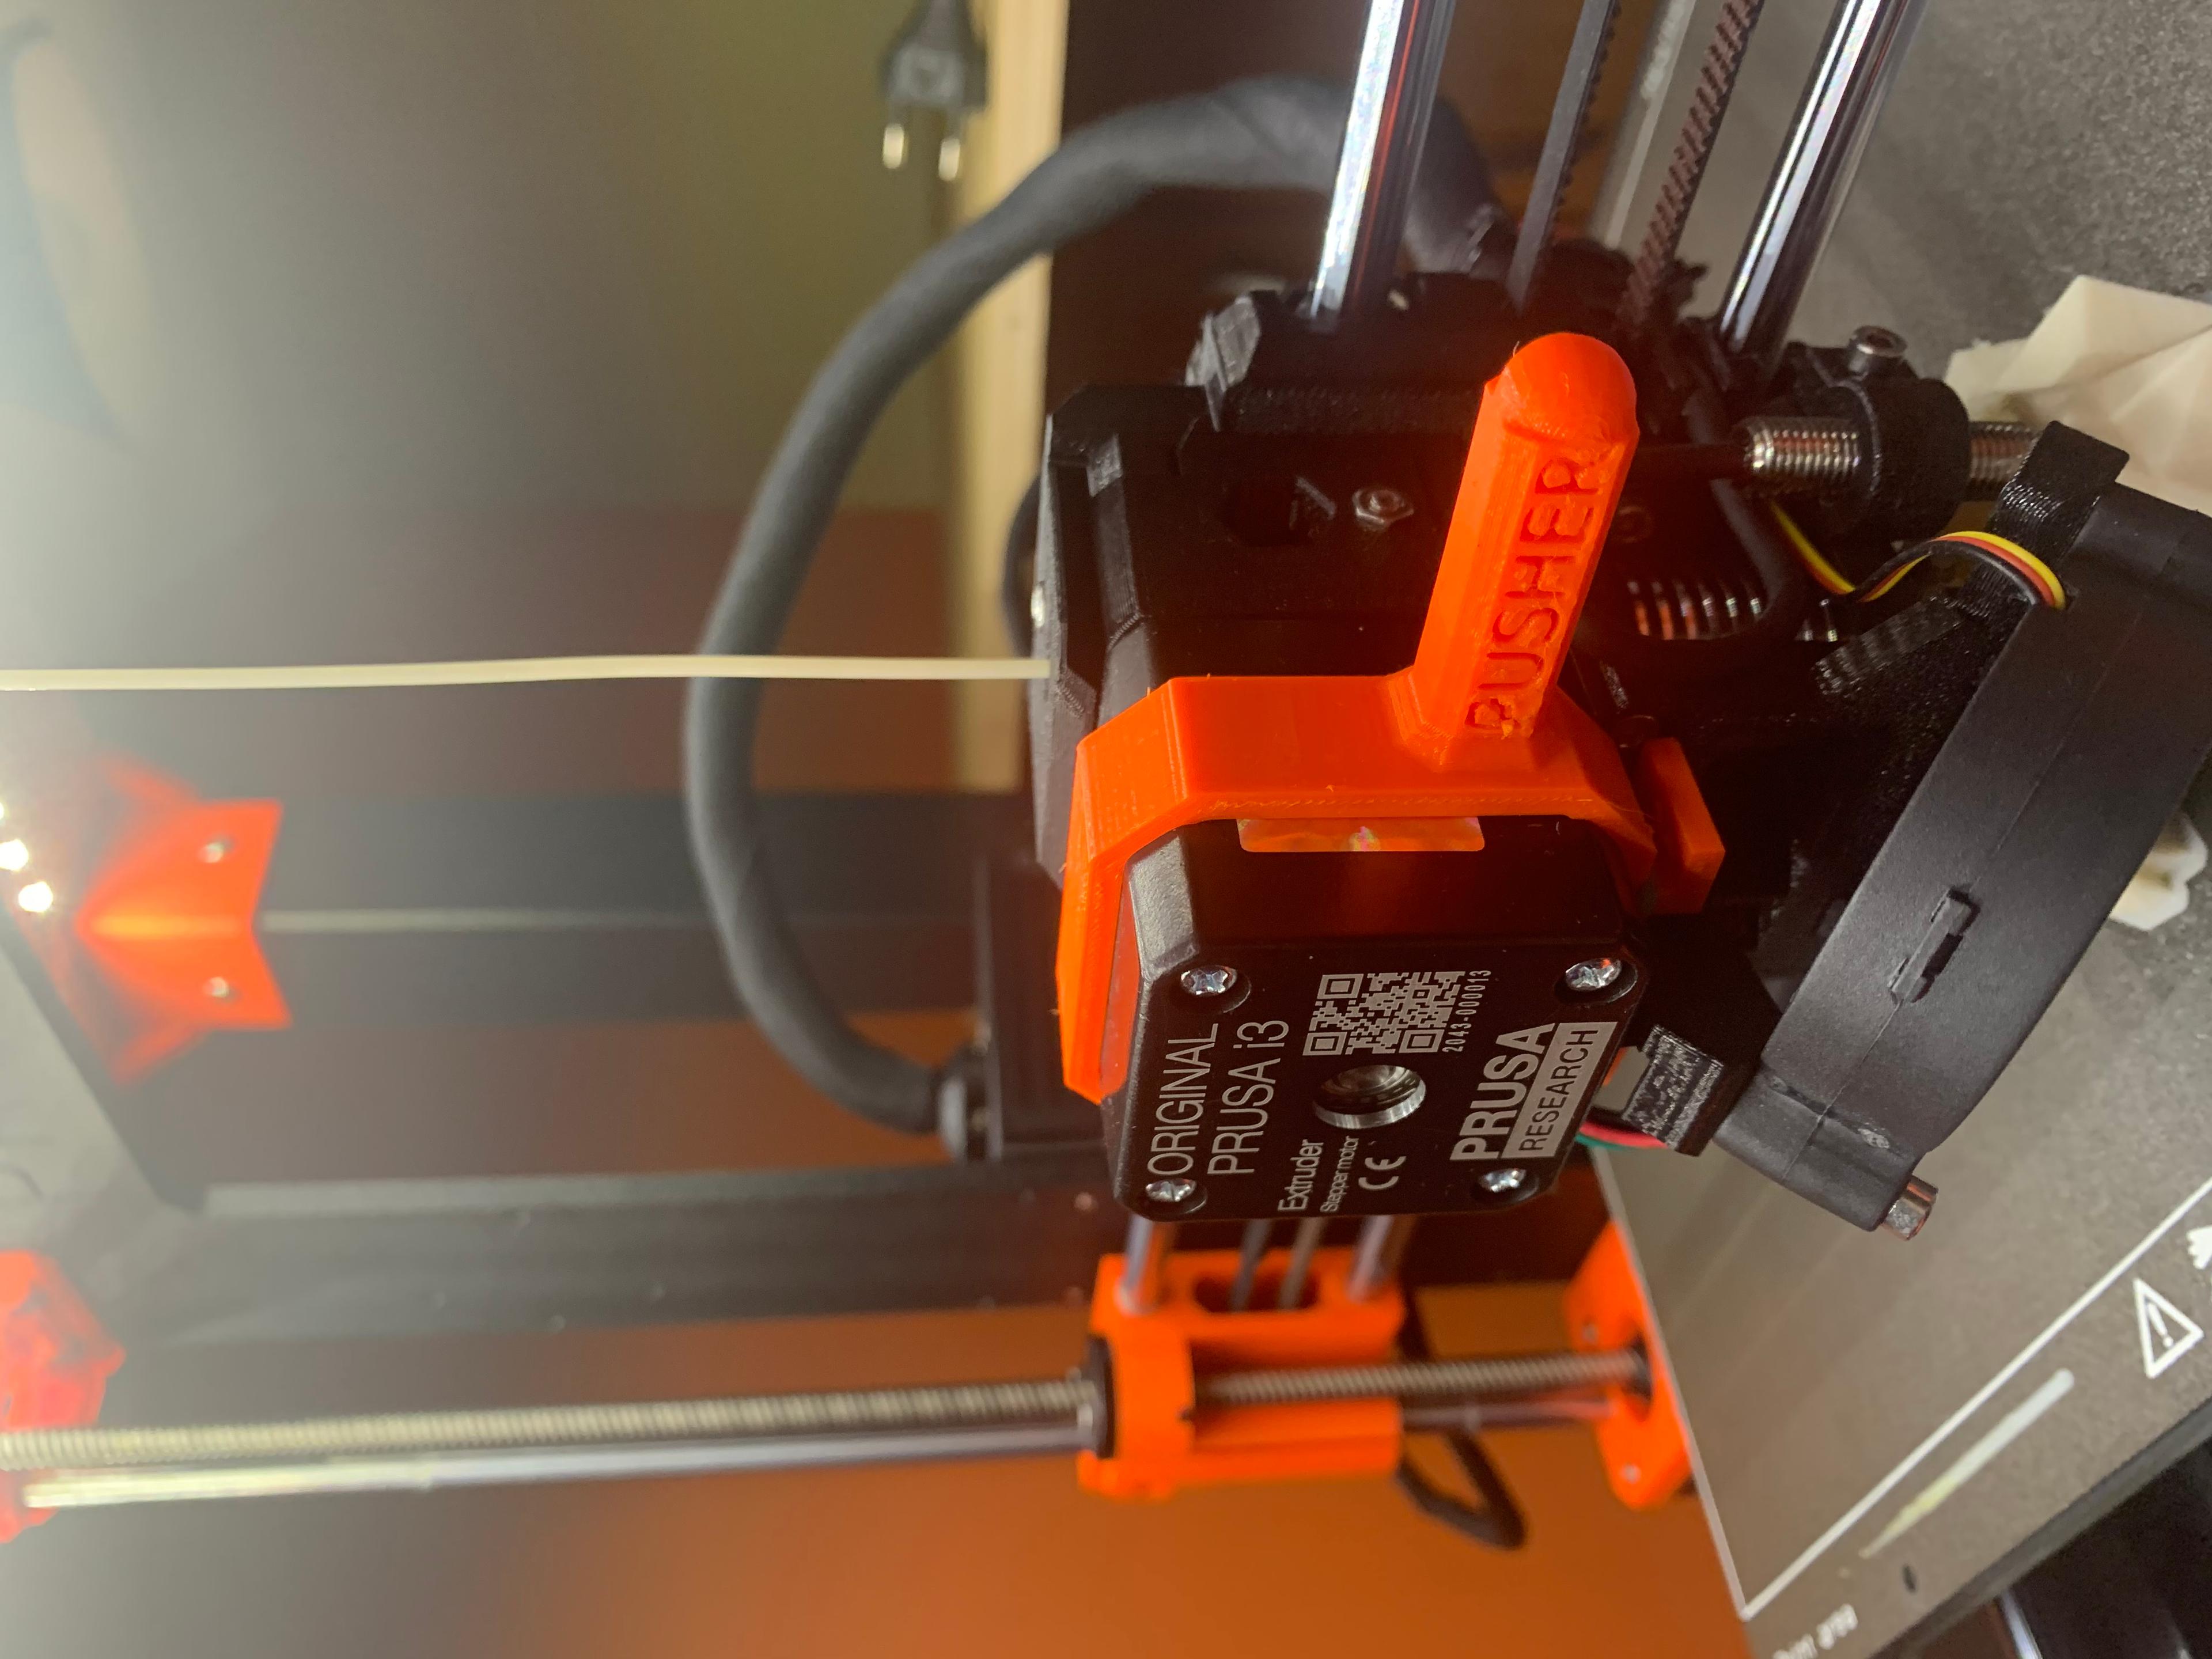
PRUSA MK3 Frame Brace
Model originally uploaded to Thingiverse at https://www.thingiverse.com/thing:2984143.
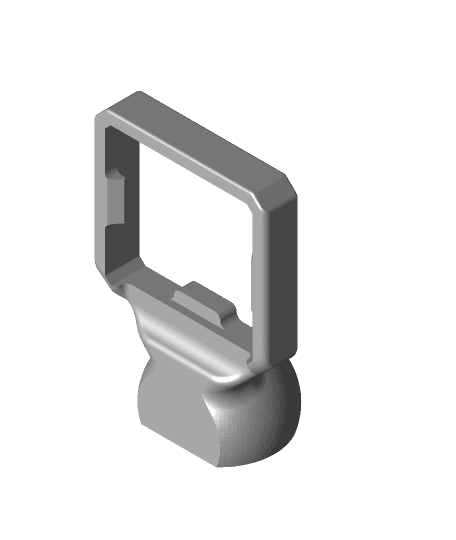
*** EDIT 2/26/2019 ***: Added a Raspberry Pi mount remixed from https://www.thingiverse.com/thing:2334119 by hackaholic to the top mount.
*** EDIT 8/30/2018 ***: I finally got around to adding this to my newer machine and found the upper mounting holes have been moved. They are 5.5mm higher on my newer machine so I am adding a second, longer bottom. Measure down to the outermost tapped hole from the frame top. If it is approximately 74mm, use the long lower mount.
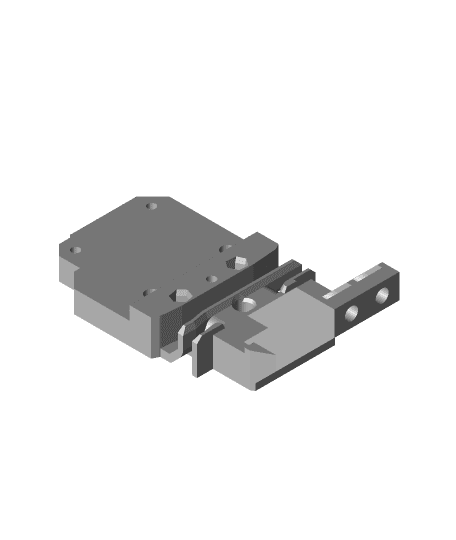
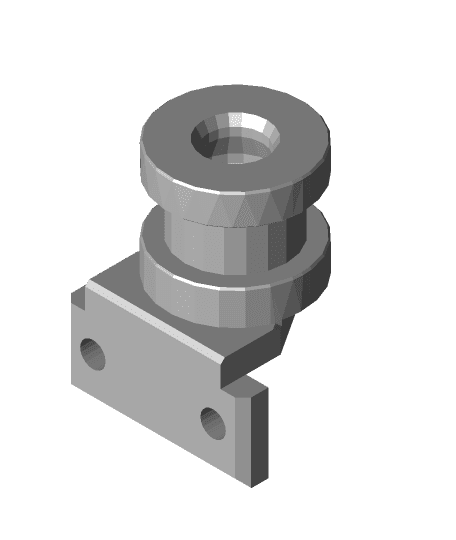
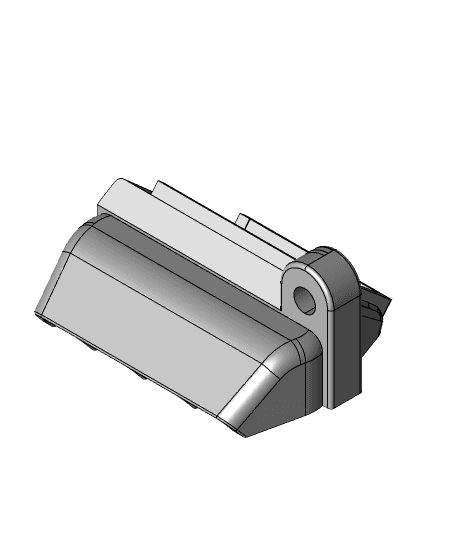
MK3 Frame brace for the Einsey side. Connect the 3030 rear extrusion to existing M3 Threaded holes in the upper frame.(If you have not used them for another purpose) Print 2 each of the Spacer and nuts. Not required but this is designed to 3d print with plastic so 2 will make it much stronger. I modified the Extrusion nuts from https://www.thingiverse.com/thing:2805753 by JLTX and made them turn 90 degrees clockwise and stop.
You will need: (2) M3 x 20mm Screws (For the center of the spacers. Any head style except counter sinks as long as they fit in the clearance holes.)
(4) M3 x 10mm Screws (Same as comes with the kit or similar. These attach the top and bottom brace parts together and the top to the frame. Do not use a screw that will protrude to the front side of the frame.)
(4) M3 Nuts (I prefer lock nuts. 2 go in the extrusion nuts and 2 for connecting the top and bottom together.)
(4-8) Flat head Screws (Attaching the brace to the spacers. I find drywall or wood crews hold very well in the plastic.There are 4 holes for each spacer but not necessary.
I also used super glue for the joint when connecting the top and bottom braces together. The only reason the joint is there was to be able fit the MK3 print bed. If you use two spacers, you can fix one to the brace and only have to attach the second after aligning the brace at the top. Set the spacer in place on the extrusion so there is no gap at the top mount to the frame! You do not want to pull this joint together with the screws and twist the frame.
I may edit to be able to add a metal plate to the brace in the future for those with the ability if popular enough.
PRUSA MK3 Frame Brace
MK3 Frame Brace with Pi mount
.png&w=3840&q=75)
The DELACK Enclosure is compatible with the Prusa MK4, Prusa Mini, and Prusa MK3 series of 3D printe
Prusa i3 Mk3 Bowden tube guard for frame edge

Ender 5 Outer Frame Braces
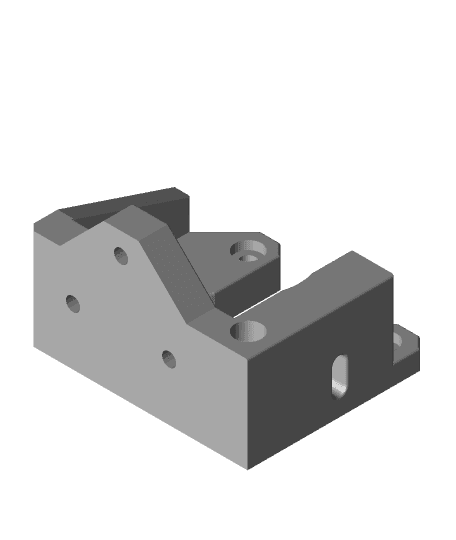
Frame Brace
Timelapse Machine - Prusa MK3 i3s+

Infinity Flow Prusa Frame Mount and Enclosure Items
Prusa MK3 & Bear Hotend cooling jig and test bench
Phaetus Dragonfly HIC Hotend Adaptor for Prusa MK3
Cooling Duct for Prusa MK3 with Slice Hot End
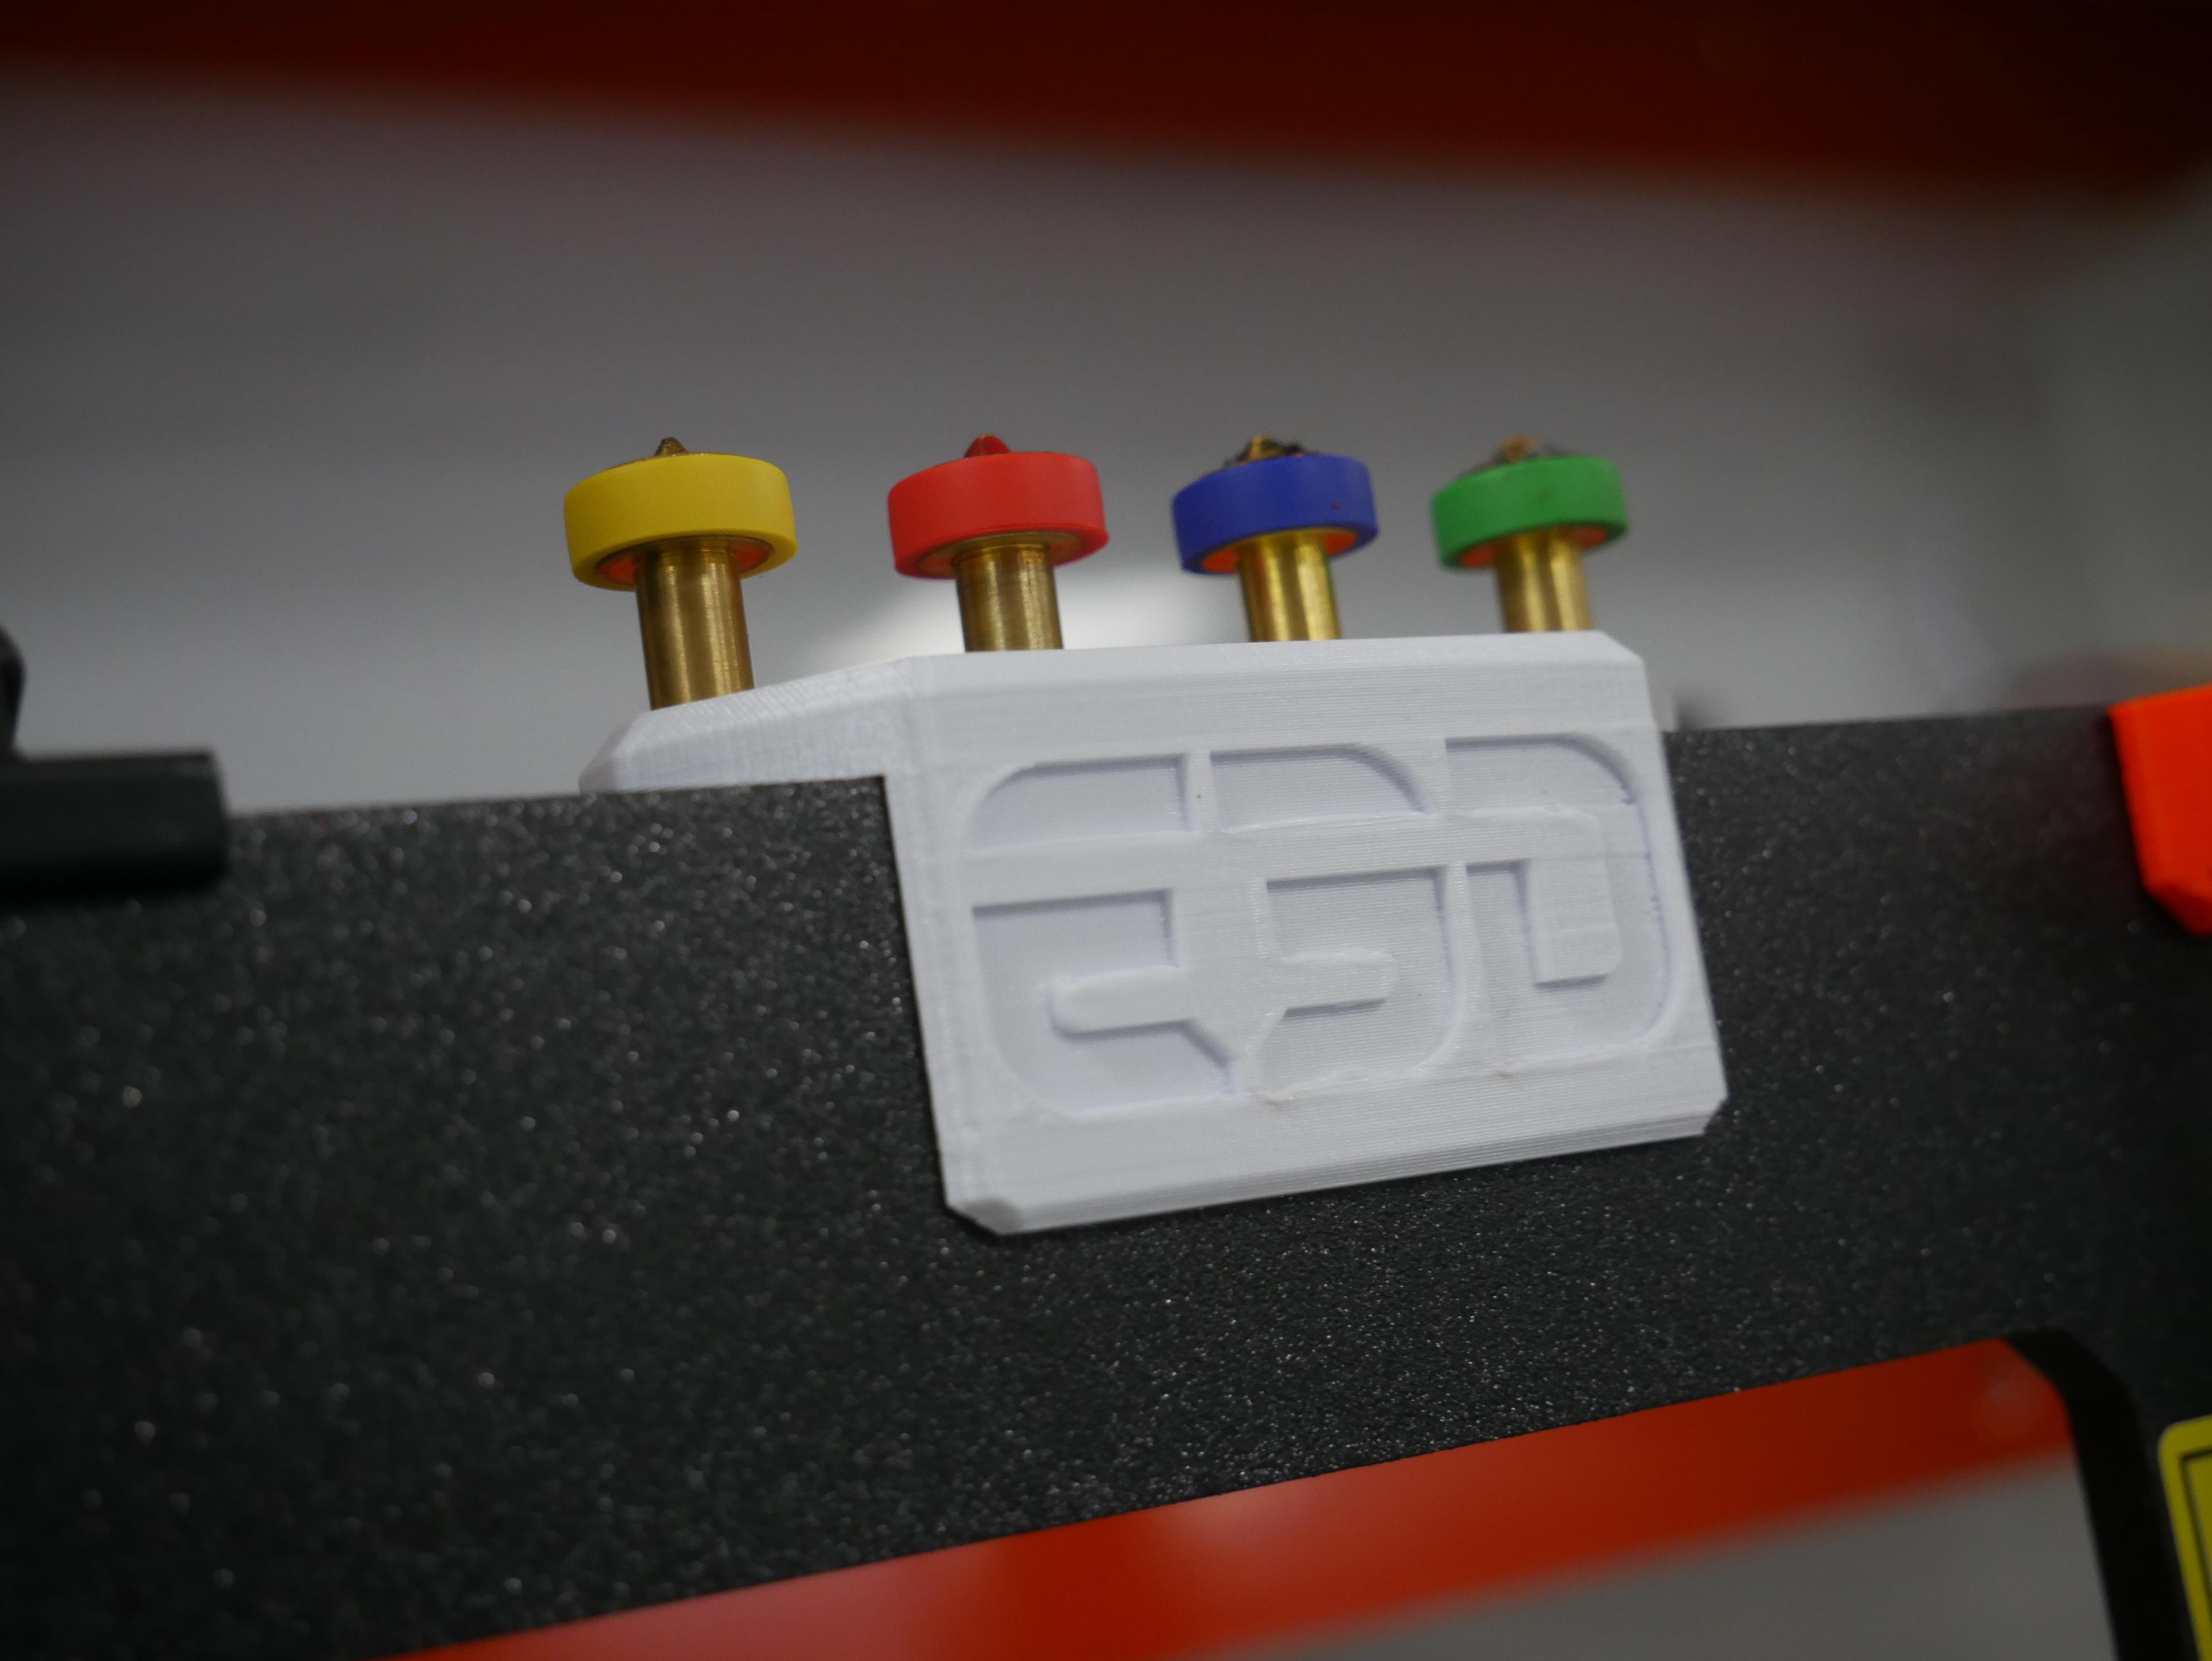
Prusa MK3 SD Card Caddy
PRUSA MK3 AIR INLET 45°
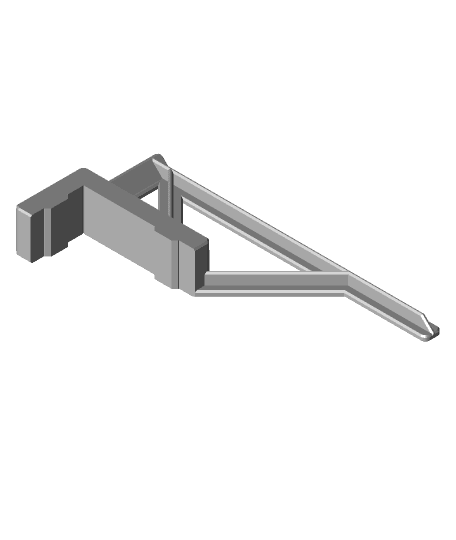
Prusa MK3 filament Guide w/ball
Prusa MK3 Camera Mount
Prusa i3 MK3 Y-Axis Motor Holder with End Stop
Y-Rod Alignment Helper for Prusa MK3 Bear Upgrade
Clip on Revo Nozzle Holder (for Prusa MK3)

Prusa Mk3 Raspberry Pi and Fan holder
YA Prusa MK3 or similar LCD cover