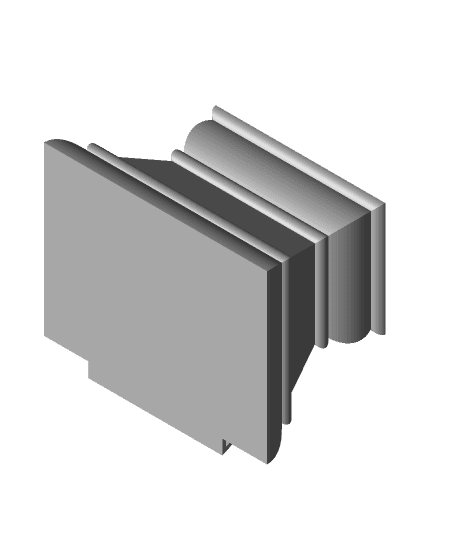
Model originally uploaded to Thingiverse at https://www.thingiverse.com/thing:4817489.
Runmmy Championship Trophy by RebelTaz
My girlfriend and I play a LOT of rummy card games. 90 times out of 100, I mop the floor with her :) but every once in a while, she will pull one out of her hat. I thought it'd be cool to have a trophy with interchangeable name plates that we could swap out depending on who won the last game. Enter the Rummy Championship Trophy!
This is made to print as easily as possible and, using multiple color filaments, with as little painting as possible. The only things that can't be printed in color (on a single extruder printer) are the card names and suits.
For the base of the trophy, I have included two versions. One has a slot for the winner's nameplate while the other one does not. If you don't want to personalize the trophy, you should print the base_wo-slide.
I have included the nameplates that I printed for me (Pepper) and her (Elevyn), but since I know no one else will ever need those, I have included a blank nameplate to which you can extrude your own name(s).
For best results, print everything at 0.2mm layer height with 10% infill in the orientation presented. The only piece that needs supports is the card stack. For that, I recommend Supports with the Support Interface enabled for a smoother back side. You might want to use a brim for the guide pin.
For the nameplates and the plaque, I have made them the same thickness so that you can print all of them on the bed at the same time. To keep from having to paint the letters, you can swap the filament out as soon as the letters start printing (layer 10 if you are printing at 0.2mm layer height). For these, you'll get better results if you change the Line Width (Wall Thickness) to 0.4mm and change the Bottom Layers to 9999. Then enable Ironing Only on Top Layers.
There is little to no clearance between the cards and the cardHolder, so depending on the tolerances of your printer, you might have to scale the cardHolder up a percent or two so to get a good fit between the two.
NOTE Due to either a Thingiverse bug or (more likely) shadowbanning, my models no longer show up under the [Newest] listings. If you want to see more of my models, please be sure to 'follow' me. If you print this, it would really help if you'd post a 'make' so that others could find this model.
