


Modular Hextraction Board!
Modular Hextraction!
--
Revisions. Updated 13th June 2024.
- Added a Super Fancy Gutters similar to my Super Fancy board remix Hextraction board. Download here: Super Fancy Gutters
--
Revisions. Updated 27th May 2024.
- Revised Hex.stl to make it easier to print the overhangs around the threaded parts.
- Added a single goal similar to the original board. Download here: Single Goal
- Added an easier to use magnetic gutter system. Download here: Magnetic Gutters
--
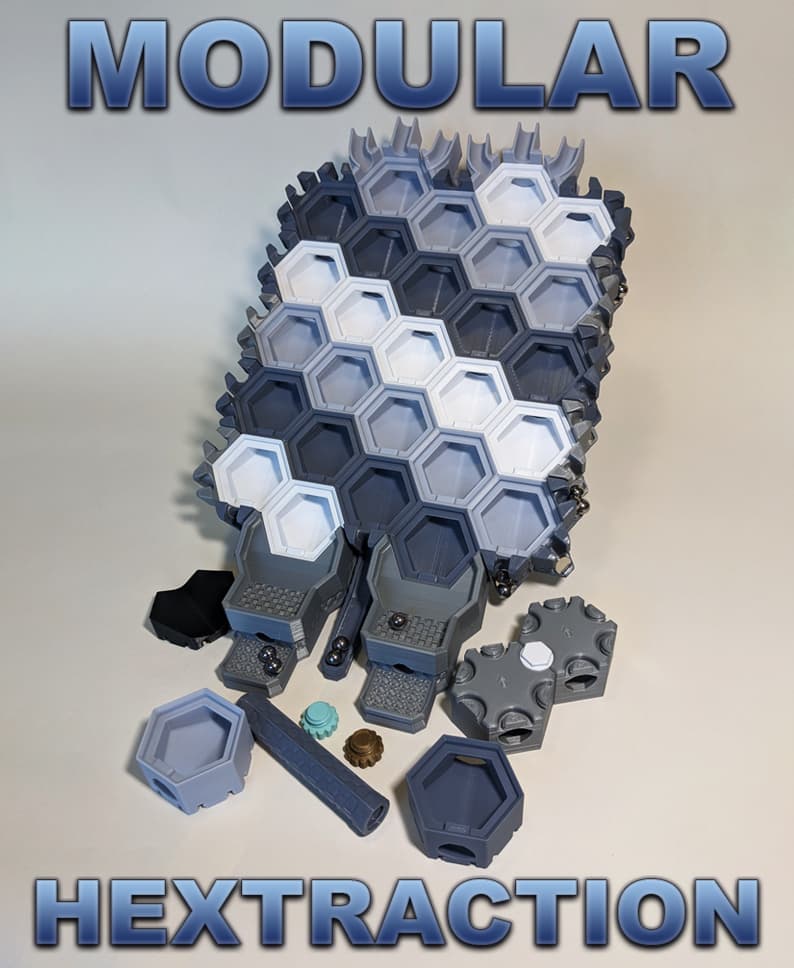
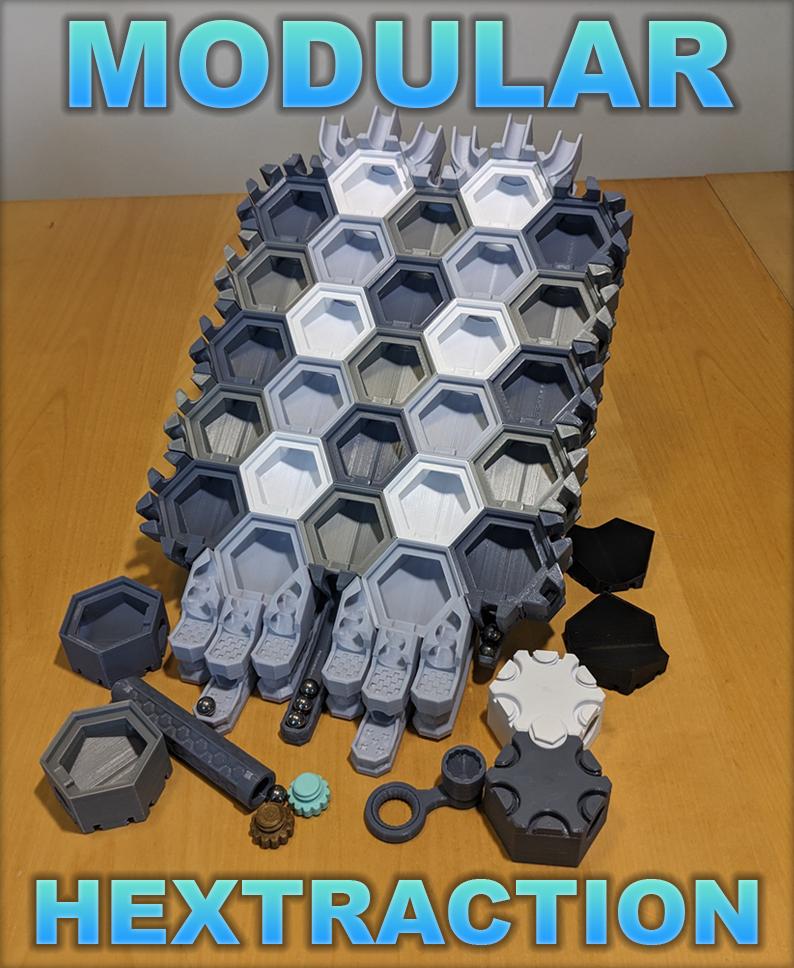
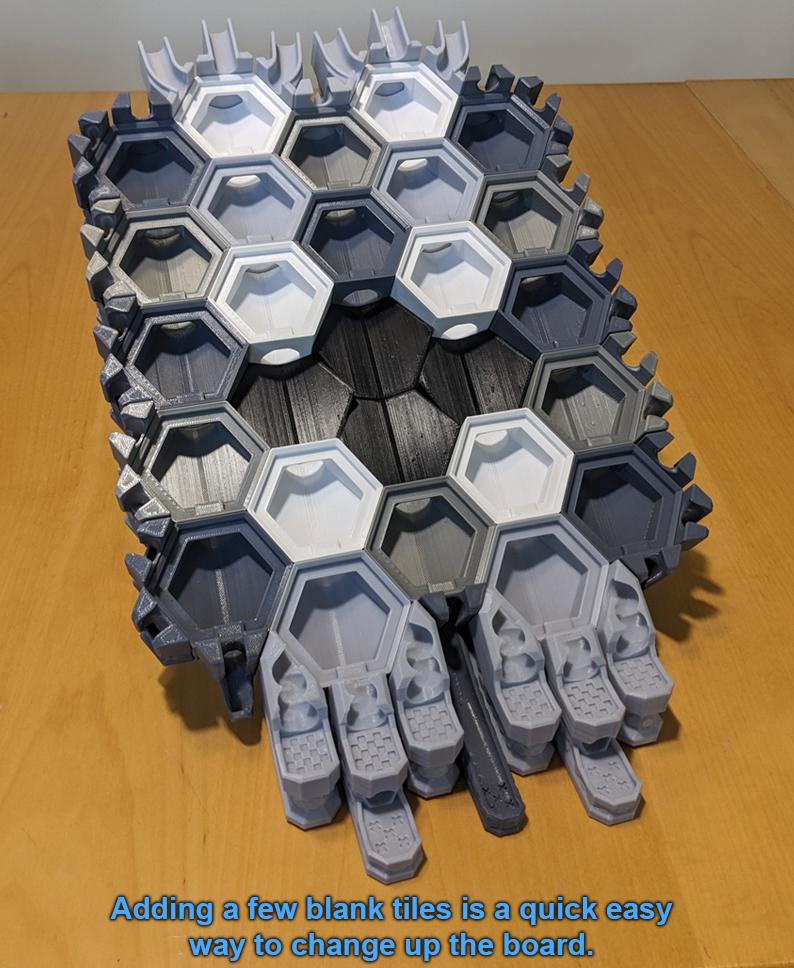
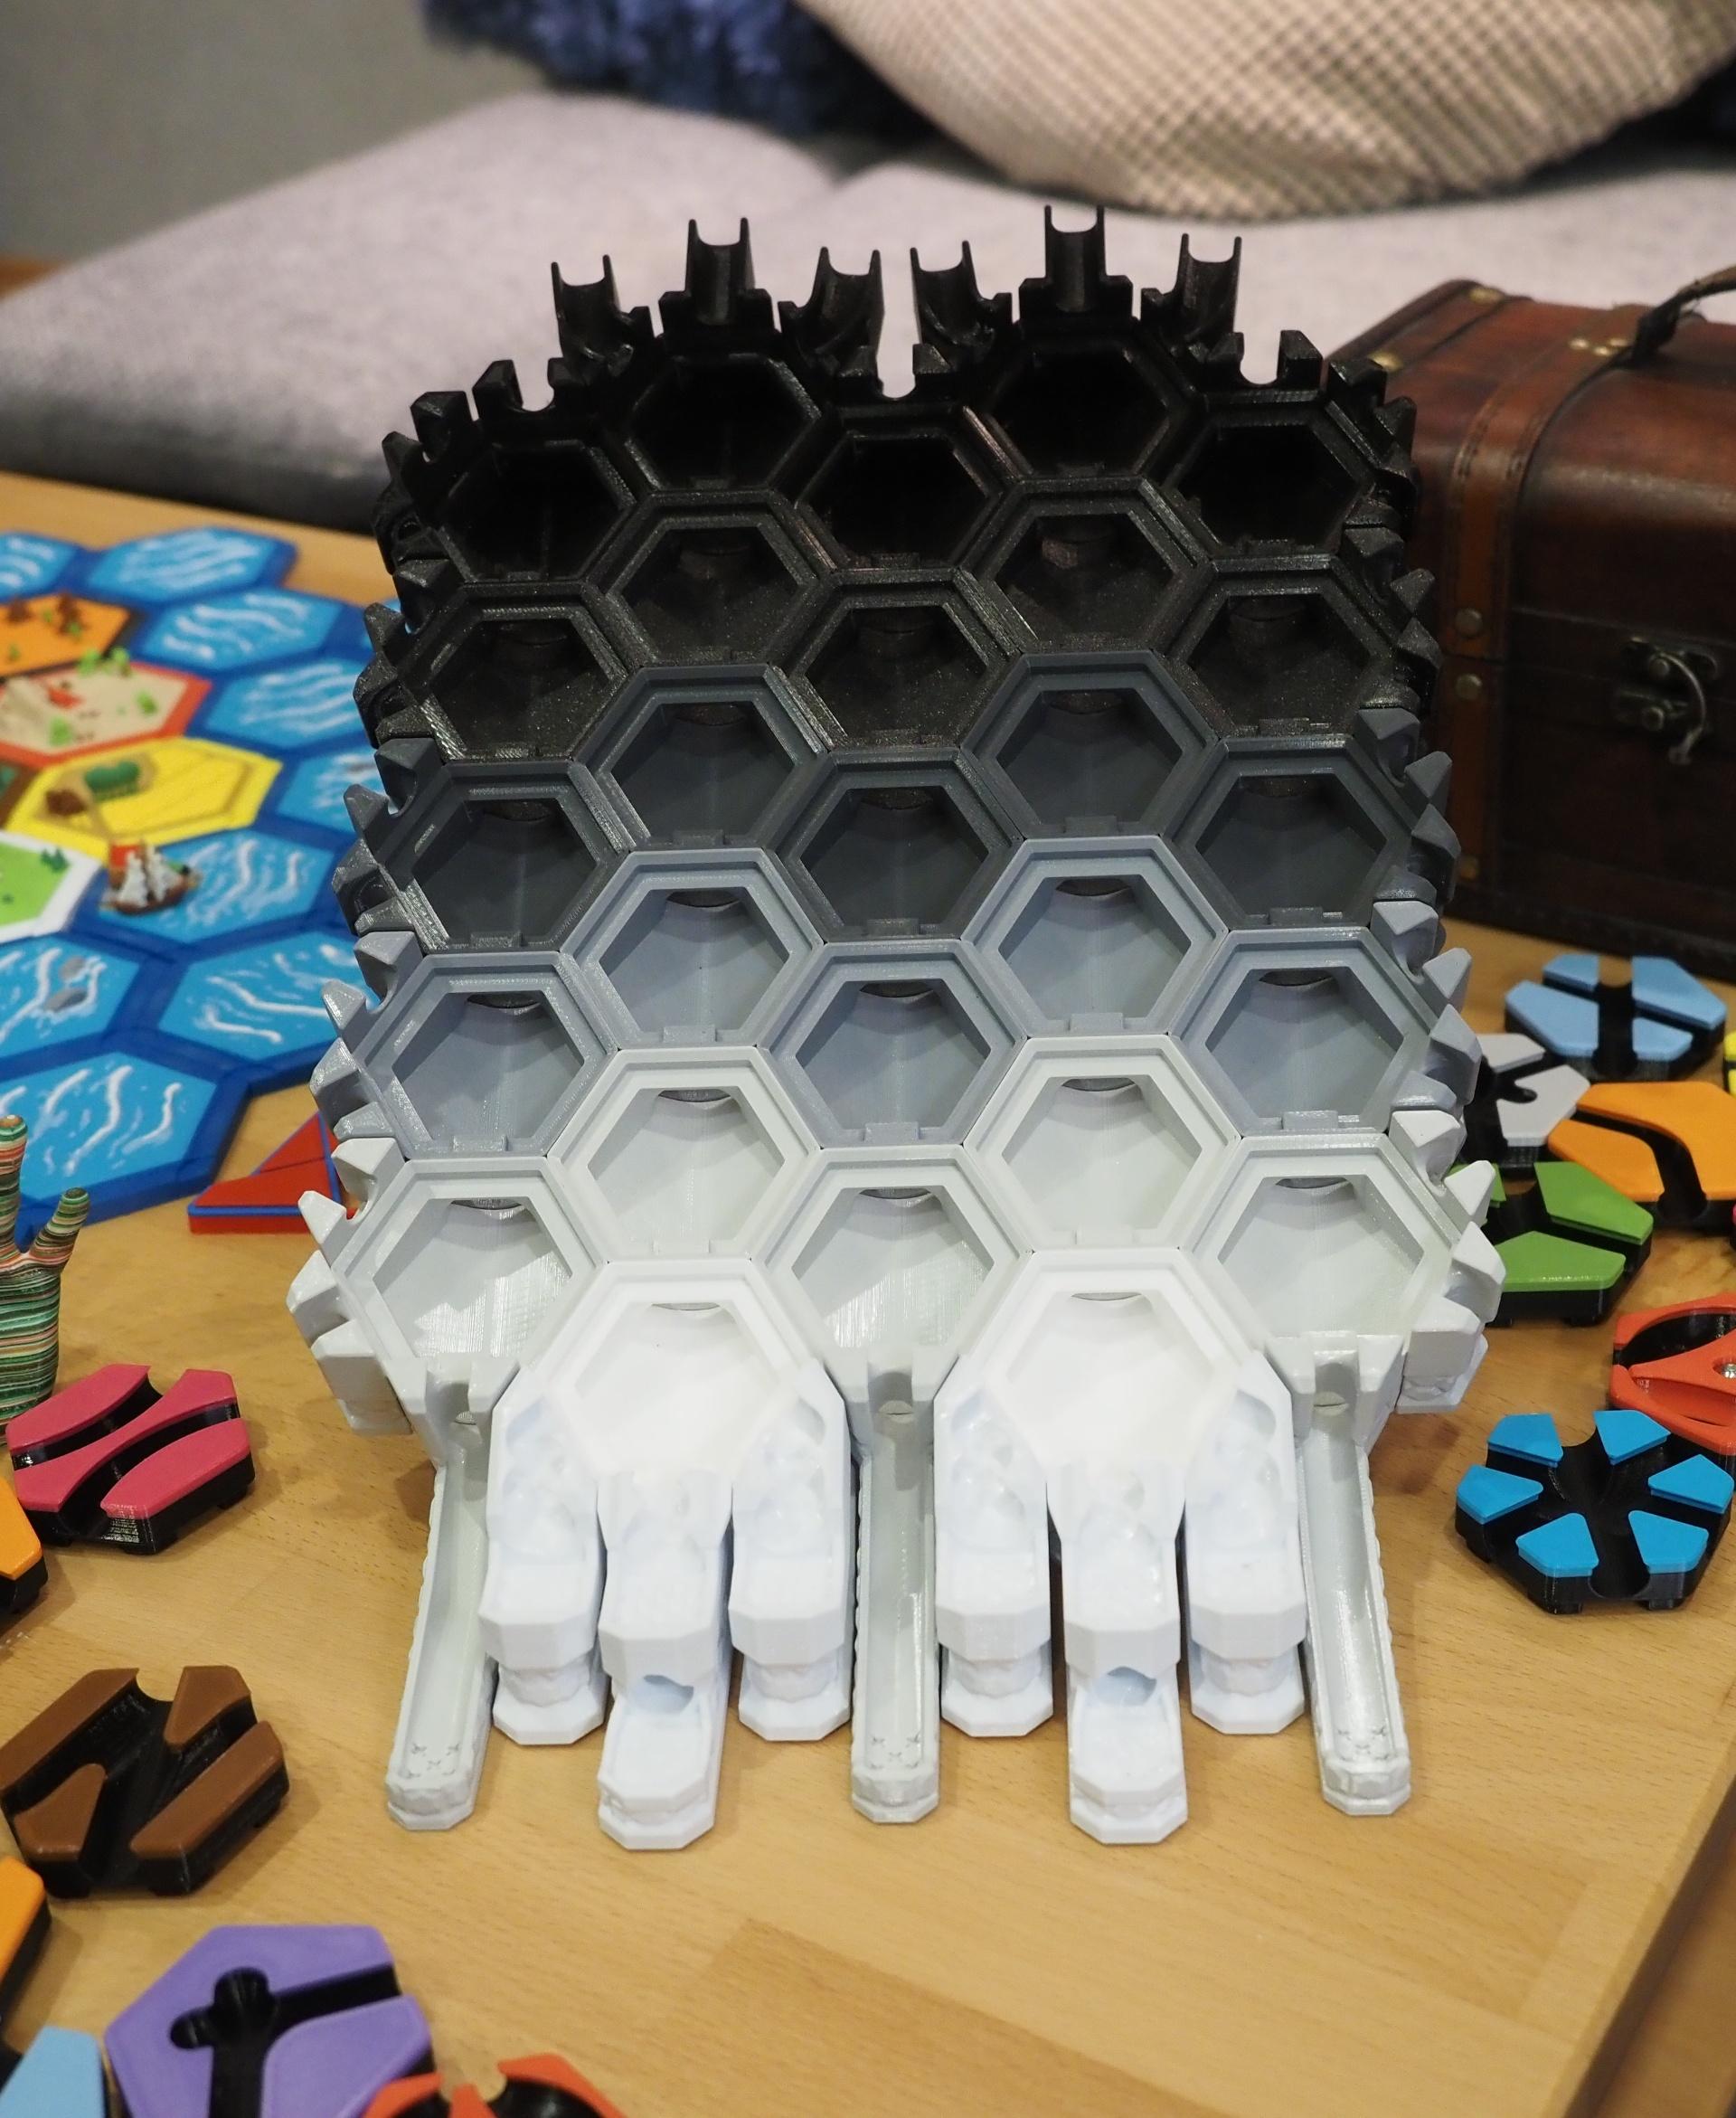
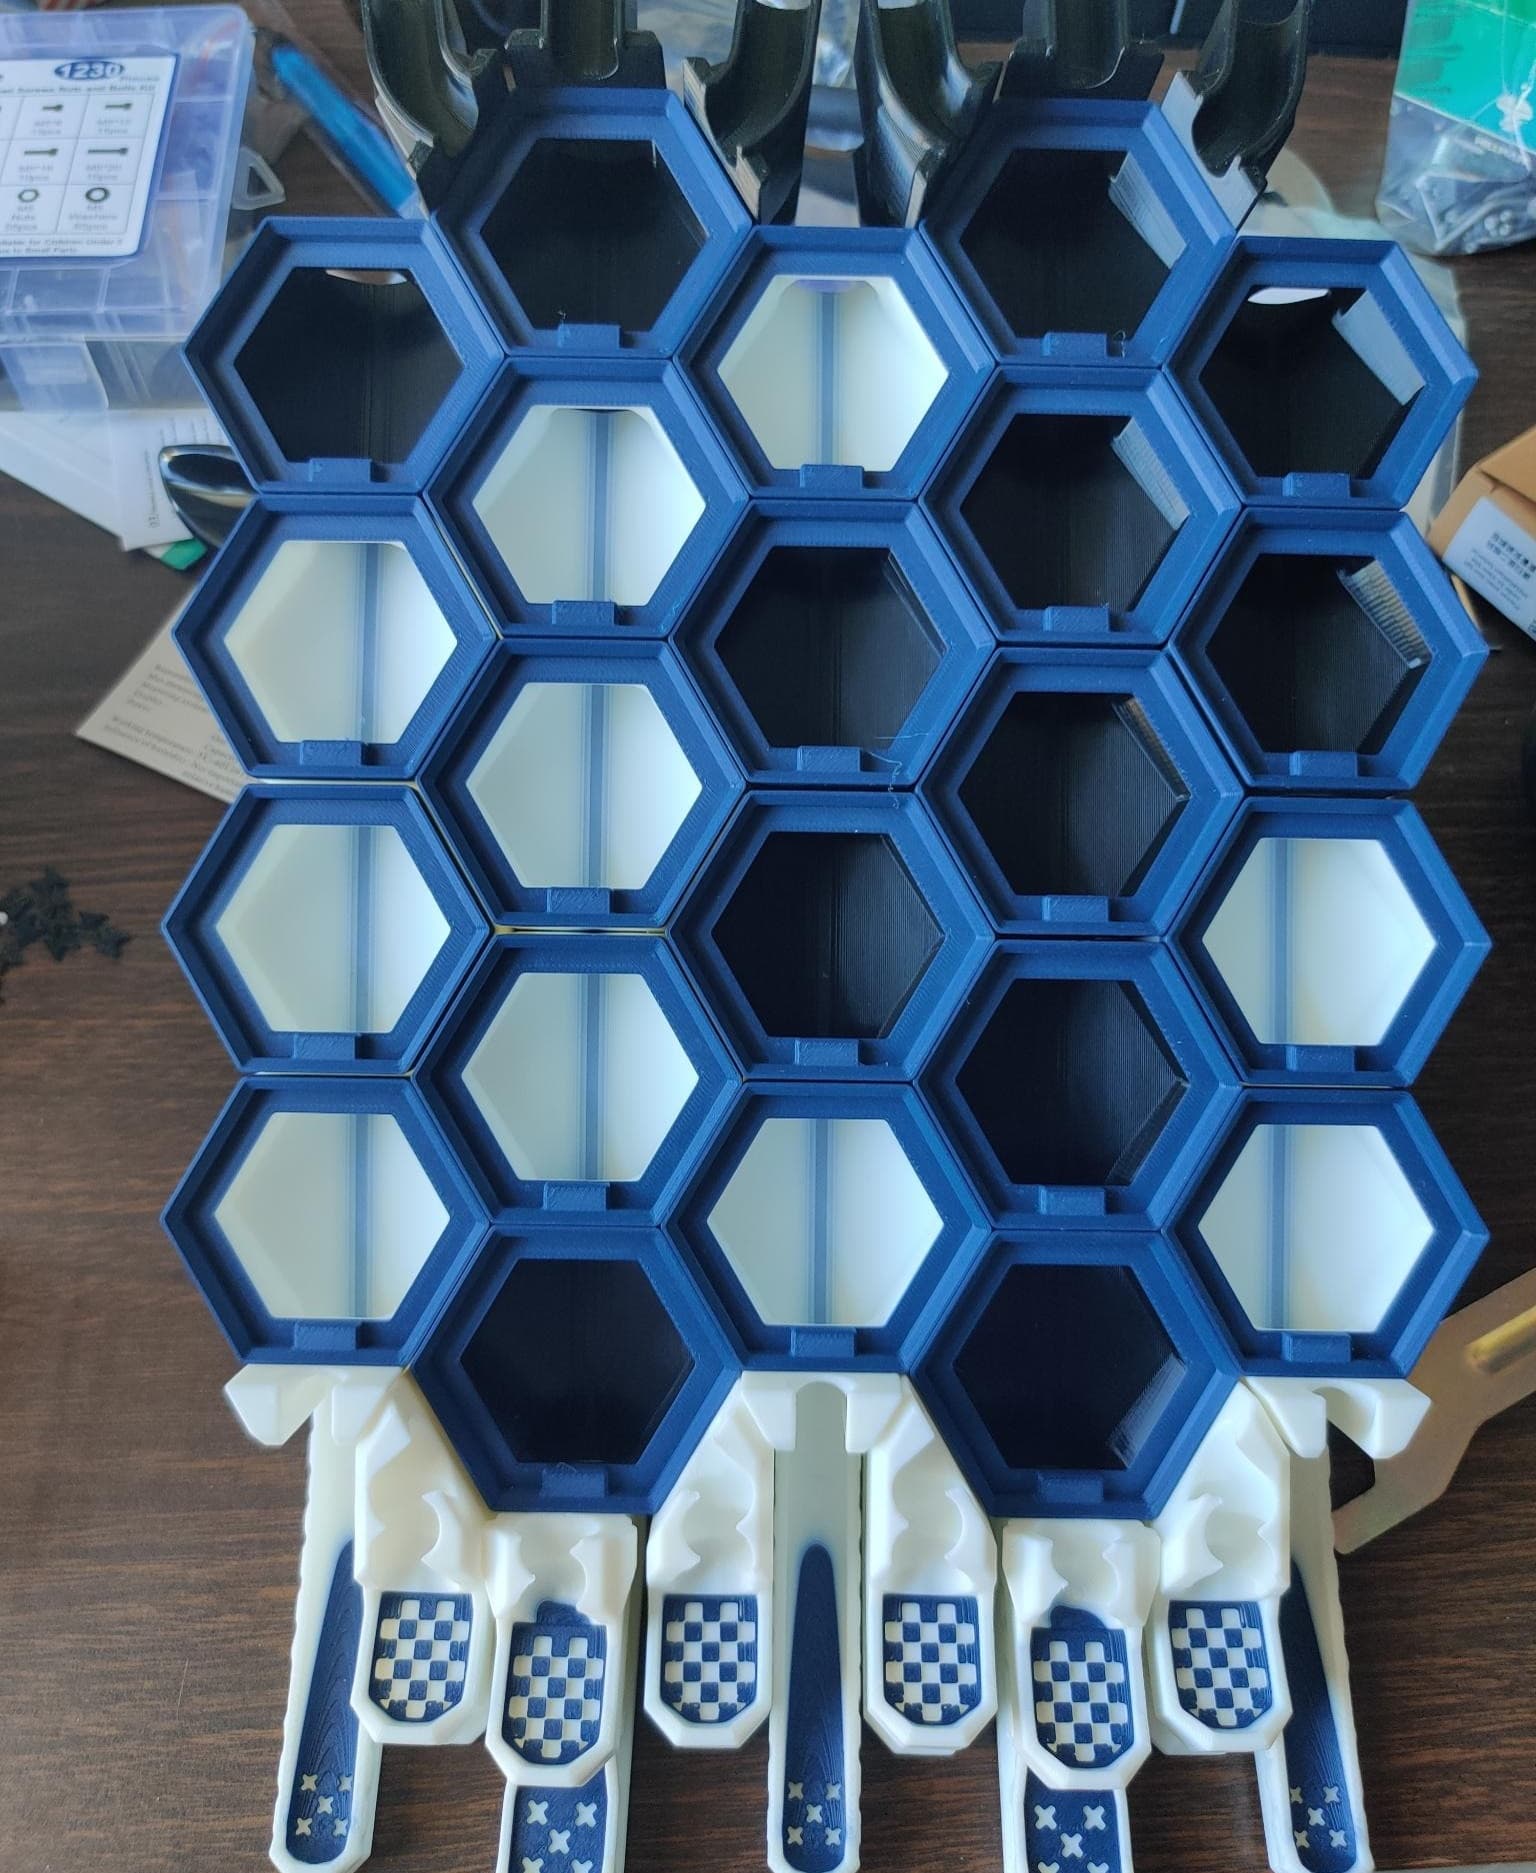
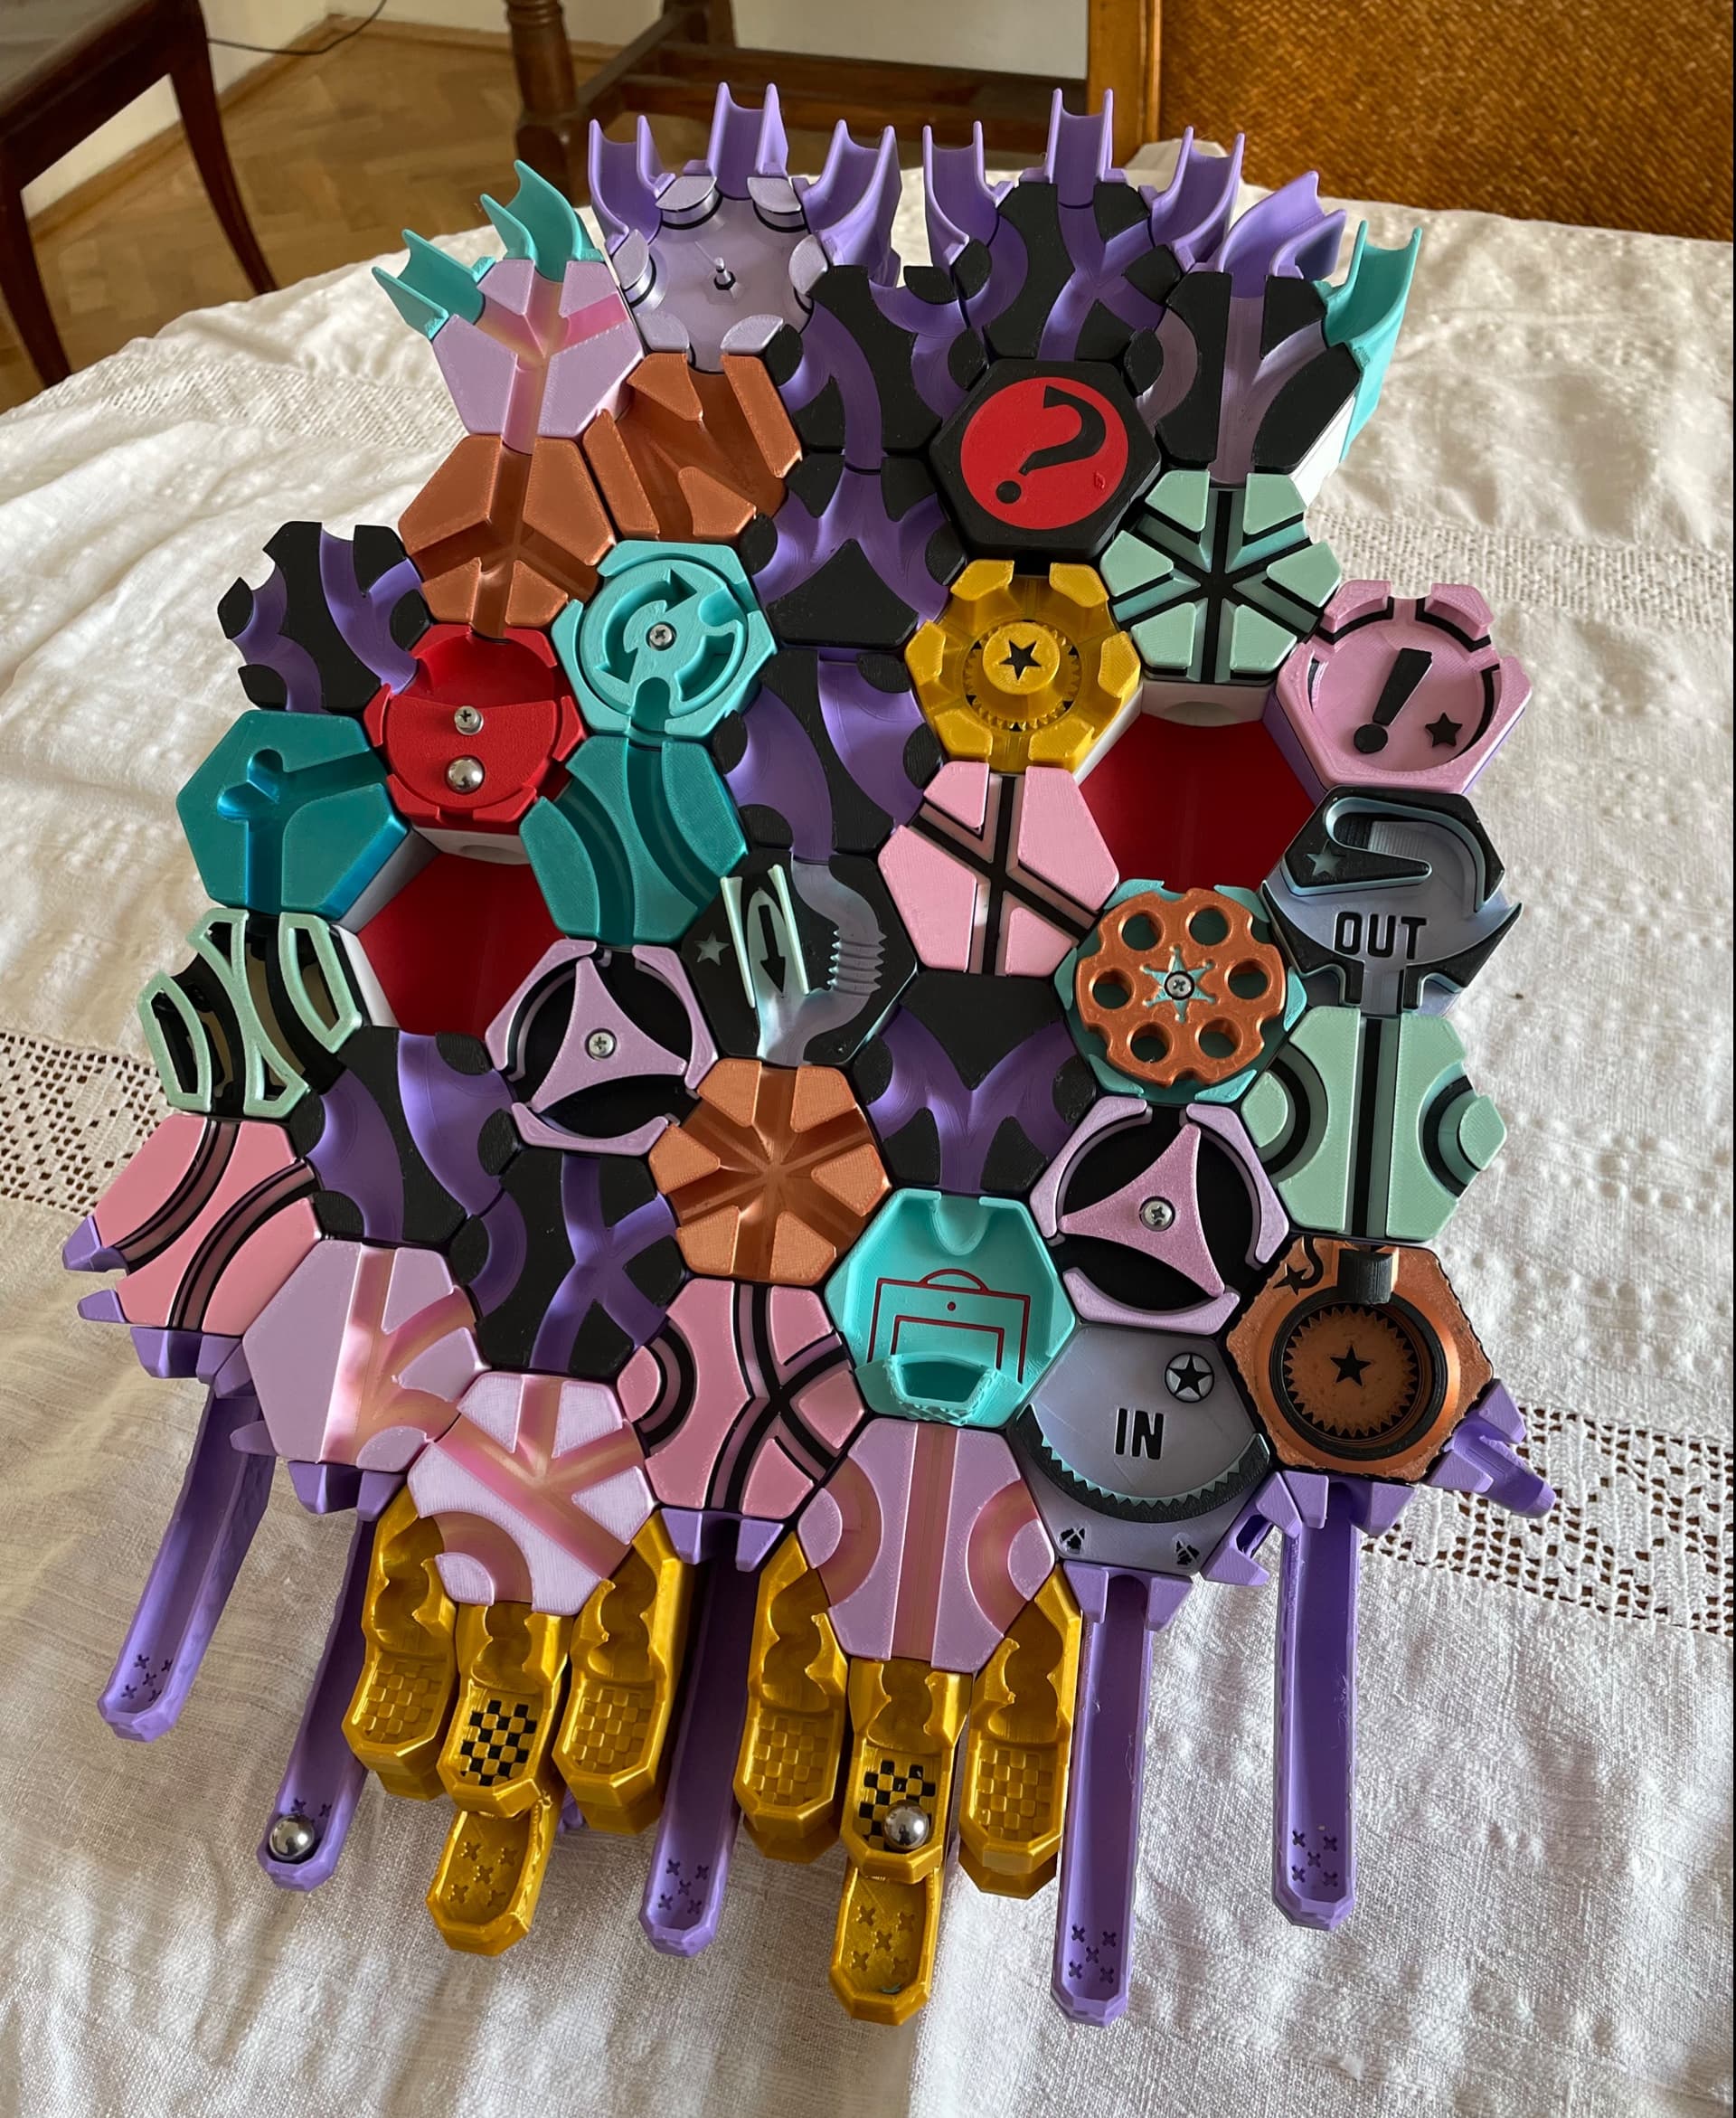
I've made another full remix of Zack’s Hextraction board game. This time it’s fully modular! Allowing you to make a board in any shape, size and color you wish, even change the board in between games! This remix also includes something you can’t easily do in the standard version, blank hexes. These can replace a standard hex where you normally place tiles, with a blank. These stop players placing a tile there and instead forcing players to go around them. Allowing for even more interesting board layouts. The blank hexes can also be used to strengthen the board if a design gets too crazy.
This remix adds a full gutter system, however it is a little different from my Super Fancy Remix and other gutter designs out there. Once a ball is trapped in the gutter, you need to slide the ball out with a finger and it will pop out. This design allows the gutters to work no matter how crazy the board layout is!
Perhaps best of all this remix uses no glue and no hardware! It's all 3D printed! Want to add more pieces? Easy! Break a piece, just remove it and reprint!
Unlike my Super Fancy remix, it does not include easy storage on the back of the board. Instead the idea behind this version is that you can just break the board into as many or few pieces as needed to store everything in a box. You can store up to 9 balls in a 100mm leg. Print a Leg_Foot_Shortest to use as a lid. But it won’t attach to the board like my Super Fancy remix. Printing both this and my Super Fancy remix (or enough pieces of the Modular for 2 large boards) is a good option for more than 2 people. Two people can play while the other designs the board for the next game. Perhaps the winner or loser of the previous game designs the next board!
-- Print Settings:
This board is a little more difficult to print than my super fancy remix, and despite my best efforts you will need to use some supports on a select few parts.
Many of the pieces have a small bed contact area, so good bed adhesion is a must. I printed all my pieces on fairly stock standard ender 5, with a glass bed with that black dotted coating on top, and have not had any issues. So give it a try without first and see how you go. If you are having trouble with this then I have added a MouseEars.stl file to add to pieces you are having failures with. Add them where parts are coming loose, usually around the threaded part of any piece. Then merge them together. See the picture with MouseEars. Adding supports from the build plate only or adding a brim is another way to increase bed adhesion. Make sure to clean it up really well as this may cause issues with attaching pieces together.
I printed everything with PLA+ with 2 perimeters, 0.2mm layer height. 15% infill, 4 top and bottom layers with the exception of:
Nut.stl and LegAttachment.stl = 3 perimeters, 60% Infill and 5 top and bottom layers.
Hex.stl = 3 Perimeters 30% Infill - If you want to save some filament for each hex, see my filament usage section below.
Leg_100mm = If you have a printer where the bed moves, you may have trouble with this part as it has a small bed contact area and is tall. Consider using a brim.
These are just suggestions, print them at what settings you wish. If you are going to make really big boards, I would recommend doing the legs with 3 perimeters for extra strength.
Print everything in the orientation of the file for best results. With the exception of the goals that can be printed so the front or the back sit flat. The goals screw on and line up best if printed in the orientation of the file (back down). However they can all be printed when rotated 30 degrees so that the fronts sit flat. This will allow you to do a color change for the checkered and X areas. With the tradeoff that the thread may not be quite as nice and may orient the part a few mm off. Depending on your printer the ends may need support, especially for the internal threaded area.
After prints are complete make sure to check them for blobs, stringing and bits, especially in the threaded parts and nuts as this can cause parts to not go together correctly or break them. Also make sure that Aligned Seam is not turned on in the slicer, this can cause issues with parts not fitting together. (at least it did for me especially with the nuts and feet)
-- How many to print: All of the print amounts below are for a 22 hex board. The beauty of the modular version is that you can start with that many then print more as needed.
Hex.stl x 22 Nut.stl x 61 = without gutters add +19 if using gutters (do a few extra for spares) Goal Left Middle and Right x 2 of each OnRamp Left Middle and Right x 2 of each LegAttachment.stl x 2 Leg_50mm x 2 Leg_25mm x 2 Leg_Foot_Long.stl x 2
This will get you a basic board similar to the one shown in Zack’s video (5 hexes from on ramp to goal). Since it is modular, once you have the hang of the game, and how long each game takes with your group. You can adjust the size of the board for a longer or shorter game.
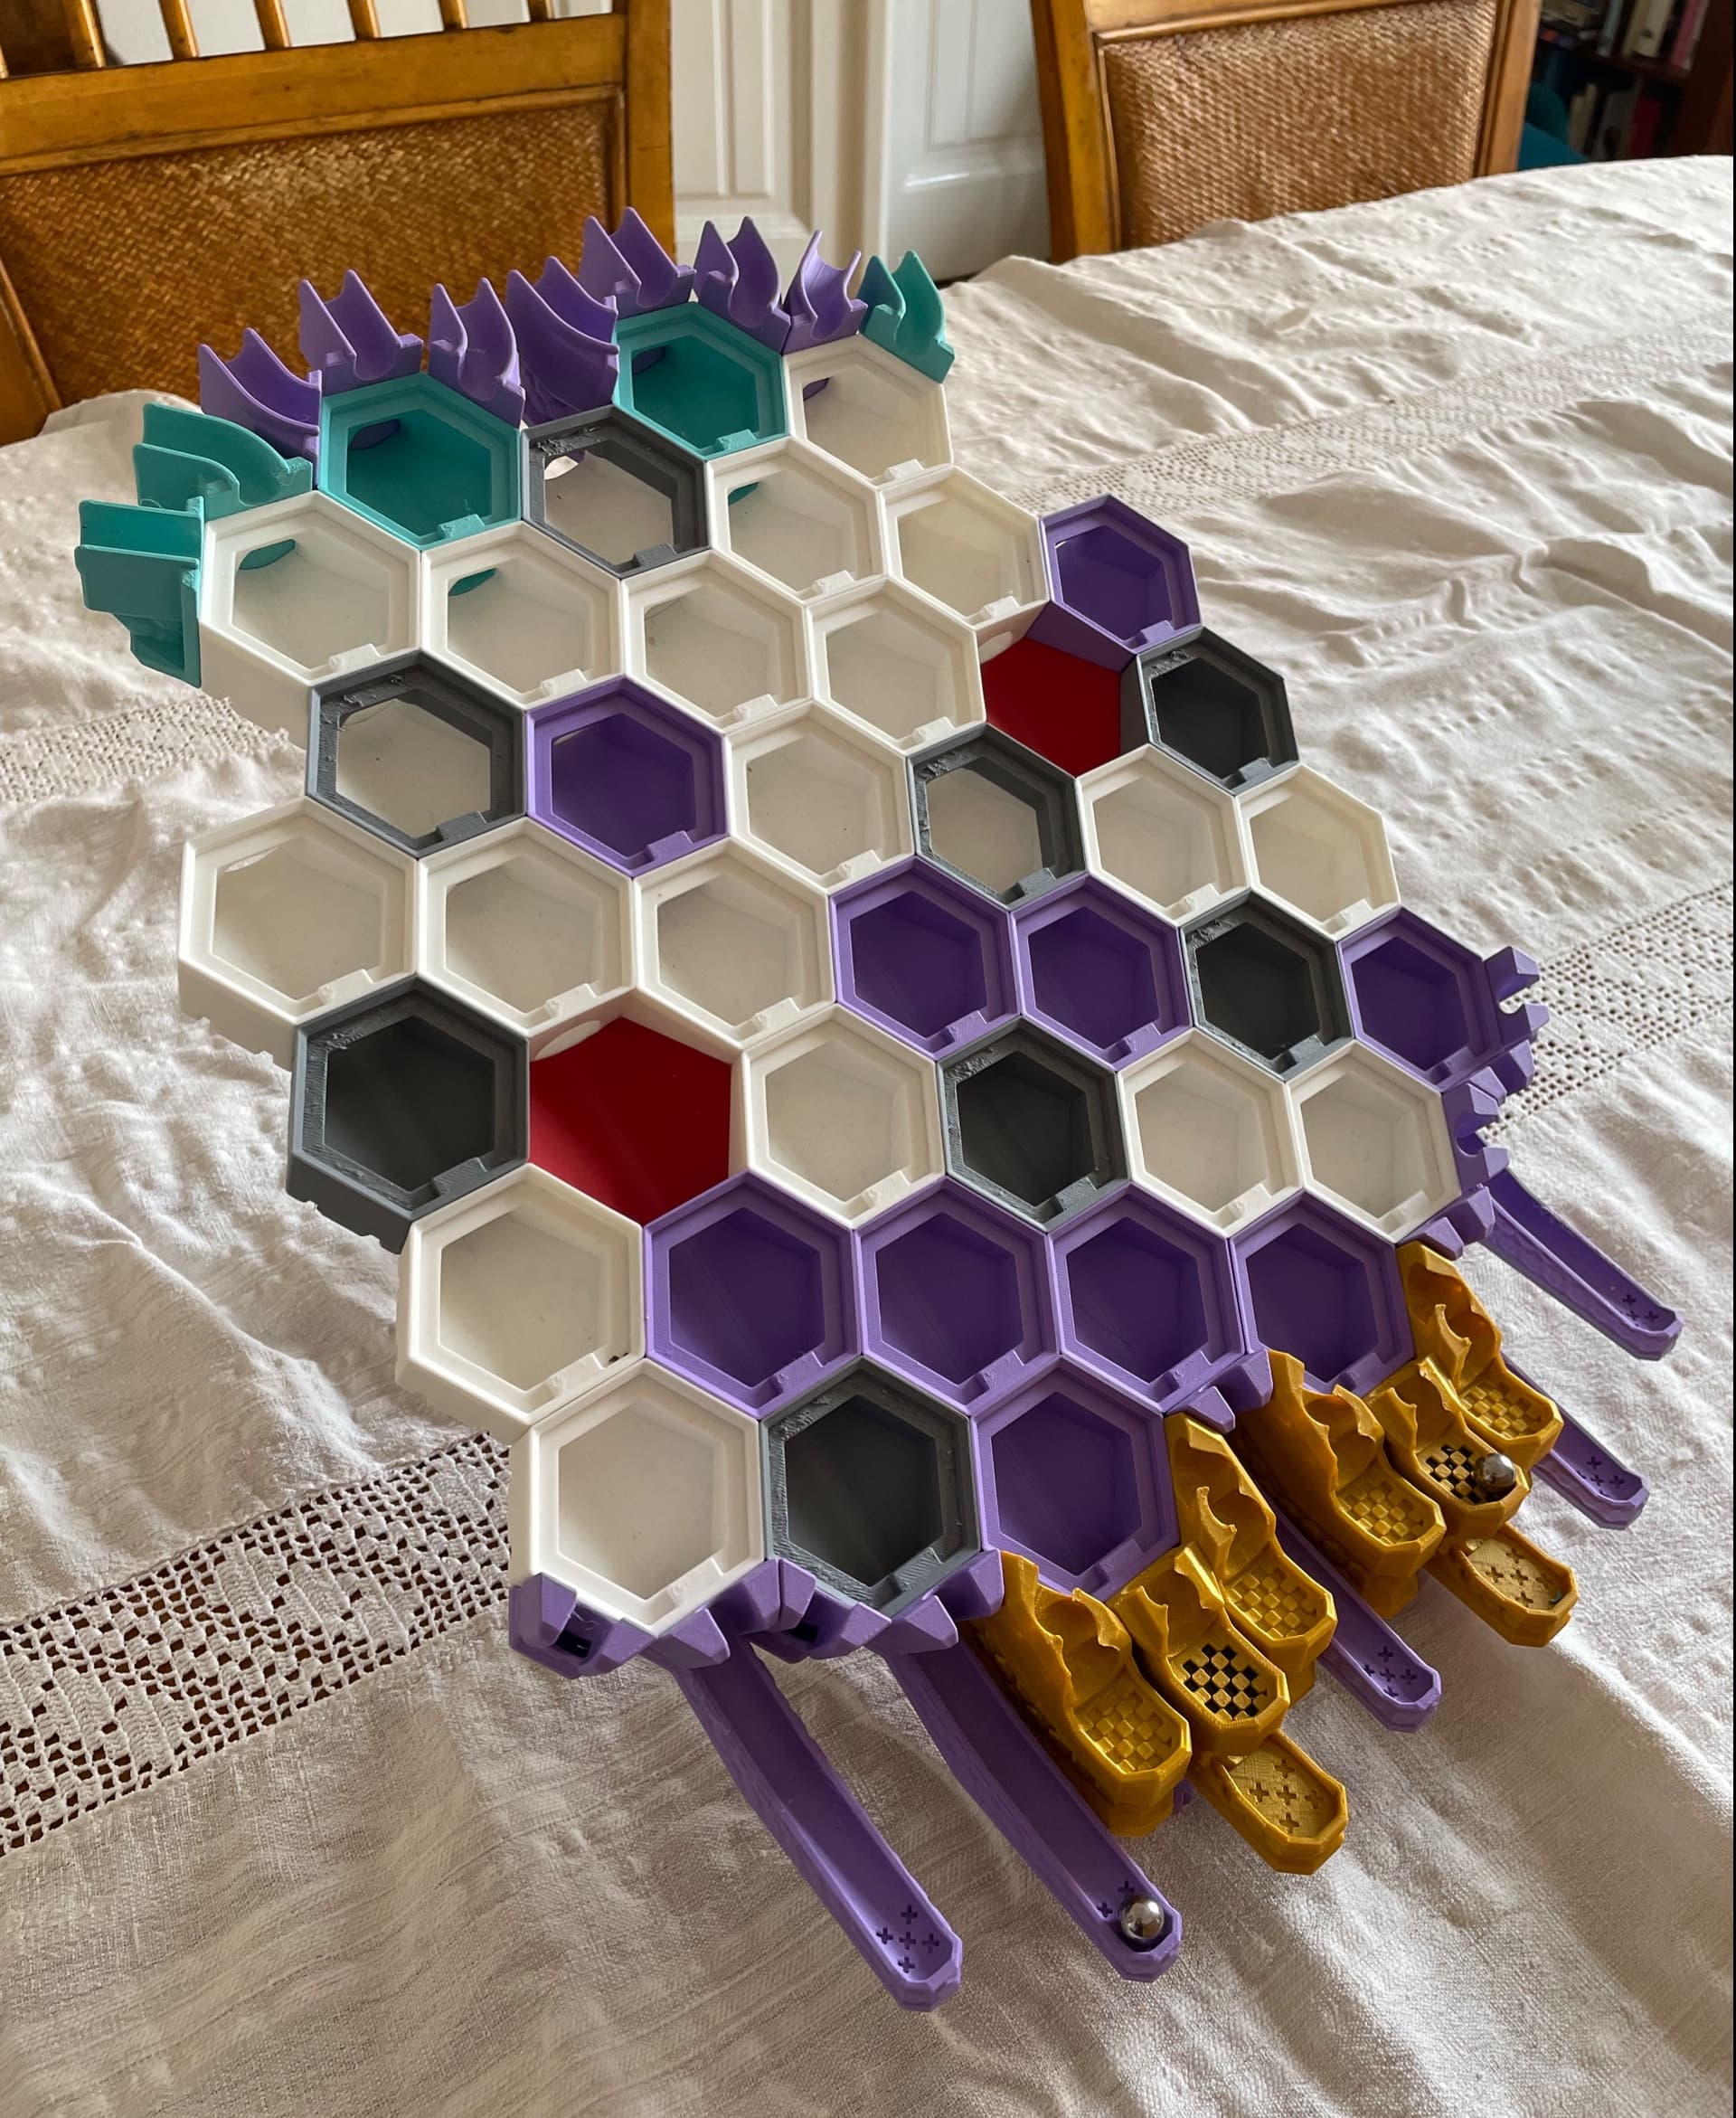
Or if you want more of a challenge try only having 1 or two goals or on ramps? Have them in opposite corners? Add blank joiners (Blank_Hex.stl) in so that players can no longer place a tile there and have to go around it! And any other crazy board shape size or goal and on ramp locations you can think of! A good amount to allow for modularity is to double all of the above suggested amounts. Or see amounts used in some of the examples.
It would be awesome to see some photos of your crazy board shapes and colors! I’d love it if someone tested how big the board could get before becoming unstable! Curious how big it could go!
-- If you want to add side gutters:
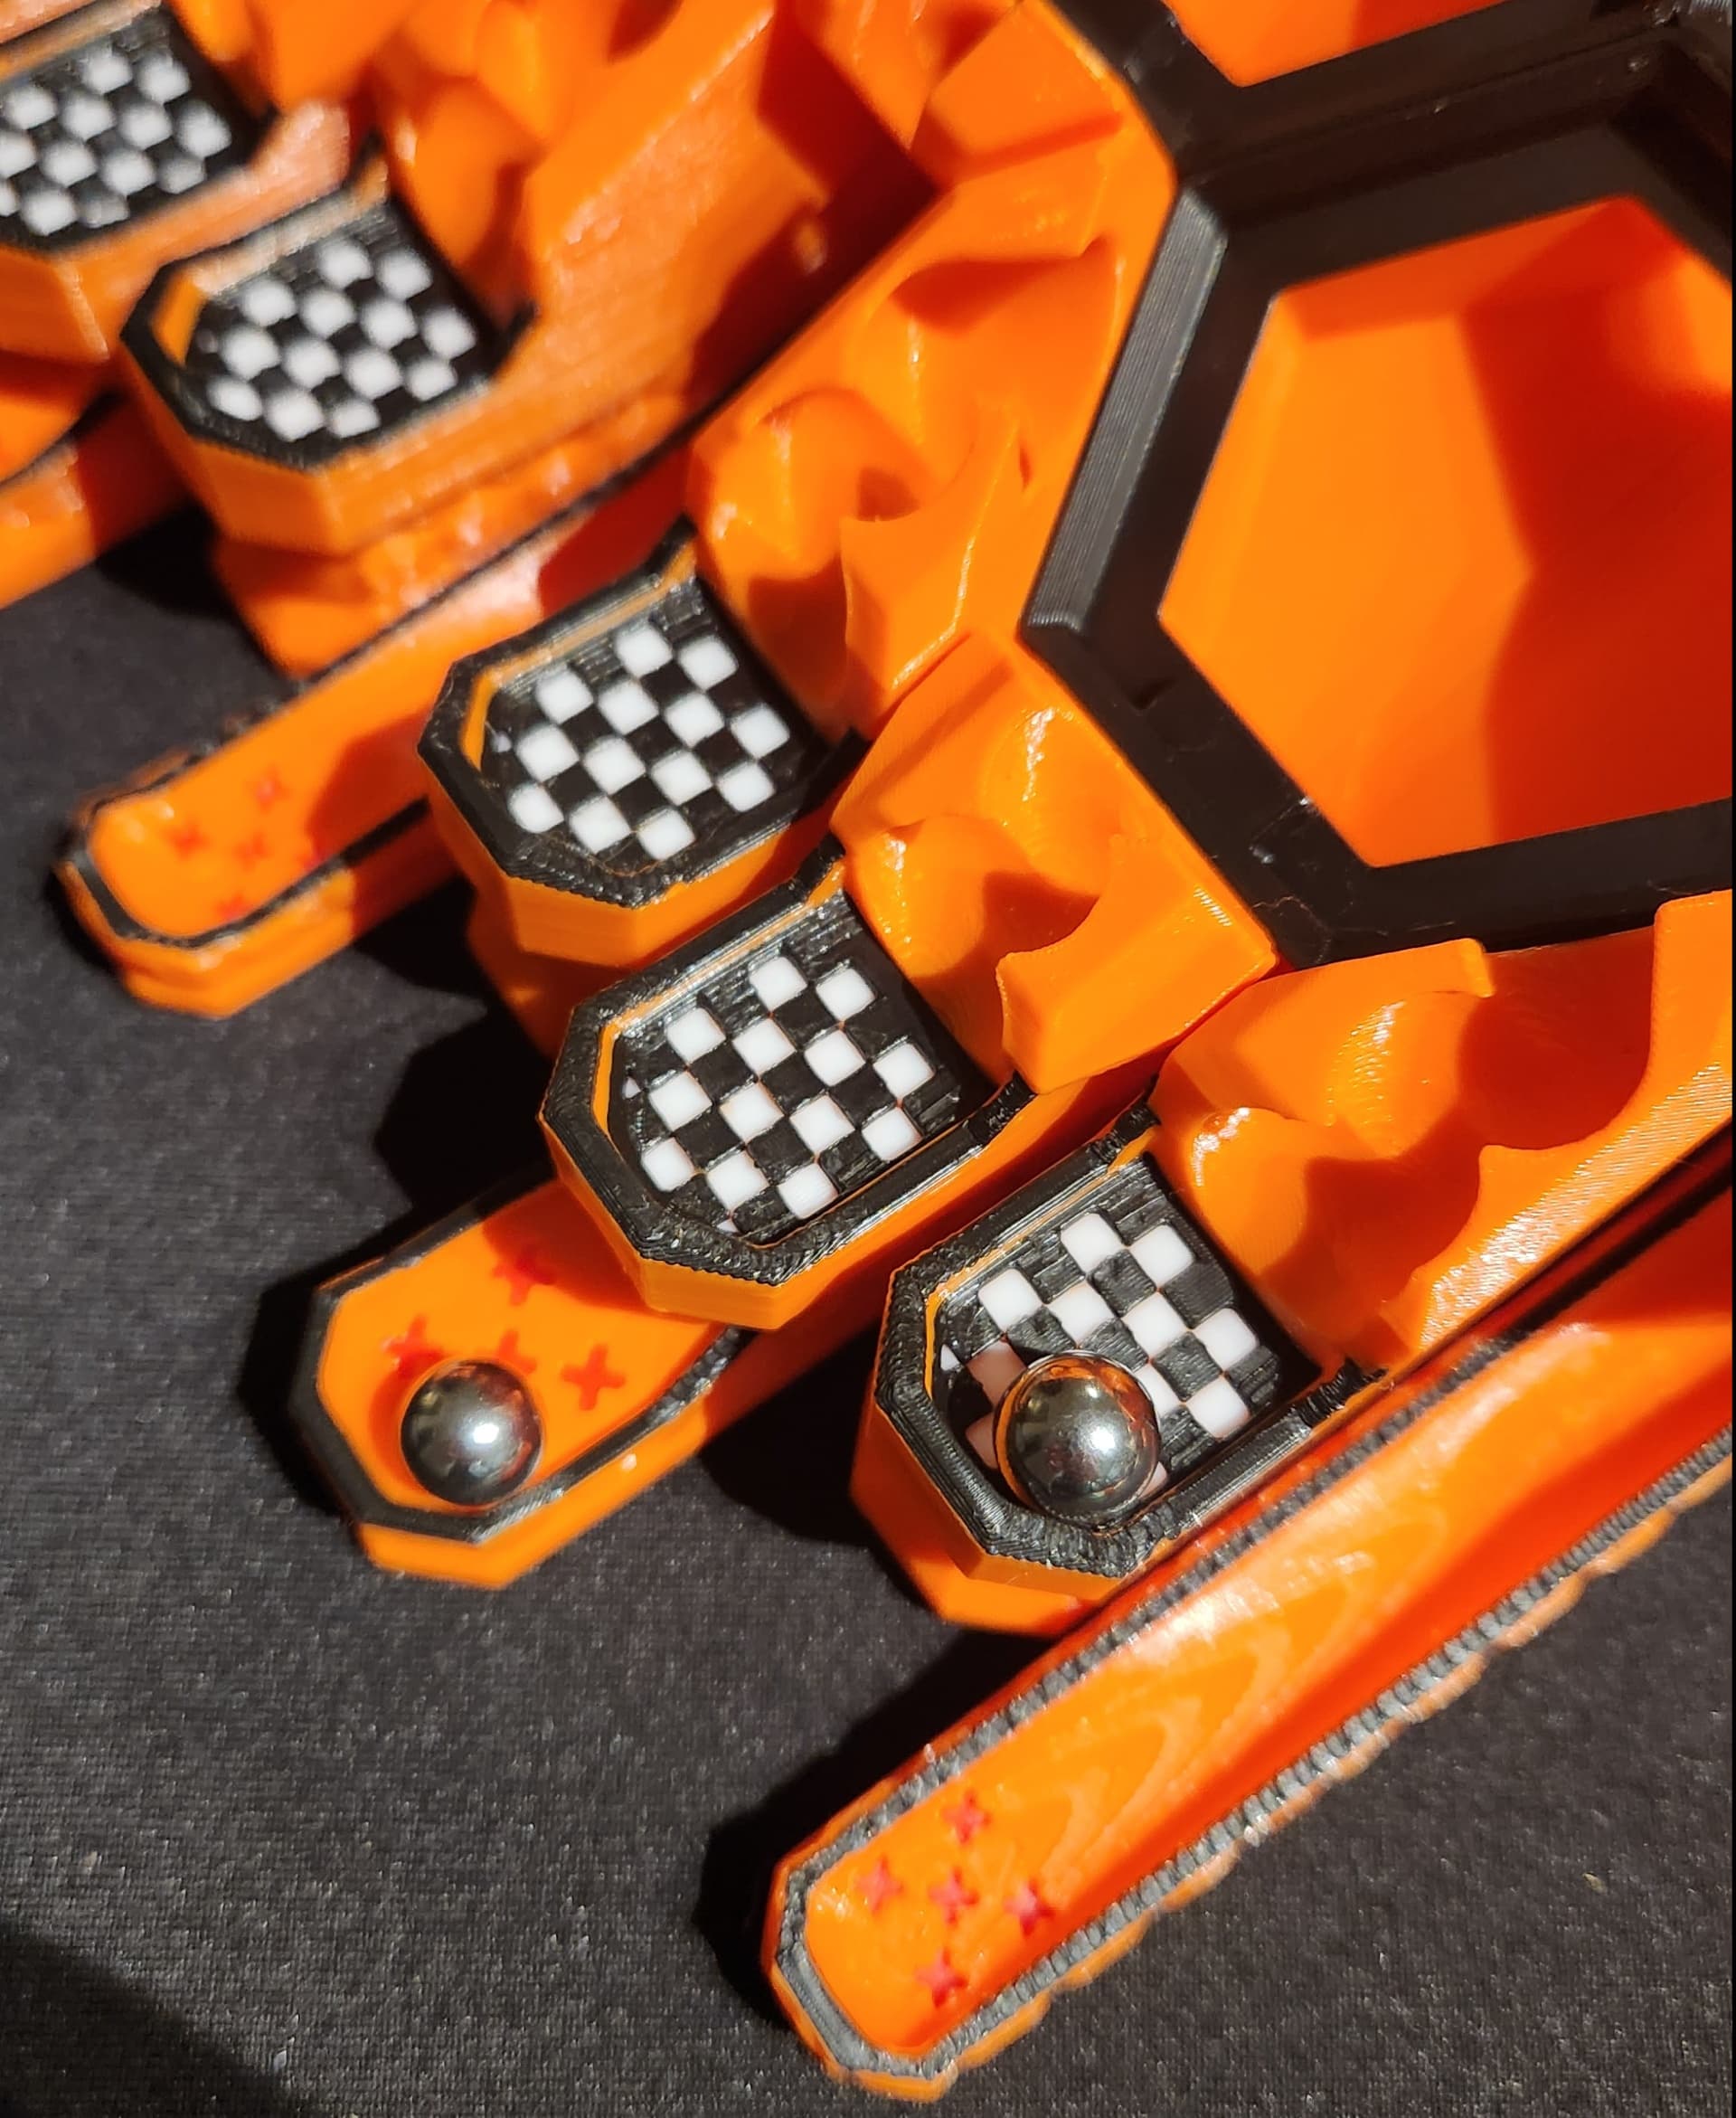
This works by catching the balls that go off the edge into a little slot (holds 2 max before its full) To release the ball, slide your finger down (sideways is easiest) and the ball will pop out. This design allows you to add gutters no matter what crazy board design you have, as they are small enough to fit next to each other in any configuration.
Print: Gutter_Left_+ x 8 Gutter_Right_-.stl x 8 Gutter_Spring.stl x 16 (do 18 just in case you break a few)
End gutters for standard layout board: Gutter_EndLong x 3 For a standard board layout print 3 of these for the middle, left and right.
Gutter_EndShort x ? - These are used for strange layouts to catch a ball from the main board gutter where a Gutter_EndLong will not fit. A good amount to do for other board layouts is around x 5. (For a standard sized board these are not needed, instead use Gutter_EndLong)
For strange shaped boards: Leg_Foot_Short.stl x 2 - Not needed for a standard sized board but included to go into goals for stability with strange shaped boards. Or if playing on a really uneven surface. Put 2 x foot_short in the outermost front goals to have height adjustment on all 4 corners.
Spanner: The nuts are a standard M15 size. Print if you don't have a M15 socket. It's also handy for traveling or going to game nights. SpannerHandle.stl x 1 SpannerSocket_M15.stl x 1
I printed them with 3 perimeters and 70% infill and have been strong enough so far. The part in the finger hole is designed to print in place and spin freely, but may need some “coaxing” to move if not rotating.
-- Assembly:
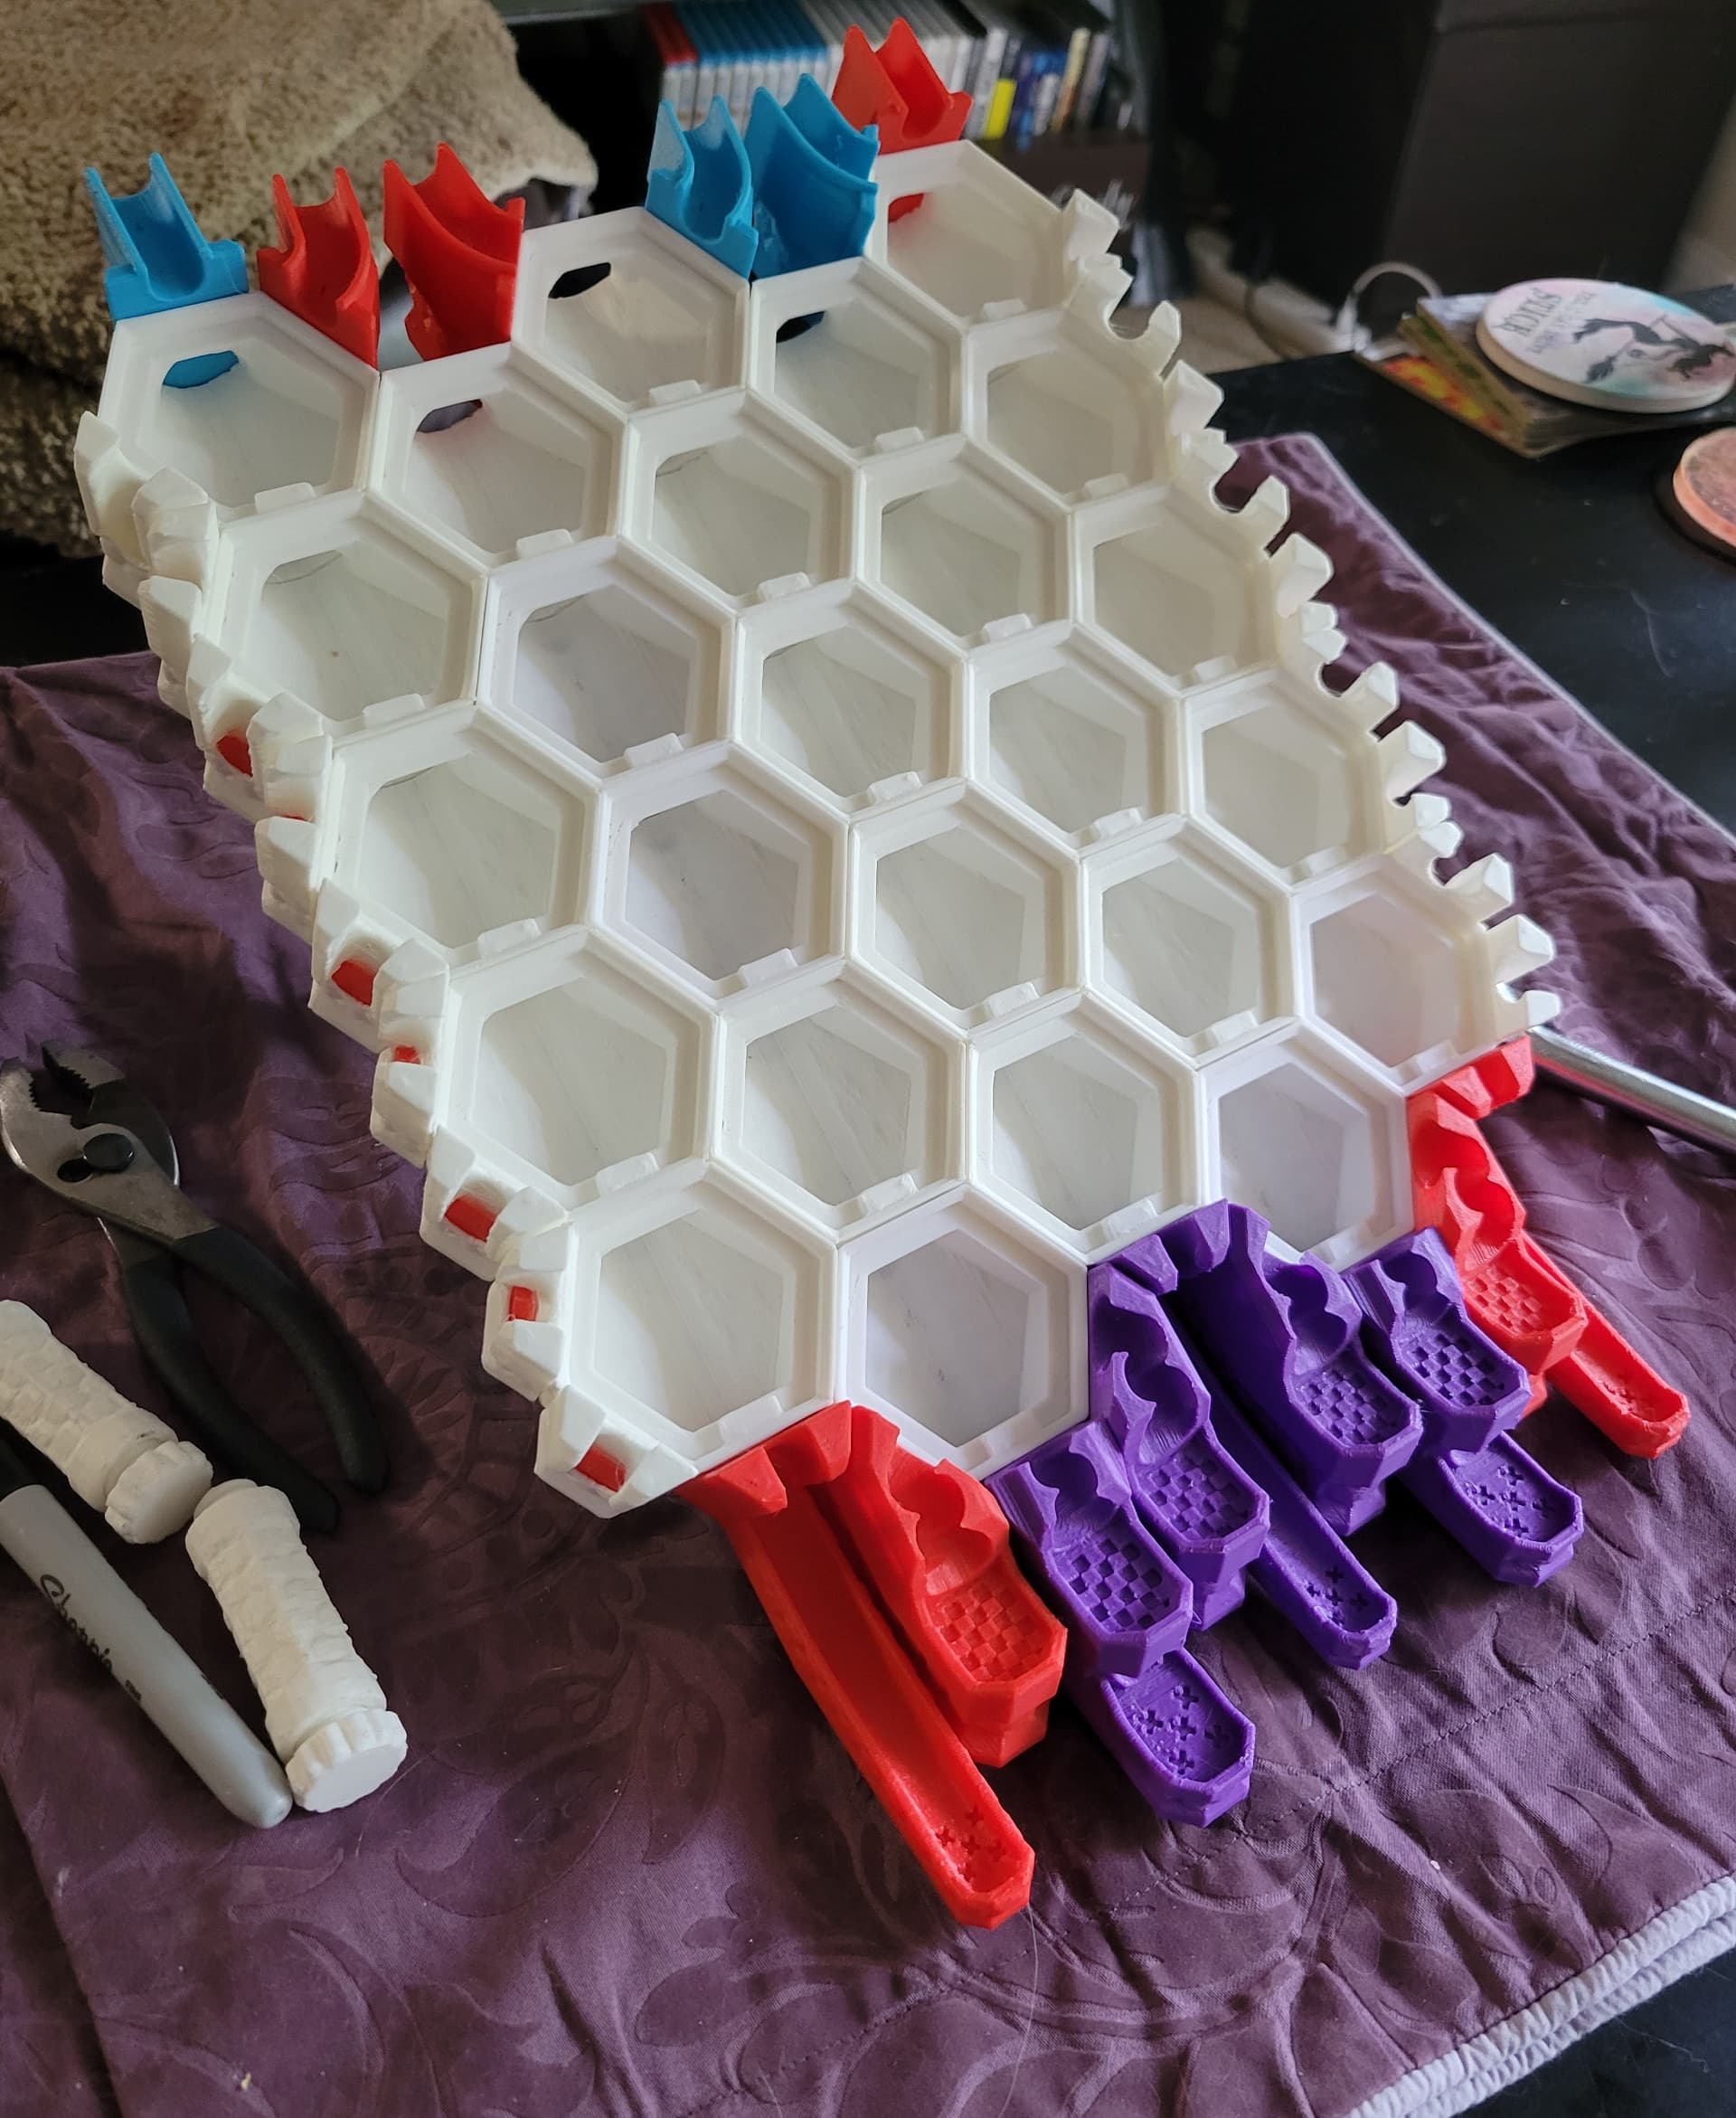
Main Board: With the Hexes facing down, use the nuts to connect them all together. Any arrows, for example in the middle of the hex pieces should all point to the top of the board. To make sure you have them on correctly each threaded point will have a small + or - which should go together. You won't be able to connect a + to a + or a - to a -
When tightening the nuts they should be tightened firmly but don't wrench them on too hard as they may break. The side of the nut should sit roughly flat with the hex. Technically not all nuts are needed to hold a board together, the board will hold together just fine missing a few. However if you are finding that the board is not sitting flat when lying on the table then add more, as the nuts themselves are designed to fix the warping that sometimes happens with larger layouts. See Image of back of board for reference as to how far the nuts will stick out when tightened.
Goals and OnRamps Same as with the main hexes, arrows point to the top, join + to -
Legs: The legs attach to the main board with LegAttachment.stl, and will go in the place of a Nut. This should tighten up so that the back ridge of it will face the top of the board. The legs will only line up correctly if screwed into the top/bottom of a hex (where the arrow on a hex points) Then screw as many Leg_50mm or 25mm as needed to tilt the board to 30 degrees and a LegFoot_Long.stl into the last Leg.
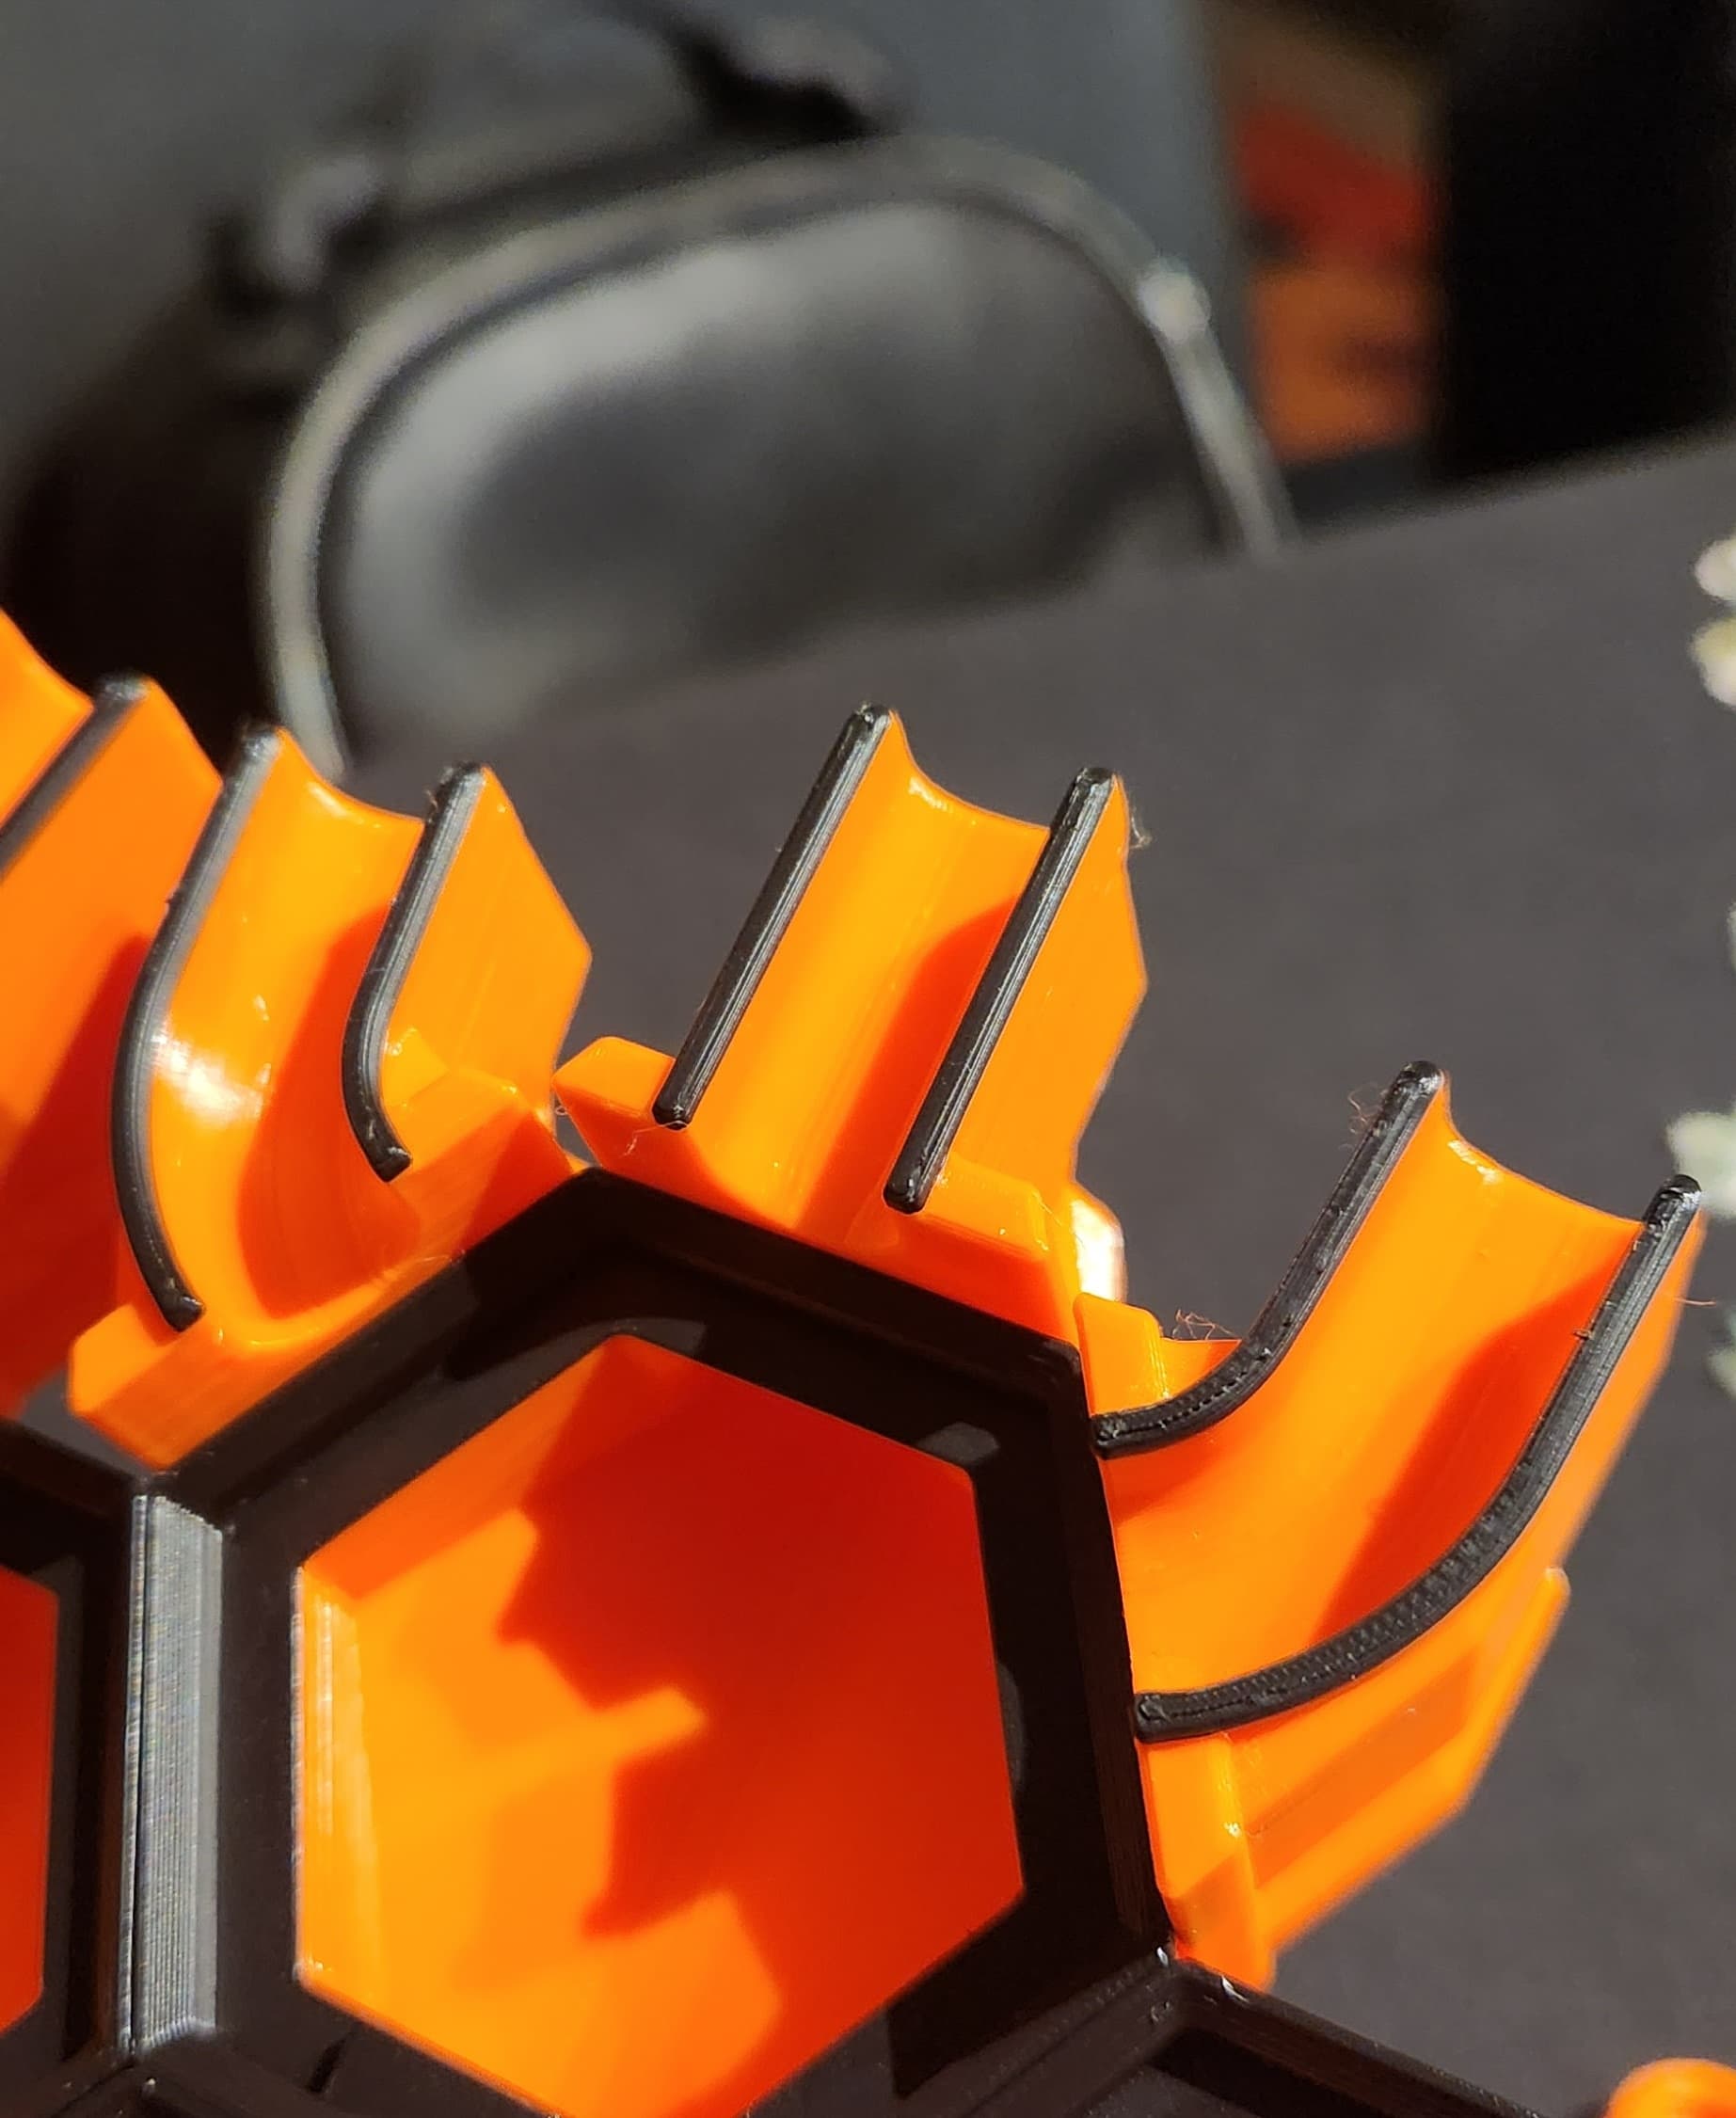
Spring Side gutters: These will need one GutterSpring.stl placed in each. I found that it's easiest to get some tweezers and compress the spring, slide it sideways into the Gutter hole from the top, then twist it at the bottom. Some force may be required. The Spring should be placed so that the little ramp part is facing up, and sliding outwards (the lower part facing out, see photo)
End Gutters: Attach a Gutter_EndShort to the left and right hand side, or if doing a different shape board anywhere that a gutter from a hex is open. If you are doing a standard size board then place a GutterEnd_Long.stl in the middle in between the goals, as a short gutter will be too short to reach to get the balls out. You could also use GutterEnd_Long on the left and right sides instead of the short version if you wish. (Can be a little easier to get the ball out for big fingers, and handy to store excess balls when playing.)
That's It, the board should be assembled and ready to play! Experiment with different shapes and sizes! I would love to see some of our crazy board layouts, sizes and color schemes!!
-- Bed Level: The board is designed so that the goals should sit flat on the table when using the correct amount of legs in the correct place. Twist the feet to lift up or lower the board so that the goals sit flat on the table. In certain board layouts or if the surface you are playing on is uneven, then add a foot small to two of the goals (usually the outermost ones for easy access) for 4 points of adjustment. If none of the goals are sitting on the table (for strange layouts) Then print this bed leveling tile by Endlink here: https://than.gs/m/869596 to test if the board is at the correct angle.
--
Breaks:
For the most part if you are using the recommended print settings and are careful when doing up the nuts no breakages should happen. However I have included Hex_+Fix and Hex-_Fix as these are the most likely places where a break will happen.
To save you printing out an entirely new part, instead just print out these 2 little pieces and glue them in place of the broken ones. Make sure to clean up and flatten the area where the old bit broke off as best you can before gluing. After gluing a little sanding may be necessary if the glued in part is sitting slightly above the rest of the tile.
I have only had one break where I was using only 2 perimeters and 15% infill on the hexes, and was not being careful when doing it up. So it should be rare that this even happens, but I'll include them just in case.
-- Filament usage: At recommended settings: Per Hex = 26.26g for 22 = 557.72g To save some filament, add a layer height change from 4.4mm to 6.4mm (the area most likely to need extra strength) and in that section change settings to 3 perimeters and 40% infill, the rest of the print at 2 perimeters and 15%infill. This will use: Per Hex = 20.54g for 22 = 451.88g
Goals: 2 x Left, 2 x Middle, 2 x Right including supports = 102.68g (will vary slightly depending on support types used)
Legs: 2 x Leg 50mm, 2 x Leg 25mm, 2 x Leg Attachments, 2 x Leg Foot Long = 36.60g
Nut: x 1 = 1.49g x x 62 = 92.38g x 80 = 119.2
OnRamp Left x 2 Right x 2 Middle x 2 = 50.79g
Total for a x 22 hex board without gutters = 743.65g
Each extra row + gutters if 5 hex wide = 178.27g
Spring Gutters left and Right x 8 each (16) = 79.46g Springs x 16 = 4.56g
Gutter End x 2 = 10.72g
Gutter End Long x1 = 9.65g Gutter End Long x1 = 36.81
Total for a x 22 hex board with gutters = 855.16g
Other:
Spanner and socket = 10.9g
Blank Hex = ~ x 13.22g depending on pattern used.
-- Thanks:
This was all made and released for free! It took a lot of work, time and filament testing. So if you're feeling generous my Paypal donation link is below, and will be used to buy more filament. Anything would be greatly appreciated!
Paypal LinkThanks to Zack and his original design of the Hextraction board game it’s heaps of fun!
A huge thanks to Stefan for his help with beta testing all the prints! Without his extensive testing there would have been a lot of problems!
Any comments or questions leave them below! I’m also fairly active on the Voidstar Lab discord.