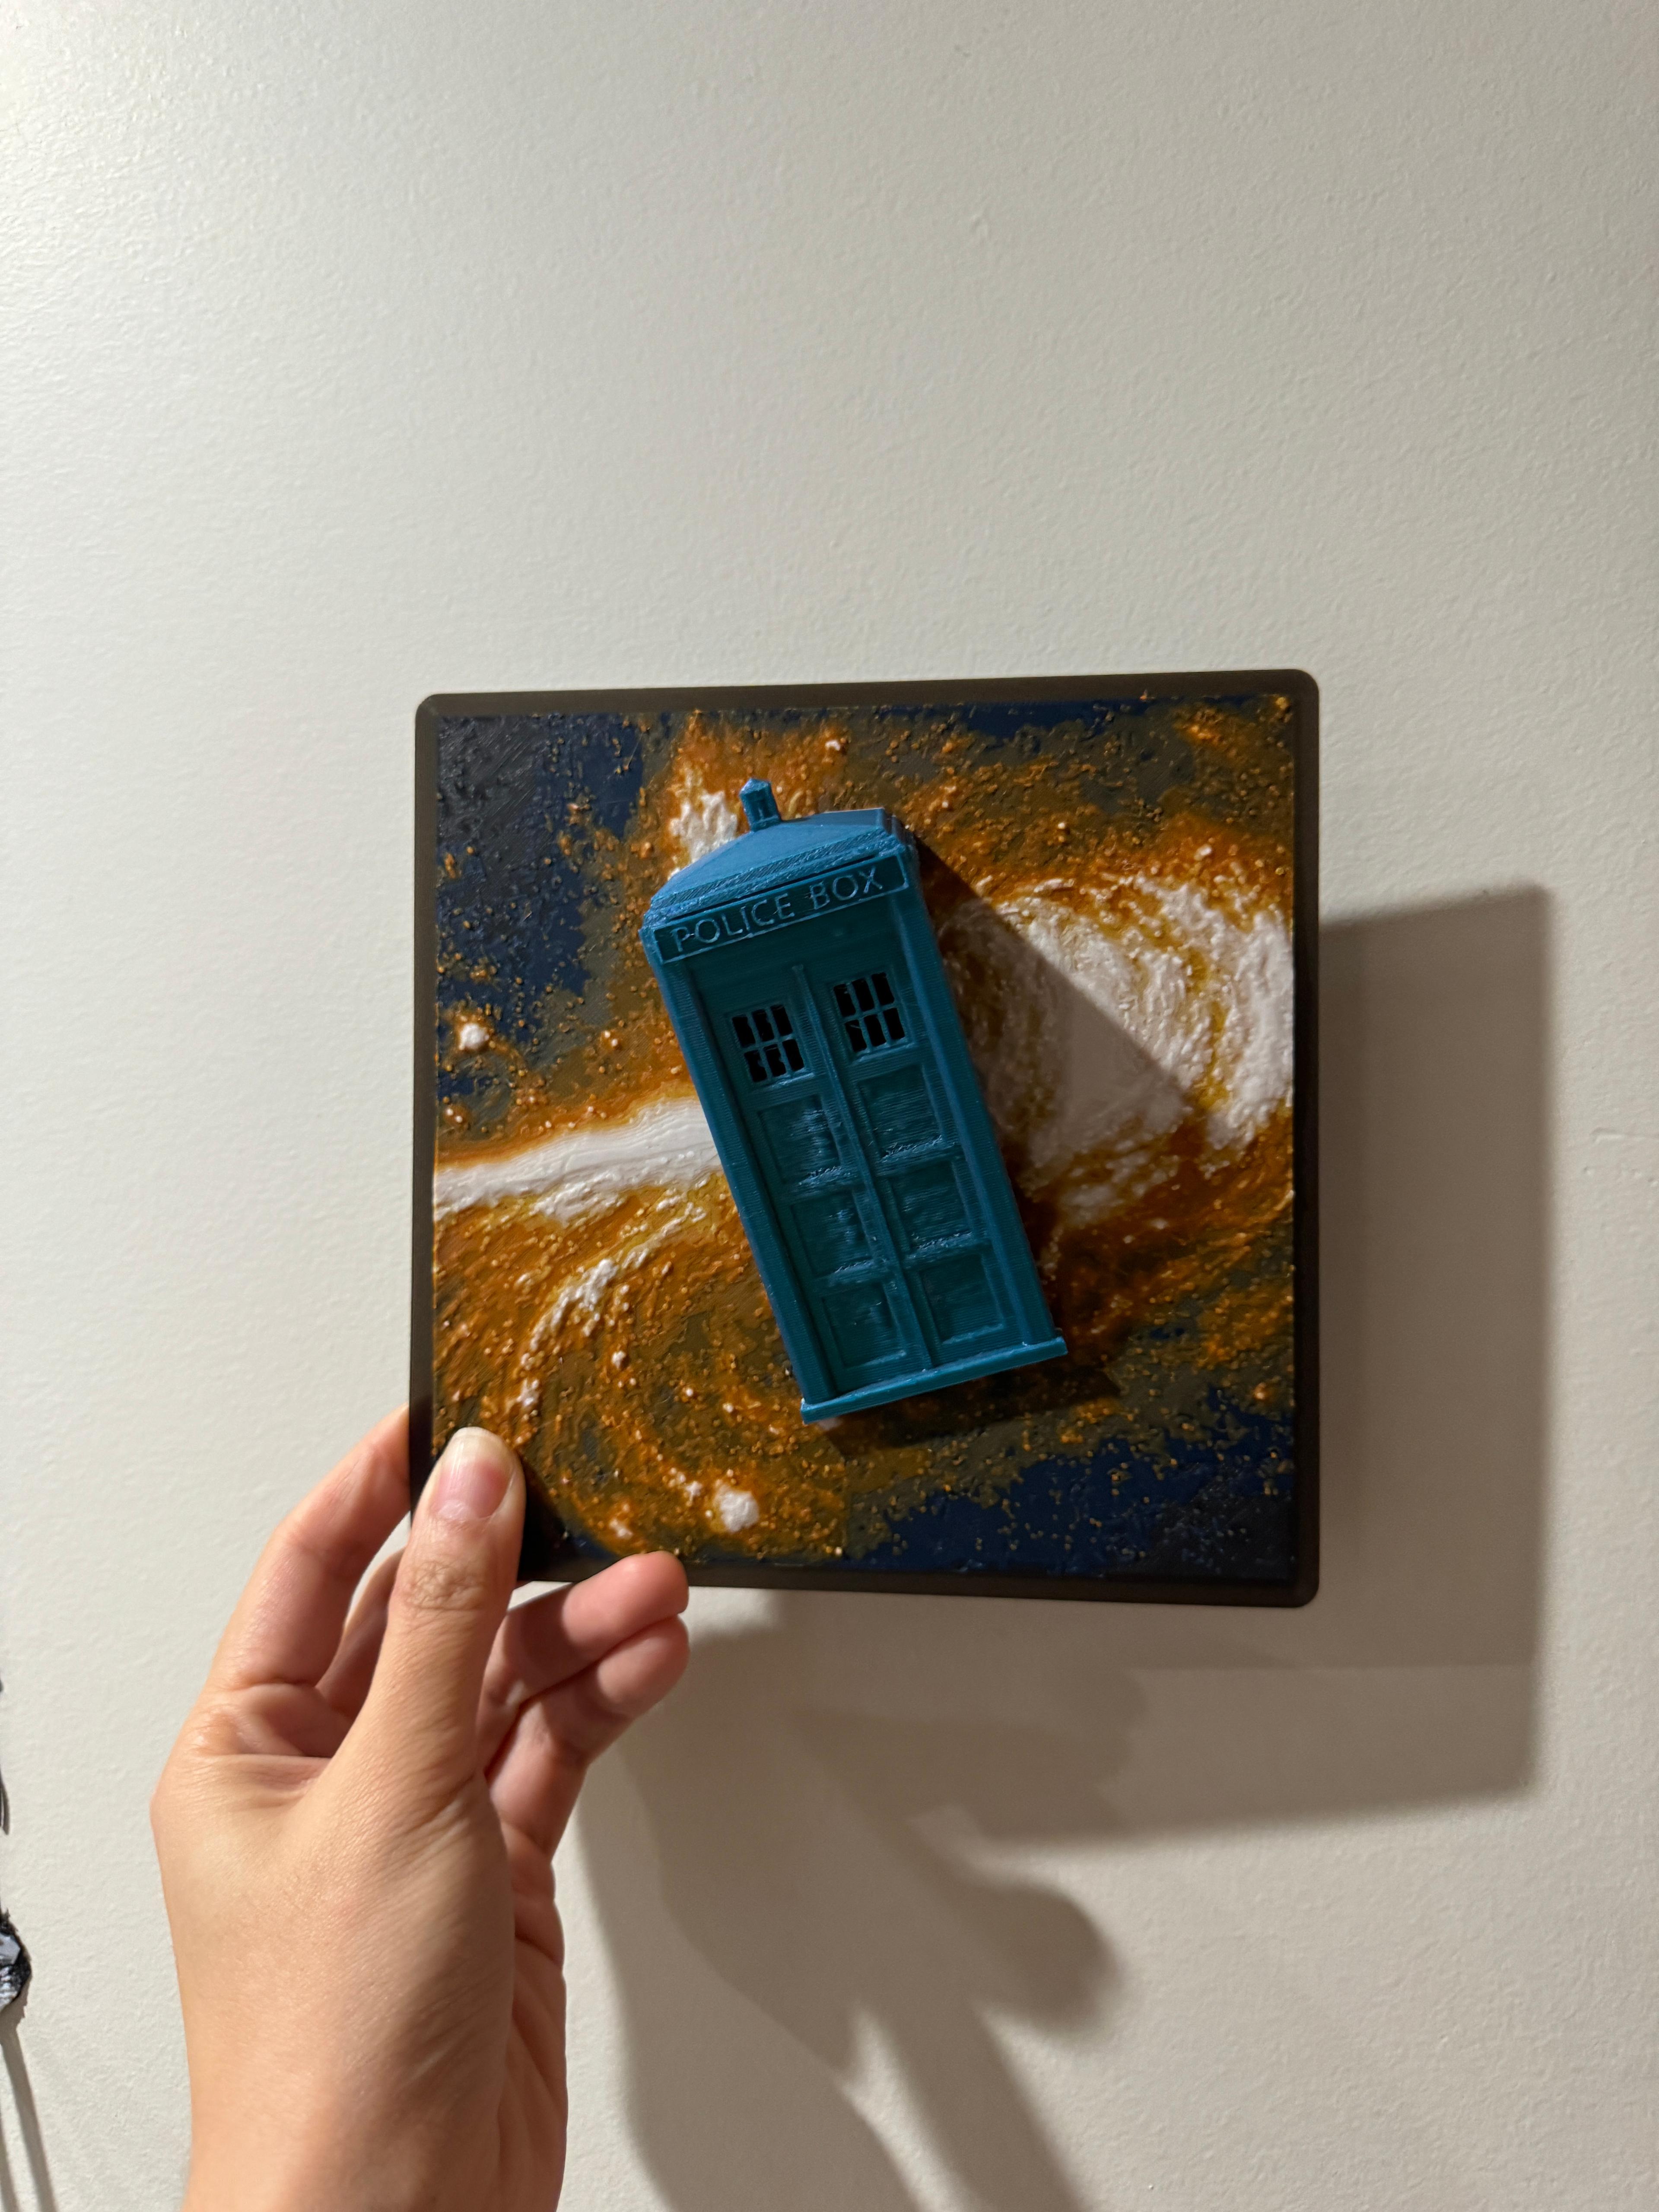


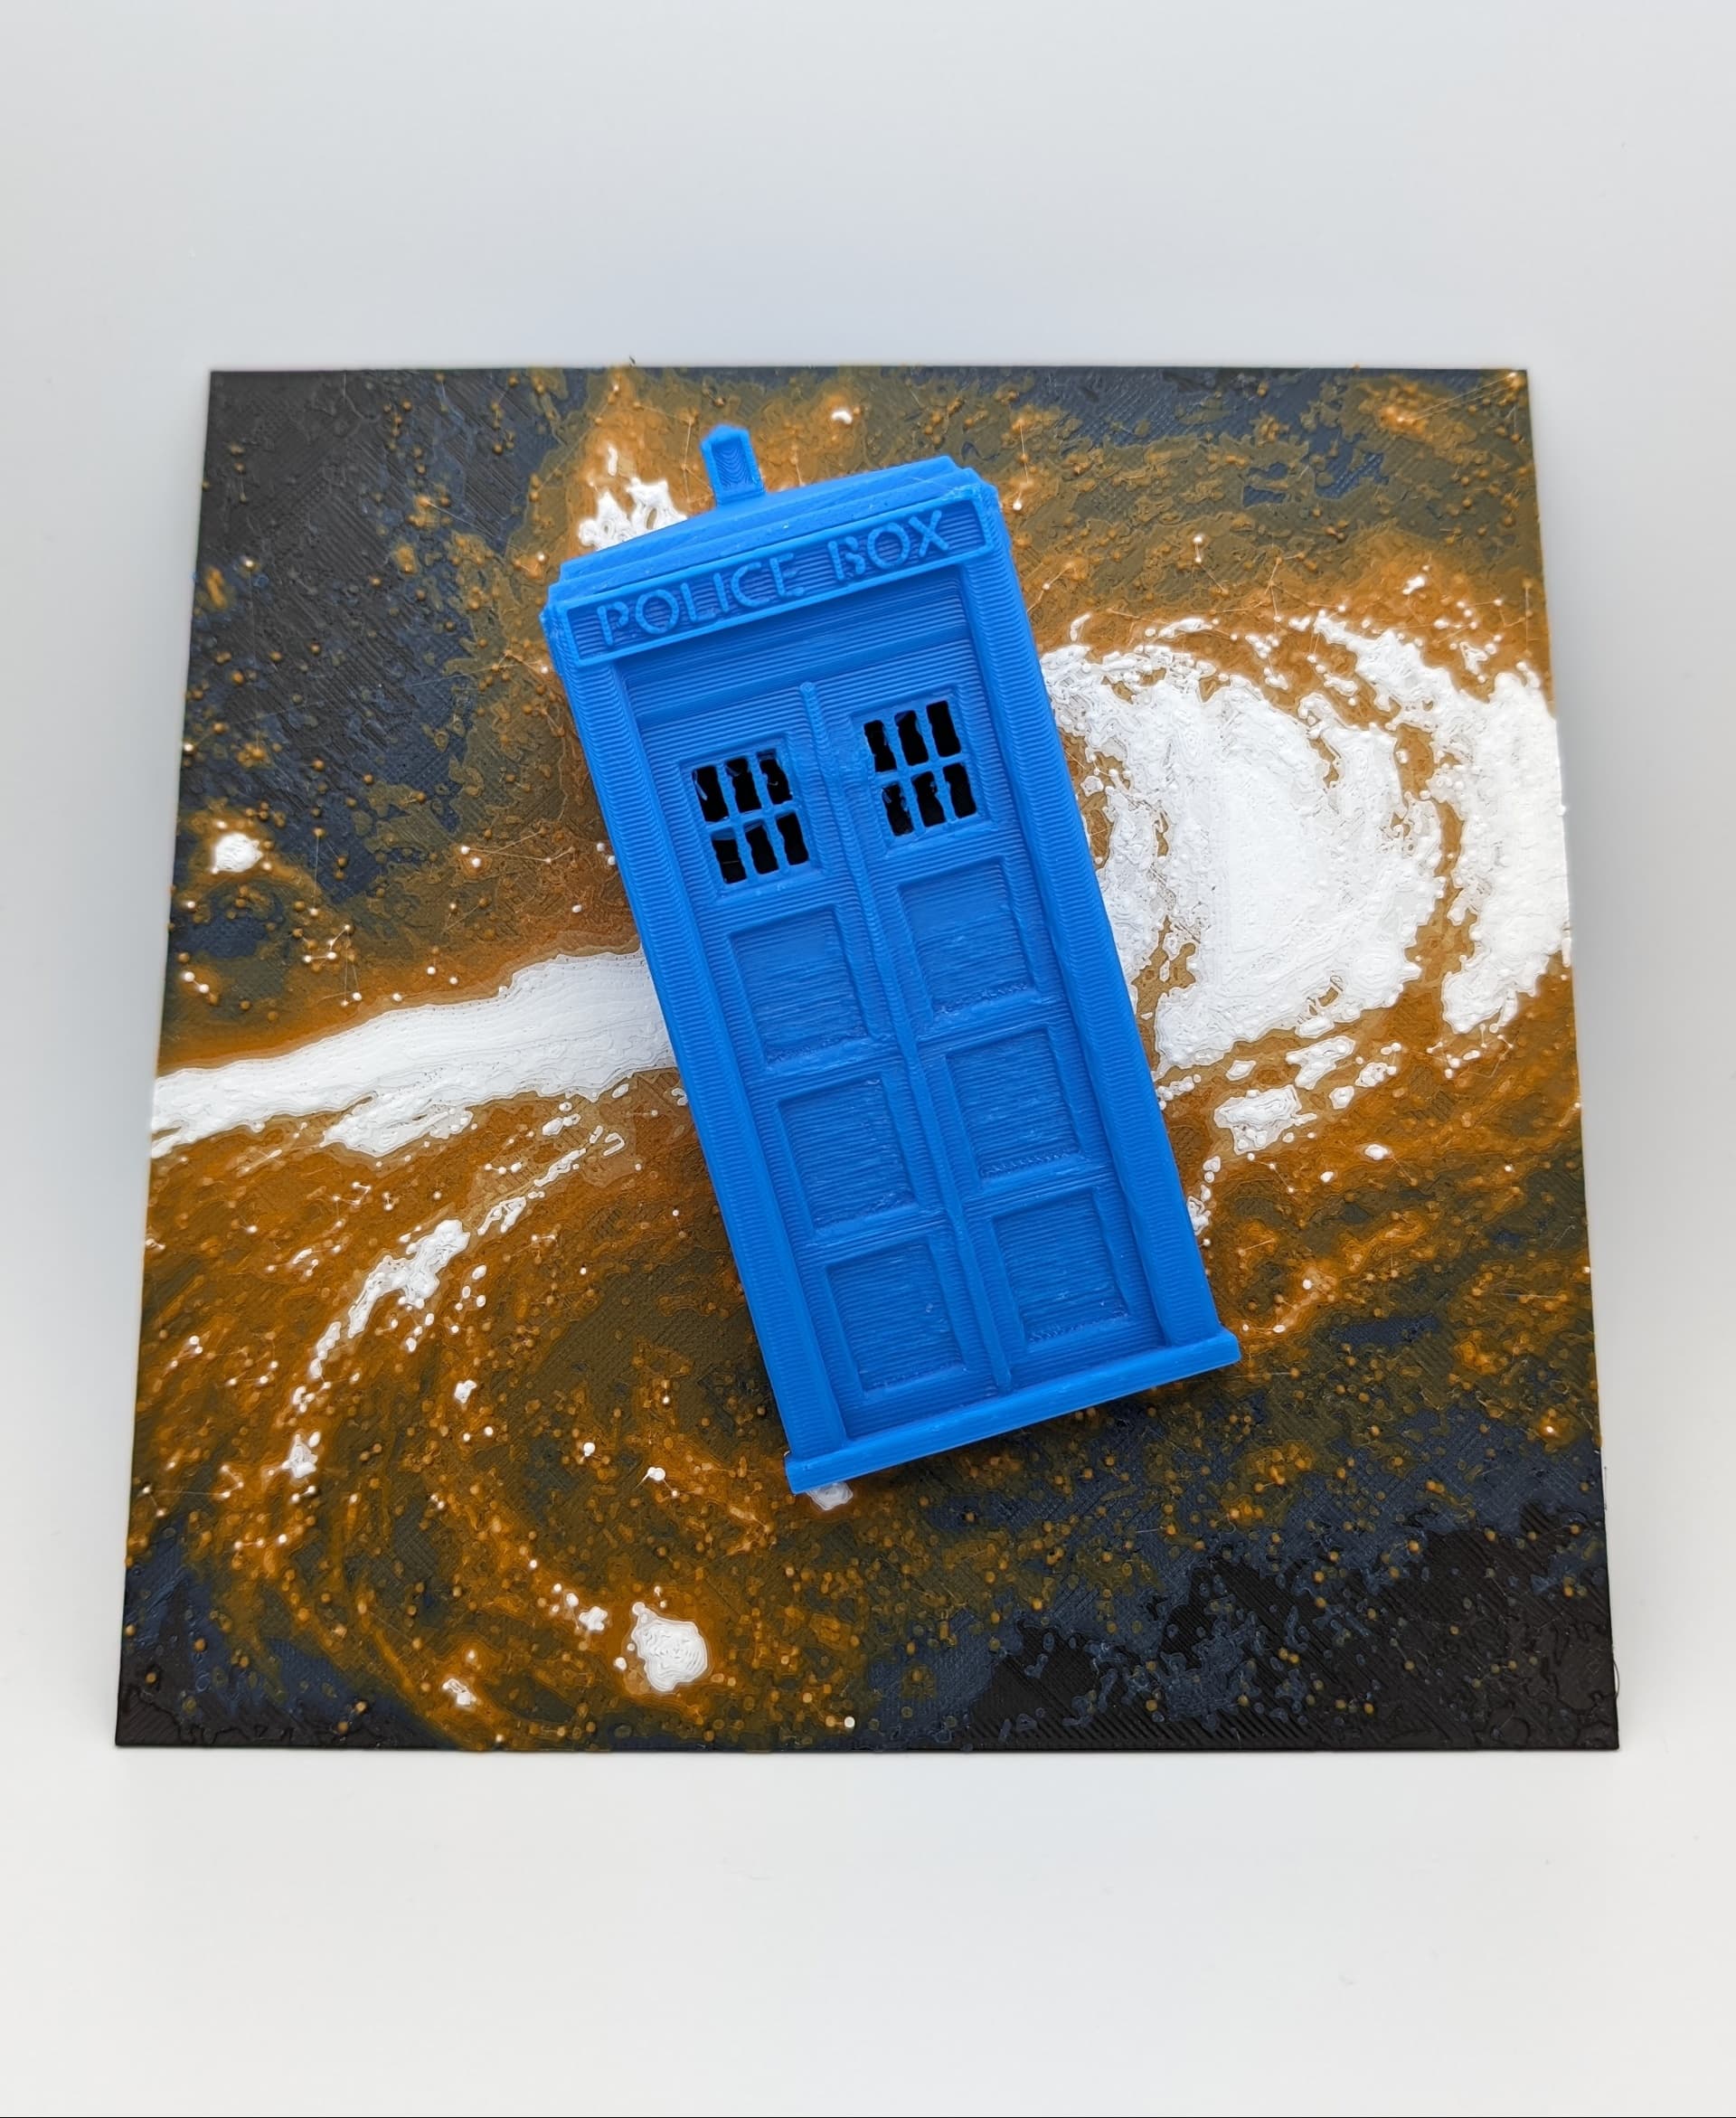

Tardis in Space - Hueforge Hybrid Print
A wibbly wobbly timey wimey model for all the Whovians out here!
This is another Hueforge Hybrid print, where the Tardis ‘pops out’ of the print for a little personality. This print combines Hueforge filament painting methods with traditional 3D printing to create a lovely pop art style print.
Note: If you are using the 3MF for one click printing, all settings will have been applied to the model. I used 5 filaments for this on one AMS and swapped one spool out of the AMS when the colour was finished printing for the 5th colour.
Note 2: This print also has steep overhangs with no supports. If you're not confident in your printer handling supports with my 3MF file settings, do not use the one-click printing function and import the 3MF file into your slicer and adjust the settings for the ‘Tardis_Export3.STL’ part of the assembly to suit your own supports/overhang settings.
If you are not using the one-click 3MF, the print instructions and recommendations are as follows:
- This printed without supports, but I enabled slow down for overhangs. This print DOES require your printer / filament to be dialled in to be able to print the overhangs for the Tardis effectively. If you're not confident, I would enable supports. You would not be able to see it or remove it as the supports should only be applied to areas inside the Tardis.
- I used a layer height modifier to modify the layer height specific to the Tardis (2.04mm - 33mm) to increase it to 0.16 to speed up the print.
- I also modified the infill for the the Tardis and the ‘Generic Cube’ to only print at 10% with 4 walls and 4 top and bottom surfaces.
- Since this print re-uses the Blue and the Black, if you are using only 1 AMS, I suggest swapping out Slot 3 (should be orange) for the white when you are swapping the colours out.
- My recommendation is to have Black, Blue, Orange, Yellow in Slots 1,2,3, and 4 in the AMS, and then swap the orange for white when the orange is done printing.
- If you want to use a different colour for the Tardis, then you can swap out the Blue accordingly
Filament Instructions
Print at 100% infill with a layer height of 0.08mm with a base layer of 0.2mm
Filaments Used:
-
PLA Kingroon Black Transmission Distance: 0.4
-
PLA+ Polymaker Starlight Neptune (Blue) Transmission Distance: 1.8
-
PLA CC3D Orange Transmission Distance: 7.4
-
PLA CC3D Lemon Yellow Transmission Distance: 8
-
PLA Kingroon White Transmission Distance: 8
Swap Instructions:
-
Start with Black
-
At layer #8 (0.76mm) swap to Starlight Neptune (Blue)
-
At layer #9 (0.84mm) swap to Orange
-
At layer #15 (1.32mm) swap to Lemon Yellow
-
At layer #17 (1.48mm) swap to White
-
At layer #24 (2.04mm) swap to Black
-
At layer #27 (2.52mm) swap to Starlight Neptune (for the Tardis!)