Model originally uploaded to Thingiverse at https://www.thingiverse.com/thing:5150708.
This complete redesign makes the main mug, handle, and lid match much closer with the version in the episode of the Simpsons "Homer the Great". And now the lid won't hit you in the face while trying to drink. https://www.youtube.com/watch?v=dSpOjj4YD8c
Video demonstration: https://youtu.be/AG-_UguZzHU
There are six (counting one alternate) pieces total. All necessary supports are pre-applied to the models (there is no need to add additional supports). The main body of the stein/mug prints with cylindrical supports, the left/right lid have perforated supports, the lid top doesn't require supports (but I've included an additional version with supports in case your printer has issues with it). There is a spacer included for allowing you to place a 12oz (instead of a 16oz) can inside (rather than having to print a differently sized stein).
Insert a 16oz can; or the spacer and a 12oz can. You can also use an unsealed can as an insert (available from micro-breweries and cideries upon request), or use tool that cuts the top off of a sealed/filled can.
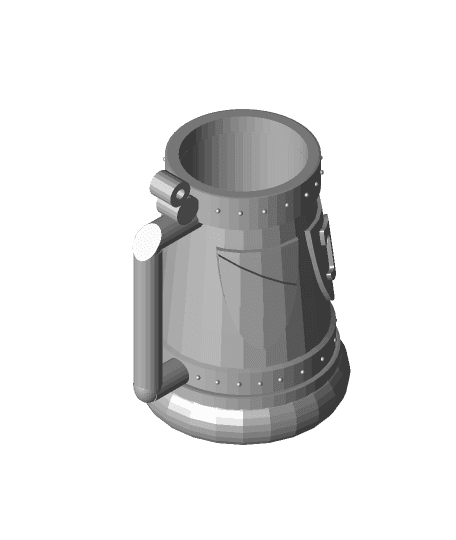
Now can be optionally printed as individual parts. Either to make for easy spray painting, or for printing in individual colors. See the last photo. Mug body was printed in Wood PLA. Lid and bands were printed in Silver Silk PLA. Shield and logo were printed in white and spray painted blue and red. Parts where then either snapped or glued into place.
Or print the included larger version that will hold a Libbey Classic Can Tumbler Glass. https://www.amazon.com/Libbey-Can-Shaped-Beer-Glass/dp/B07BR5MVJS
I've printed these steins in both PLA and PLA+. They are not dish washer safe, nor food safe. However, your beverage is not actually coming into contact with the stein, you will always be drinking from the can inserted into the stein.
Most pieces print well at 0.2mm resolution and a 0.4mm nozzle. I was able to cleanly print the main mug with a 0.6mm nozzle.
I've organized the STLs in to ZIP files, so you don't print the 114% scaled version accidentally, or the individual pieces for gluing when you don't intend to.
Print Instructions:
Stein, Lid left, lid right, lid screw.
Print at 0.2mm resolution, 20% infill, no supports, brim optional.
Note: If you find the inside bottom of the lid screw is too rough, you print the alternate "lid screw with custom supports".
The Lid left and lid right have integrated perforated supports that must be removed after printing.
Spacer. Print at 0.2mm resolution, 10% infill, no supports, brim optional.
Painting: Tape off the top hinge, so the primer/paint does not later interfere with its operation. Tape off the threads on the Left/Right Lid, as well as the Lid Screw (top). Preferably prime first Left, Right, Screw, and two rings: Silver (mix black and white) (sometimes I just leave the gray primer, and skip applying gray paint) Most of stein: Cream (mix yellow and white; or raw Sienna and White) Shields: blue (mix "perfect purple" and "pool blue") Stone Cutter logo, and bars: red. Apply matte clear coat
Stonecutters
Who controls the British crown? Who keeps the metric system down? We do, we do! Who leaves Atlantis off the maps? Who keeps the Martians under wraps? We do, we do! Who holds back the electric car? Who makes Steve Guttenberg a star? We do, we do! Who robs cave-fish of their sight? Who rigs every Oscar night? We do! We do!