Model originally uploaded to Thingiverse at https://www.thingiverse.com/thing:4833186.
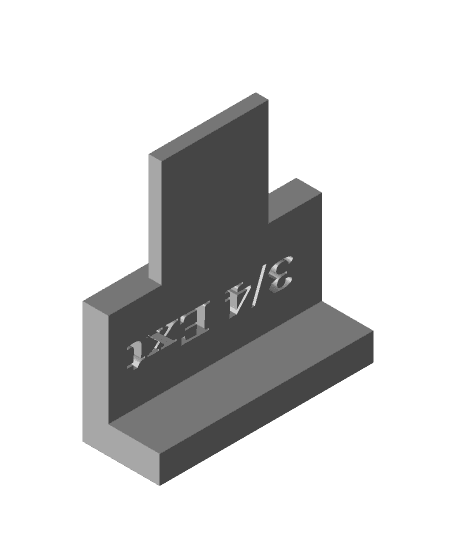
Remixed, my previous remix. Rather than a left and right model, there is one double sided jig. I made the full extension holder a separate adapter, rather than being integrated. I also made a cutout notch for the wheels of 3/4 extension drawer slides.
As stated in the previous model: The bubble level acts as an additional sanity check, and eliminates the need to balance a level atop of the drawer slide.
Added a spot to integrate a bubble level. Added an adapter to hold/support the a full extension drawer slide during installation. Added an adapter to hold the drawer "member" for installing to the drawer box. Added an adapter to hold a 3/4 extension style drawer slide.
There is an adapter for holding the drawer's "cabinet member", and a spot to snap in a bubble level. The squareness of the jig should already provide a level surface, but the addition of a bubble level provides an additional sanity check. There is an insert/adapter for helping to line up and hold the "drawer member". There is an additional (optional) insert/adapter for using with smaller 3/4 extension drawer slides. There is a cutout to ensure the protruding front wheel does not cause an alignment issue. Printed with 4 line/wall perimeter (rather than 2), and lower 5% infill. Shorter print time, lower filament use, but the strength remains. (If only using 2 perimeters, than 5% infill will be insufficient). I printed at 0.2mm resolution, with PLA+ (rather than regular PLA). The individual Left, right, and adapters require no supports. I printed with brims to help prevent warping during the prints. For the main jig, I suggest printing upright and using custom cylindrical supports where the cutouts for the bubble level and wheels are located.
Link to the bubble levels I purchased/used: https://www.amazon.com/gp/product/B0153BGY0U I have the bubble level protrude out by 1mm. I think this helps with visibility from different angles.
Note: While this is my 2nd redesign, I still think there needs to be a 3rd. While the wings as-is are useful for squareness, they actually interfere with certain styles of face frames. The single sided version may allow you to compensate for this. Otherwise I'm thinking a version that allows for the wings to be installed and removed as needed. (Unfortunately its been a few months since I worked on the these first two versions, and haven't yet gone back to attempt the updated design).
Update 5/21/2021: Uploaded cleaned up versions of the adapters, as well as thinner versions for printing flat.
