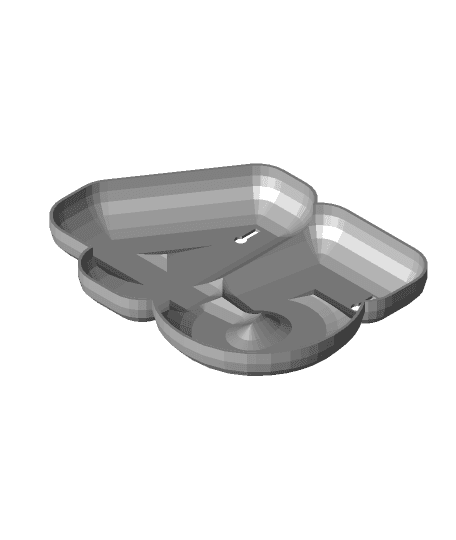
Model originally uploaded to Thingiverse at https://www.thingiverse.com/thing:4864525.
Easily customizable LED sign.
Modified Makkuro's customizable text box to have thinner top layer on the lid so LEDs inside can glow through better.
I added descriptions to the settings, along with recommendations. I tested this on a 300mm x 300mm build plate, and in some cases still rotated the design 45 degrees in order to fit.
You only need the SCAD file on your computer. The included STLs are only for example, and not needed. Tweak the settings, print, add LED tape lights, and hang on wall.
I did not enable the customizer, cause in my experience it hasn't worked in a long time. Download OpenSCAD and read a quick tutorial on its use. You want to turn on the parameter view to customize the sign (you should not have to modify the source code to do so). Change settings, preview, render, export to STL. If you turn up the quality, I highly recommend you first turn of the auto preview. The Minkowski function used is very slow and CPU intensive.
After editing your text string, adjust/play with the font size to utilize you available print space. Next you want to increase the bubble radius until the letters flow together and the "hills" on the underside of the letters are decreased enough to give you room to pass the LEDs along the inner perimeter (beware this may increase the print dimensions). Adjust the top layer thickness (in my experience 0.4mm allows you to see hot spot from the LEDs, while 0.6 and 0.8 allow for a nice even glow. Any higher and your slicer will create an infill which will wreck the effect. Set the top layer adjustment, in accordance with your bubble radius (I haven't yet figured out the math that is necessitating this adjustment). Adjust the scale of the base as desired. I found 1x unnecessary, but 0.5x worked well and left plenty of room for the LEDs inside.
If needed, adjust the keyhole size and spacing. I try to position the keyholes on a flatter portion.
Adjust the quality if desired, but be prepared for slower previews and rendering.
In your slicer, turn off supports. Print with the flat/text sides down. 15% infill is plenty. When printing the lid, set a filament change at the appropriate layer (In Cura I use the "Filament Change" plug-in) for the top layer thickness: 0.4mm=layer 3, 0.6mm=layer 4, and 0.8mm=layer 5. I wound up turning on Z-hop to help prevent the nozzle dragging black filament across the white letter surface.
In my tests I used a 0.6mm nozzle/line width. White PLA for the start of the text layer on the lid, and black PLA+ for the remainder. Wall was set to 2 in the parameters of the SCAD. I some minor cases I had to use a 3D pen to fill in little holes where light was coming through where it shouldn't have. The original version mentioned the possibility of adjusting the "wiggle" to 0.3 if you have trouble getting the lid to fit. But you don't want the lid to loose, or it will fall off when hung on the wall.
I used LED tape light on the inside perimeter of the base (low enough so the lid can fit into place). The water proof (silicone covered) tape lights required hot glue to stay in place. Putting them along the side walls offsets the light, so you don't see hot spots glowing through (which you may if you lay the lights down flay facing up). I soldered additional pin connectors on, in order to connect with the existing LED tape lights already in my nieces' rooms. I drilled/cut/sanded openings on the side of the base to pass the pin connector cable though. (I'll be adding code to cut opening in the print, so they are less sharp, and won't cut the LED strip). I'm thinking of using black hot glue to cover any gaps in the cable opening (3D pen would be too permanent) to prevent light seepage.
Note: The flatter Kenzie base was a test that is no longer an available option. It was replaced by the "base scale" option.
