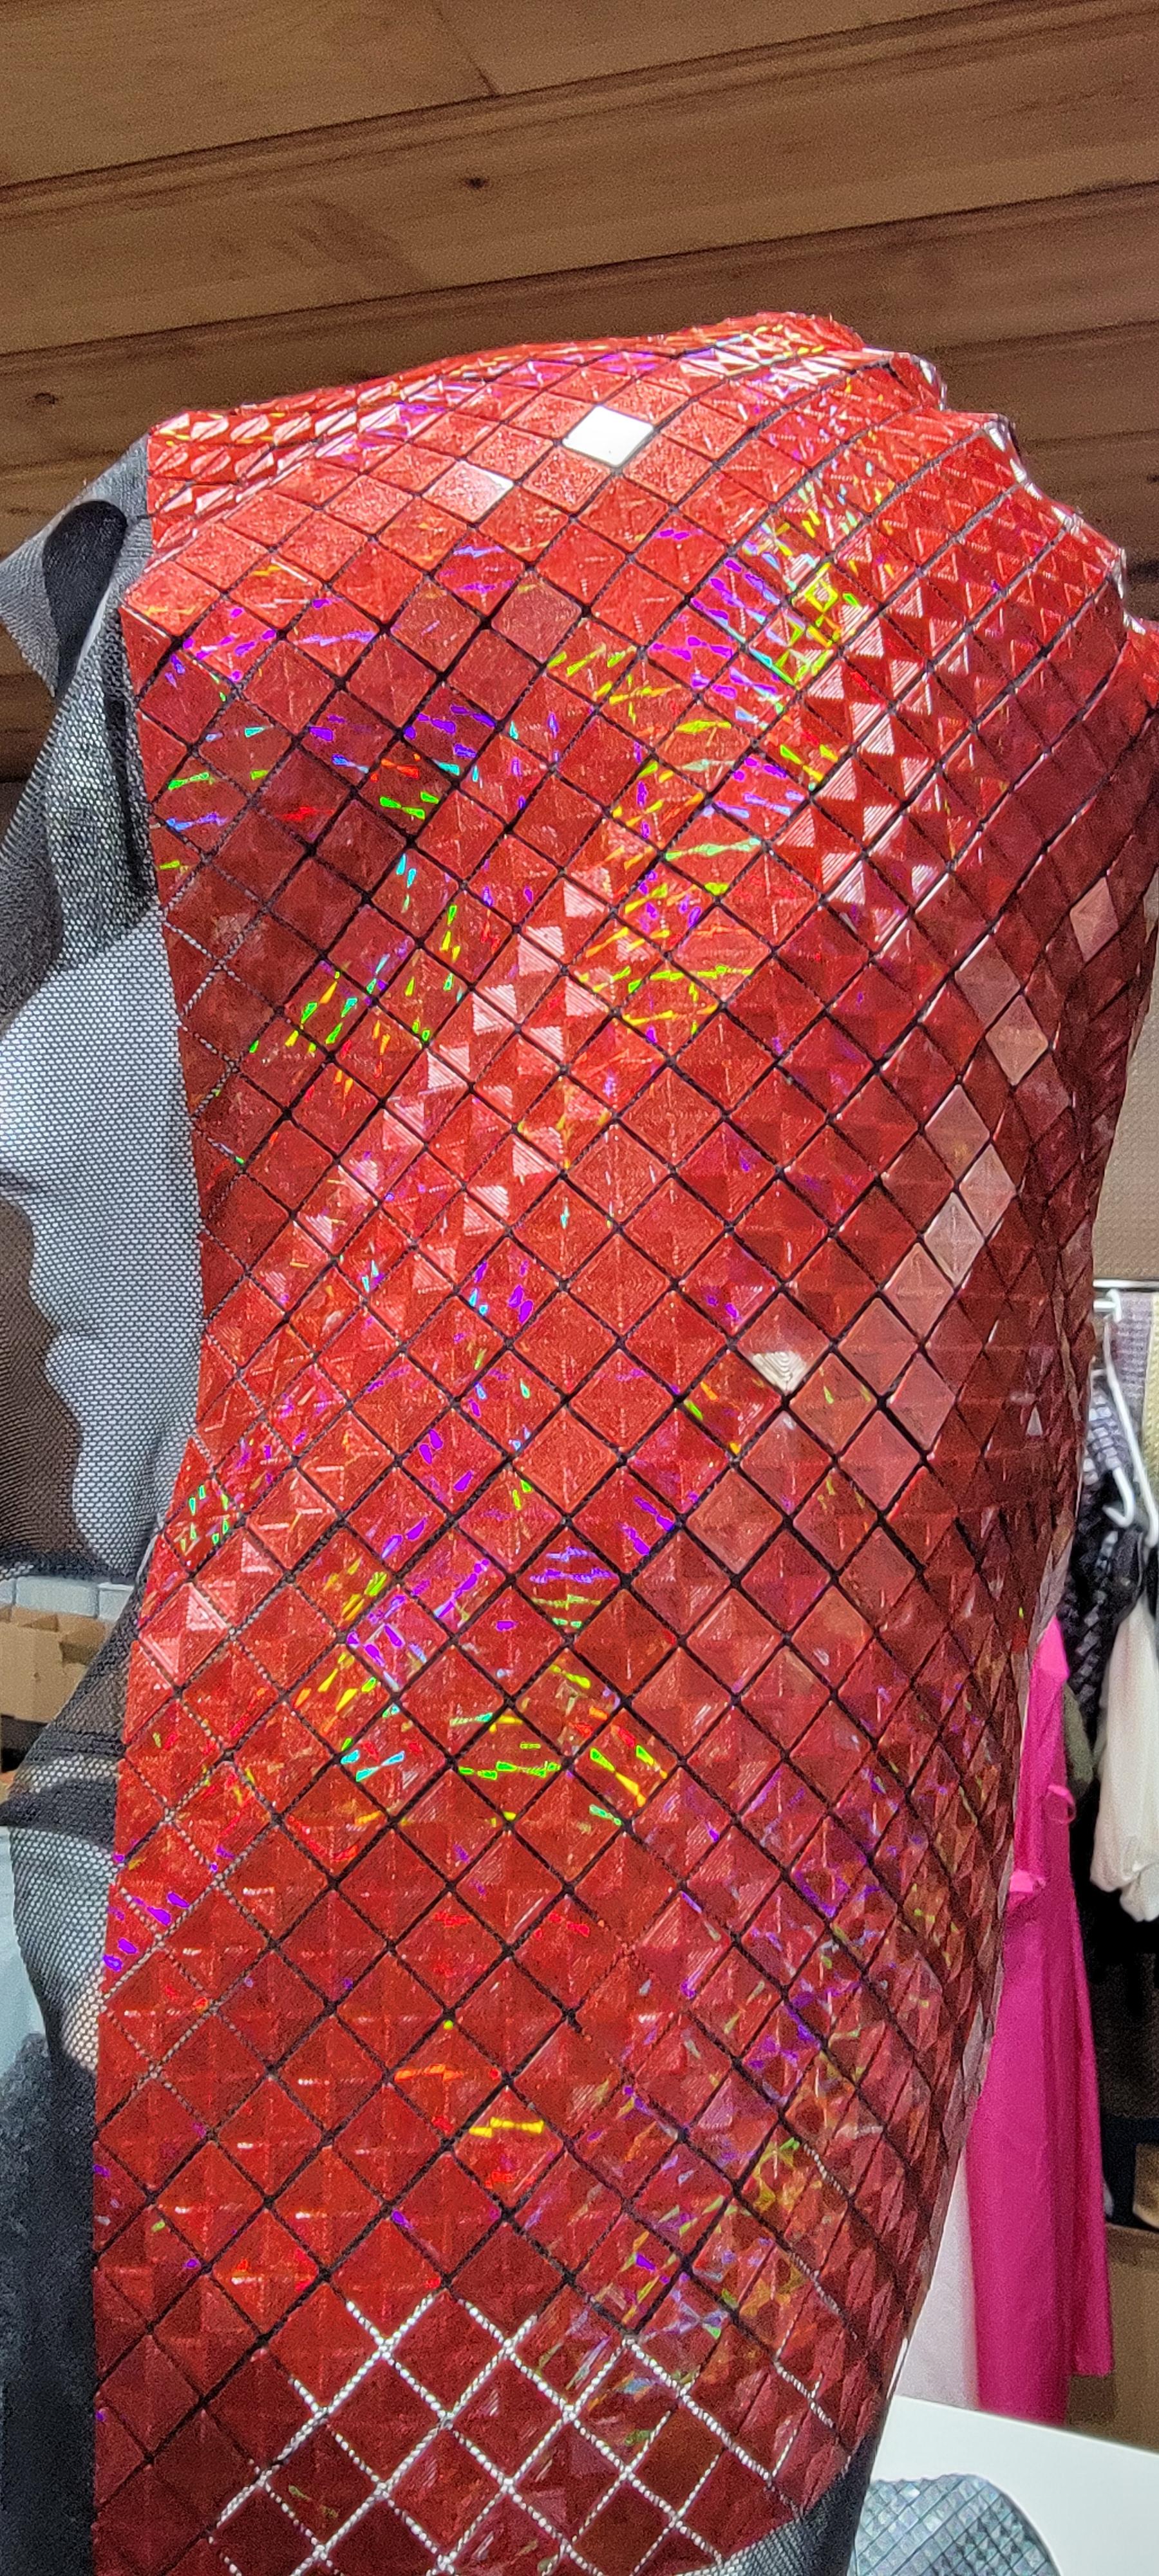
Diamond Hood V1
This is the pattern for a hood to be either sewn directly onto an existing hoodie, or to be used as a standalone hood / cloak.
The file contains 4 separate prints totaling approx 72 grams and 7 hours on a Bambulabs P1P (256mm build plate). My settings are saved in the 3mf file, with the pause included in the G-code at layer 2.
Once the prints are finished, you'll have to trim away the excess fabric on one end fold over the opposite side's fabric to attach with UV resin, like the other design illustrated in the general printing guide. You'll then be able to use this as your pattern to cut out your base material of choice. Sew the two pieces, separately, right sides together and unfold. Place the sewed inner lining inside of the assembled 3D printed mesh hood, and sew along the base of hood before sewing along the sides. You can also sew this onto an existing hood, although hoodie sizes may vary.
To get a similar holographic or different desired effect, get a magnetic PFLAT plate at the following link - https://kaizen3dprints.com/collections/p-flat-plates
I use this stretch fabric- https://www.joann.com/performance-nylon-spandex-power-mesh-fabric/16770323.html


