
Playseat Challenge Shifter Mount
Model originally uploaded to Thingiverse at https://www.thingiverse.com/thing:3569302.
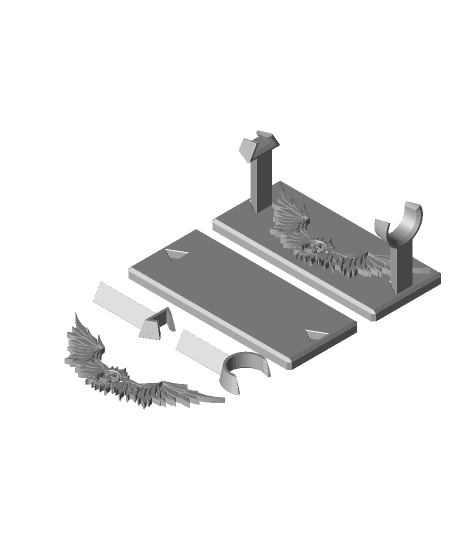
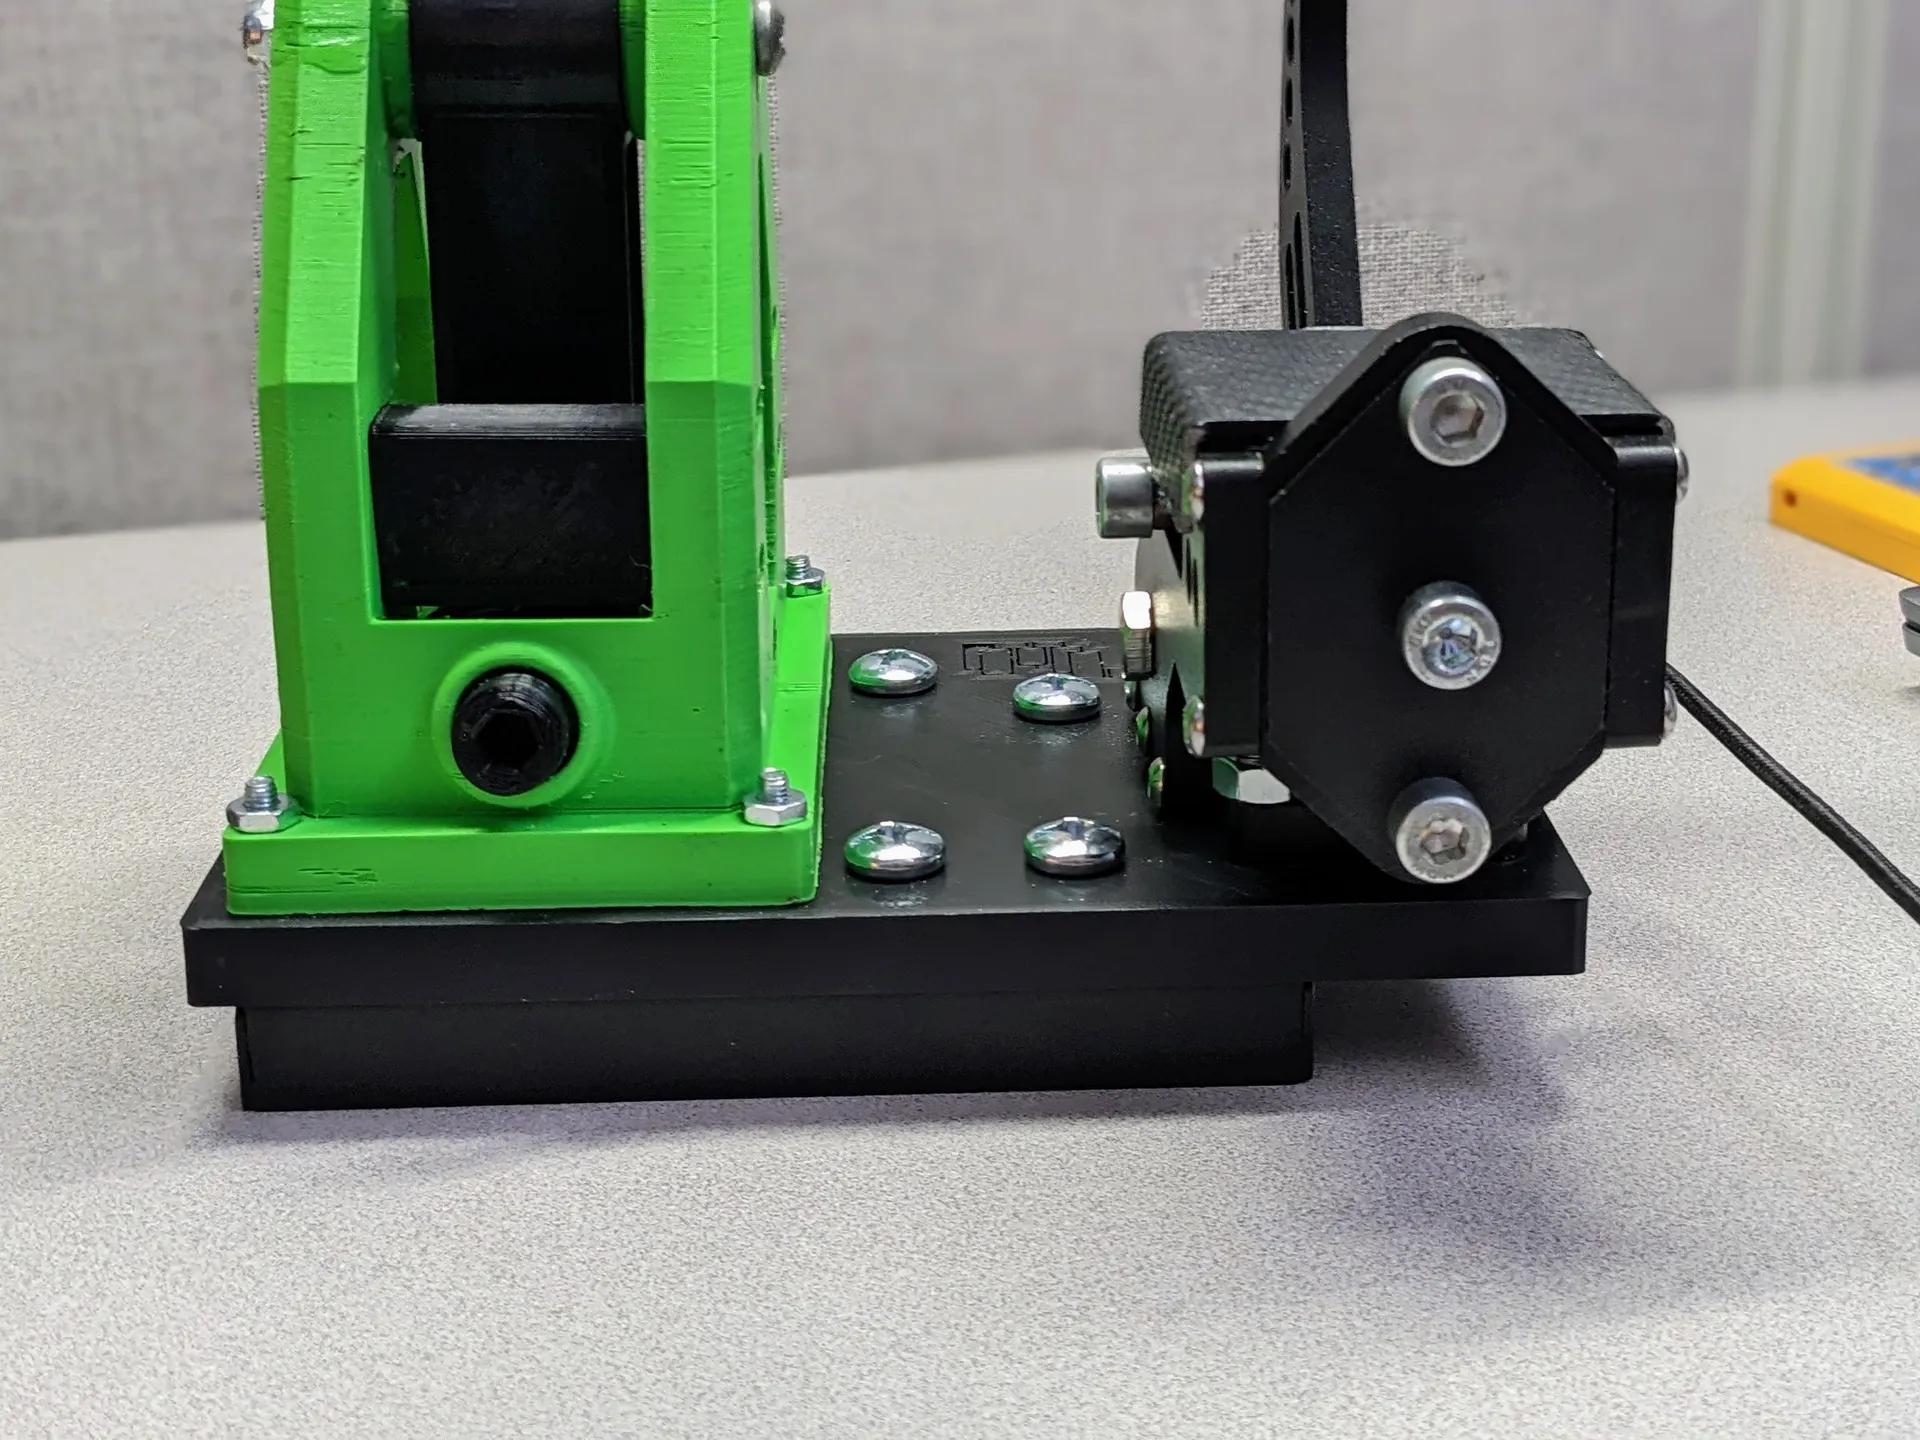
DescriptionI couldn't find a Logitech shifter mount on Thingiverse that satisfied me, so I made my own in Fusion 360. Note, I have only tested the right-hand version of this mount, however I expect the left-hand version will work fine. I just mirrored all of the components. There are 3 parts required for this print; the inside bracket, outside bracket and the surface to which you mount the shifter. The surface is designed for the Logitech G27 shifter, and I expect the other similar shifters. I only have the G27 to test.
Update 6/26/2019 I've confirmed that this works fine with the Thrustmaster TH8A shifter using the provided clamp. It's secure enough, and positioned well enough, that I'm not going to bother making and reprinting a hard-mount plate for it. Much better shifter than the G27/G29/G920 variants by the way.
There were a few main goals for the utility of the mount:
- Securely mounted without the fear of it shifting
- Extends back towards the seated position to reduce the reach required to the shifter and buttons, and to make it feel more natural. It seems if the shifter is back much further, the velcro straps start to get in the way.
- Clear the wheel mount tubing latch
The outside mount and surface are in 2 pieces for a couple reasons:
- Can hopefully be printed on printers with a smaller build volume. If it were a one-piece assembly, it would not fit on the print bed of my Qidi Tech 1. In 2 pieces, it fits with plenty of extra space. I could make the shifter surface a good deal larger.
- Allow the design of surfaces for other shifters or peripherals such that you do not need to re-print the entire outside part of the mount. You could probably come up with a way to quick-detach the surface.
This was designed to be assembled with either M3 screws with 5.5mm nuts, or M4 screws and no nuts. I did not try this with M4 screws as I have a lot of M3's around used for quadcopters.
-
The brackets mount to the tube with 30mm M3 screws and nuts inserted from outside to inside. Any longer and the screws will extend beyond the inside bracket, which is fine, but causes an exposed sharp surface. I also used washers under the screw head, but it's probably not required. You can use slightly shorter screws if using M4's. I did not need to use all of the screw holes. When looking from the outside bracket in, I used the top 2 on the far right, the bottom right, and top left. If using the bottom left, you'll need to use an M4 screw, or a wood screw of the correct size, no more than 30mm. With the screws I used, it secures nicely to the tubing with no movement.
-
The surface slides onto the outside bracket and mostly locks into place. The outermost screw holes are countersunk as the shifter sits over top of them. That is the primary reason for the step-down, so there is enough material for both the surface and bracket. The inner holes do not side under the shifter, and I wanted to ensure plenty of strength where the surface and bracket meet. I'm not sure how well this part would hold up with M4 screws attaching the surface to the bracket, but I expect it would be fine.
-
The countersunk nuts are a tight fit on purpose. I just get them started by pressing them into their holes slightly, then use the screws to pull them into place. This essentially integrates them into the print so they won't fall out when disassembling.
-
The surface is not wide enough to use the rear clamps effectively, but you will want to use the front screw clamp. I tried to reduce the material requirement for the surface by minimizing the size where possible.
I printed this with red MatterHackers PLA Pro, with print settings as described in the 'Print Settings' section. It is plenty strong with minimal flex. I don't expect it will break easily without a straight up karate chop. I expect this would also print great in PETG. If printing in ABS, you may want to increase the size very slightly to ensure you can get the nuts into their recesses and so the brackets fit around the tubing. All of the files should import into your slicer in the orientations suggested below.
Inside BracketI printed this with the tubing cutout towards the print bed, using supports under the tubing cutout. This ensures the outside fillet is smooth.
Outside BracketI suggest printing this as it imports into your slicer with the base on the print bed to ensure strength where the bracket attaches to the surface. I used supports for the horizontal part of the tubing cutout until the angle reaches near 45 degrees. I also used supports in all of the holes, but it may not be necessary. Finally, I used supports in the nut countersinks.
SurfaceI printed this with the top of the surface on the print bed. You could print it the other way, but you will need to support the surface-to-bracket cutout and then it may not fit together well. I only used supports for the countersink for the screws.
RemixIf you want to remix this, ie. to design a surface for a different shifter, you can download the files that Fusion 360 will export here: https://a360.co/2v8bojh
Notes- For some reason, every time I make a change to this design, I need to execute the Combine-Cut functions again for the part<>Screw_Hole_Tools before exporting to STL. I'm not sure why, but the countersink holes always disappear on me.
- It's best if you properly roll back history to the component on which you're working, and only edit the 'Right' components. This will ensure changes propagate to the 'Left' versions, as well as the 'Print_Bodies' component, of which you use to export the bodies for proper orientation on your print bed.
- The majority of the model is parametric. I tried to describe each parameter well, but you may need to jump around to through the sketches and features to find the correct ones to change.

Quest 3 controller holder for Playseat Challenge

Cassette Stud Earring

Tube Television Earrings | 80s Retro

Takeout Box Earring

Popcorn Charm

Boombox Earring | 80s Retro

Drive-In Cup Earrings

Small Deborah Brownie Charm
Manual Speed Shifters 10mm Thread
Toaster Oven Pendant
#Gift | #PDO | Angel Blade Mount | NoahMillerDesign
DOUBLE SPOOL HOLDER FOR ENDER 3 SERIES (PRINT-IN-PLACE)

Cookie Stud Earrings
GT Omega Cockpit Sim Racing Rig Adapter For Beavis Racing Shifter and Handbrake

SPIN&TREAT
long pull shifter friction shifter
.jpg&w=3840&q=75)
Fanatec SQ1.5 4040 Aluminium Mount Bracket.stl
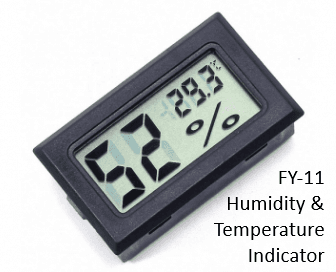
FY-11 Digital Humidity /Temp. meter magnet mount

1.75" Small Thread Multiboard Challenge Coin Holder
