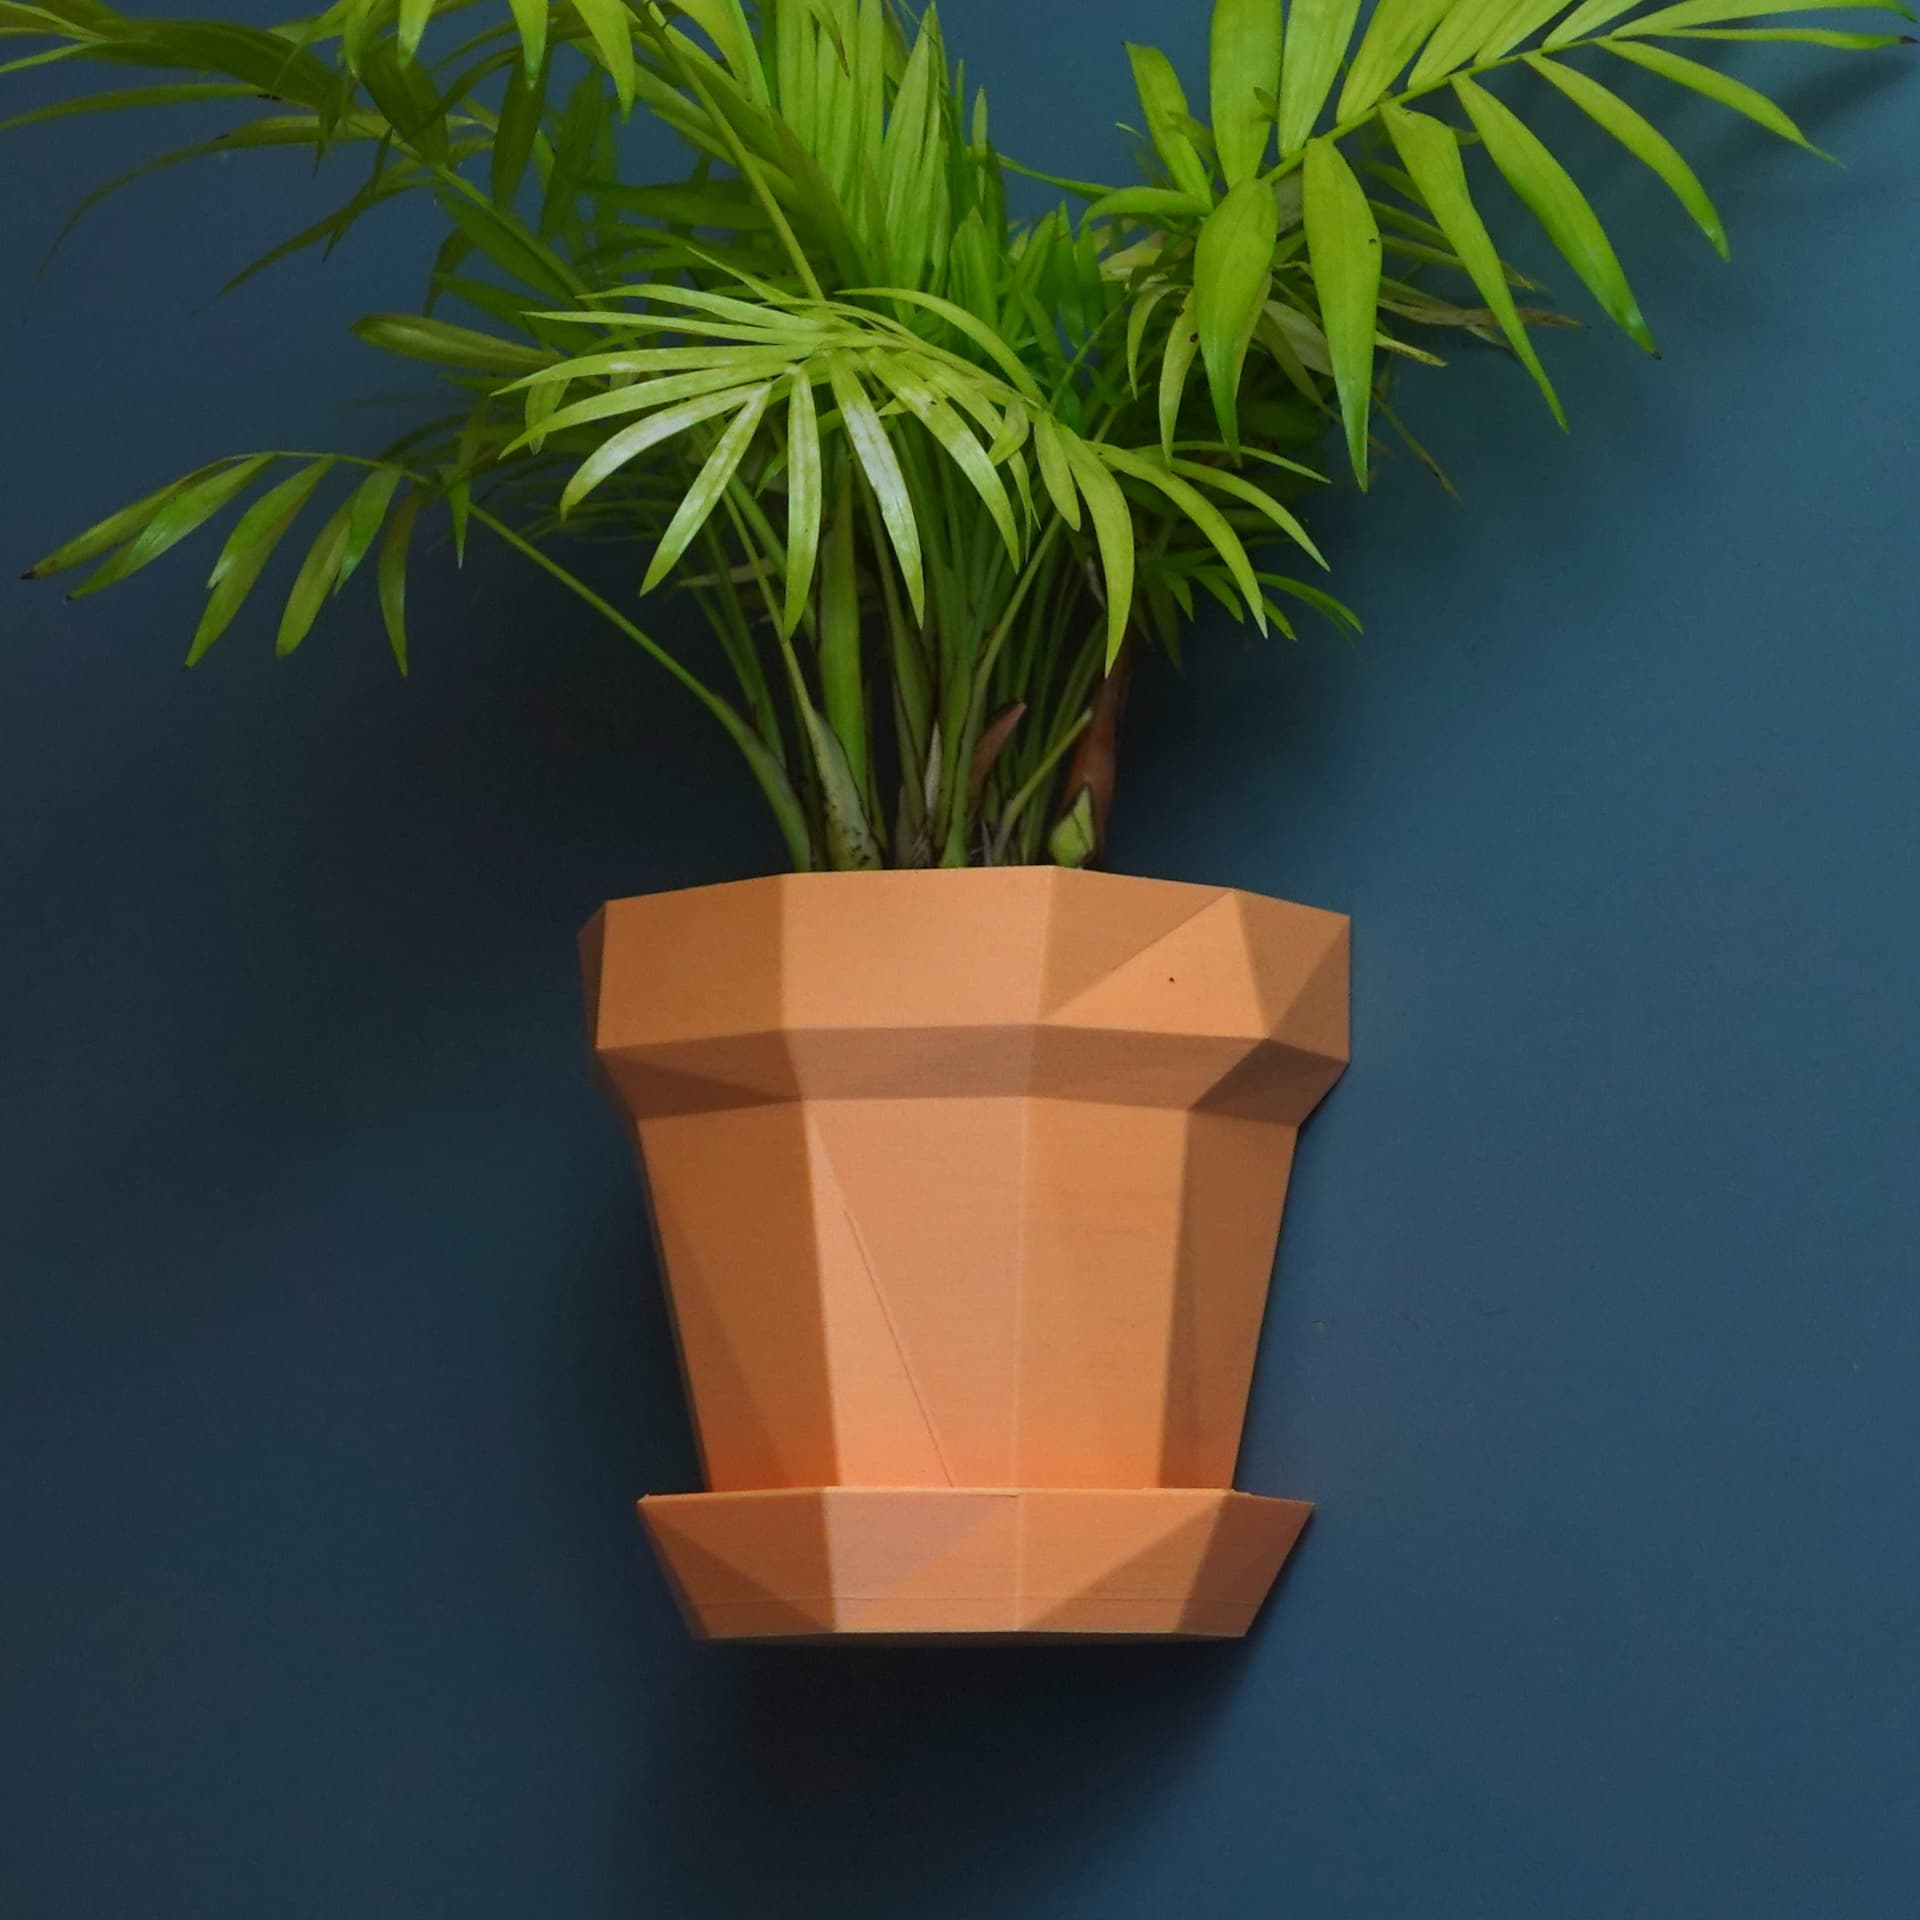

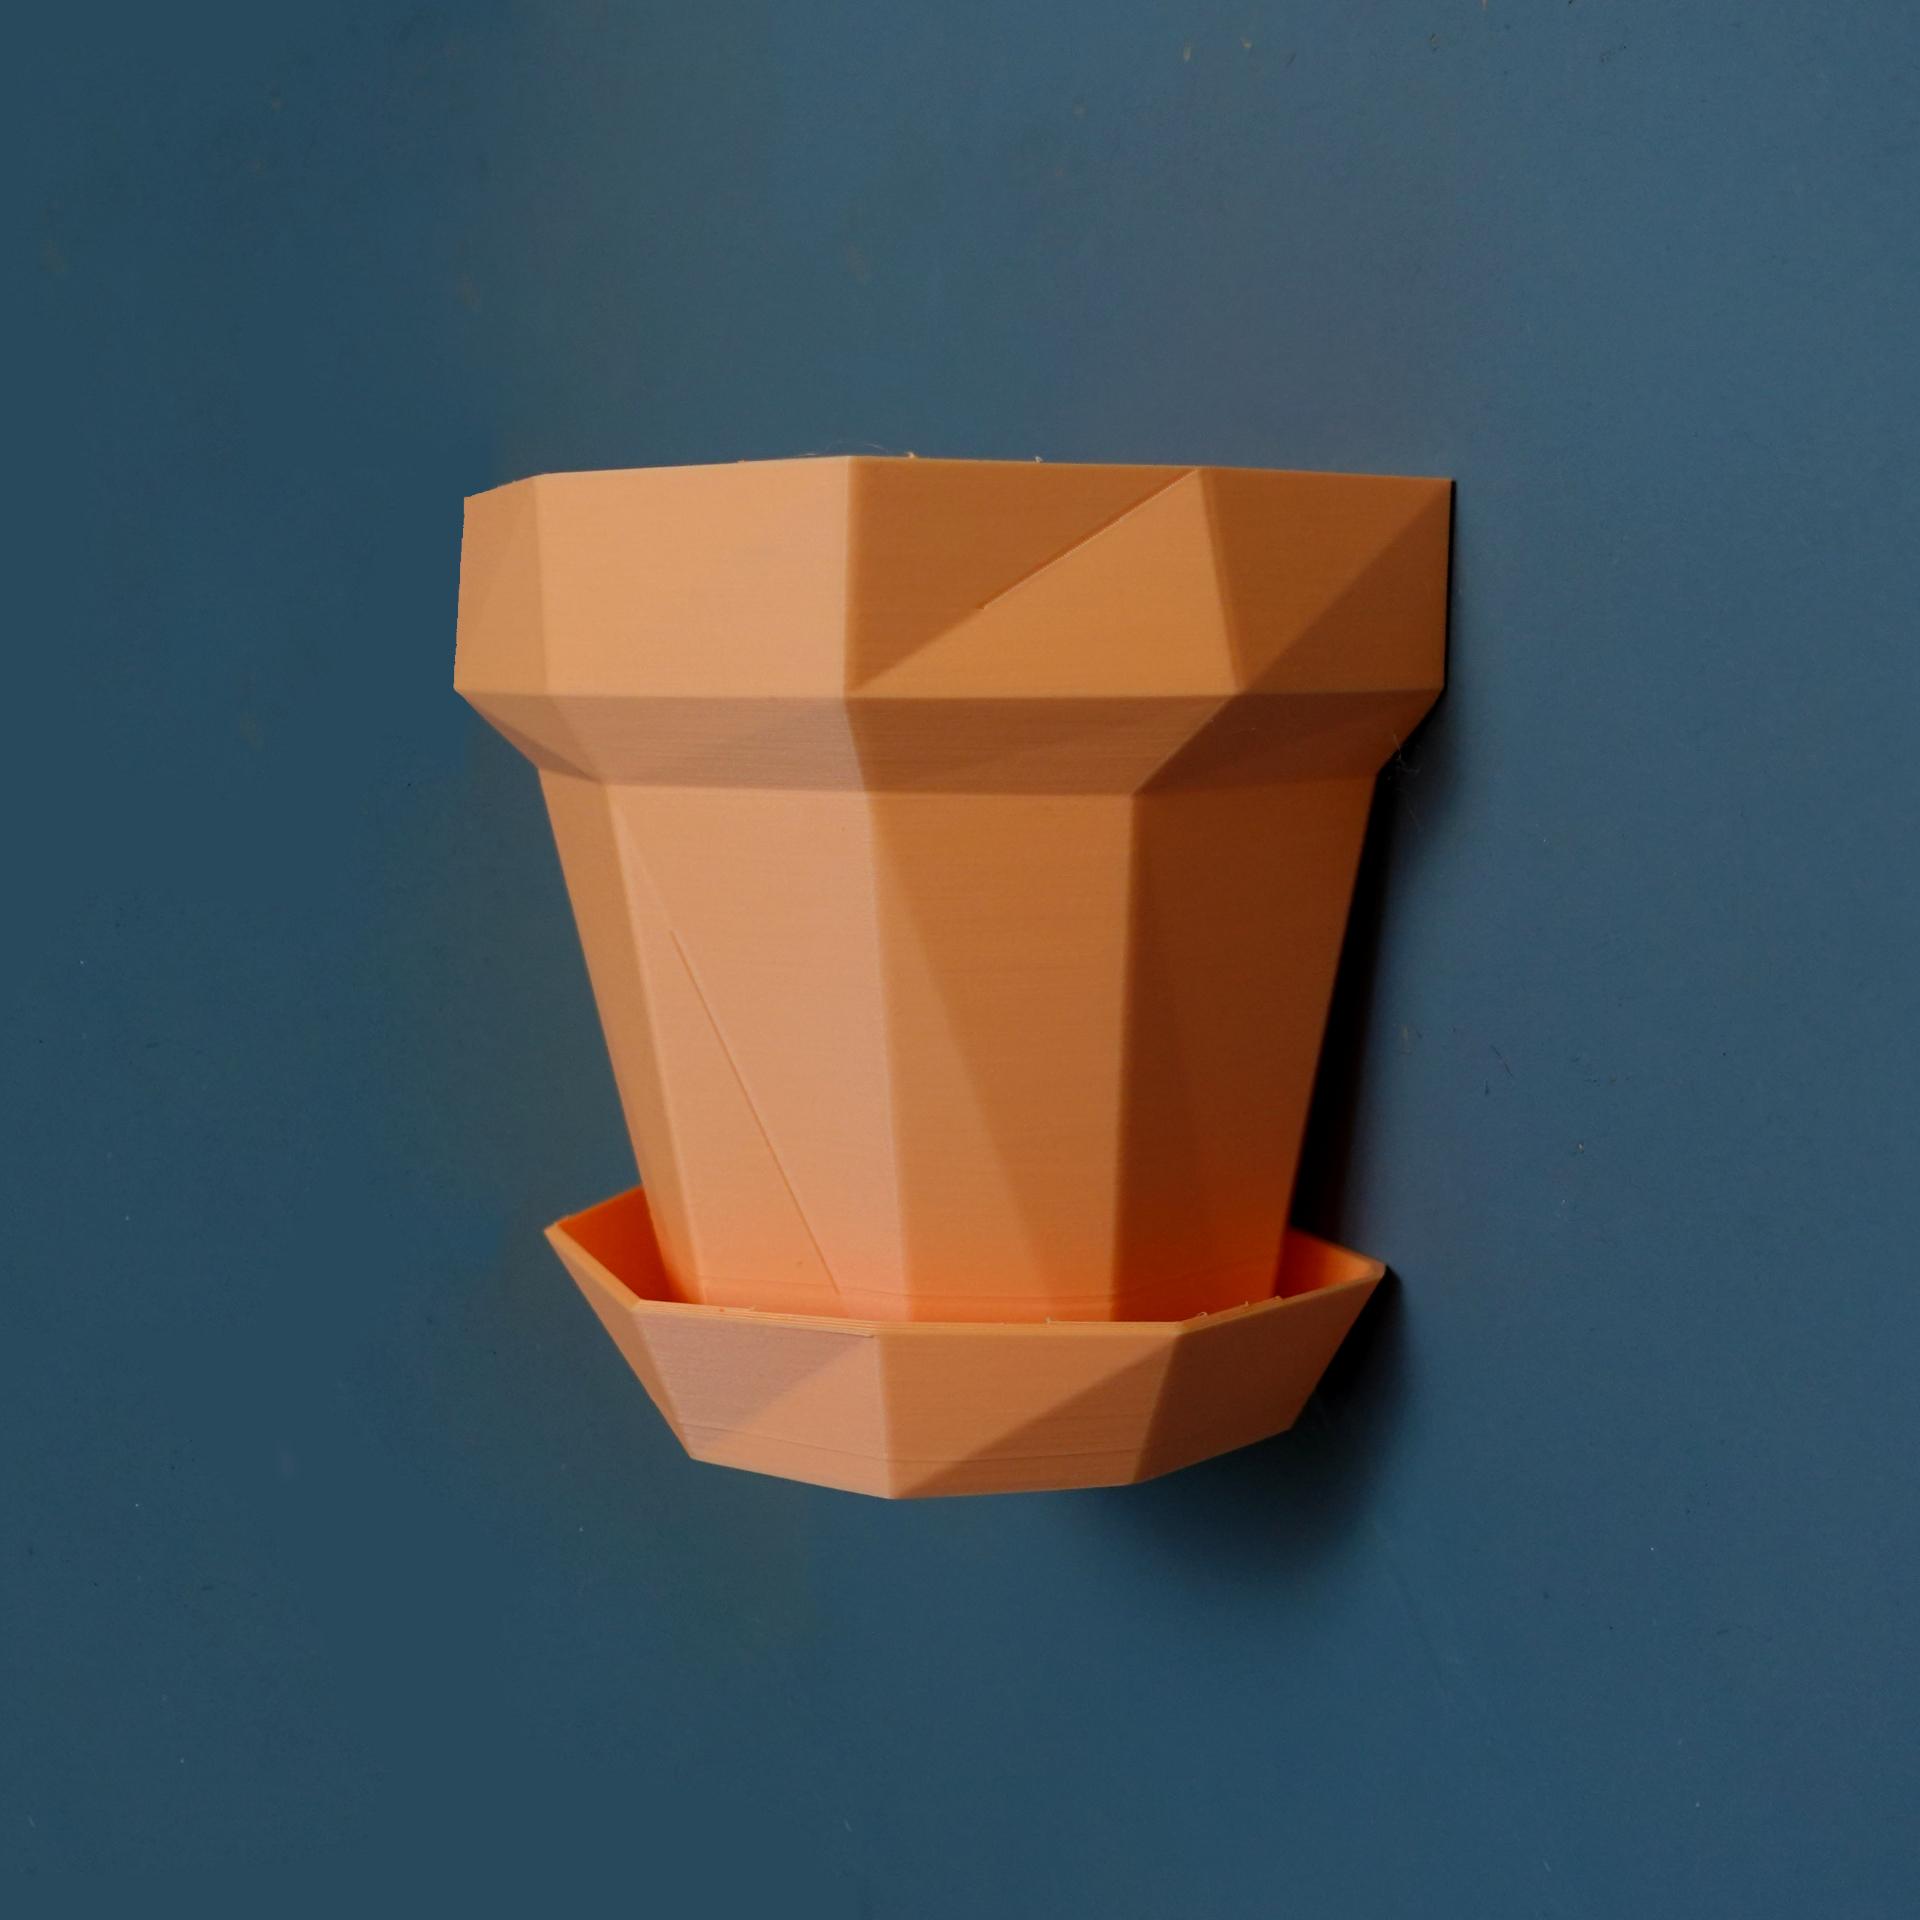
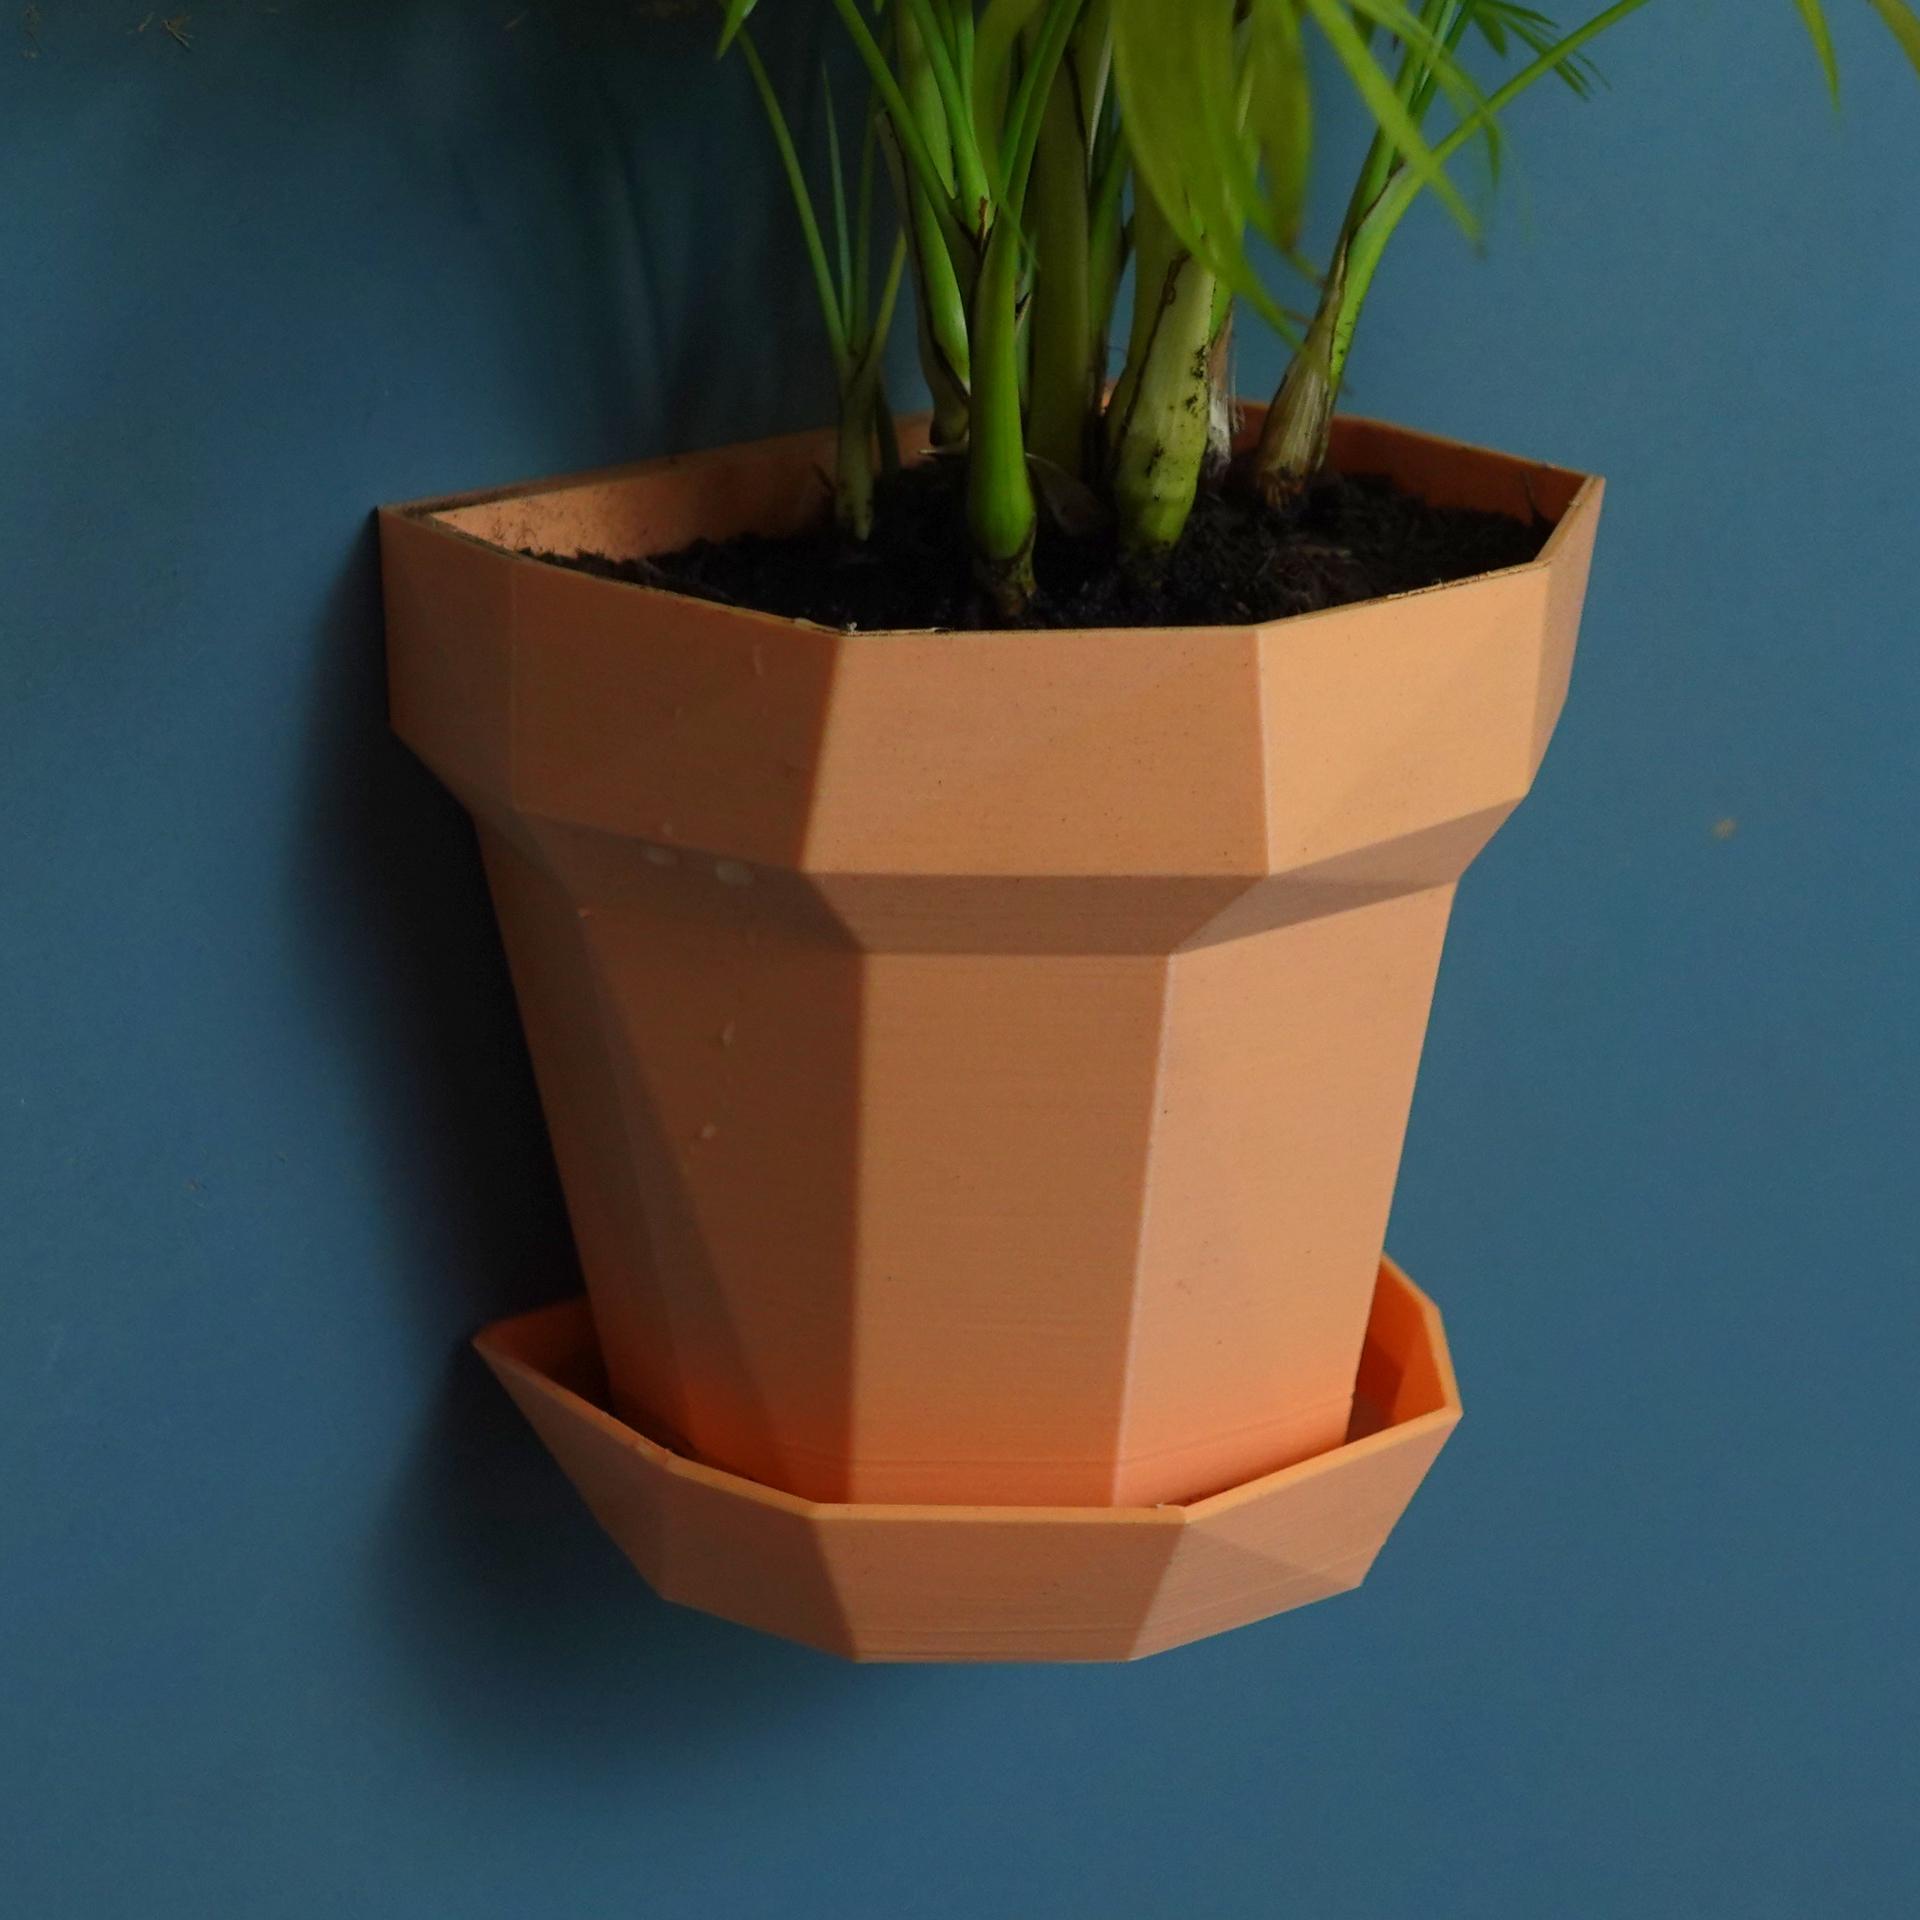
Wall planter “Glitch”
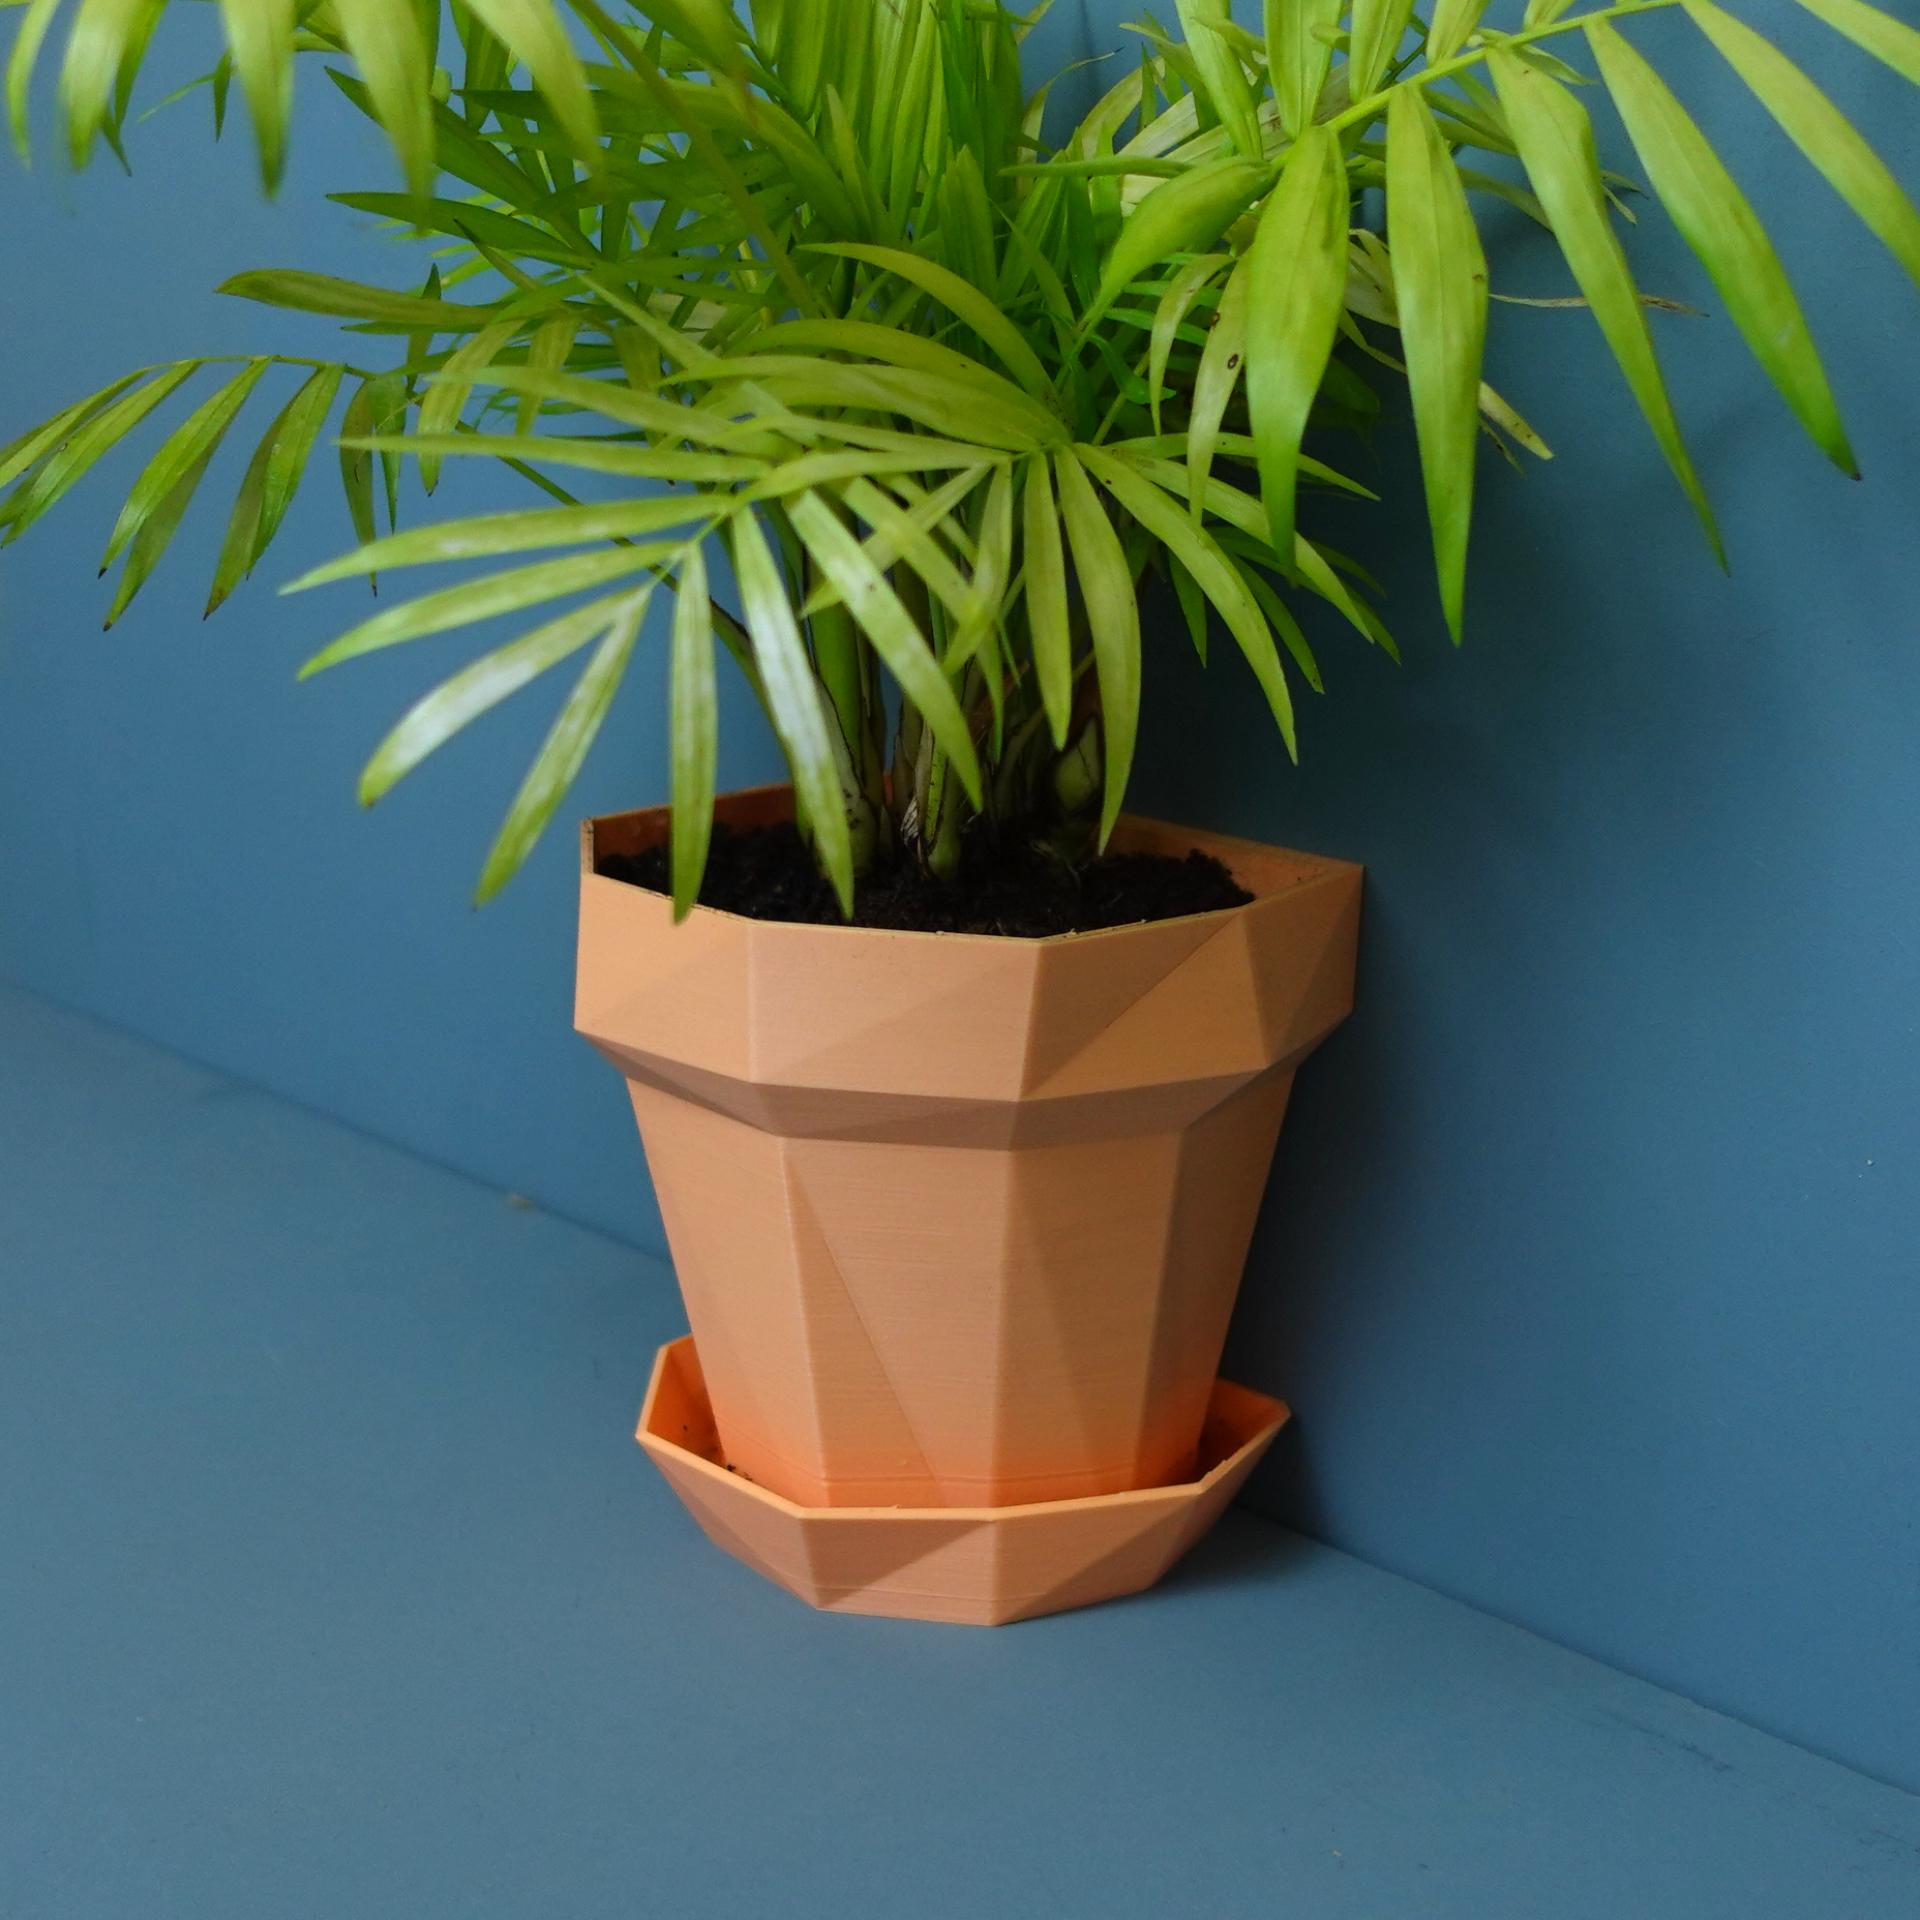
**A Planter inspired by old video games where stuff would just glitch into a wall. ** The design can be either hung onto your wall or put down next to in.
Versions / Files
- Planter_with_saucer: The Planter with drainage via the small saucer
- Planter_without_saucer: Just the Planter
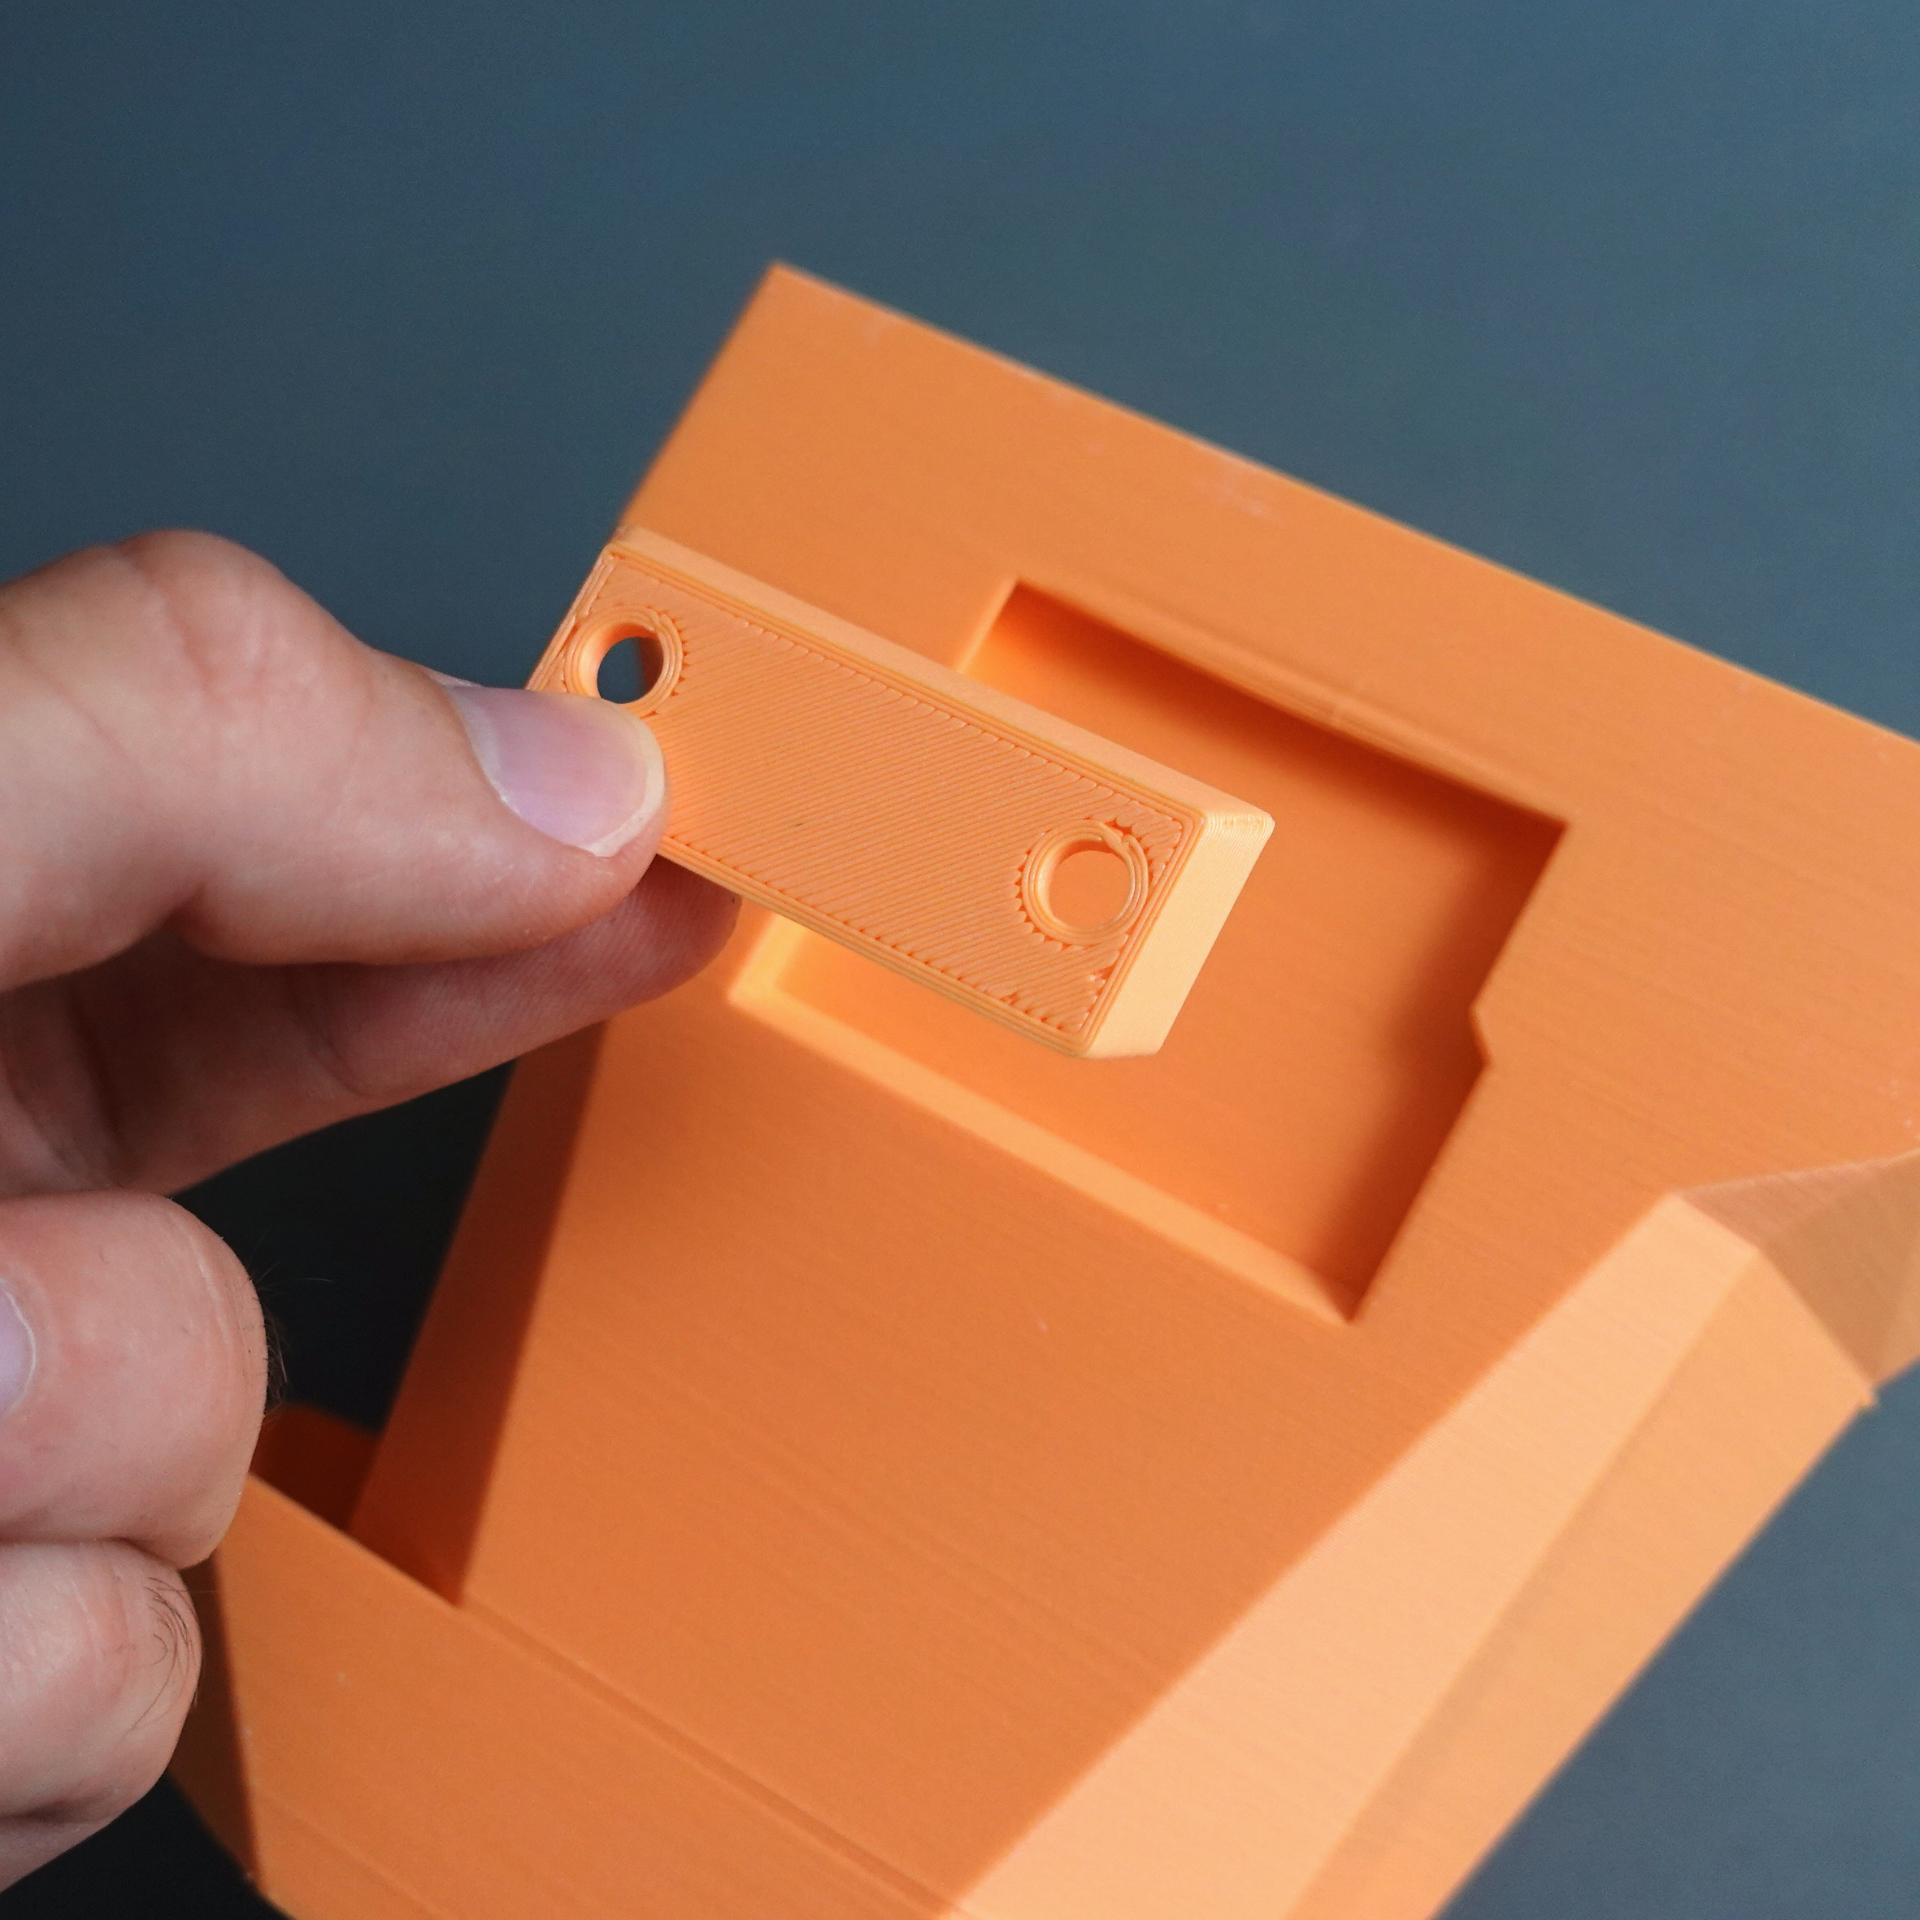
- Holder: The holder that works for both versions with a screw-hole diameter of 5.5mm
Instructions
- Choose your version and if you want to hang it or put it down.
- You can either screw or glue it onto your wall. There are various glue or tape products for wall fixation out there. Old fashioned screws and dowels are the most reliable fixation. I hung 5KG of Books onto the wall mounted print for over a week to test the strength. It can hold probably even more but the soil and plant will usually not exceed 2KG in weight.
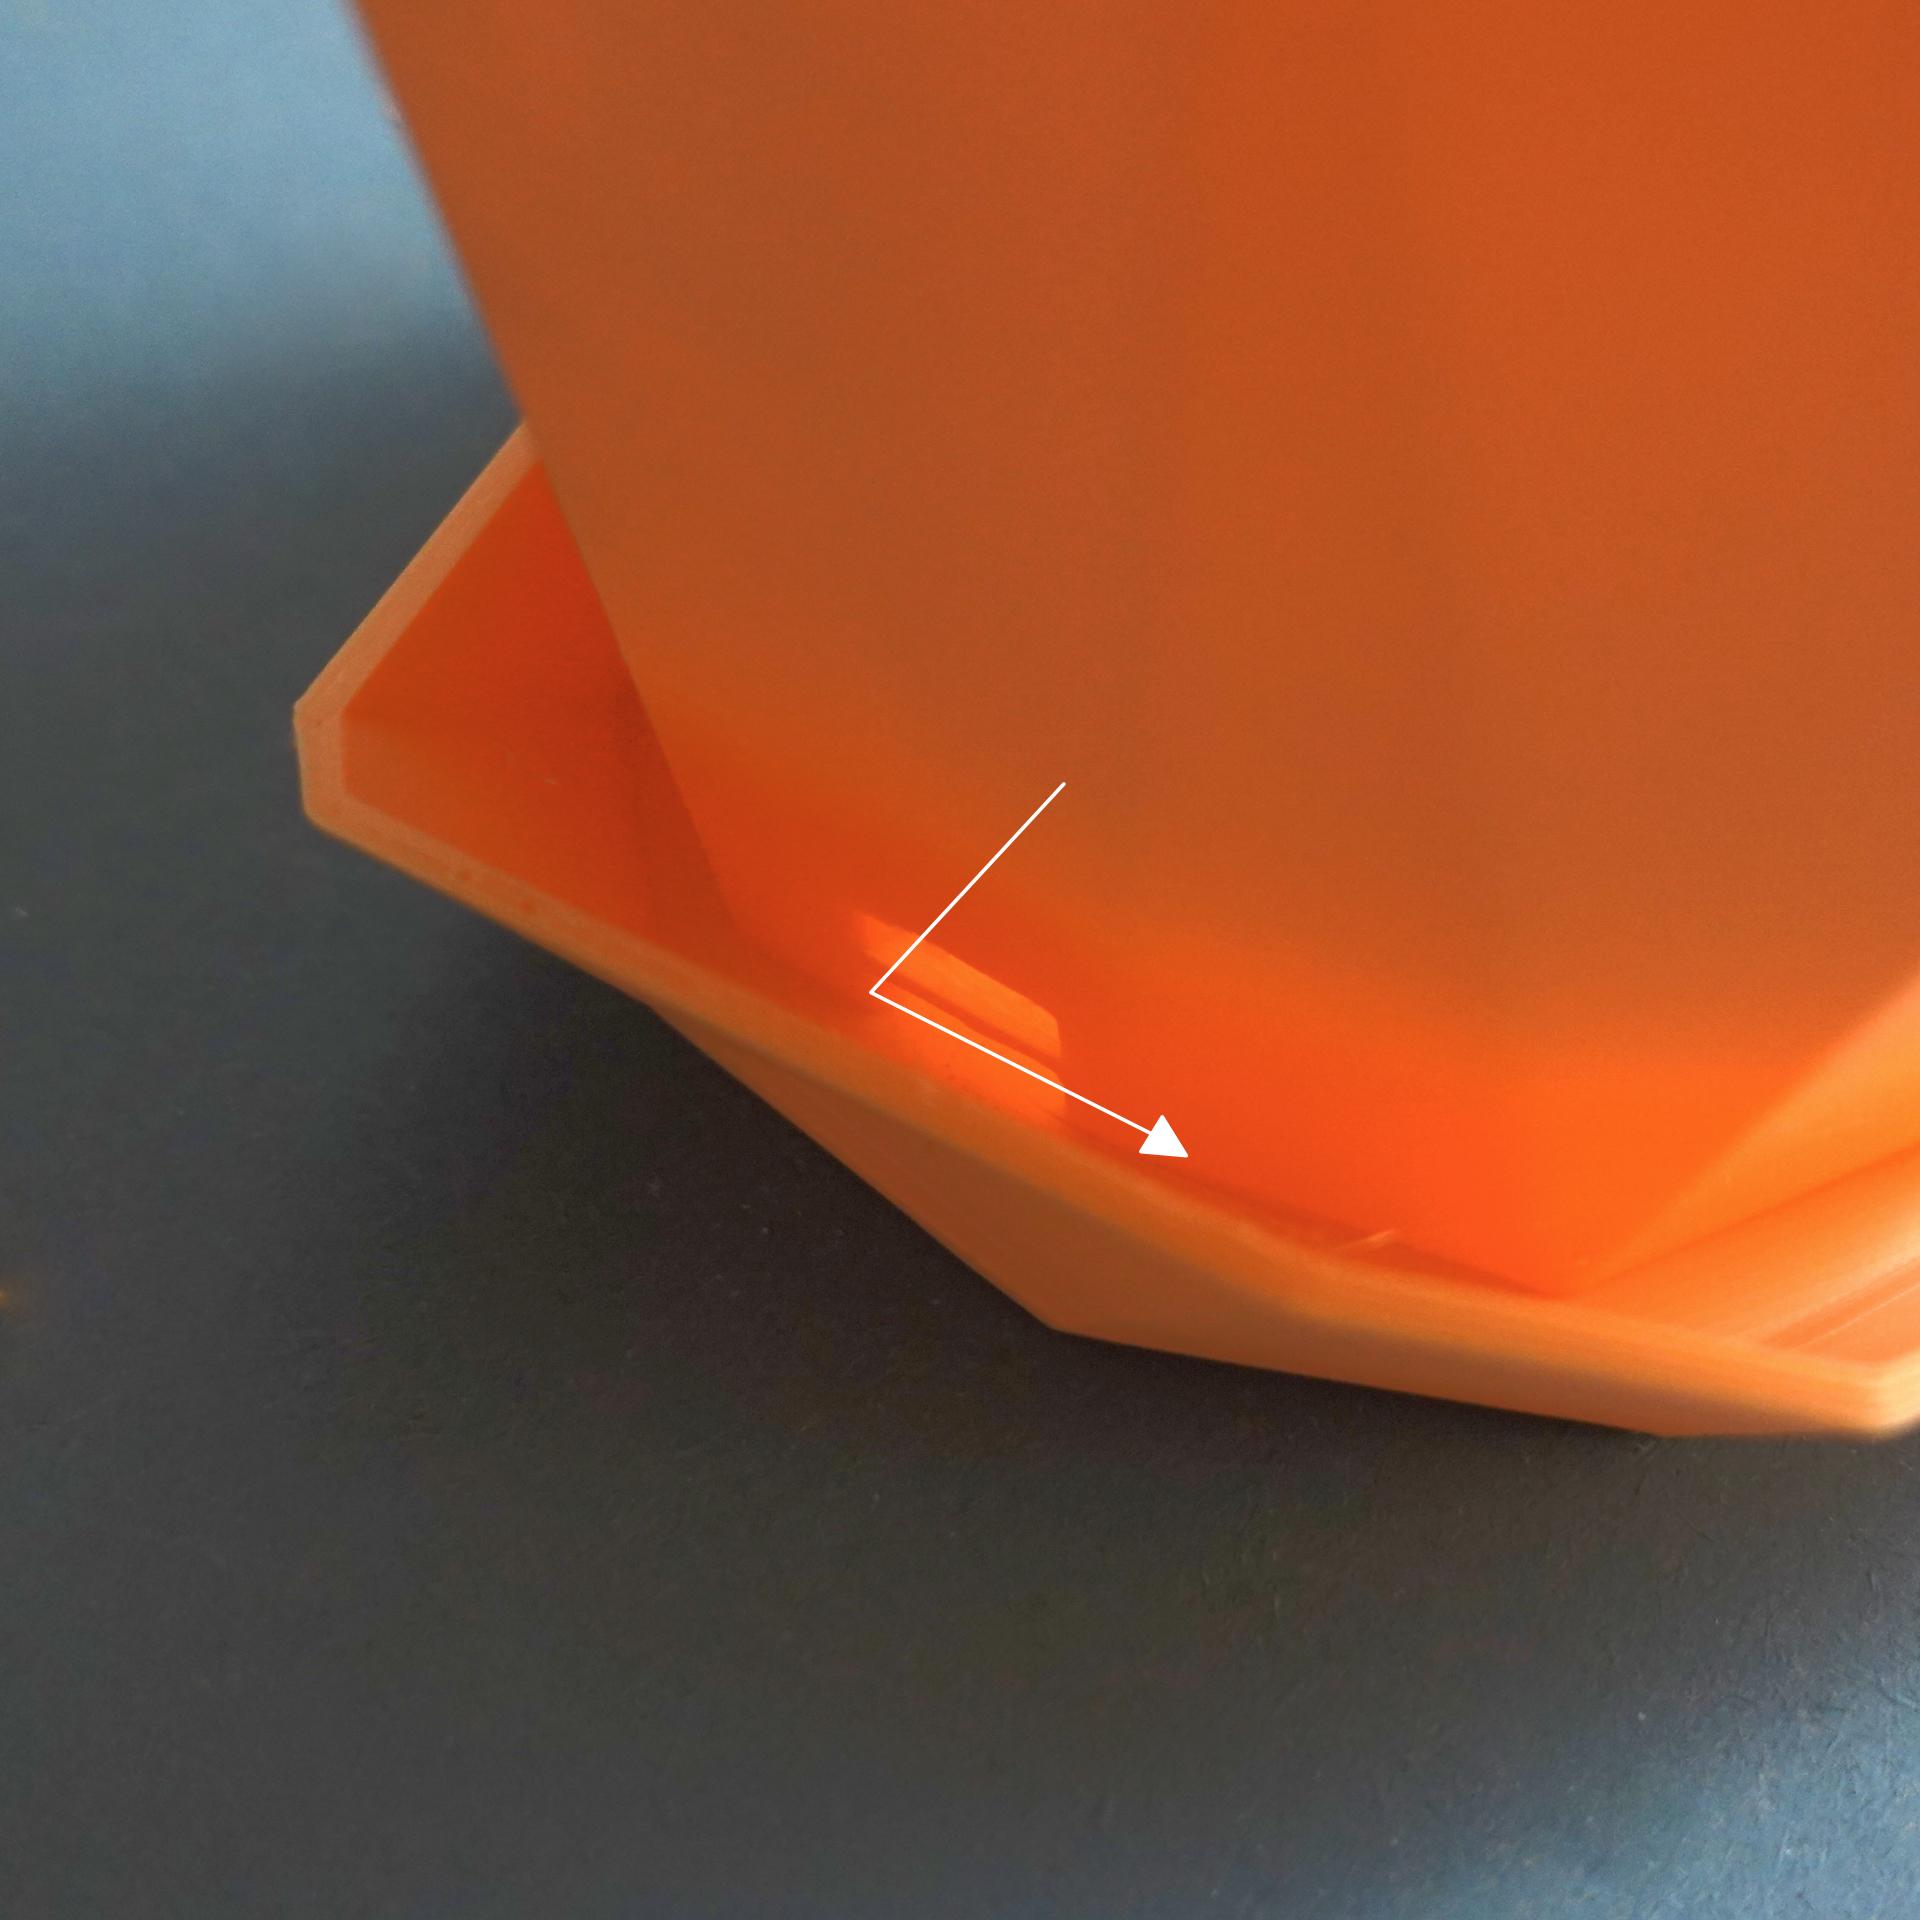
- Insert the shelf by moving it horizontally onto the holder until the holder is completely inside the cutout. Then proceed to move the shelf down and the holder locks.
- Enjoy!
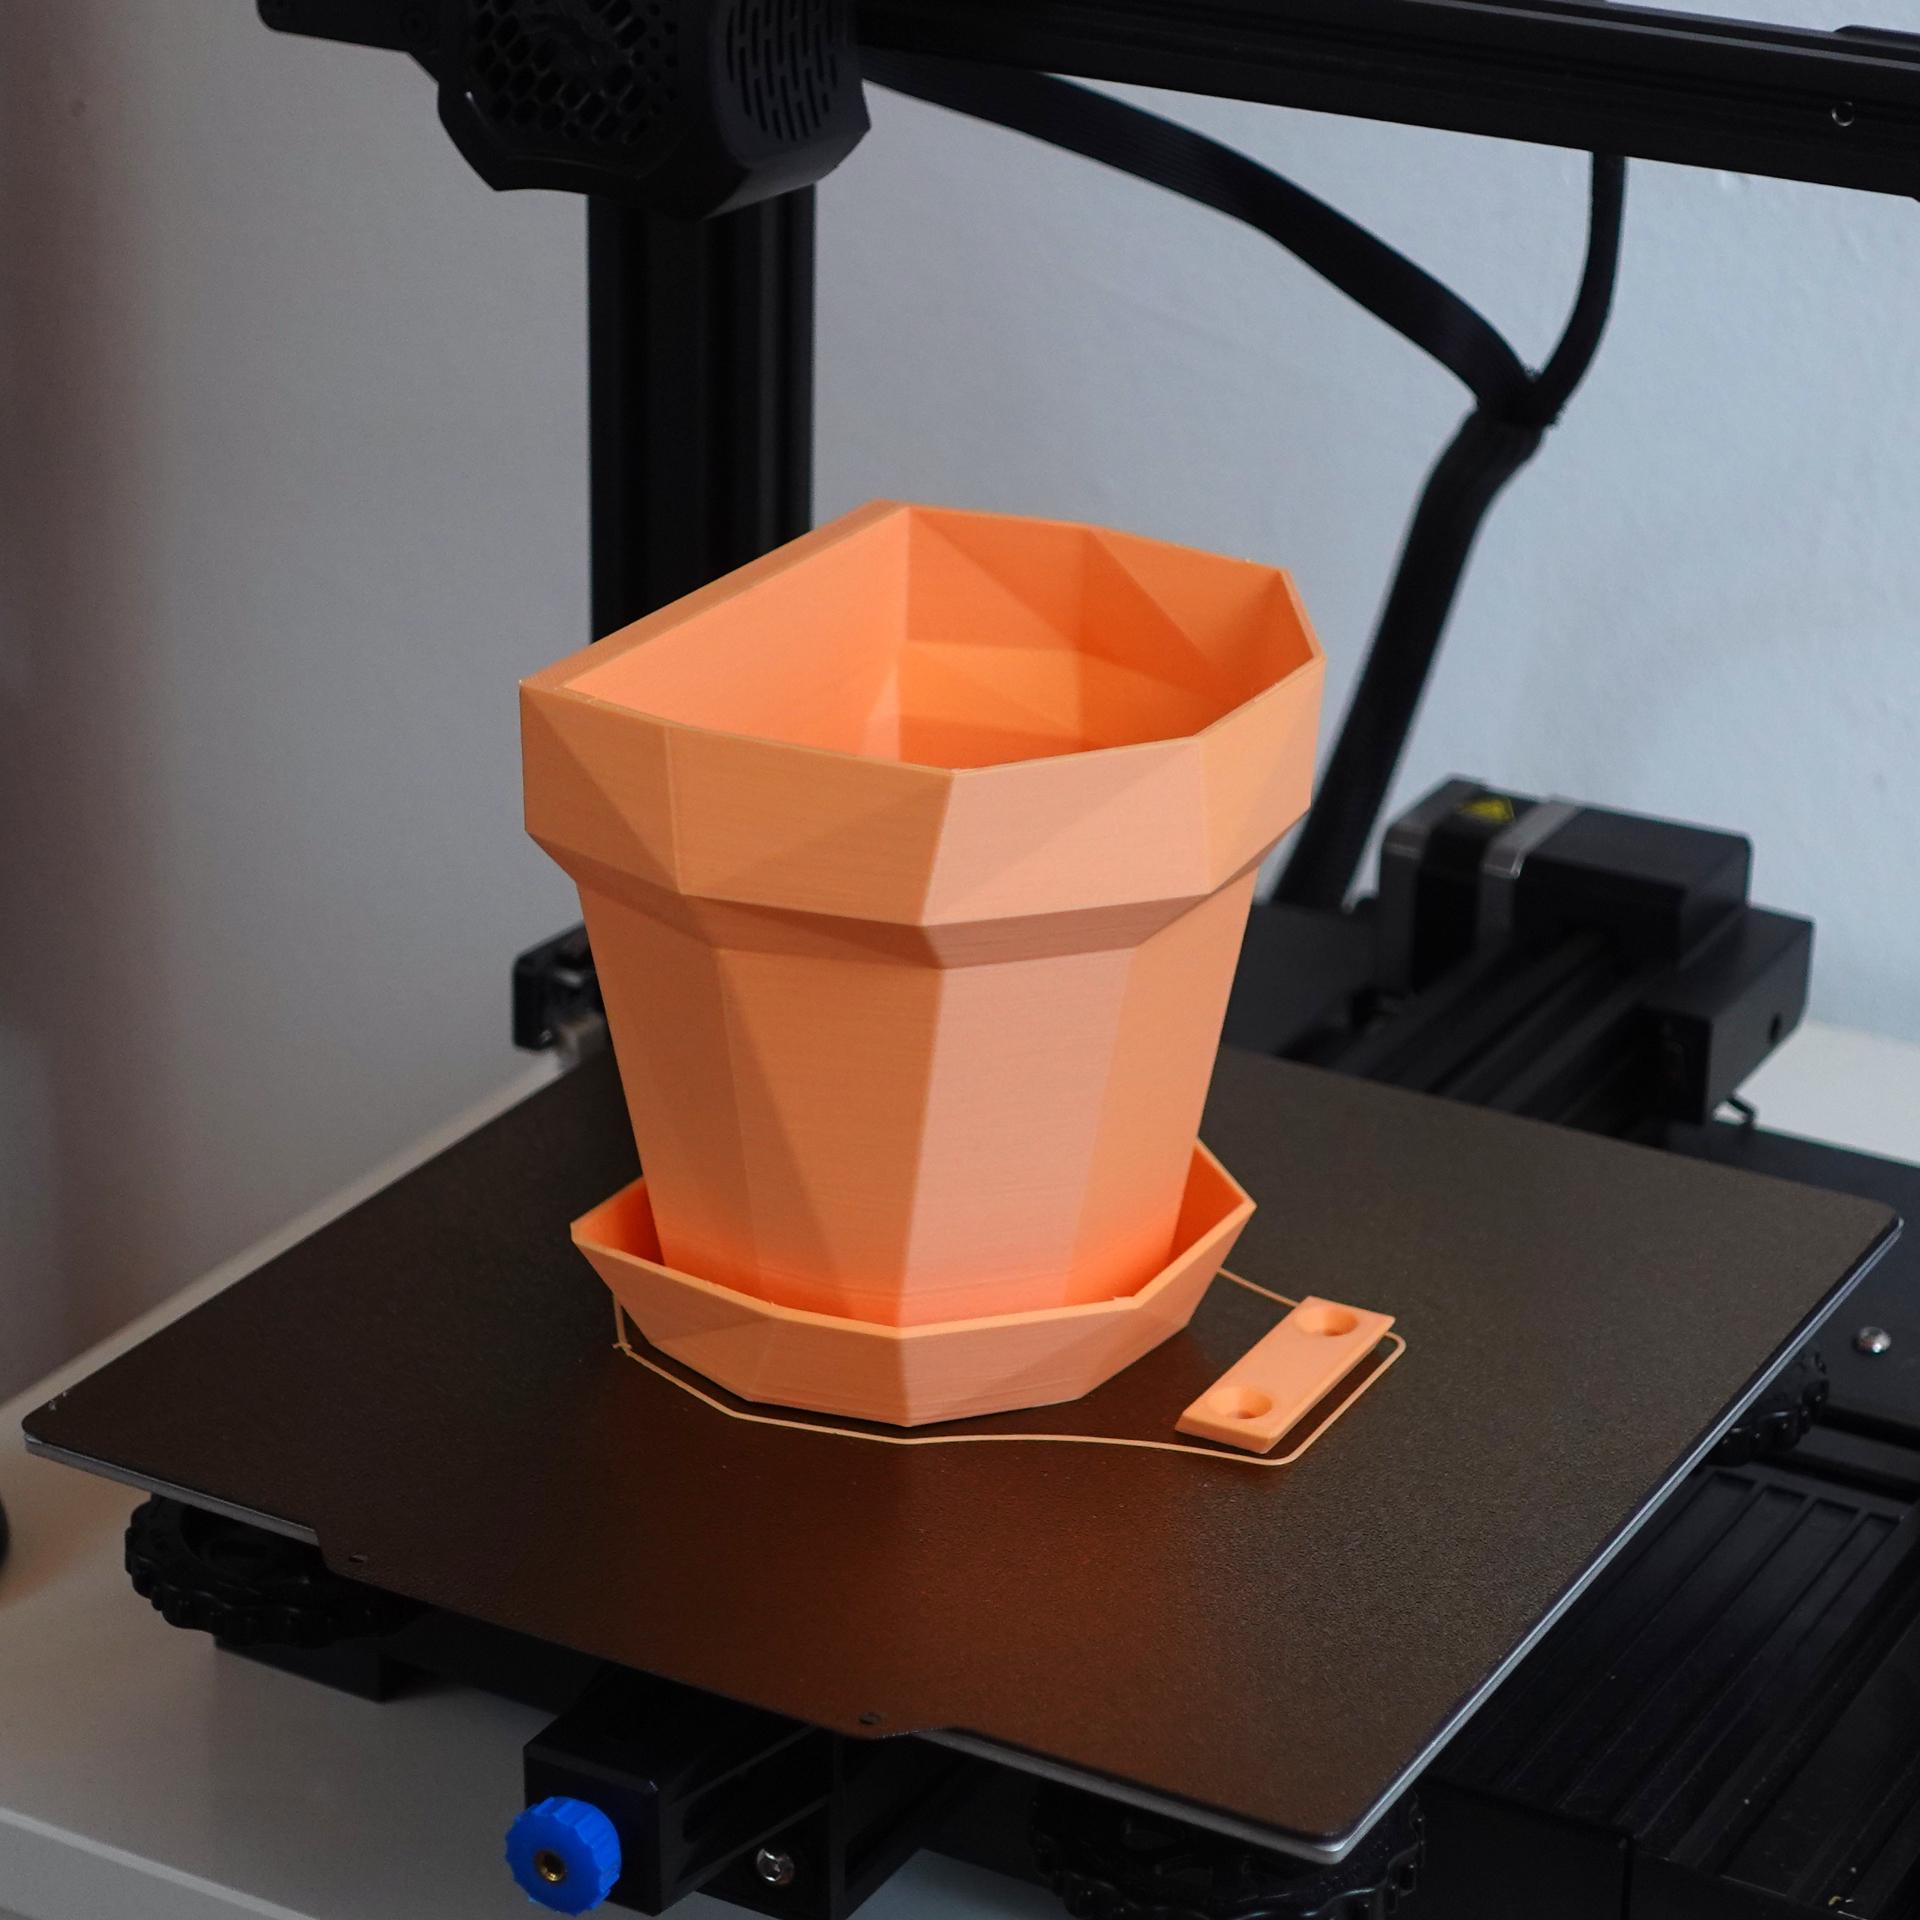
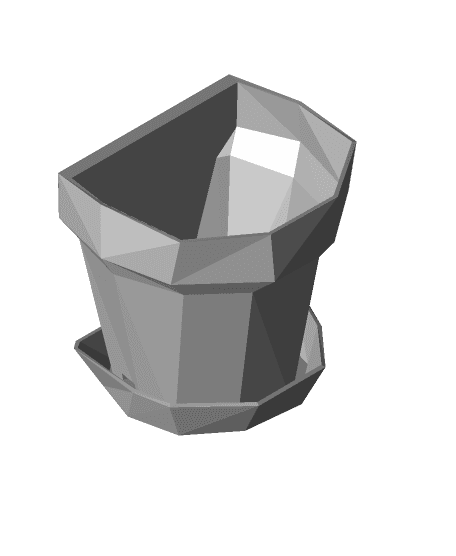
Size (Planter_with_saucer): 105 x 130 x 121 mm
Print settings Required build volume: 140 x 140 x 130 mm Material usage: 140 g Print time: 10 h
Material: PLA Print direction: stls are rotated correctly, check images Support: none Nozzle size: 0,4 mm Line width: 0,4 mm Layer height 0,2 mm Outer walls: 3 Infill: 15% Build plate adhesion type: none
Watertight printing: If you have a well set up machine it comes automatically - Otherwise here are some tips: Increase your wall count (at least 3), level your bed nicely, decrease print speed, increase layer height (at least 0.2mm), increase print temperature, check your seam quality, calibrate your e-steps and fine tune your retraction settings to make sure no holes appear after a layer change.